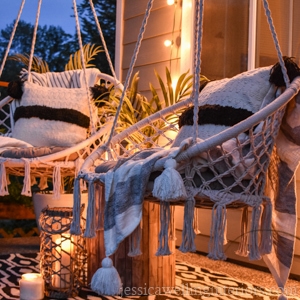
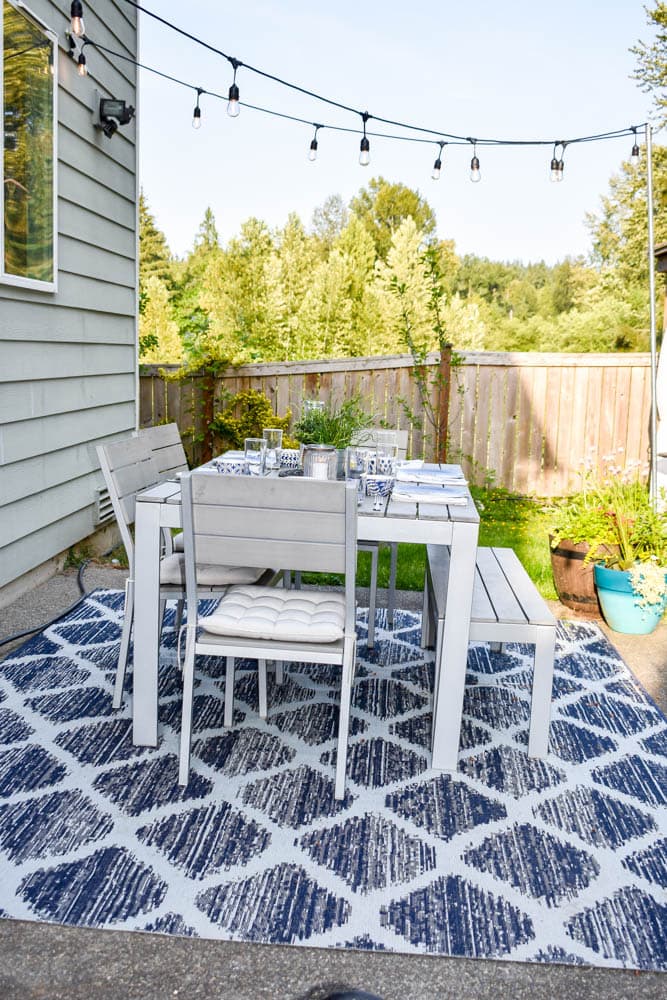
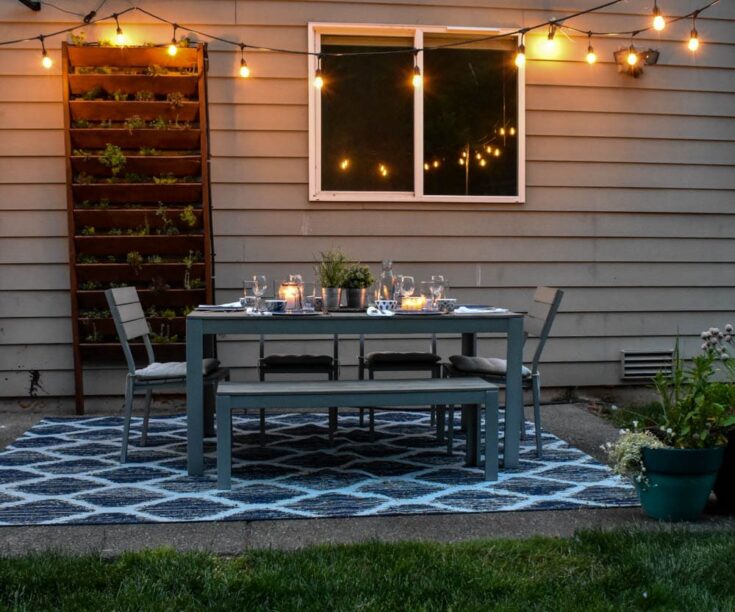
Install easy outdoor string light poles over your patio or backyard fire pit to create beautiful ambiance! They’re quick, inexpensive, and very simple!

I asked for a patio makeover for my birthday a few years back, and one of the top things on my wishlist was string lights. The problem? Nothing to hang them from.
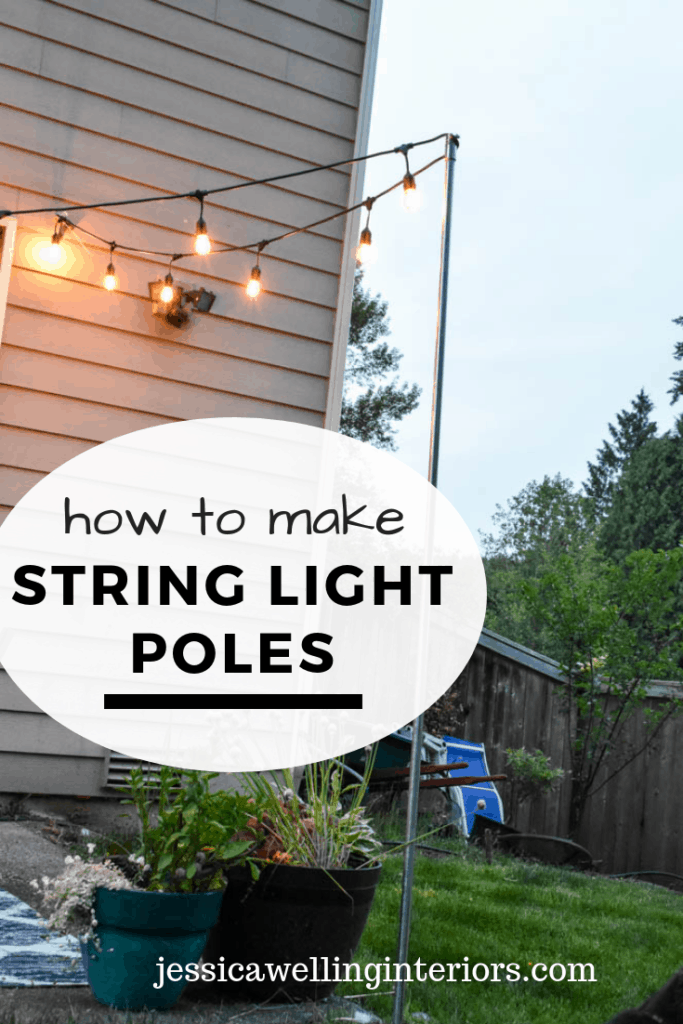
Here’s a tutorial for the quick and easy (unless you have really hard dirt) removable string light poles we put in. We put three poles in, and the whole project took about an hour.
Do you have a different setup, like a deck or a covered patio? Check out this post for more methods for hanging patio lights. It covers hanging them from trees, walls, ceilings, deck railings, and pretty much anything else you can imagine.
Or if you want to make the DIY conduit poles in this tutorial, but don’t want to dig holes for whatever reason, check out this similar project where I used heavy patio umbrella stands instead of PVC as bases.
Watch the NEW Video Tutorial!
How to Install DIY String Light Poles
Materials

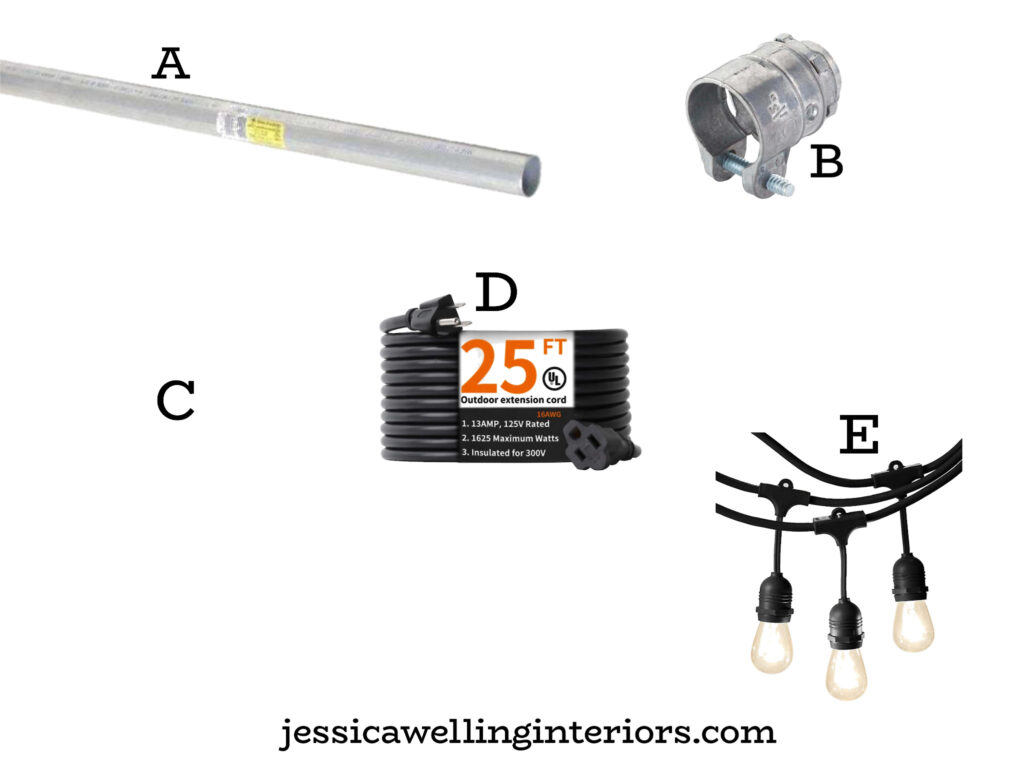
A. Conduit
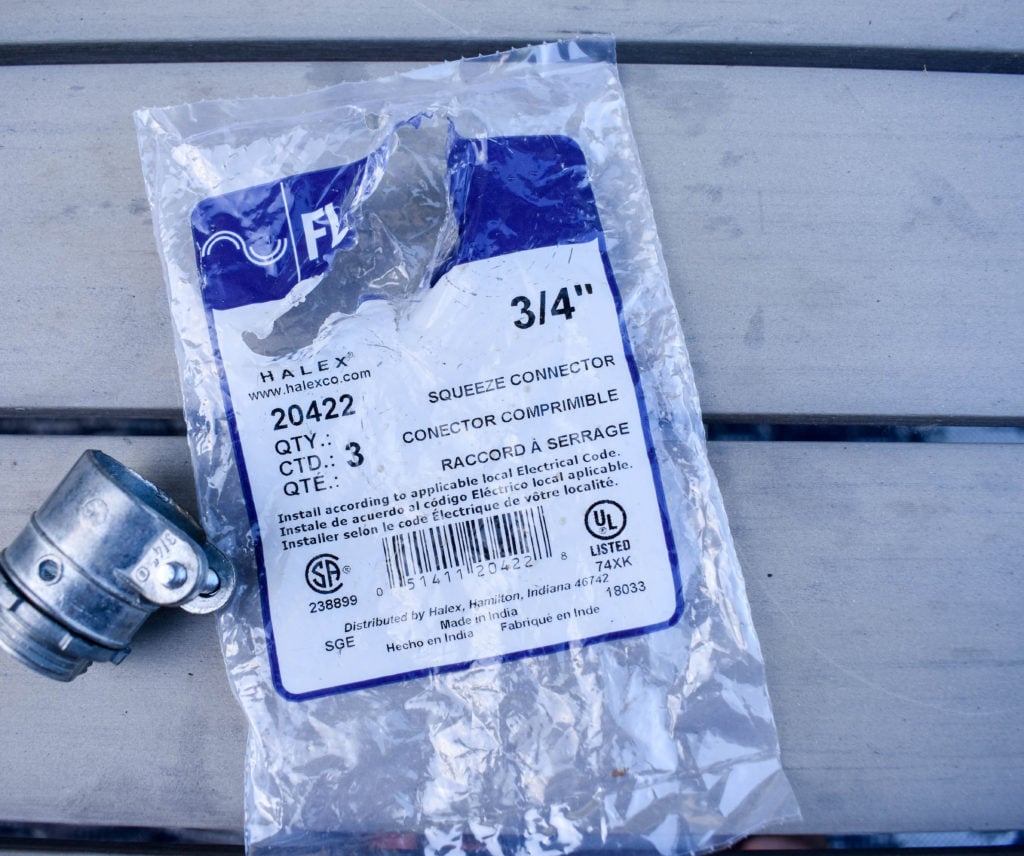
B. Squeeze Connector (
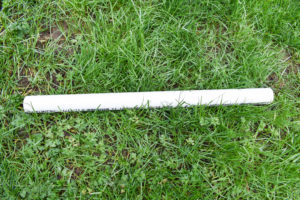
C. PVC Pipe
D. Outdoor Extension Cord
E. String Lights
Tools
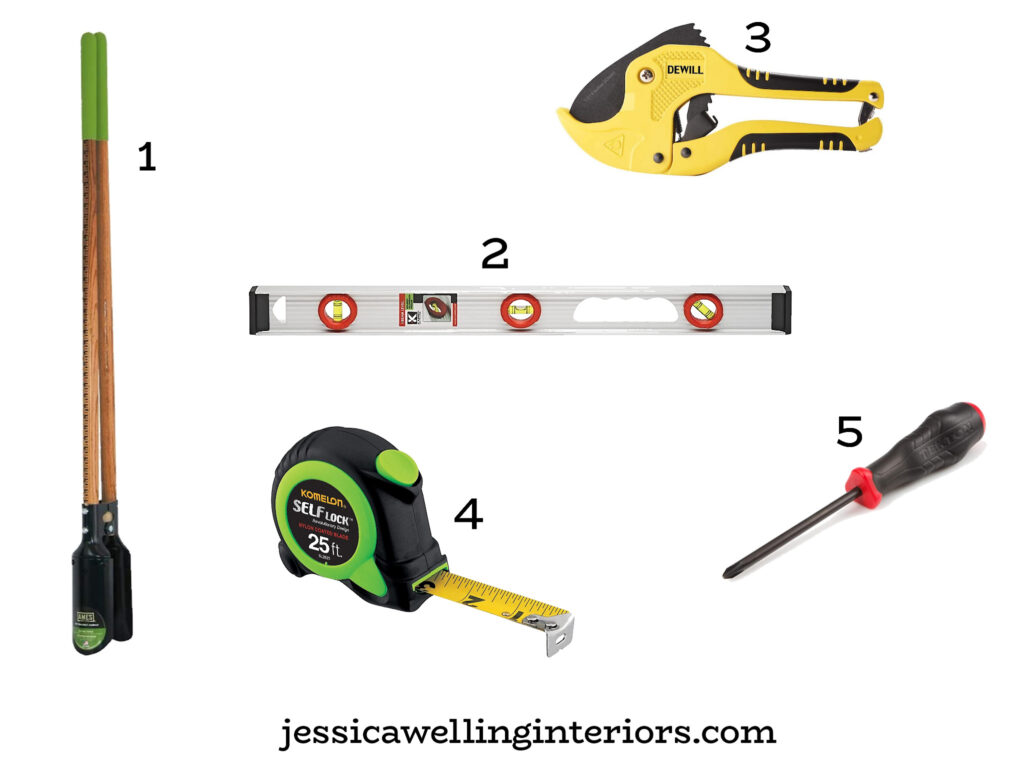
- Post Hole Digger
- Level
- PVC Cutters
- Tape Measure
- Phillips Screwdriver
- String lights– I got these sturdier industrial ones. These are 48 feet long, with 26 lights per strand.
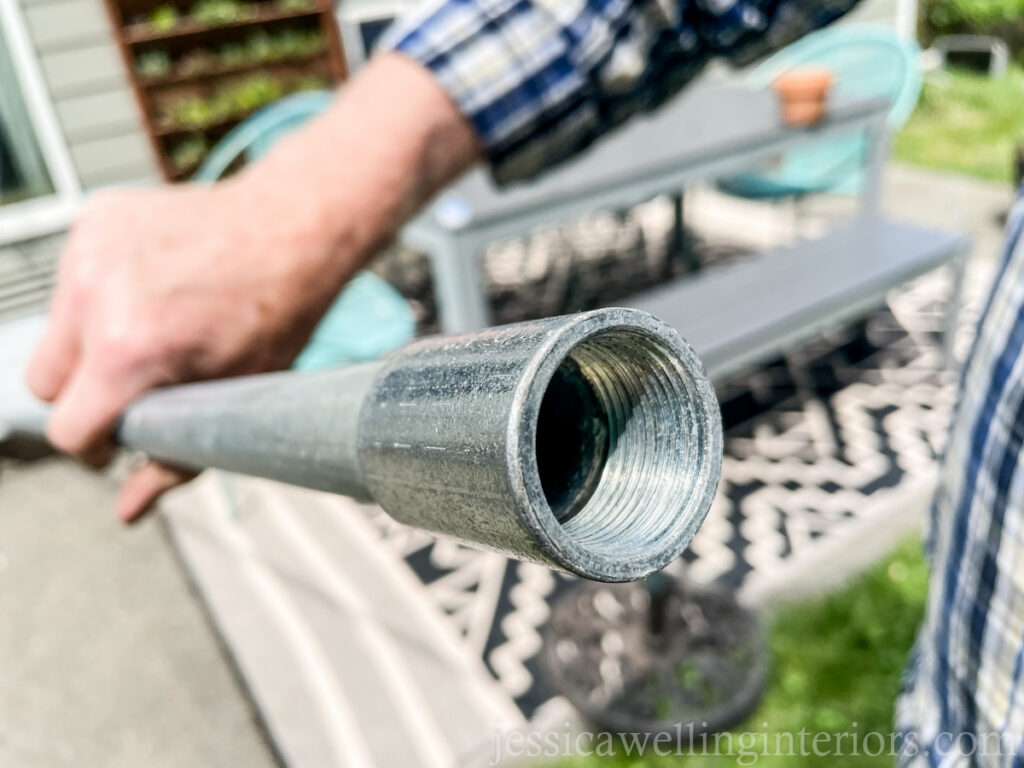
- 2 ¾” galvanized electrical conduit pipes (each 10’ long)
- 2 pieces of 1 1/2″ PVC pipe (each 2’ long)
- post hole digger

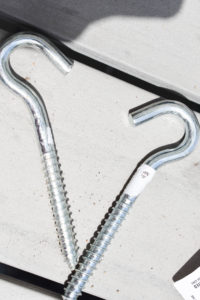
- hooks
- 3/4″ squeeze connectors (one for the top of each pole) Look for these in the electrical section of your hardware store.
- Extension cord (We needed one to reach our outlet. You may or may not).


We wanted our poles to be at least 8’ tall to allow for the lights to swag and hang down without hitting our taller friends in the head. They’re going 2’ into the ground, thus 10’ long poles.
Directions
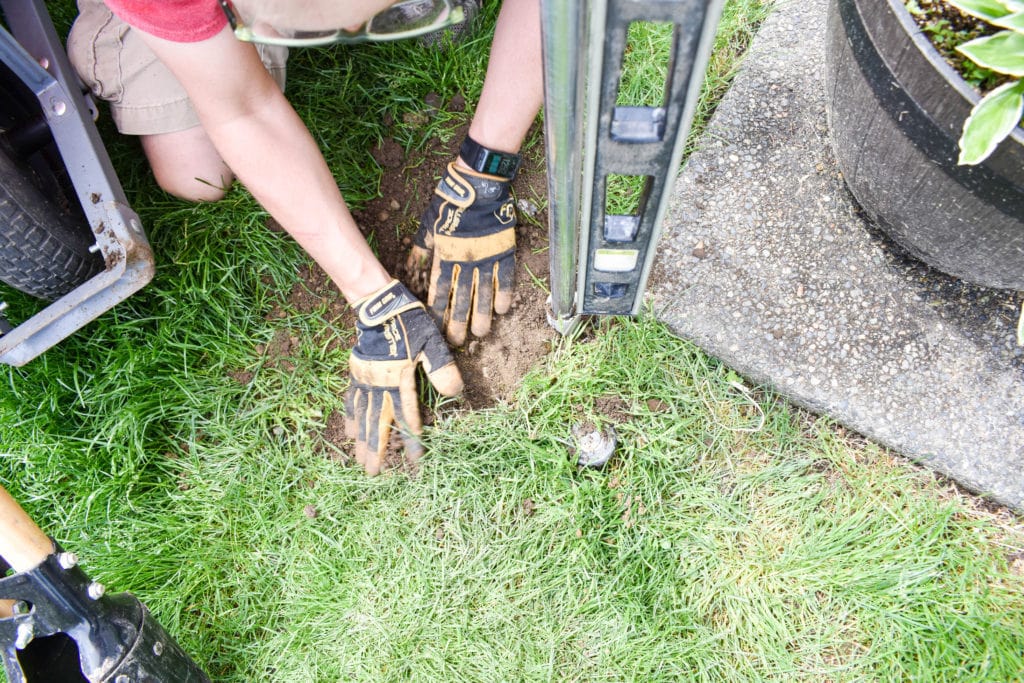
1. Dig the holes for the posts.
We dug each of the holes 24” deep. We placed them at the two outside corners of our patio. Update: We’ve since decided to add a 3rd pole.


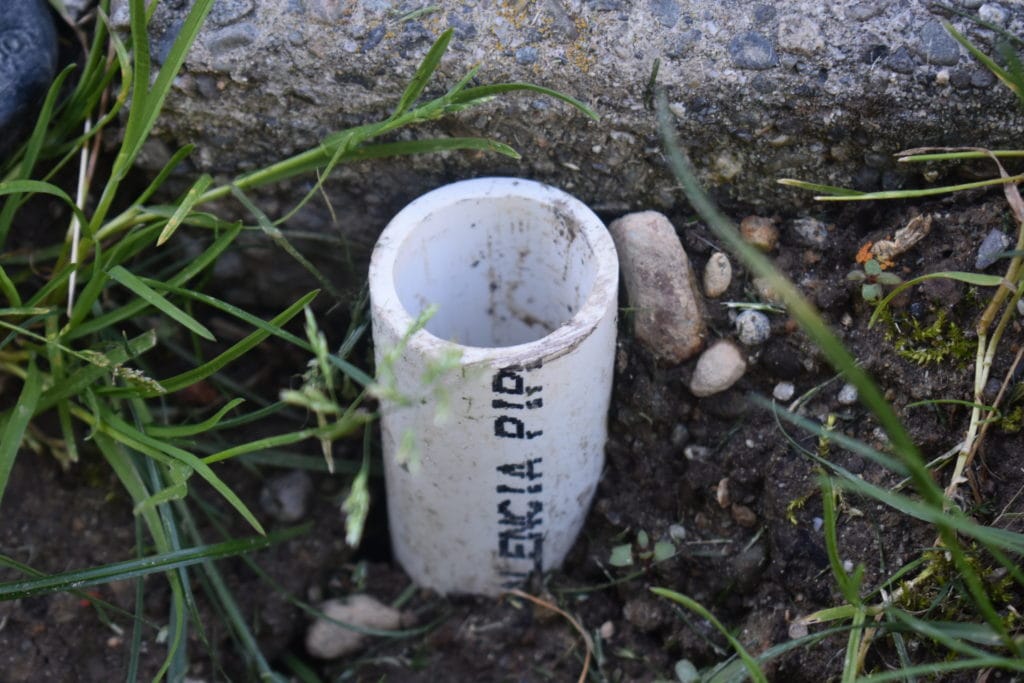
2. Put the PVC pipe in the hole.
We placed one of the cut pieces of PVC pipe upright in the and loosely packed the dirt back in around it. You could also use cement here if you prefer.
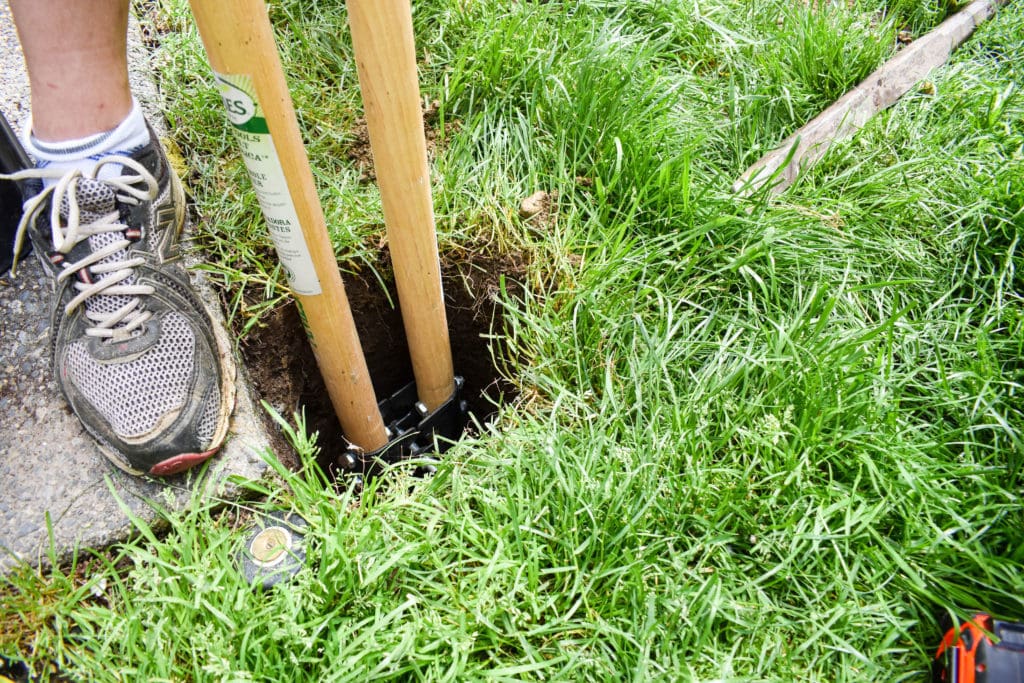
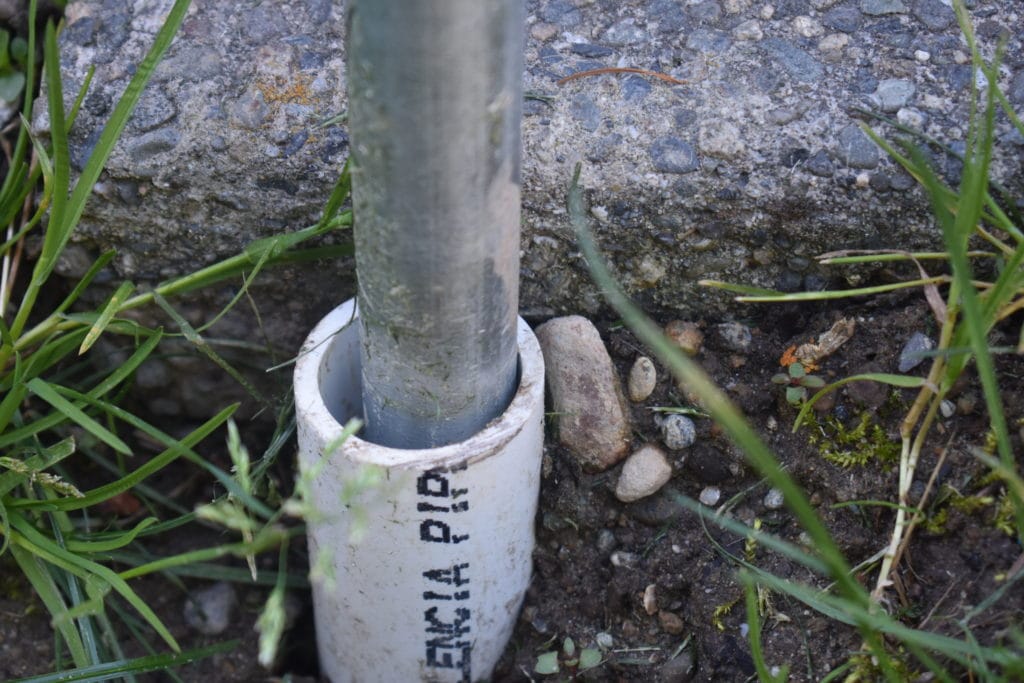
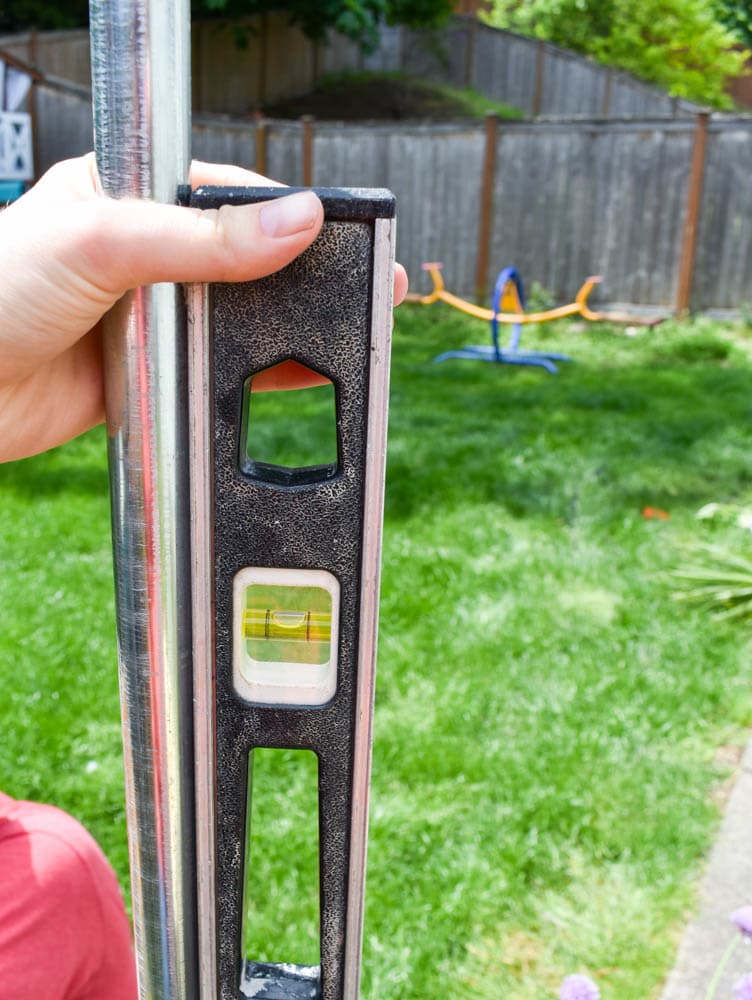
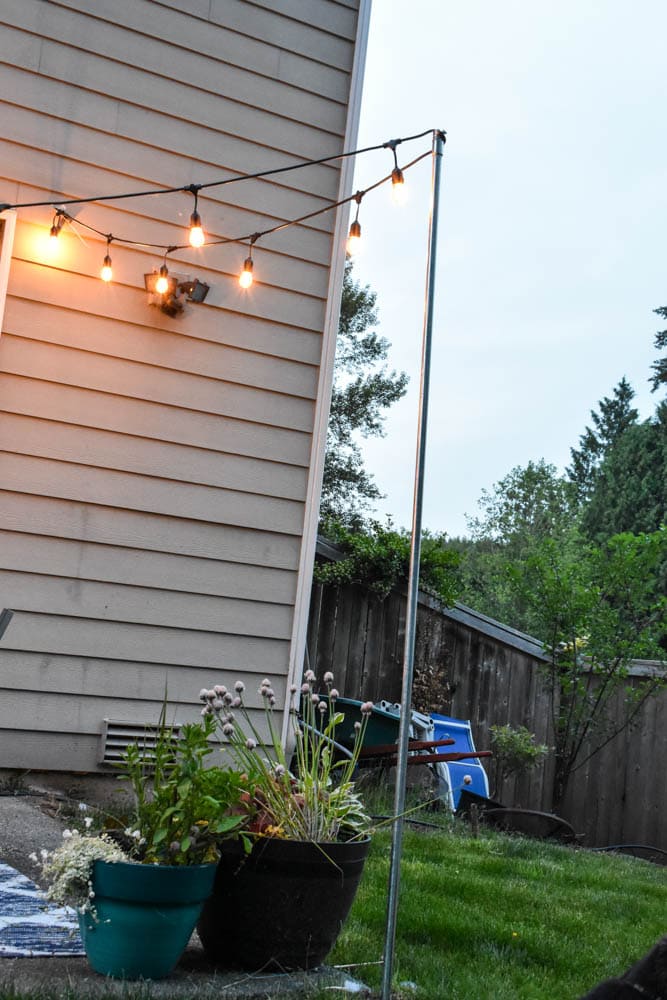
3. Set the metal pipe in place.
We put the conduit pole into the slightly wider PVC pipe, and I held it in place with a vertical level while Peter packed the dirt in around the PVC pipe.

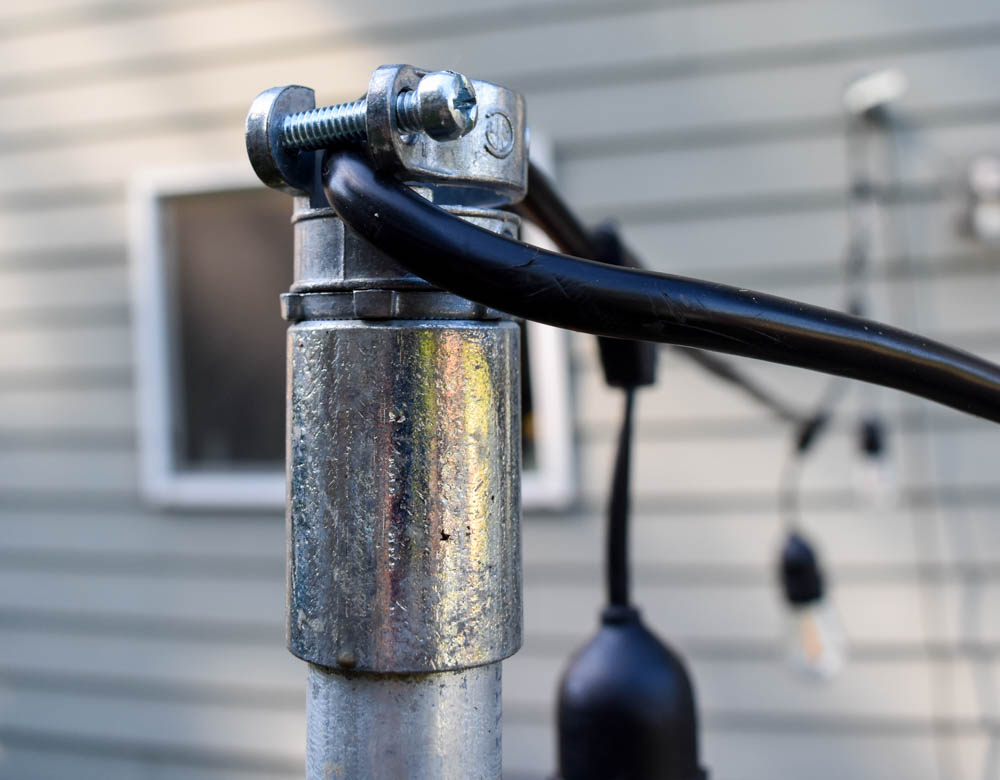
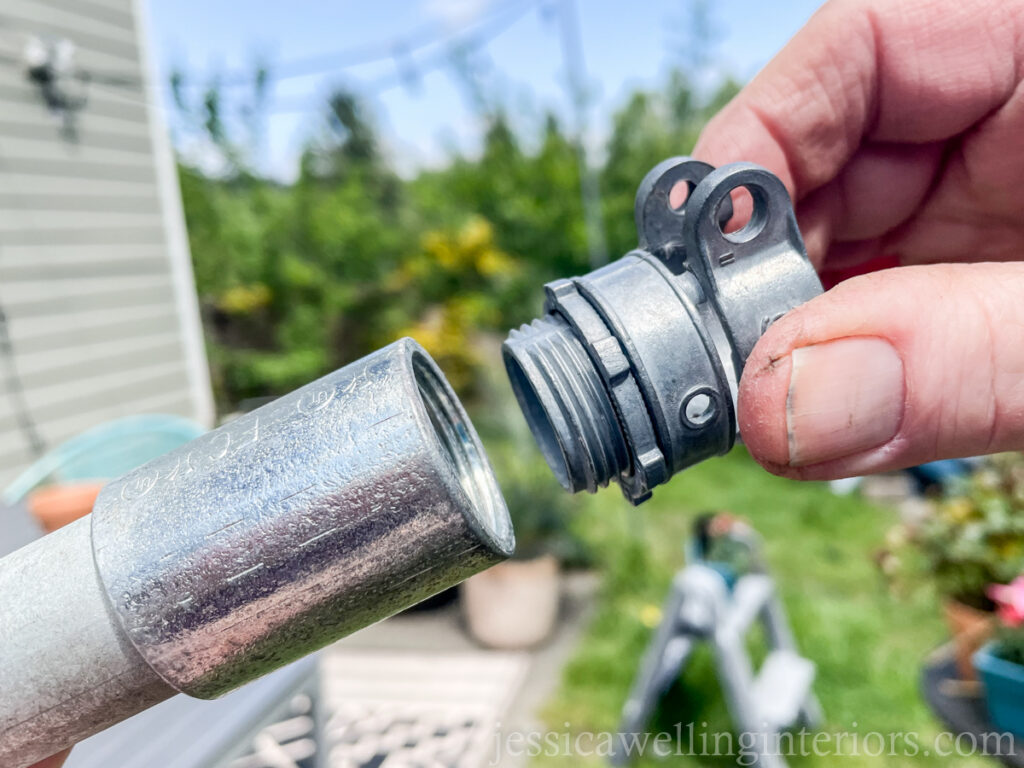
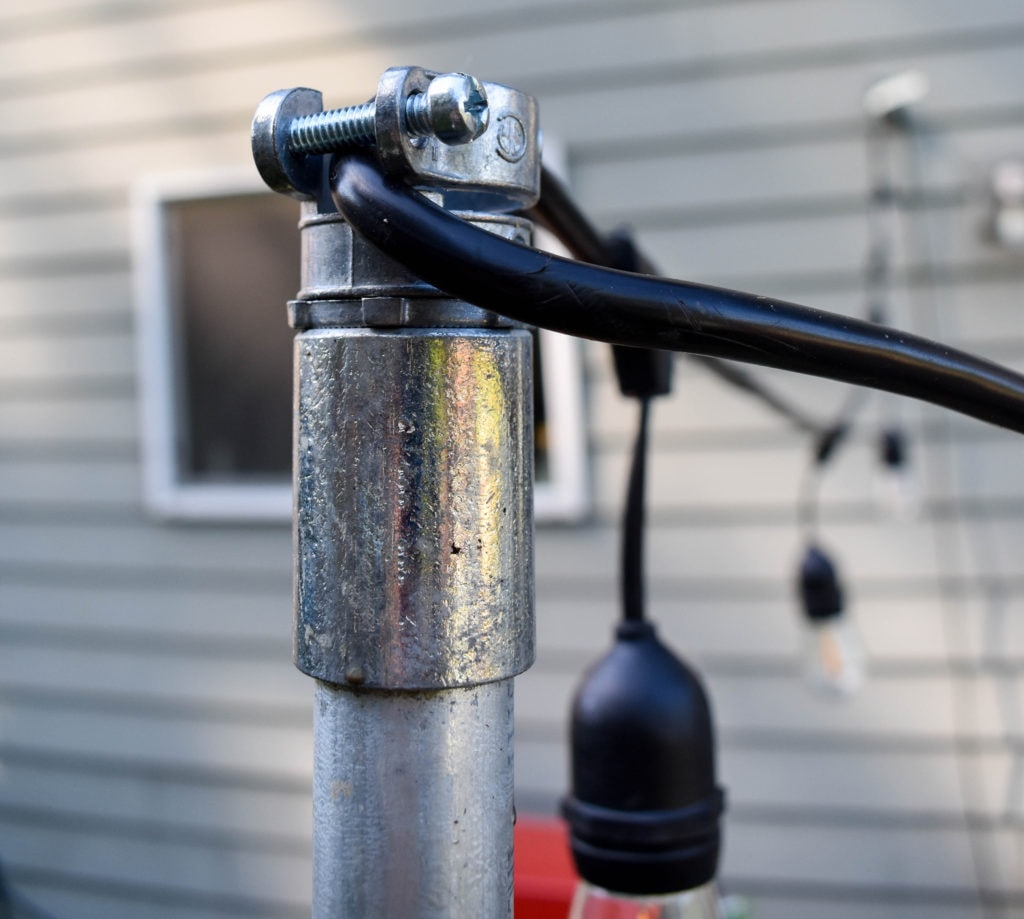
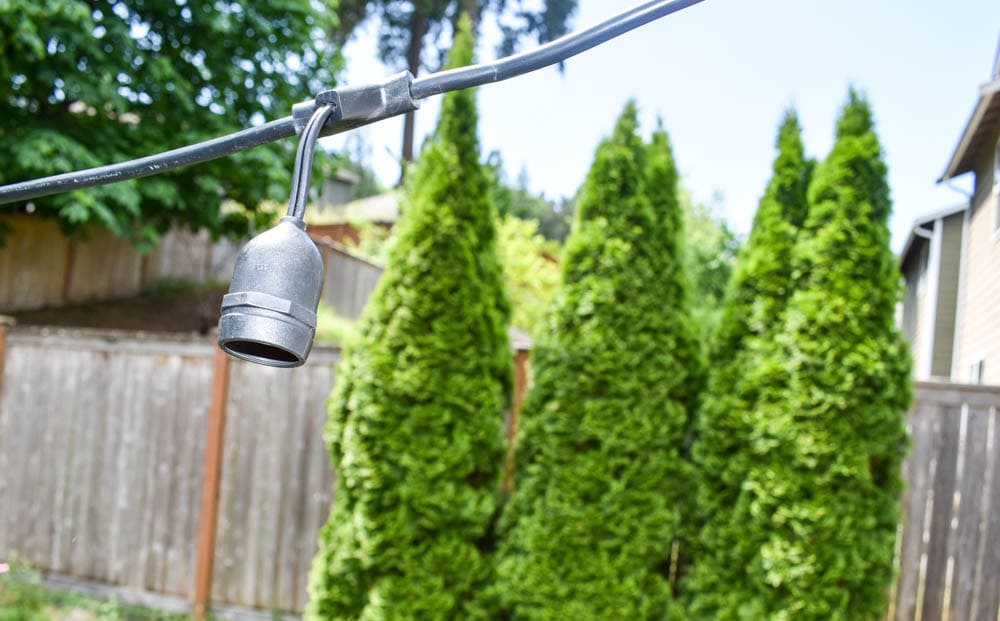
4. Cap the poles.
Once the poles were in the ground, we capped them with these 3/4″ squeeze connectors. This is just something to hold the light cord in place at the top of each pole.

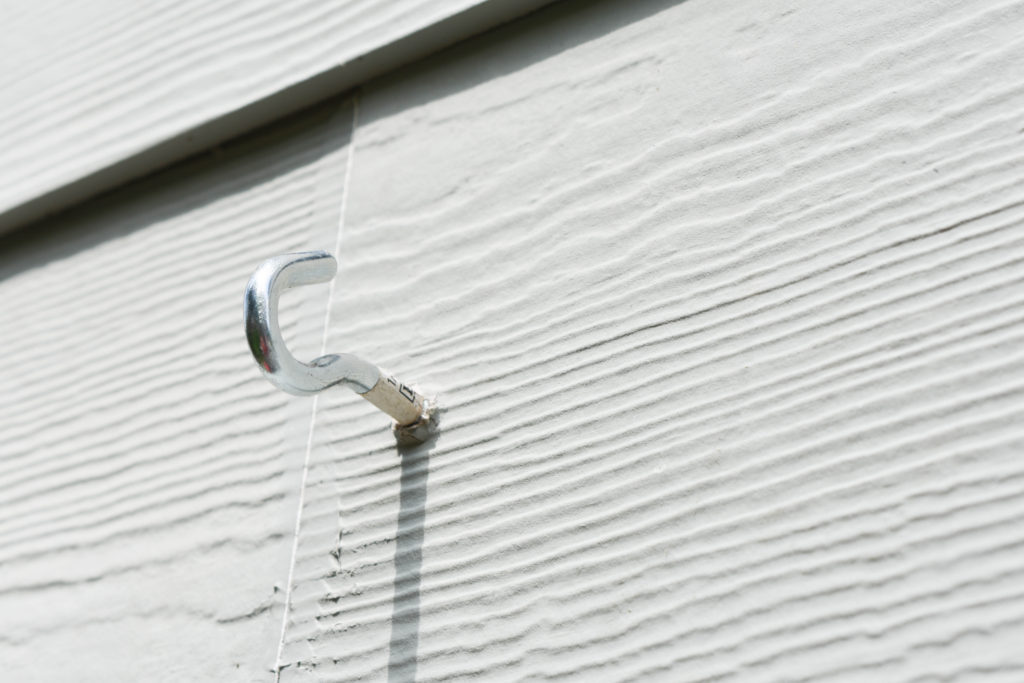
We screwed three of these hooks into the siding to attach the string lights on the house side.
5. Hang the String Lights.
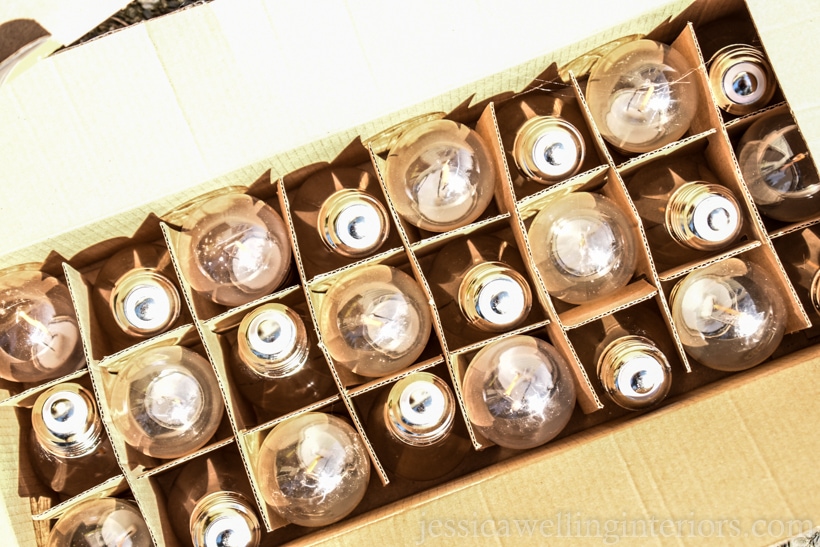
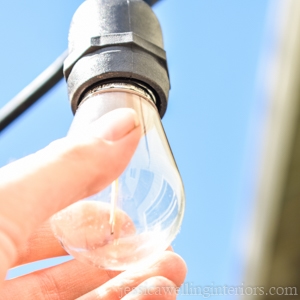
And these heavy-duty string lights come with the bulbs in a separate box- which is great because then you can string them without breaking anything. I strongly encourage you to wait to screw the bulbs in until after they’re hung!


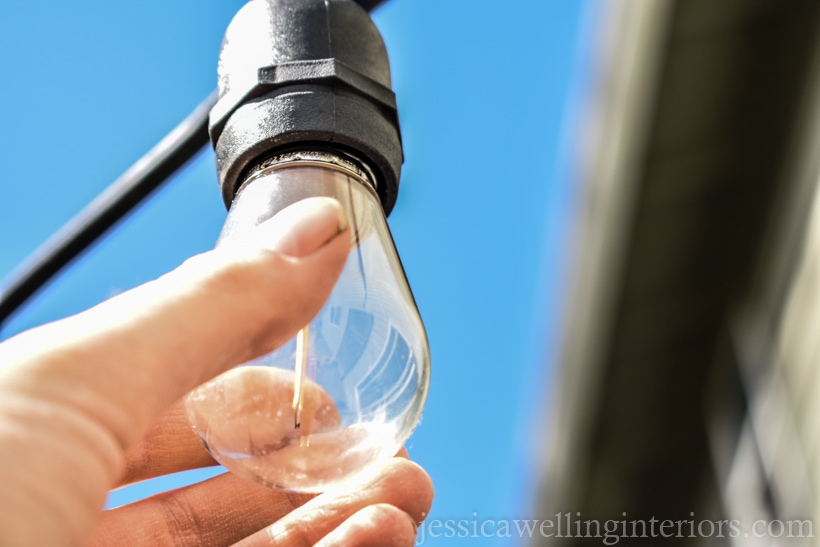
Finally, we screwed the bulbs into the sockets.

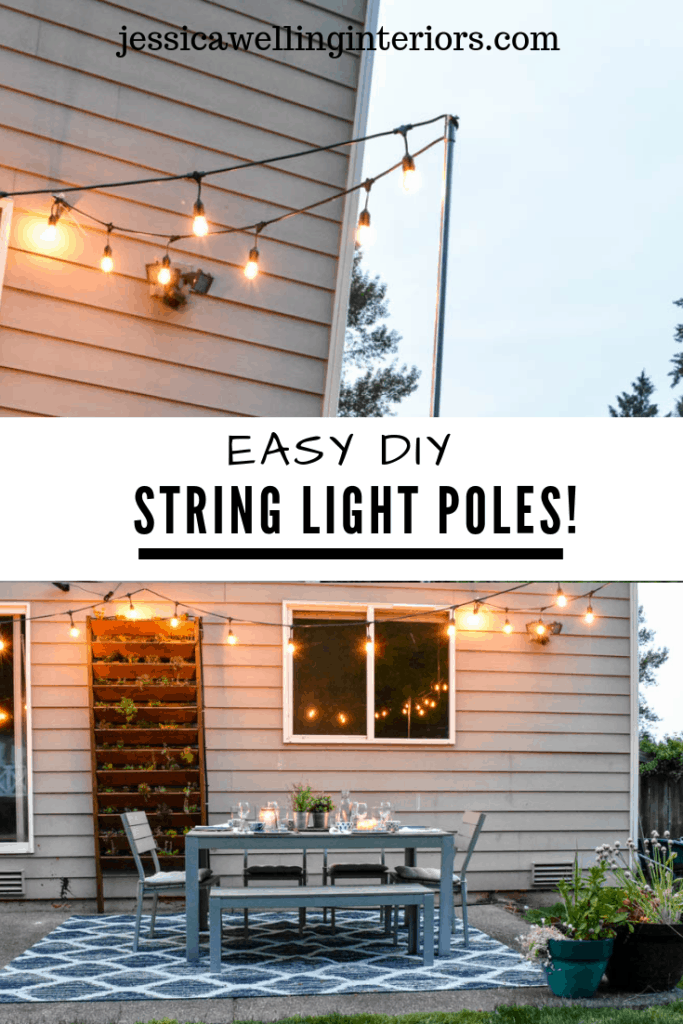
And ta-dah!

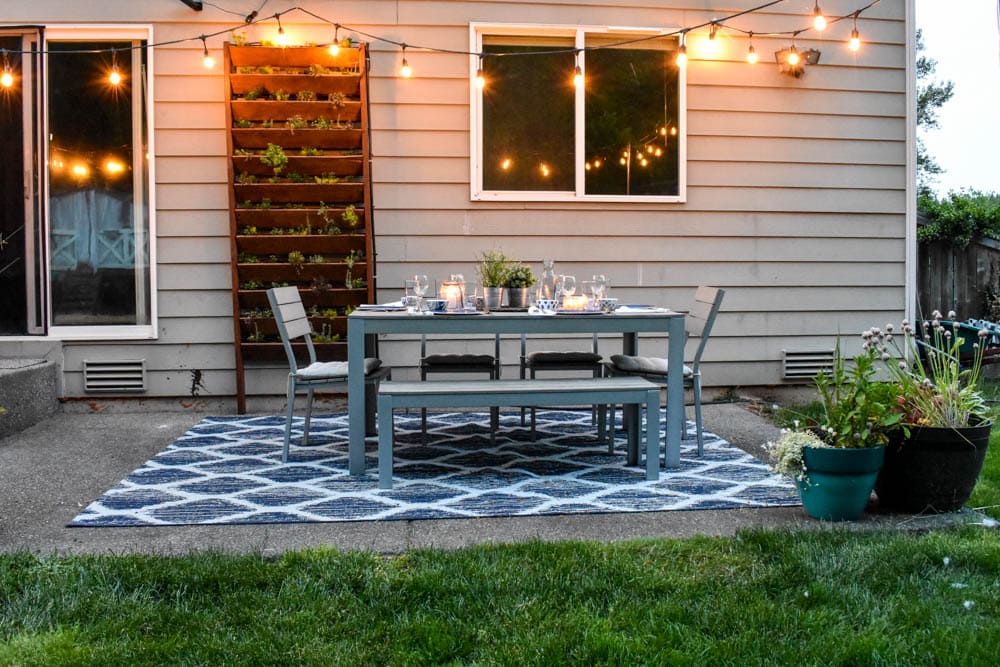
You can see the rest of our One-Weekend Patio Makeover here, and the DIY vertical garden in the photo above here. Interested in more outdoor lighting tips and inspiration? Check out my Outdoor Lighting 101 guide too!
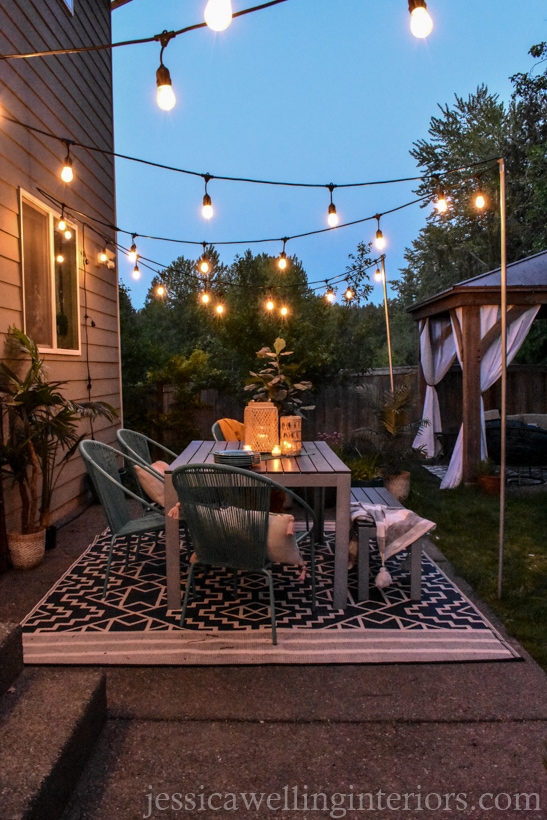
How Are The Outdoor String Light Poles Holding Up After 4 Years?
We installed the first two poles 4 summers ago, and we decided to add a third pole 3 years ago. And I have to say, this is one of the easiest things to set up when we bust out the outdoor furniture and accessories every spring!
We set the posts into the PVC, attach the string light cords, and that’s it. It doesn’t get much simpler than that!


Easy DIY String Light Poles
Did you enjoy this post? Please share the love and pin it!
Shop My Favorite Budget-Friendly Patio Furniture & Decor…


More Outdoor Living Ideas…
How to Hang String Lights: 10 Different Ways
7 Small Patio Decor Ideas to Steal!