How To Maximize Storage in Your Kitchen
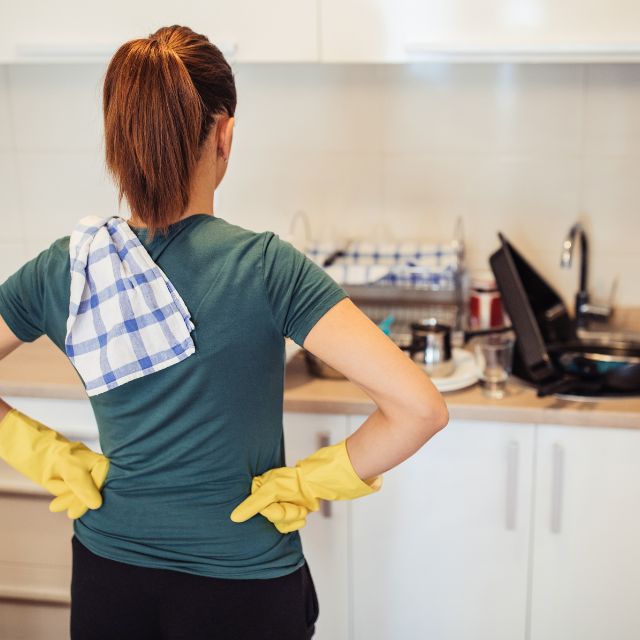
A messy kitchen makes cooking slower, louder, and more stressful.
Crowded counters, jammed drawers, and lost lids steal time every single day.
Most people do not want a full remodel.
They want simple storage ideas that fit the kitchen they already have.
In this guide, you will find practical ways to use every inch, inside cabinets, drawers, pantry, walls, and even toe kicks. We will look at smart products, easy DIY tweaks, and layout tips that suit rentals, small kitchens, and busy family spaces.
By the end, you will know exactly where to store things, how to clear your counter,s and how to keep your kitchen organized for the long term.
How To Plan Better Kitchen Storage
Before you buy organizers, create a simple storage plan.
Good planning stops you from stuffing more things into bad spots.
Declutter Before You Organize
Start by taking a hard look at what you own.
Group items into three piles: everyday use, sometimes use, rarely use.
Donate duplicates, chipped dishes and gadgets you never reach for.
Toss expired food and mystery containers with missing lids.
When you own less, every storage idea works better.
You can open a cabinet and actually see what you have.
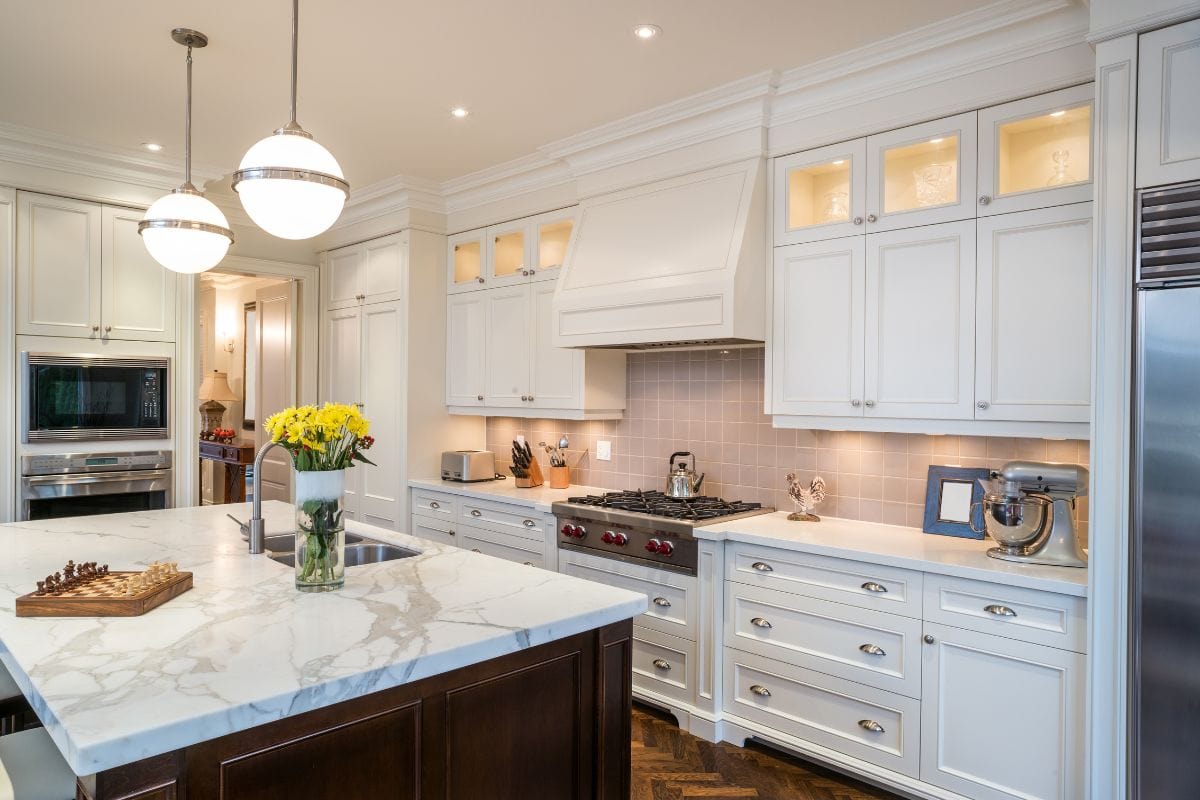
Map Zones Around How You Really Cook
Think about how you move when you cook dinner.
Create zones: prep, cooking, baking, cleaning, coffee, or breakfast.
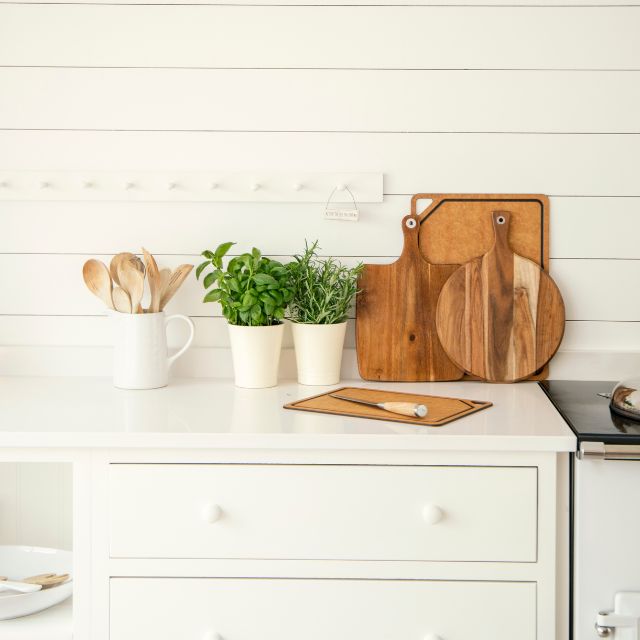
Keep cutting boards, knives, and mixing bowls near your main prep spot.
Store oils, spices, and wooden spoons beside the stove, not across the room.
Put plates, glasses, and cutlery close to the dishwasher.
This zoning makes storage feel natural and saves steps every day.
Use Vertical Space And Hidden Corners
Look up and around for empty areas you ignore.
Above cabinets, beside the fridge, on the ends of islands.
Add hooks, rails, pegboards, or narrow shelves to those spaces.
Store light items there, such as mugs, baskets, or serving boards.
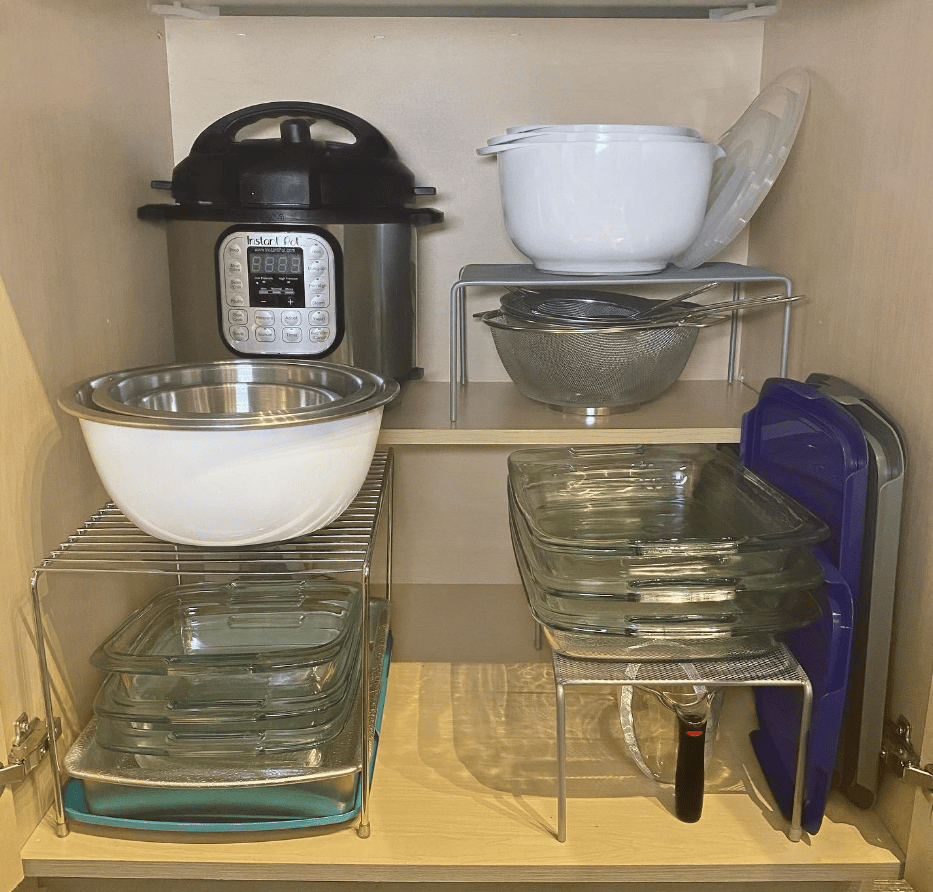
Inside cabinets, use shelf risers and under-shelf baskets.
These simple pieces turn tall, wasted space into usable storage layers.
21 Clever Kitchen Storage Ideas that Work
1. Pull Out Shelves And Roll Out Trays
Swap fixed shelves for pull-out trays in lower cabinets.
You will stop crouching and digging for heavy pots and appliances.
Choose full extension slides so drawers open completely.
You can see every pan, lid and mixing bowl at a glance.
Use deeper pull-outs for pots, appliances, and bulk food.
Use shallow pull-outs for spices, oils, and baking supplies.
2. Vertical Dividers For Trays, Lids And Boards
Store flat pieces upright instead of stacking them.
Add vertical dividers in base cabinets near the oven.
Slot in baking sheets, cooling racks, cutting boards and platters.
You can grab one piece without upsetting the entire pile.
This simple change keeps trays tidy and protects delicate boards.
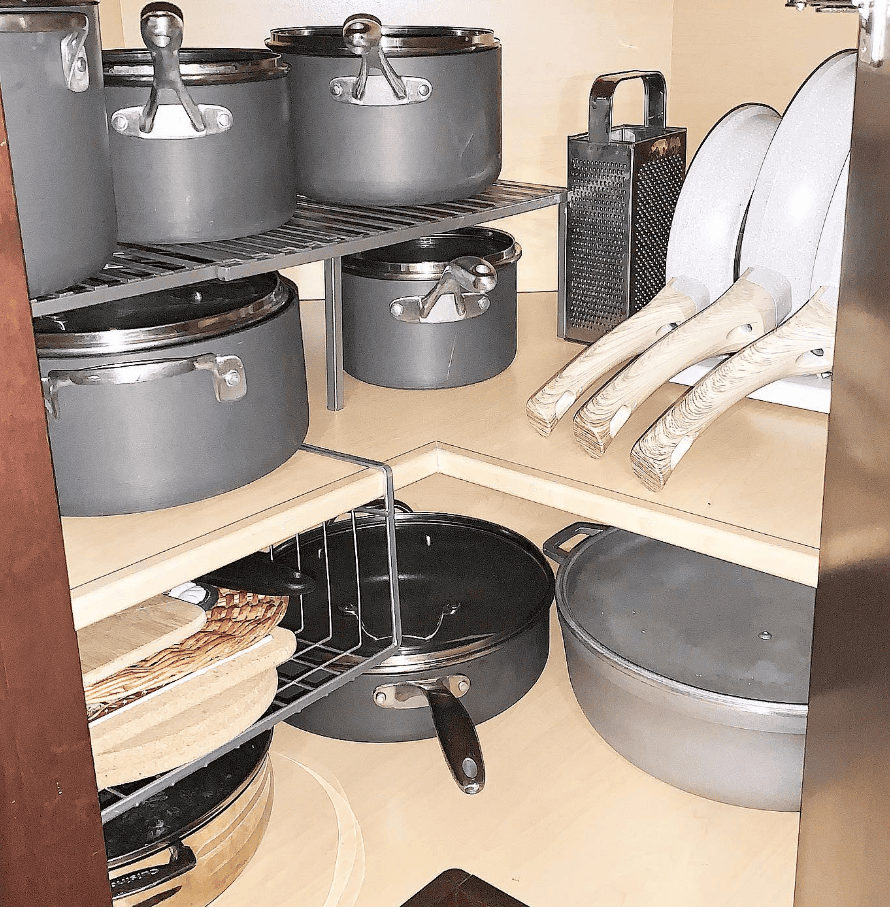
3. Corner Cabinet Solutions That Actually Work
Corners often become black holes for kitchen clutter.
Add a lazy Susan for round items, like mixing bowls and snacks.
Consider pull out corner systems for pots and small appliances.
These units swing out fully, so nothing hides at the back.
In smaller kitchens, corner drawers can work very well.
They give clear access and use the full depth.
4. Inside Door Storage For Small Items
Use the inside of cabinet doors as bonus storage.
Mount shallow racks for wraps, foil, bags and cutting boards.
Hang slim spice racks on pantry or upper cabinet doors.
Keep measuring spoons, small graters and oven mitts on hooks.
Just check clearance so doors close easily.
This trick keeps tiny items visible and off the counters.
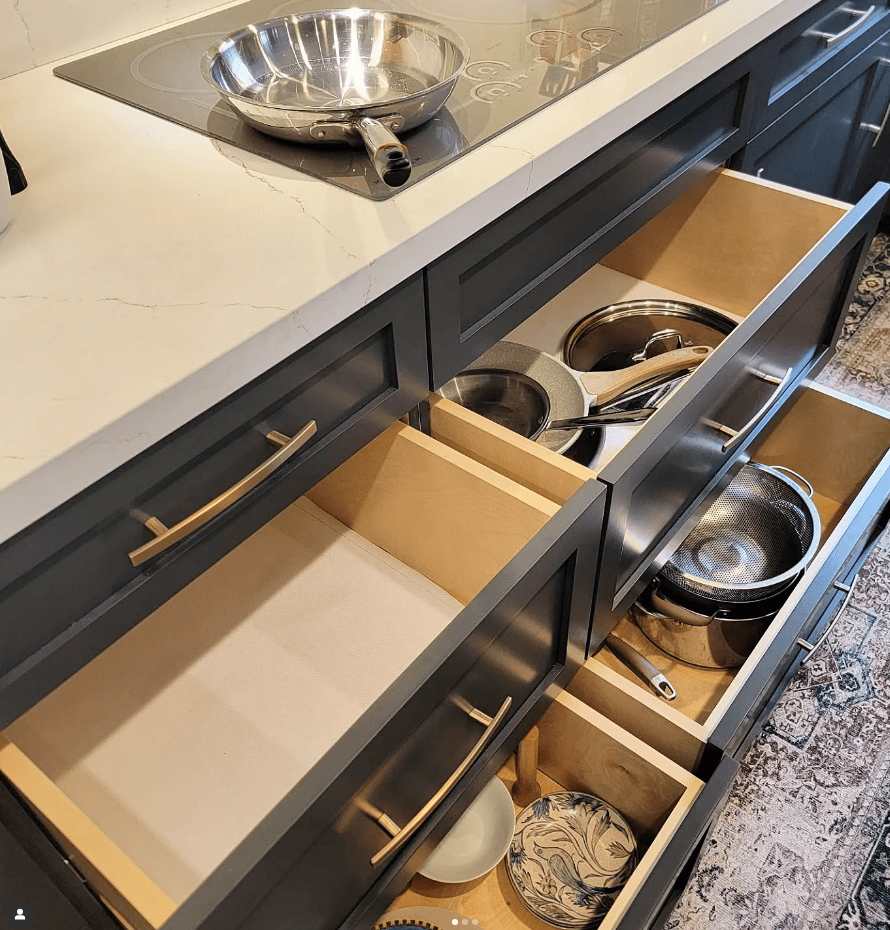
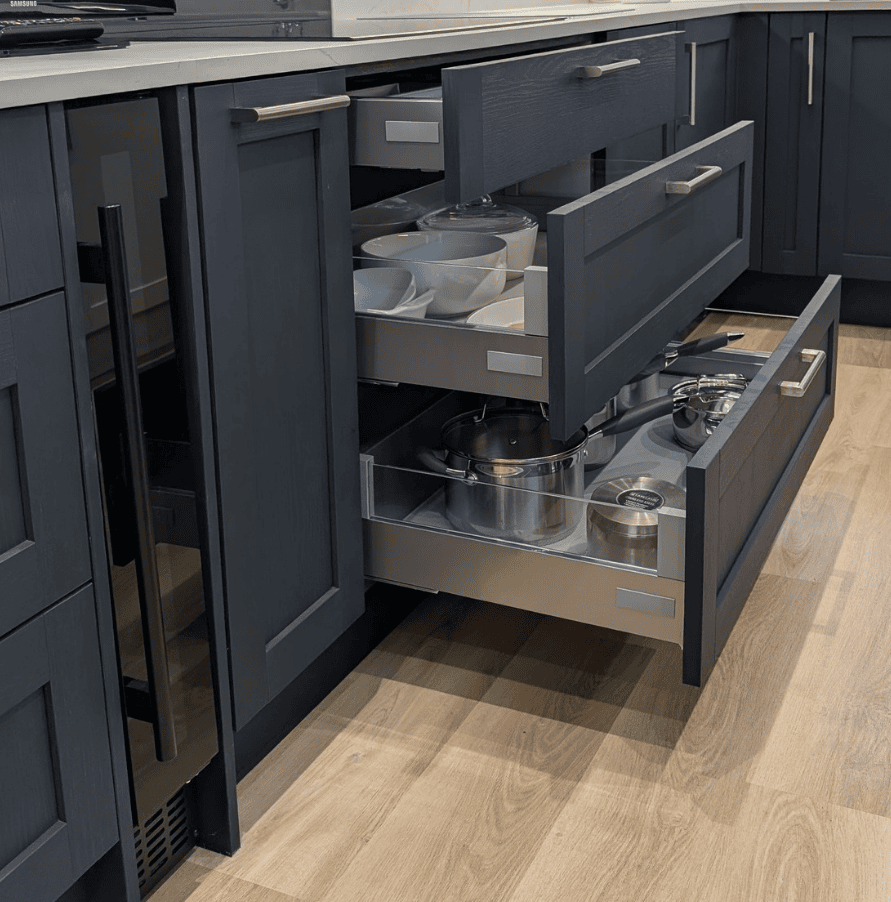
5. Deep Drawers For Pots, Pans And Mixing Bowls
Trade lower cabinets for deep drawers wherever you can.
Drawers pull items toward you, so you stop kneeling on the floor.
Store pots, pans and mixing bowls in these drawers by size.
Add a low divider or tension rod to stand lids upright.
Place these drawers near the stove and main prep area.
You will grab what you need in one smooth motion.
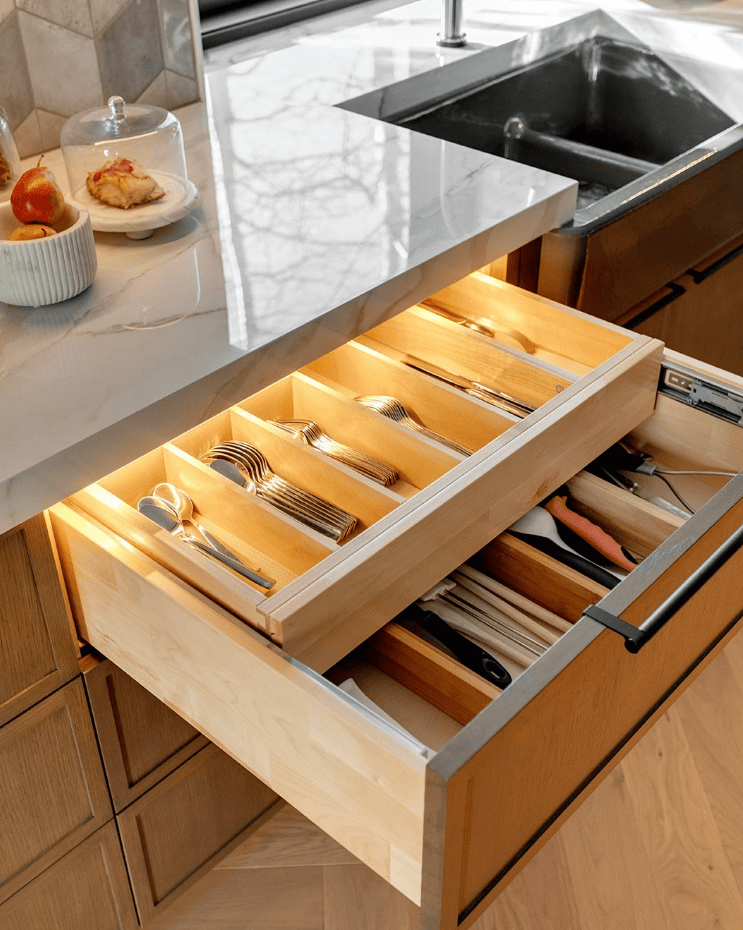
6. Custom Cutlery And Utensil Inserts
Use drawer organizers that match your actual tools.
Avoid fixed plastic trays that waste space at the edges.
Choose adjustable dividers for forks, knives, spoons and serving pieces.
Create a separate drawer for cooking utensils near the stove.
Keep clutter out by giving every tool a clear home.
You will see quickly when items go missing or drift.
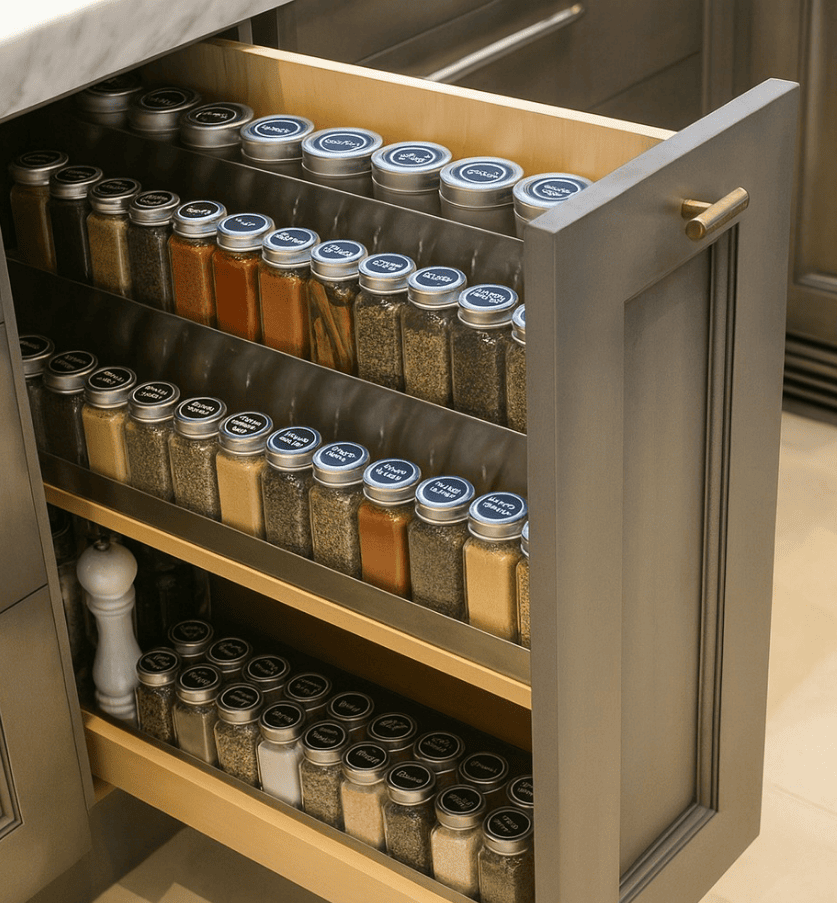
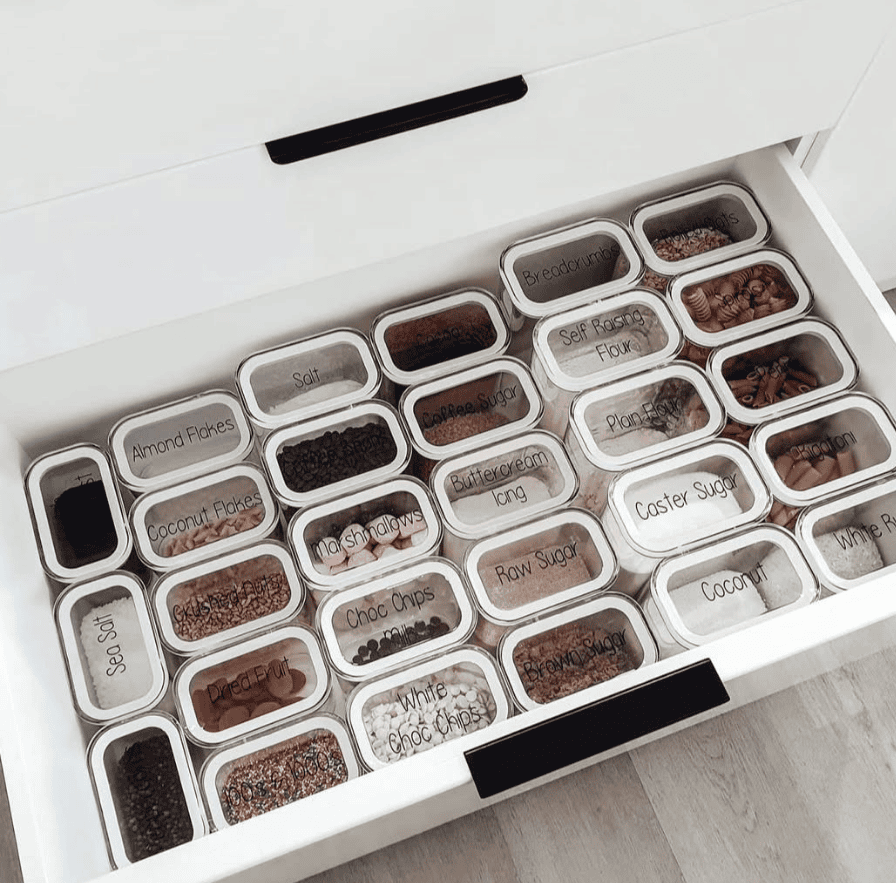
7. Spice Drawer Organizers
Turn a shallow drawer into a spice station.
Use tiered or angled inserts that show labels at a glance.
Group spices by cuisine, such as baking, Italian, Asian or grilling.
Alphabetize them if you prefer a more exact system.
Store this drawer close to the stove and prep board.
You will cook faster and stop hunting in crowded cabinets.
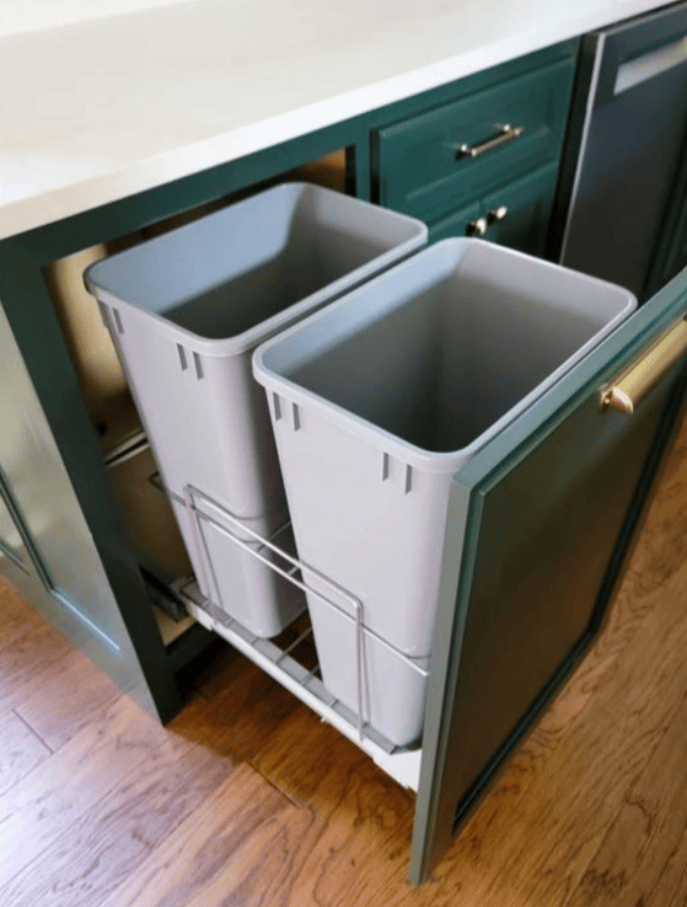
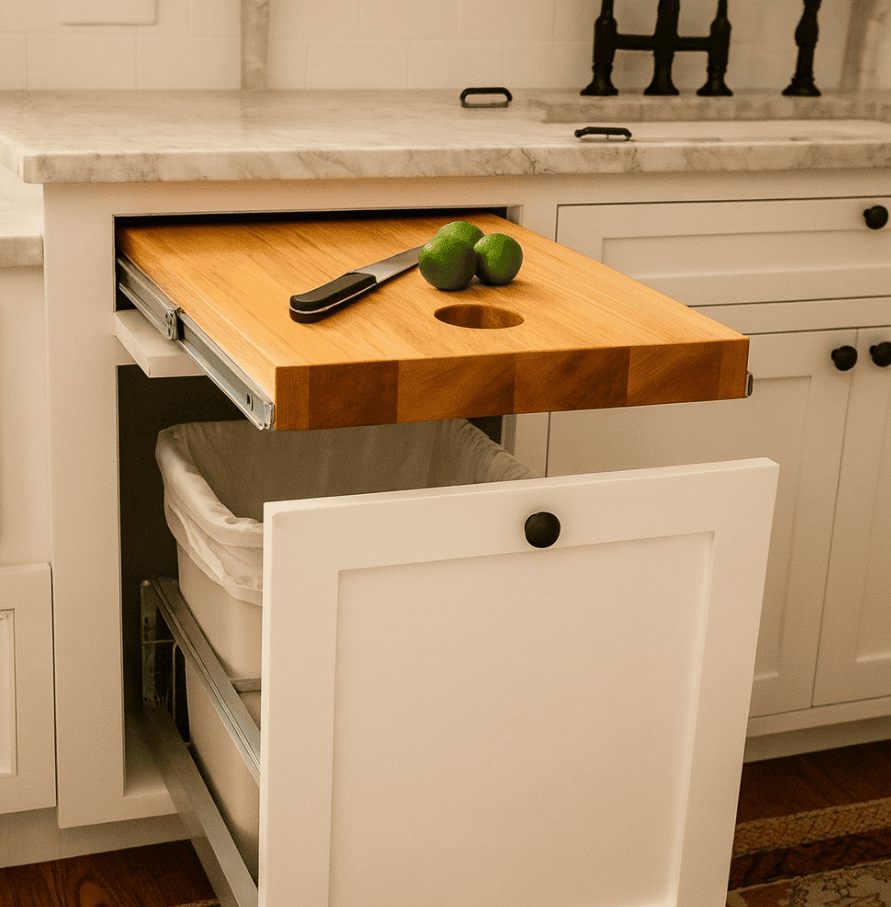
8. Hidden Trash, Recycling And Cleaning Drawers
Hide rubbish and supplies inside dedicated pull out drawers.
Place a double bin beside the prep zone for easy sorting.
Use a shallow drawer above for bin liners and cleaning cloths.
Keep dishwasher tablets and brushes near the dishwasher door.
This setup keeps floors clear and visual clutter low.
You also clean up faster after every meal and snack.
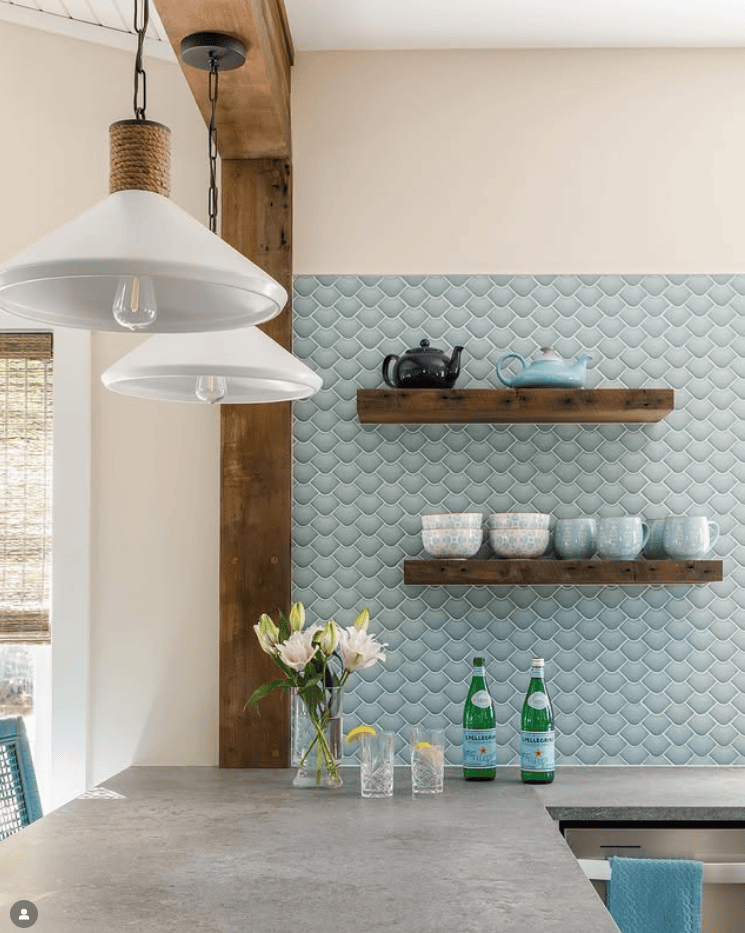
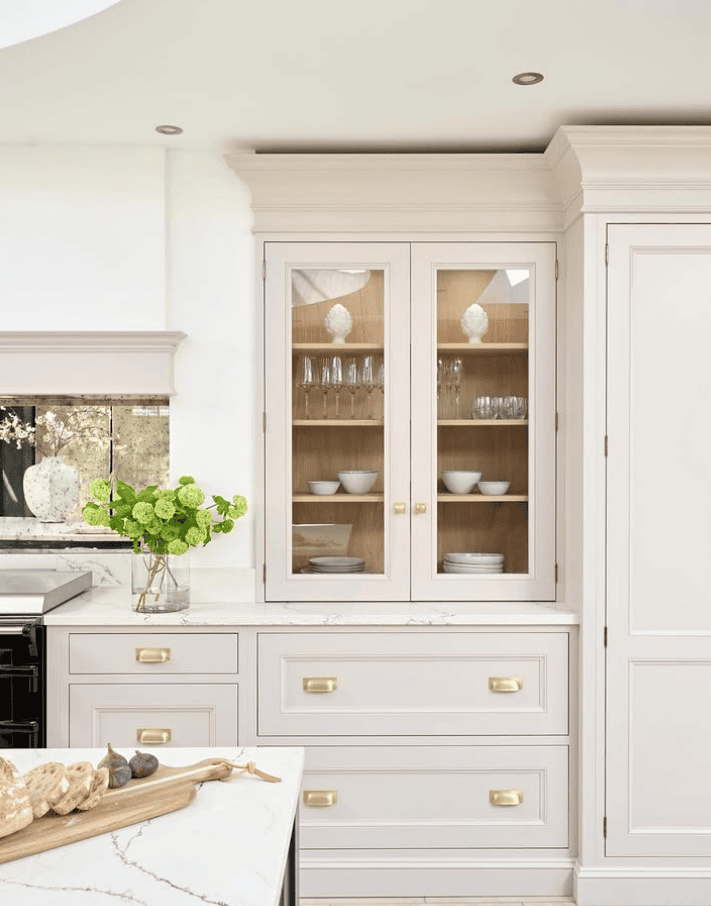
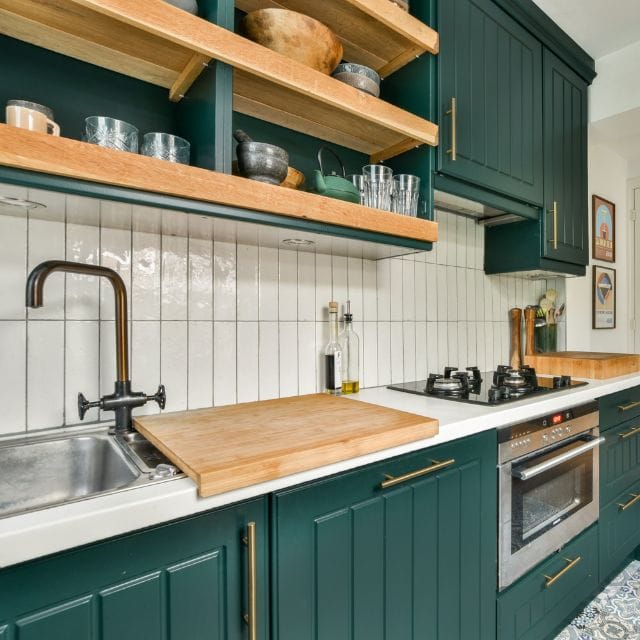
9. Open Shelving For Everyday Dishes
Swap some upper cabinets for open shelves.
Store plates, bowls and glasses that you reach for every day.
Keep only attractive, matching pieces on display.
Use a tight color palette so shelves look calm, not cluttered.
Place shelves near the dishwasher or main prep zone.
You will unload faster and move fewer steps.
Dust stays manageable when you use items often.
Give less used pieces a home behind closed doors instead.
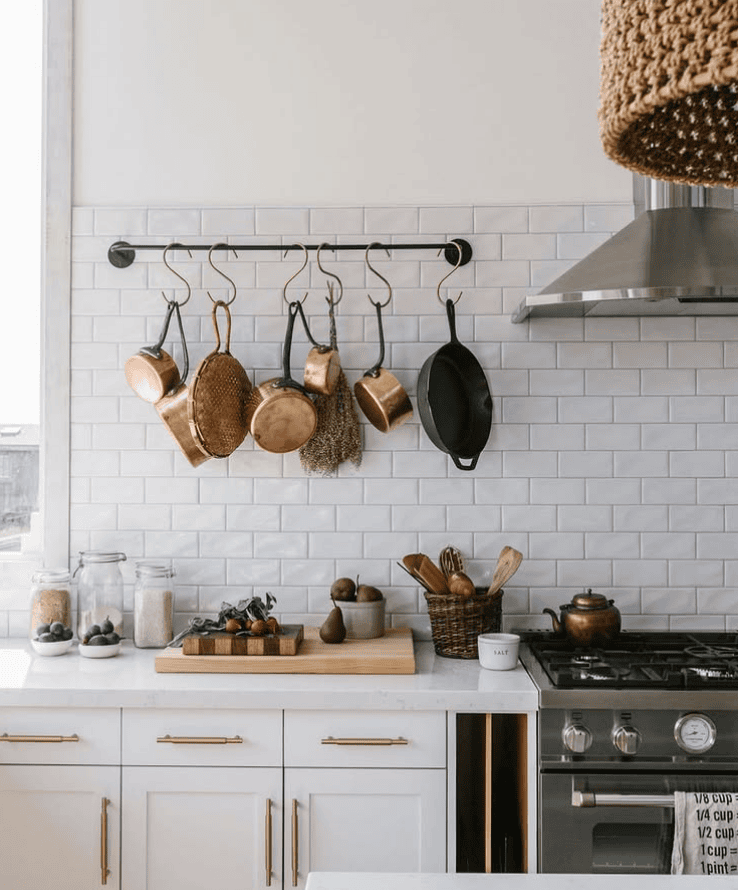
10. Pot Racks And Ceiling Mounted Storage
Hang a pot rack if you have tall ceilings.
Use it to store heavy pans that hog cabinet space.
Choose a simple metal finish that matches your hardware.
Keep the number of pots limited so it feels curated.
In smaller kitchens, use wall mounted racks instead.
Hang pans, strainers and colanders above a worktop or stove.
Check that you can reach everything safely.
You want easy access, not a daily workout.
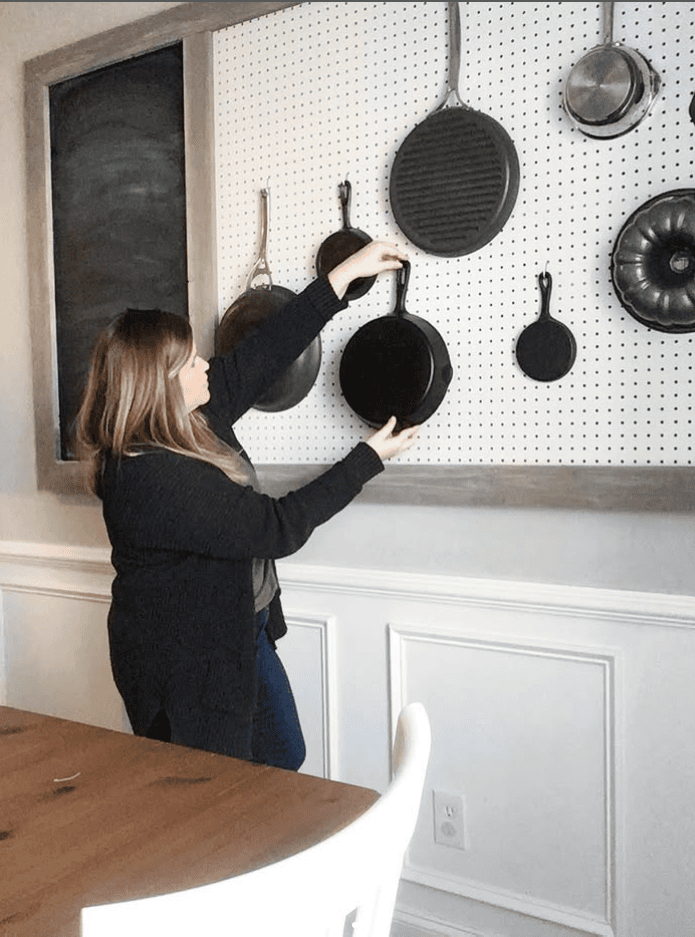
11. Magnetic Strips And Pegboards
Mount a magnetic strip near your main prep area.
Store knives there instead of inside a crowded drawer.
Add a second strip for metal spice tins or small tools.
You will see exactly what you own at a glance.
Install a pegboard on a free wall if you have one.
Hang ladles, sieves, graters and measuring cups by category.
Outline each tool with paint or tape if you like.
This helps everyone return items to the right spot.

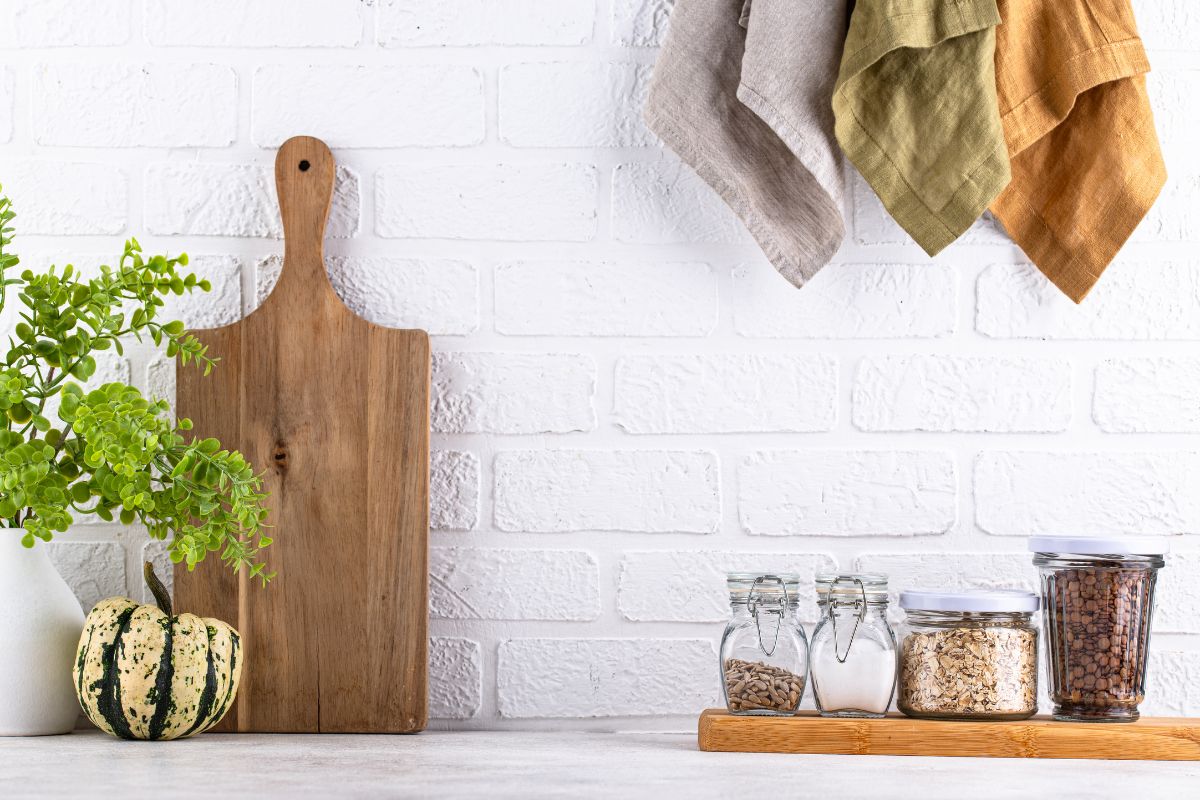
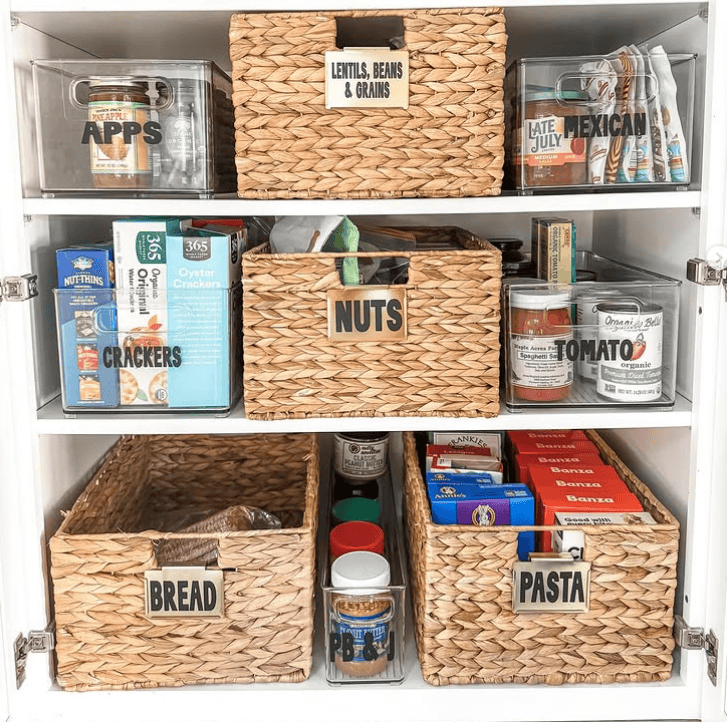
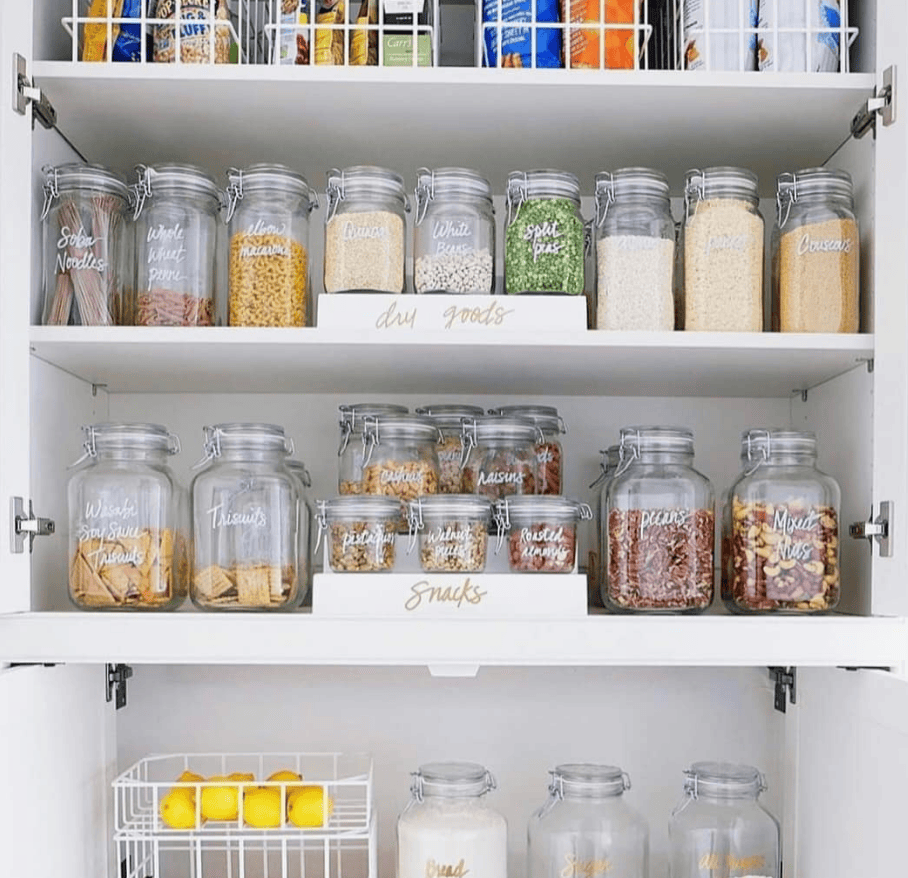
12. Use Clear Bins And Labels for your Pantry
Transfer dry goods into clear, airtight containers or bins.
Group similar items together, like baking, breakfast, pasta or snacks.
Add simple labels so everyone knows where things live.
Use the same style of bin and label for a calm look.
Keep everyday items between shoulder and hip height.
Store heavy or rarely used goods higher or lower.
13. Tiered Risers And Can Organizers
Use tiered risers on shelves for cans, jars and condiments.
The steps lift items at the back into view.
Add can dispensers if you buy multiples of the same food.
They keep rows neat and automatically feed new cans forward.
Place risers near eye level so you can scan quickly.
This small change cuts down rummaging and forgotten food.
14. Over The Door Pantry Storage
Use the back of a pantry door for extra storage.
Hang a rack with shallow shelves or wire baskets.
Store foil, parchment, wraps and zip bags within easy reach.
Keep snacks, spices or small bottles there if shelves feel crowded.
Check that door racks clear interior shelves when closed.
Choose adjustable systems so you can tweak heights over time.
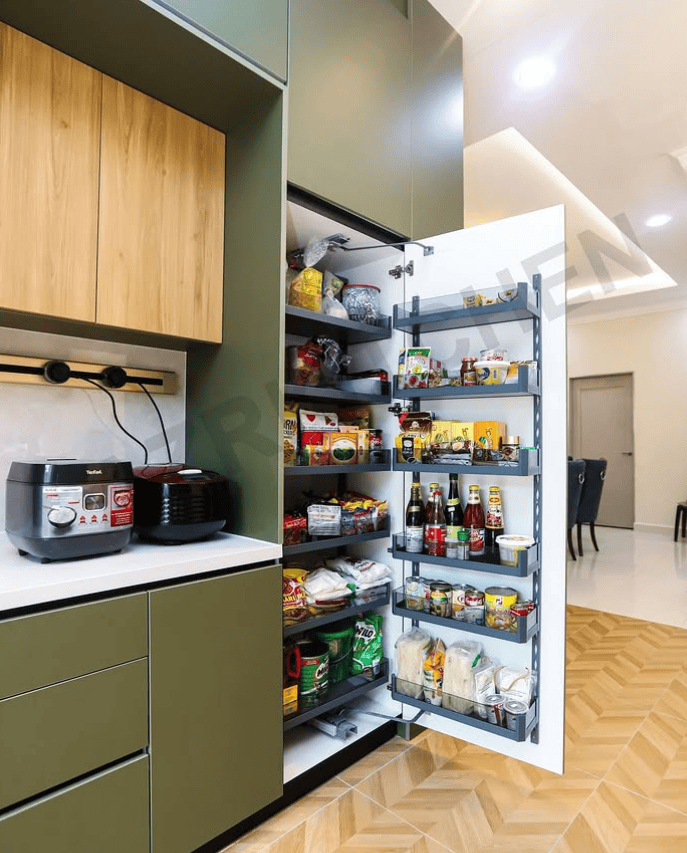
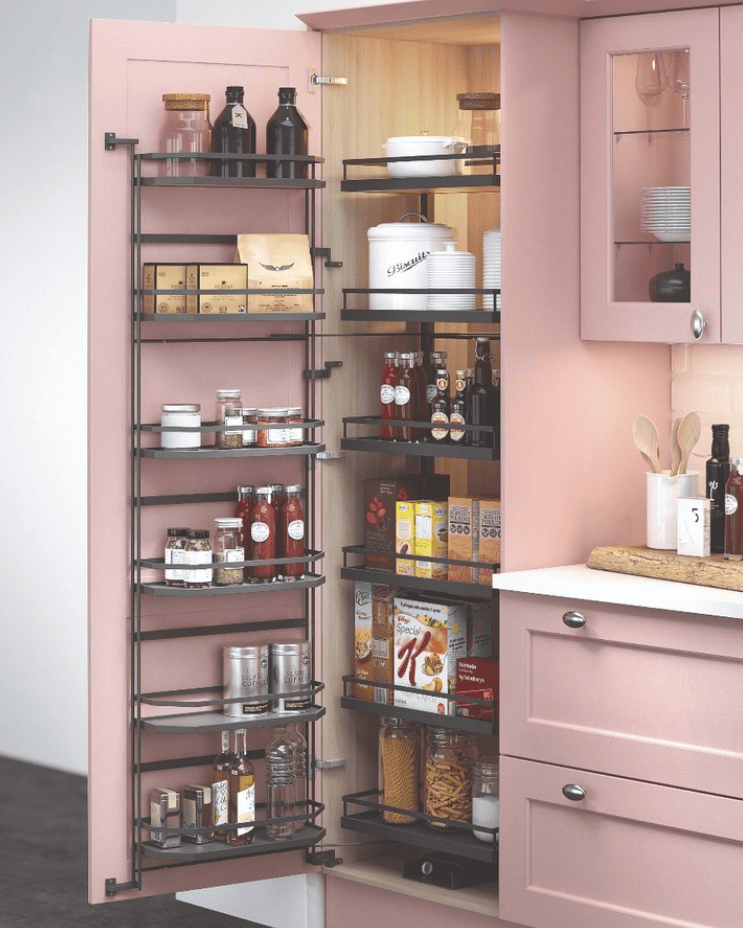
15. Creating A Pantry When You Do Not Have One
Turn a tall cabinet into a mini pantry with thought.
Add pull out shelves, baskets and clear bins for zones.
Consider a freestanding cabinet or hutch near the kitchen.
Use it for dry goods, small appliances and bulk items.
Borrow space from a nearby hall or utility closet.
Add shelves, bins and labels so it functions like a pantry.
Even a simple metal shelving unit can work beautifully.
Tidy containers and consistent labels make inexpensive storage look intentional.
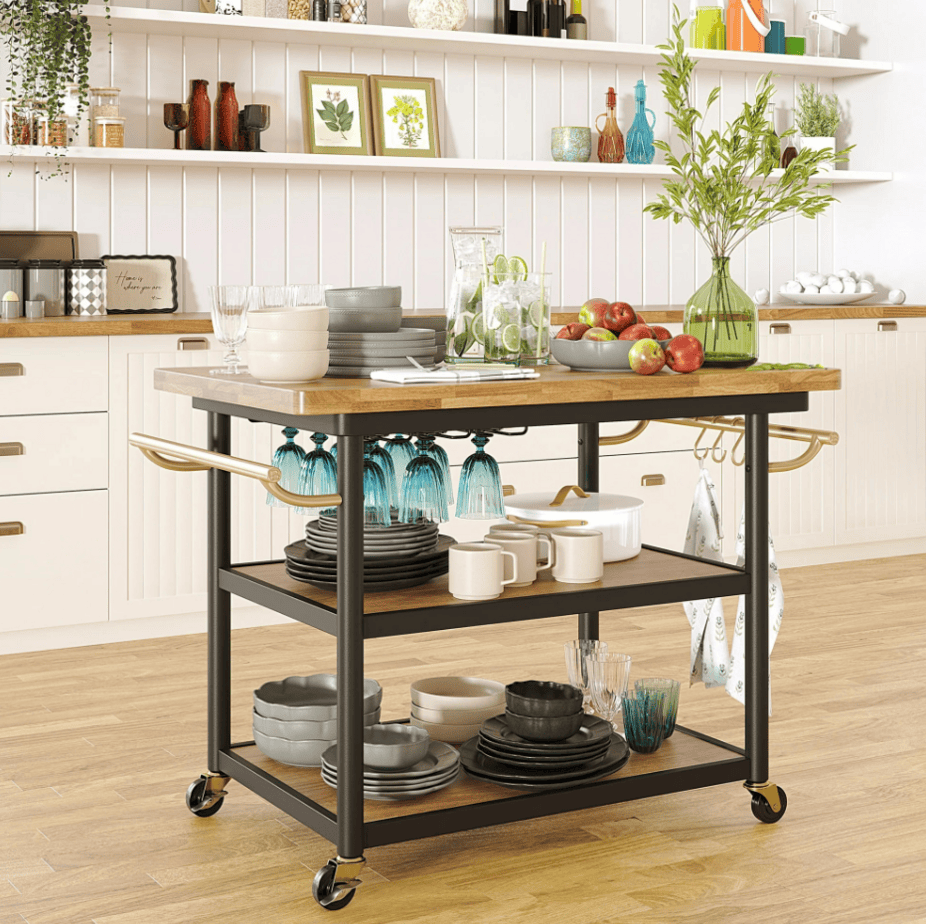
16. Slim Storage Carts And Rolling Islands
Slide a slim cart between the fridge and wall or beside lower cabinets.
Use shelves for oils, spices, snacks, or backup pantry items.
Choose a cart with locking wheels and a solid top.
You gain bonus prep space that can roll out when needed.
A small rolling island can hold mixing bowls, utensils, and serving platters.
Park it near the stove for cooking, then move it aside.
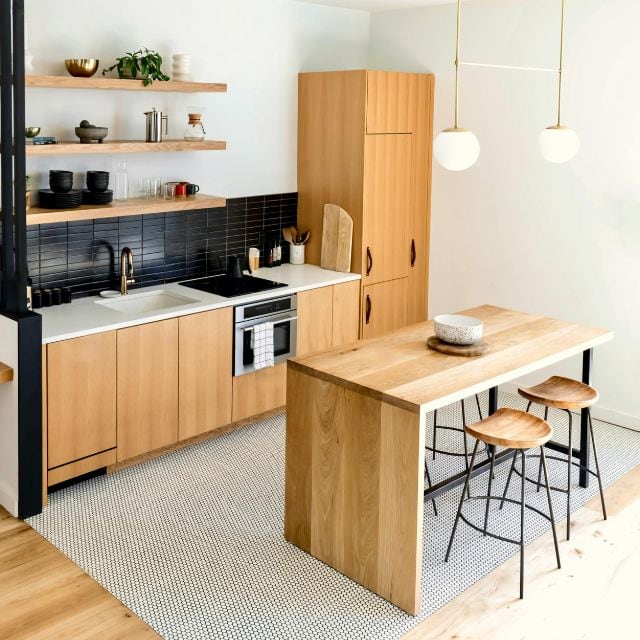
17. Fold Down And Pull Out Surfaces
Add a fold-down table to an empty wall or end panel.
Use it as a breakfast perch, laptop spot, or extra prep zone.
Install a pull-out cutting board above a drawer or trash pull-out.
You create a usable workspace without sacrificing cabinet storage.
Keep stools stackable or folding, so they tuck away neatly.
This prevents the room from feeling crowded between meals.
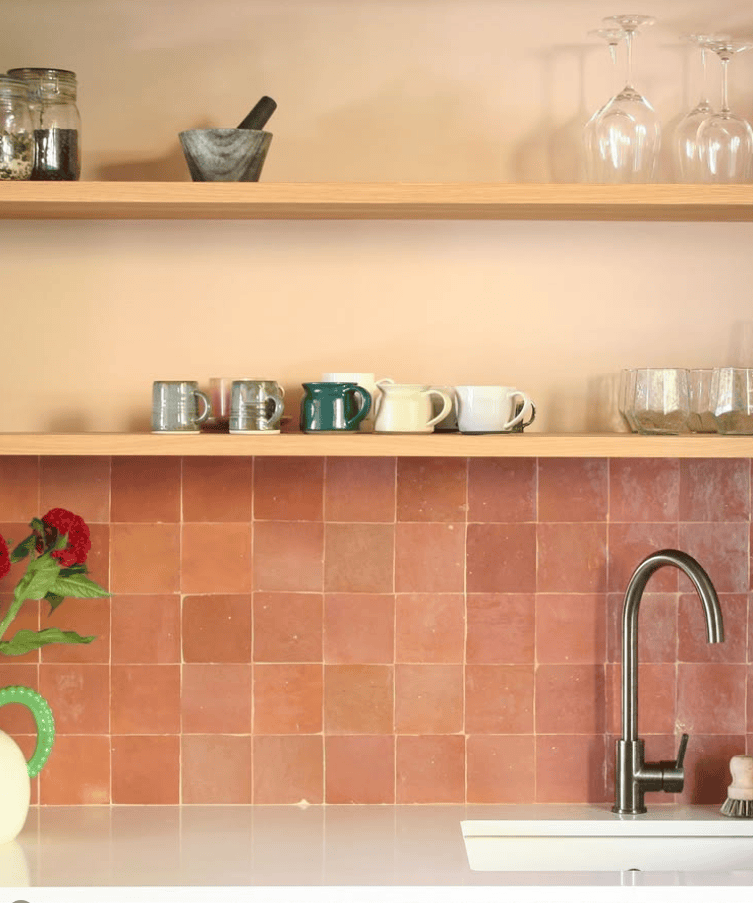
18. Using Walls And Backsplash Space
Treat your backsplash as vertical storage, not just decoration.
Mount a rail with hooks for utensils, small pans, and measuring cups.
Add a narrow shelf for salt, pepper, oils, and favorite spices.
Choose shallow pieces so you protect your main prep space.
Use strong anchors for heavier items like cast iron pans.
Always check that drawers and appliances still open fully.
19. Overhead And High-Level Storage
Store rarely used pieces near the ceiling, not at eye level.
Use baskets or lidded boxes above cabinets for seasonal items.
Label containers clearly so you do not need to open everything.
Keep a slim folding step stool nearby for safe access.
High shelves suit large platters, holiday dishes, and backup paper goods.
Free lower cabinets for things you reach for every week.
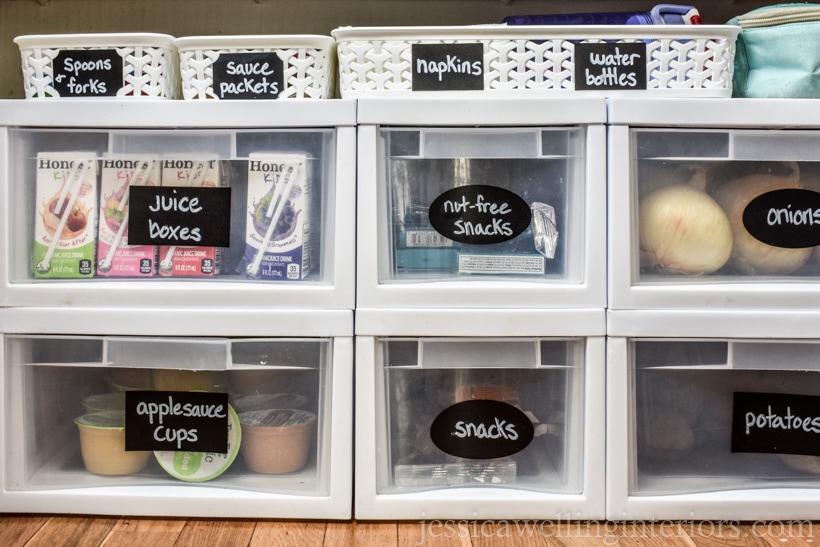
20. Kid-Friendly Snack Stations
Create a low drawer or cabinet just for kids.
Store snacks, plastic cups, bowls and small water bottles there.
Use shallow bins inside to keep categories clear.
Think fruit snacks, crackers, granola bars and lunch treats.
Label each bin with simple words or icons.
Kids can help themselves and also help with restocking.
This reduces traffic in main cooking zones at busy times.
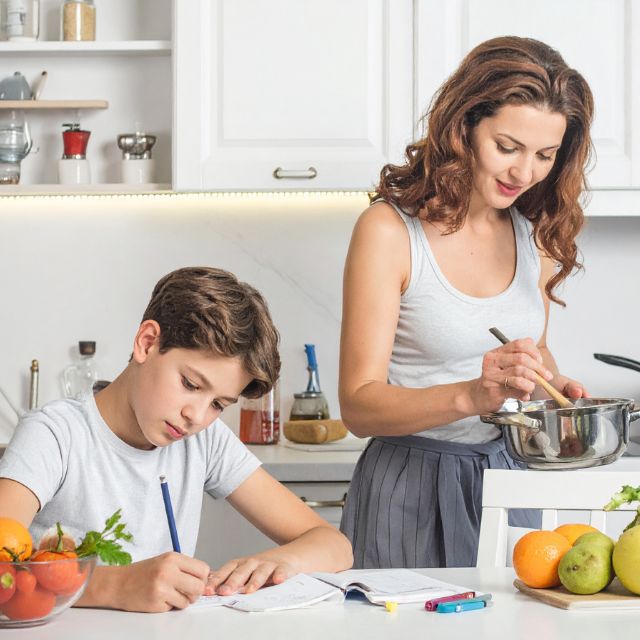
21. Homework And Paper Storage In The Kitchen
Set up a small command center near, not in, your prep zone.
Use a drawer or wall file for mail, school papers, and coupons.
Add a caddy with pens, pencils, scissors, tape, and chargers.
Store it in a cabinet or on a shelf when not in use.
Hang a small pinboard or magnetic board for invites and reminders.
This keeps paper piles off counters and out of cooking splatter.
22. Meal Prep And Lunch Packing Zones
Dedicate one cabinet or drawer set to containers and lids.
Use dividers so lids stand upright and match stacks of bases.
Keep wraps, bags, foil and wax paper in the same area.
Place cutting boards and knives nearby for fast chopping.
Use a bin for lunch bags and reusable bottles.
Pull everything out at once when you pack lunches.
This focused zone turns daily prep into a quick, smooth routine.
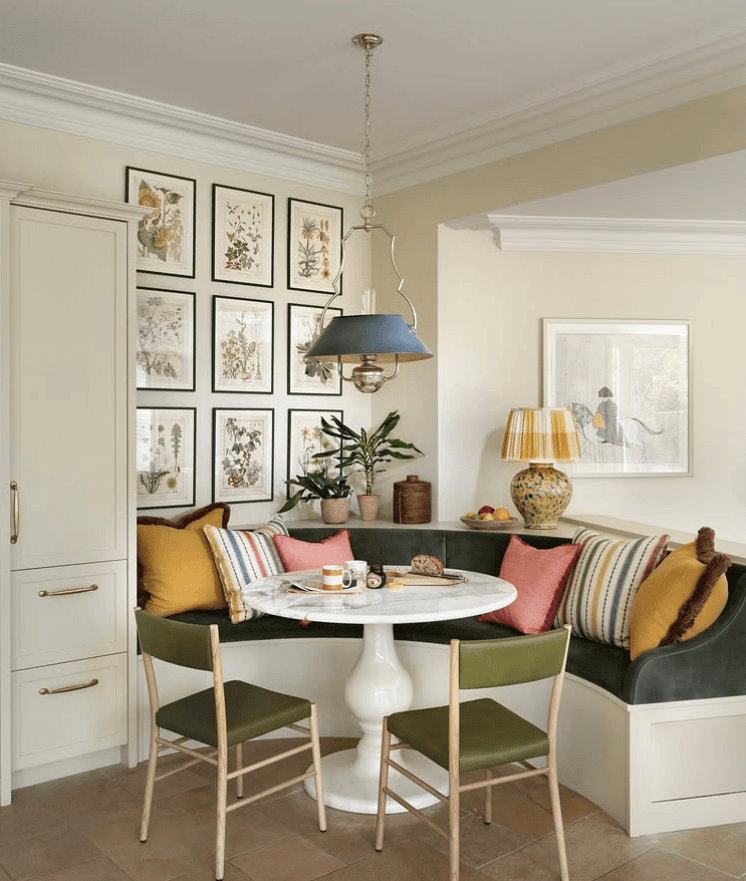
23. Storage Benches And Breakfast Nooks
Use built-in benches around a breakfast table or in a corner.
Choose designs with lift-up seats or deep drawers underneath.
Store table linens, seasonal decor, or rarely used appliances there.
Keep everyday items in closer, easier-to-reach spots.
Add cushions and pillows in washable fabrics.
You gain a cozy seating area and a secret storage zone.
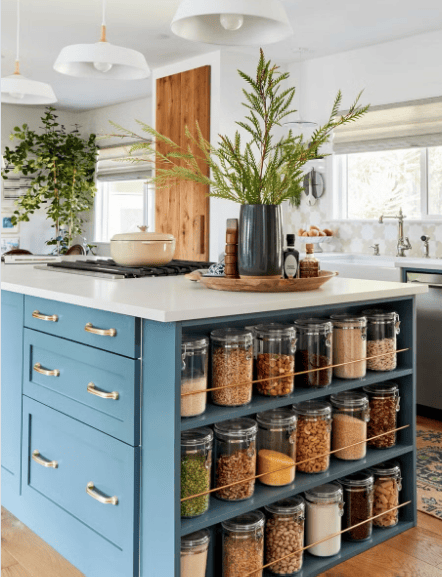
24. Islands With Shelves, Drawers And Seating
Choose a kitchen island that offers more than one function.
Look for models with drawers, cabinets and open shelves combined.
Use drawers for cutlery, towels and cooking tools.
Place baskets on open shelves for snacks, produce or cookbooks.
Add seating on one side for casual meals and homework.
Your island becomes a storage hub and gathering place at once.

25. Toe Kick Drawers And Plinth Storage
Use the toe kick space at the bottom of cabinets wisely.
Install slim drawers along base cabinets and islands.
Store baking sheets, cooling racks, platters, or pet dishes there.
These items stay flat, hidden, and still easy to reach.
Toe kick drawers work best on long, uninterrupted cabinet runs.
They add storage without changing how the kitchen looks from above.
26. Use Baskets, Trays, And Canisters
Hide small, busy items inside baskets or lidded boxes.
Place them on open shelves, in deep drawers, or on top of cabinets.
Group everyday pieces on trays, like oils, salt and pepper near the stove.
A single tray feels intentional and cleans easily with one quick lift.
Use clear or matching canisters for flour, sugar, tea, and coffee.
They reduce packaging clutter and make shelves look neat and uniform.
27. Repeat Materials And Colors
Choose two or three main finishes for storage pieces.
For example, white ceramic, clear glass and light wood.
Repeat those materials across shelves, counters and inside the pantry.
This repetition creates a calm rhythm instead of visual noise.
Keep your color palette tight for visible storage.
Let closed cabinets hide the loud, colorful packaging.
28. Seasonal And Entertaining Storage
Give seasonal dishes and party pieces their own zone.
Store them on higher shelves, in a sideboard, or in bench storage.
Rotate decor with the seasons rather than piling everything out at once.
Donate items you skip for more than one year.
Keep one bin for entertaining essentials, such as candles, vases, and serveware.
Grab it in seconds when guests come over, then tuck it away again.