
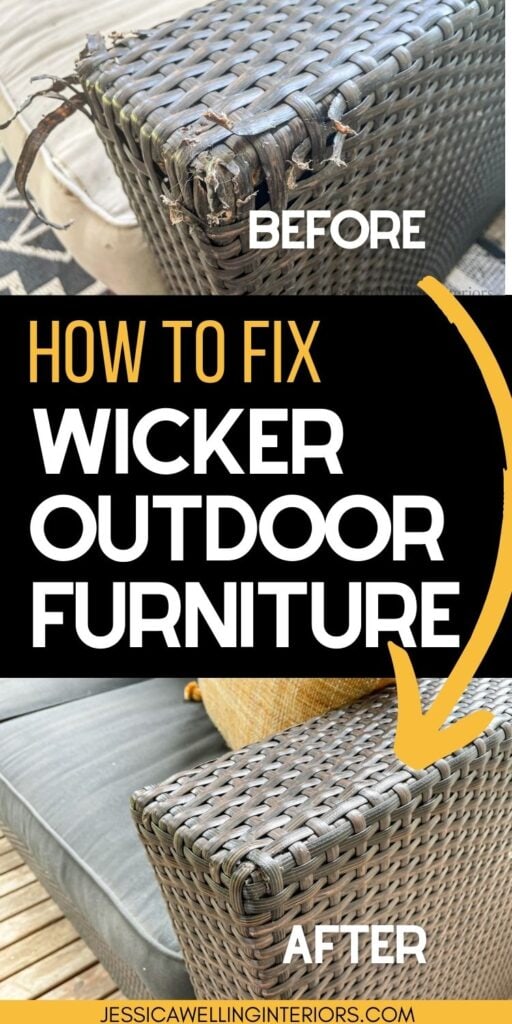
Wicker Furniture Repair Guide
Make your outdoor furniture new again with this easy wicker furniture repair tutorial! It’s easy and inexpensive.
I’ve had this all-weather wicker outdoor sofa for several years now, and it’s held up really well…

But then we got Fozzy. He spent some quality time sitting on the couch and chewing on the arms last year. As you can see, it’s in rough shape. Let’s just say it’s a really good thing he’s cute!
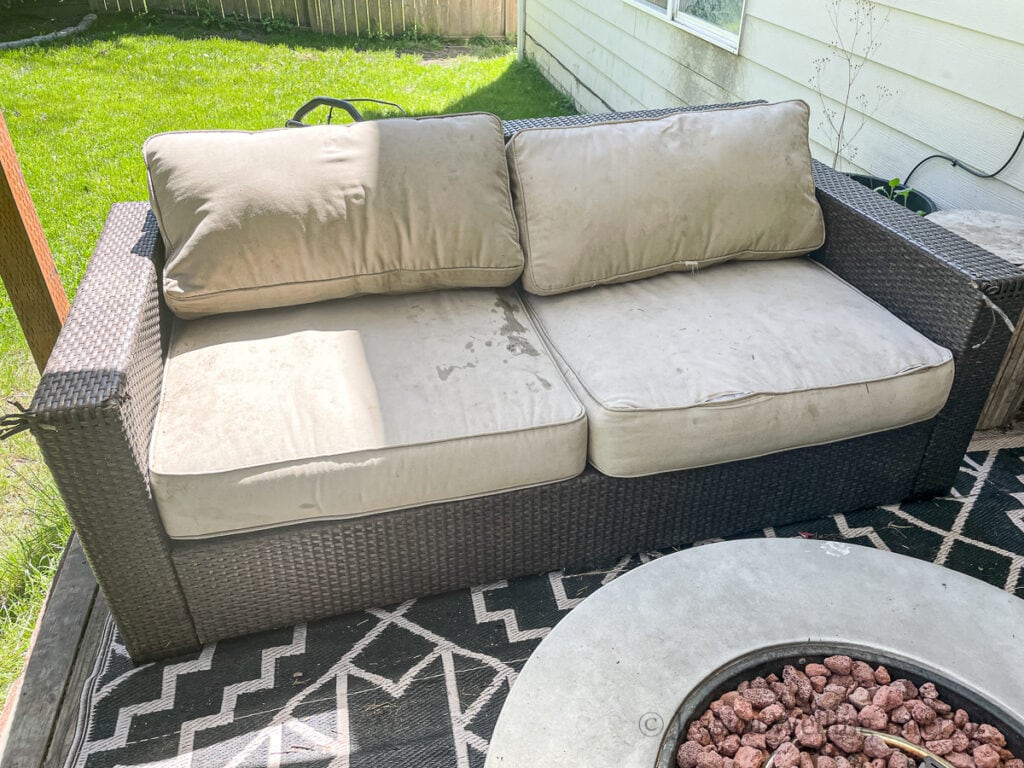
Instead of throwing the whole thing away, I decided to try repairing and painting the outdoor cushions and fixing the wicker myself. I’ll admit I was a bit skeptical about how this would turn out, but I’m actually very pleased with the results! Let’s get to it.
What is resin wicker?
Materials
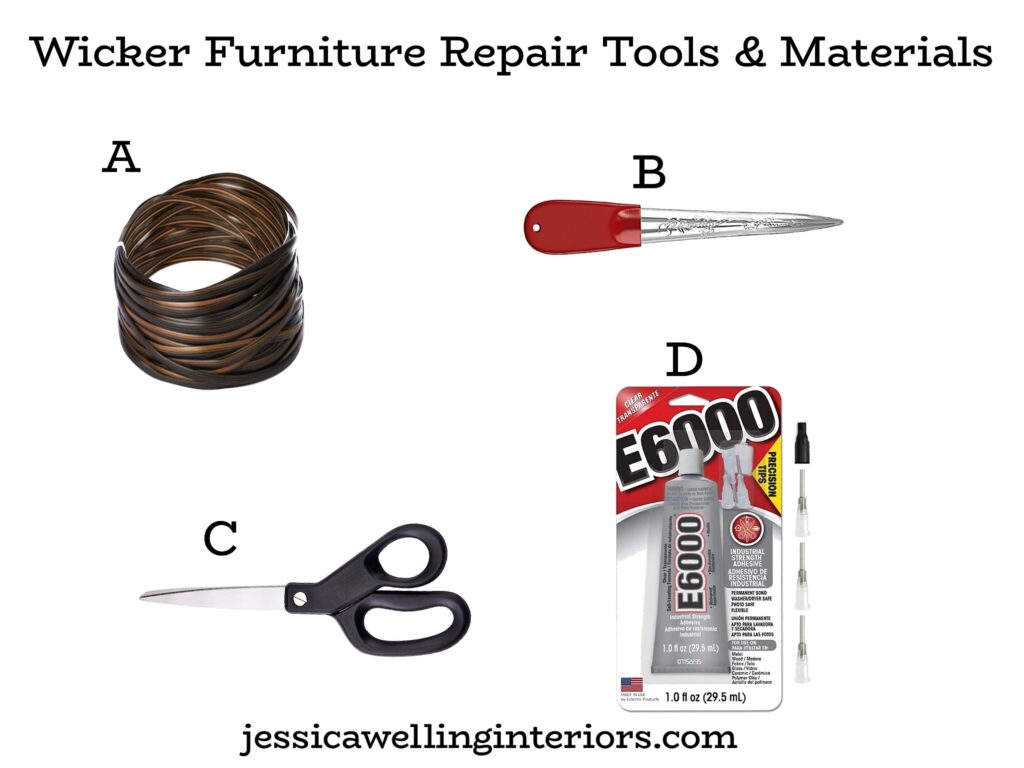
A. Replacement Wicker (I’m using this half pound coil from Amazon)
C. Scissors
D. E600 Glue with Precision Tips (the tips are important!)
What is E600 Glue?
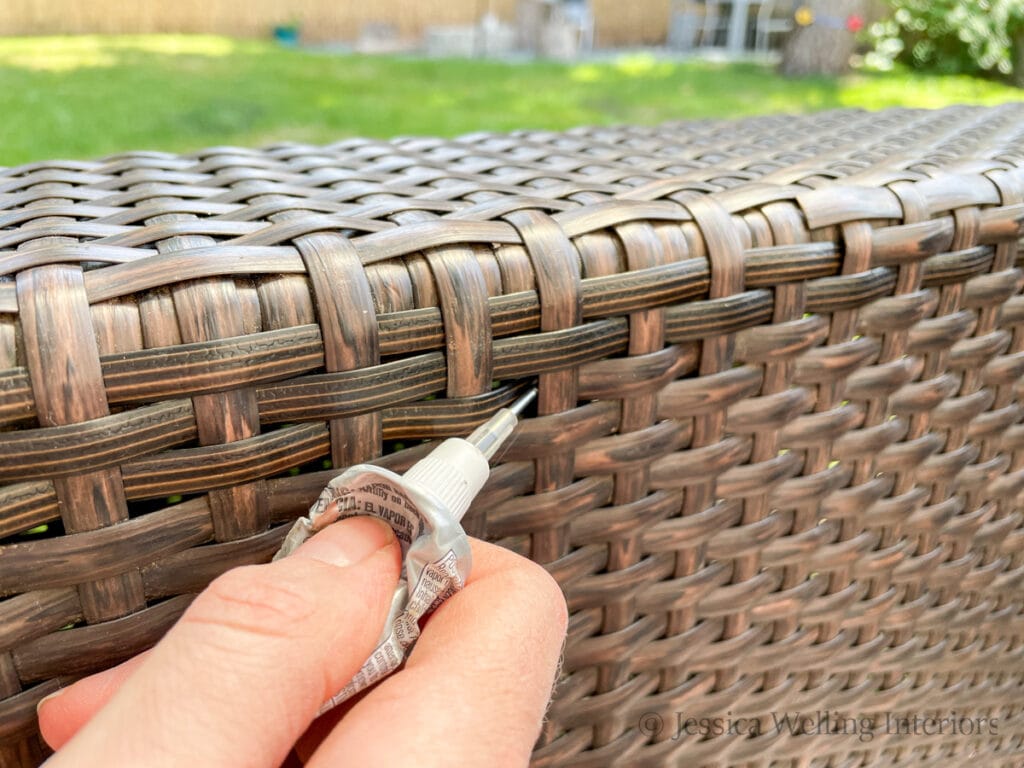
It’s an industrial-strength adhesive that’s great for bonding plastic, metal, vinyl, wood, ceramics, etc. I tried both E600 and super glue for this project, and the E6000 was the clear winner. It’s waterproof, dries clear, and maintains some flexibility when dry, whereas the superglue was more brittle and didn’t hold the reeds in place very well.

Directions
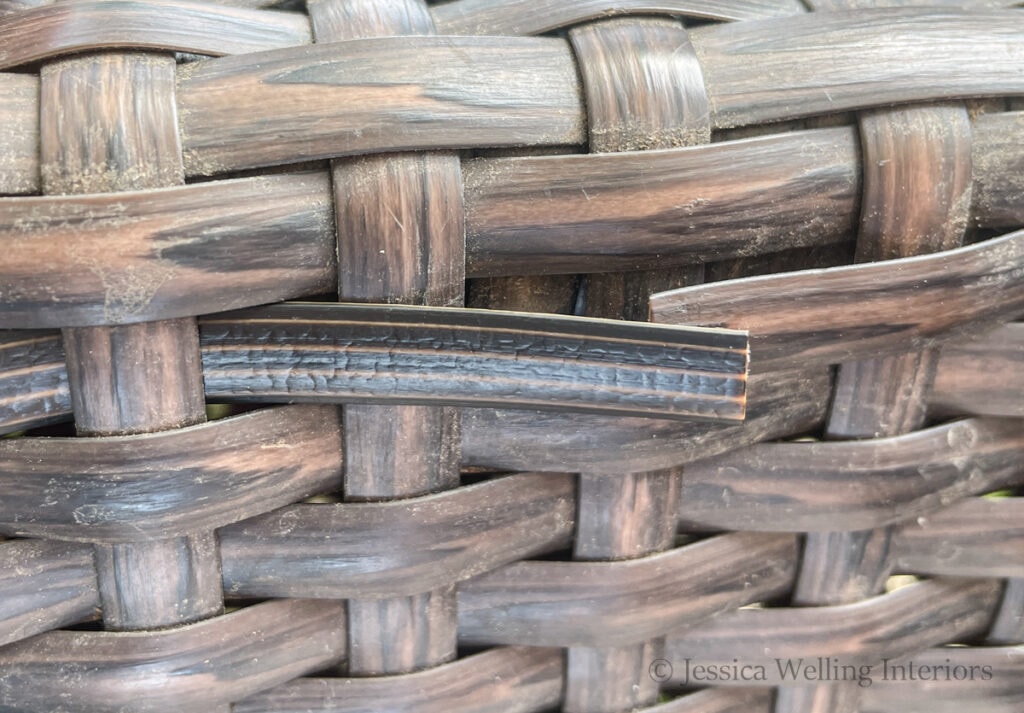
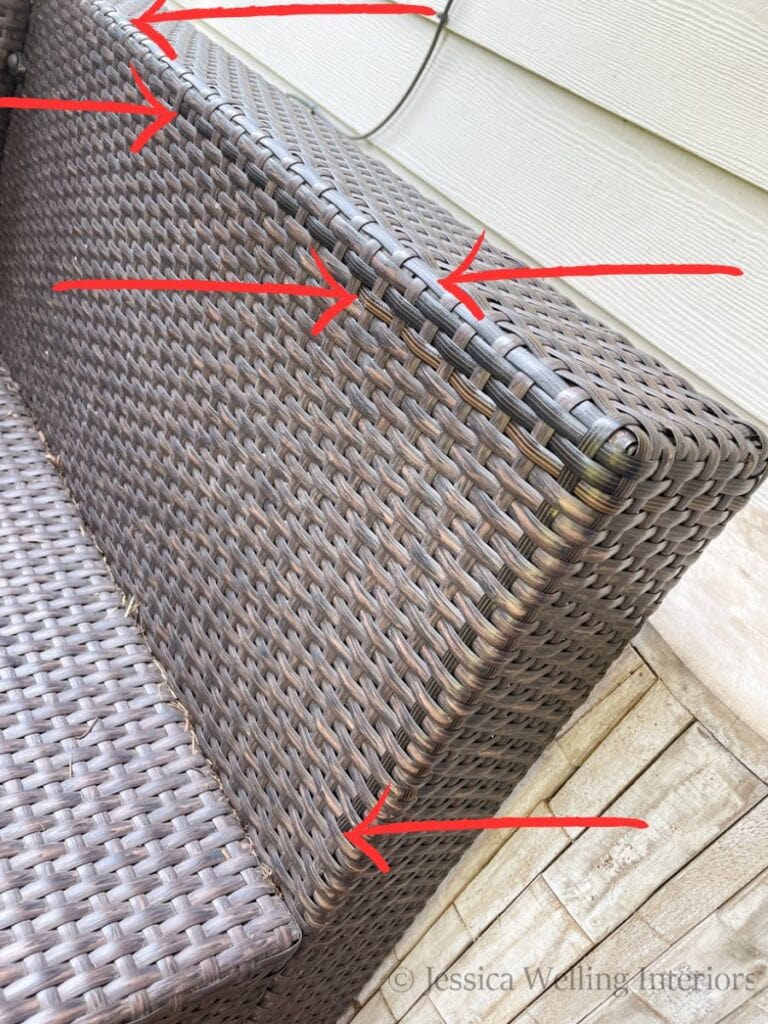
1. Assess the damage.
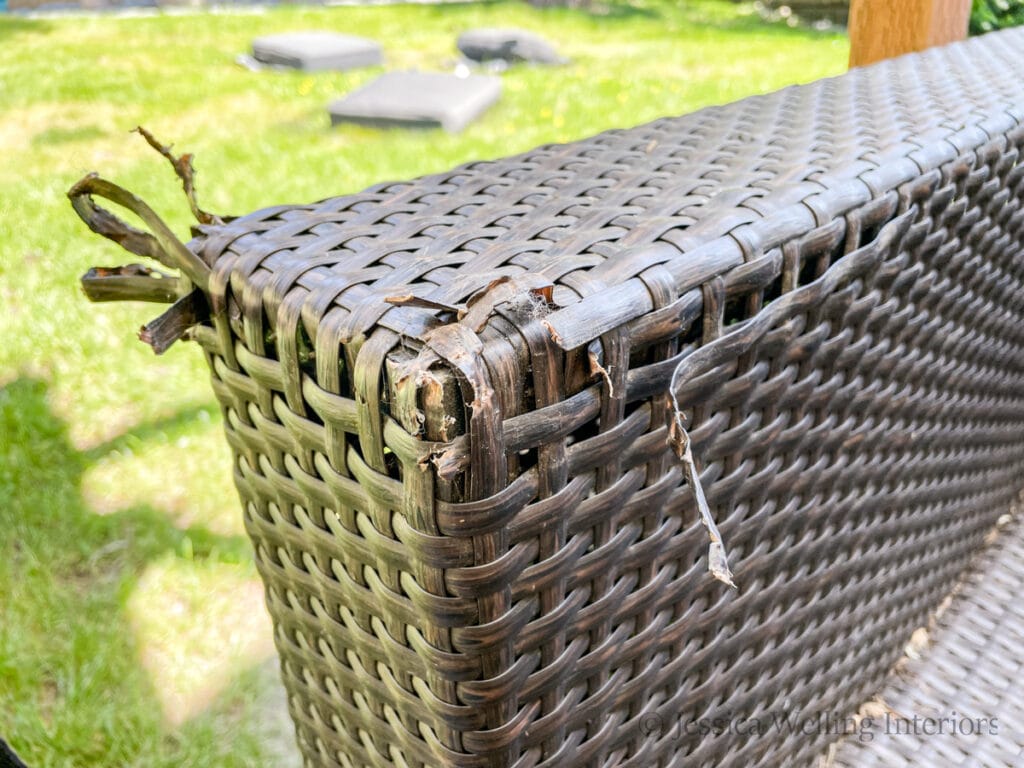
As you can see in the photo above, several of my resin wicker strands are chewed up and/or severed, so I will need some replacement material.
2. Find replacement wicker if necessary.
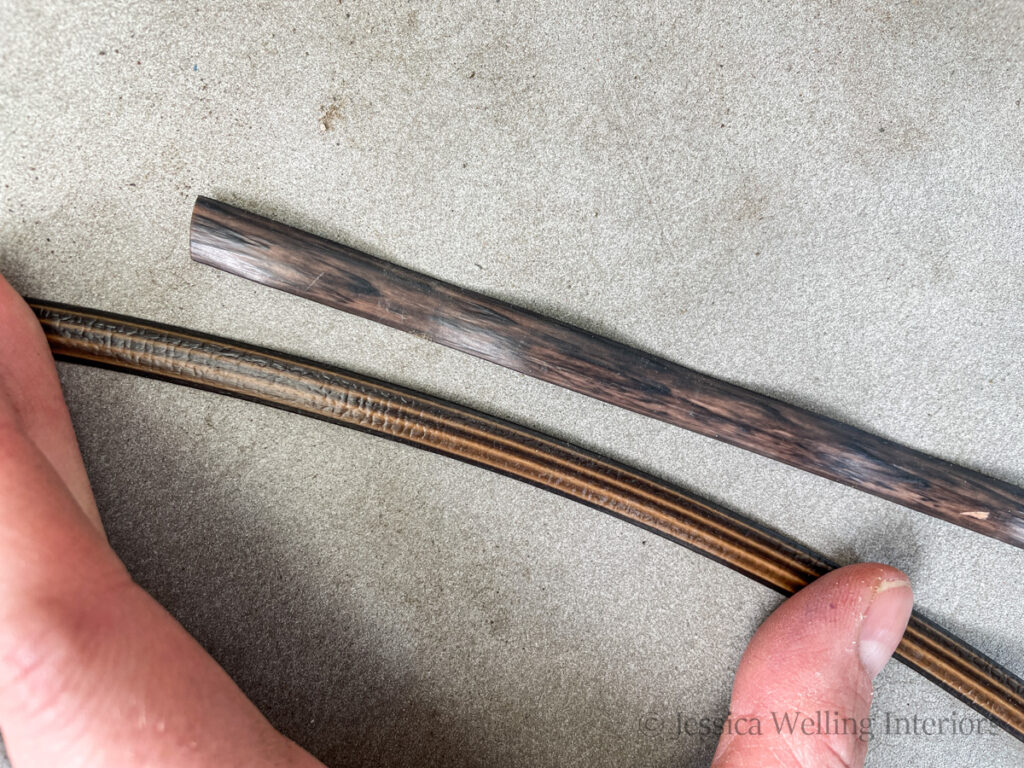
All-weather wicker furniture comes in many different colors and is woven with different wicker. Measure the width of a strand and try to get as close of a match as possible.

As you can see, my sofa wicker reeds are about 5/8″ wide. And they’re dark brown, with some lighter brown streaks. I wasn’t able to find a perfect match, but I got pretty close, and I think the new pieces blend in nicely with the originals.
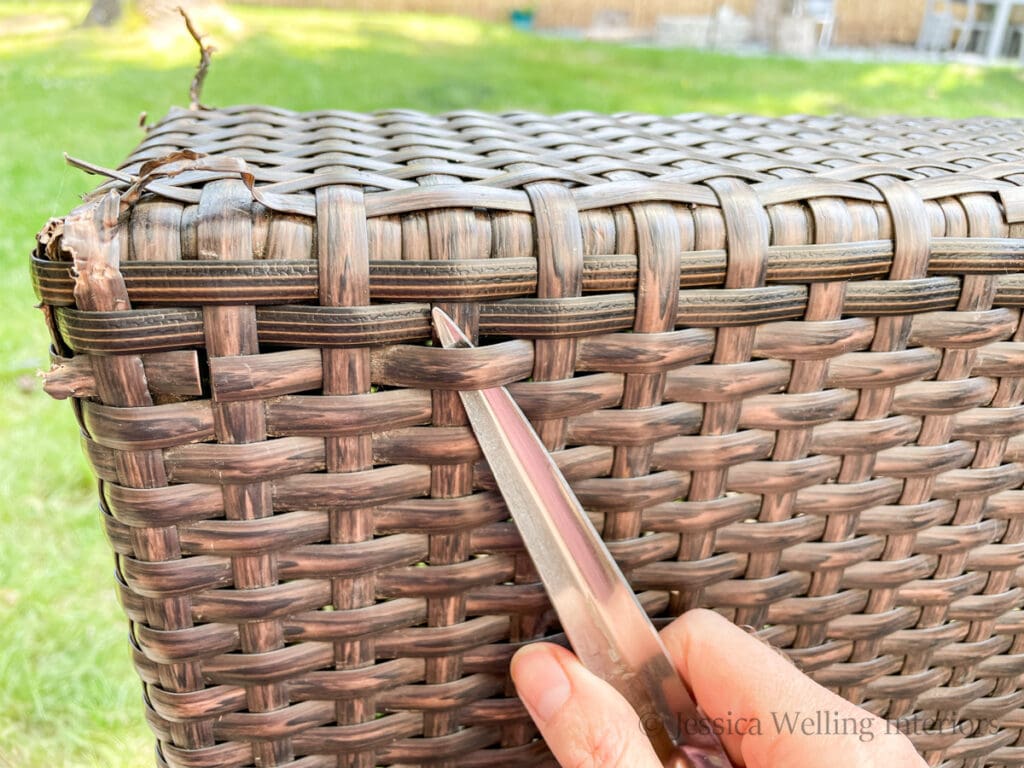
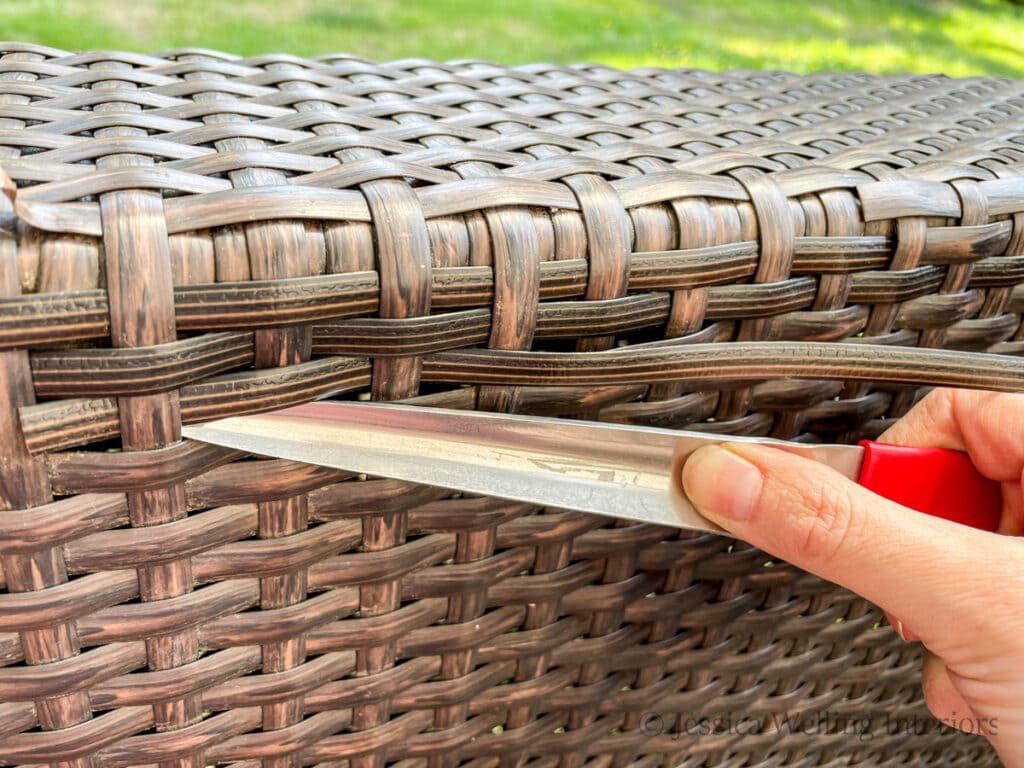
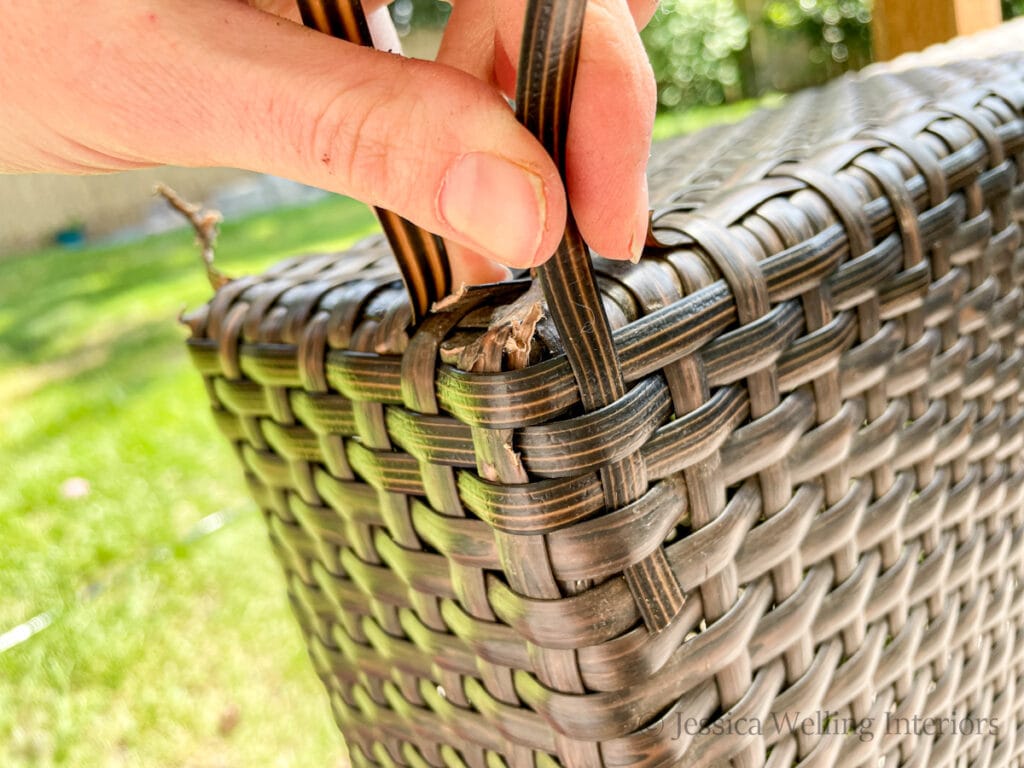
3. Remove the first damaged reed.
Cut the first damaged strand, and use your fingers or the weaving tool to pull the strand out.
You want to remove a single damaged reed and replace it before moving on to the next one. This will help you stay consistent with the original weaving pattern of the furniture, and keep you from getting lost.
4. Weave in the first replacement reed.
Begin weaving the new reed in to replace the old one. I was able to do some of this with just my fingers, but I was very glad to have the weaving tool when I got to the corners and any tighter spots. The curved tip helps to push the reed back through, and it’s also really helpful for weaving under tighter cross reeds.
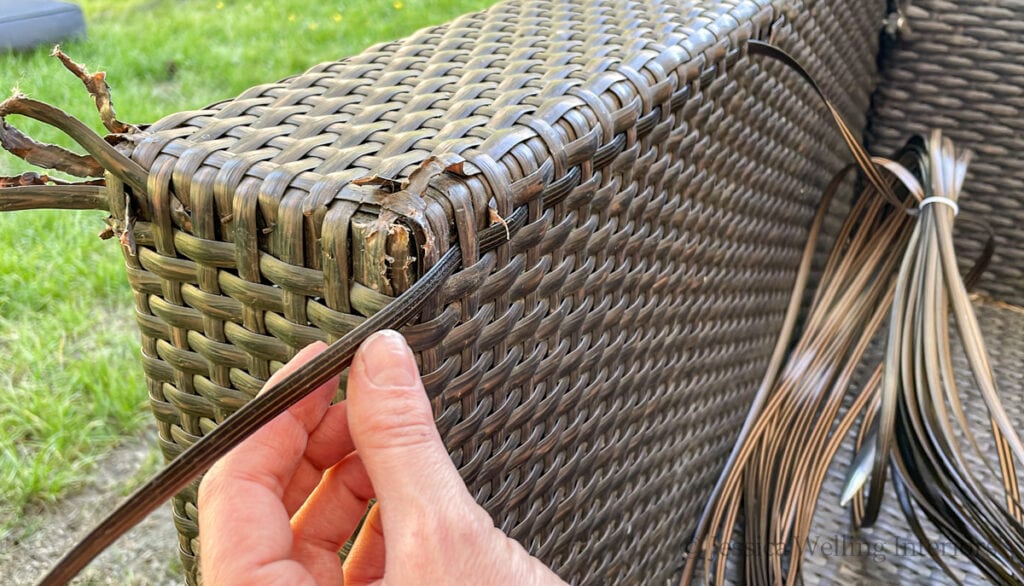
This reed goes all the way around the arm of the sofa. And as you can see in these photos, I left the other damaged reeds in place while I replaced this one.
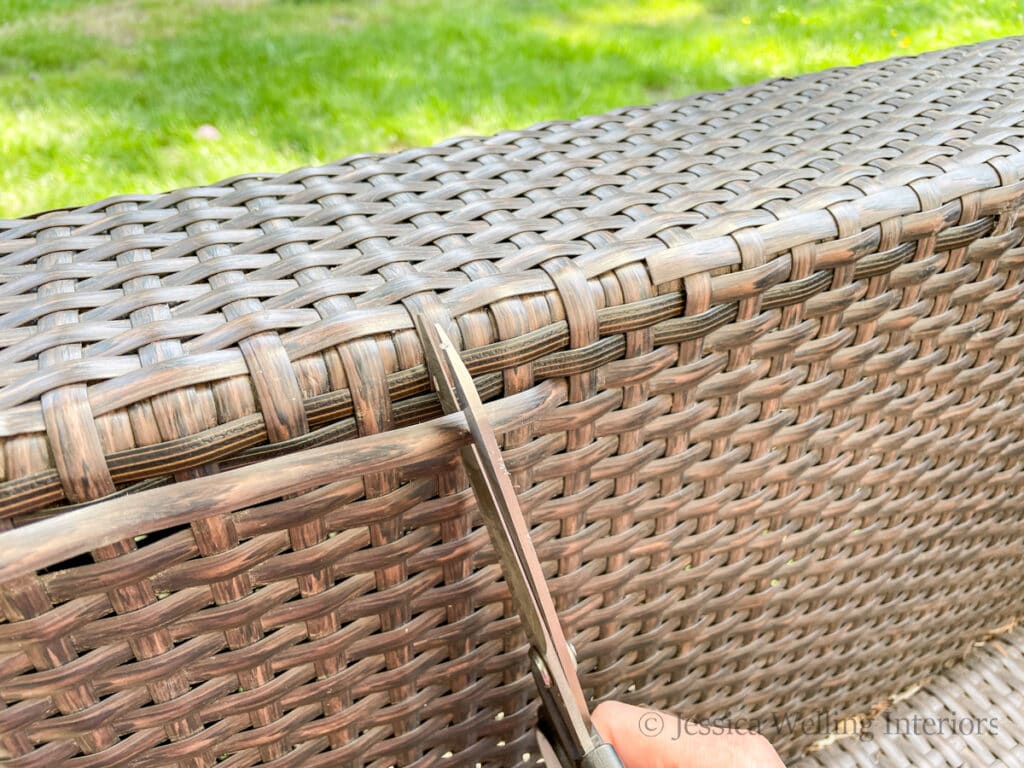
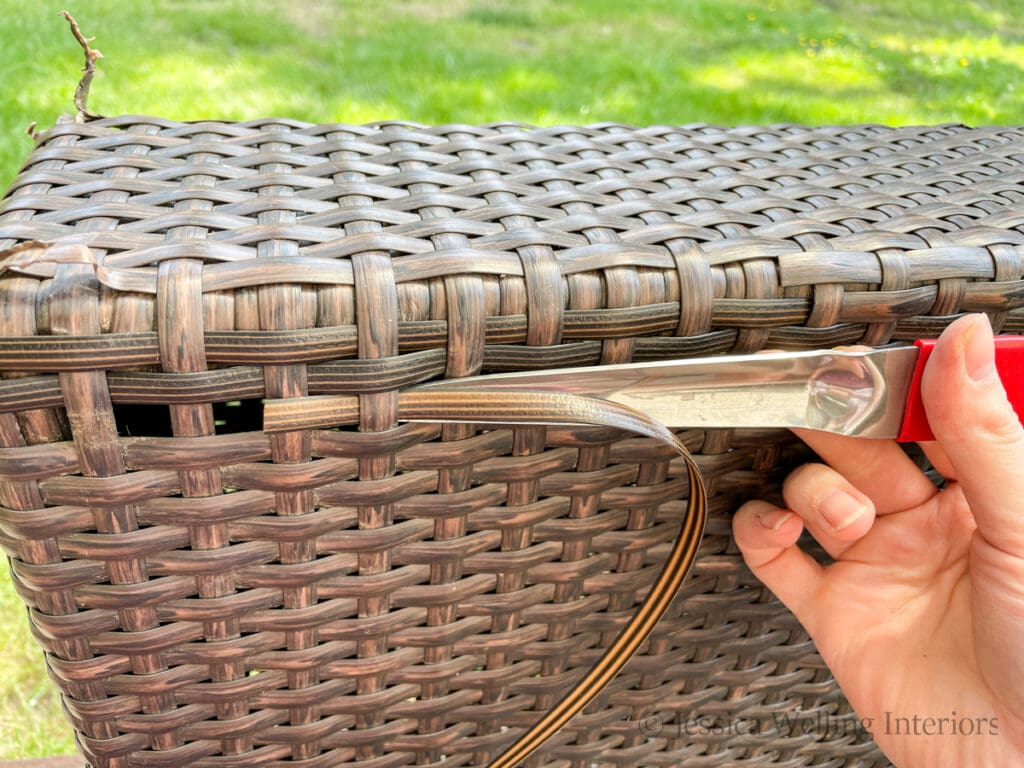
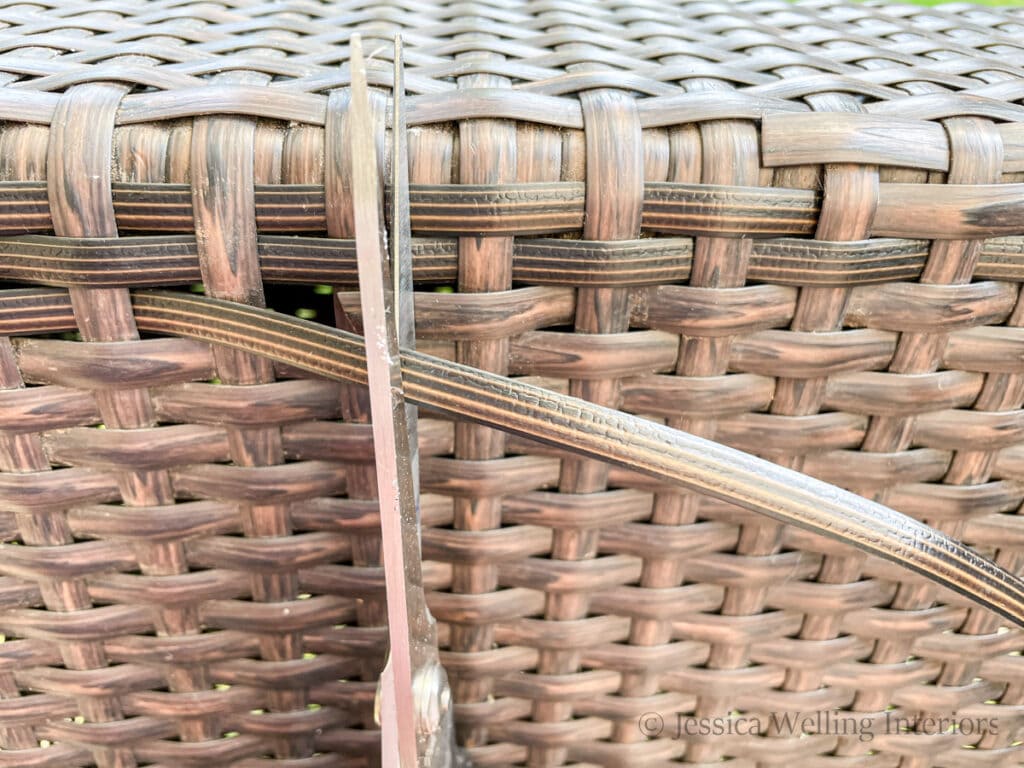
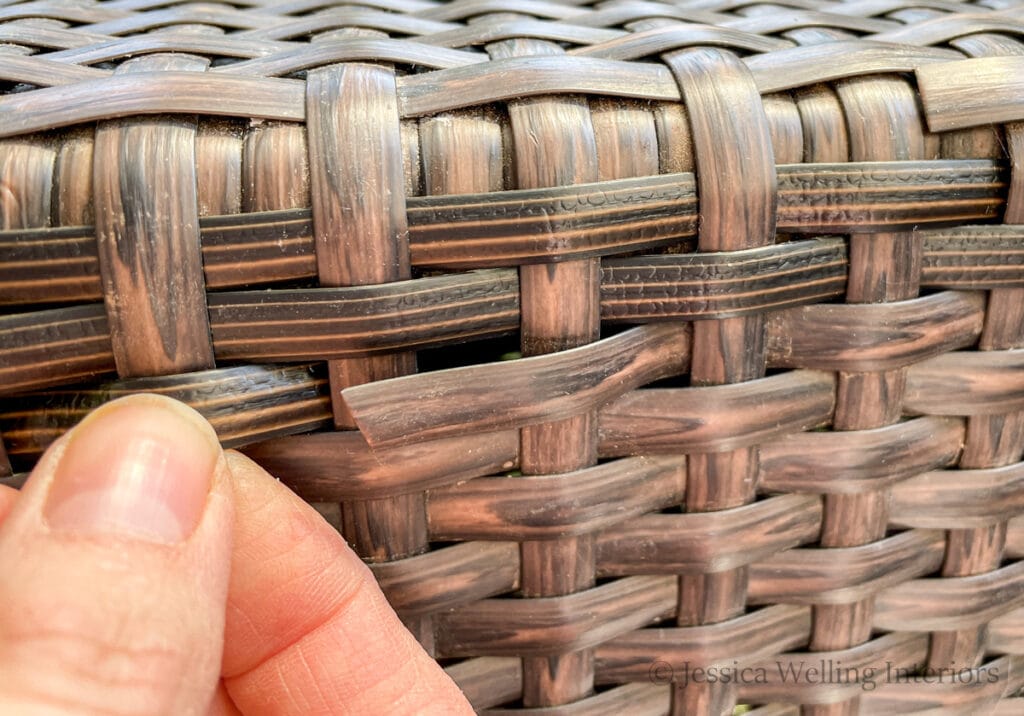
5. Trim one end.
Once the piece is woven in, be sure to leave at least a couple of inches of extra length on one end. Then go to the other end of the new reed and cut it so that it overlaps the loose end of the original reed.
As you can see below, I’m making the transition between the old and new pieces in a place where both ends can be hidden under a perpendicular reed, and I’m overlapping them by 1/4″ or so.
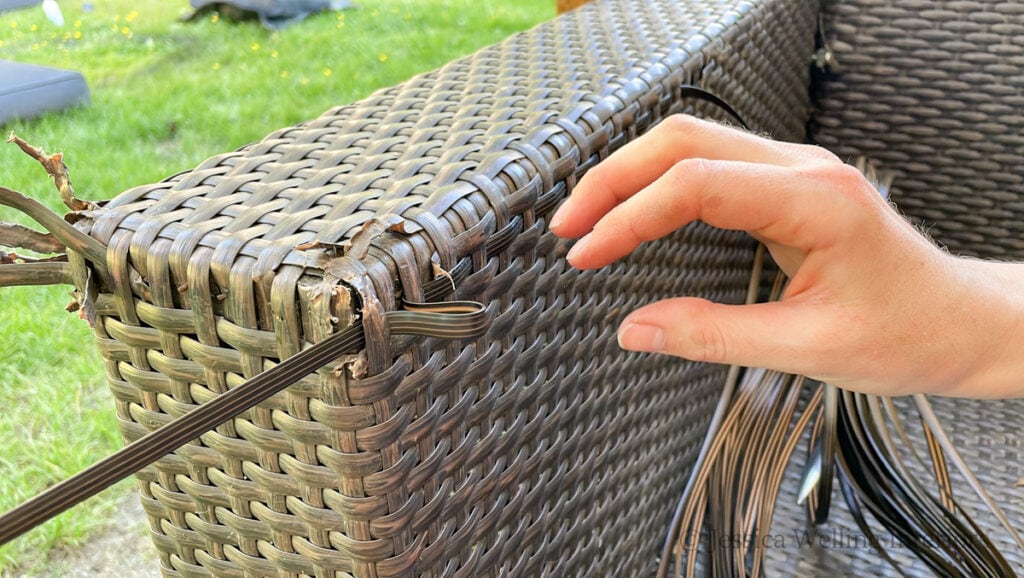
6. Weave both loose ends ends under.
7. Apply glue.
8. Trim, weave, and glue the other loose ends.
Repeat this process on the other end of the replacement strand.
9. Continue removing and replacing damaged wicker strands.
Continue removing the damaged reeds one at a time. I found it was best to do all the strands going in one direction first, before going the opposite direction, in order to give the glue time to dry.
Helpful Tips
- I find it’s best to remove one damaged wicker strand at a time and replace it before removing other damaged pieces. This makes it easier to keep the weaving pattern consistent with the original.
- If you’re replacing two or more adjacent strands, try to stagger where you join the old and new pieces together so they’re not all in a line. This will help the new material blend in with the old. You can see where the reeds transition on this finished sofa arm below.
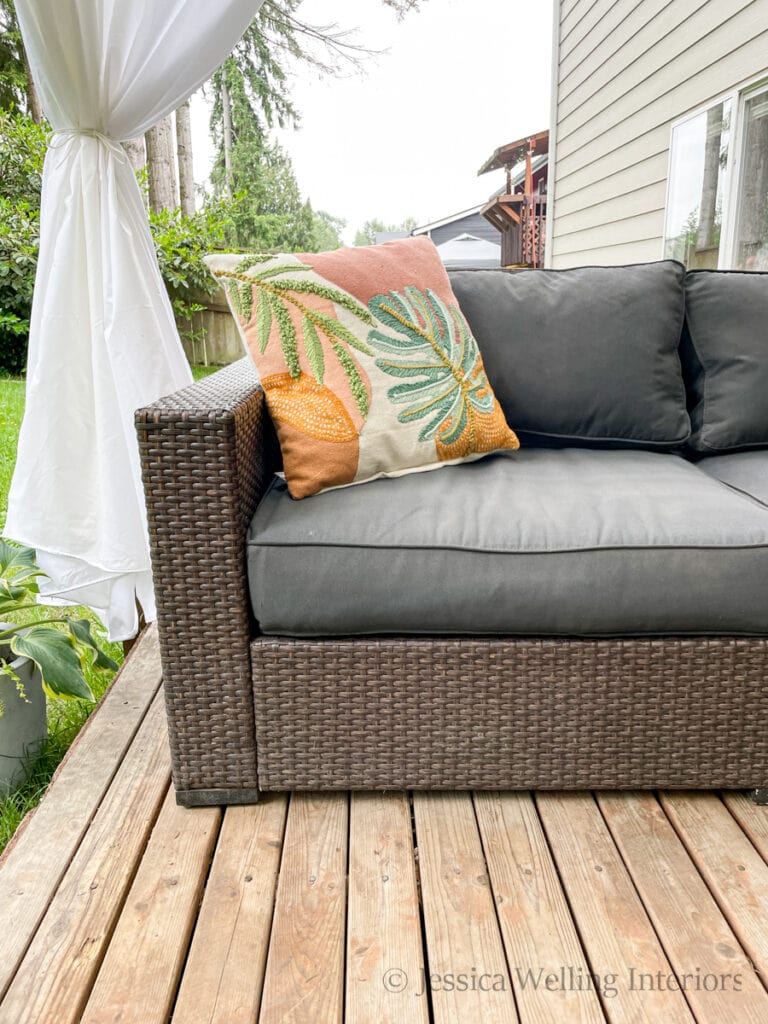
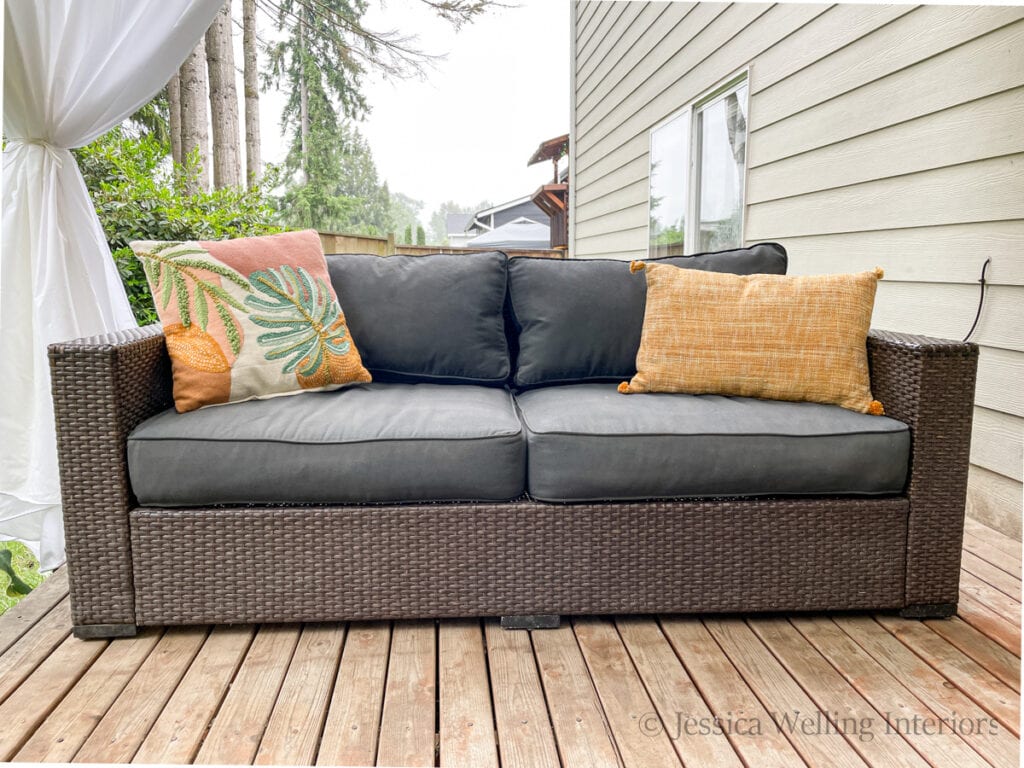
After…
And here it is all finished. I’m really happy with how this turned out, and now I’m looking forward to many happy afternoons on my outdoor sofa!
As you can see, I also painted the outdoor cushions to give the sofa a whole new look. You can check out the tutorial here.
More Outdoor Living Ideas…
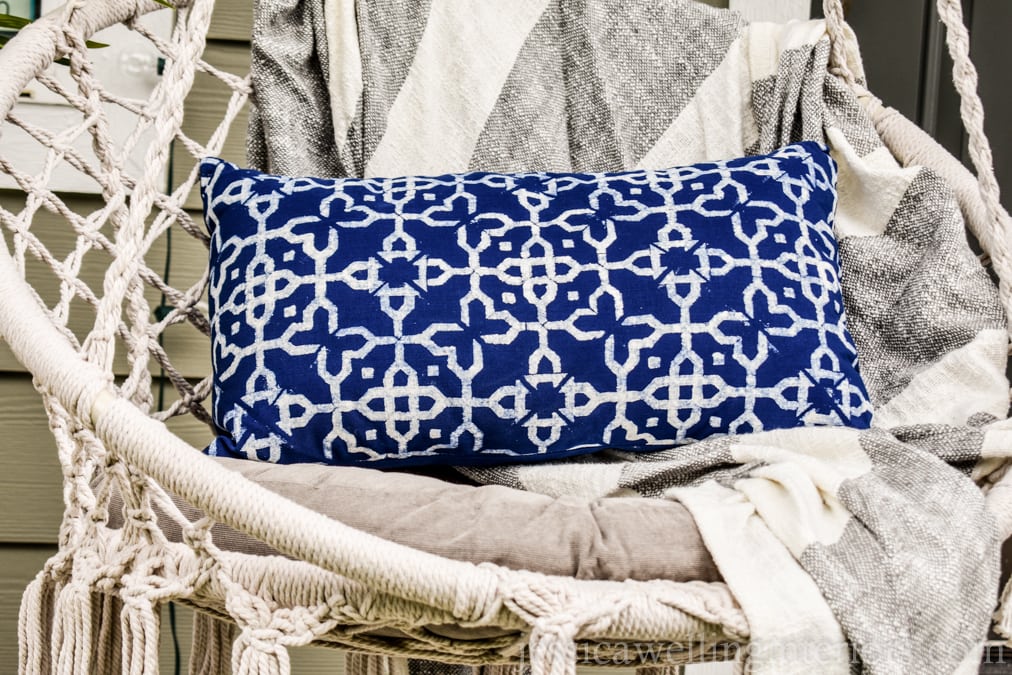
The Best Boho Outdoor Pillows for 2023

The Easiest DIY Outdoor Curtains!

How to Hang Outdoor String Lights: The Ultimate Guide

Great work! The new reeds blend in really well. And very good tutorial too. I’m glad I found this because I was not sure it was possible to repair outdoor wicker furniture like that.
Thank you! Yes I wasn’t really sure either before I tried it!
You should make a video, pleaseee
You’re right! I actually have one that’s almost finished. I’ll see about getting it finished and posted soon!