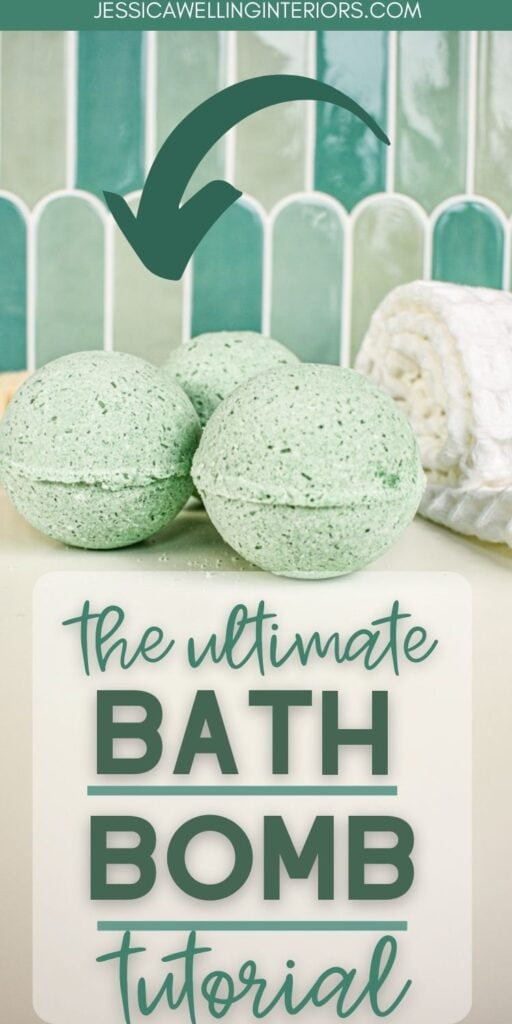
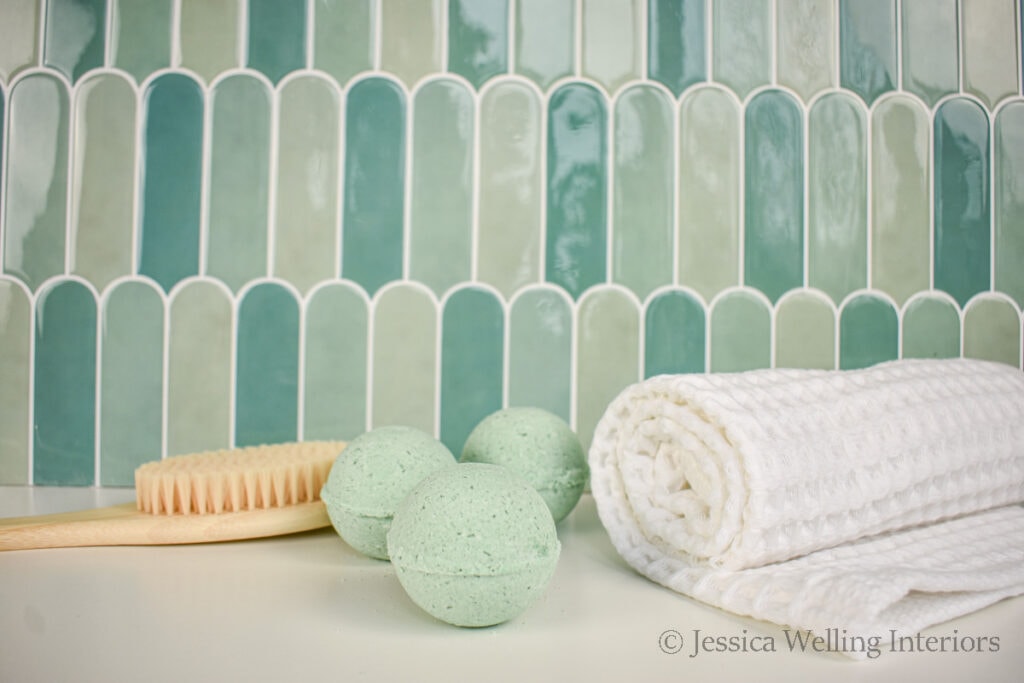
The Ultimate Bath Bomb Recipe
Use this versatile bath bomb recipe to make your own luxurious DIY bath bombs to enjoy yourself or give as gifts!
Making your own bath bombs is fun and easy… when you’re working with the right recipe. And it can be really frustrating when your recipe is off, even just a little. Take it from someone who’s made A LOT of bath bombs in her lifetime!
Today I’m sharing my basic go-to bath bomb recipe so you can make these fun and luxurious bombs to enjoy yourself… and they also make fabulous gifts!
The Ultimate Bath Bomb Recipe
This is my basic recipe that I start with when making any type of bath bomb. All the ingredients are natural and non-toxic, so you’ll know exactly what you’re soaking in. And you likely have most of them in your pantry already!
Feel free to change out the color, fragrance, and oil, as long as you keep the quantities the same. But I don’t recommend messing with the other ingredients.
Ingredients
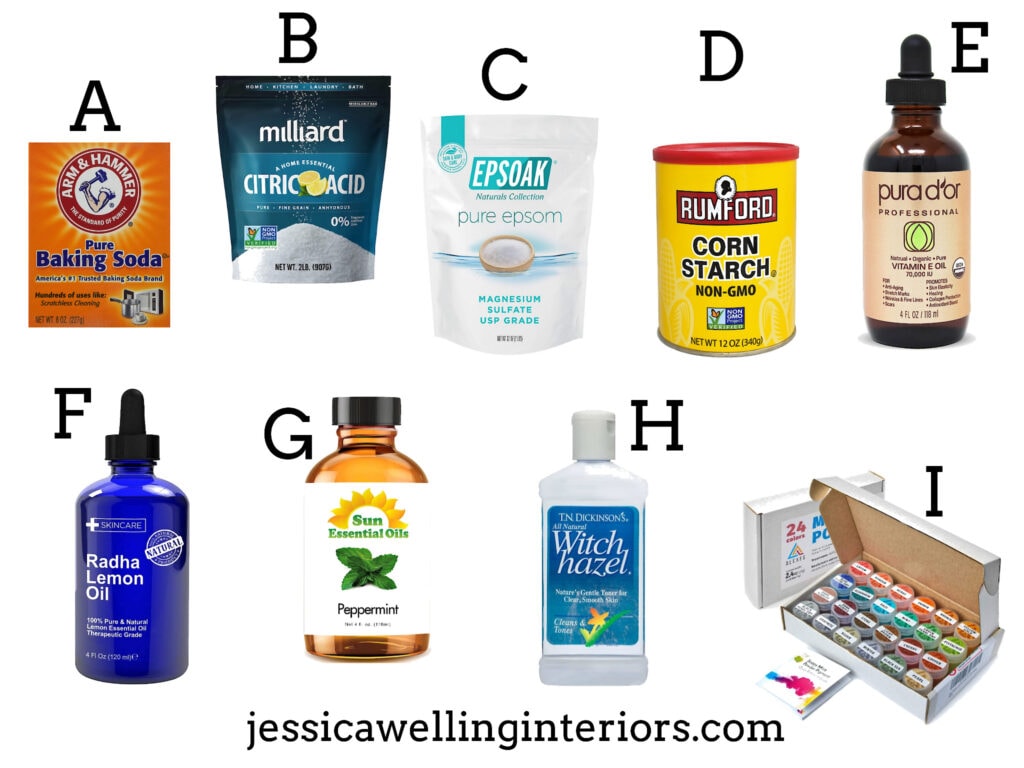
A. baking soda
D. citric acid (if you want your bath bombs to have a decent fizz, you need citric acid, not cream of tartar!)
D. cornstarch
E. vitamin E oil (or jojoba oil or almond oil, or even olive oil)
F. & G Essential oils (I’m using a combination of lemon and peppermint)
E. colored mica powder (optional)
G. cold water
H. witch hazel
Tools & Materials
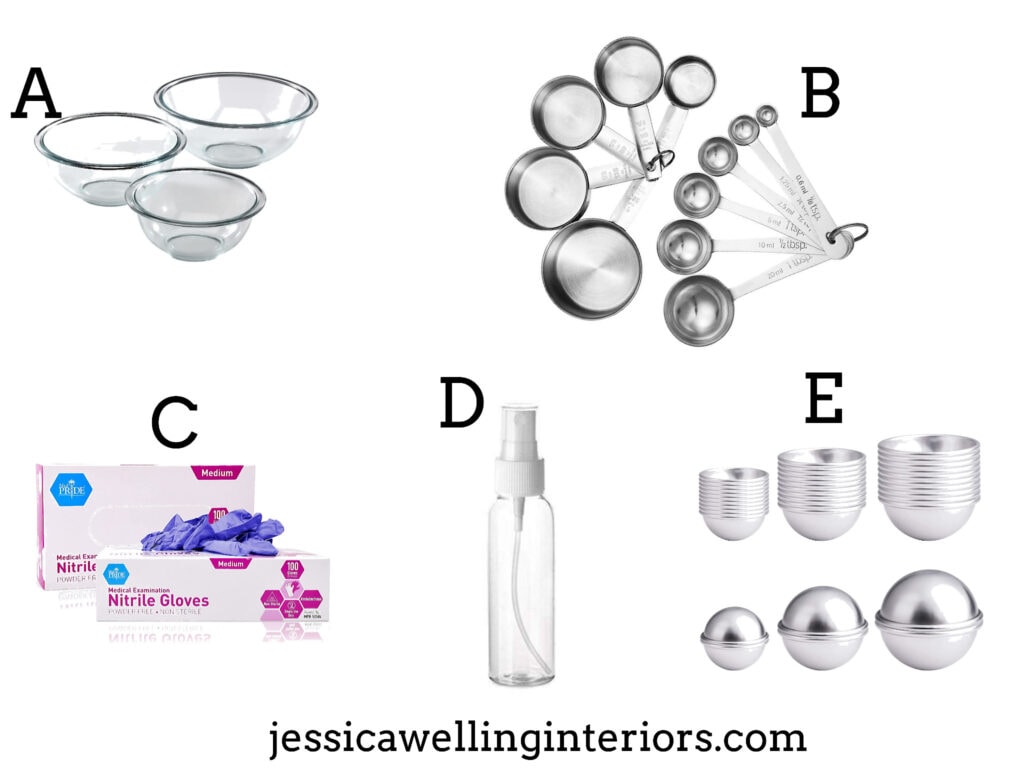
B. measuring cups & measuring spoons
D. fine mist spray bottle (for the witch hazel)
E. bath bomb molds (I’ve had great success with this set from Amazon & it comes in 3 sizes. I’m using the largest size in this tutorial.)
Directions
I recommend wearing gloves for this project. While there’s nothing inherently bad for your skin in the recipe, working with it can dry out your hands and irritate any cuts you have.
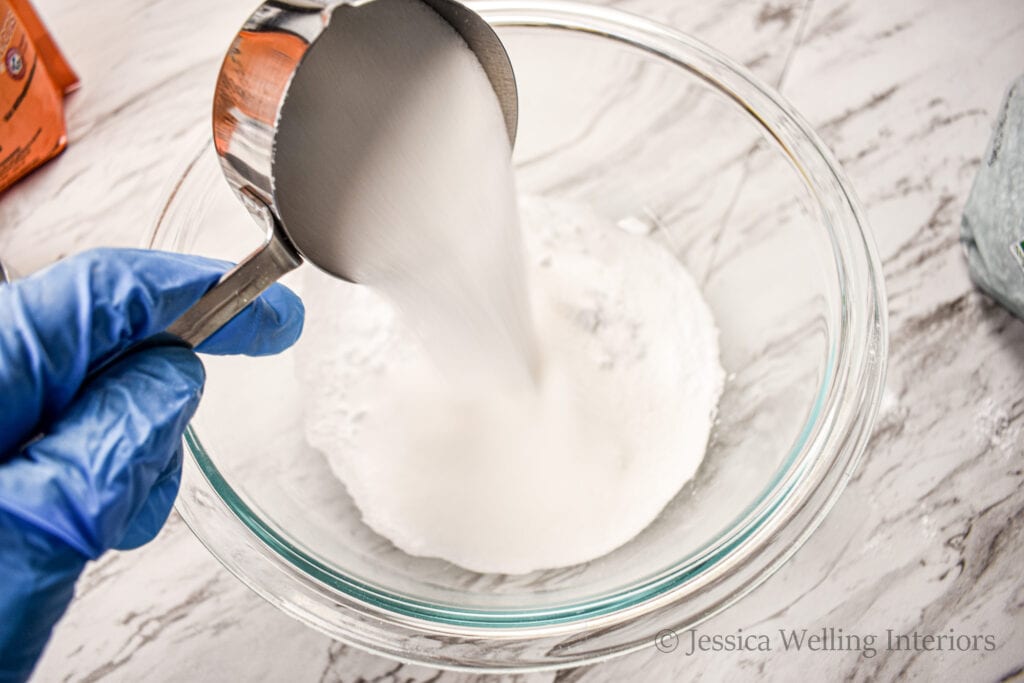
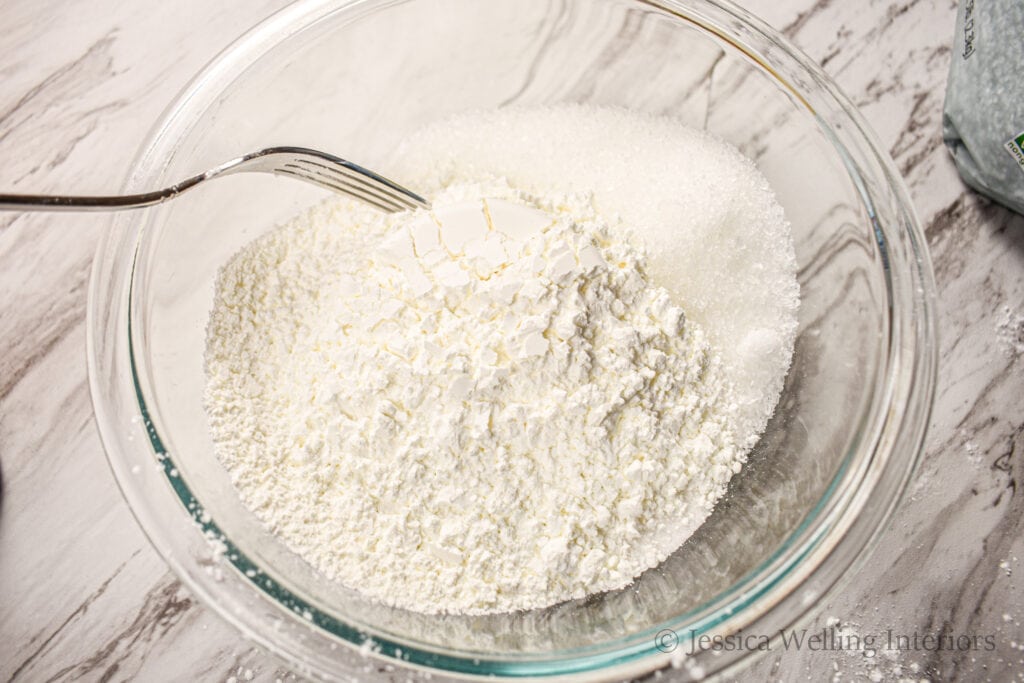
1. Combine dry ingredients.
Add the baking soda, epsom salt, citric acid, and cornstarch to a large mixing bowl and stir well with a fork, making sure to break up any clumps.
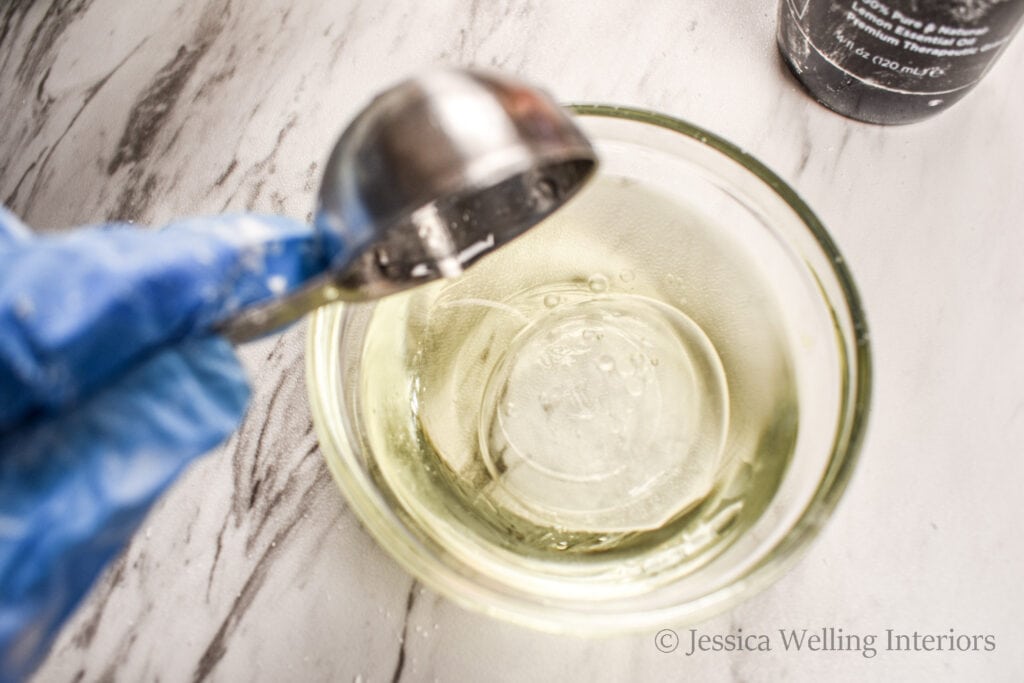
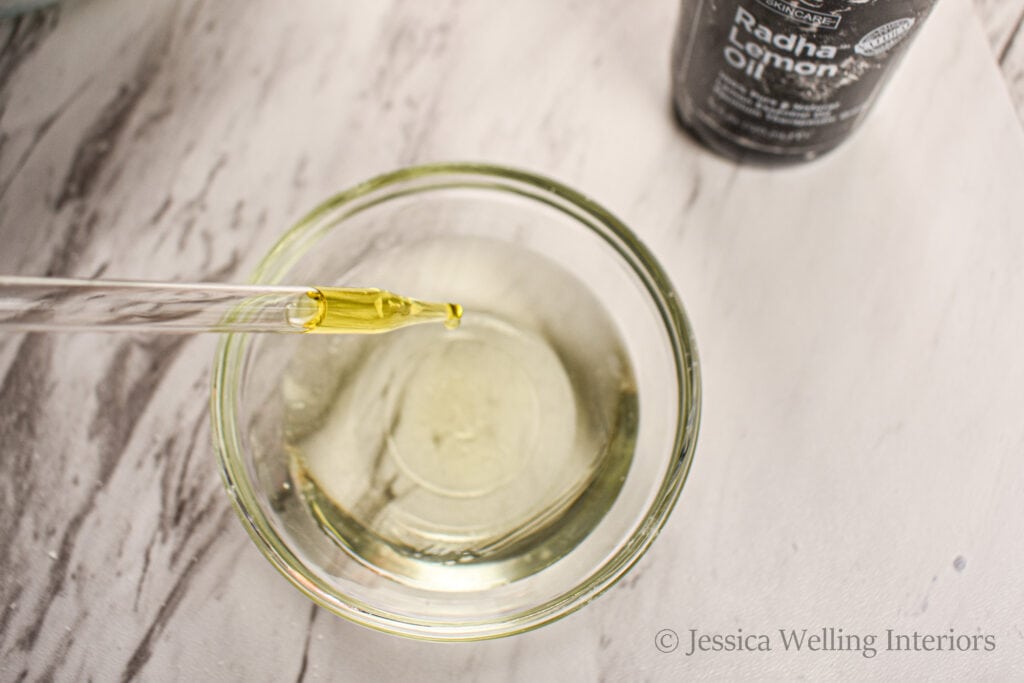
2. Combine wet ingredients.
In a small bowl, combine the vitamin E oil, essential oils, and water. Give it a good stir to incorporate the essential oils, but the oil and water will remain mostly separate, and that’s fine.
Note: I don’t recommend using liquid food color for bath bombs, but if you do, you’ll want to add it to the wet ingredients at this step.
3. Add wet ingredients to dry ingredients.
Pour the wet ingredient mixture into the bowl of dry mixture. It should bubble and fizz a little bit.
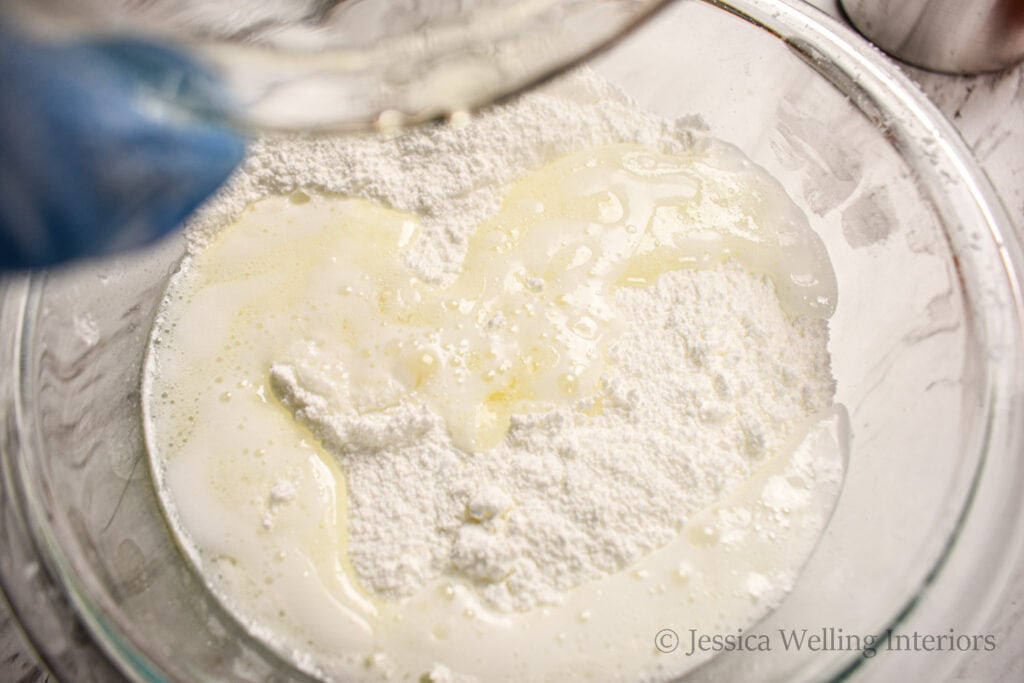
Stir it with a fork to combine. At this point, it should be fairly clumpy.
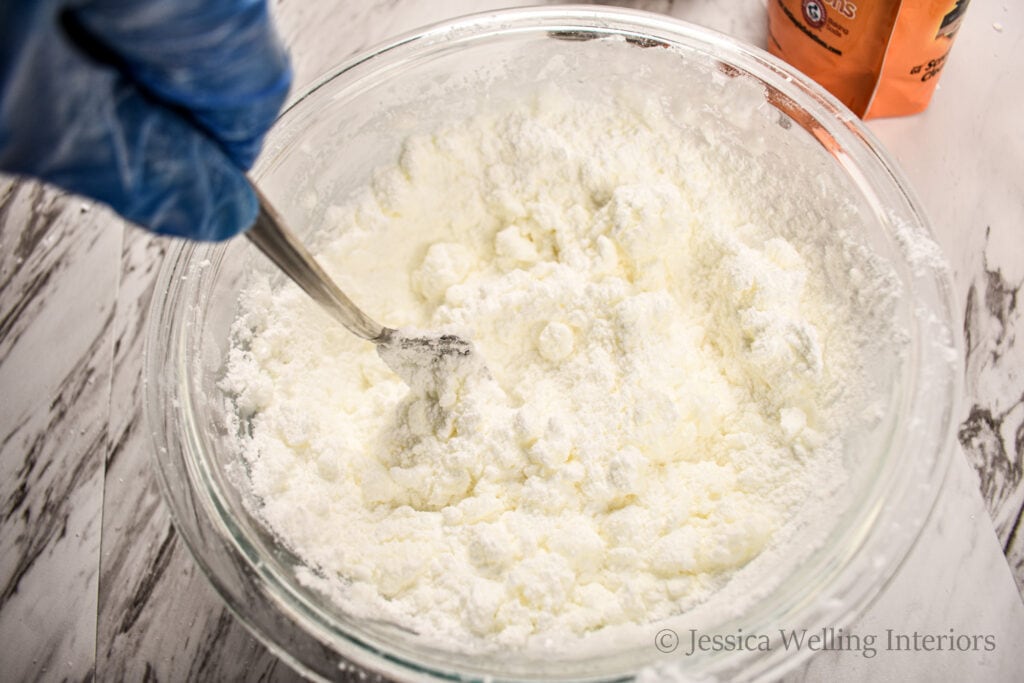
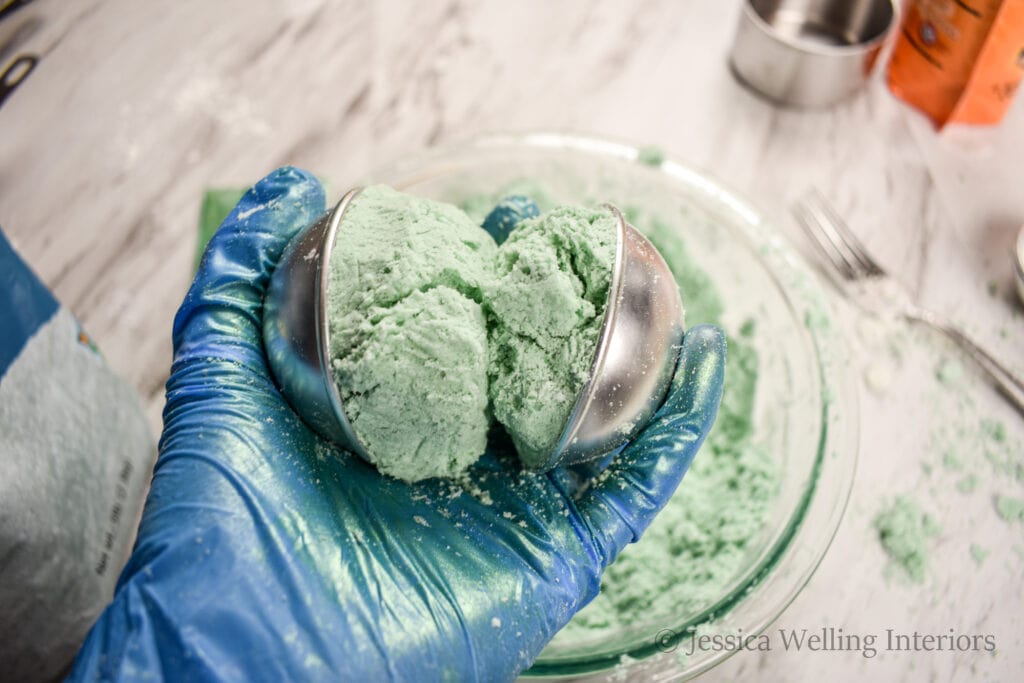
4. Knead.
Use your hands to knead the mixture.
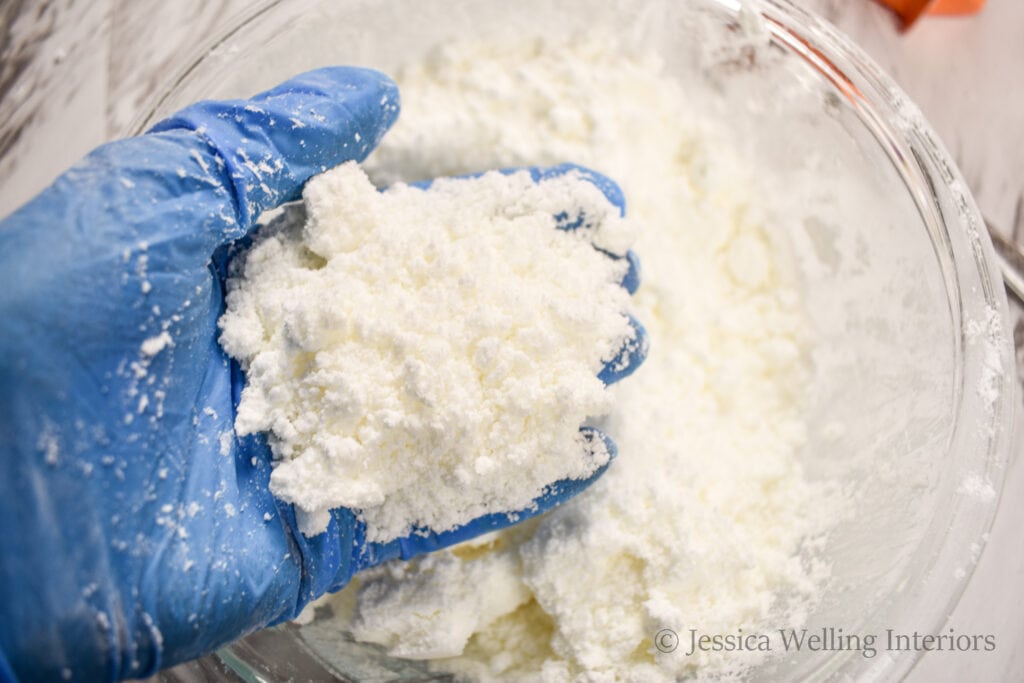
The goal is to get it to a consistency like powdery snow or brown sugar. It should form a good clump in your hand if you squeeze it like in the photo below.
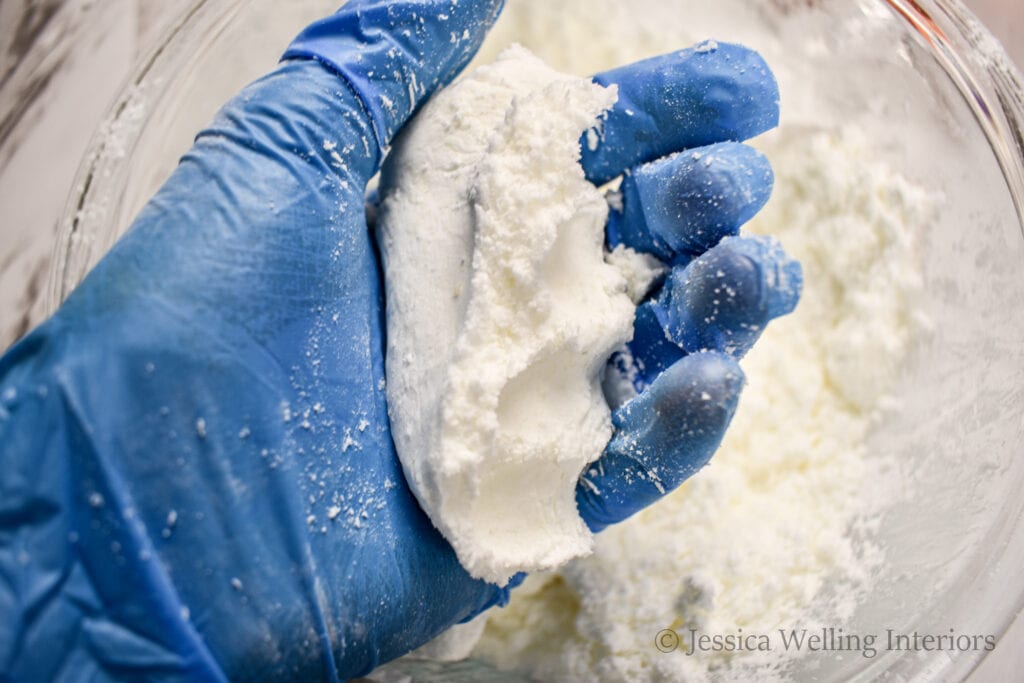
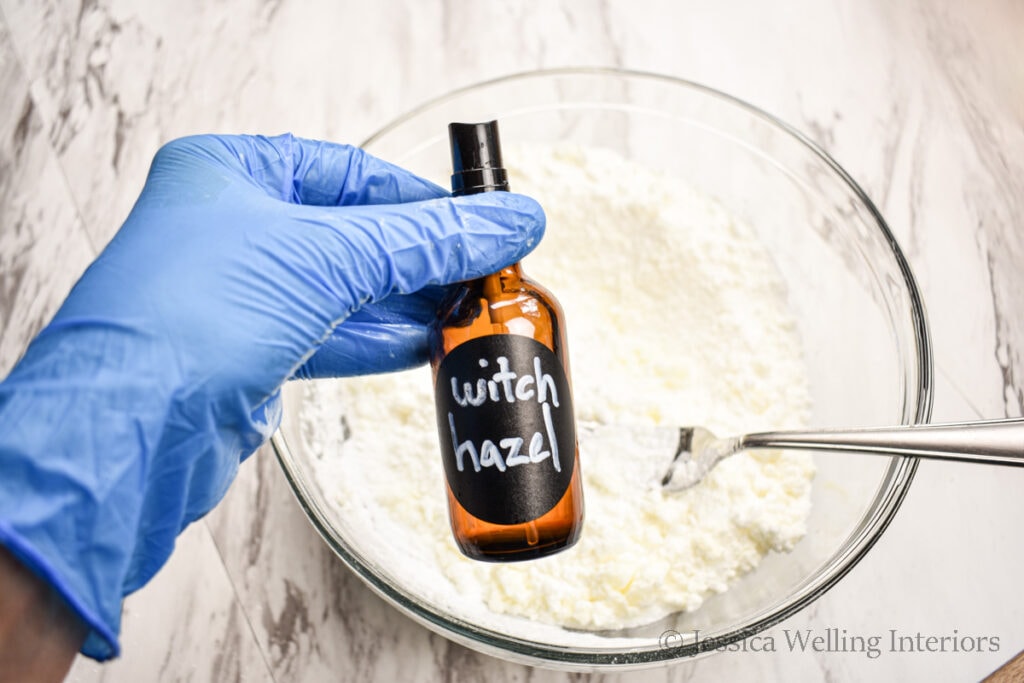
If your mixture is still too powdery and not forming clumps, spritz it once or twice with witch hazel, and continue to knead. I like to keep my witch hazel in a small spray bottle for this purpose. But be very conservative about the amount of liquid you add. it’s easy to overdo it. If you have a cookie dough-like consistency, you’ve gone too far.
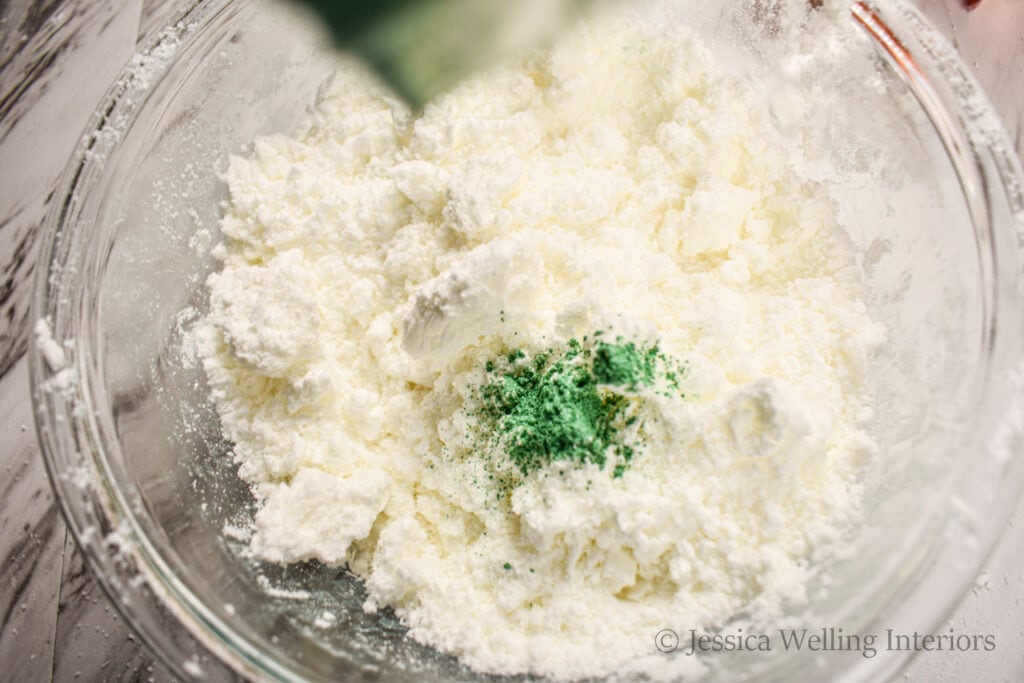
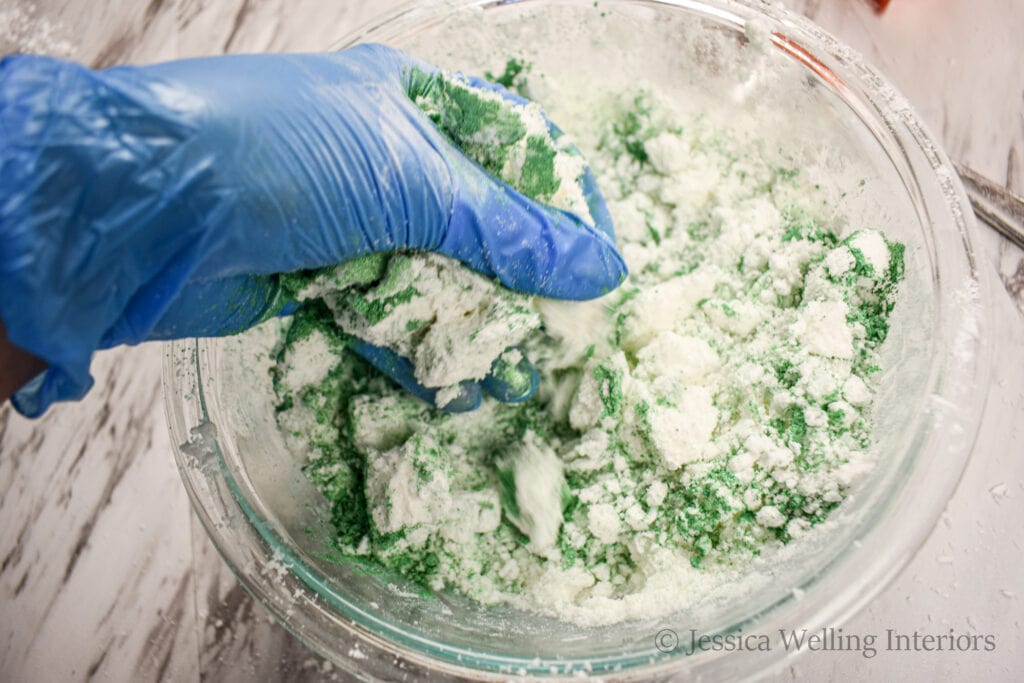
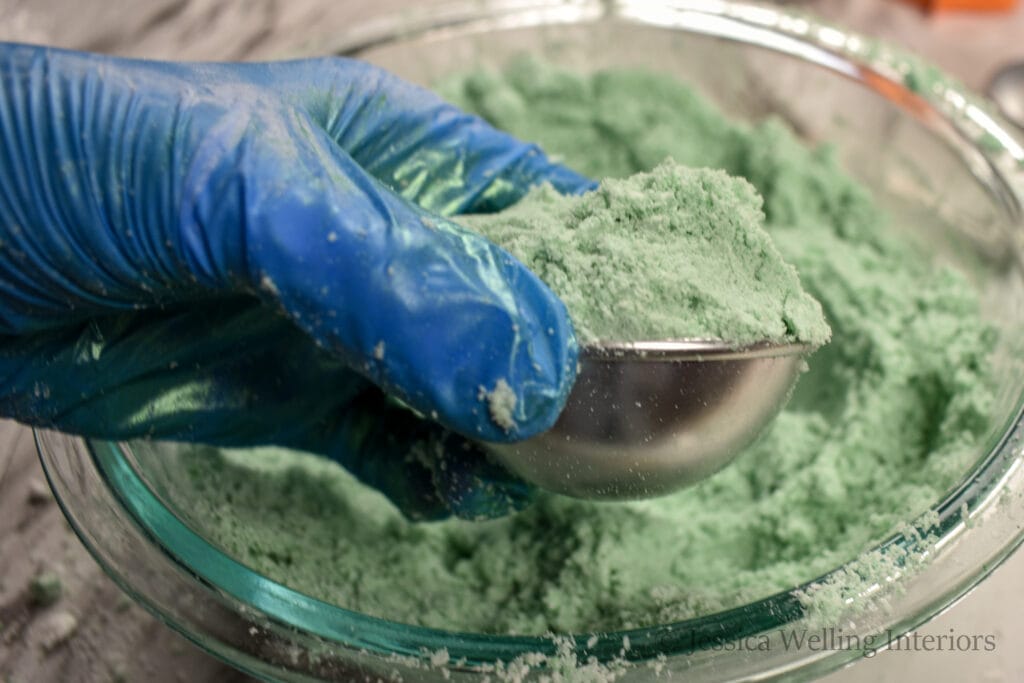
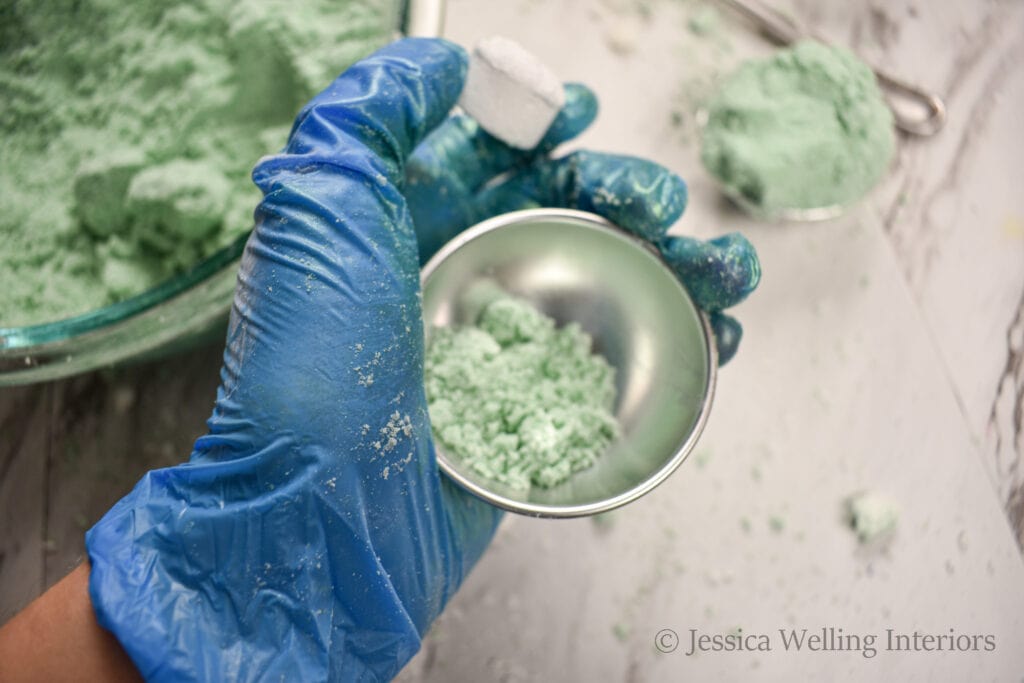
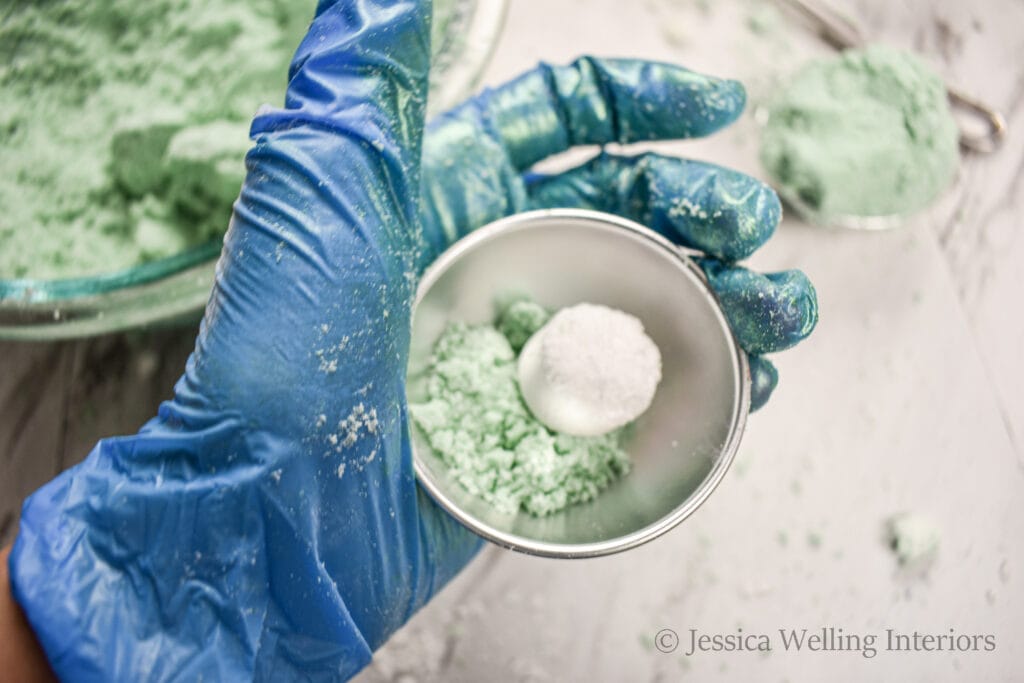
5. Add mica colorant (optional).
6. Fill molds.
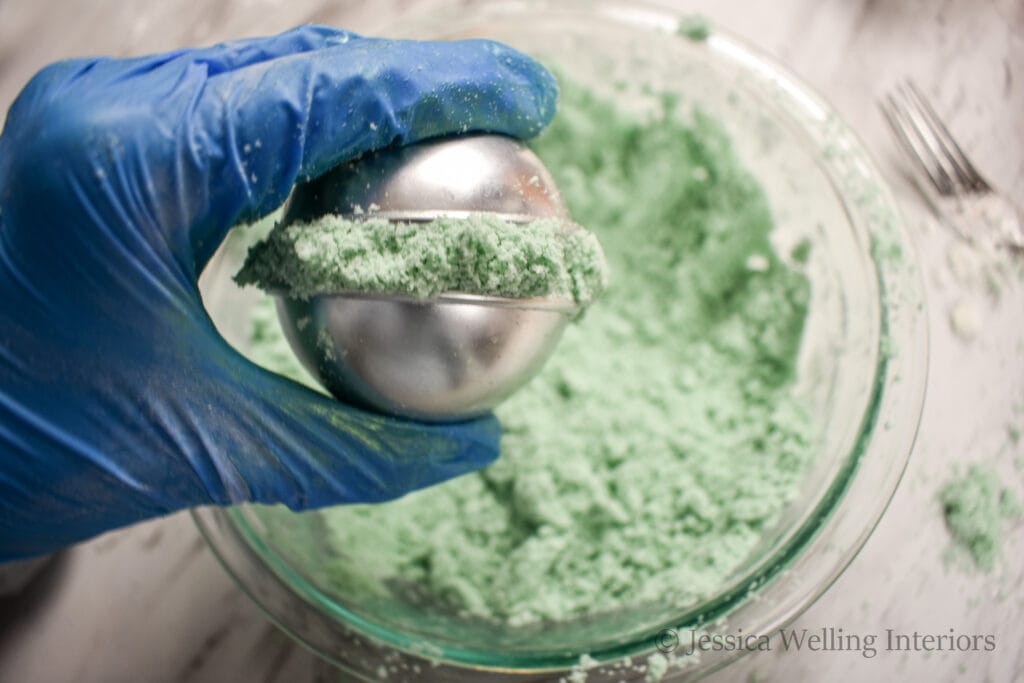
Now it’s time to fill your mold. This part can be a little tricky, so don’t get discouraged if it takes a few tries to get the correct amount of mixture and pressure. It can get a bit messy, so I recommend doing this step over the bowl.
Lightly pack the mixture into the first half of the bath bomb mold, mounding it up like this:
If you want to add a bath bomb embed, see step 7 below. If you don’t just repeat this step with the other half of the bath bomb mold.
7. Add embed (optional).
If you want to add an embed (basically a mini turbo boost to give your bath bomb some extra spin and fizz) do it now. Fill the second half of the bath bomb mold with a little bit of mixture. Set the embed in, making sure it’s off-center, and fill the mold the rest of the way with mixture, making sure to mound it up like the first half of the mold.
8. Press halves of the mold together.
Now take the two mounded halves and press them together.
Start with gentle pressure. Then once you have the two sides lined up, squeeze them together as hard as you can. Some of the mixture should be falling back into the bowl at this point.
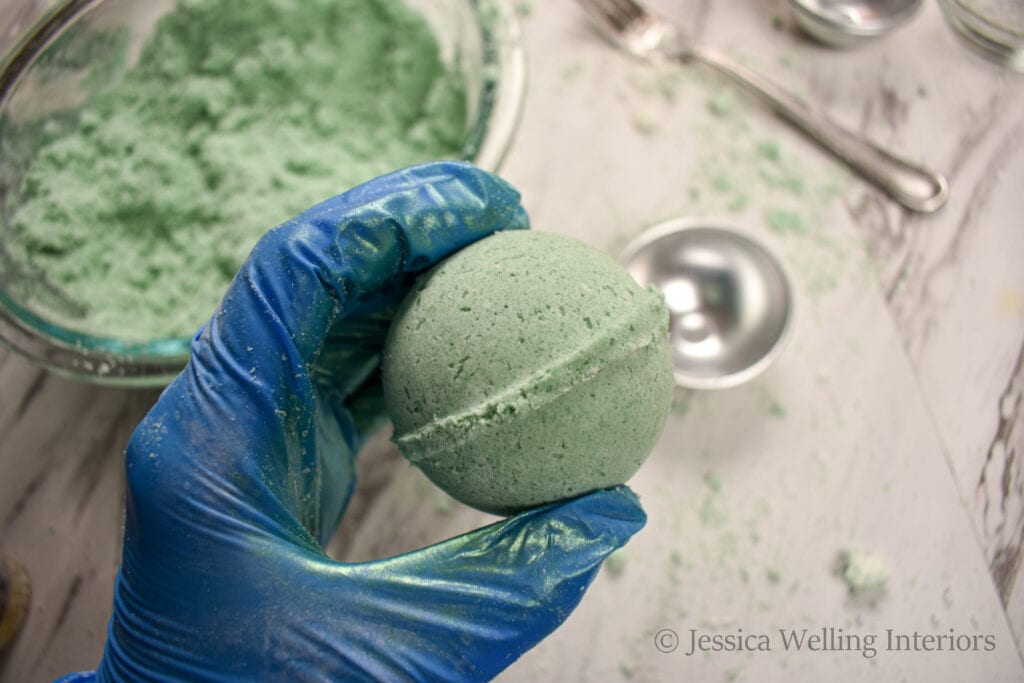
Handmade bath bombs traditionally have a visible seam around the center where the two halves of the mold come together. I personally think this adds to their rustic/ handmade charm. But if you want to minimize the seam, take a finger and run it around the seam to remove any excess mixture before moving on the the next step.
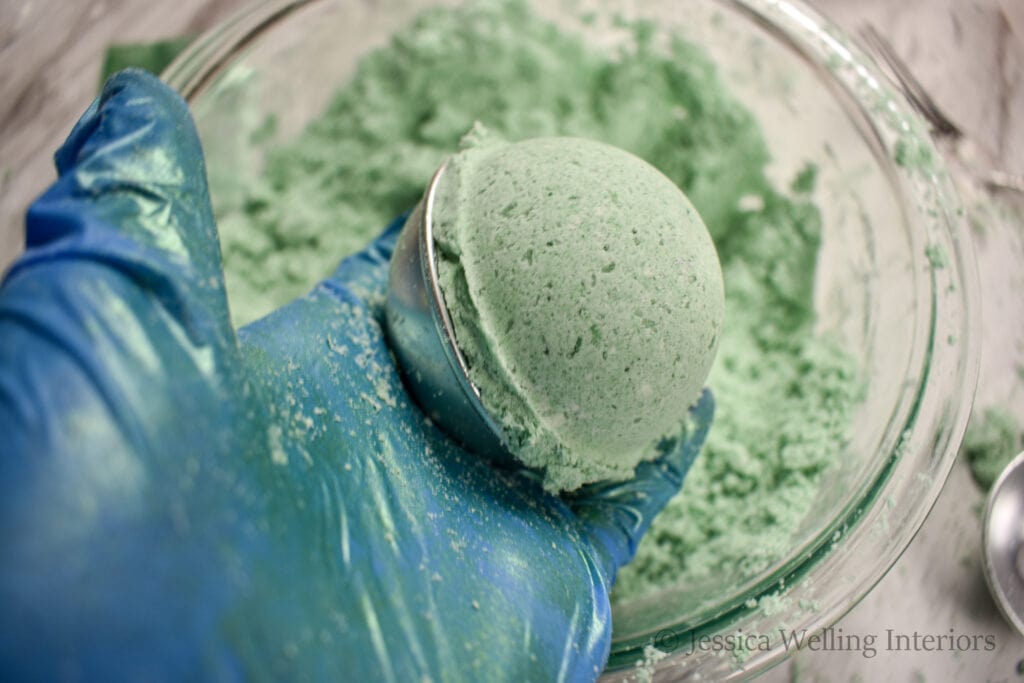
9. Remove mold.
Gently pull off one side of the mold, and then the other. If you have the consistency right, the bath bomb will come out in one piece, and without too much difficulty.
If you end up with two separate halves, try dumping and re-packing. If this doesn’t work after a couple of tries, then you probably need to adjust the mixture’s consistency. Check out my troubleshooting tips below.
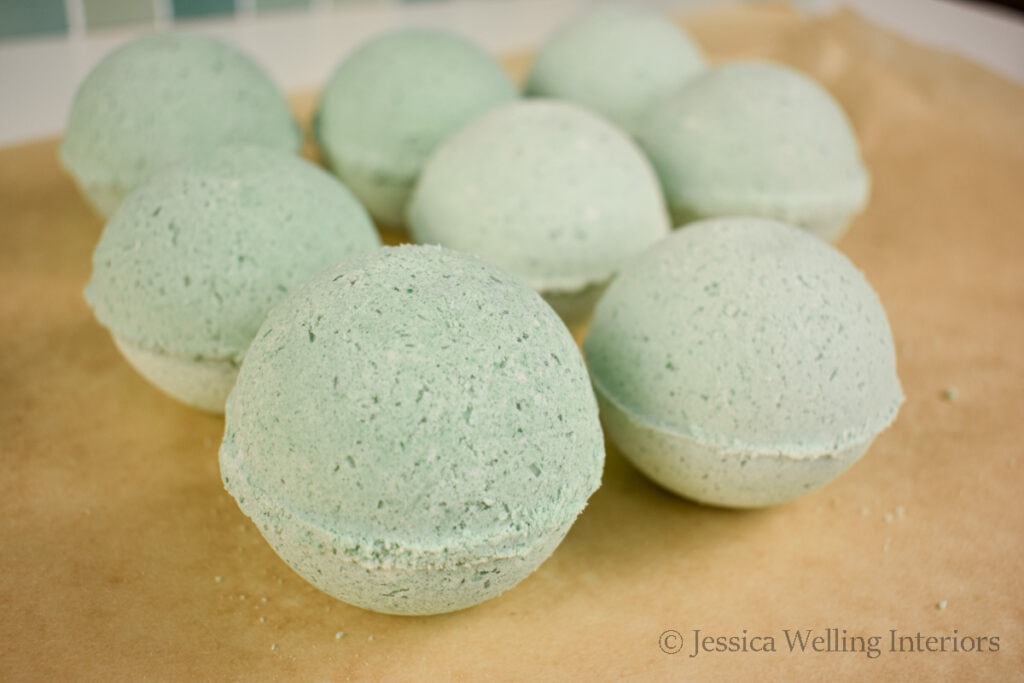
10. Let them dry.
Leave the finished bombs out to dry for several hours before sealing them up. They should feel hard and dry to the touch.
Helpful Tips
Inclusions
Now that you have the basic bath bomb recipe, you can customize it however you like! Consider adding very small flowers or flower petals, citrus zest, crushed candy canes, biodegradable glitter (though maybe not the chunky kind since there are some sensitive places you probably don’t want glitter. Eeep!), sprinkles, or soap confetti.
Whatever you add, just be sure it’s biodegradable and small enough to wash down the drain without causing plumbing issues. And remember that you’ll have to rinse it all out of the tub when you’re done, so sometimes less is more.
Troubleshooting
As I’ve mentioned a few times already, the consistency of your mixture is both the trickiest, and most important thing to get right. How will you know you have the perfect consistency? Your bombs will come out of their molds nicely and in one piece. And if that’s the case, you’re probably not reading this troubleshooting section. If it’s not going so well, never fear! Check out my tips below.
Bath bomb mixture is too dry.
If the mixture isn’t making a good clump in your hand when you squeeze it, you need to add just a little more moisture. Give it a spritz of witch hazel and try kneading it again. Repeat this until your mixture sticks together.
Bath bomb mixture is too wet.
It’s easy to add too much moisture. You’ll know the mixture is too wet if it’s expanding in the bowl or out of the mold. It does this because the water has activated the reaction between the baking soda and citric acid. Try adding a little more cornstarch and kneading it in.
Can I substitute cream of tartar for the citric acid?
You can, but the bombs won’t fizz very much when you put them in the tub. I’ve tried it and the results were disappointing. If you’re going to go to the trouble to make bath bombs, just get the citric acid.
FAQ
Can I use liquid food color in bath bombs?
Yes you can. But I prefer to use mica, and here’s why: The balance of liquid and dry ingredients in the mixture is a bit precarious. It’s easy to ruin a batch with too much liquid, even just a few drops. So adding liquid food color and throw off the ratio and cause your bombs to not hold together.
Mica is also easier to clean up and won’t stain surfaces and utensils the way food color will. That said, if you do choose to use liquid food color, you’ll want to add it to the other liquid ingredients before combining them with the dry ingredients.
Can I use other molds?
Yes! Any plastic or silicone mold should work. You’ll probably need to leave the bombs inside the molds to dry for several hours, or even overnight before removing them. I recommend choosing compact shapes that don’t have too many appendages, since finished bath bombs are fragile and easy to break.
Can I let the bath bombs dry in the molds?
If you’re using traditional bath bomb molds, no. The bombs will stick to the mold and never come out. If you’re using flexible plastic or silicone molds, yes you should be able to let them dry in the molds and pop them out later.
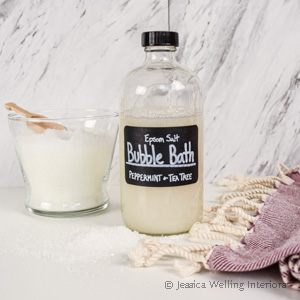
Can I make bubble bath bombs?
Yes! But you’ll need a different recipe. Check out my tutorial here:
Storing Bath Bombs
The finished bath bombs should be stored in an airtight container, especially if you’re going to keep them in a humid bathroom. You may have noticed that professional bath bombs are usually shrink-wrapped in plastic. This is because less exposure to air will help to keep the essential oils from dissipating and the baking soda and citric acid from reacting to the moisture in the air.
I’m currently experimenting with shrink-wrapping them, and I’ll update this post when I have the technique down.
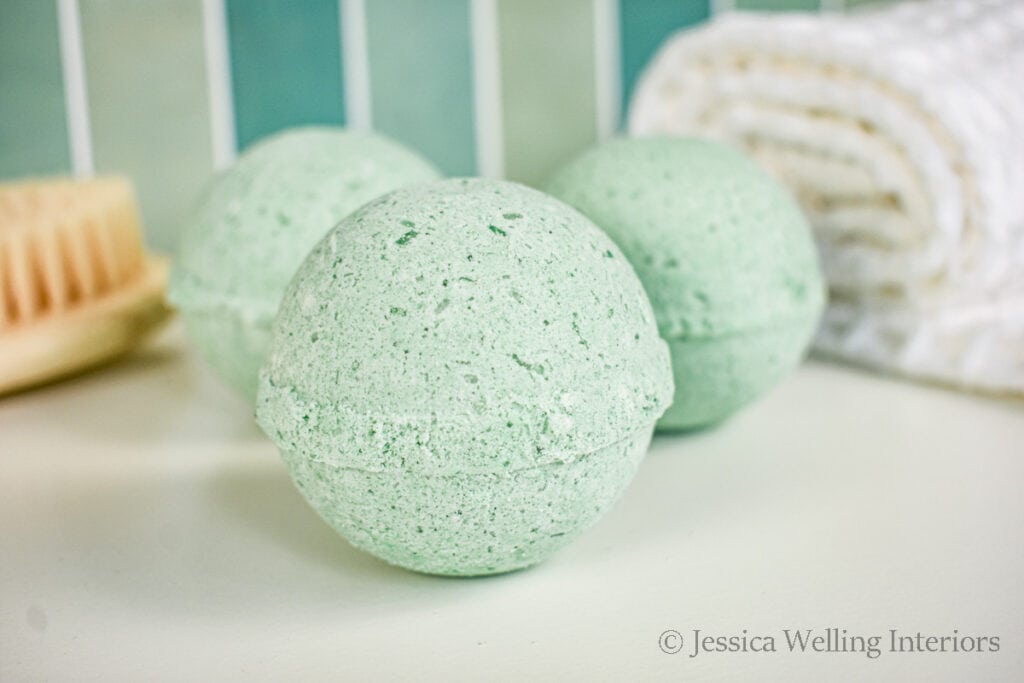
How to Enjoy Your DIY Bath Bombs
When you’re ready to enjoy a nice long soak in the tub, simply fill it with warm water and toss a bath bomb in. Watch it fizz and dissolve into the hot water, dispersing the salts, oils and fragrance into the water.

How to Make Bath Bombs
Materials
- 1 cup baking soda
- 1/2 cup epsom salt
- 3/4 cup cornstarch
- 1/2 cup citric acid
- 2 Tablespoons vitamin E oil
- 40 drops peppermint essential oil
- 40 drops lemon essential oil
- 1 tsp. cold water
- mica powder colorant
- witch hazel
Instructions
- Combine baking soda, epsom salt, corn starch, & citric acid in a large mixing bowl & stir.
- Combine vitamin E oil, essential oils, and water in a small bowl.
- Add wet ingredients to dry ingredients and stir with a fork.
- Use gloved hands to knead the mixture until it reaches a consistency like powdery snow or brown sugar.
- Add mica colorant and knead it into the mixture (optional).
- Fill both halves of the bath bomb mold, lightly packing the mixture in and mounding it up.
- Add a bath bomb embed in one side if you like.
- Press the two halves of the mold together, squeezing them hard.
- Remove the mold, one side at a time.
- Let it dry in the open air for several hours.
More DIY Bath Products…
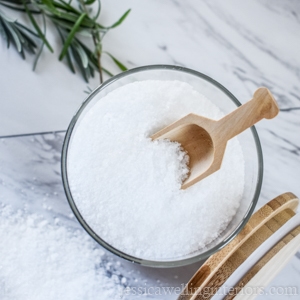
How to Make Bubble Bath (That Actually Bubbles!)
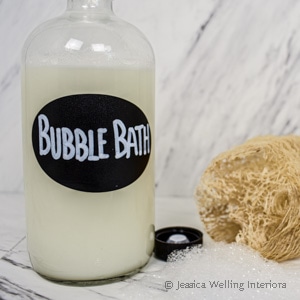
DIY Bubble Bath with Epsom Salt