
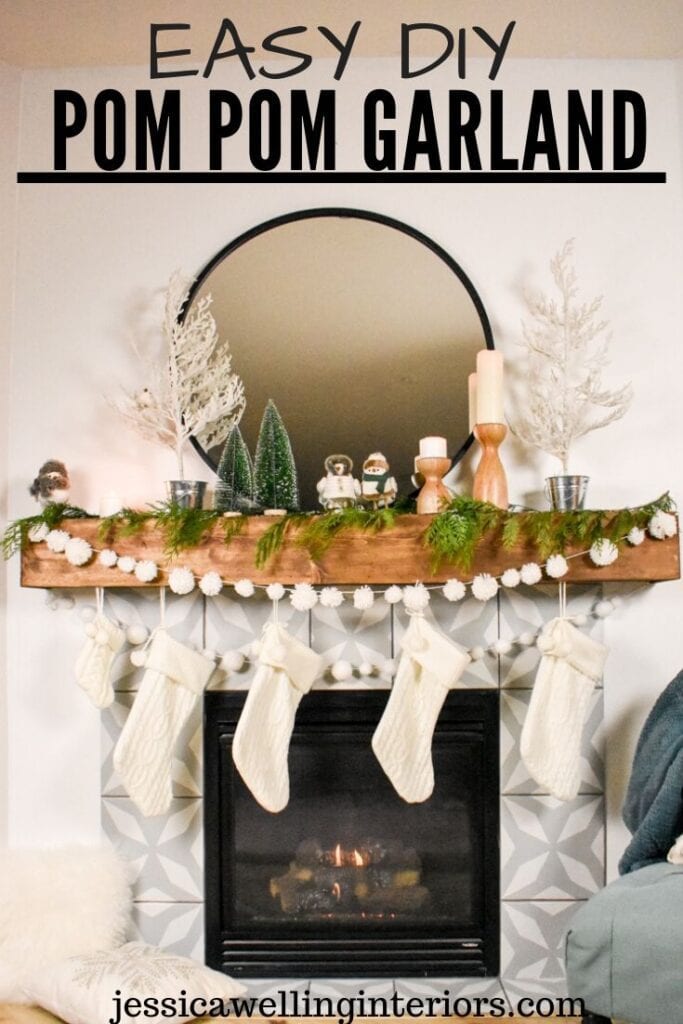
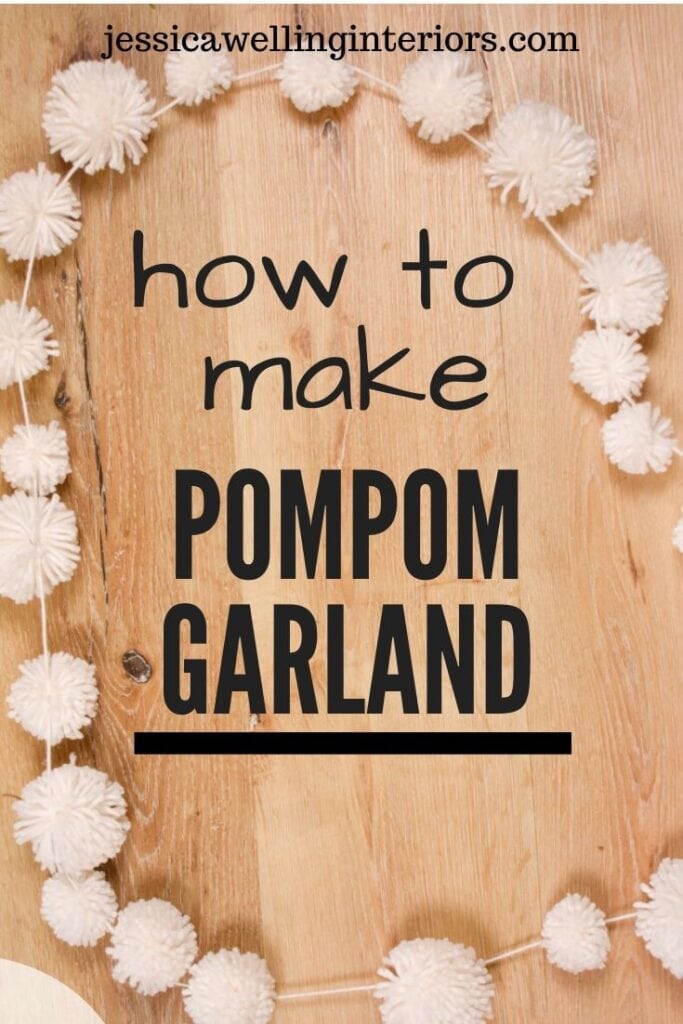
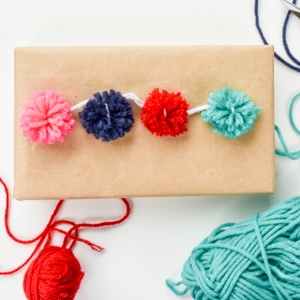
Easy DIY Pom Pom Garland!
Make your own pom pom garland with this fun and easy tutorial! They’re perfect for mantels and Christmas trees!
We are all about making pom poms at my house. So it was only natural that we needed some pom pom garlands for our Christmas decor.
How To Make A Simple DIY Pom Pom Garland
These are fun to make, easy, and addictive! If you’d rather see the video tutorial, scroll to the bottom of this post. Let’s get started!
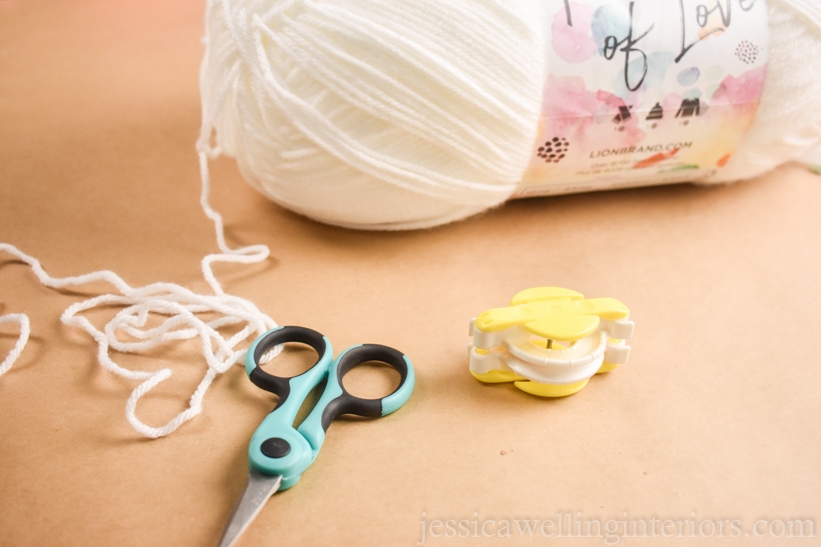
Materials
- small pom pom maker (this is my favorite inexpensive set on Amazon)
- sharp craft scissors
- yarn
- spray-on adhesive (if you want to add glitter)
- glitter (optional)
Directions
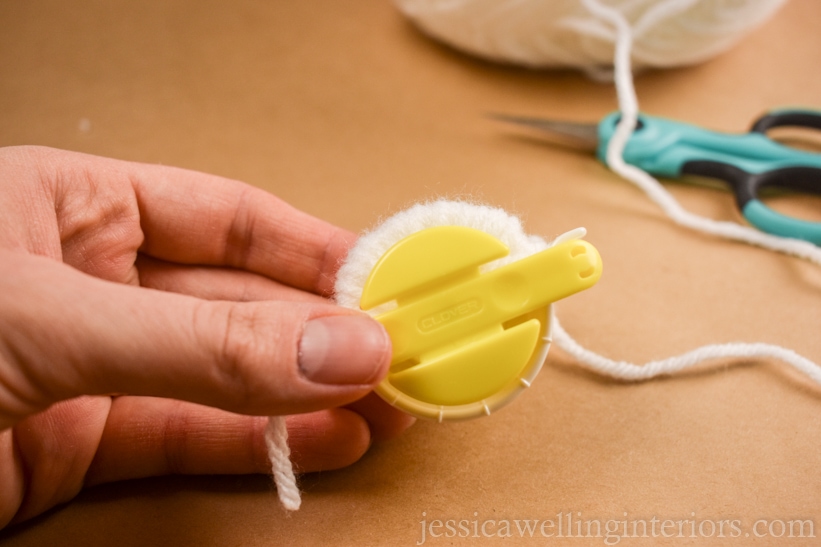
1. Wrap The Yarn
Open one side of the pom pom maker and begin wrapping the yarn. I like to start on one end and work toward the other. For the small sized pom pom, about 30 wraps per side will give you a nice fluffy (but not overly full) pom.
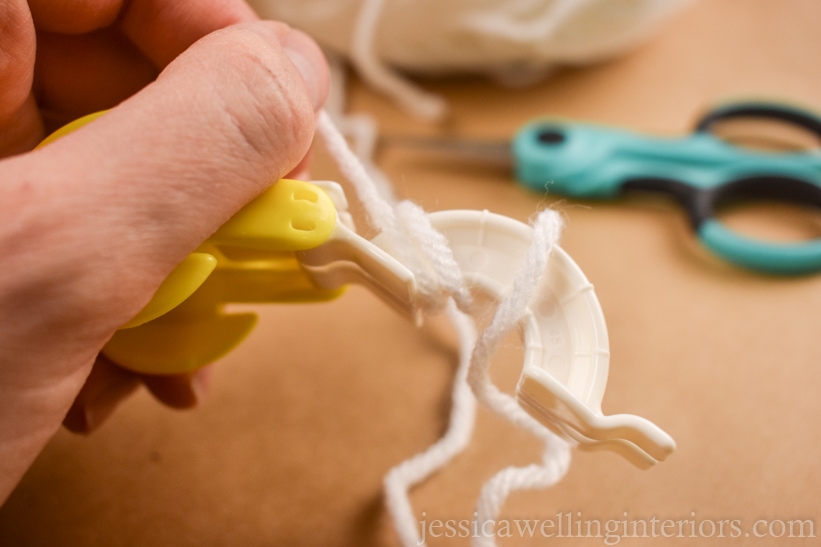
You can do fewer or more wraps, depending on how full you want your pom poms to be. It’s just important to do roughly the same number on each side so your pom pom won’t be lop-sided.
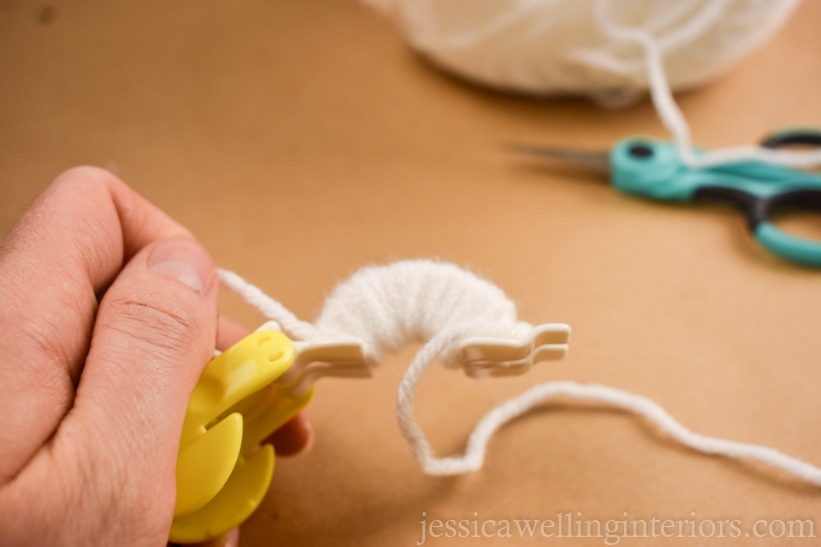
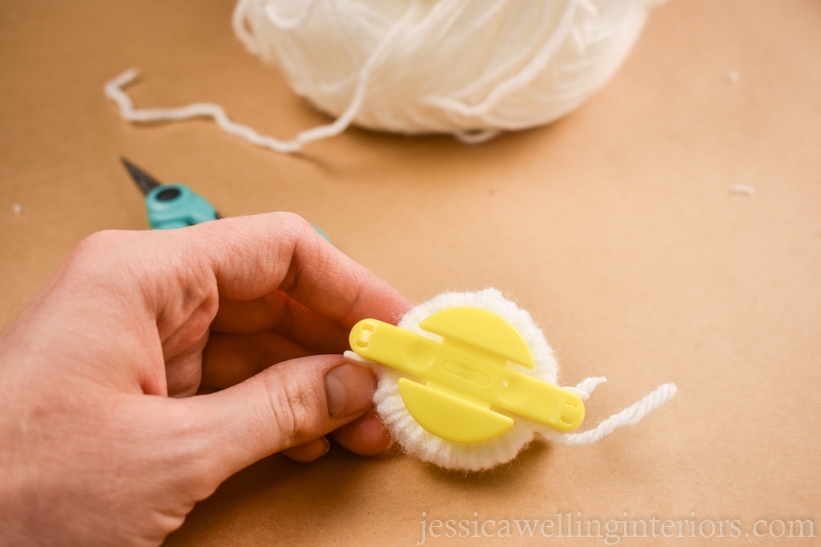
2. Close The First Side
Once you’re done wrapping the first side, close it and open the other side.
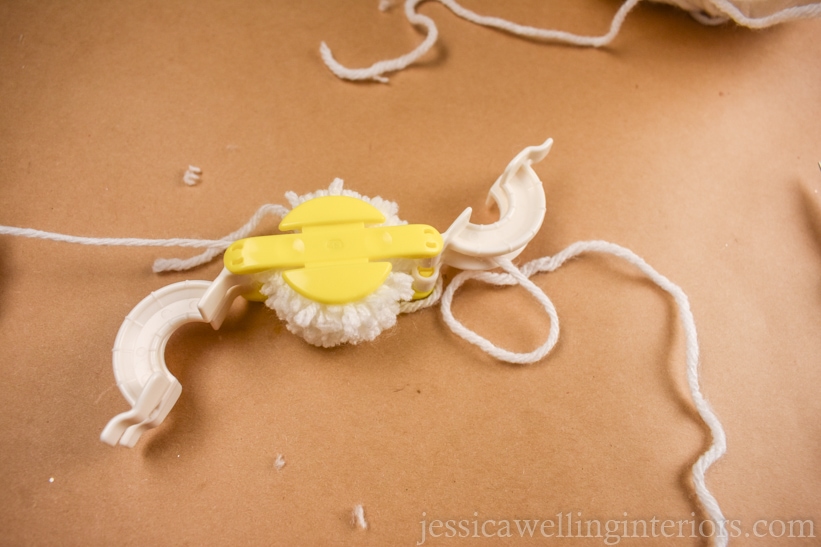
3. Wrap The Second Side
Repeat the process from before, wrapping the entire second side of the pom pom maker. Then close the second side. It should look like this:
4. Cut The Pom Pom
Now take the craft scissors and cut all the way around the groove in the pom pom maker. When I first started my pom-pom-making journey, I tried to use regular scissors to cut them. Is it possible- yes, sort of. But it’s difficult and frustrating. I ordered these $6 craft scissors, and they’re perfect!
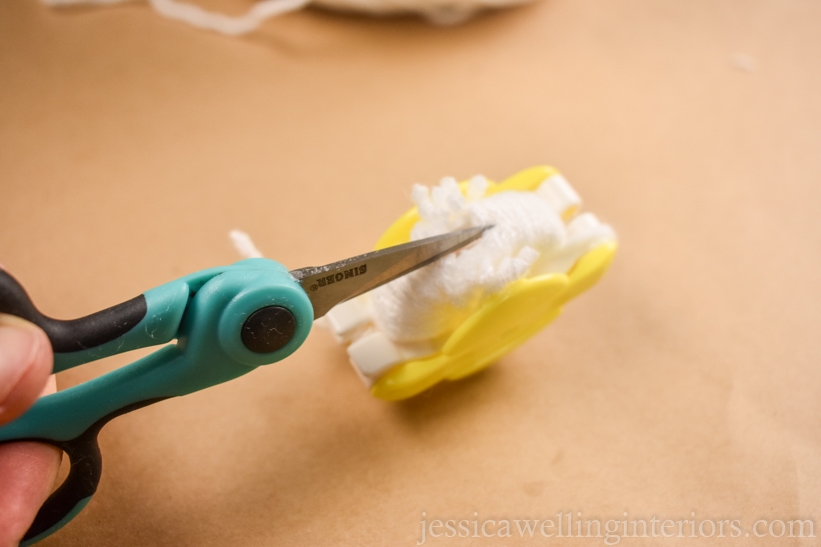
Note: DO NOT open the pom pom maker yet. You’ll end up with a big pile of little pieces of yarn! Wait until the pom pom is tied (next step) before you open it.
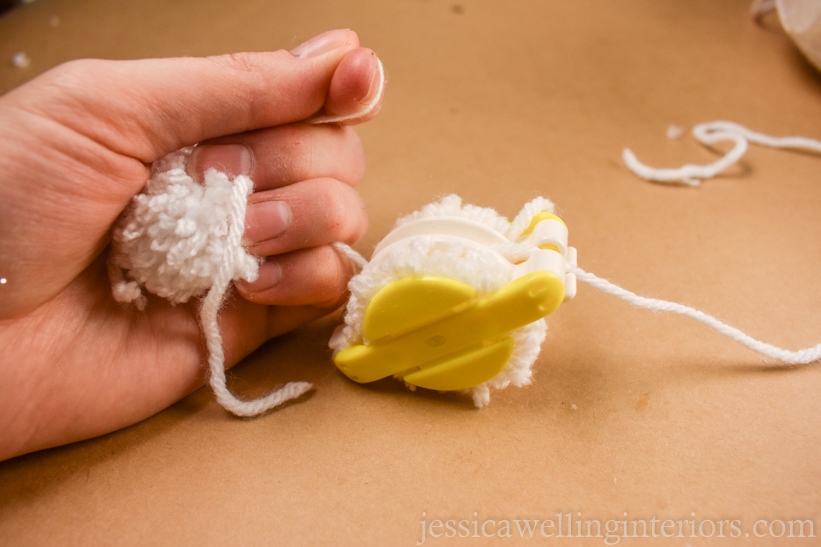
5. Tie the Pom Pom Onto the Garland
Cut a length of yarn, a bit longer than you want your final garland to be.
Now wrap the yarn around your pom pom maker, fitting it into the groove that goes all the way around. Cinch it as tight as possible and tie a single, and then a double knot. This is what holds the pom pom together, so make sure it’s tight!
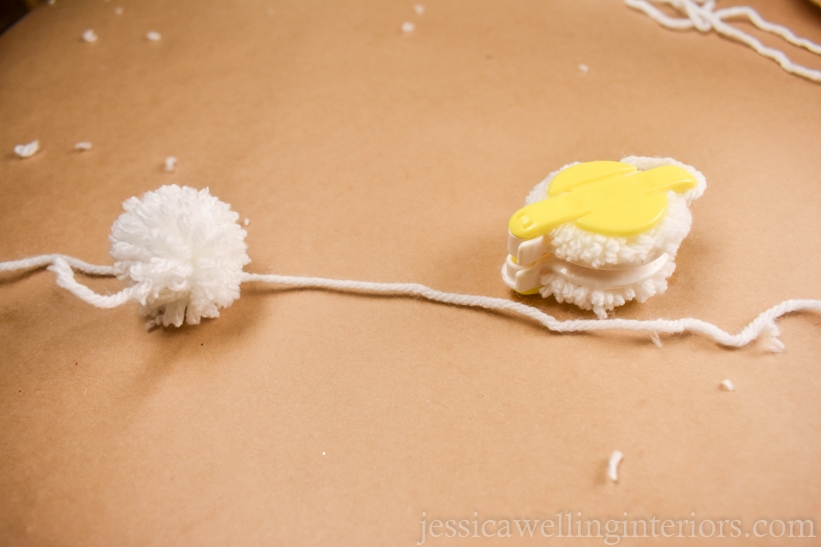
6. Open & Remove the Pom Pom
Open the two sides of the pom pom maker. Then pull the two halves apart to release the pom. It should be attached (and held together by) the long piece of yarn that will become the garland.

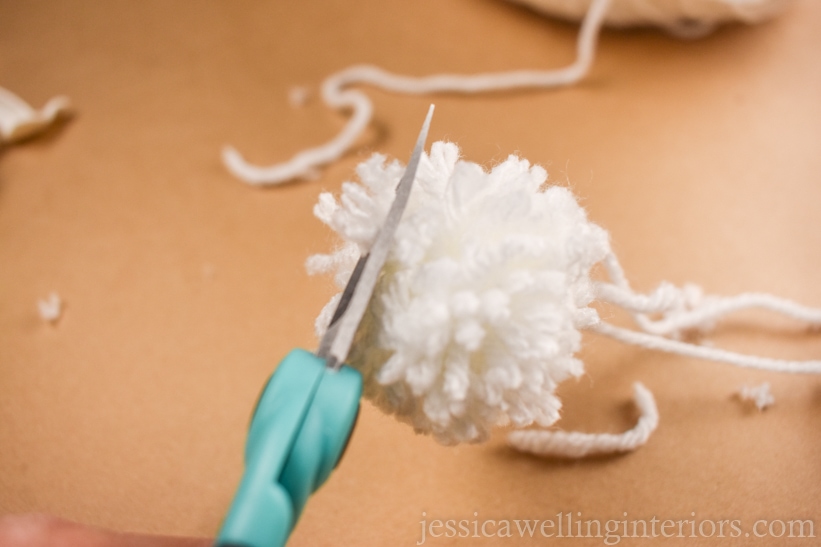
7. Trim
Use the scissors to trim the pom pom, making it even all the way around. But be careful not to cut the garland string.
8. Repeat
Now continue making pom poms and using the garland string to tie them together. They can be as close together or far apart as you like.
Once all your pom poms are made, you can be done. Or if you want some extra embellishment, add glitter.
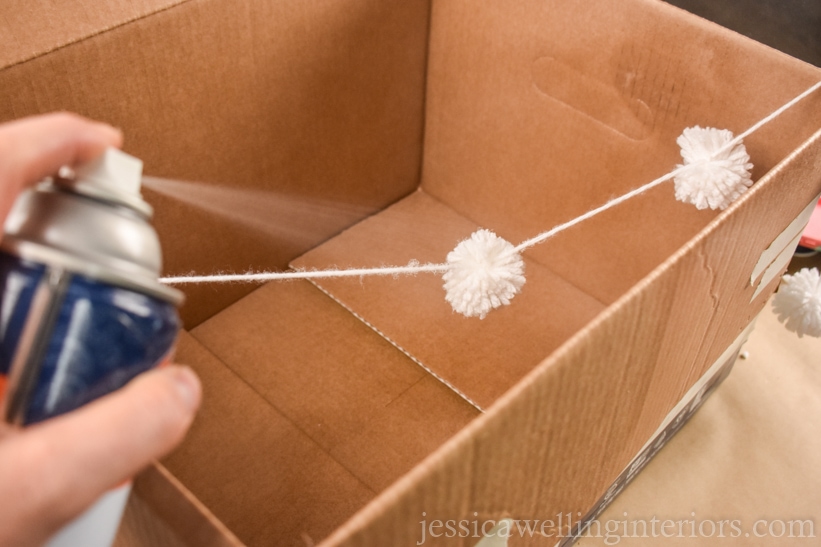
9. Spray With Adhesive
I draped my garland over an Amazon box to prevent adhesive spray from getting all over the house. Ideally this is something to do in the garage or outside, since it’s a bit stinky. Spray each pom pom with glue.
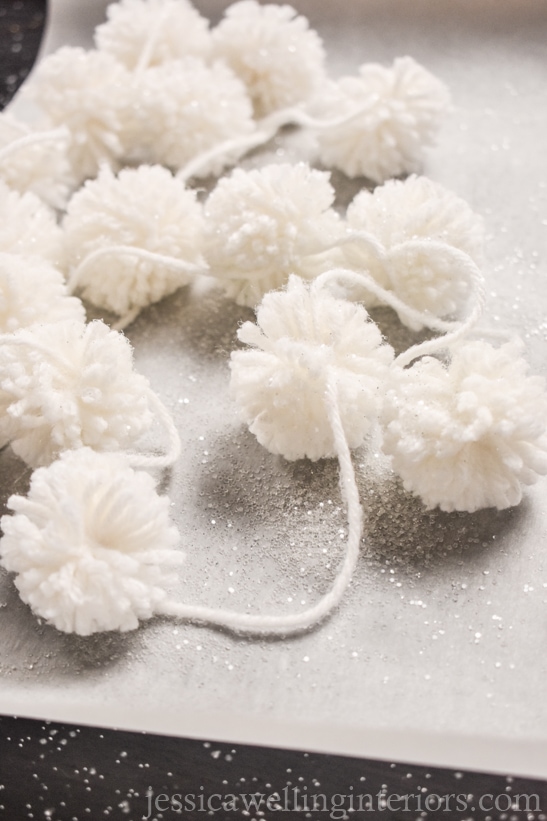
9. Sprinkle With Glitter
Move the garland to a clean sheet of paper or parchment and sprinkle it with glitter. Once it’s dry, shake the pom poms off.

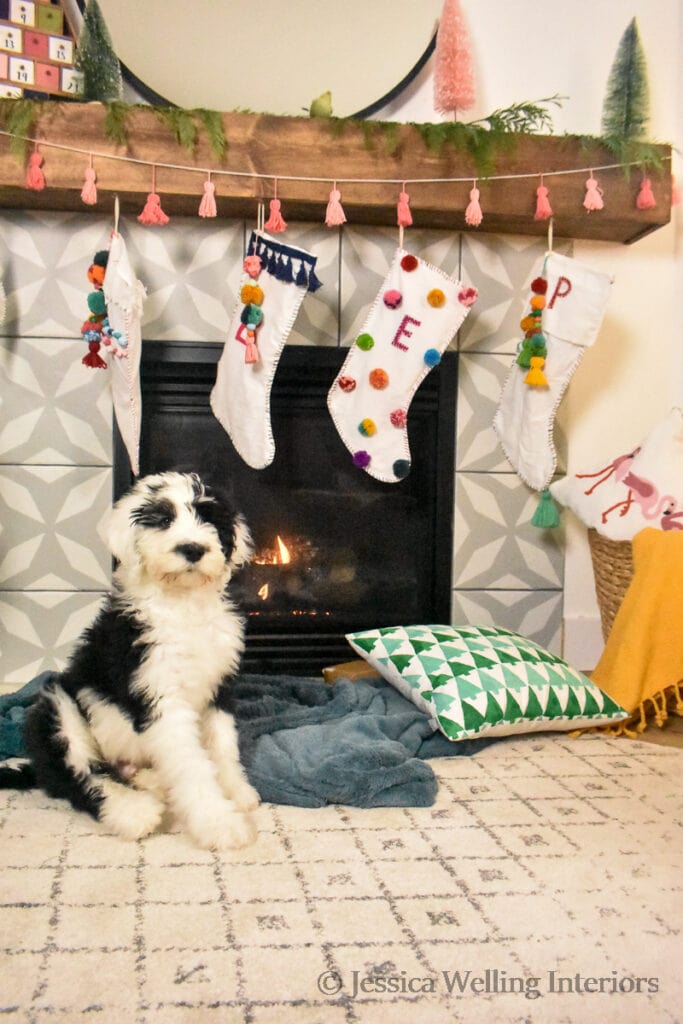
Last year, I hung the pom pom garland on my mantel for Christmas. And since they sort of look like little snowballs, I left it up for Winter too.
This year, I used my pom pom garlands on my Christmas tree, and I’m loving the look! You can see the rest of my colorful Boho Christmas living room tour here!

Unfortunately Fozzy enjoys pulling the garland (and all the ornaments) off the tree. But what are ya gonna do?
You can customize your pompom garland however you like- rainbow-colored pom poms, Fall colors, add wood beads, the possibilities are endless!
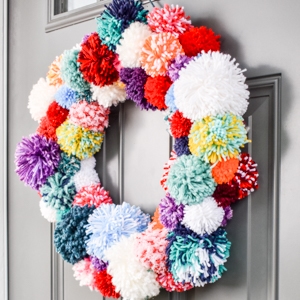
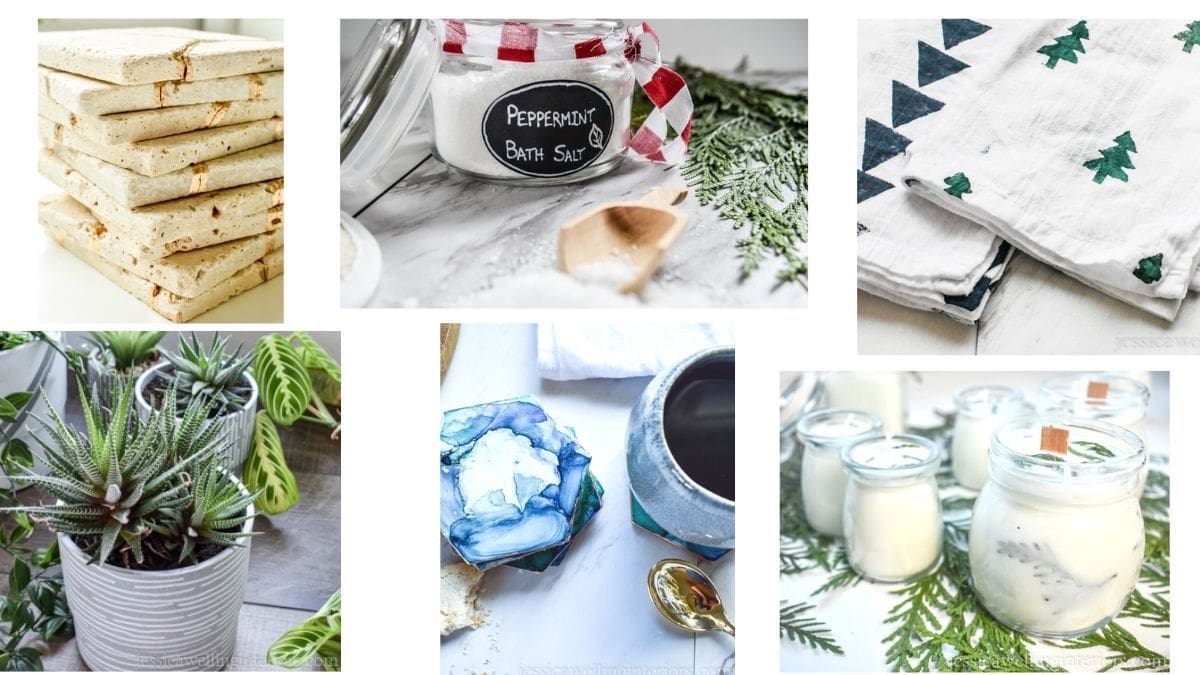
More Boho Pom Pom Christmas Decor Ideas…
Make a Colorful Pom Pom Wreath!
8 Pom Pom Christmas Gift-Wrapping Ideas


5 Comments