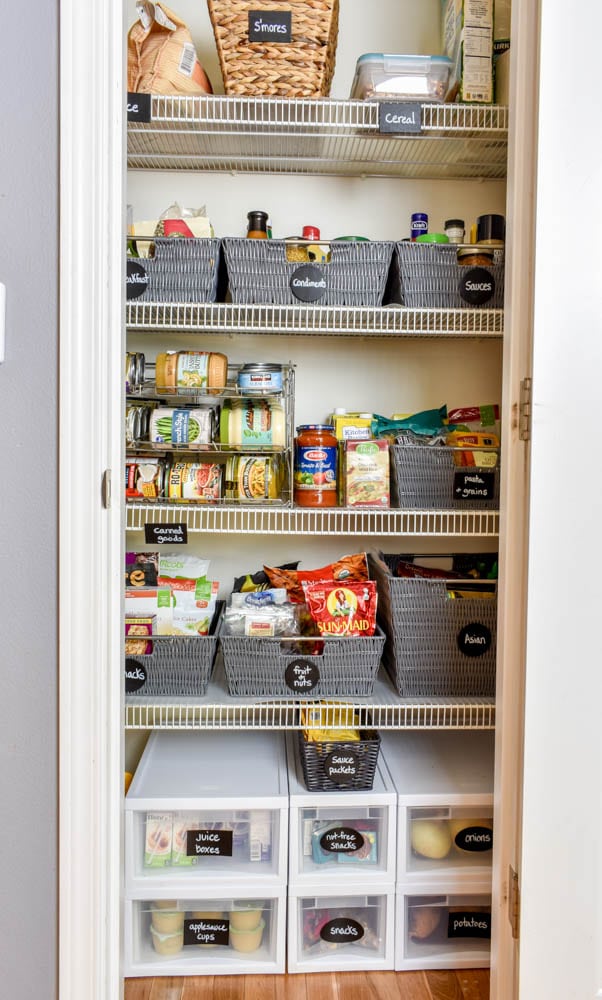
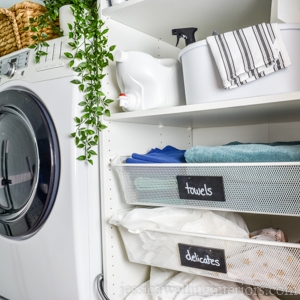
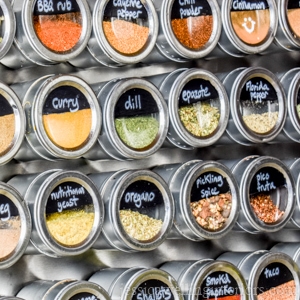
I recently re-organized my pantry, and we did a laundry room renovation a few months ago. I needed mini signs to finish up both projects, and these painted chalkboard labels were just the thing! I’ve tried a few different types of labels in my pantry, but none of them have stuck for very long. That’s why I’m busting out the Crazy Glue this time!
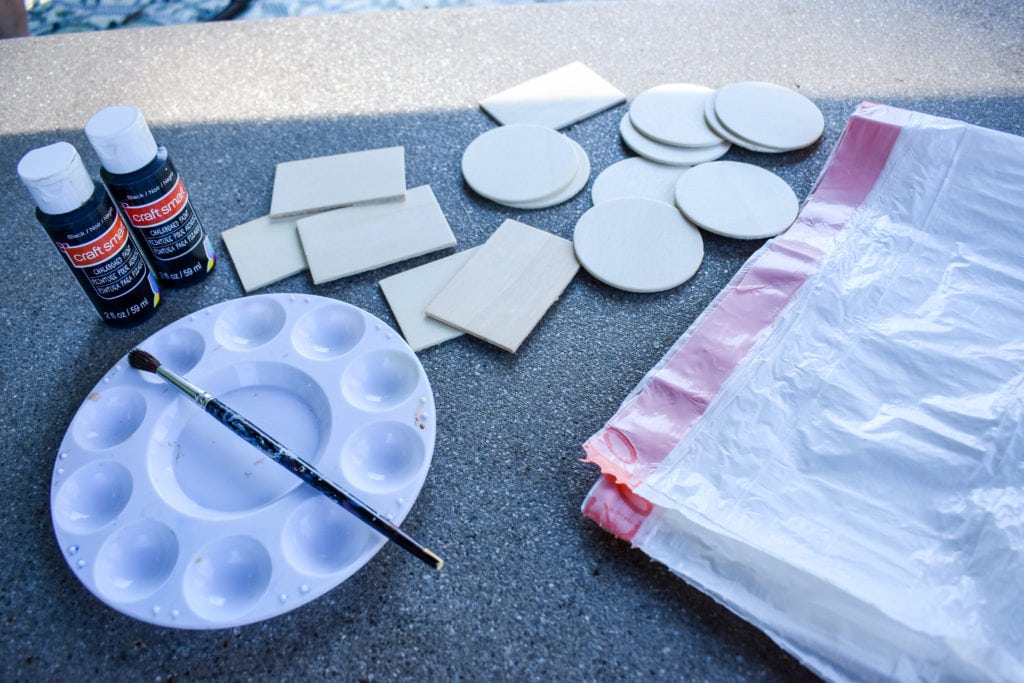
I picked up some inexpensive balsa wood pieces, a couple of bottles of chalkboard paint, and a chalk pen at Michael’s. Plus a few more things (see below).
Supplies:
paintbrush
paint tray
chalkboard paint
wood pieces and/or wood signs (look in the wood craft section of any craft store)
chalk pen or white paint pen
garbage bag or something to use as a drop cloth
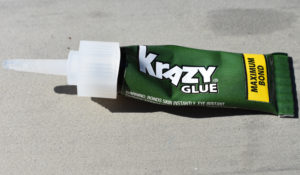
Krazy Glue (Gorilla Glue or Superglue would probably work too)
mini cable ties (optional)
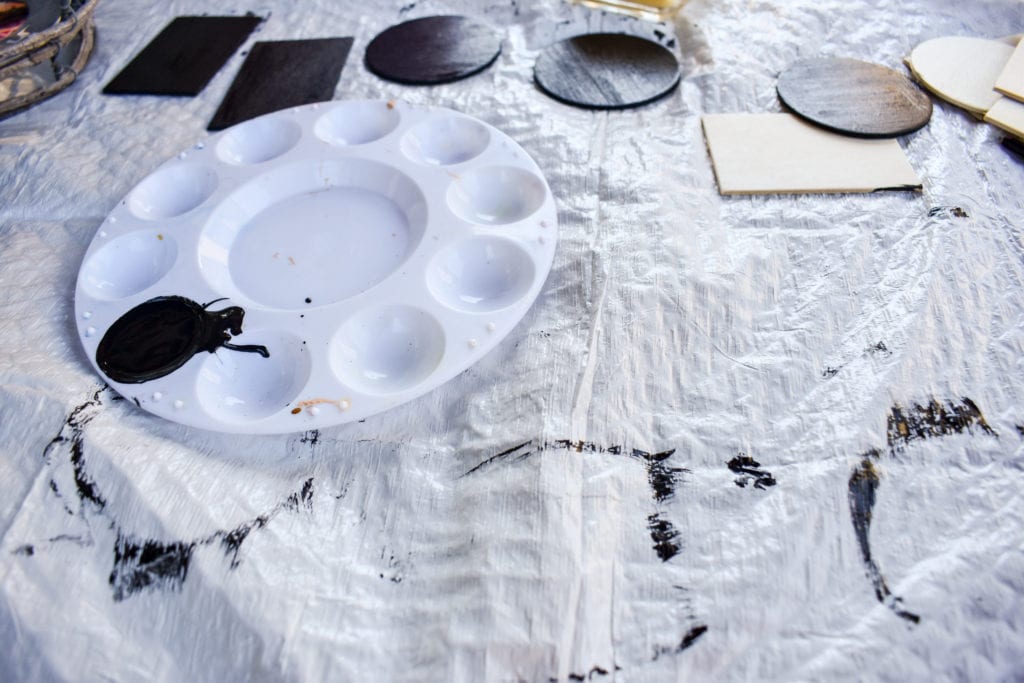
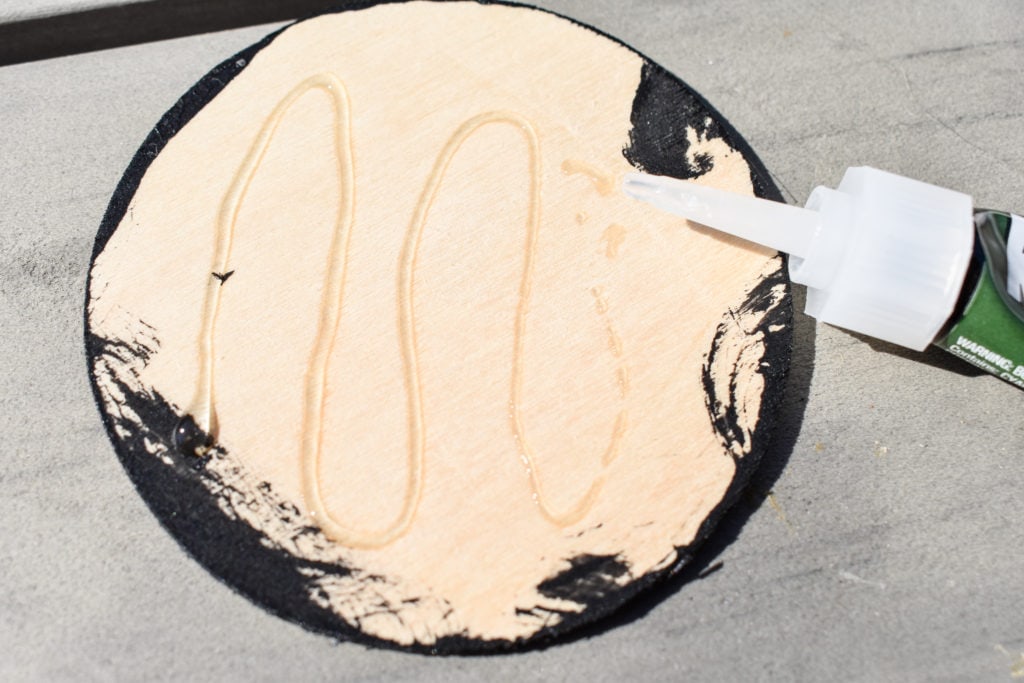
Paint the Signs. For mine, I chose the smoothest side and I only painted one side, plus the edges. No one will see the backs!
Let them Dry & Re-coat.
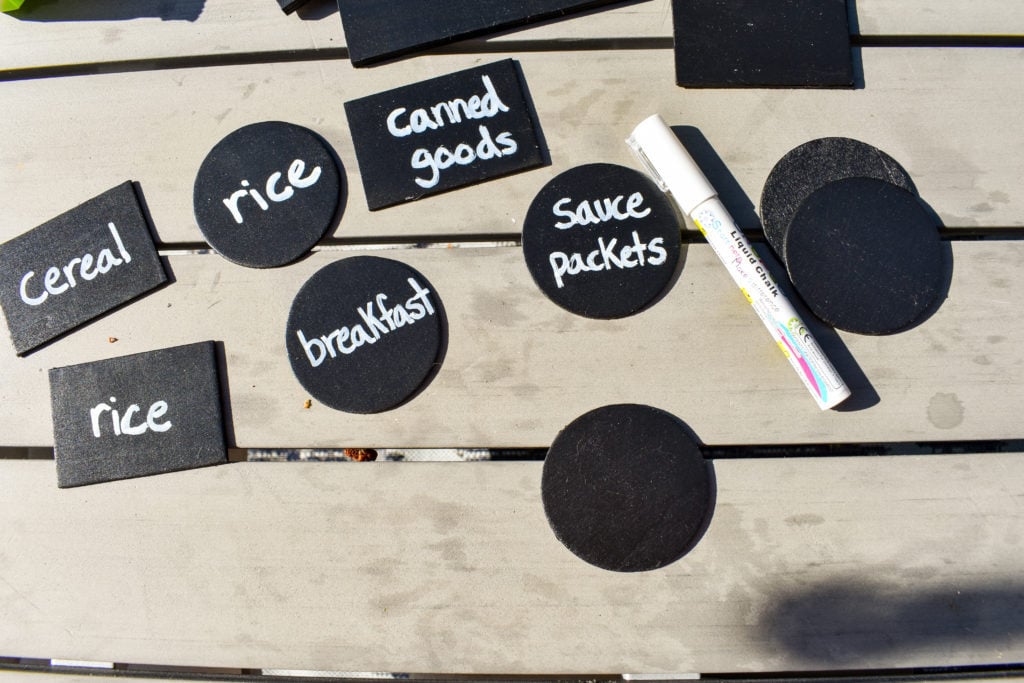
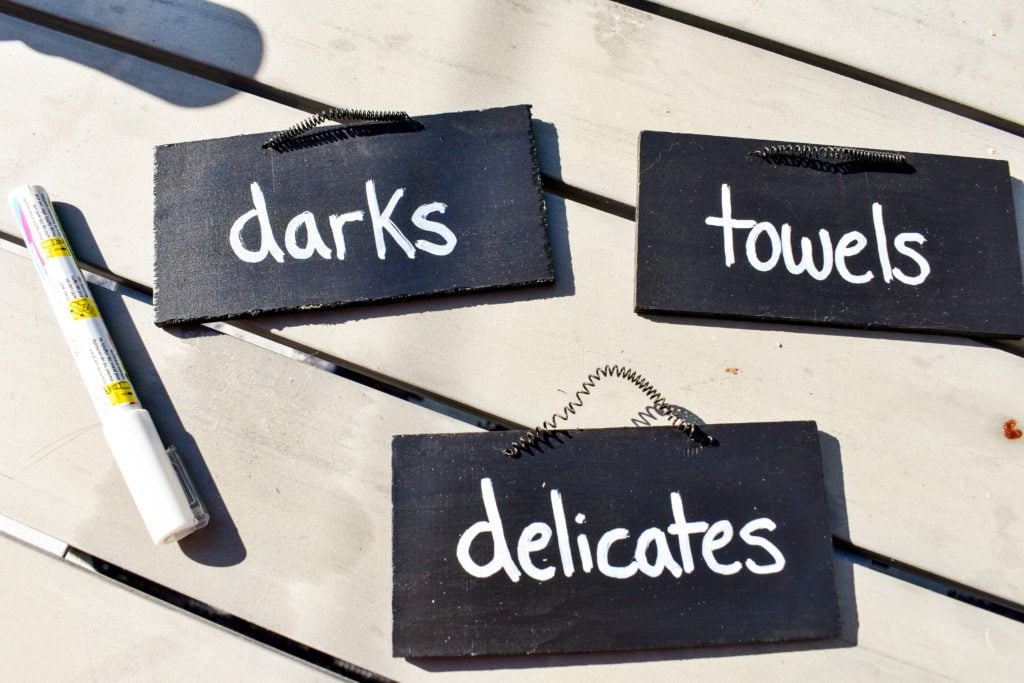
Write Labels. Once your paint is good and dry, you can write your labels with a chalk pen. If you don’t see yourself changing the labels in the future, you may choose to use a white paint pen instead.
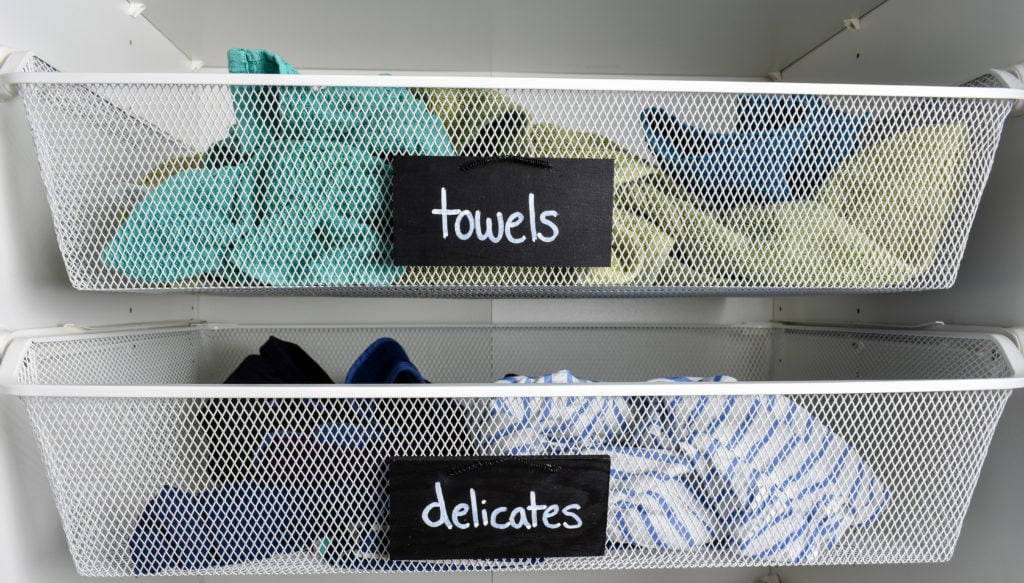
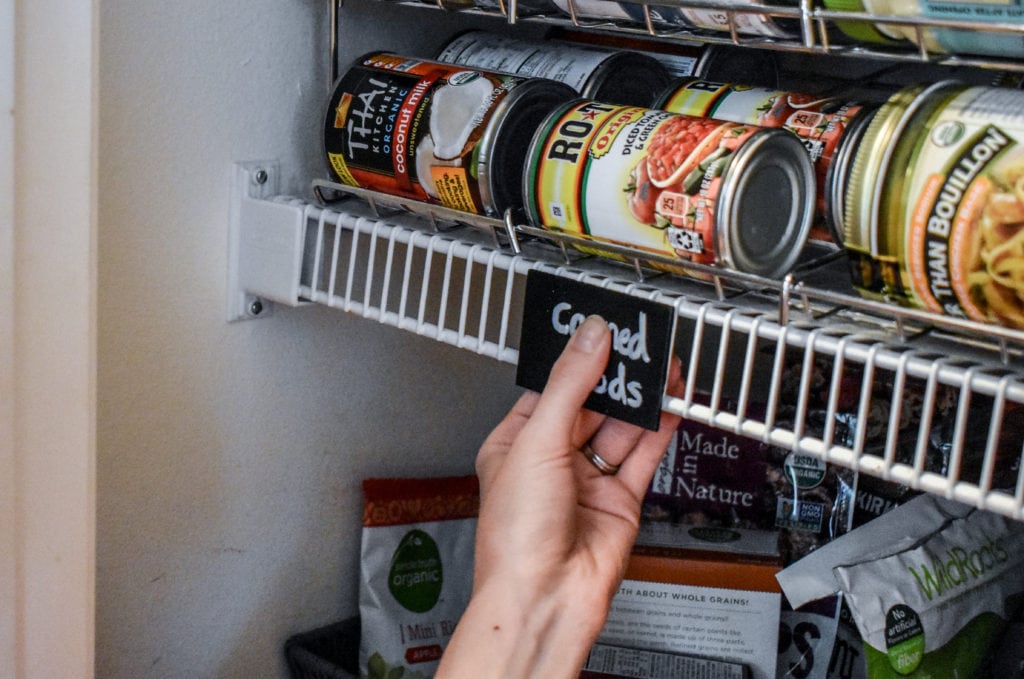
Attach labels to baskets. Now that your labels are finished, it’s time to attach them. I want mine to last, so I’m using Crazy Glue. Be careful with this stuff- I have definitely glued my fingers together more than once! I was surprised at how long I had to hold the labels on the baskets before the glue stuck. It was probably about 2 min for each one. So I got out my Kindle and did some reading! Well worth it though, because now they’re not going anywhere!
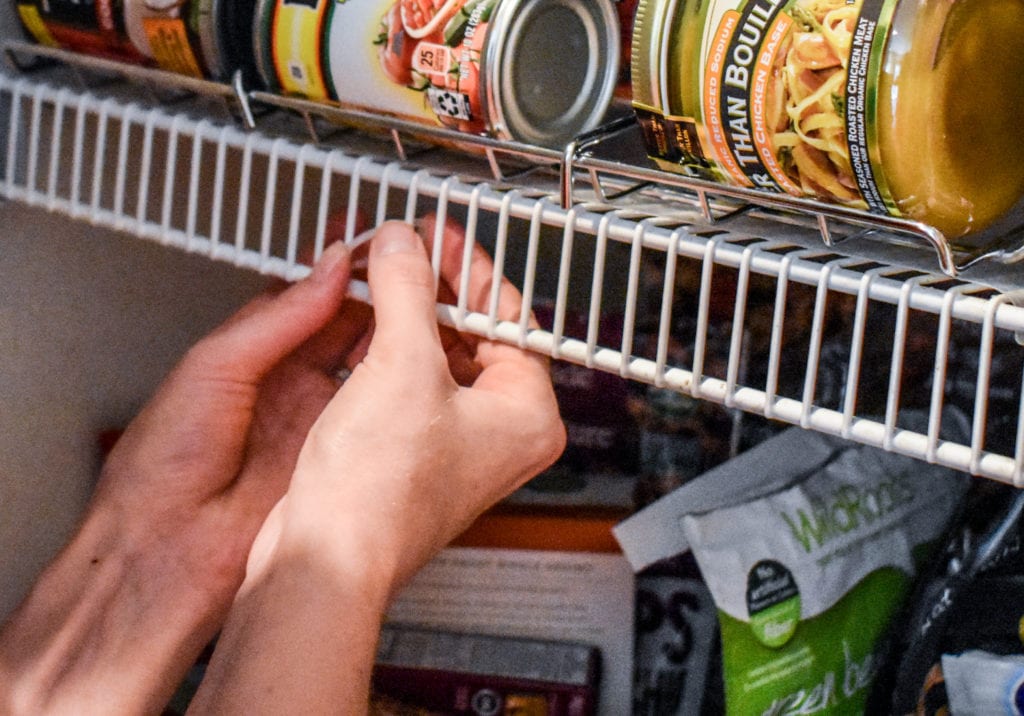
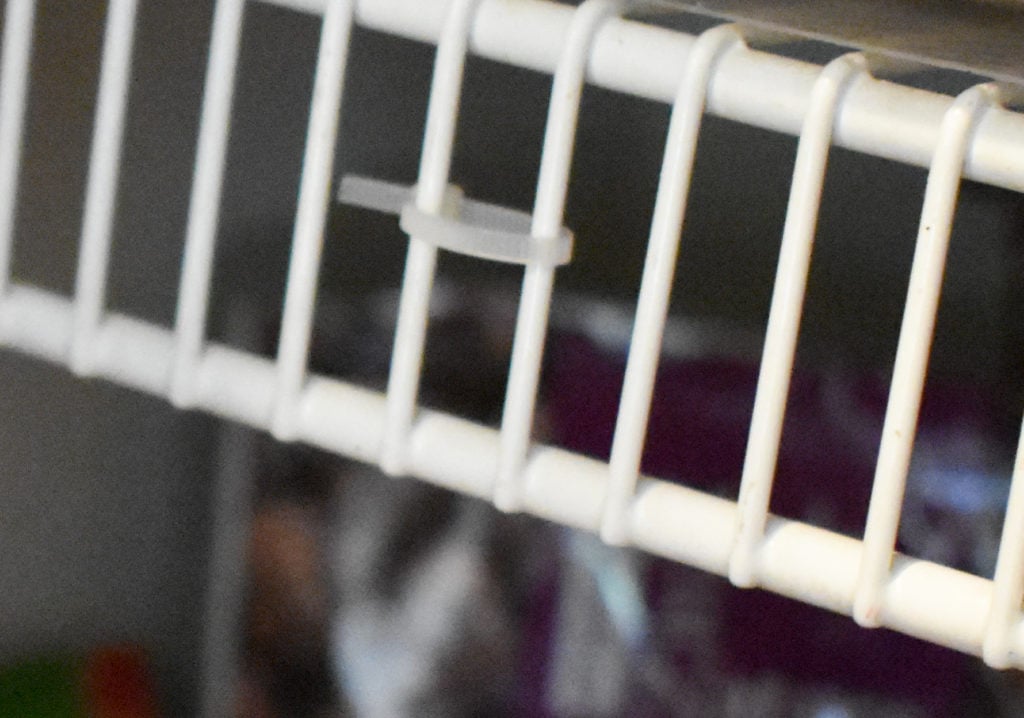
Adhere labels to shelves. In order to attach the labels to the wire shelving in my pantry (since I will probably need to remove it someday), I first used a mini cable tie. I wrapped it around two of the vertical wires on the edge of the shelf.Then I snipped of the excess cable tie, and applied crazy glue to the front face of the tie.Next I stuck the label to the cable tie and held it tight for 2 minutes or so. And there you have it! You can check out my pantry organization guide HERE!
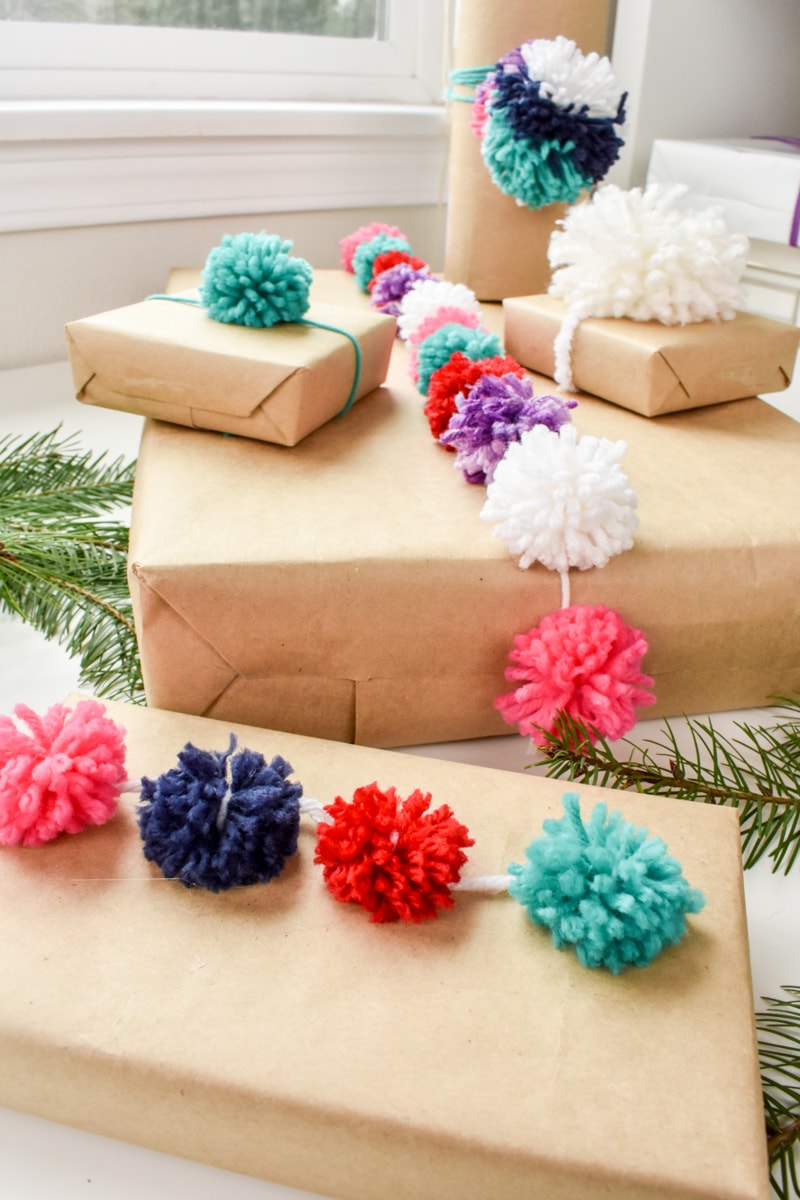
These super-fun gift wrapping ideas use easy DIY pom poms in place of bows. These are perfect for Christmas gifts, birthdays, baby gifts, and more! Hello! This year, I’m feeding my pompom obsession by using them to wrap Christmas gifts… and these ideas aren’t just for Christmas- they would be great for birthdays, baby showers,…
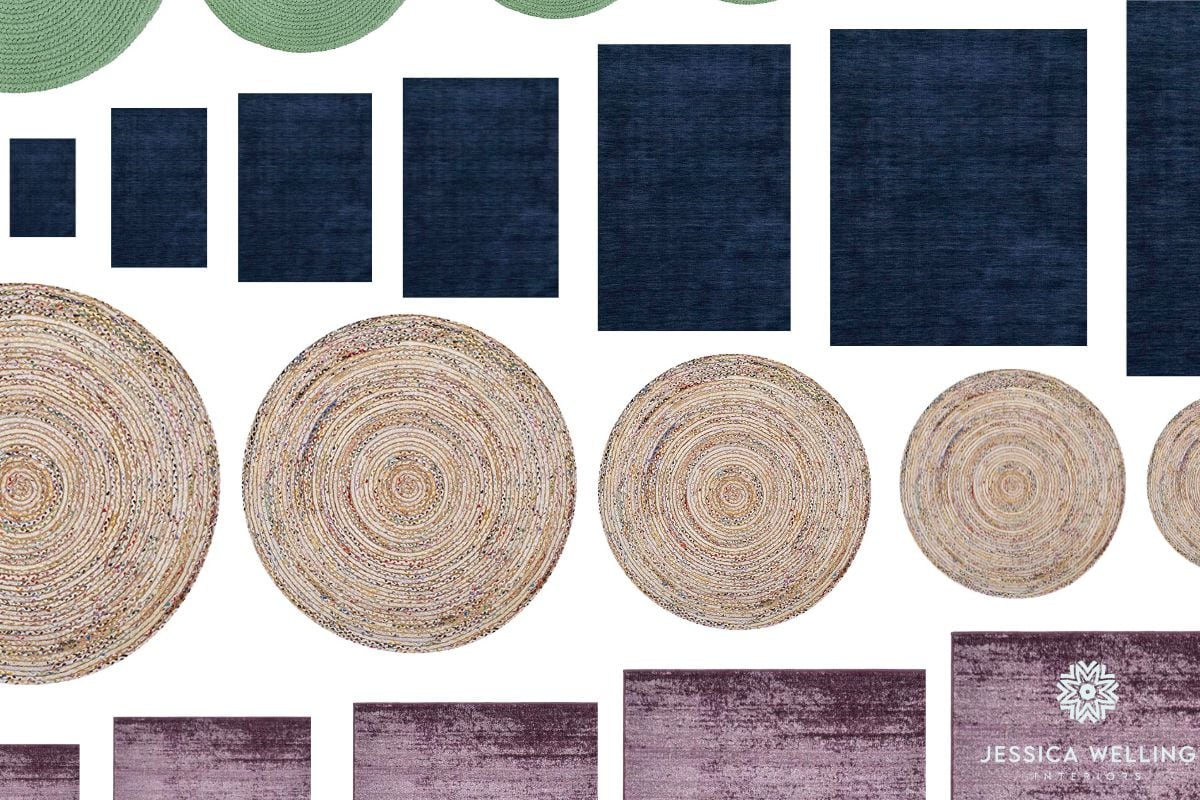
Complete guide to standard rug sizes for living rooms, dining rooms, entryways, bedrooms, home offices, hallways, kitchens, and more! Choosing the right sized rug for your space can be daunting if you don’t know what you’re doing. But this simple guide will take all the guess work out of it. Standard Rug Sizes As you…
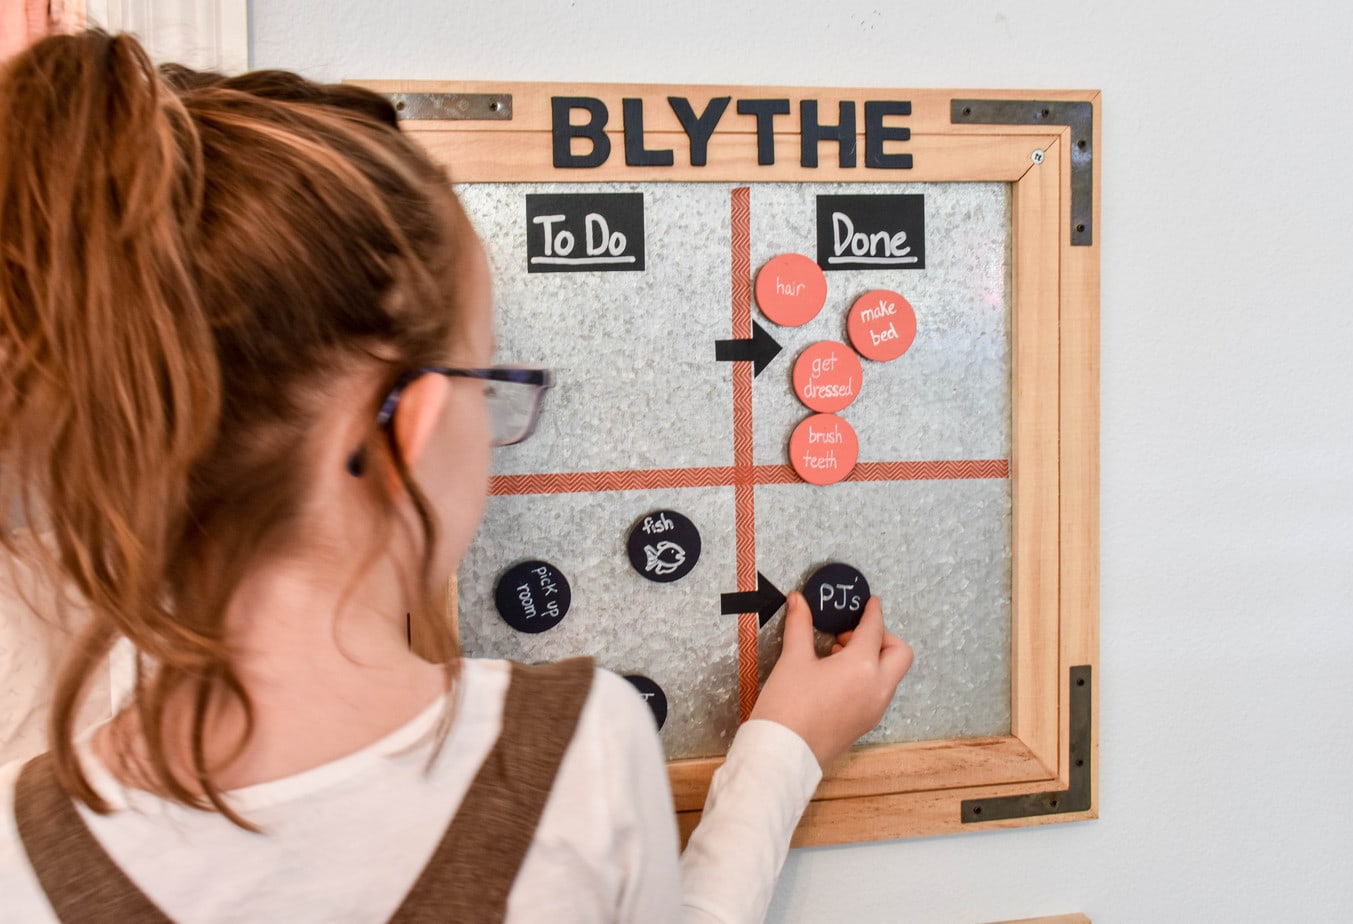
These magnetic morning routine charts for kids will help everyone get ready for school. They’re great for both preschool and elementary kids! Mornings have never been my favorite time of day… and once I started trying to get two young kids up, dressed, teeth brushed, shoes on, fed breakfast, packed up, and out the door…
Learn how to make soy candles with this simple step-by-step tutorial. These natural handmade candles make perfect gifts! Natural soy candles are the perfect handmade gifts! But when I first started researching natural candles, I quickly learned that candle-making is a little trickier than I had imagined. What’s more, every guide and tutorial I found…
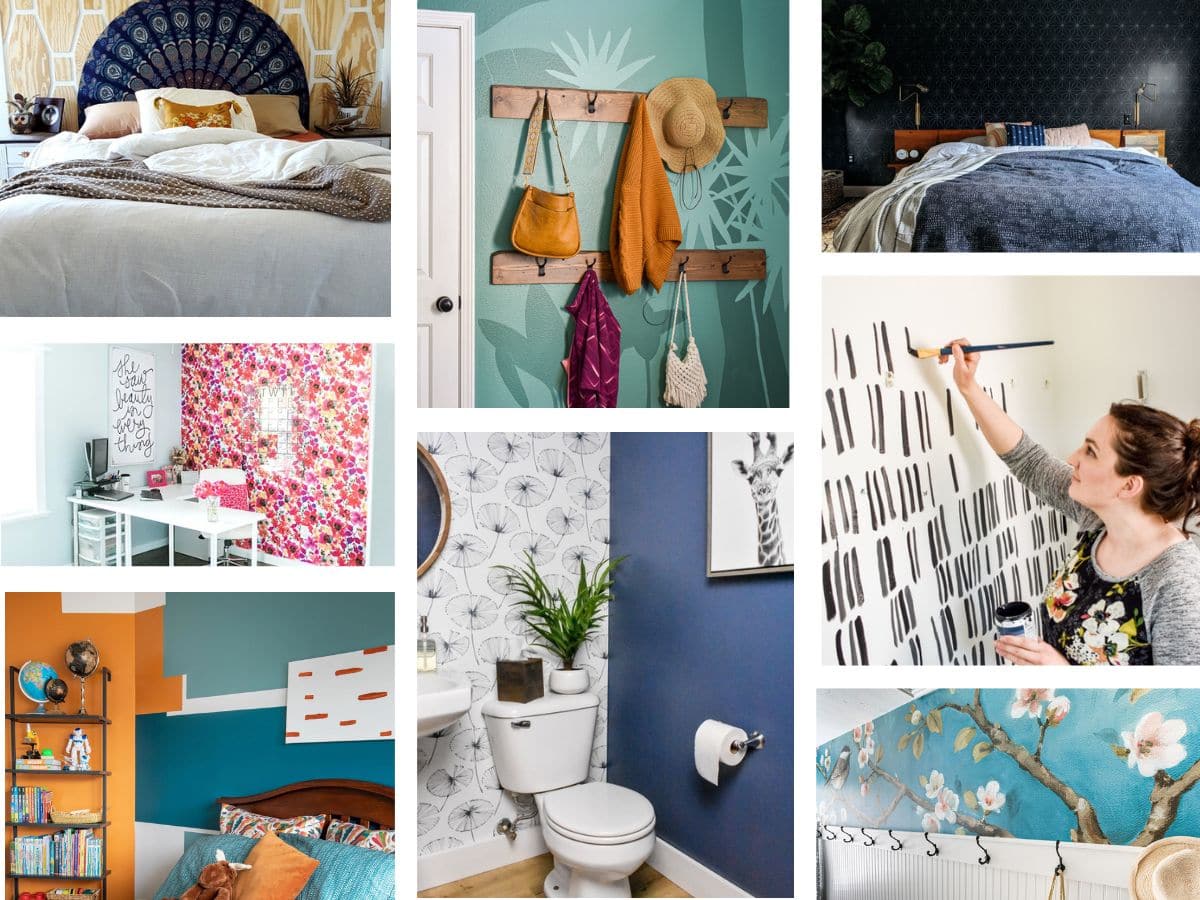
Get inspired with these affordable DIY accent wall ideas, from paint, to wallpaper, to wood planks and hand-painted murals. I am a huge fan of accent walls, which you’ll notice the moment you walk in my front door and see the giant jungle mural in my entryway! Let’s talk about this fun and versatile interior…
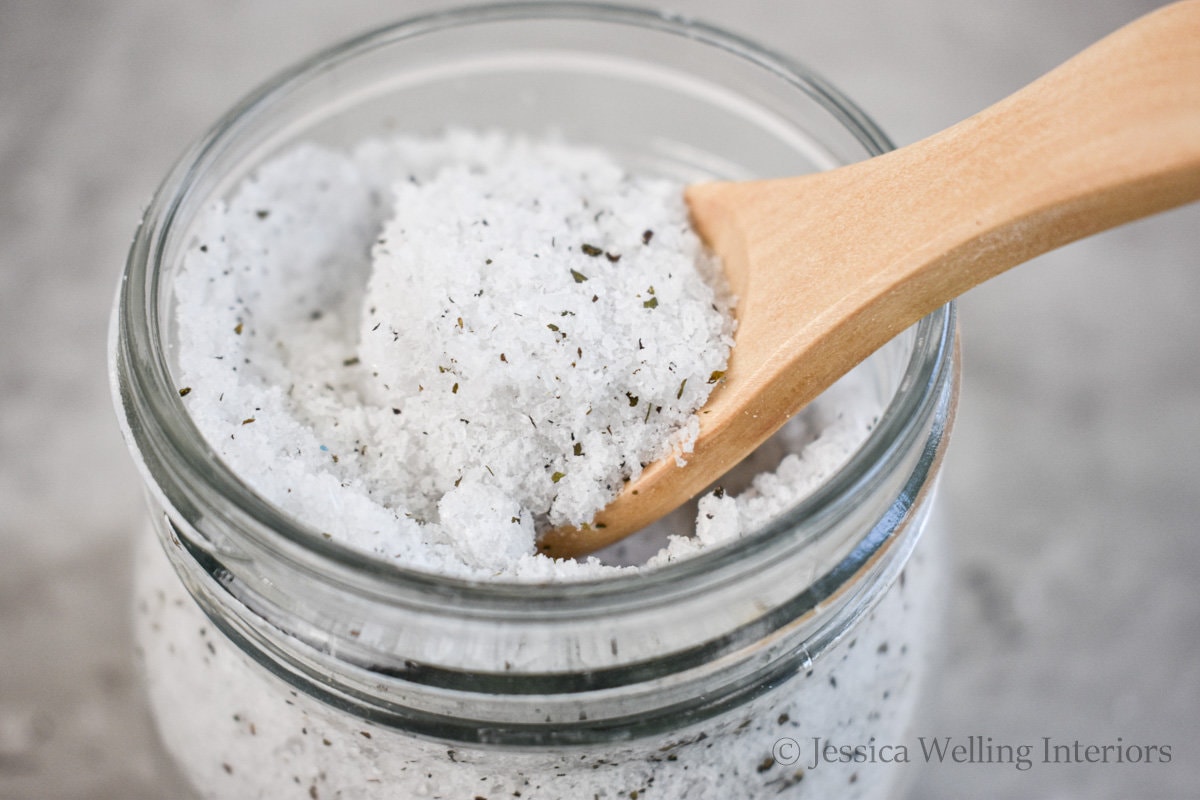
Ingredients A. Epson salt B. Baking soda C. peppermint tea D. Sweet almond oil (or jojoba oil, fractionated coconut oil, or vitamin E oil) E. peppermint essential oil F. tea tree essential oil Tools Directions 1. Combine epsom salt & baking soda. Measure epsom salt and baking soda into a medium mixing bowl and stir….
9 Comments
These are so cute! Such a fun and creative idea! I have to make these for my kitchen to help organize!
This is such an adorable idea! I love it. And it’s so easy ^^. Thank you so much for sharing your awesome walk-through. I can’t wait to make my own chalkboard labels!


These are so cute! Such a fun and creative idea! I have to make these for my kitchen to help organize!
Thank you Emily!
Thank you! It makes a big difference to have labels- and I’m hoping now that one of my kids can read, people might start putting things back!
This is such an adorable idea! I love it. And it’s so easy ^^. Thank you so much for sharing your awesome walk-through. I can’t wait to make my own chalkboard labels!
Thank you Sara!
These are adorable ideas and simple, which is key for around my household! I love it! Thanks for sharing 🙂
Thanks Jessica!