DIY Tropical Mural
Learn how to paint a mural on a wall with this simple step-by-step tutorial.
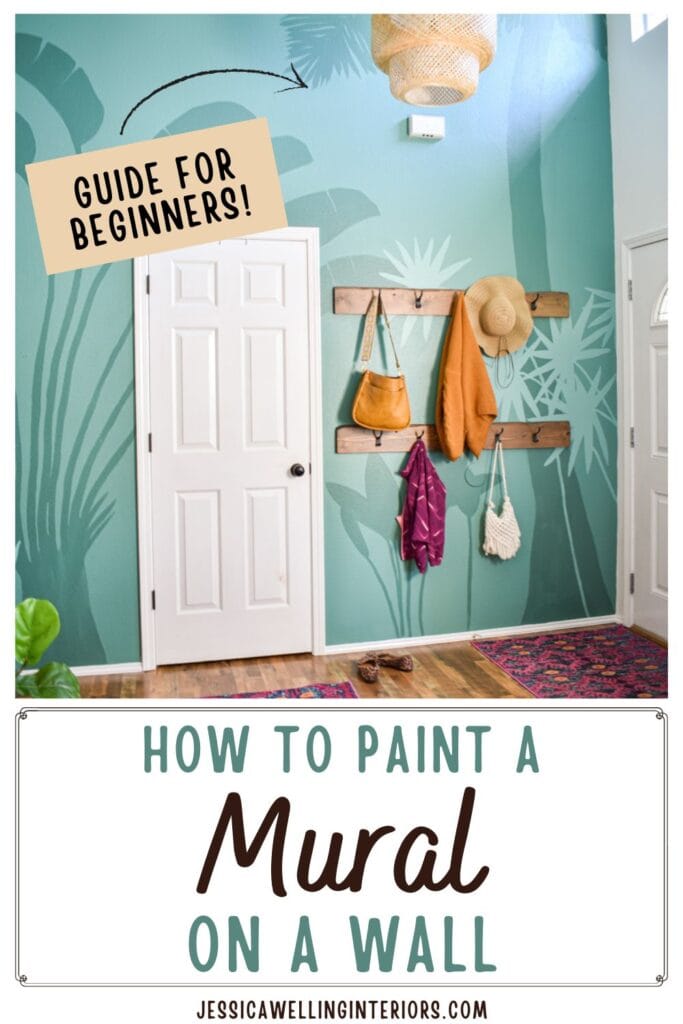
One of the things I love most about blogging and working on my own home is that I can push the limits and take bold design risks that I probably wouldn’t take in a client’s home (unless they wanted me to of course). Yes. Things like painting a giant jungle mural in my entryway and living room!
My whole family came over and spent a weekend helping me paint the entire interior of my new house right before we moved in. This was such a HUGE blessing, and for simplicity’s sake, I chose to start out with everything painted white
Before
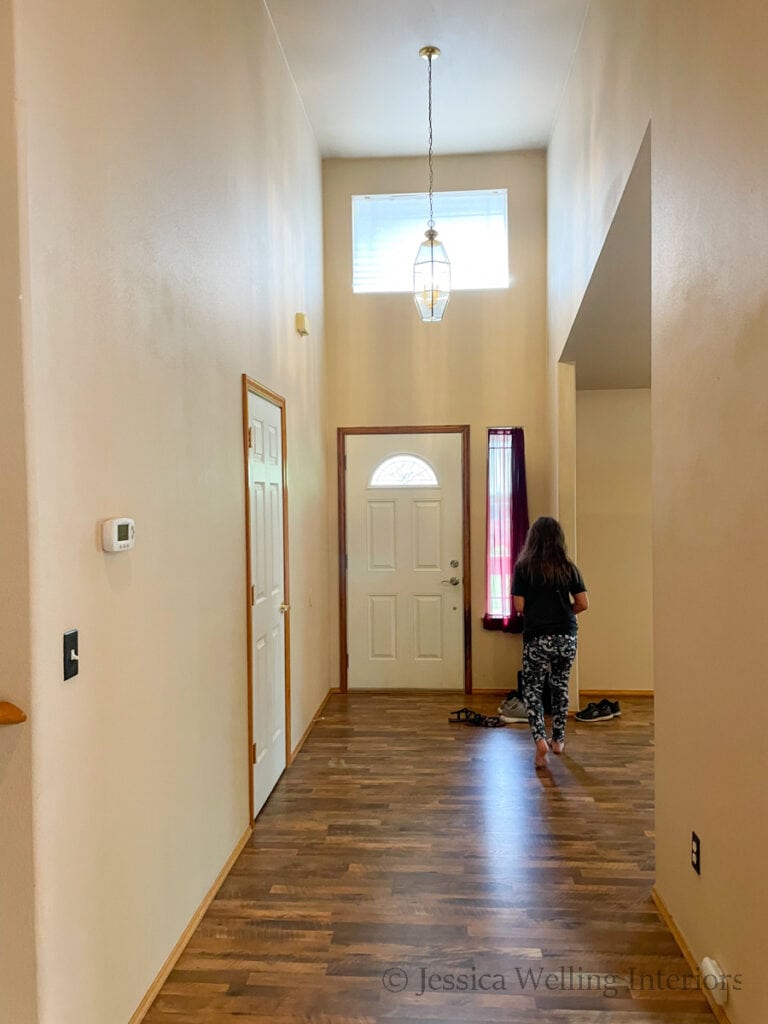
The white paint (I went with Behr Bit of Sugar by the way) did amazing things to brighten up a fairly dark house. And painting the ceilings white (most of them were a pinkish beige before) made a big difference too.
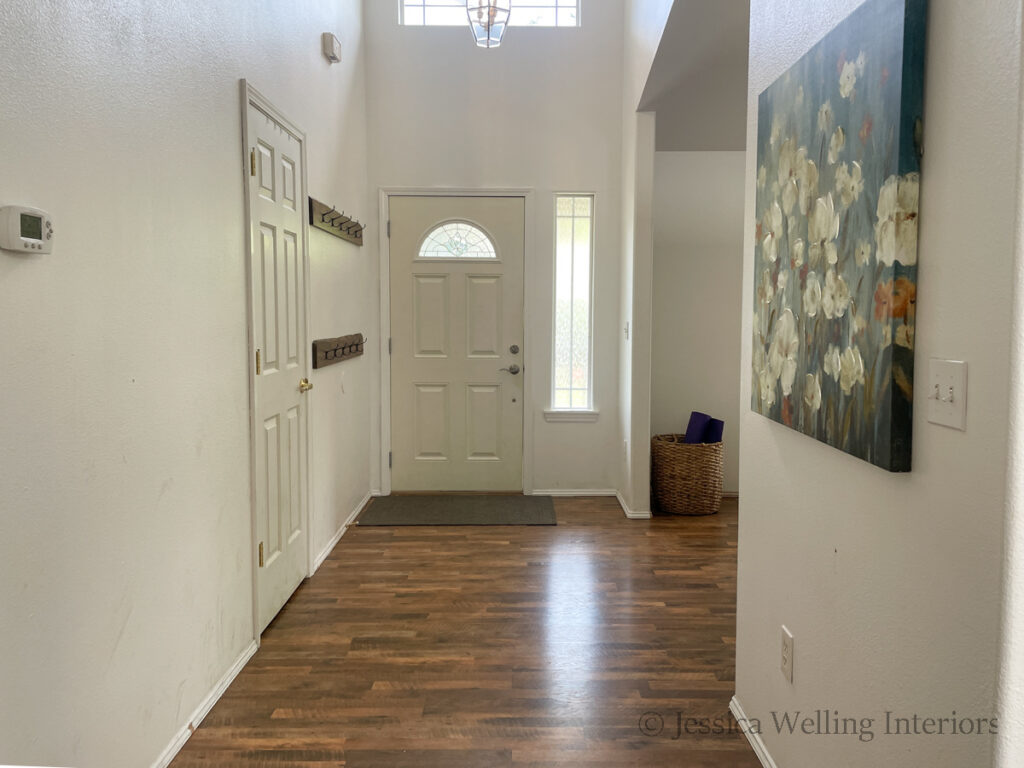
But I knew that eventually I would want some colorful accent walls. And once we’d had a little time to get settled in, I wanted to tackle the entryway and TV area.
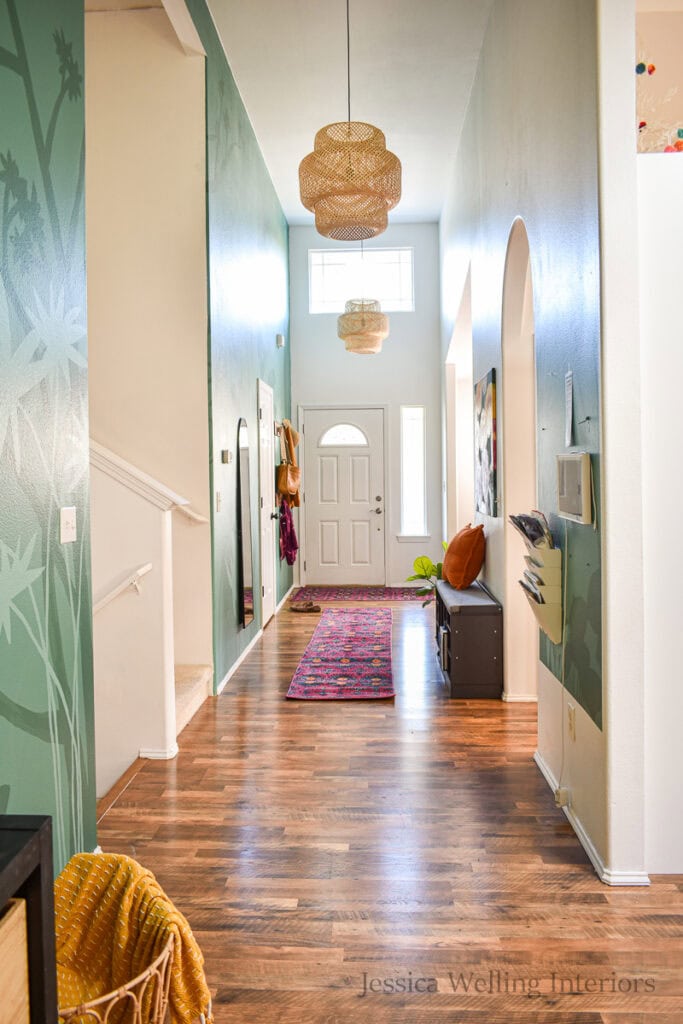
I had originally planned to use a wallpaper mural. But then I choked on my tea when I saw how much it would cost to buy enough wallpaper to cover this huge 2-story wall that goes from the front door all the way to the back of the house (with an opening in the middle for the stairwell). And I quickly re-calibrated. I could paint that myself… right?
Directions
Step 1: Make a Plan
As you can see, I’m no artist. But I have no fear when it comes to paint, so I dove in head-first. I painted a mock-up on a piece of paper, and even did a google image search of some of the plants I wanted to include to see how their leaves are shaped and how they look in profile, etc.
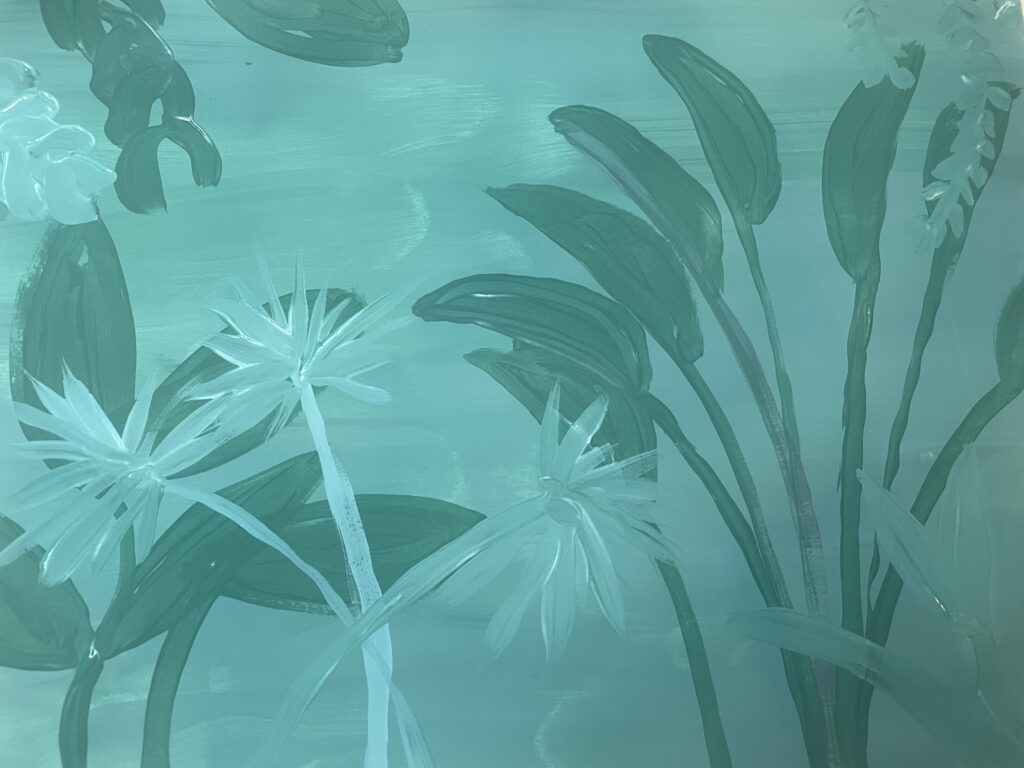
I wanted my feature wall to make a statement, but not completely overwhelm the space. So I decided to stick with a single color- dark green, and add both slightly darker and slightly lighter elements to the design for depth.
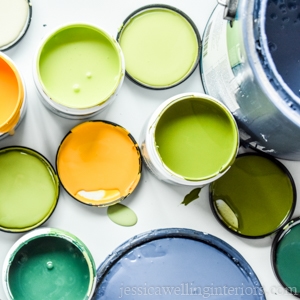
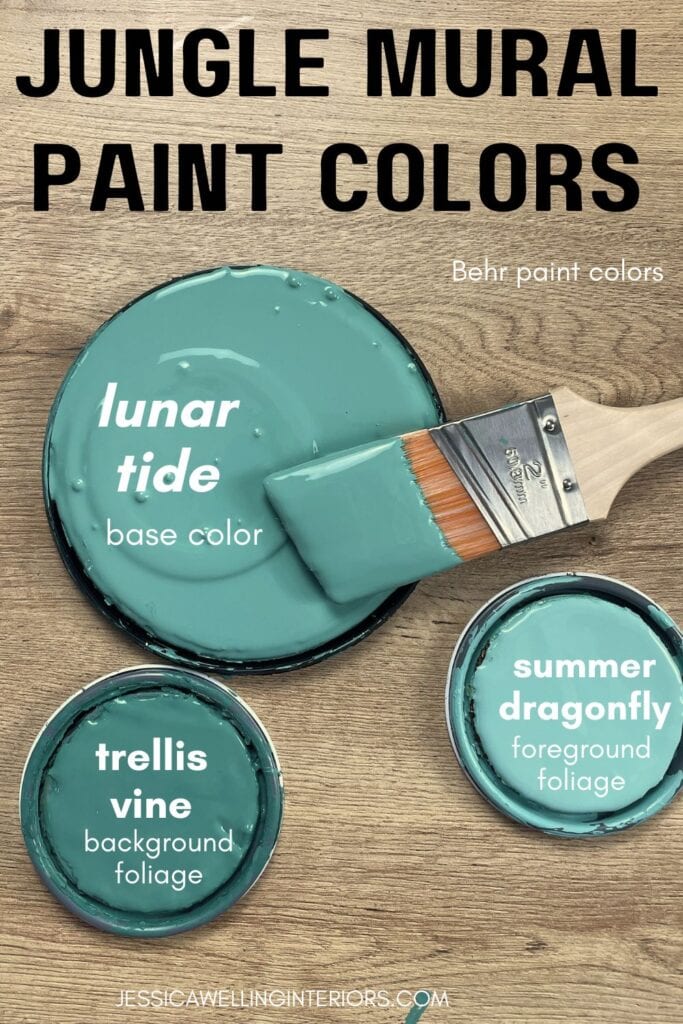
Step 2: Choose Paint Colors
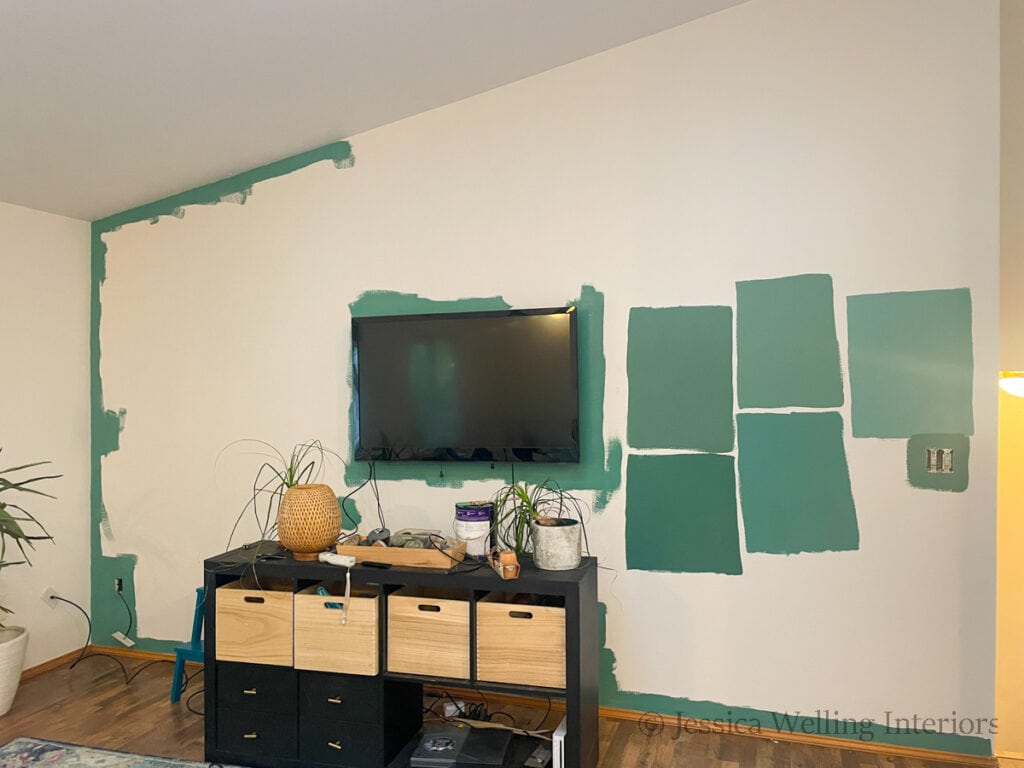
I chose Behr Lunar Tide for the base color, Trellis Vine for the background foliage, and Summer Dragonfly for the foliage in the foreground.
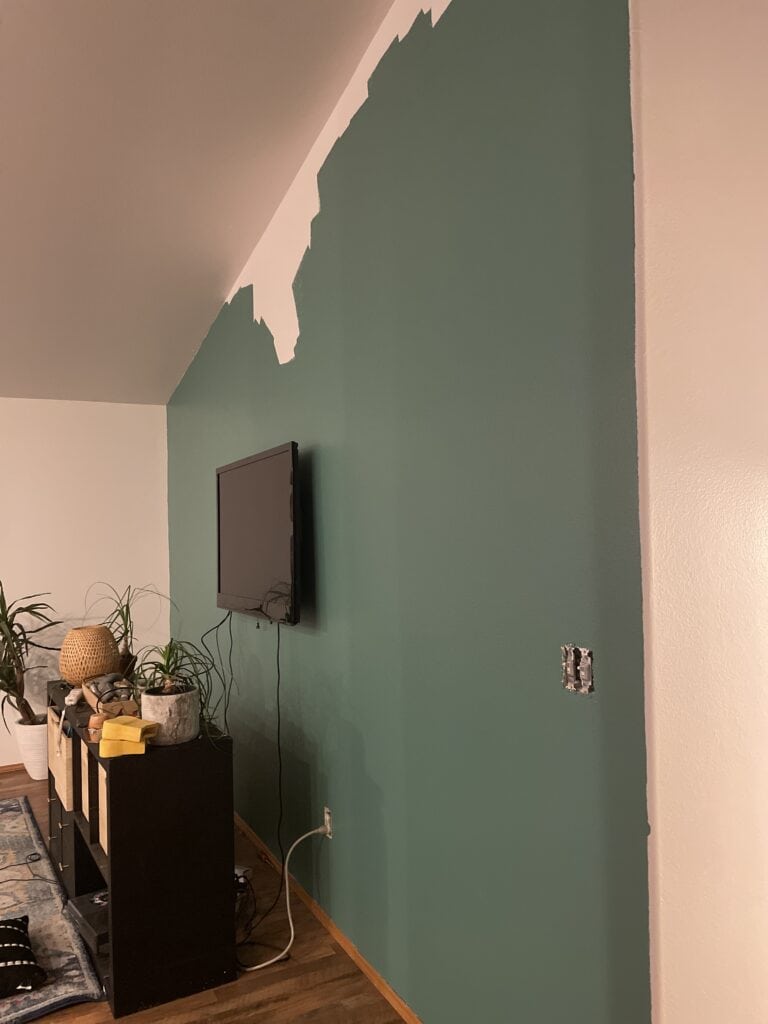
Step 3: Paint the Base Color
I started by painting the entire wall the base color- Behr Lunar Tide.
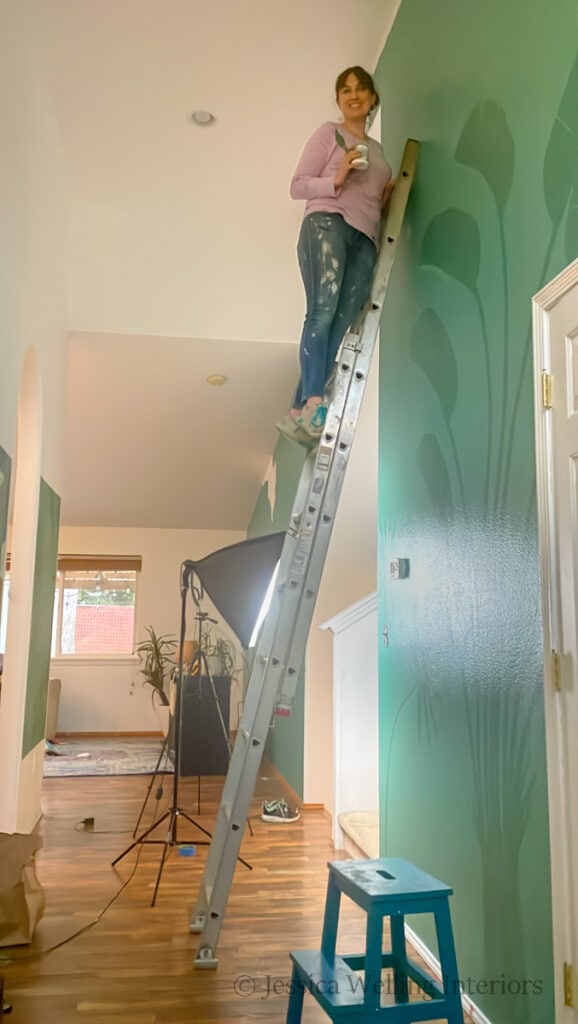
Step 4: Paint the Background Foliage
I used the darker green- Behr Trellis Vine to paint the trees and taller background foliage. It’s all just silhouettes, which made it pretty easy. Since this is a very tall wall, I made the plants tall too to fill the space, and spent a lot of time up on a ladder.
Step 5: Paint the Foreground Foliage.
Once the background was dry, I began painting the smaller plants in the foreground in the lighter green- Behr Summer Dragonfly.
Step 6: Touch Up
I would be lying if I told you I didn’t spend a LOT of time at the end touching things up. Especially the edges. But it was actually kind of relaxing.
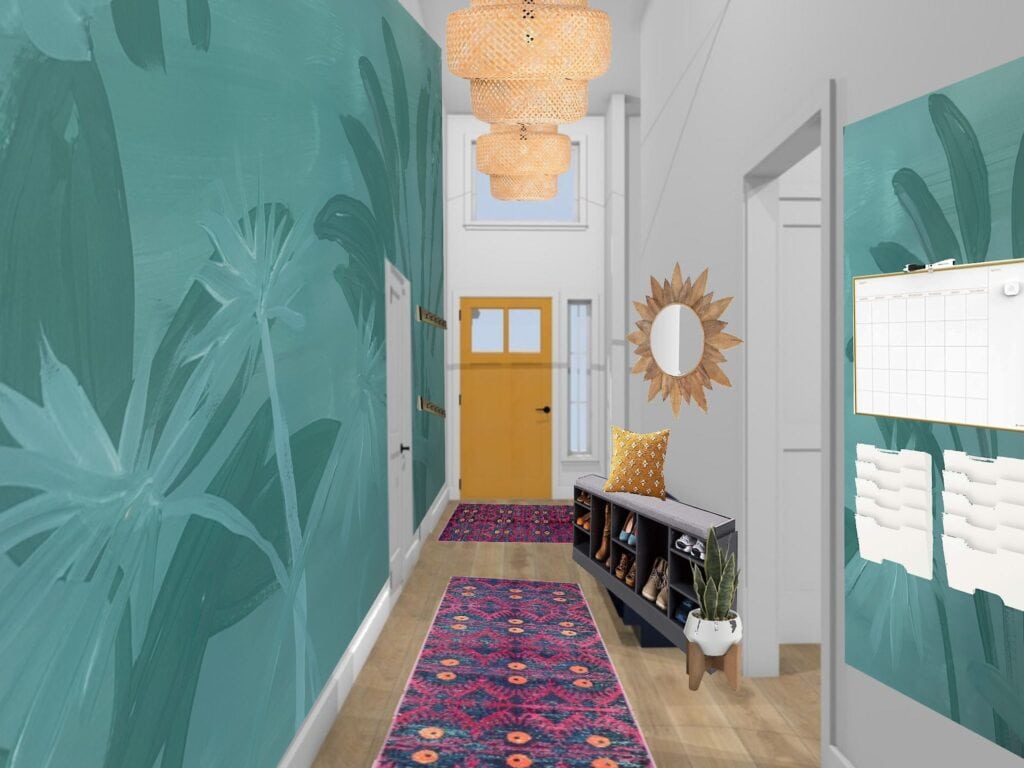
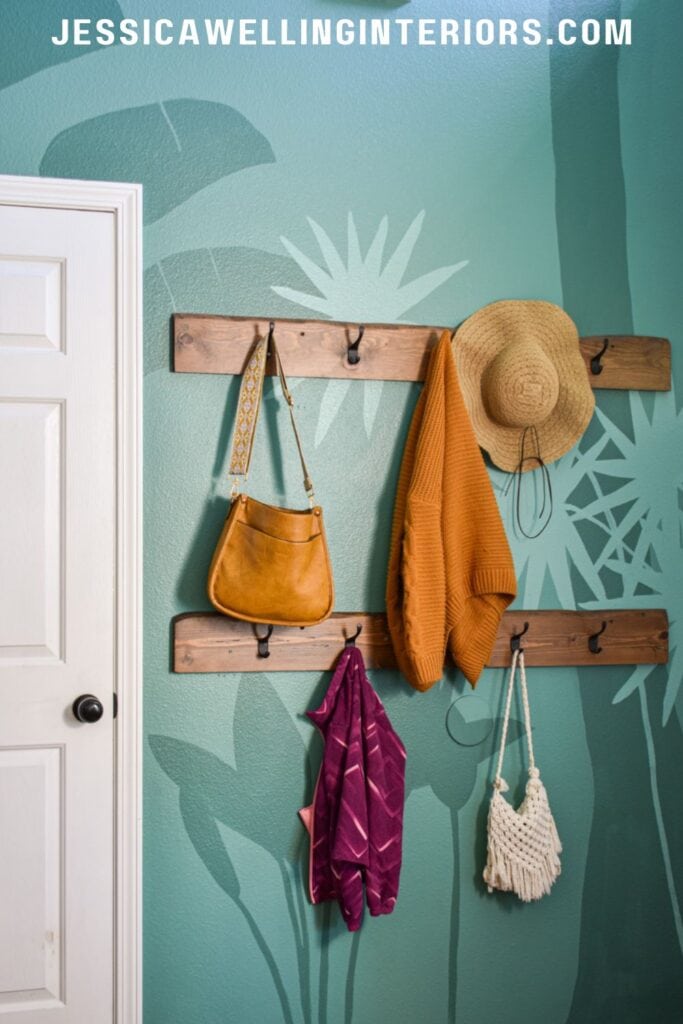
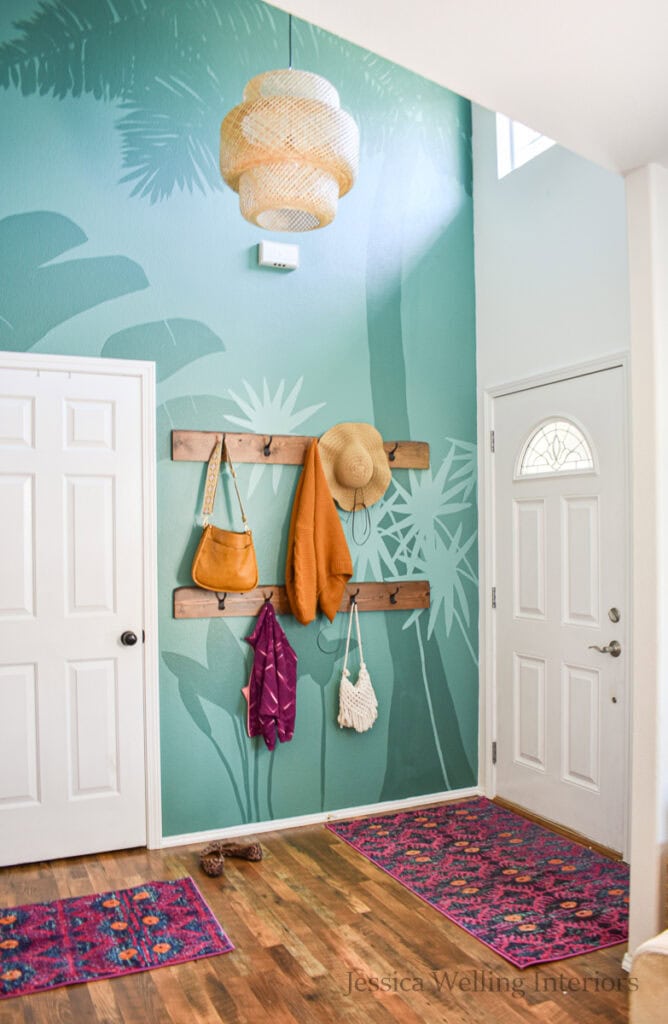
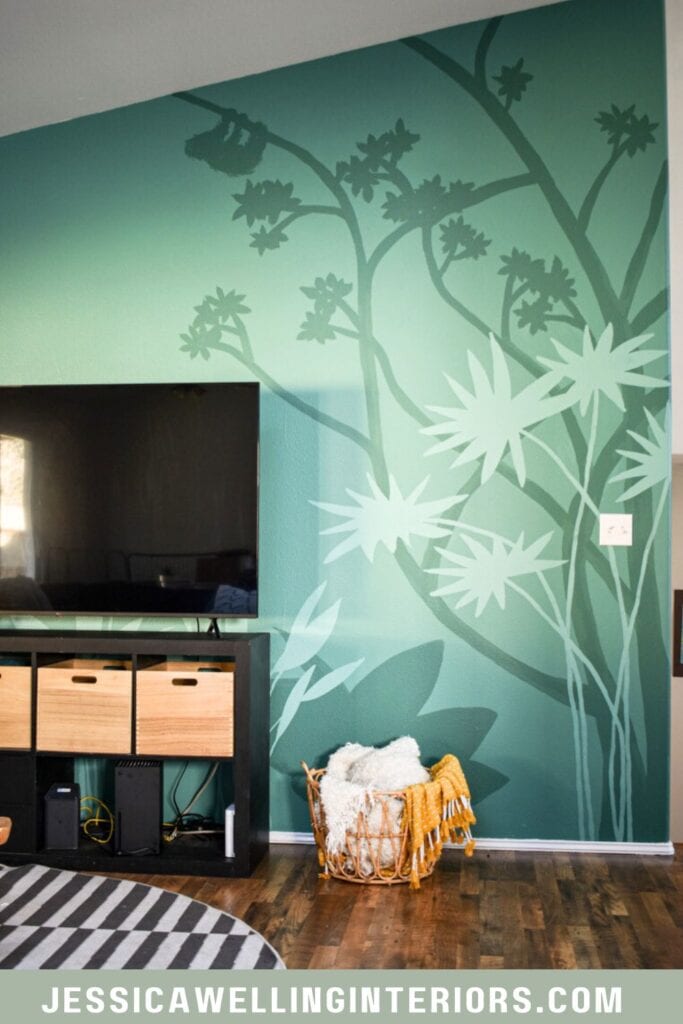
After
And it’s finally finished!
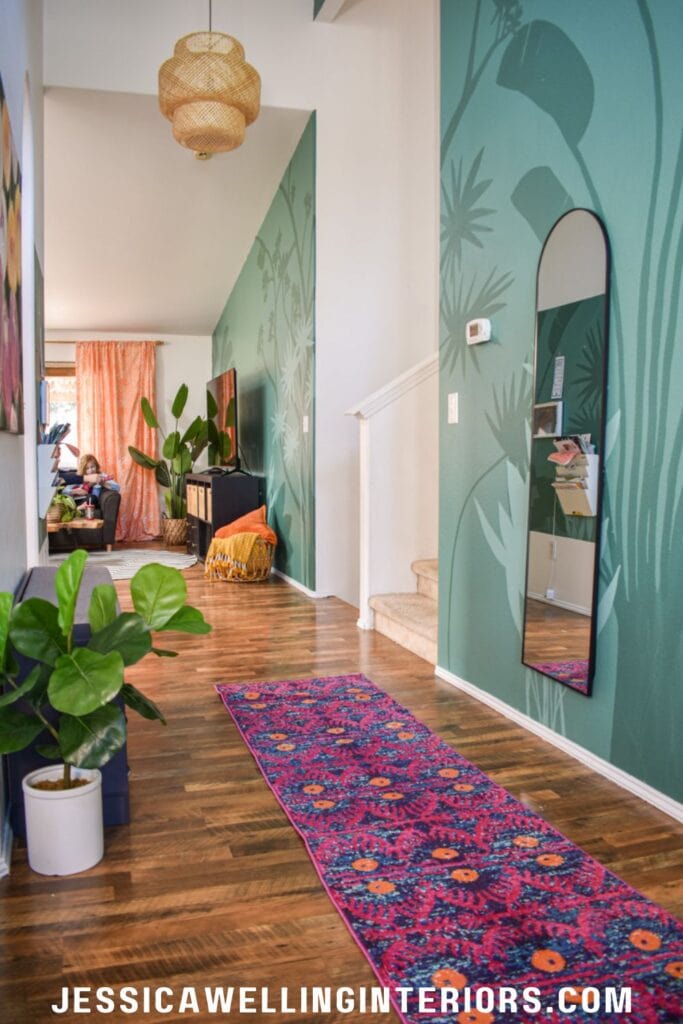
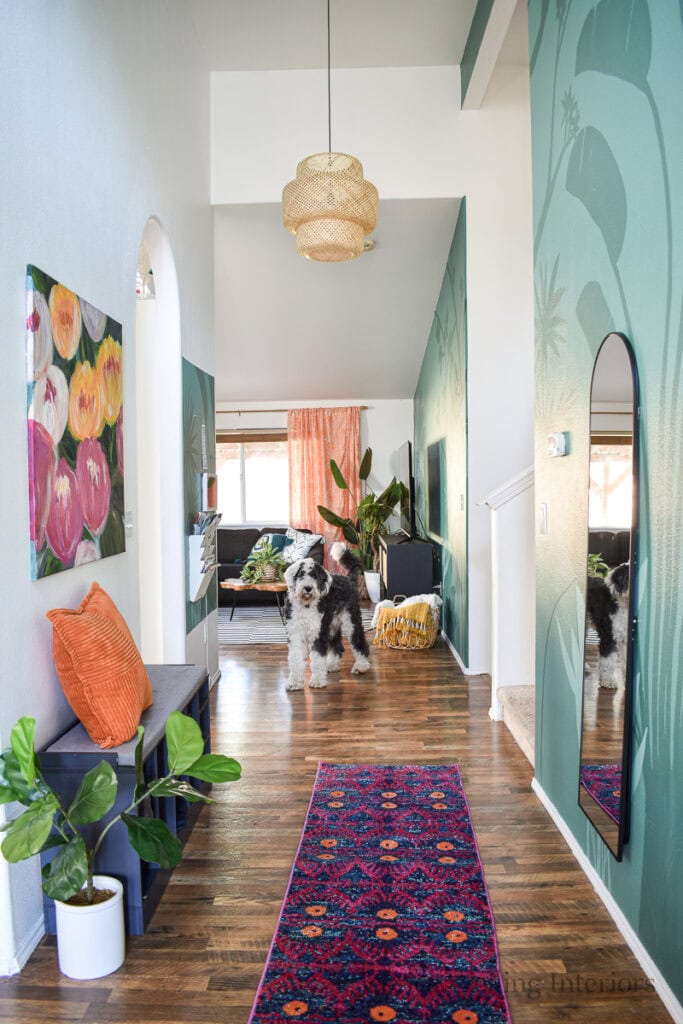
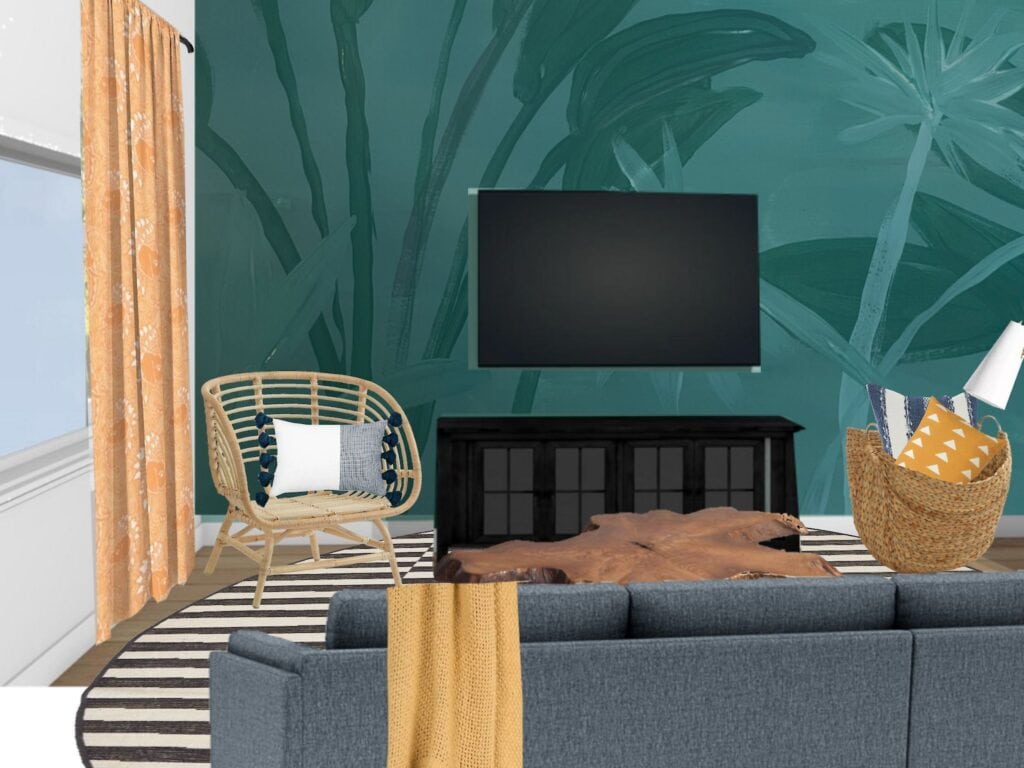
Those trees were just begging for a critter, don’t you think? Can you spot the sloth I snuck in there?
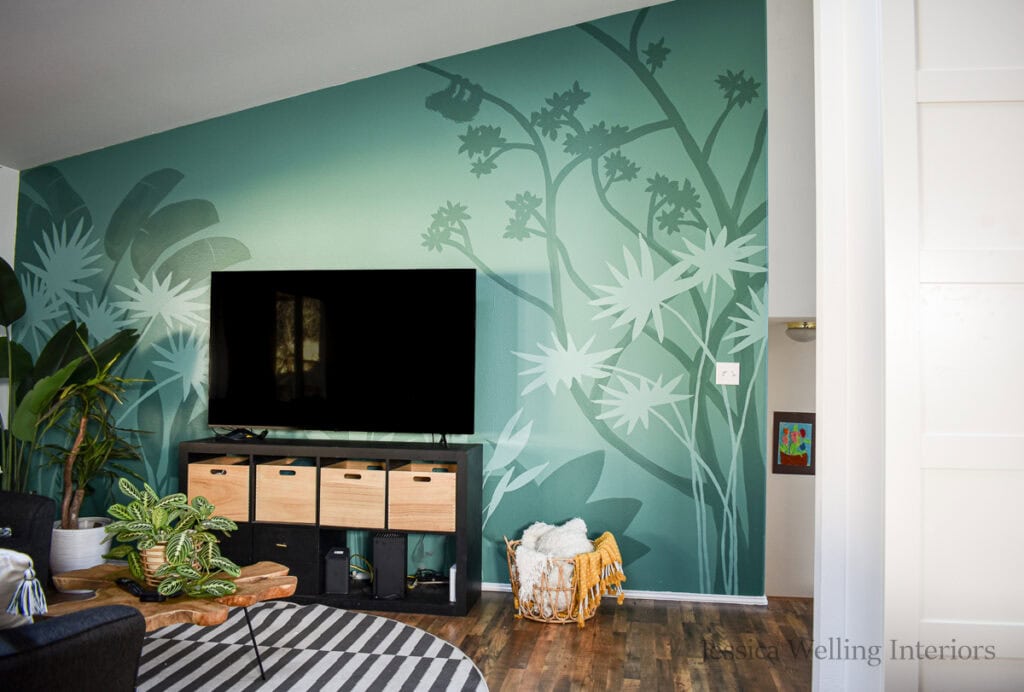
One of the advantages of painting your own mural is you can adjust it to work with your furniture layout. Since the TV and console take up a large portion of this wall, I made sure to paint most of the foliage off to the sides and above it.
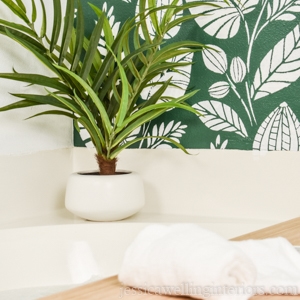
I hope this inspires you to try your hand at a mural of your own. I suggest starting with something small and simple, like a powder room. And remember, if you don’t like it you can always paint over it. No harm done!
More Accent Wall Ideas…
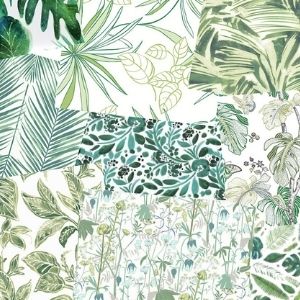
60 Stunning Botanical Wallpaper Prints
How to Paint a Mural: An Inexpensive Wallpaper Alternative