
How To Stencil a Wall
Learn how to stencil a wall with paint in this simple step-by-step tutorial. Wall stencils are the perfect wallpaper alternative!

This post originally appeared on Hometalk.com.
I’m so excited to be working with Stencil Revolution to bring you this fun indoor project. All opinions are my own.
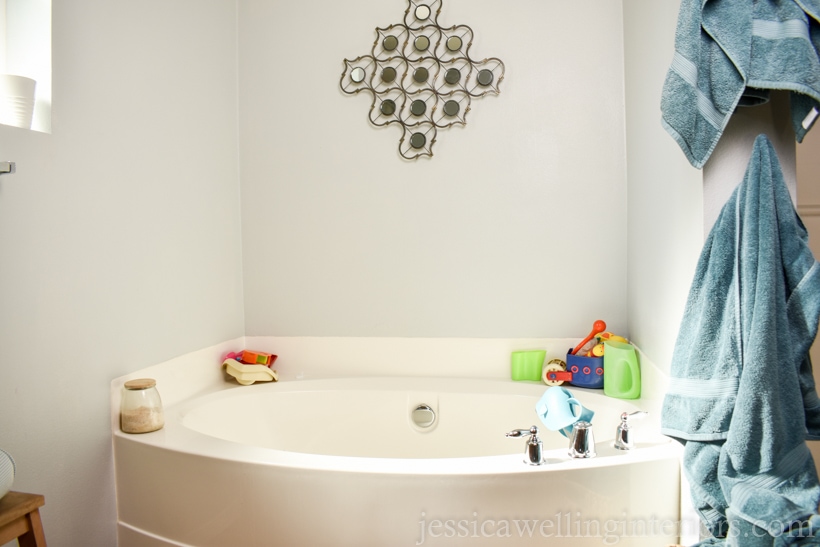
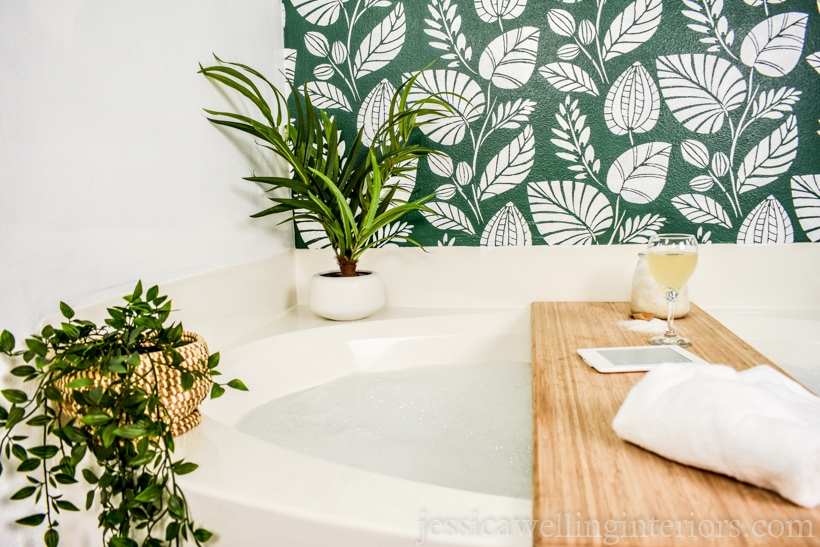
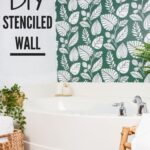
I’ve never really touched my master bathroom, aside from a coat of paint when we first moved in. There’s a good reason you’ve never seen it before now. It’s big, but very boring and builder-grade. I’ve been eyeing the bathtub alcove for years, thinking it would be the perfect spot for a fun accent wall.
How to Stencil a Wall
To tell you the truth, I’ve done a lot of stencil projects, and accent walls too. But I’ve always steered clear of stenciling a whole wall because I was worried it would take FOREVER!
But when I saw these giant wall stencils from Stencil Revolution, I knew this would be much much easier! And it totally was. The hardest part about this project was choosing just one from their selection of gorgeous modern wall stencils! Alright, let’s get started.
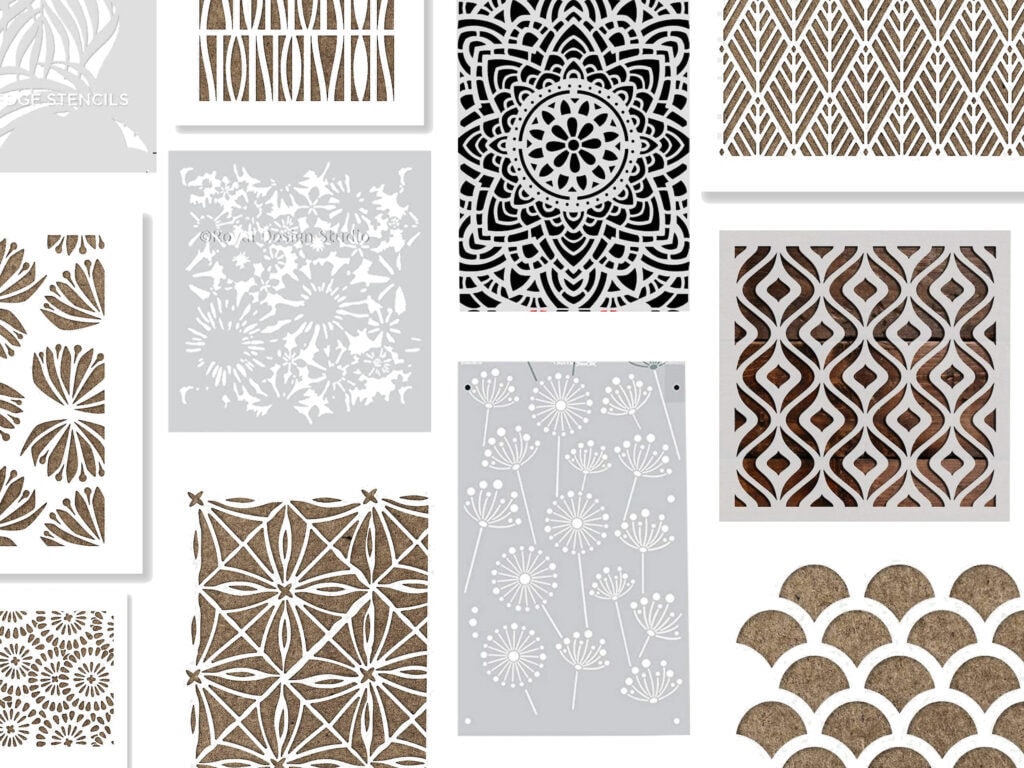
Choosing a Stencil
At this point I’ve done A LOT of stenciling, and I like to think I’ve learned a a few things along the way. When I’m looking at wall stencils (or any other kind of stencil), I generally try to choose a pattern that’s not ridiculously intricate (i.e. lots of tiny details).
Stenciling can drive a perfectionist insane. Unless you want to spend an entire week stenciling a single wall, you’ll need to accept that the final product won’t be perfect.
Or you can go for a mottled worn look with colors that have less contrast, and not worry about it. Either way, when you stand back and look at the whole wall, those tiny details won’t stand out, and the big picture will look amazing!
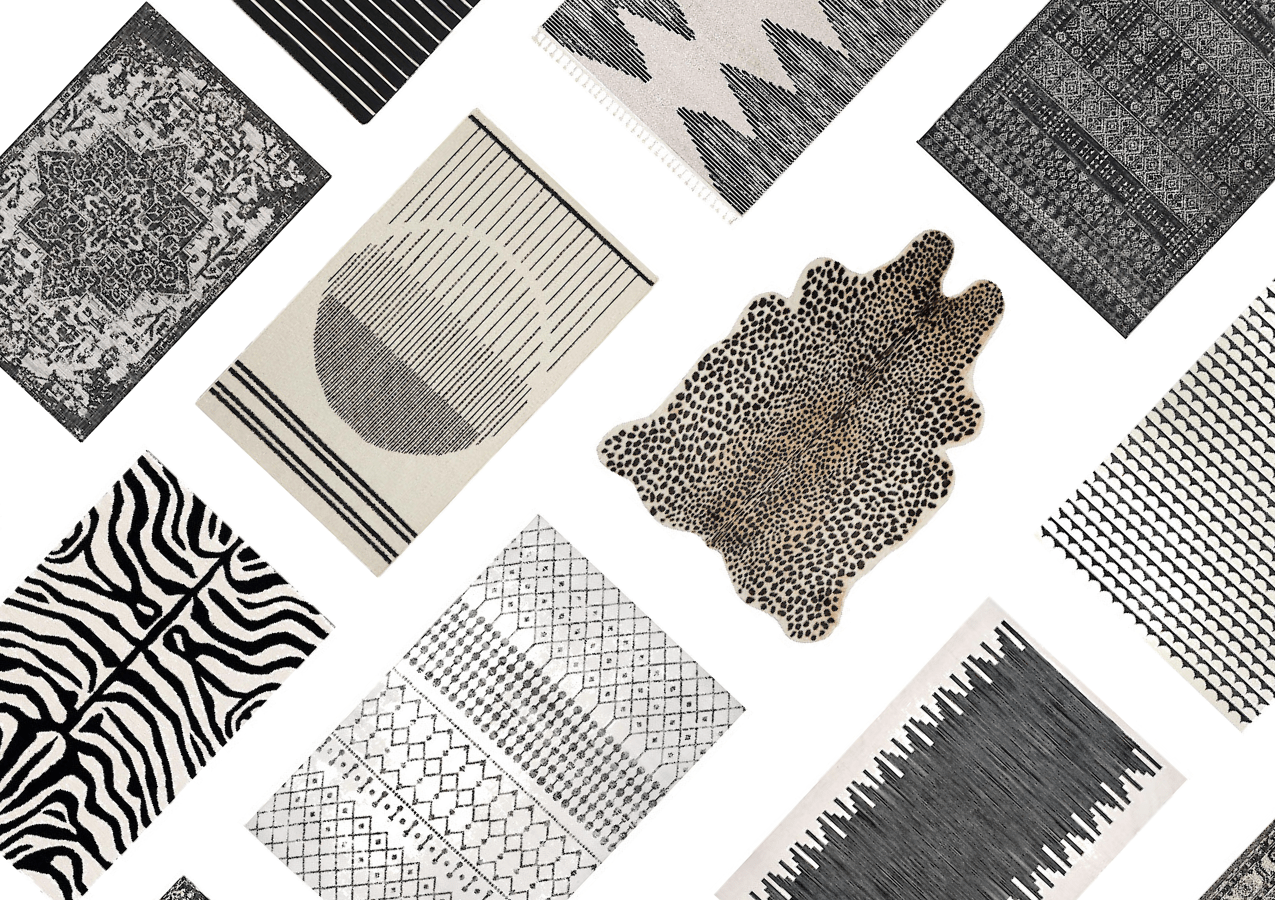
Here’s a list of all my favorite wall stencil patterns available online.
Materials
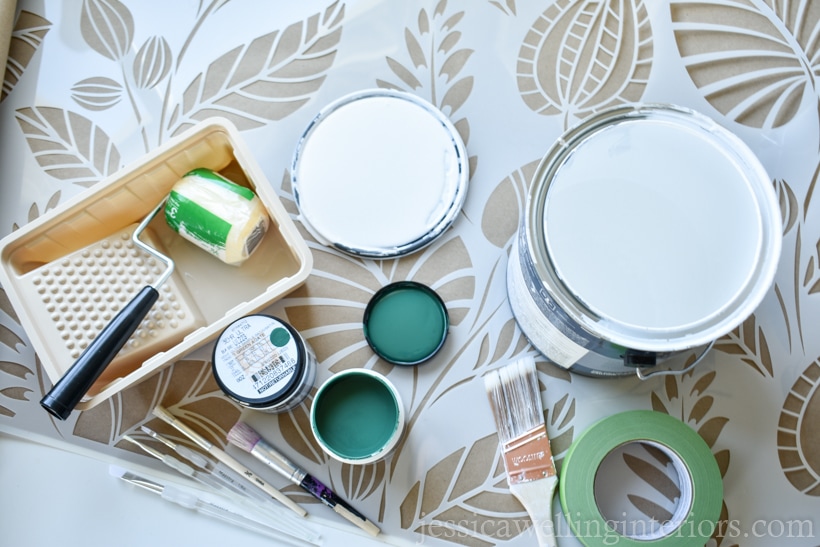
- Large wall stencil (I’m using this Scandinavian Palm Leaves stencil from Stencil Revolution. Here’s a list of my favorite modern wall stencils)
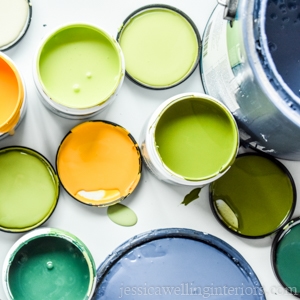
- Base paint color (I’m using Behr satin wall paint, in Green Agate)
- Stencil paint color (I’m using Behr satin wall paint, in Ultra Pure White)
- Large Stencil brush
- Small artist’s brush
- Paper plate
- Frog tape
- Old towel
- Drop cloth
- 1 ½” angled paintbrush
- mini paint roller & tray (or use a regular-sized roller for a bigger wall)
- Scrubbie sponge
Directions
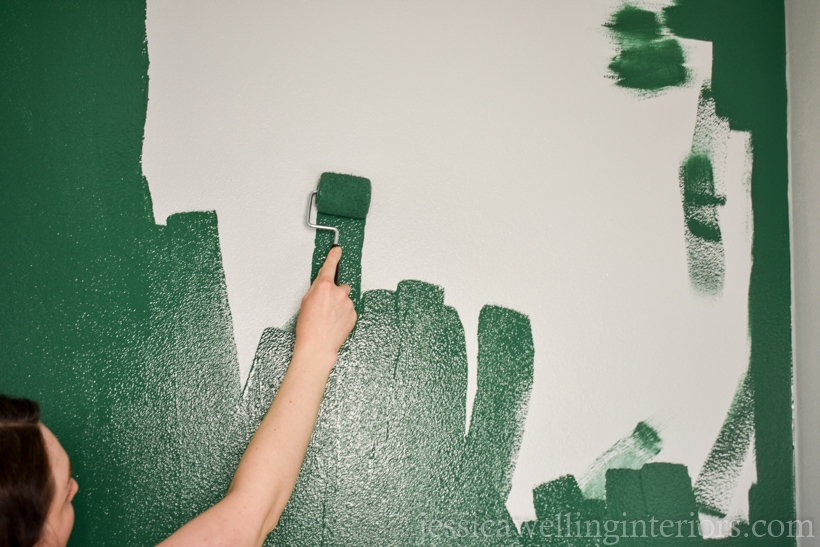
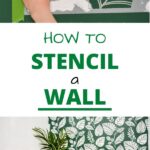
1. Paint the Background Color
I used a 1 ½” angled brush to cut in around the edges, then used a mini roller, since this isn’t a large area. I did two coats of the green paint. Give the paint at least 24 hours to dry before you begin stenciling.

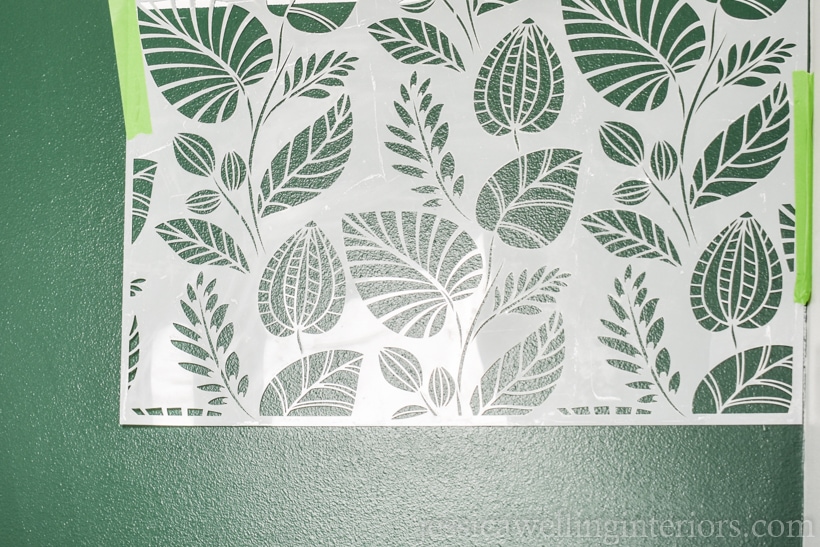
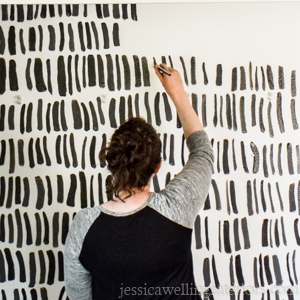
2. Place the Stencil
I started in the upper right corner of the wall, taping the stencil into the very corner. It took several pieces of tape to hold it in place.
3. Load Paint on Brush
My preferred stenciling method is a stencil brush, even for large areas like this. I tried using a roller for this project, but I was much happier with the results I got from the brush. It leaves much cleaner lines that require less touch-up work later.
Pour a small puddle of paint onto a paper plate. Holding your stencil brush straight up and down, lightly dip it into the paint.
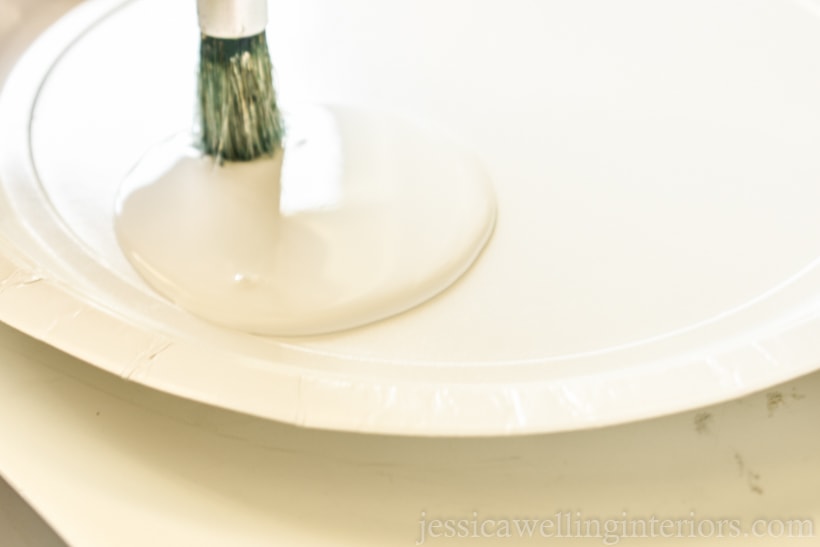
Then swirl the brush on a dry portion of the paper plate to remove some of the paint.
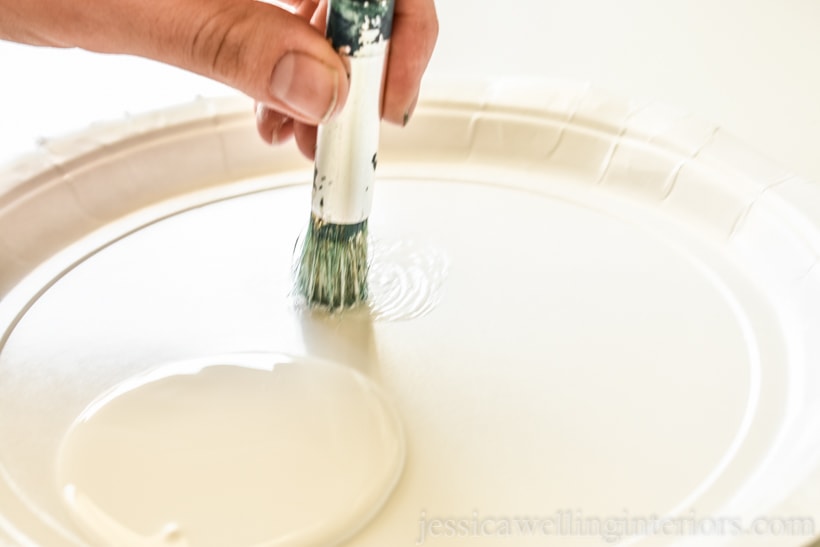
4. Apply Paint to Stencil
Next, bring the brush perpendicular to the wall and use a “dab dab dab” motion to apply the paint. Refill your brush as often as needed, but be sure to swirl the brush each time, so as not to get too much at once. If you get too much paint, it will seep under the stencil and mess up your design.

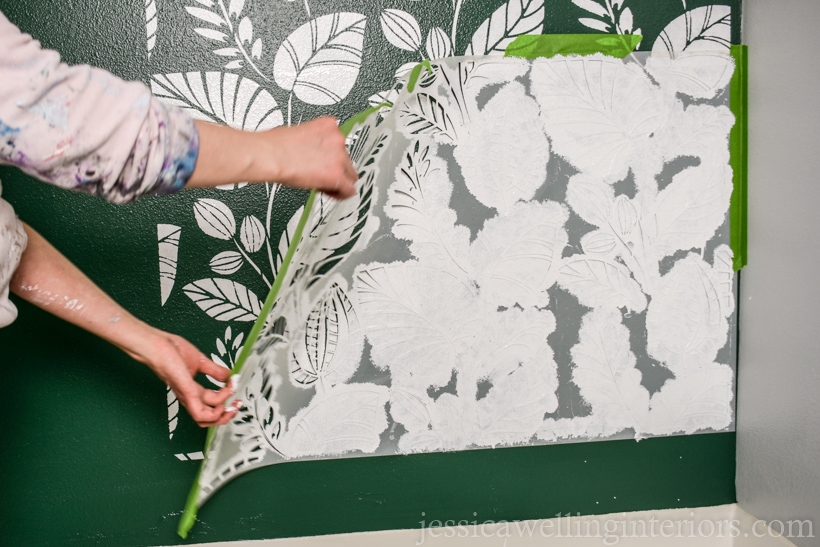
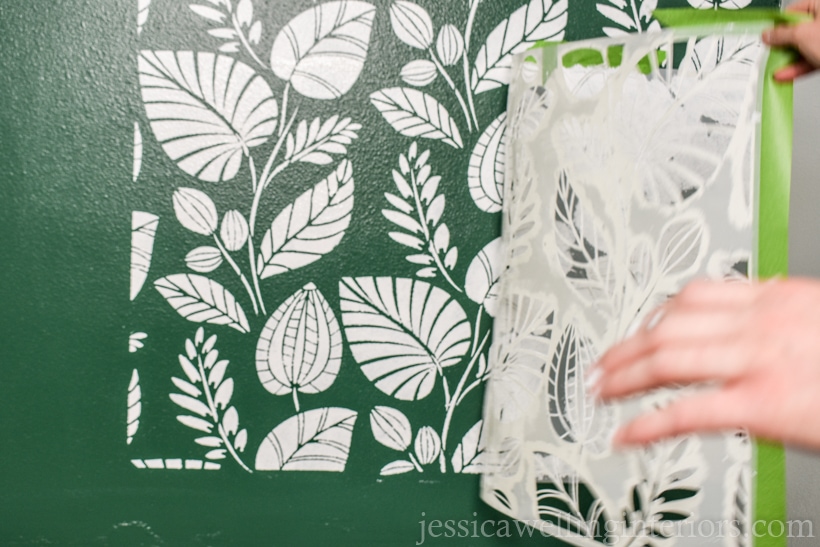
5. Remove Stencil
When you’ve filled in all the cut-outs in the stencil with paint, very carefully remove it from the wall by peeling it from one side to the other. You can let the paint dry a bit first, but I prefer to remove the stencil while the paint is still wet. It makes cleaning the stencil much easier!
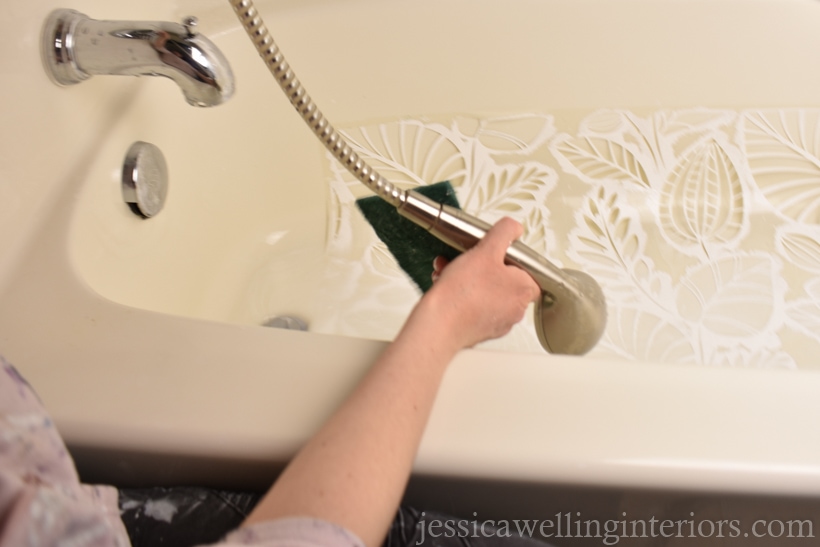
6. Wash the Stencil
Now carefully take the stencil and lay it in a bathtub, shower, or utility sink. I used a green scrubbie sponge to remove the paint. This step is important because if you allow paint to build up on your stencil it will not perform well next time you use it. Rinse the stencil, and dry it with an old towel.
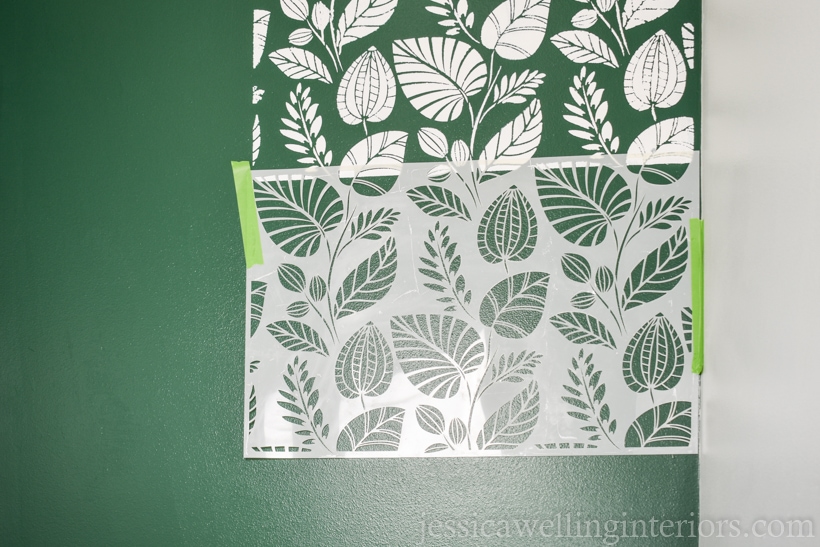
7. Place The Stencil
Once your previous stencil work is dry to the touch, you can re-apply the stencil. This particular stencil overlaps, so the pattern will continue perfectly.
8. Repeat
Continue repeating the pattern, being sure to keep the stencil facing the same direction each time you place it on the wall. When you get to the edges, you may have to push the stencil into the corner as much as possible in order to get the pattern all the way into the corner.

9. Touch Up
When you’re done stenciling, you’ll likely need to touch up some of the lines. I like to use a small artist’s brush for this. I also needed to fill in a few spots where the pattern didn’t quite extend all the way to the corners of the wall.
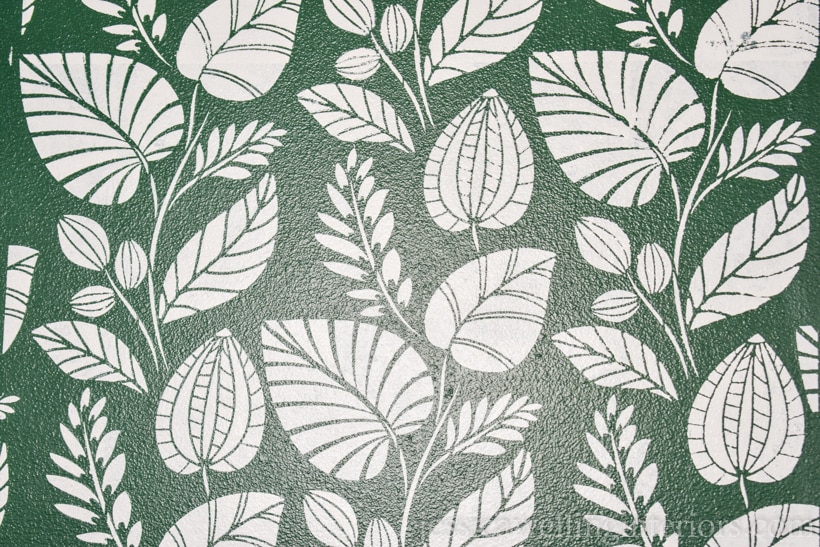
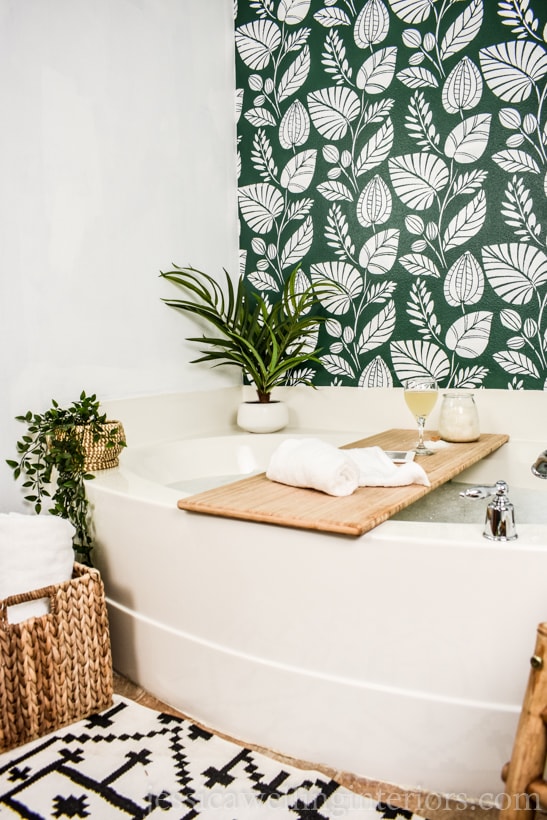
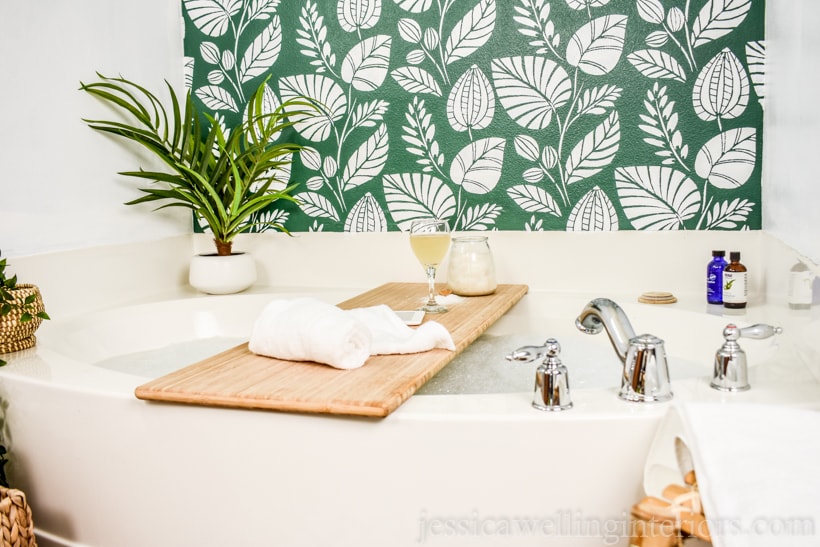
I’m really happy with how this wall turned out…and I’m so excited to have a quiet space all to myself to relax!
More Accent Wall Ideas…
50 Brilliant DIY Accent Wall Ideas You Need to See!

Create an Ultra-Easy Accent Wall With Paint!
How to Paint a Mural: An Inexpensive Wallpaper Alternative
Create an Accent Wall With Easy DIY Faux Wallpaper!
12 Comments