Kintsugi How-To: Easy Tile Coasters
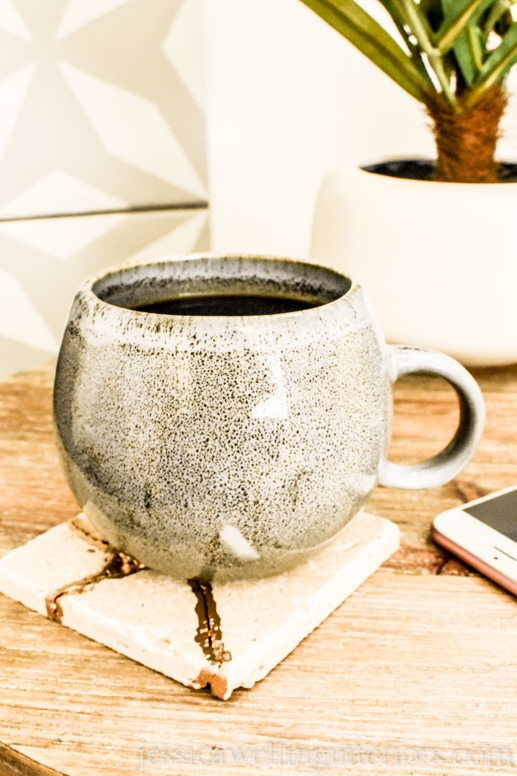
This easy kintsugi how-to is a perfect first kintsugi project. These beautiful coasters are made with tiles and gold leaf paint.

Kintsugi is the Japanese art of repairing broken pottery or ceramics with gold. It creates beautifully unique and imperfect pieces. I’ve tried five or six different kintsugi projects now. I’ve found that vases, cups, and bowls can be a bit tricky to get back together. So for a first project, I decided to try making coasters out of tiles. They’re pretty foolproof, and I’m thrilled with how they turned out!
What You’ll Need:
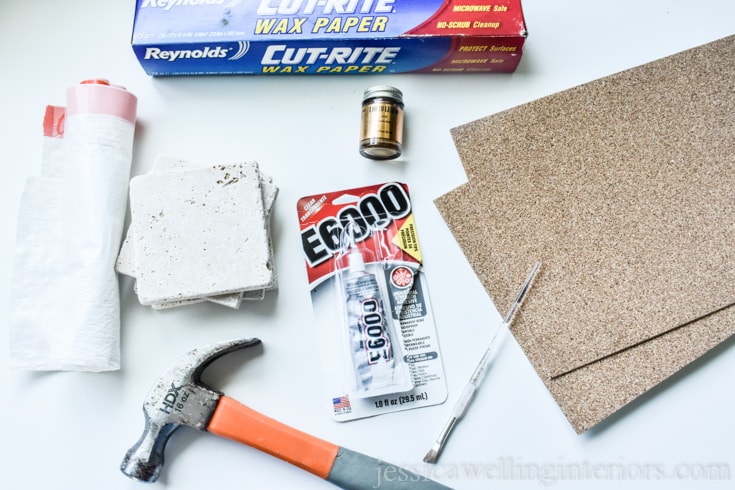
- tiles (mine are about 4″ square) I got a pack of 10 of these at Home Depot for less than $4. You could also use round or hexagonal tiles.
- gold leaf paint (I used this inexpensive brand from Amazon)
- E6000 craft adhesive with precision tips
- hammer
- self-adhesive cork sheets or self-adhesive cork squares
- plastic garbage bag or waxed paper
- paintbrush
How to make kintsugi coasters
1. Break the tiles.
I took my tiles out to the back patio for this step. Using a hammer, break each tile. After each one, gather up all the pieces and move them to your waxed paper-covered work surface before breaking the next one. If all those shards get mixed up, good luck figuring out what goes where later!
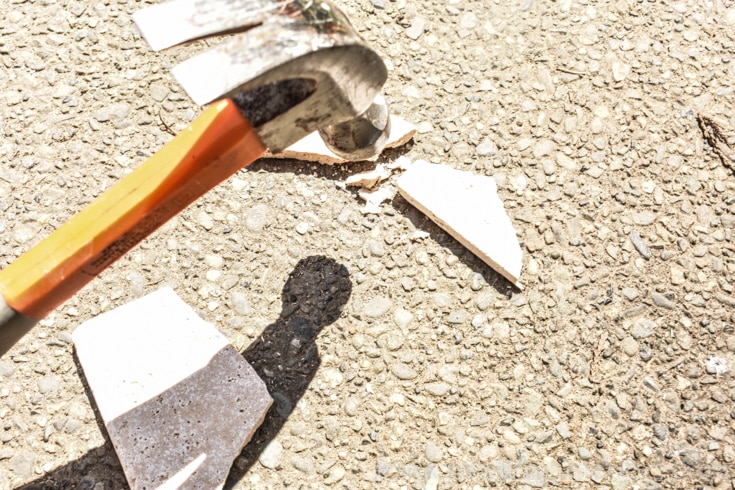
Since I’m making a set of coasters and I want them to each look a bit different, I tried to hit them in different spots to make the cracks look different.
2. Re-assemble your pieces.
Lay the pieces out on your work surface and put them back together. Be sure there are no big pieces missing. If you lose a few tiny shards, no big deal.
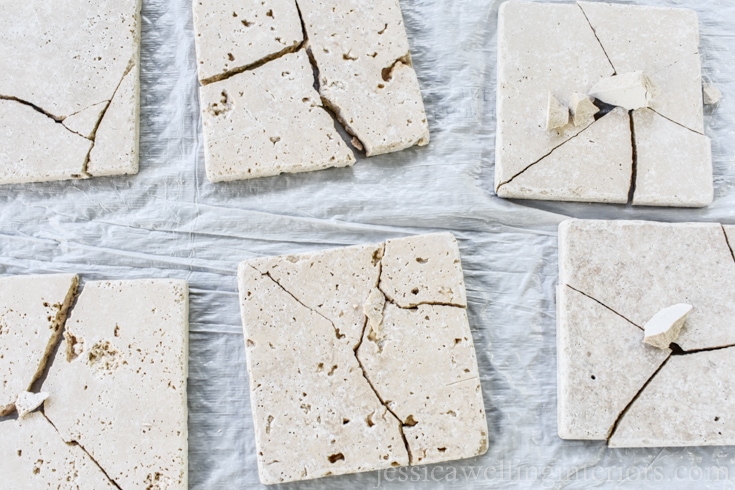
3. Paint gold leaf on the broken edges.
Before you open the paint, give it a good shake. I made the mistake of not shaking it every time I used it and ended up with some weird red pigment separation showing through. I used a small artist’s brush to apply the paint to the edges, started at the top edge and brushed downward to make a small bead of paint on the top rim.
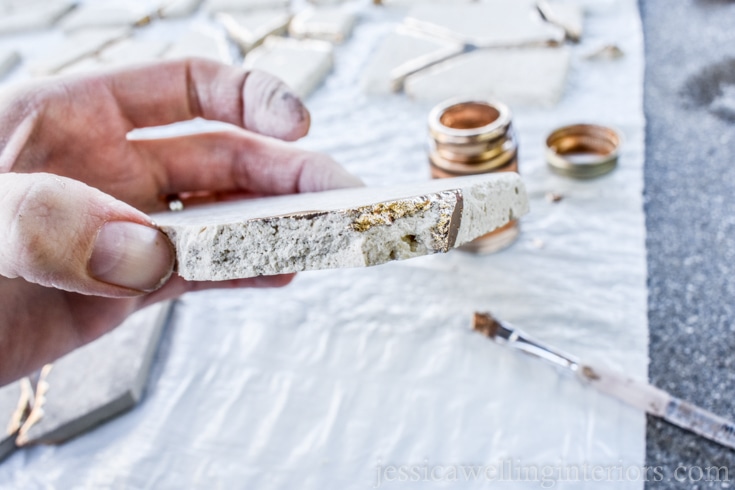
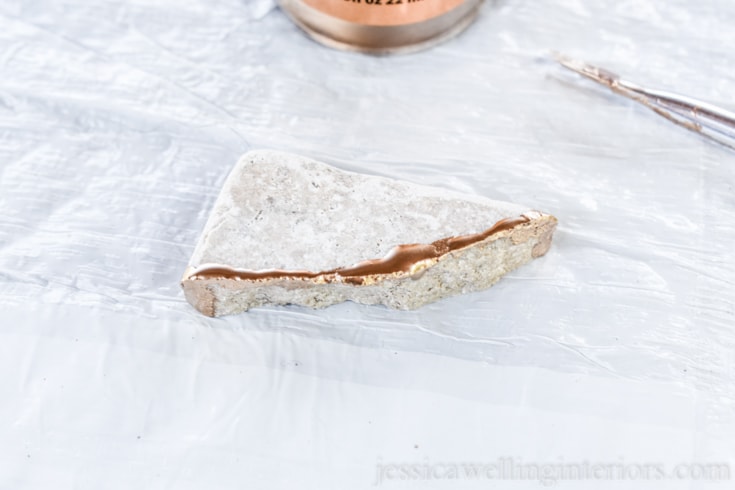
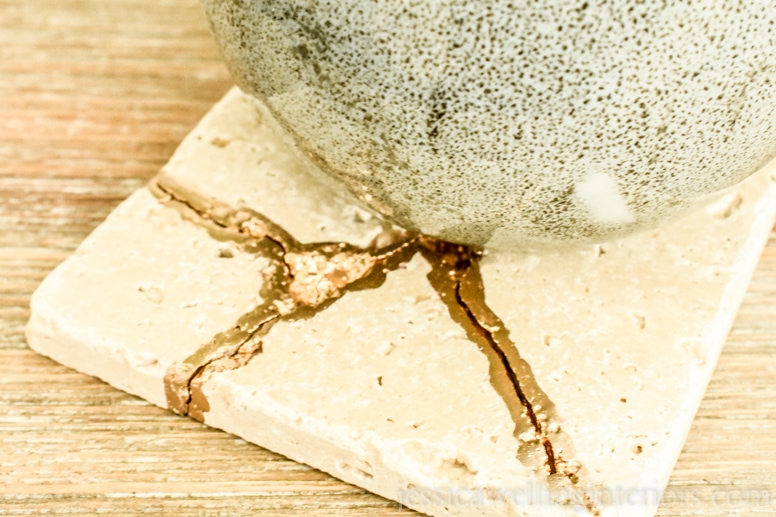
I also made sure to paint the ends of the cracks, so that once they’re glued back together it will look like the cracks and gold go all the way through. You can see this at the bottom of the photo below.
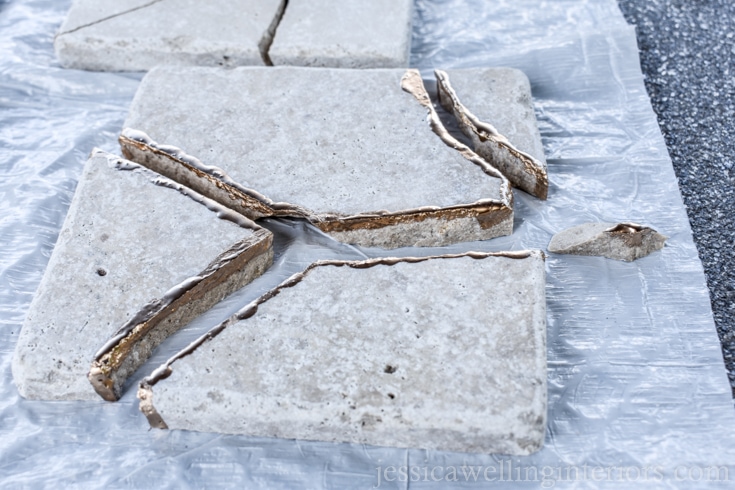
4. Let the gold leaf paint dry.
The paint takes a few hours to dry
5. Glue the pieces back together.
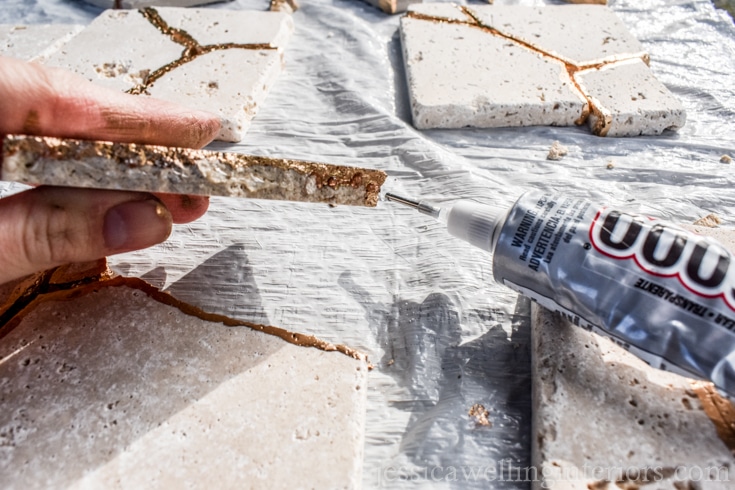
Put one of the precision tips on the E600. Then run a small bead of glue along each of the cracks, one piece at a time. Place them on the waxed paper (as you can see, I used a plastic garbage bag, but the glue stuck to it!) and push the pieces together. This is the reason why coasters are a great first kintsugi project. You can just lay them flat to dry. Pottery and other 3-D objects, not so much!
This step is a little messy, and your fingers will be sticky when you’re done. But it’s not like super glue where you can literally glue your fingers together (yes, I’ve done it more times than I care to remember). This stuff is more flexible.
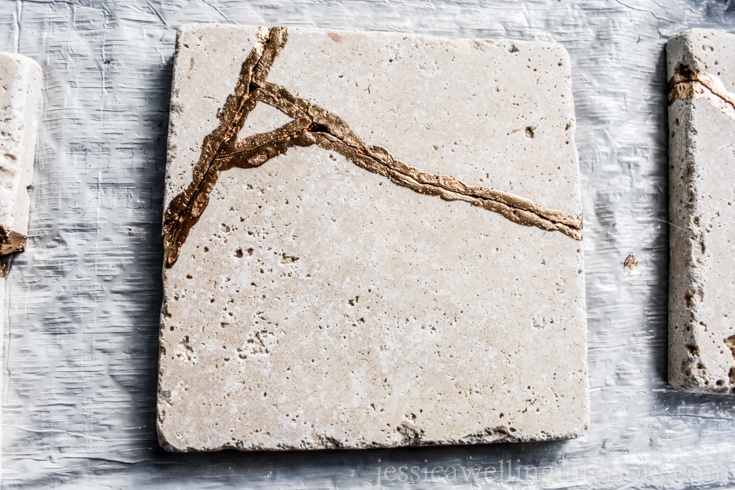
6. Let the glue dry.
The E6000 takes several hours to dry. I left my coasters overnight, and by morning they were solid.
7. Attach cork backing.
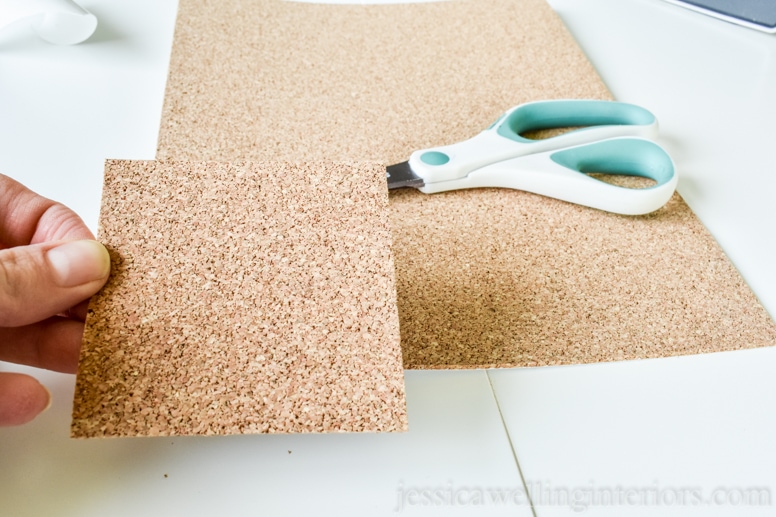
I used these sheets of self-adhesive cork from Amazon. They worked great. You can also get these pre-cut self-adhesive squares from Amazon.
Cut out the cork and attach it to the back of the coaster. And you’re done!
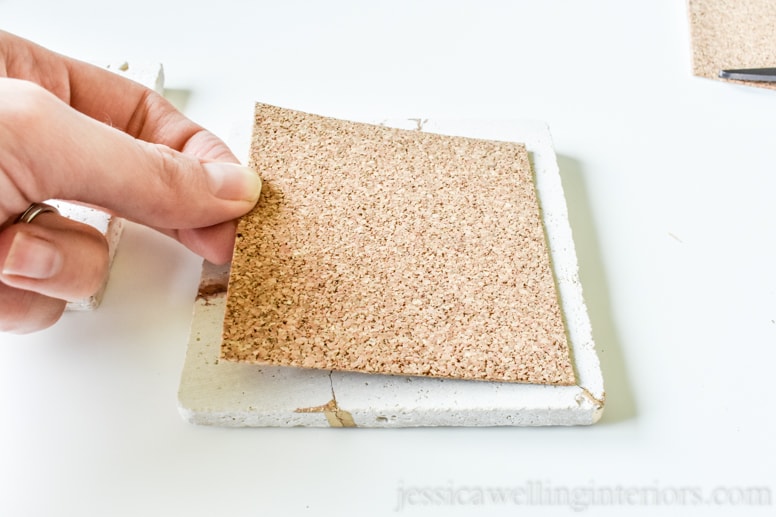
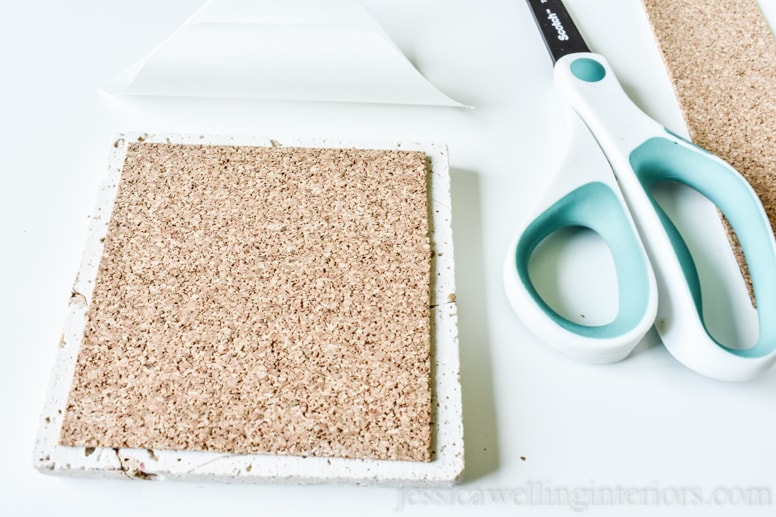
That was a bit sticky, but so easy, right??? I love how these coasters turned out!




more easy home decor crafts…
Easy DIY Coasters with Sharpies & Alcohol!
Easy Painted Chalkboard Labels



Love the kintsugi painted coasters. I am saving the instructions and will make them for future gifts. Thank you! We lived in Alaska for over sux years when my dad was stationed to Elmendorf AFB in 1960. Yes, it was cloudy, rainy and lots of snow often, but my brother, sister and I were able to entertain ourselves through the two seasons. Best 5 years of my growing up years! ☃️❄️
We will be making 30 of these Kintsugi coasters at a women’s retreat. Do you think 8oz of the gold paint will be sufficient?
Oh that sounds fun! I think that’s probably enough paint. Be sure you have something to protect the surface underneath- it will go right through plastic!