
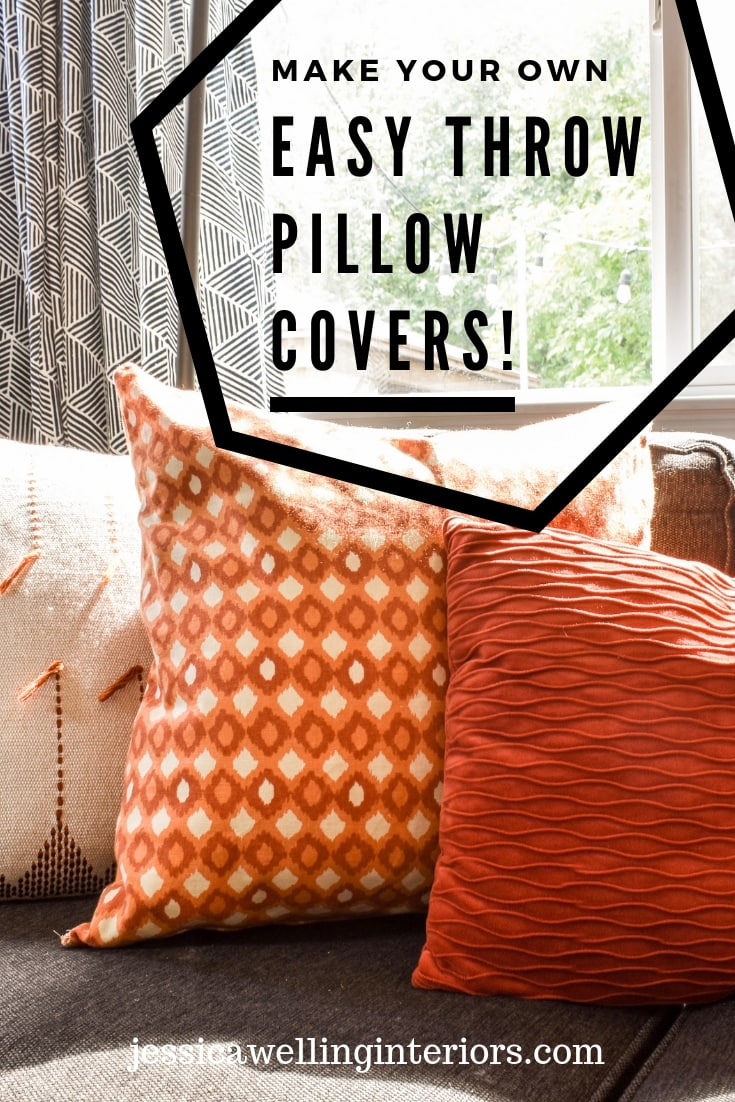
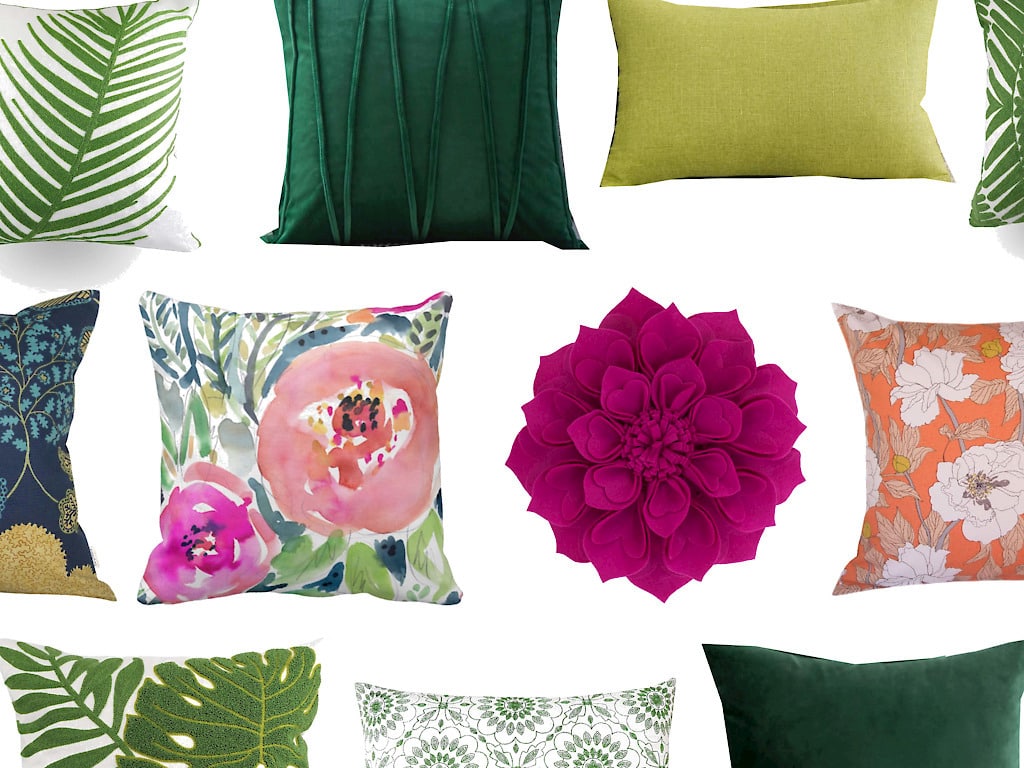
Make Your Own Easy Throw Pillow Covers!
I like to change out my living room decor a bit with the seasons… which of course means I need a lot of throw pillows. Anyone with me??? Unfortunately, it seems that Peter, and most husbands in general, don’t understand the value of seasonal throw pillows, and would like their closet space back. The solution? Throw pillow covers!
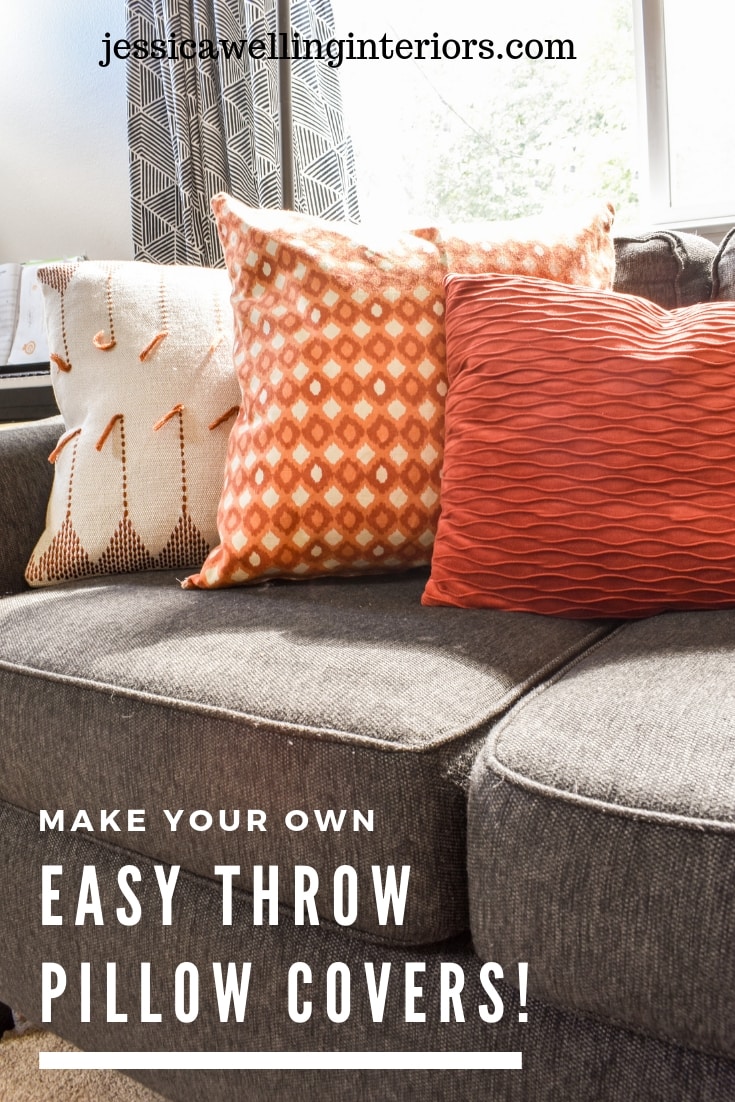
Today I’m going to show you how to make super-easy throw pillow covers. All you need are some very basic sewing skills and a few tools, and less than an hour. This makes the difference between a closet full of pillows and one basket in the linen closet. All your marriage problems solved!
Quick disclaimer before we get started: This is my first sewing tutorial. I’m not a perfection sewer- more of a quick means to an end girl. So I rarely use patterns and I do some figuring out as I go. If that’s going to drive you nuts, I won’t be offended if you want to search elsewhere for your throw pillow lessons:) Also, E is helping me out today, so if you see little hands in some of the pics, that’s why.
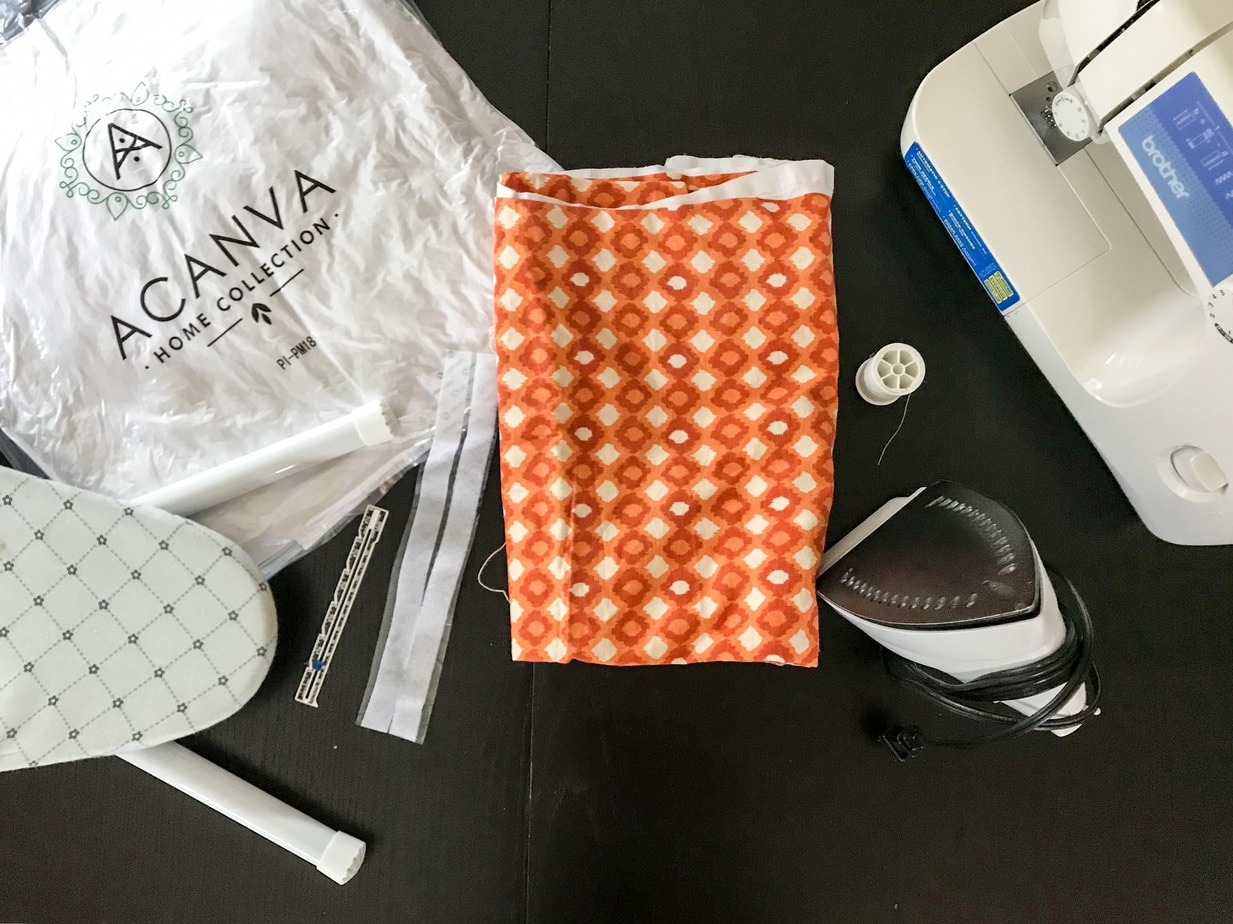
here’s what you’ll need:
- pillow form- I’m using these ones (or make a cover for an existing throw pillow)
- fabric (I’m using a home decor fabric, cotton works well too).
- all-purpose thread (use a color that goes with your fabric)
- Vel-Cro strips (non-adhesive- this is important!)
tools
- sewing machine
- iron and ironing board
- sewing scissors
- 6″ sewing gauge
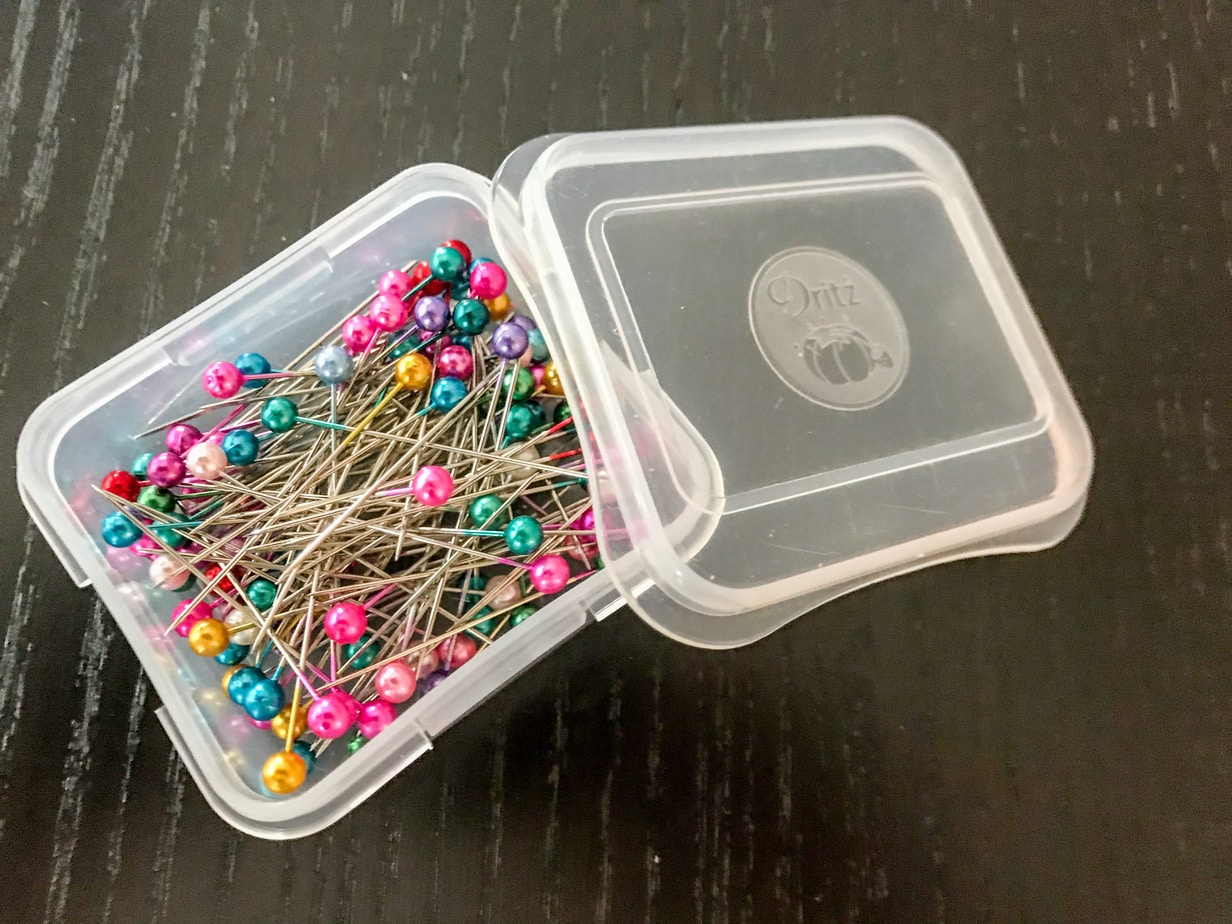
- sewing pins
- seam ripper (hopefully you won’t need it, but good to have just in case!)
Directions
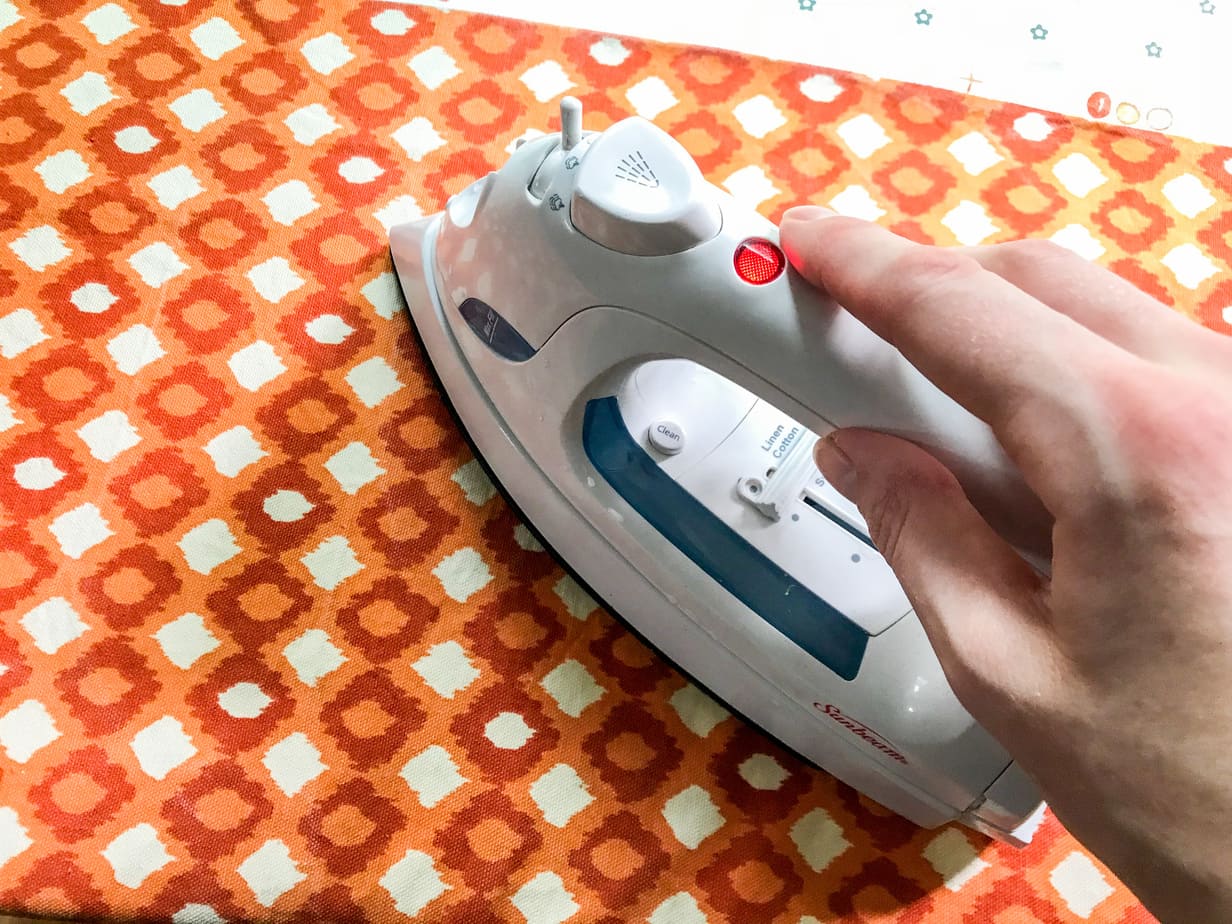
- Wash your fabric (if it’s washable). I almost always wash fabric before a sewing project. If it’s going to shrink, I want it to shrink before I cut and sew it- not after! It will likely need to be ironed afterward.
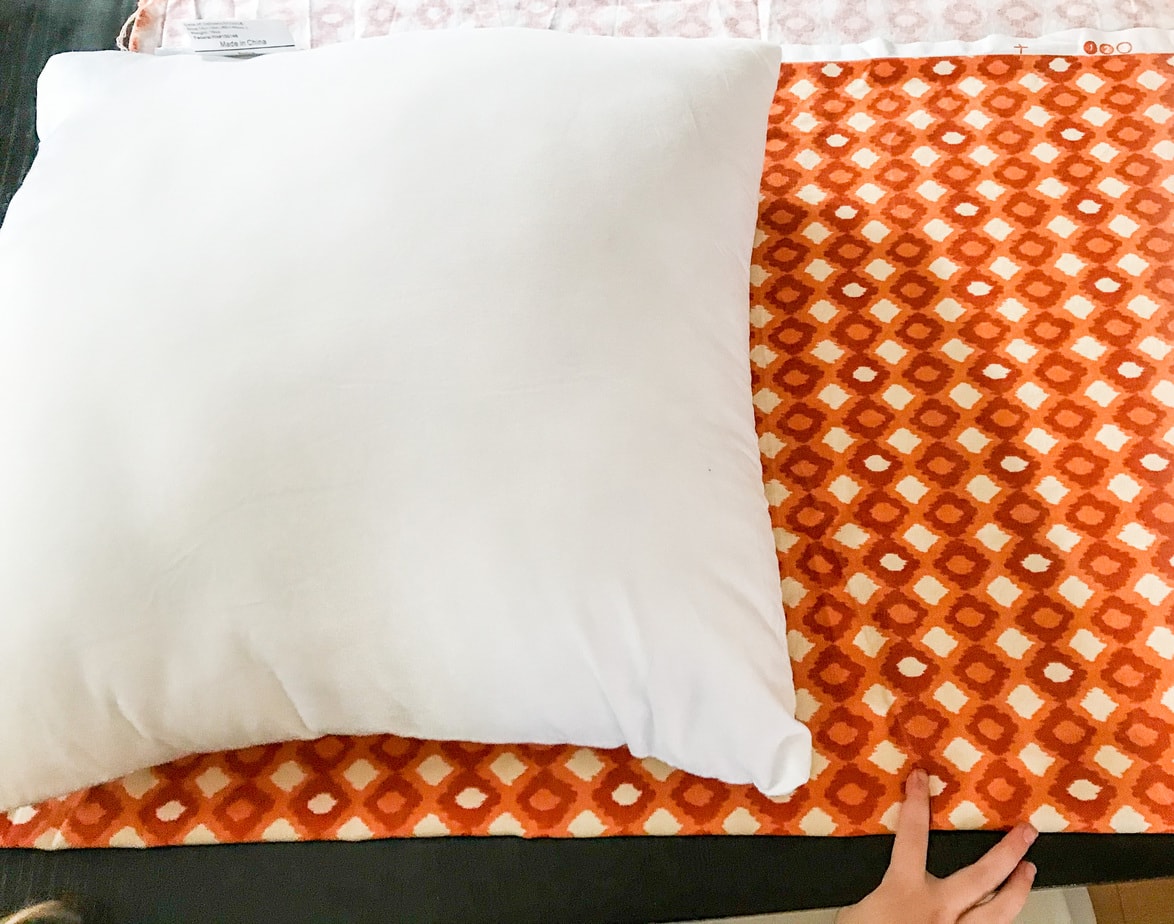
2. Lay out your fabric on a flat surface, folding it almost in half, so that one side is about 2″ longer than the other. Lay the pillow form on top of it, lining up the sides with the edges of the fabric.
3. Cut it out.
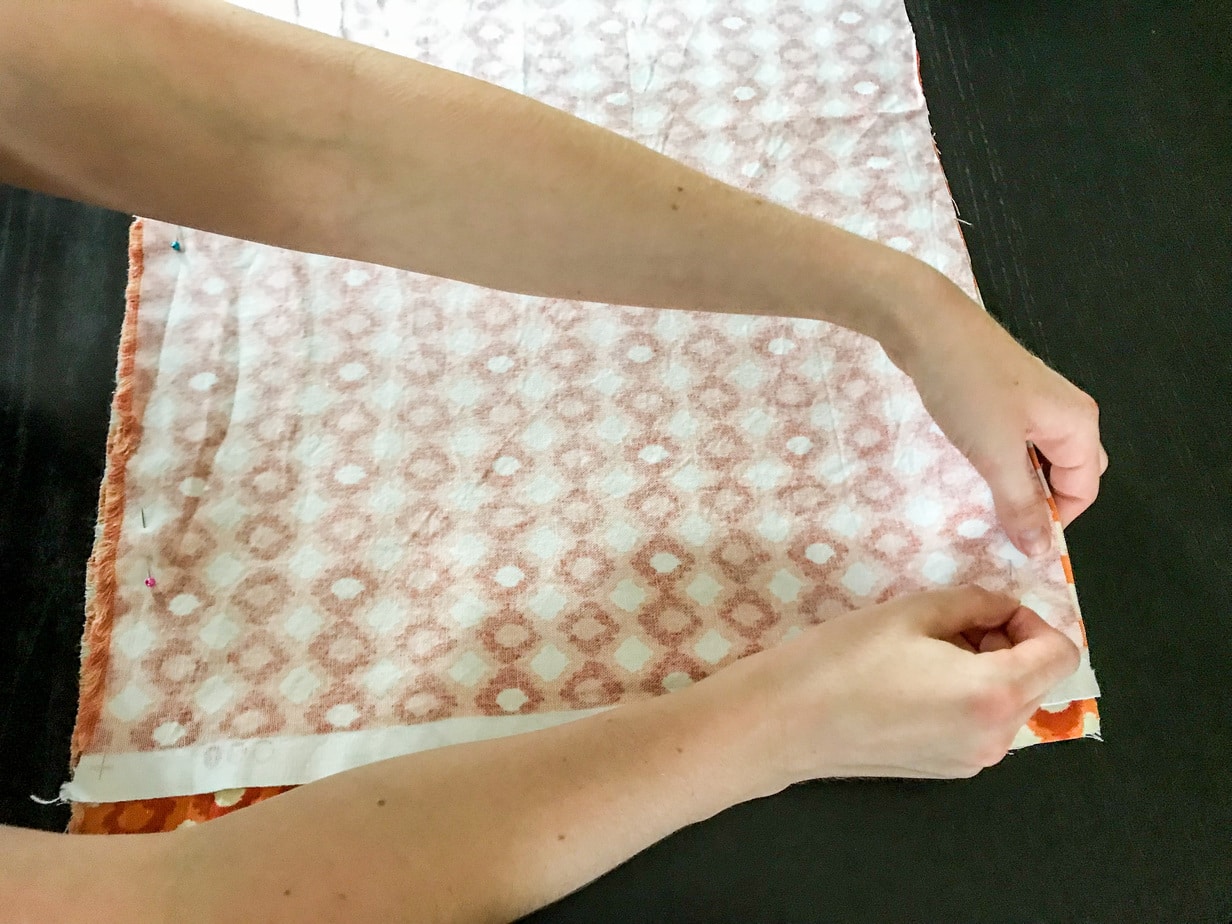
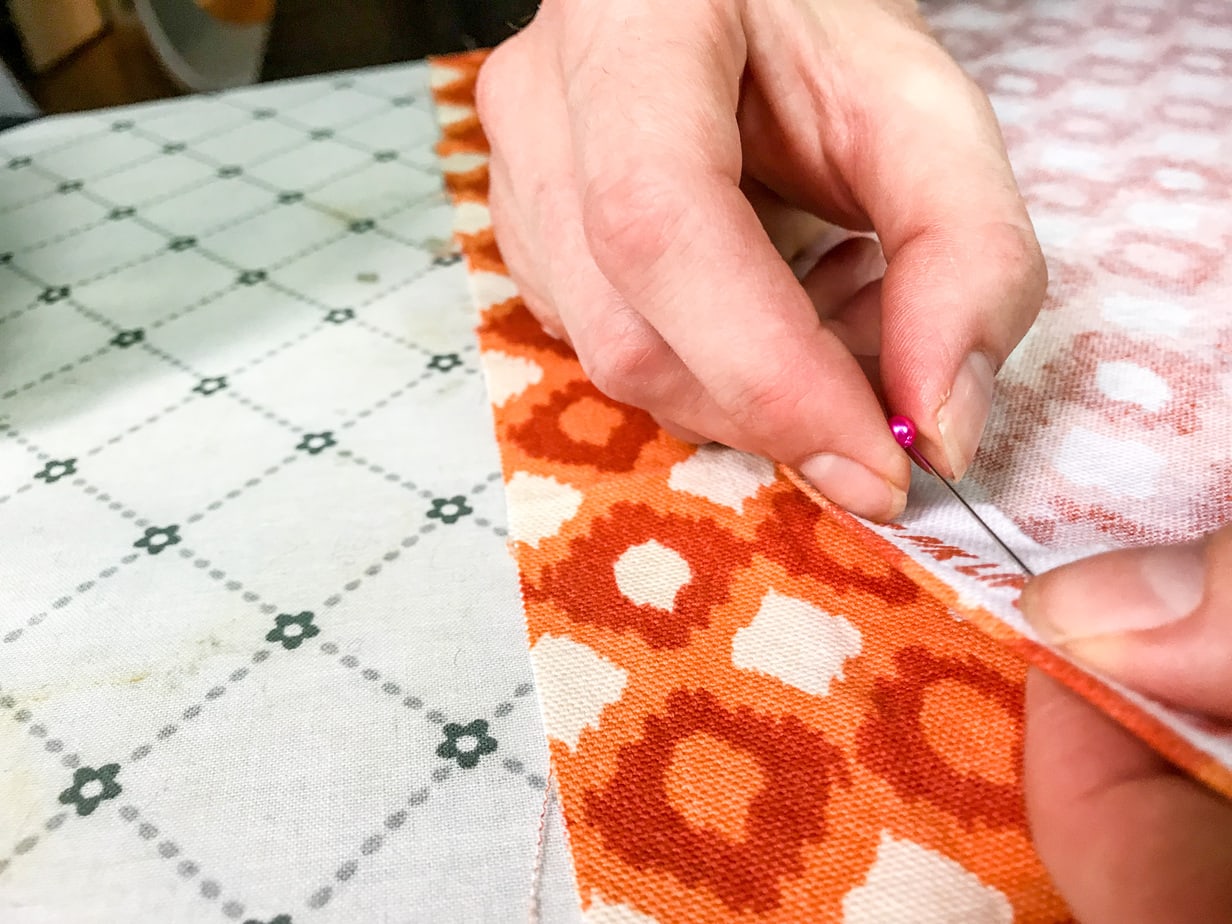
4. Turn the fabric inside-out, so the right sides (good sides you want on the outside of your pillow eventually) are together. Line up the edges, leaving the 2″ on one end (which will become the closure flap.) Pin along the left and right edges (perpendicular to the fold.)
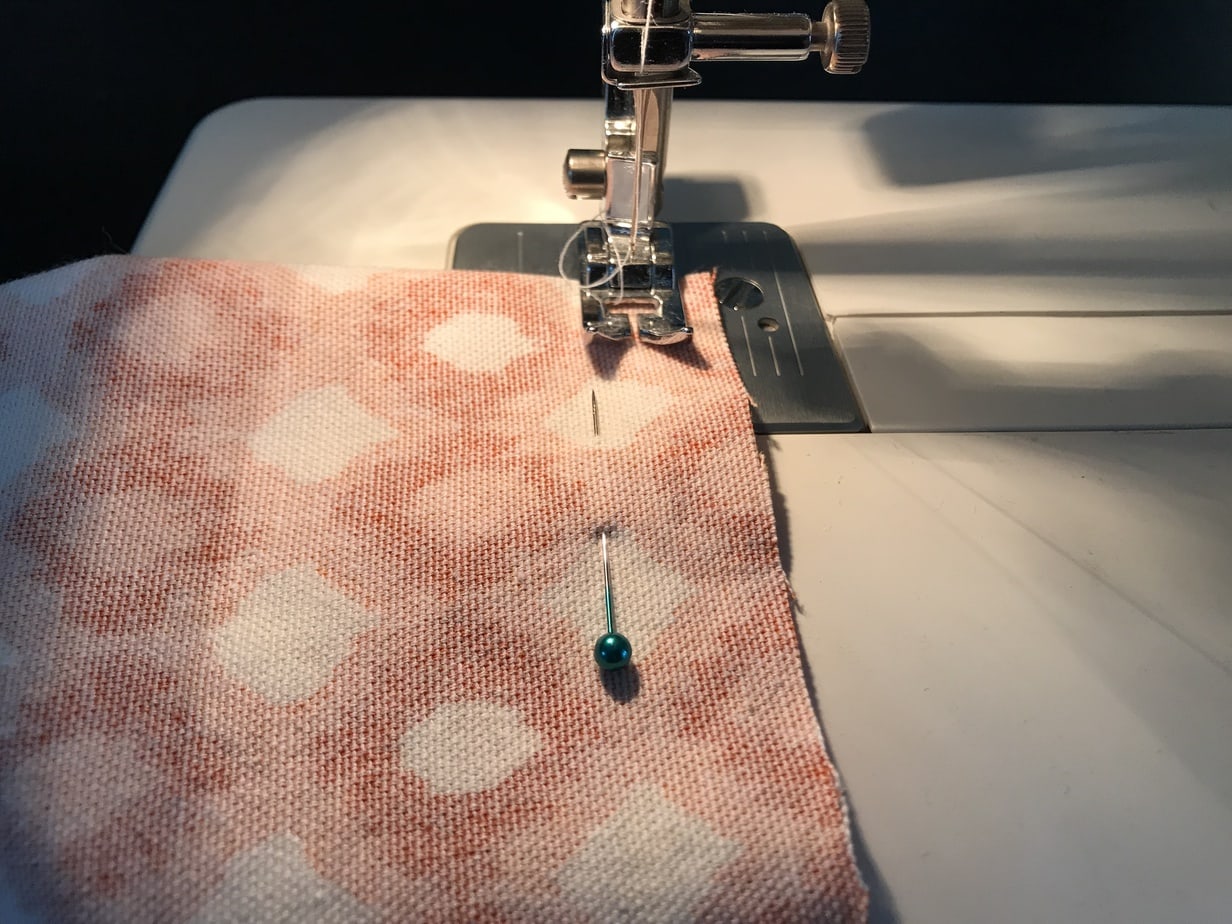
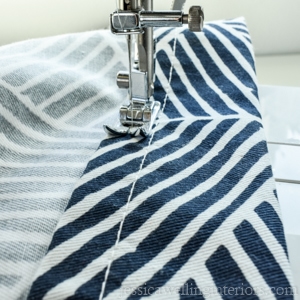
6. Sew along the two pinned edges, leaving a standard 5/8″ seam allowance.
7. Turn the case right-side out and try it on your pillow form. You’re checking to see how well the cover fits. You’ll want a good snug fit.
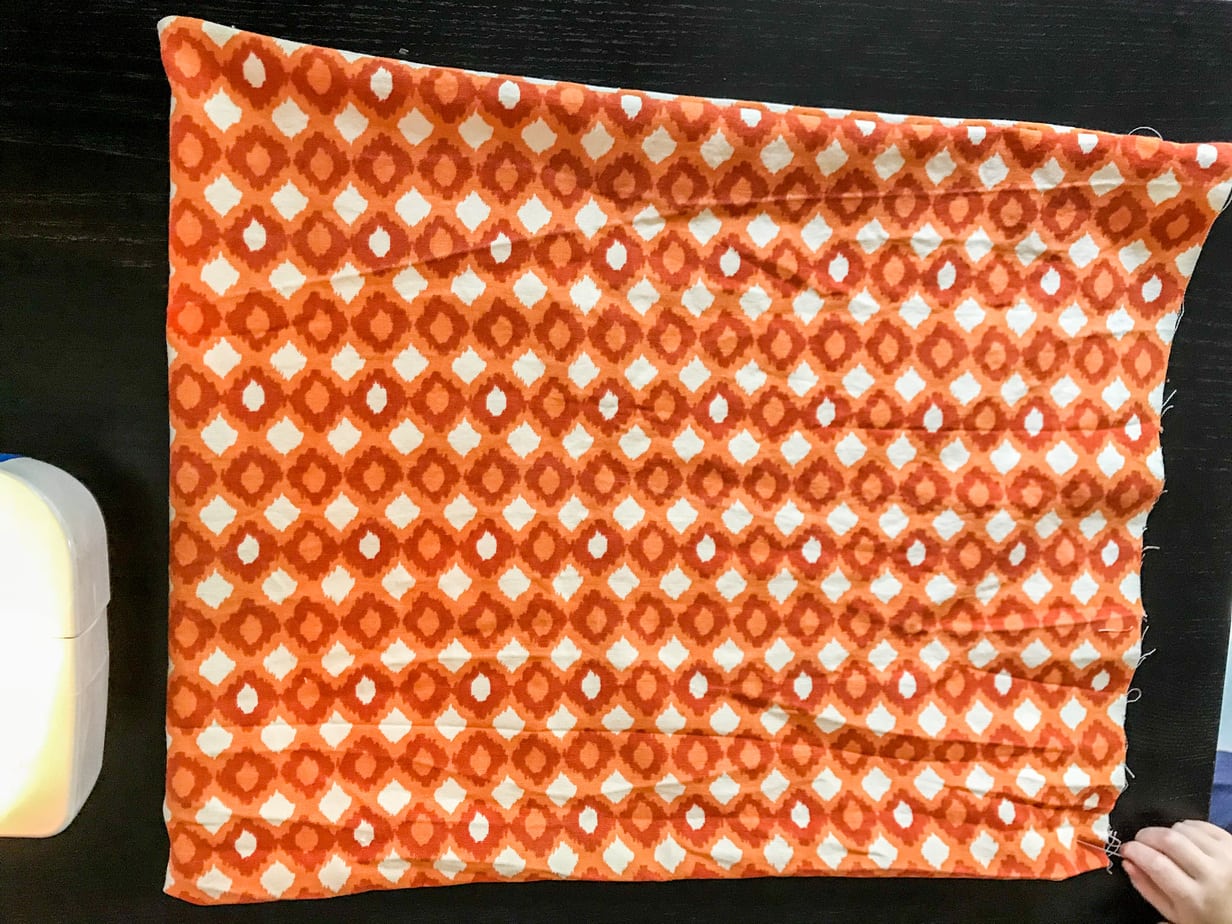

I actually got this one just about right on my first try. If it’s too snug, get out that seam ripper and re-sew your seams a little closer to the edges of the fabric. If your case is too big, sew a new seam on one of the sides in 1/2″, 1″, or more in from your previous seam.
8. Turn the case back inside-out. Fold, iron and pin about 1/2″ on the short side of the opening. My fabric was finished on one edge, so I only folded it once. If you have a raw edge, fold it over a 2nd time to make a nice clean edge.
9. Turn the case back right-side-out, and fold a small 1/2″ of the closure flap over. Use the sewing guage to be sure your fold is the same size all the way along. Iron it in place.
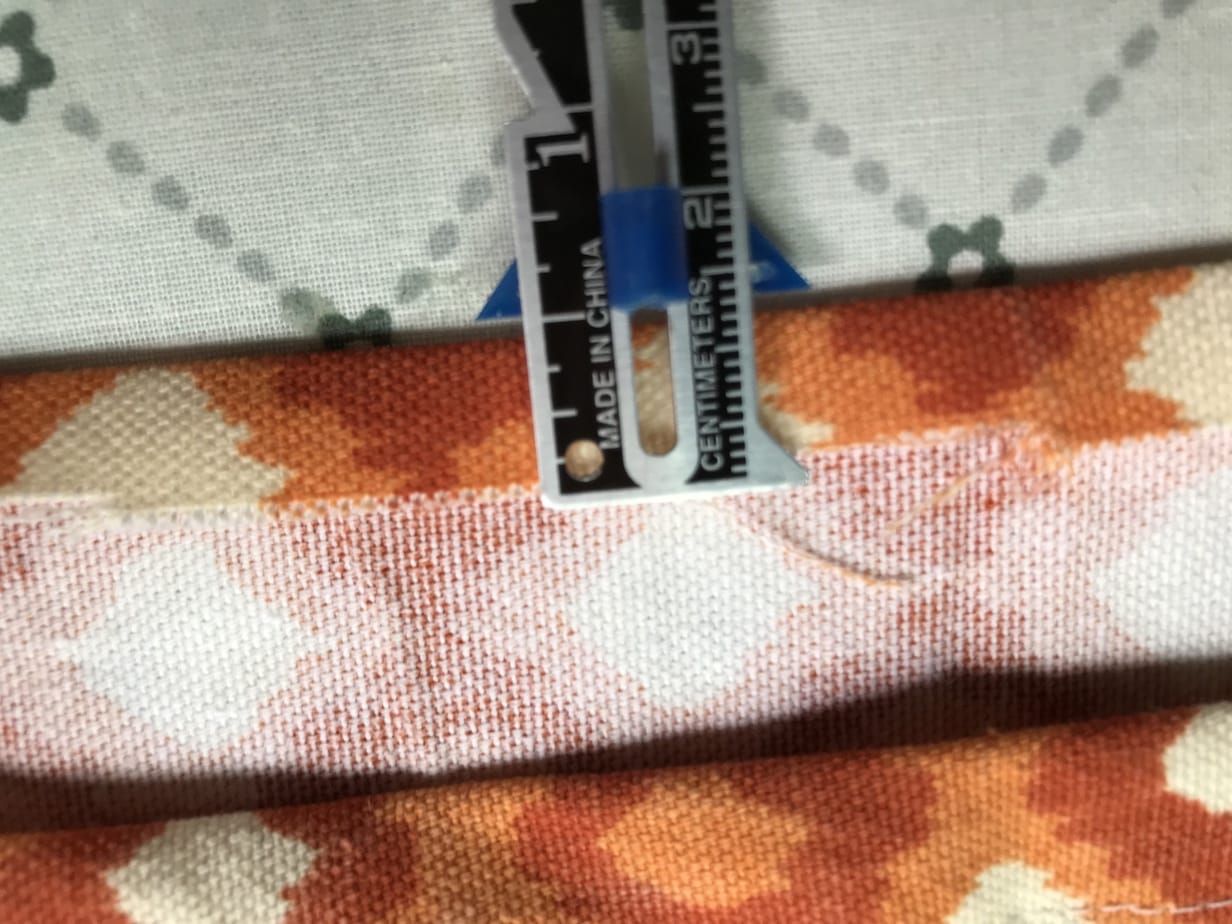
9. Fold it over once more, iron, and pin it.
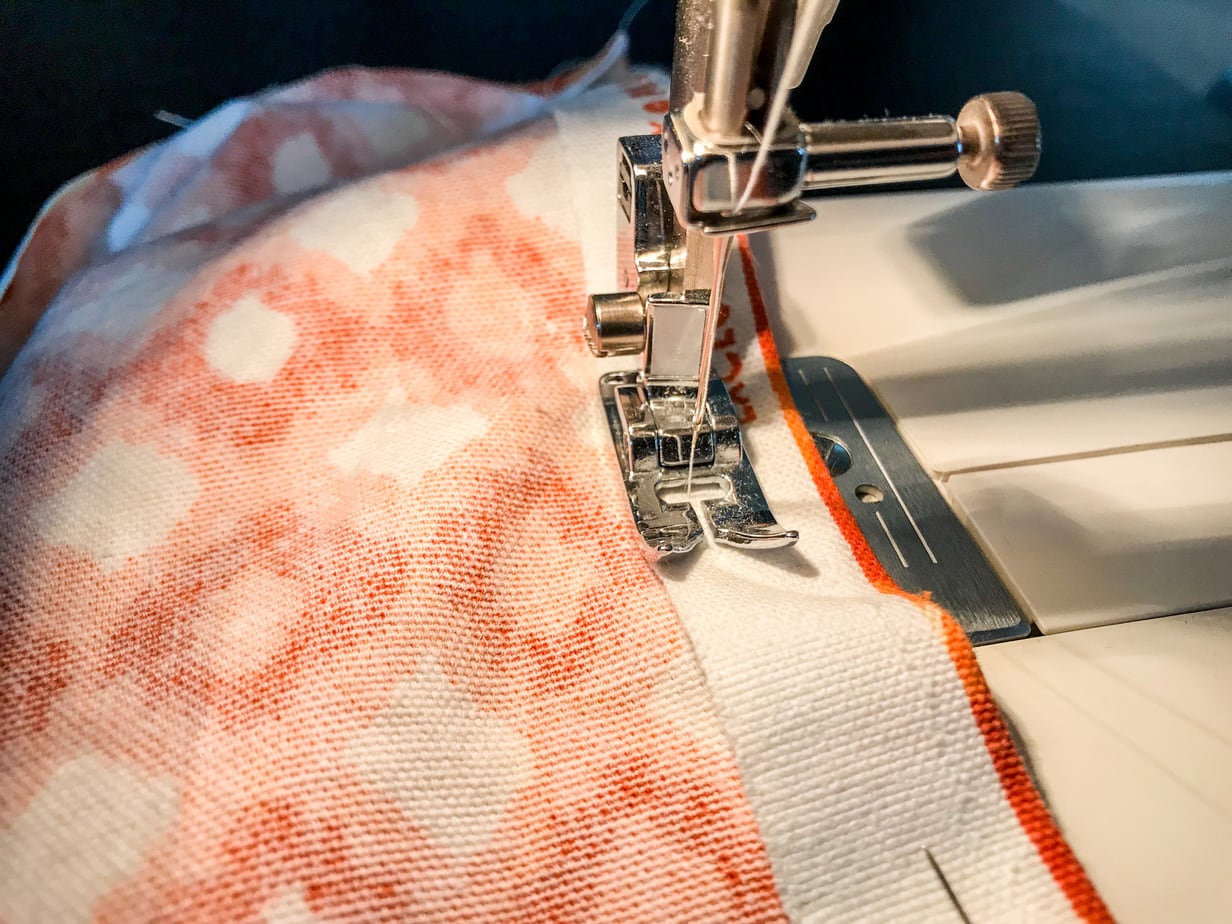
10. Sew along both sides of the case opening
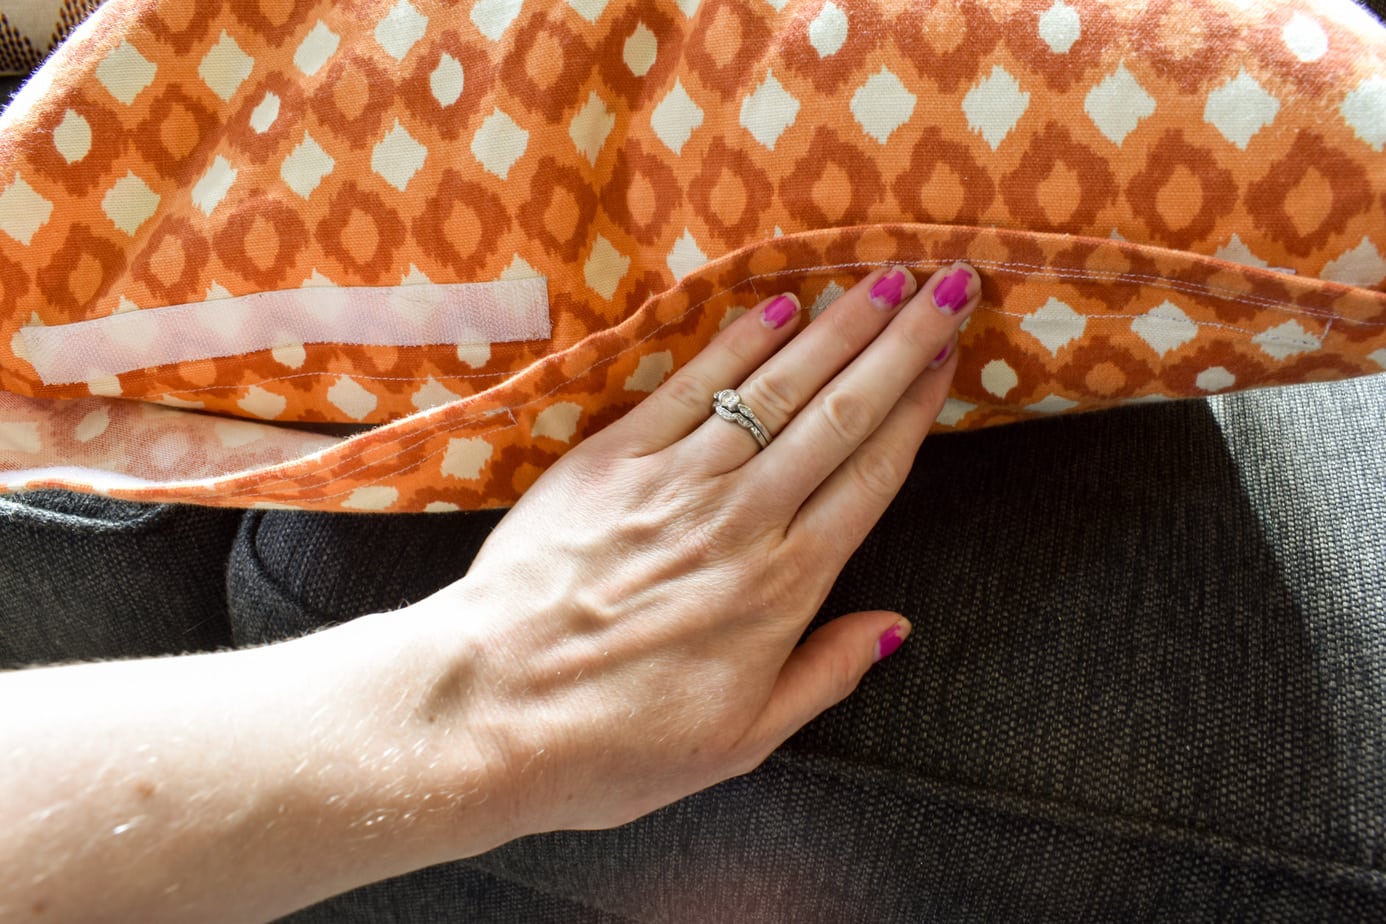
11. Put the pillow inside the cover and arrange the Vel-Cro pieces. The longer edge is going to tuck under the shorter one. Cut your Vel-Cro in two long strips, and arrange and pin the pieces so that when closed, they will line up.
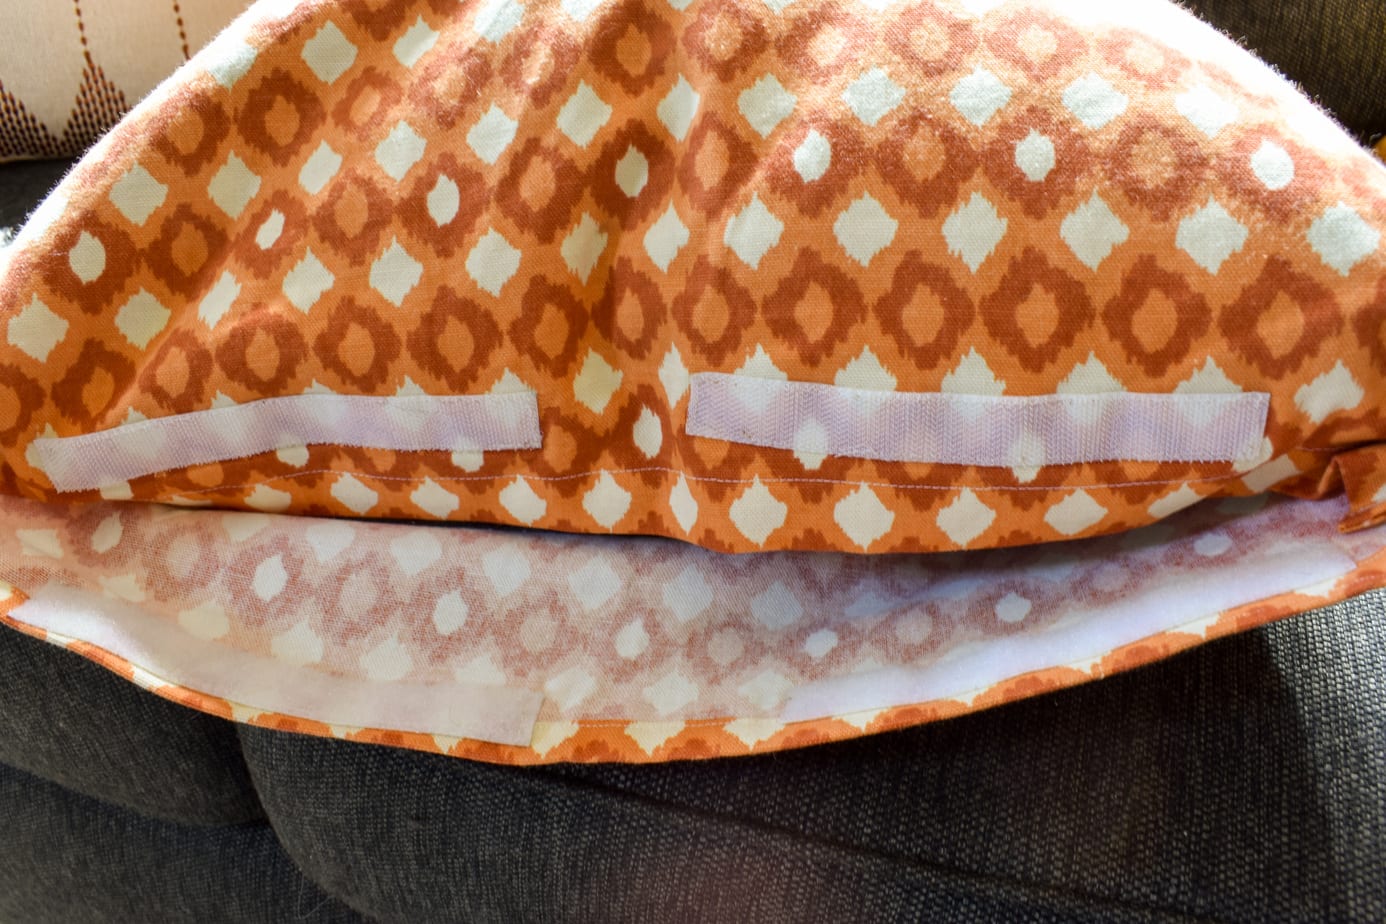
12. Sew the Vel-Cro on.
13. Put the cover on, and voila!
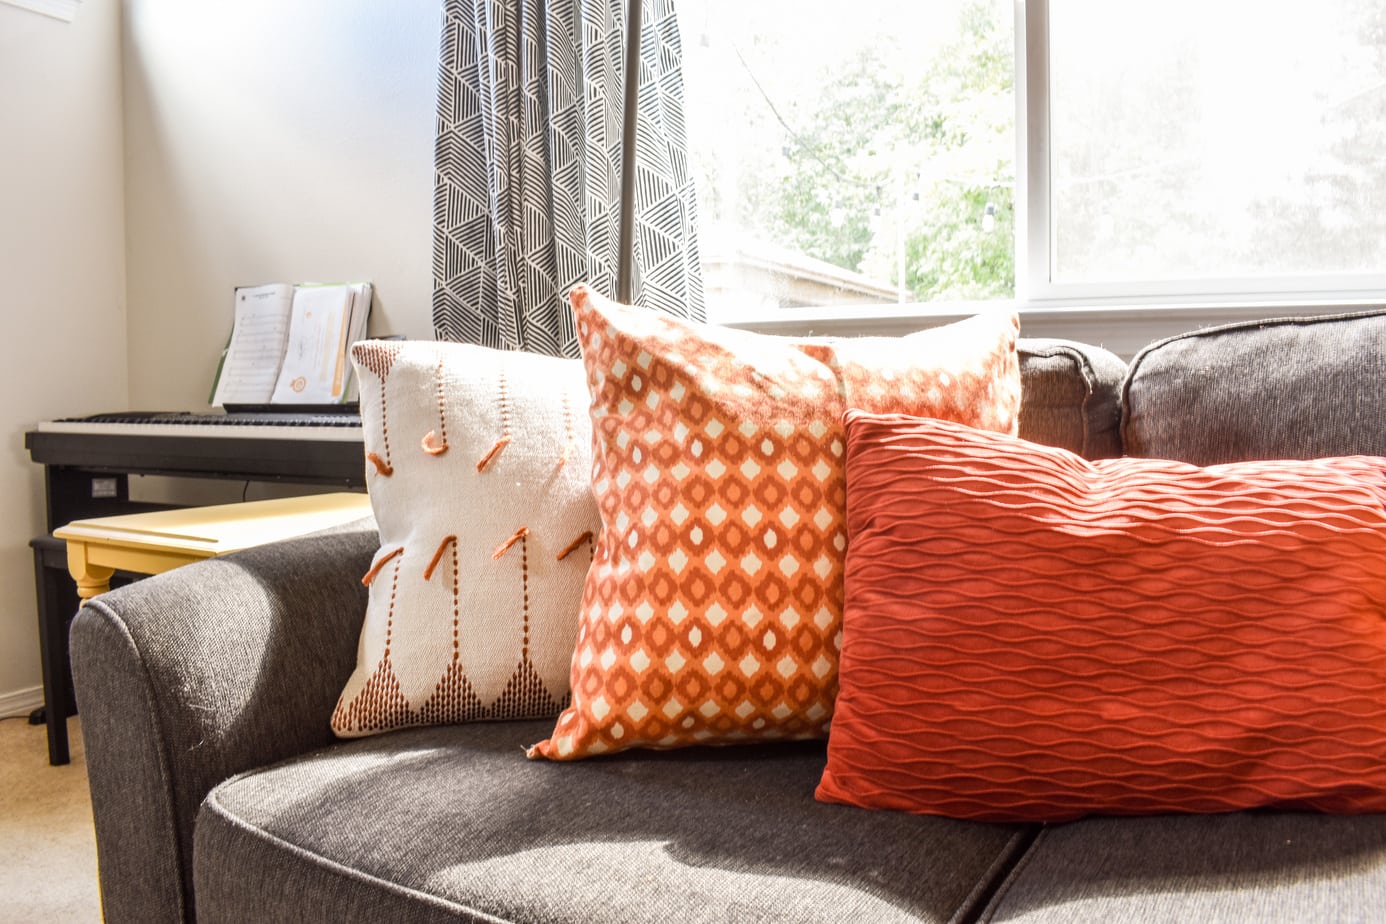
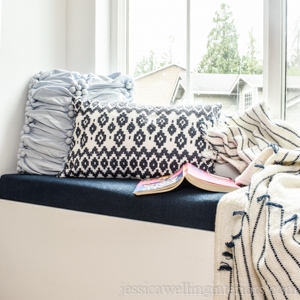
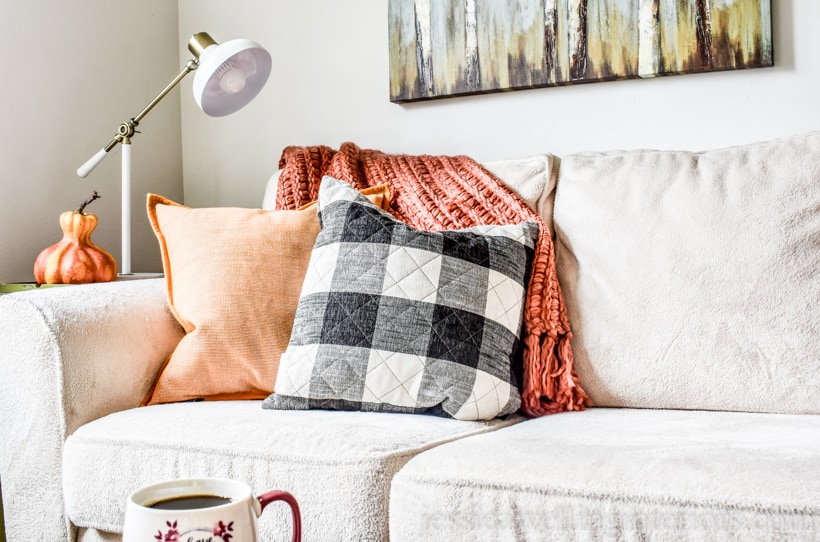
Now that you know how to make your own throw pillow covers, you can customize them any way you like! Add big buttons, stripes of ribbon, whatever you like. Style them with other patterns and textures to create a beautiful layered look! Need some throw pillow inspiration for Fall? Check out THIS POST!
more easy home decor ideas…
Make Cheap Curtains Look Expensive!
Easy DIY Upholstered Window Seat Cushion

Wow! They turned out beautiful. You are not alone on having a gazzilion throw pillows. Hubs will never get it. You made the sewing look easy! I have two sewing machines in the garage packing dust, maybe I should try🤔
Yes do it do it!
I’ve never even considered making my own throw pillows. But you make it sounds doable!
It totally is! Try it!
This was super fun to read! I would love to take on this new school and make my own throws.
Thanks Deborah!