
Easy DIY Upholstered Window Seat Cushion
This quick and easy no-sew upholstered bench cushion tutorial is perfect for window seats, banquets, breakfast nooks, benches, and more!

In all fairness, most upholstery projects that have “easy” in the title are lying. I’ve gotten in over my head before on an “easy” diamond-tufted upholstered headboard. BUT this one is legitimately very quick and easy. Pinky promise!
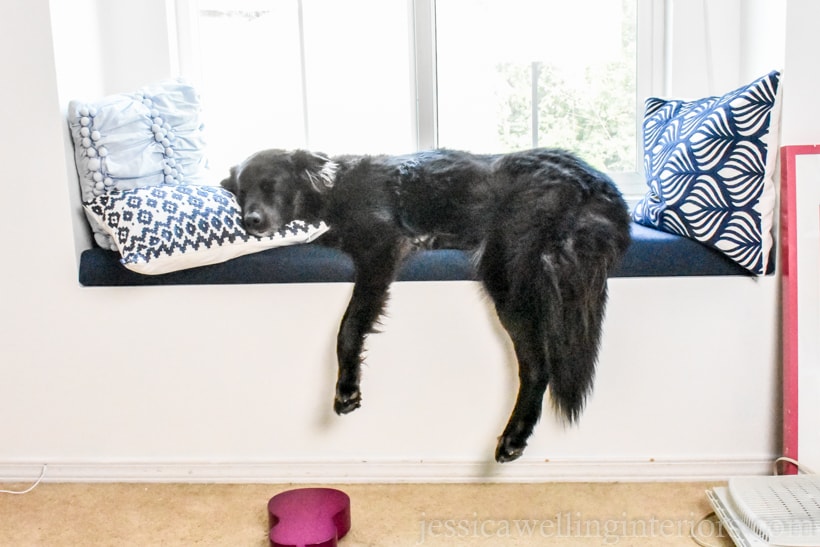
I’m doing this project for B & E’s shared big girl room makeover. They’ve got this great little alcove in their room, and it’s the perfect spot for a window seat (for a very skinny little bum). It’s actually the reason I chose this room for them. And it turns out our lab mix, Zoe, likes to squeeze her whole self onto the seat so she can look out the window and bark at whatever goes past. It’s a cheap thrill.
how to make an upholstered bench cushion
Here’s what you’ll need:
supplies
- plywood or OSB (you can ask them to cut it to size for you at Home Depot or Lowes)
- 3″ or 4″ thick foam (I used medium-density for the kids, but recommend high-density for adults)
- upholstery fabric or other thick, non-stretchy fabric
tools
- tape measure
- fabric scissors
- serrated steak or bread knife
- sharpie
- skill saw (or band saw if you have one)
- staple gun & staples
1. measure your bench
Measure the length and depth of your bench top, and write it down.
2. cut the plywood
The plywood needs to be just a tiny bit smaller than the dimensions of the bench top. We trimmed 1/4″ off each side to ensure a perfect fit.
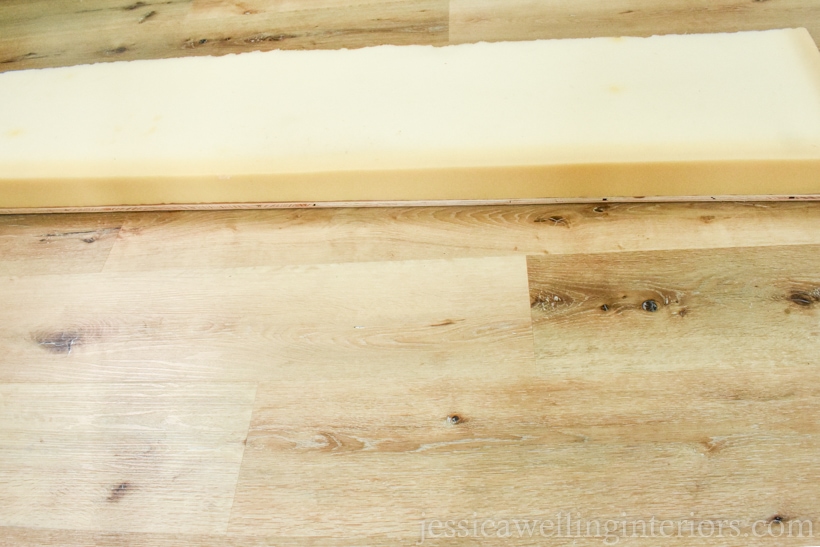
3. cut the foam
Once your plywood is cut, lay it on top of the foam and mark the foam with a sharpie. Use a serrated knife (I found that a bread knife works well) to saw the foam. You’ll want the factory edge of the foam (the clean edge that’s already there) to be the front of your cushion, and the one you cut will be the back. Your plywood and foam should be exactly the same size.
4. lay your fabric out
Lay the upholstery fabric out on the floor, good side down. Then lay down the foam, and then the plywood on top of that.
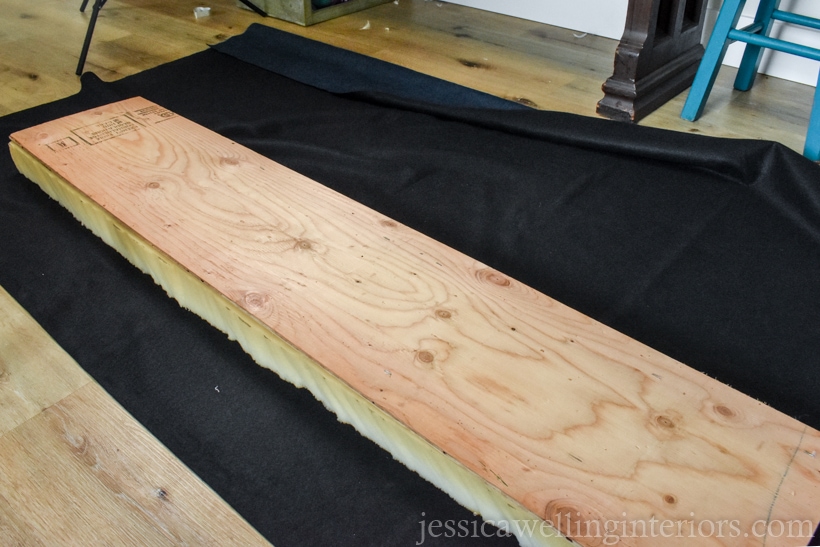
5. make sure your fabric is the right size
My foam is 3″ thick, plus an inch or so for the plywood. So I need to be sure I have an extra 4″, plus at least 3″ more fabric all the way around. I’m just going to eyeball it.
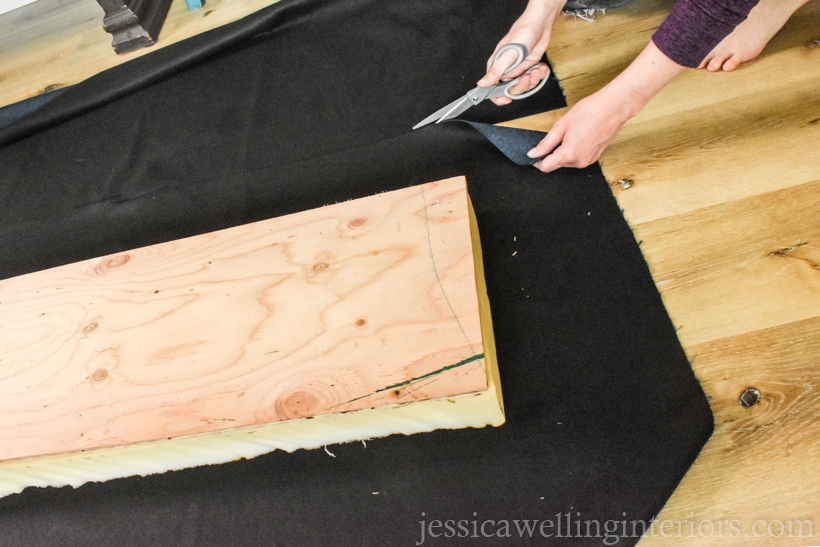
6. cut your upholstery fabric to size
No one will see the underside of the cushion, so it doesn’t really matter if the edges of your fabric are straight. I’m leaving at least 7″ all the way around, and trimming off what I don’t need. I have some extra fabric on mine, and that’s fine. Remember, you can always trim more off later- but you can’t add more on if you cut too much!
7. staple the first long side of your cushion
Wrap the fabric over the foam and plywood on one of the long sides. Place the first staple in the middle of the long side, and work out from there, stapling every 4-6″.
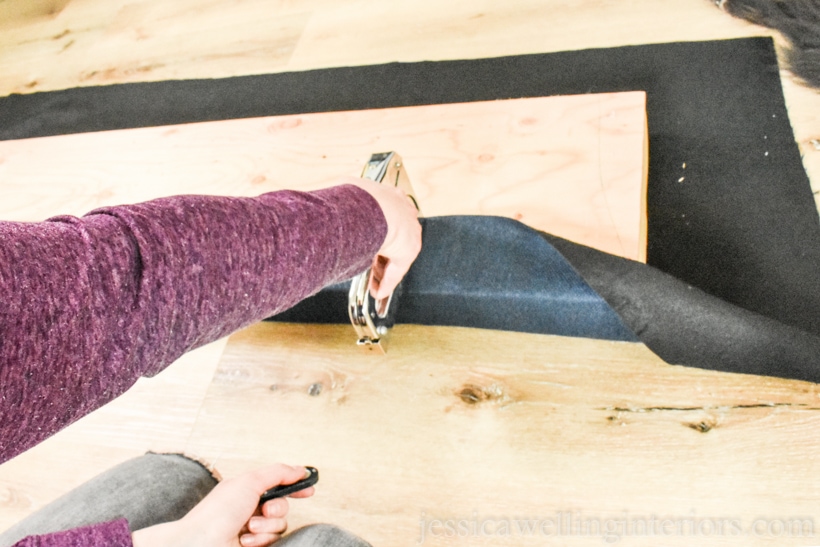
8. staple the other long side
Move to the other side of your project, or pick the whole thing up and turn it around. You may need to adjust things a little. You want your fabric to be wrapped snuggly, but not so tight that it bunches and makes indentations in the foam. Again, start in the center and work your way toward the ends with the staple gun.
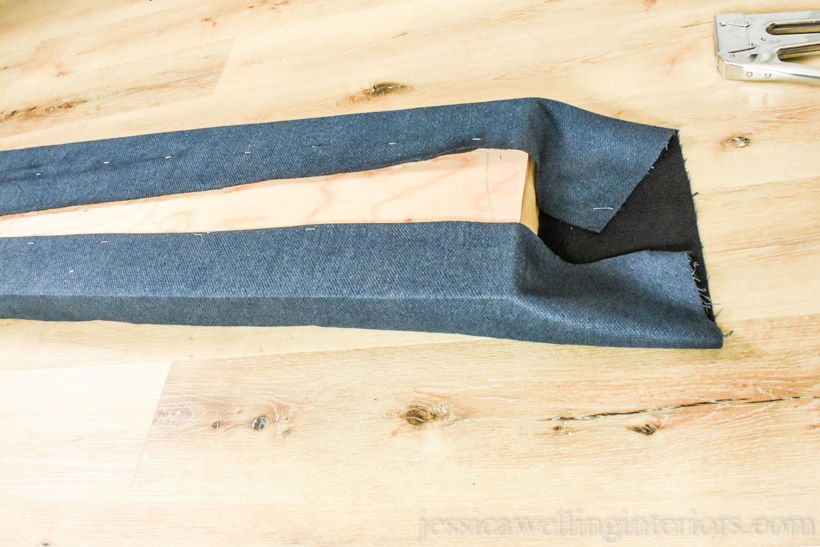
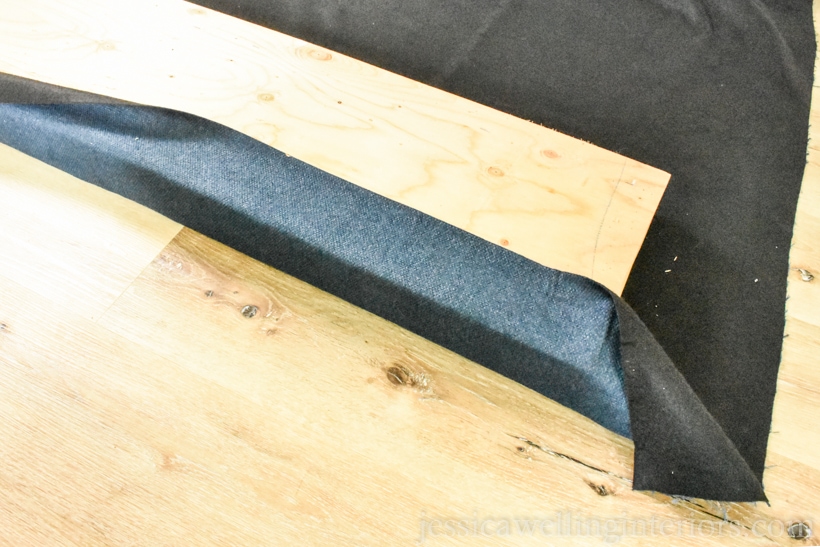
9. wrap and staple the ends
This is the trickiest part, but still not very hard. We’re going to wrap the ends like a present. In the photo above, you can see that I’ve got a bit too much extra fabric on this end, so I will start by trimming some of that off.
Next, I’m going to be sure the fabric wrapped around the side is stapled all the way to the end to hold it in place.
Now I’m going to fold the edges in, just like I’m wrapping a gift.
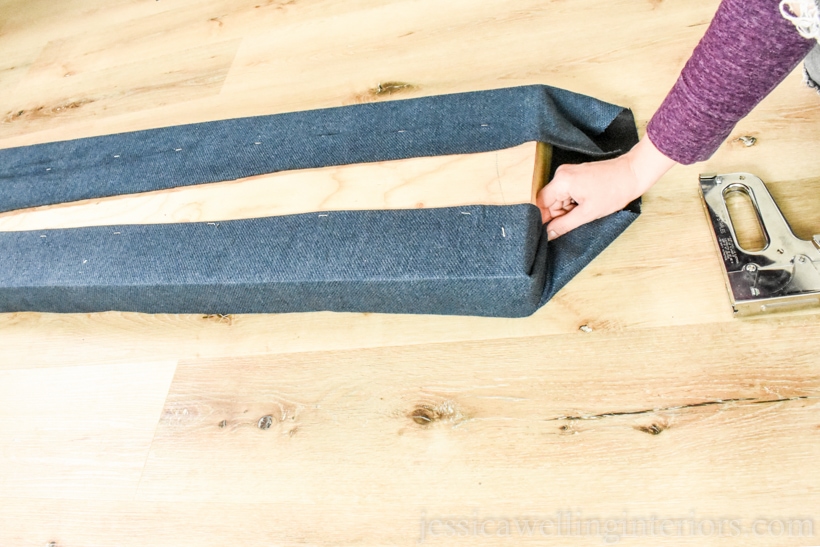
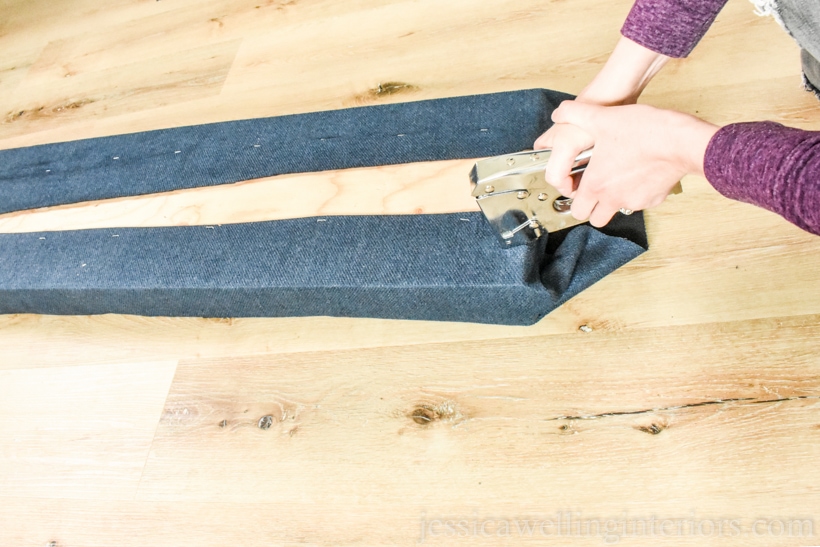
Making sure everything is pulled snug, wrap the end over the plywood and staple it 2-3 times, depending on how wide it is.
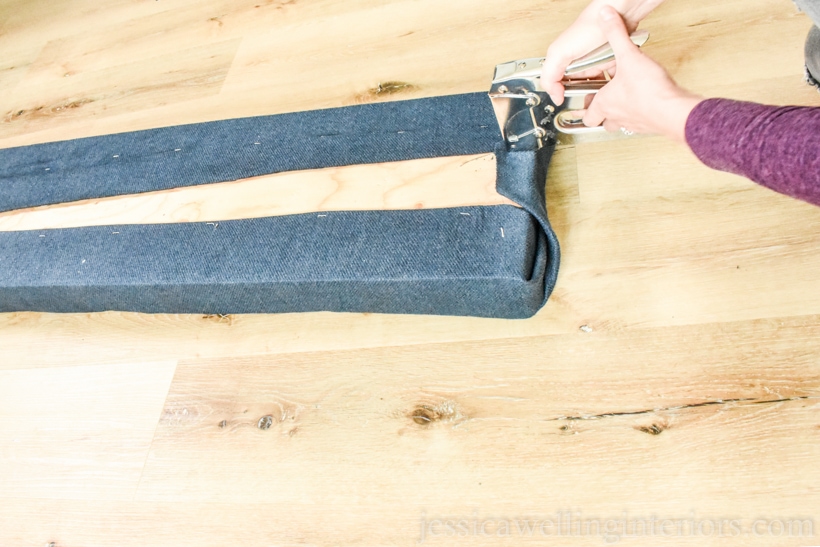
It should look like the end of a gift when you’re done. These ends will be hidden when the window seat cushion is in place.
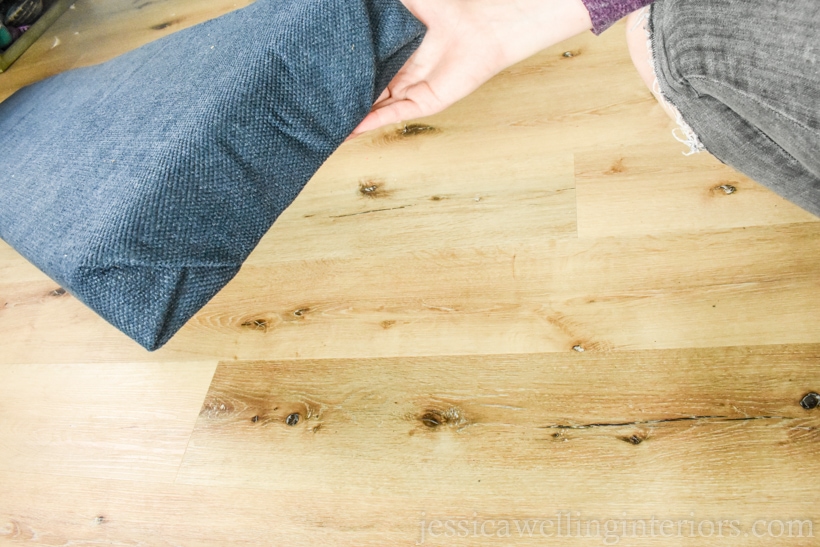
Now go put your seat cushion in place and enjoy! Depending on where you’re putting it, you might consider some heavy duty vel-cro or screws to hold it in place. Mine fits snugly in the window, so this isn’t necessary.
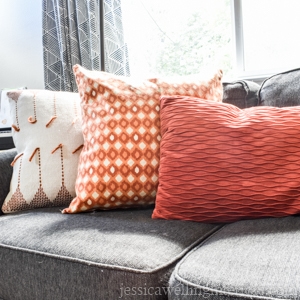
Now you’ll probably need a few throw pillows to finish the look. Check out this easy throw pillow tutorial next!
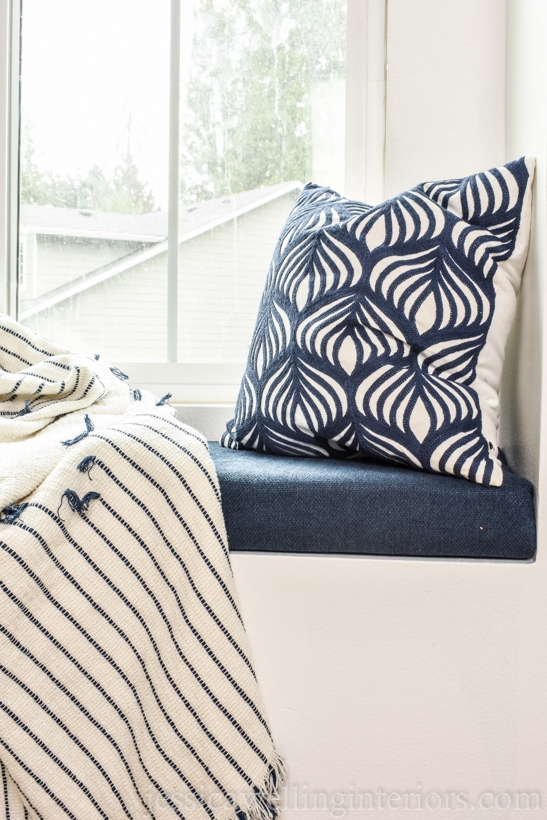
I am in love with the navy pillow below!
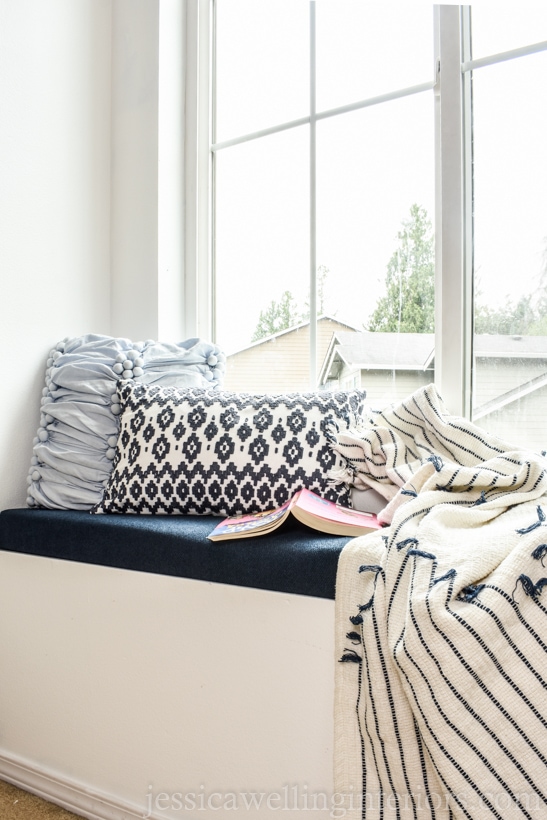
Grab a good book and some coffee, and enjoy your new upholstered window seat cushion!
Or maybe even take a nap!
Here’s the throw pillow cover pictured above. I love these covers!

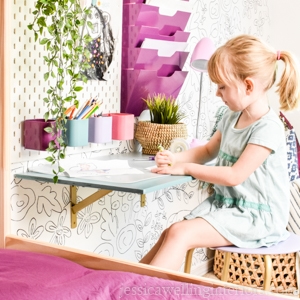
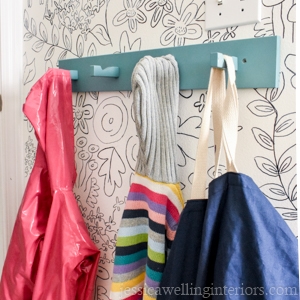
more ideas from the girls’ bedroom makeover…
Kids Room Organization Hack: Modern Coat Hooks
Make Your Own Easy Throw Pillow Covers!

Looks amazing, Jessica. I need to create one for my window bench!
Thank Julie! It was really easy.
What upholstery fabric did you use?
Hi Zipporah, Sorry I don’t know the name of the fabric. It might be a type of microfiber. I got it in the upholstery section at JoAnn Fabrics. But any thicker upholstery fabric should work for this project. Good luck!