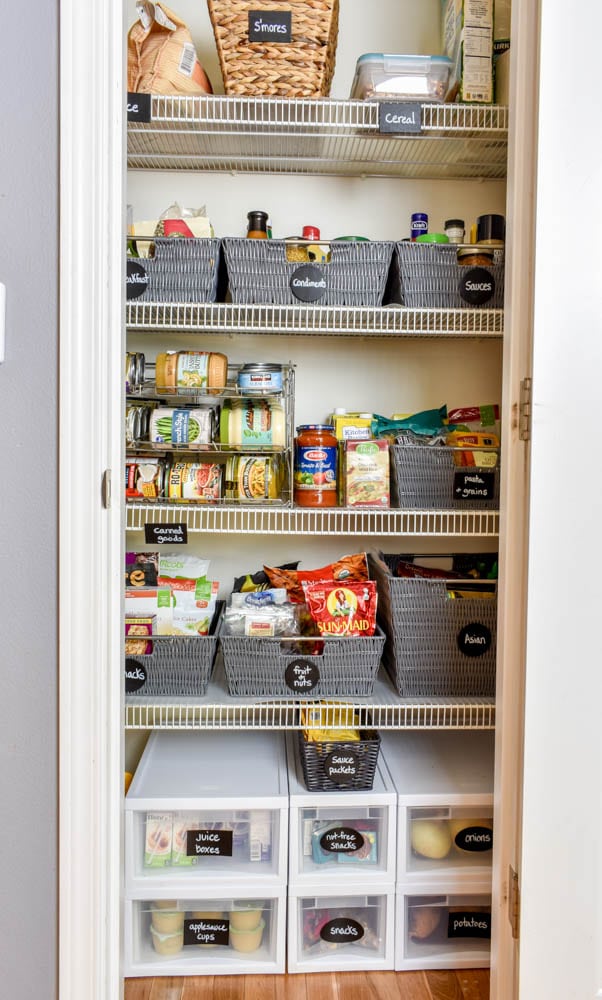
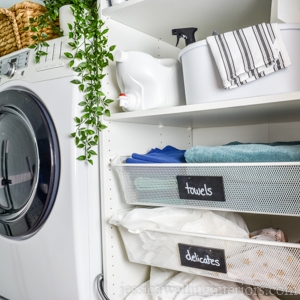
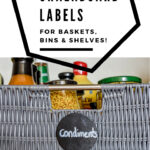
I recently re-organized my pantry, and we did a laundry room renovation a few months ago. I needed mini signs to finish up both projects, and these painted chalkboard labels were just the thing! I’ve tried a few different types of labels in my pantry, but none of them have stuck for very long. That’s why I’m busting out the Crazy Glue this time!
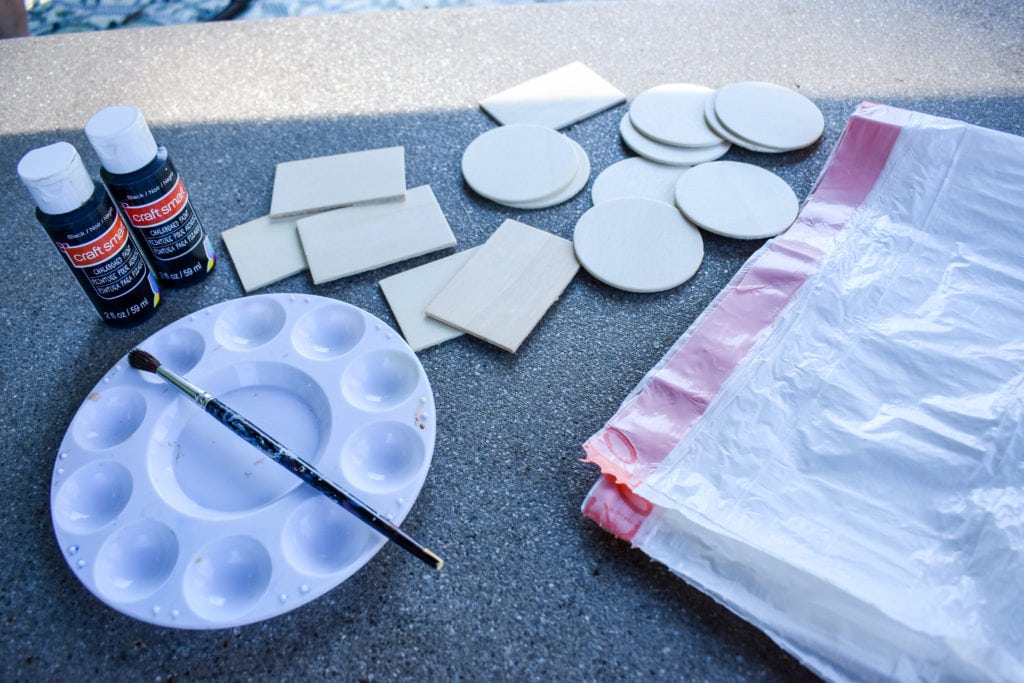
I picked up some inexpensive balsa wood pieces, a couple of bottles of chalkboard paint, and a chalk pen at Michael’s. Plus a few more things (see below).
Supplies:
paintbrush
paint tray
chalkboard paint
wood pieces and/or wood signs (look in the wood craft section of any craft store)
chalk pen or white paint pen
garbage bag or something to use as a drop cloth
Krazy Glue (Gorilla Glue or Superglue would probably work too)
mini cable ties (optional)
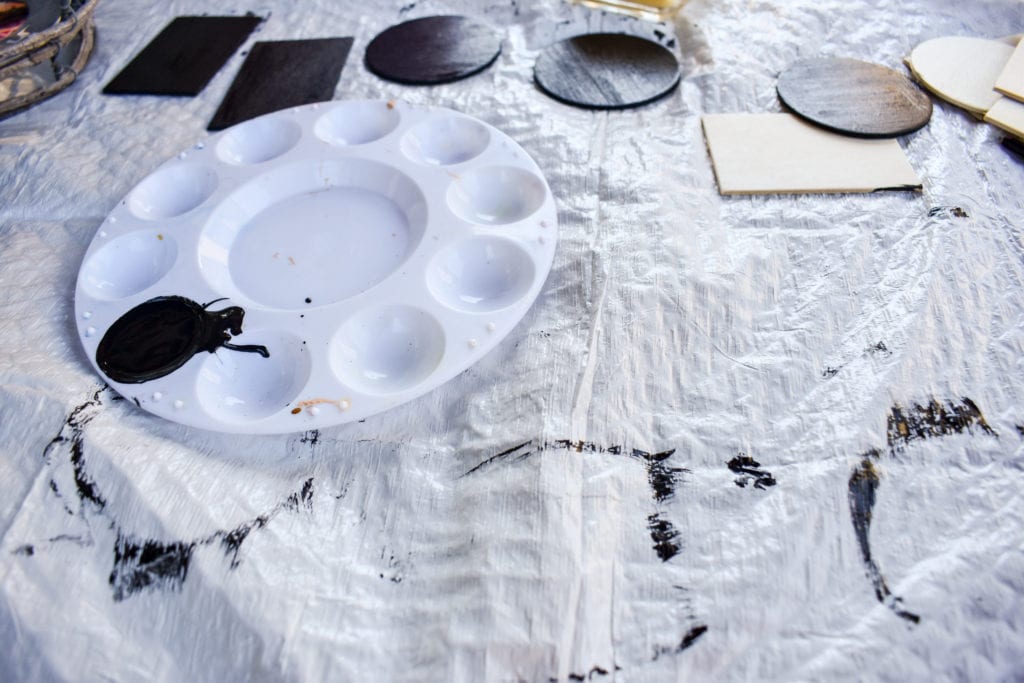
Paint the Signs. For mine, I chose the smoothest side and I only painted one side, plus the edges. No one will see the backs!
Let them Dry & Re-coat.
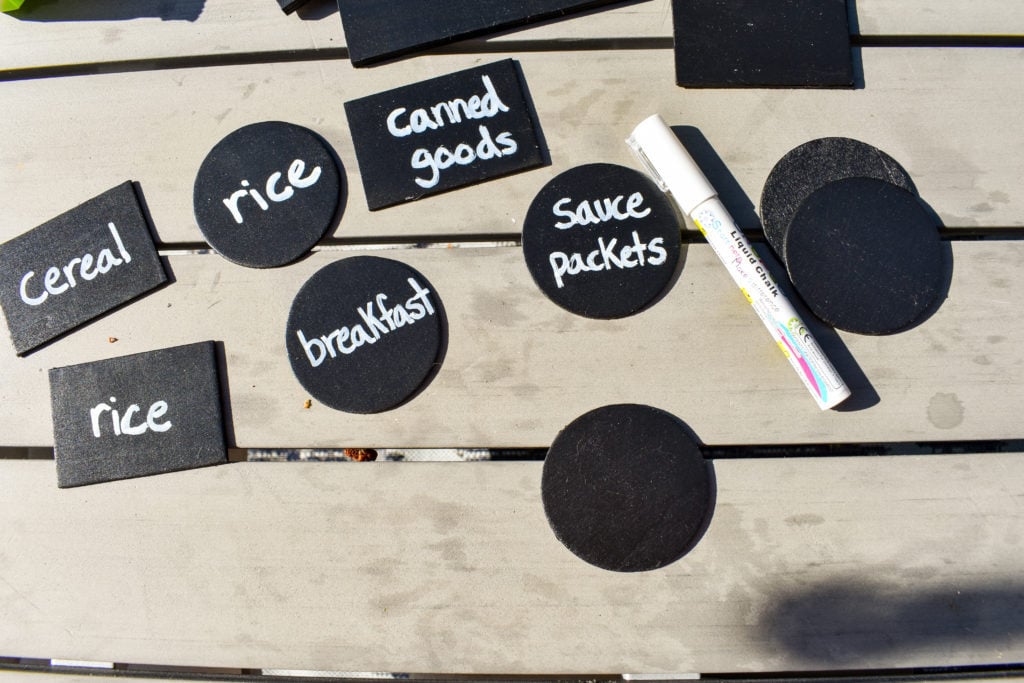
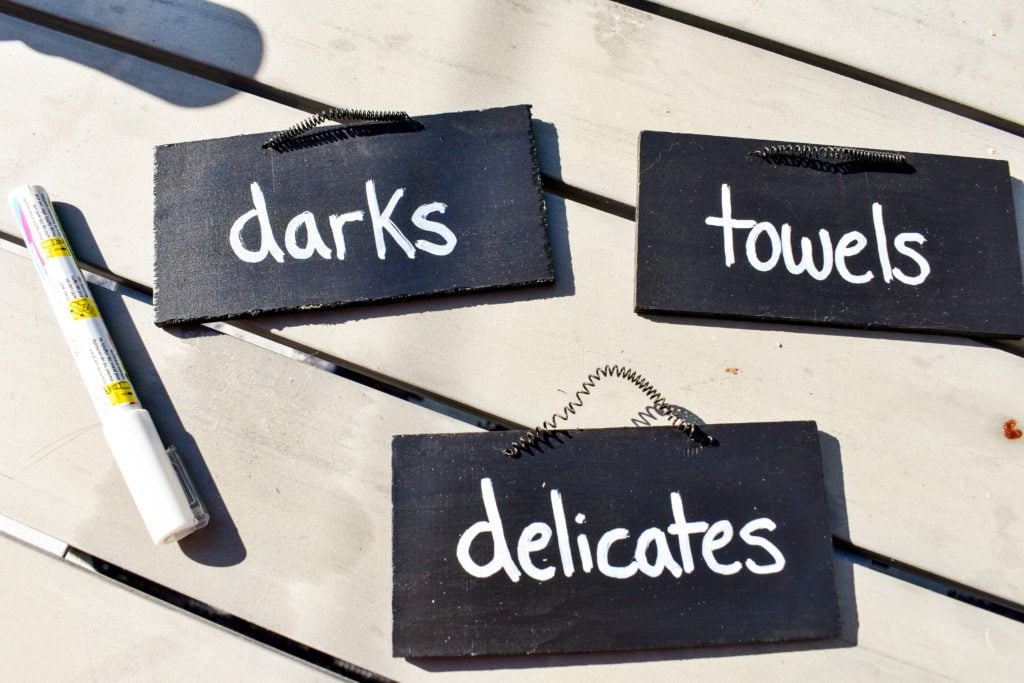
Write Labels. Once your paint is good and dry, you can write your labels with a chalk pen. If you don’t see yourself changing the labels in the future, you may choose to use a white paint pen instead.
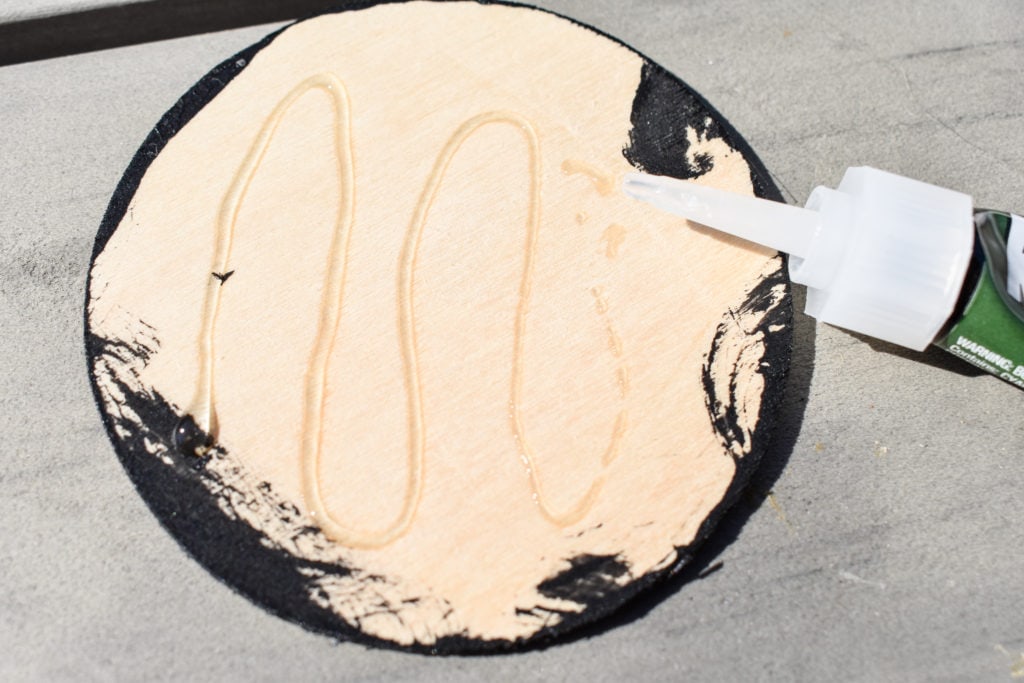
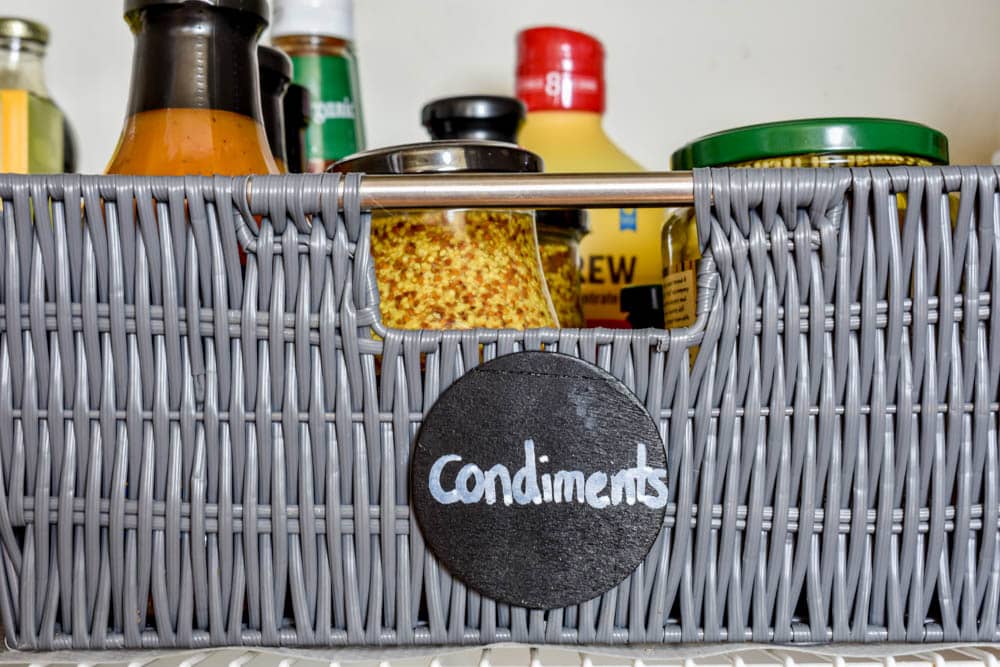
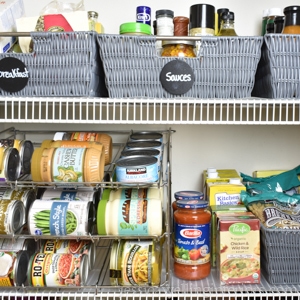
Attach labels to baskets. Now that your labels are finished, it’s time to attach them. I want mine to last, so I’m using Crazy Glue. Be careful with this stuff- I have definitely glued my fingers together more than once! I was surprised at how long I had to hold the labels on the baskets before the glue stuck. It was probably about 2 min for each one. So I got out my Kindle and did some reading! Well worth it though, because now they’re not going anywhere!
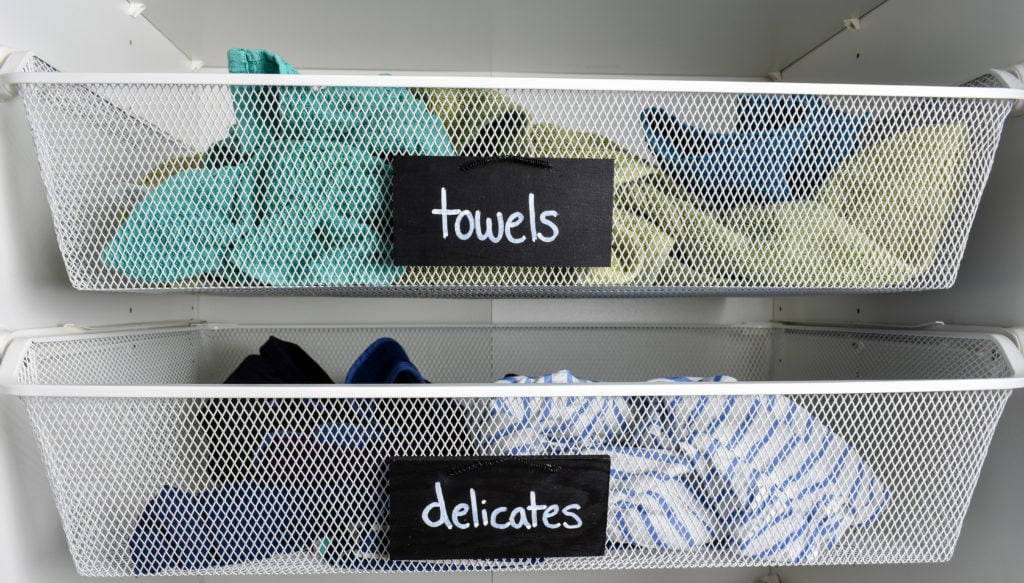
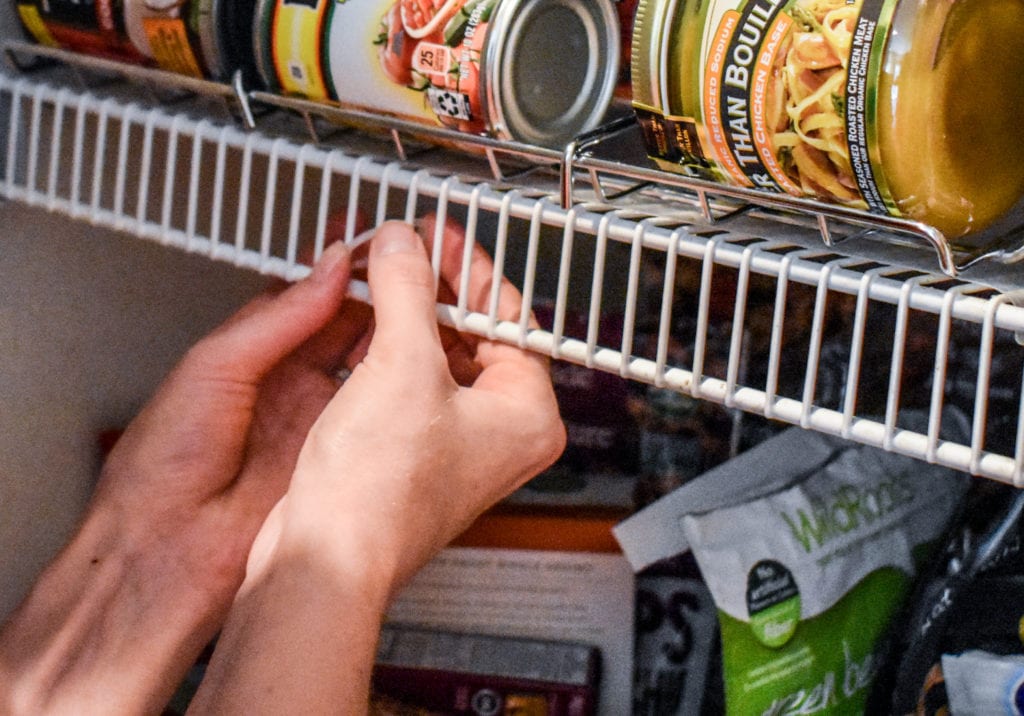
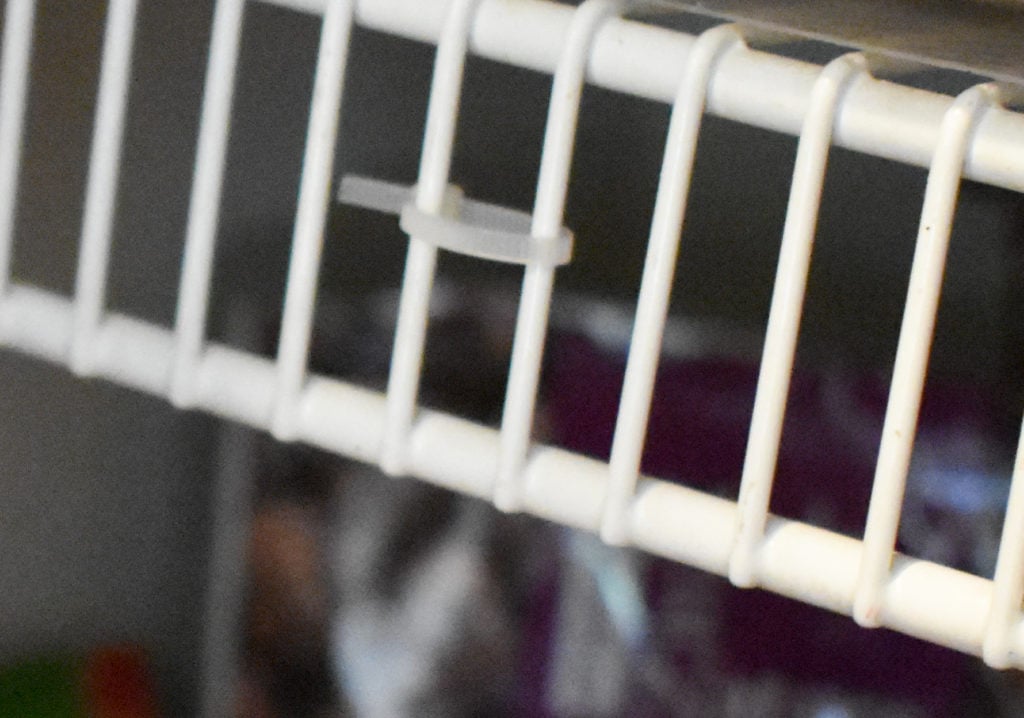
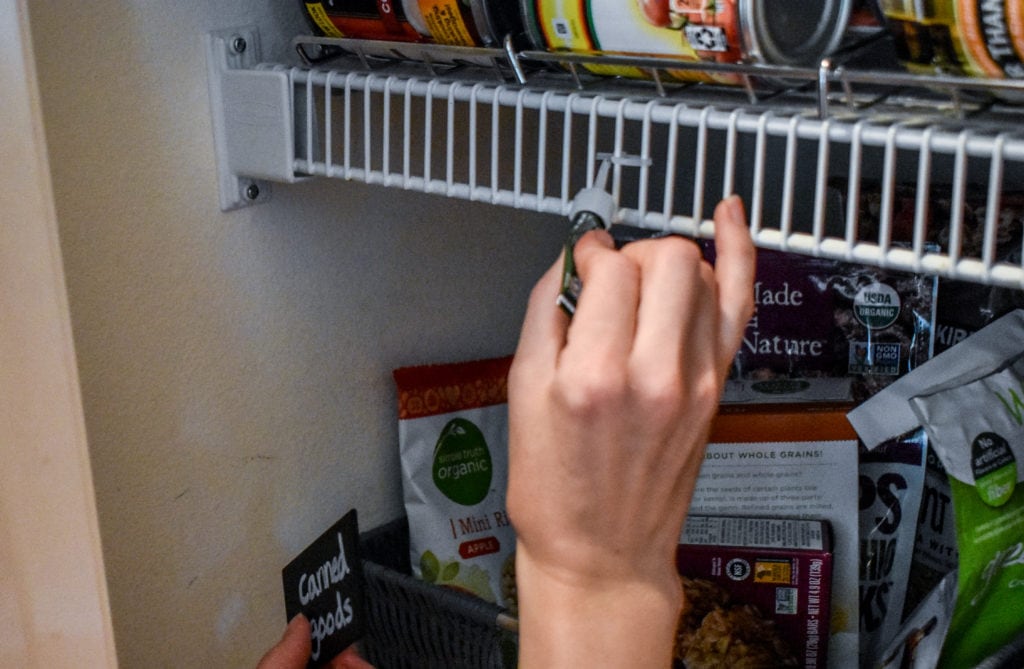
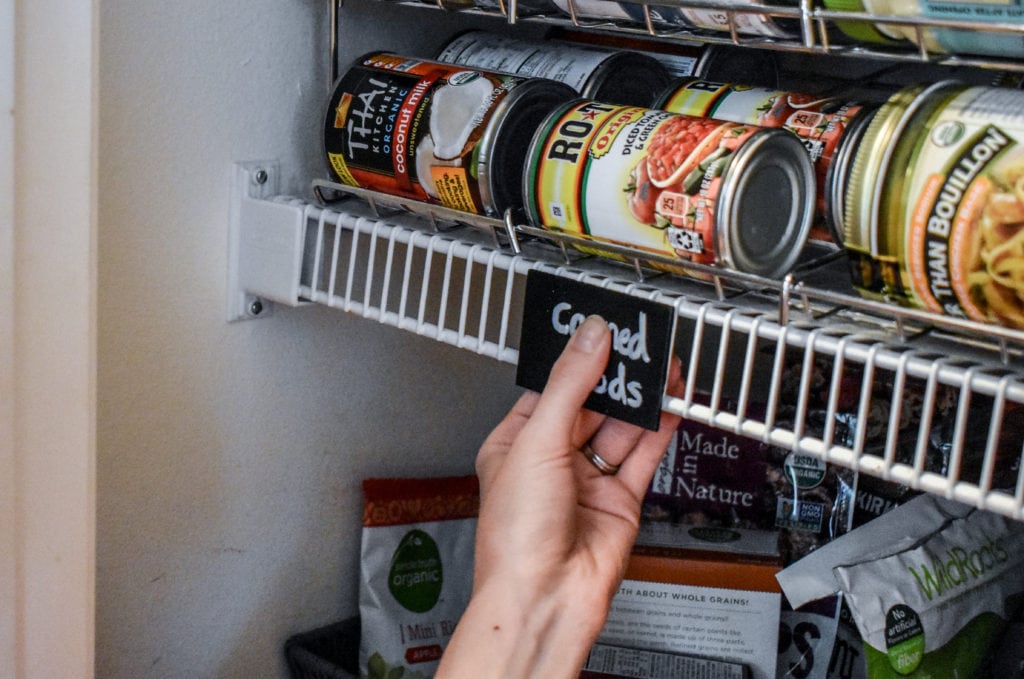
Adhere labels to shelves. In order to attach the labels to the wire shelving in my pantry (since I will probably need to remove it someday), I first used a mini cable tie. I wrapped it around two of the vertical wires on the edge of the shelf.Then I snipped of the excess cable tie, and applied crazy glue to the front face of the tie.Next I stuck the label to the cable tie and held it tight for 2 minutes or so. And there you have it! You can check out my pantry organization guide HERE!
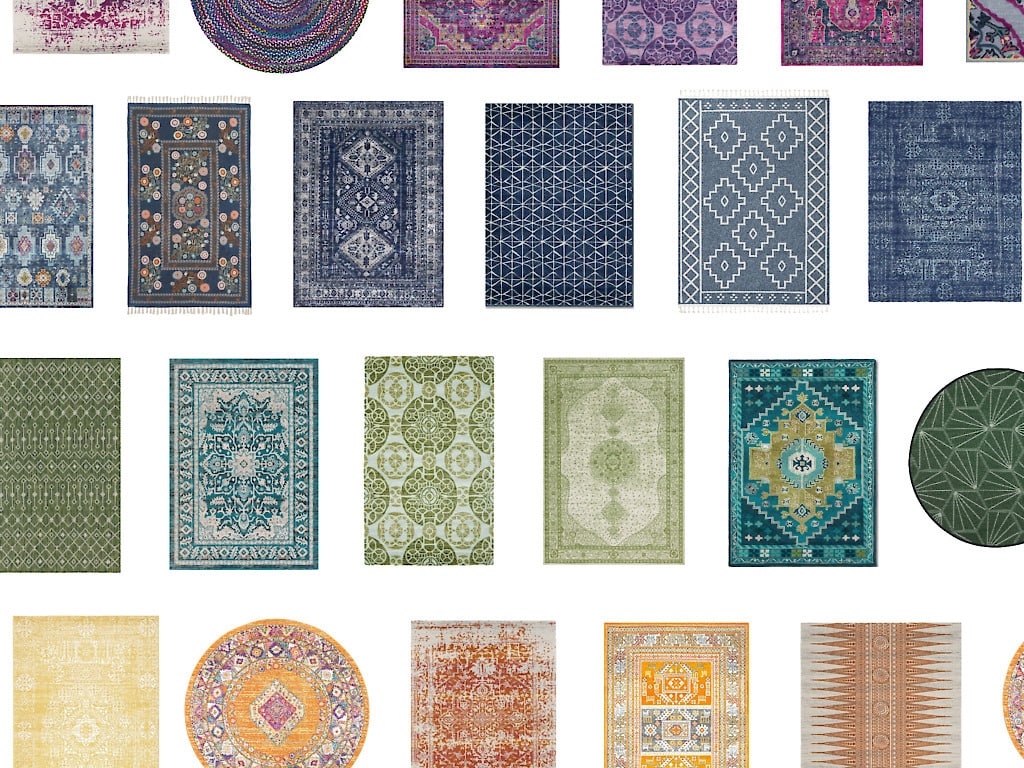
A modern Boho rug is the perfect addition to any room. These budget-friendly designer-chosen area rugs will instantly elevate your home decor! I’m always scouring the web and my favorite retailers for the best inexpensive area rugs, so I’m compiling them all here for you. They’re organized by color. To make the cut, they had…
Many people treat lighting as an afterthought when they’re designing and decorating their bedrooms. After all, there’s usually a light fixture mounted smack in the middle of the ceiling. What more could you need? A lot, as it turns out! Lighting a bedroom (or any room) is part art, part science. But never fear! We’re…
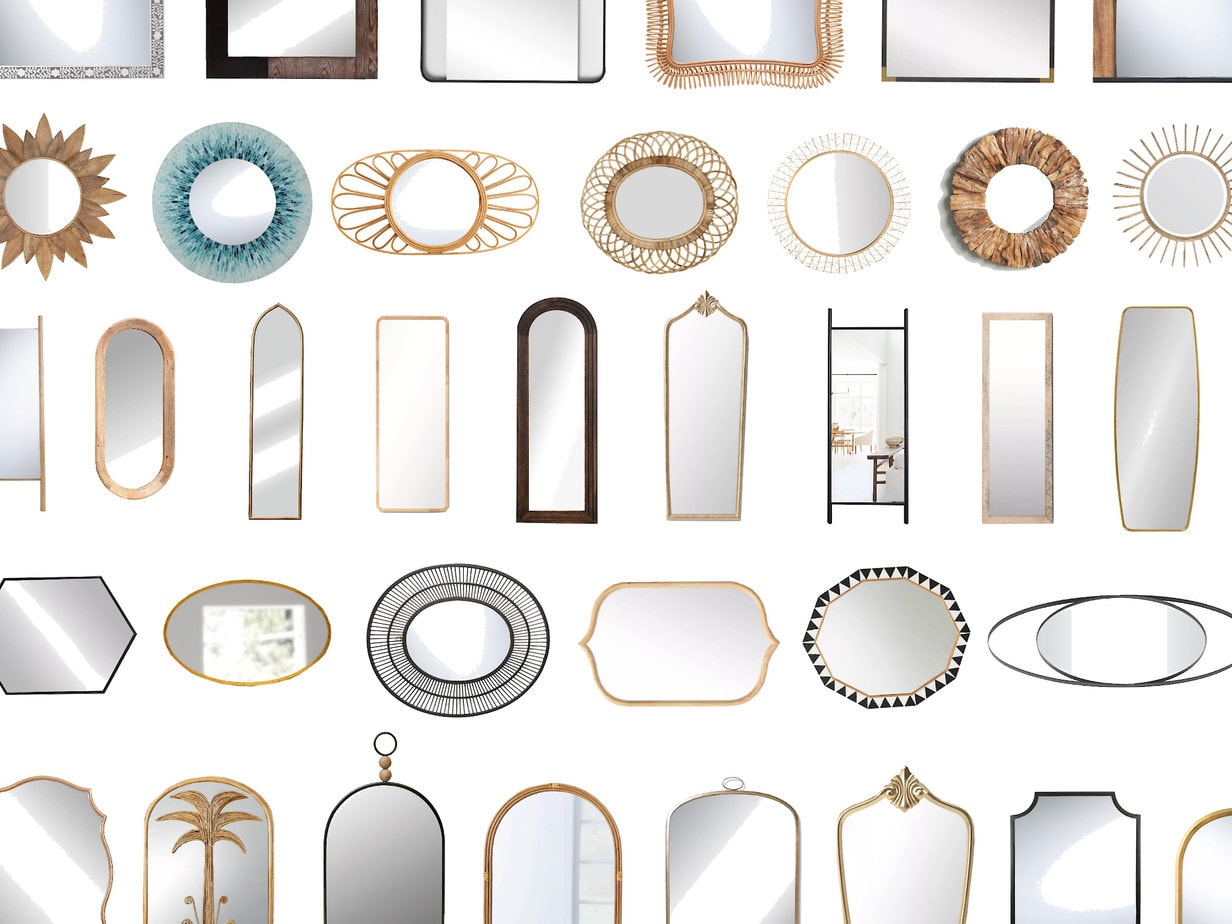
Find the perfect entryway mirror on a budget with this collection of 80+ modern mirrors in every shape and size! Designing entryways can be a challenge, no question! You often have very limited space, you have to keep the important walkways clear of furniture, and there needs to be attractive and easy-to-access storage for all…
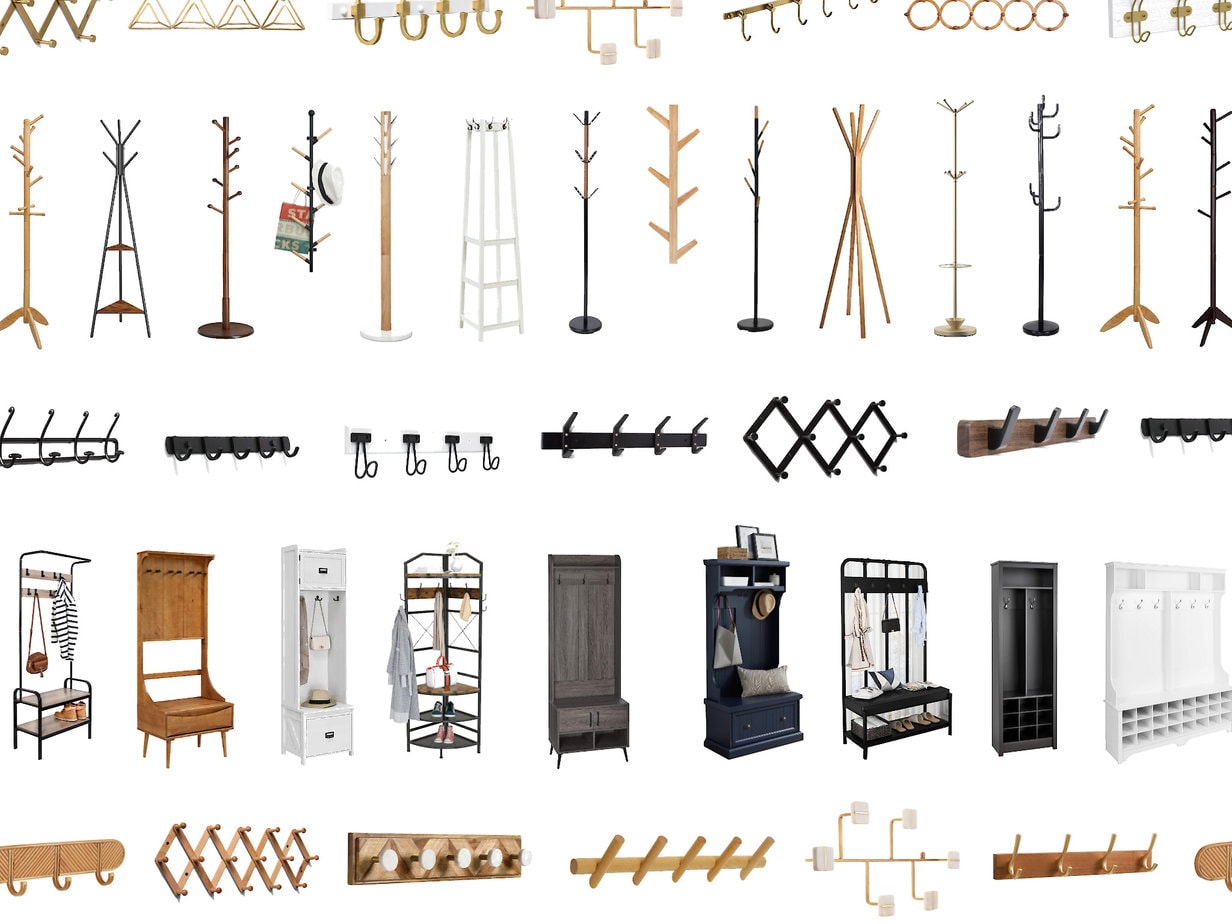
The best modern entryway coat racks, coat trees, & hall trees available online for an organized home on a budget! Entryway Wall Organizers Keeping a tidy entryway can feel like a monumental task. But the right entryway wall organizers & storage furniture can make all the difference! So today I’m rounding up my favorite stylish…
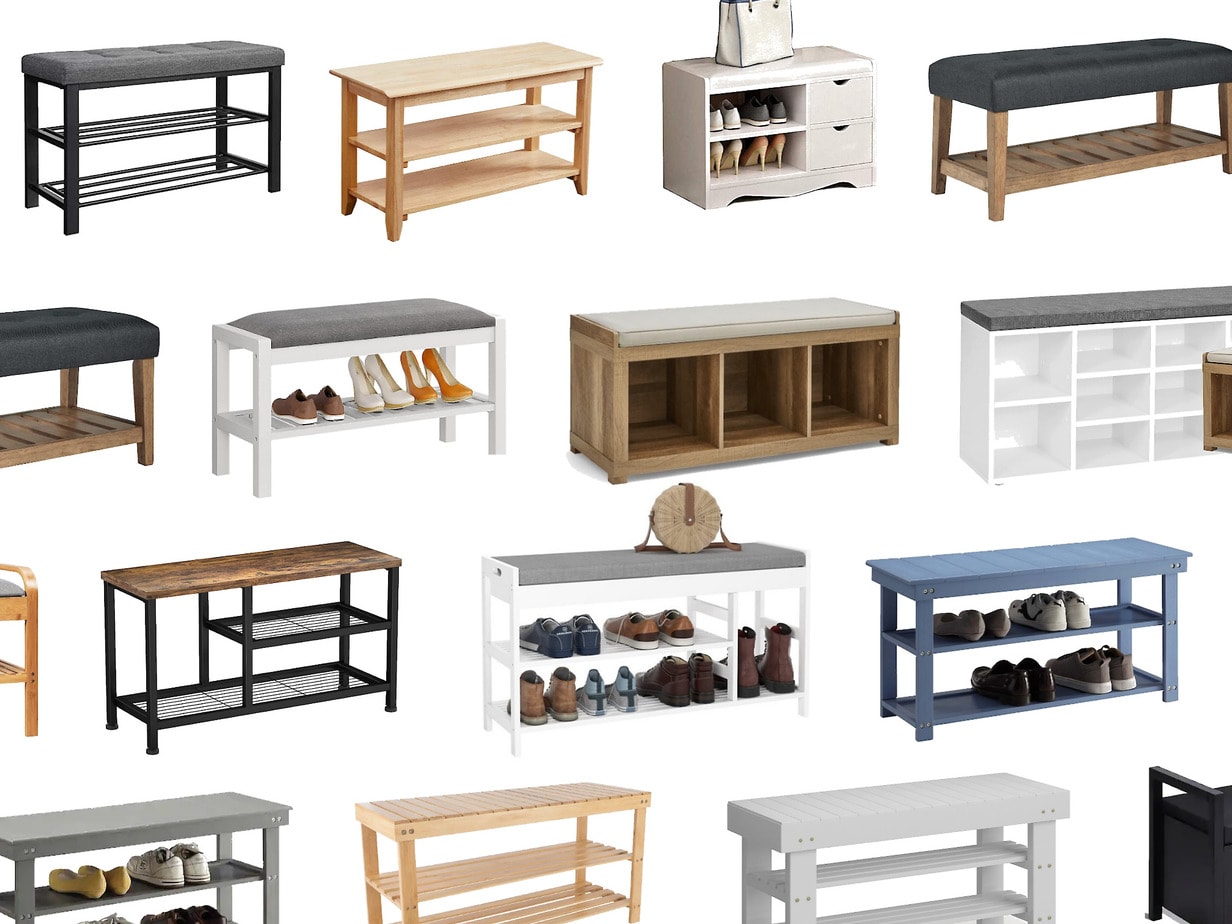
Upgrade your entryway and contain the clutter on a budget with one of these modern and inexpensive shoe storage benches. A shoe bench is the most logical shoe storage solution for a majority of entryways. It provides a place to sit while you put your shoes on and take them off, plus it stows them…
How do you choose the right desk lamp for your home office or kids’ distance learning space? Learn what to look for in this simple guide! How to Choose The Right Desk Lamp Desk lights or “task lamps,” as they’re sometimes called, are specifically designed to provide bright, focused light to a specific area, such…
9 Comments
These are so cute! Such a fun and creative idea! I have to make these for my kitchen to help organize!
This is such an adorable idea! I love it. And it’s so easy ^^. Thank you so much for sharing your awesome walk-through. I can’t wait to make my own chalkboard labels!



These are so cute! Such a fun and creative idea! I have to make these for my kitchen to help organize!
Thank you Emily!
Thank you! It makes a big difference to have labels- and I’m hoping now that one of my kids can read, people might start putting things back!
This is such an adorable idea! I love it. And it’s so easy ^^. Thank you so much for sharing your awesome walk-through. I can’t wait to make my own chalkboard labels!
Thank you Sara!
These are adorable ideas and simple, which is key for around my household! I love it! Thanks for sharing 🙂
Thanks Jessica!