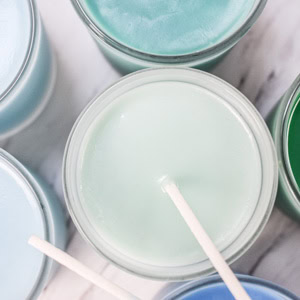
DIY Mason Jar Candles
Make your own mason jar soy candles with this quick and easy tutorial!

Why Make Mason Jar Candles?
I love to use mason jars to make homemade candles! They’re great because they generally come with lids, the glass is nice and thick so they can withstand the heat well, and they have a nice rustic homemade feel to them. But best of all, you probably already have some hiding on a top shelf in your kitchen!
Why Use Soy Wax?
I’ve been making candles for several years now, and I’ve used many different types of wax. And soy is by far my favorite. It’s a natural product so it’s better for indoor air quality, it’s easy to work with and beautiful. But the thing that really seals it for me is that it it’s easy to clean up with just soap and water. When I’m done I just pop my utensils in the dishwasher! And trust me this is a BIG DEAL!
How to Make Mason Jar Soy Candles
Okay let’s get to it! I’m using a 10 oz mason jar in this tutorial, but you can use any size you like. If you’re not sure what size your jar is, just fill it with water and pour the water into your measuring cup to find out. And there’s a conversion chart at the bottom of this post.
Tools & Materials
Note: This post contains Amazon affiliate links, which means I earn a very small commission (at no additional cost to you) if you make a purchase through one of them. This helps me support my family and continue creating content for you. I appreciate your support!

- large glass measuring cup (or other microwave-save bowl)
- measuring spoons
- hot glue gun and glue sticks
- digital meat thermometer
- fork
- scissors

A. soy wax (this is my favorite brand from Amazon and it comes with the wicks and wick-centering devices)
B. wick-centering devices (you’ll need one for each candle)
C. pre-waxed cotton wicks (2 per candle)
D. mason jars (I’m using these 10 oz jars from Amazon)
E. candle fragrance oil (I’m using Just Peachy, from CandleLynn) You can find a list of all my favorite candle fragrance oils I’ve tested here.
F. wax dye (light pink & orange)- optional (this is my favorite wax dye kit from Amazon)
Directions
1. Measure the wax.
I like to use a quart size glass measuring cup, but you can use any microwave-safe container with a pour spout. I’ve found that soy wax flakes melt down to about half their original volume. In this tutorial I’m making a 10 oz. candle, so I need 2 1/2 cups (20 oz.) of soy flakes. There’s a handy chart at the bottom of this post with all the measurements and conversions if you’re using a different sized jar.


2. Melt the wax.
Pop the wax into the microwave for one minute, then pull it out and stir it with a fork. After two one-minute sessions in the microwave, go down to 30 seconds, stirring every time until all the wax is melted.
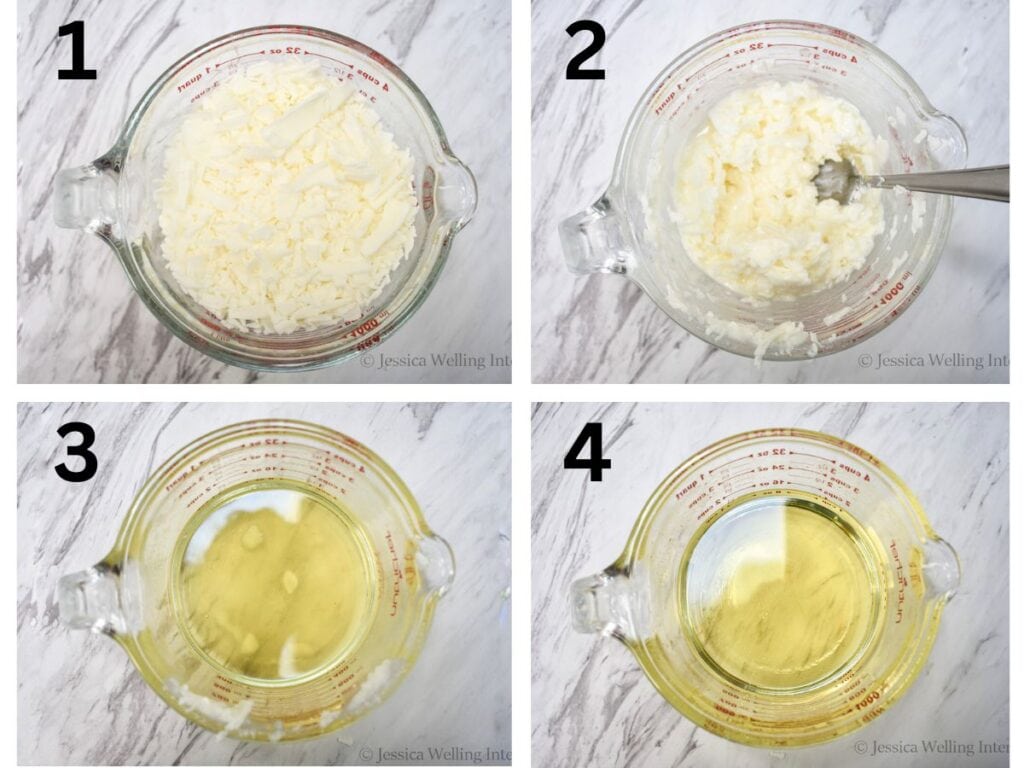
3. Add wax dye (optional).
If you don’t want to add color to your candles, you can skip to the next step.
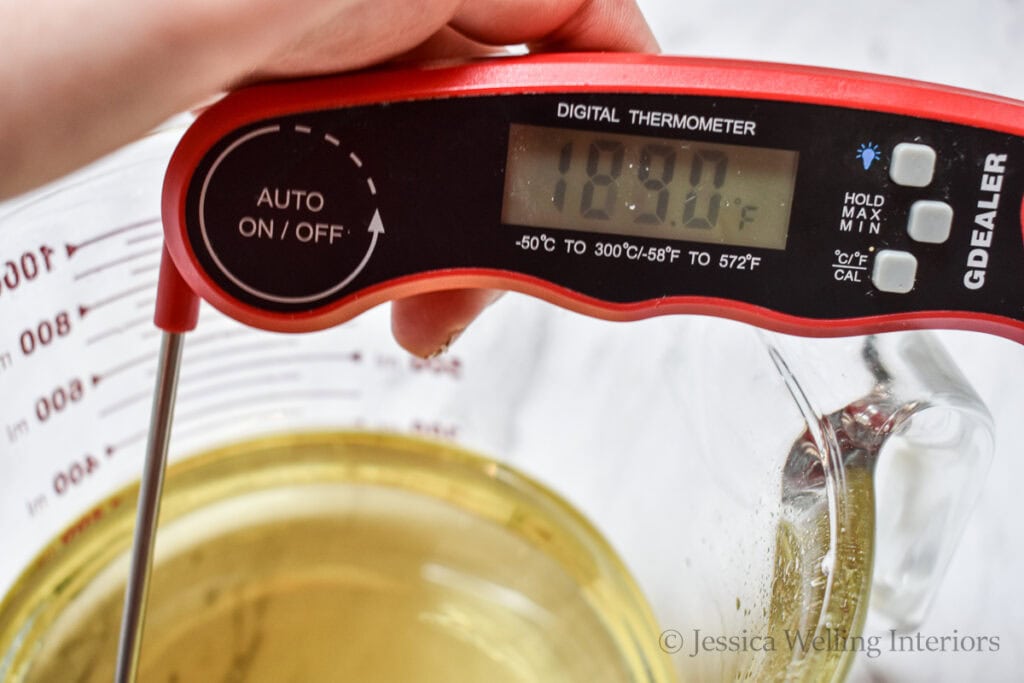
Heat your wax to between 180-190 degrees. It needs to be extra hot to melt the wax dye chips. This is my go-to digital thermometer that I use for all my candles and wax melts.
This is my favorite wax dye kit from amazon. I like it because each color comes in its own resealable container and it makes it easy to control the amount of color you’re adding. A little goes a long way!

I want a peachy pink, so I’m adding a few pinches of pastel pink and two pinches of orange wax dye chips. You’ll know your wax is hot enough if the dye immediately melts and spreads on the surface (see 2 below).

You can use any colors you like. Just remember that the cooled candle will be opaque and a few shades lighter than the melted wax.
4. Add fragrance oil.
Now wait until the wax cools to between 170-180 degrees before adding the fragrance oil. Again, reference the Fragrance Oil Calculator chart at the bottom of the post for conversions. Stir well.


5. Prepare the wicks.
Attach each wick to the bottom of the mason jar with a dab of hot glue. I’m using two wicks for my candle. If you’re using a larger jar with a wide mouth, use three wicks.


Then place a metal wick-centering device over the wicks and rest it on the rim of the jar. This will hold the wicks in place as the wax cool and prevent them from flopping over.

6. Pour the candles.
Now carefully pour the hot wax into the jar. Fill it to about 1/8 inch below where you want the finished top of your candle to be. Reserve a little wax in the measuring cup.

7. Let it cool.
Let your candle sit undisturbed until it is completely cool. This may take a few hours, depending on the size of your candle. DO NOT put it in the fridge or do anything to try and speed up the cooling process. The slower the wax cools, the nicer your finished candle will look.


8. Do a second pour.
Now that your candle is completely cooled, you may notice some imperfections on the surface of the wax. This is normal. Re-heat your remaining wax in the microwave and do a second pour, just enough to cover the top of the candle. Then let it cool again.

9. Trim the wicks.
Use a sharp pair of scissors to trim the wicks.


10. Let it cure.
Put the lid back on your jar and store your candle in a cool dry place to cure for at least two weeks before burning.

Candle Calculator
Traditionally mason jars came in just a few sizes, but these days you can find just about any size and shape you want. I’ve included the most common ones in the chart below. Most mason jars hold 1-2 ounces more than their official size, and you may want to fill your candles a little higher. I often make a little extra wax just to be on the safe side. If you end up with extra, you can always make a few soy wax melts or tealight candles.


DIY Mason Jar Candles
Materials
- soy wax
- wick-centering devices (you'll need one for each candle)
- pre-waxed cotton wicks (2 per candle)
- mason jars (I'm using this 10 oz jar from Amazon)
- candle fragrance oil (I'm using Just Peachy, from CandleLynn)
- wax dye (light pink & orange)- optional (this is my favorite wax dye kit from Amazon)
Tools
- large glass measuring cup (or other microwave-save bowl)
- measuring spoons
- hot glue gun and glue sticks
- digital meat thermometer
- fork
- scissors
Instructions
- Measure the wax into a large glass measuring cup.
- Melt the wax in the microwave in one-minute intervals. Stir it with a fork between sessions in the microwave. You want to wax between 180-190 degrees before adding the wax dye.
- Add 4 pinches of light pink and two pinches of orange wax dye and stir well.
- Let the wax cool to 170 degrees and add 1 oz. (2 Tbsp.) fragrance oil and stir.
- Glue two wicks to the bottom of each jar. Then place a wick-centering device on top of each jar.
- Pour wax into the mason jar, filling it to about 1/8" from where you want the top of your candle to be, and reserving some wax in the measuring cup.
- Let the candle cool completely. This will take a few hours.
- Re-heat the remaining wax and do a second pour, just covering the top of the candle. Let it cool again.
- Trim the wicks.
- Screw the lid on the jar and let the candle cure in a cool place for at least two weeks before use.
More DIY Candles…
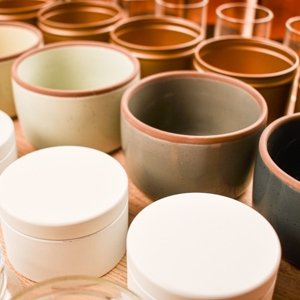
The Best Candle Jars & Tins (and Where To Get Them!)
How to Make Wax Melts: Everything You Need to Know