
How to Make Wax Melts: Everything You Need to Know
Learn how to make wax melts with this simple recipe and tutorial that can be used with both paraffin and soy wax.
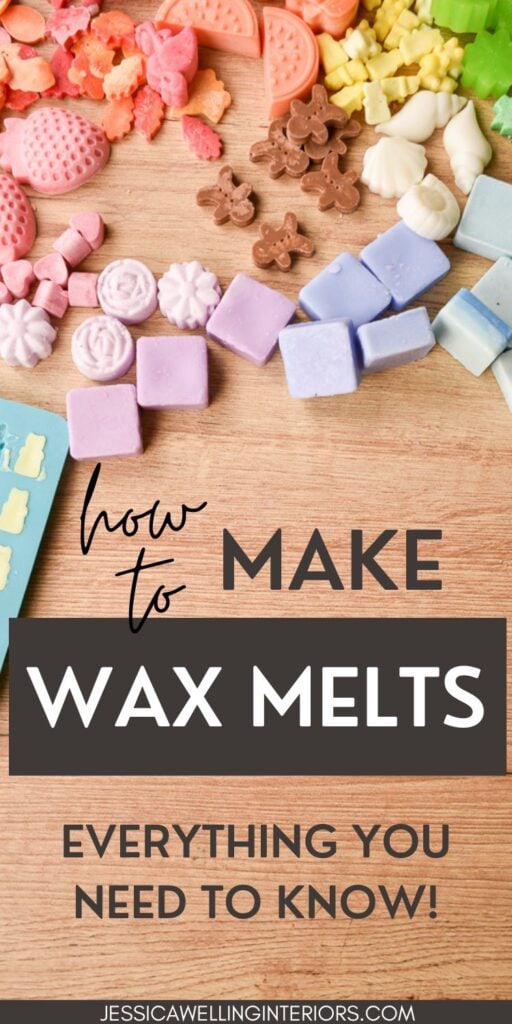
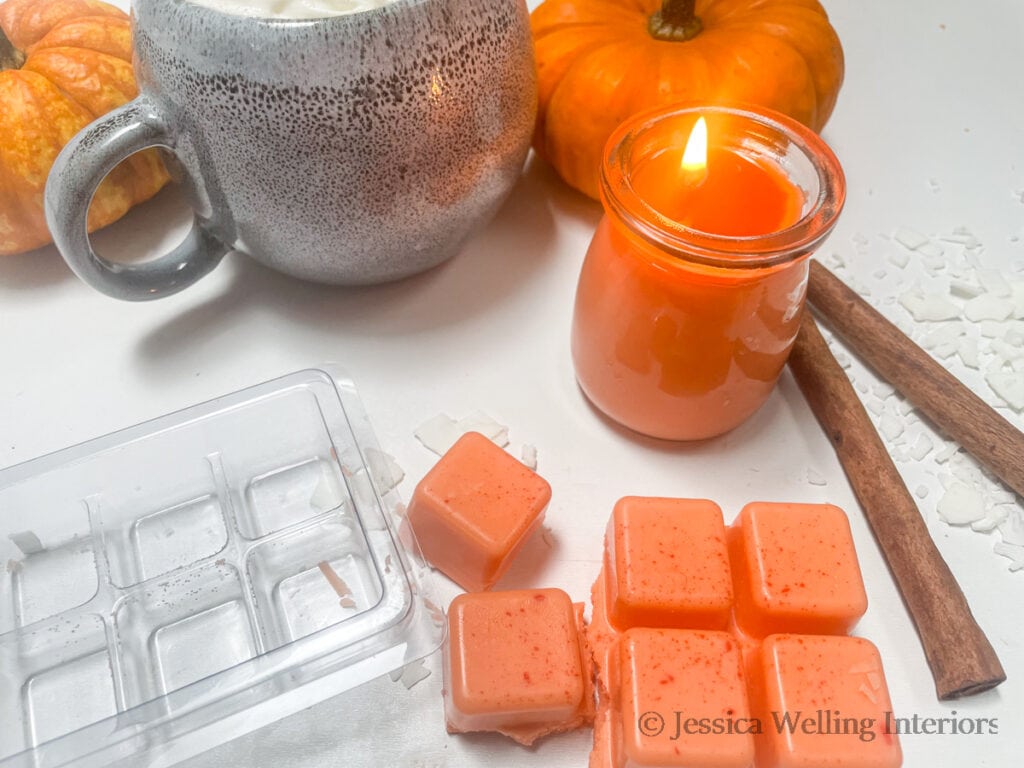
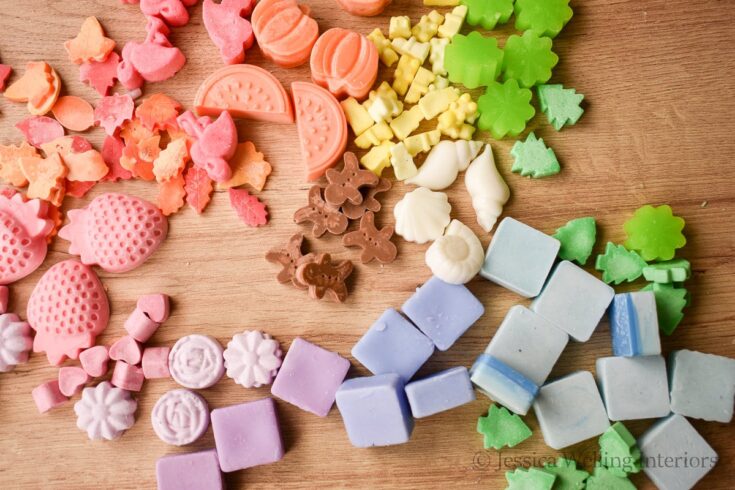
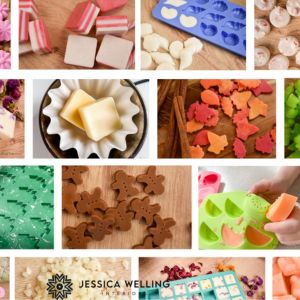
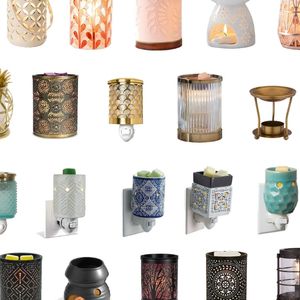
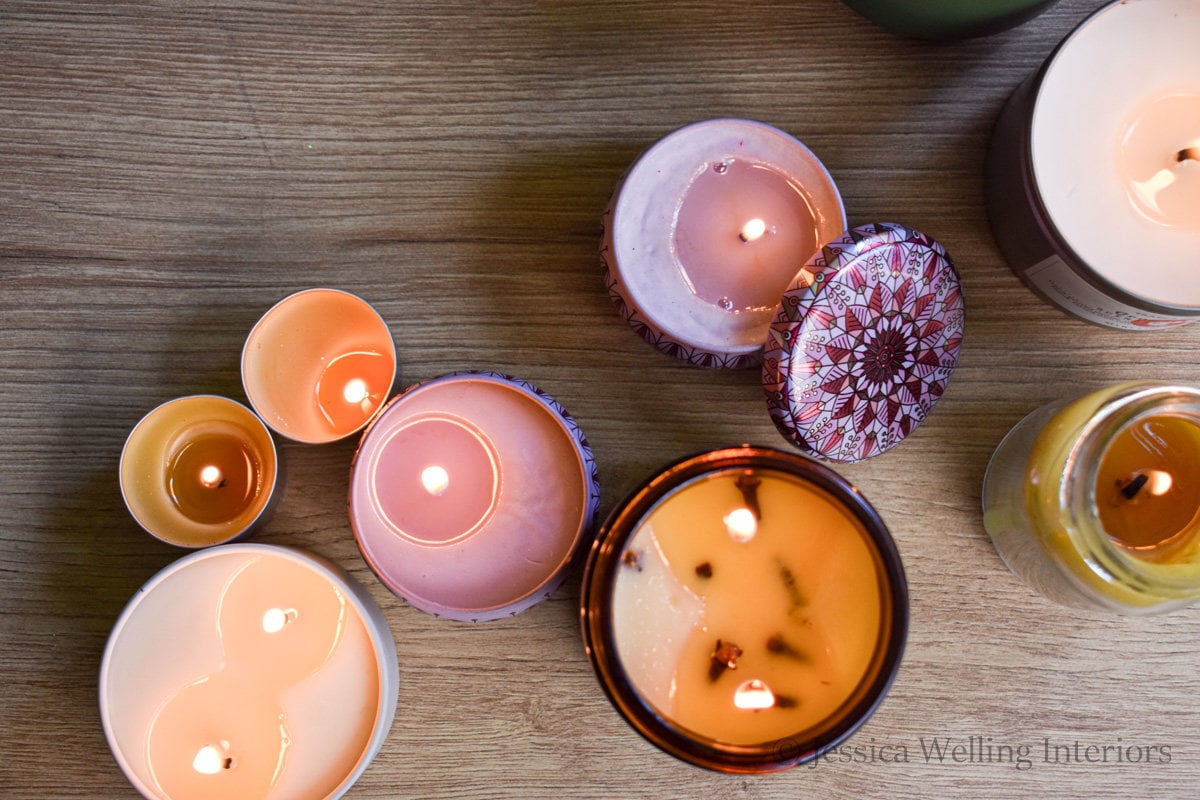
Making wax melts has become something of an obsession in my household over the past couple of years. We’ve tried every shape, fragrance, color, and type of wax you can imagine.
See what I mean? And this is just a small sample…
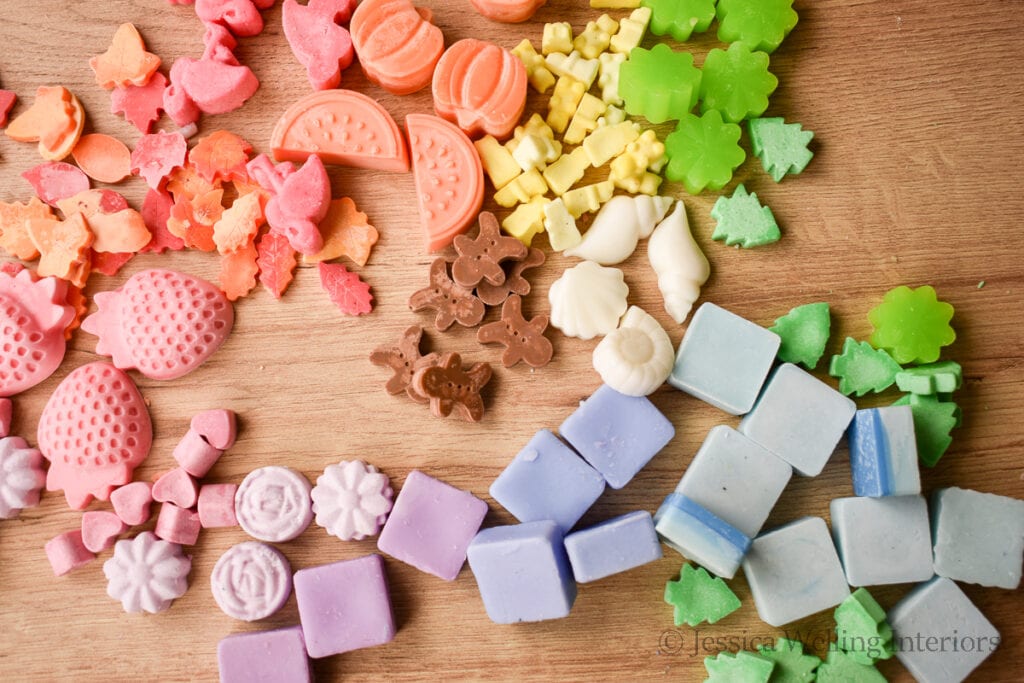
Why are wax melts so great, you ask? They’re quick, easy, fun to make, and they make fabulous gifts. And did I mention the kids love to help make them too?
What Are Wax Melts?
Wax melts are small pieces of scented wax that are heated in an electric wax warmer (sometimes called a wax burner) to release their fragrance. They’ve become very popular as an alternative to burning scented candles.
They’re safer than candles since there’s no open flame, and they can be left unattended. They’re also great for apartments and places where candles aren’t allowed.
How Are Wax Melts Different From Candles?
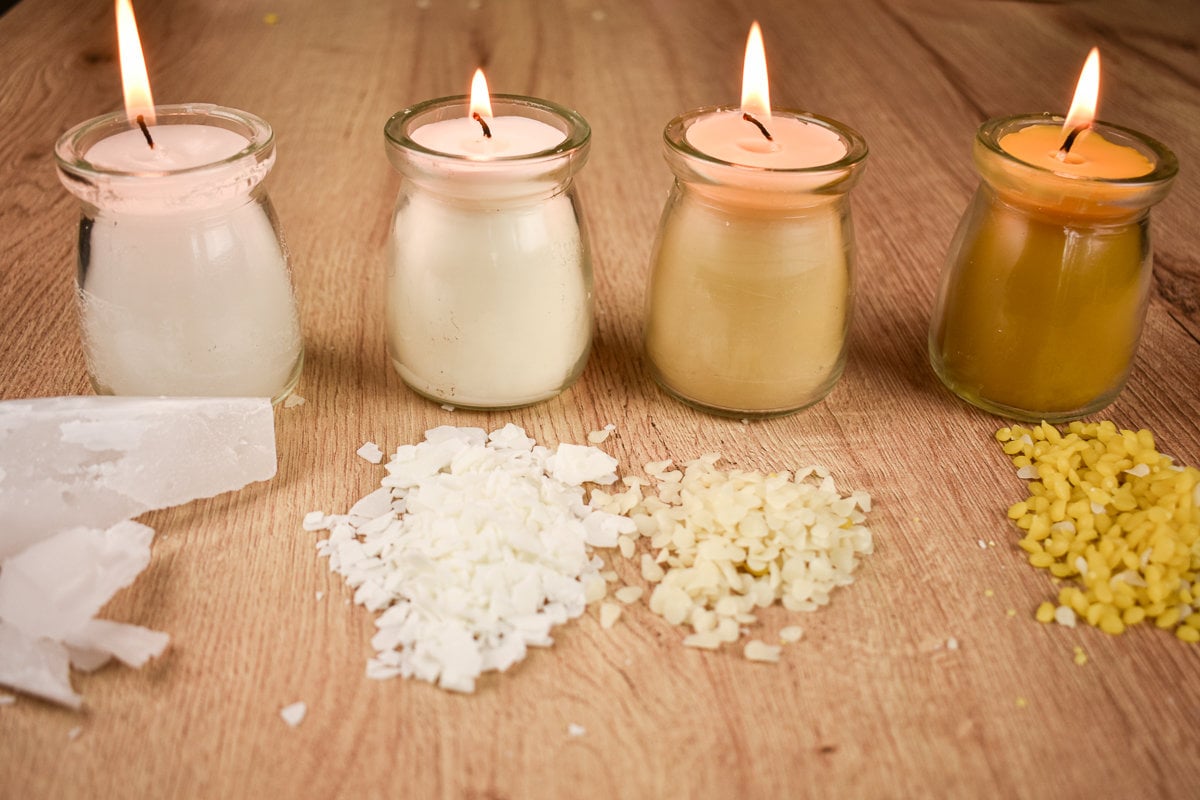
The makeup of wax melts and scented candles is pretty much identical. They’re both made with paraffin, soy wax (or occasionally beeswax) and fragrance oils and wax dye in similar proportions.
But while candles have a wick and are generally much larger, wax melts are poured into a mold to create smaller pieces in different shapes.
What’s the Best Wax for DIY Wax Melts?
You can use any kind of wax you like. However my personal favorite is soy wax because it’s the easiest to work with and clean up. It has a lower melting point than the other waxes, which will give you more time to work with it before it starts to solidify and make a mess. This is especially helpful if you’re making small wax melts, since you’ll need to use an eye dropper to fill them.
I’m using paraffin wax in this tutorial, but here’s my simple tutorial for soy wax melts, and one for beeswax wax melts. The basics of these three recipes are pretty much the same. The only real difference is the melting methods.
If you want to learn more about the different types of wax available and which ones are best suited for different candle making purposes, check out this article.
Wax Melt Molds
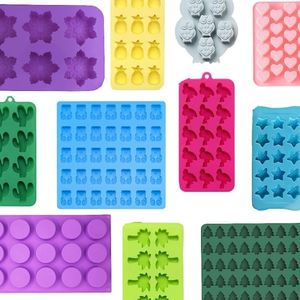
I like to use silicone candy molds to make wax melts because they can handle the heat, they’re inexpensive, come in lots of fun shapes, and it’s easy to remove the melts when they’re done.
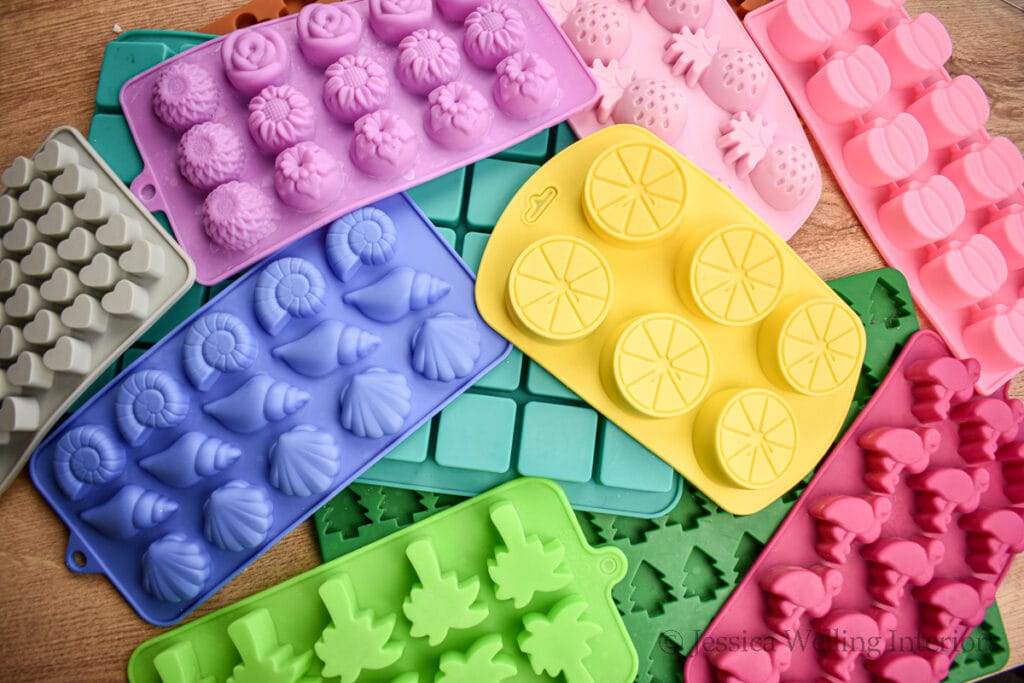
Here’s a list of all my favorite inexpensive wax melt molds from Amazon. Did I mention that I have a whole storage bin full of different molds? From Pineapples to flamingos to Christmas trees to gummy bears! But maybe we’ll keep that just between us.
You can also use empty disposable clamshell molds like these. One benefit of these is you don’t need to gift wrap them or store them in extra plastic. These clamshells will also give your wax melts a very professional look.
How to Make Wax Melts
Now for the promised tutorial…
When you purchase something through a link on my website I earn a very small commission at no additional cost to you. Thanks for your support!
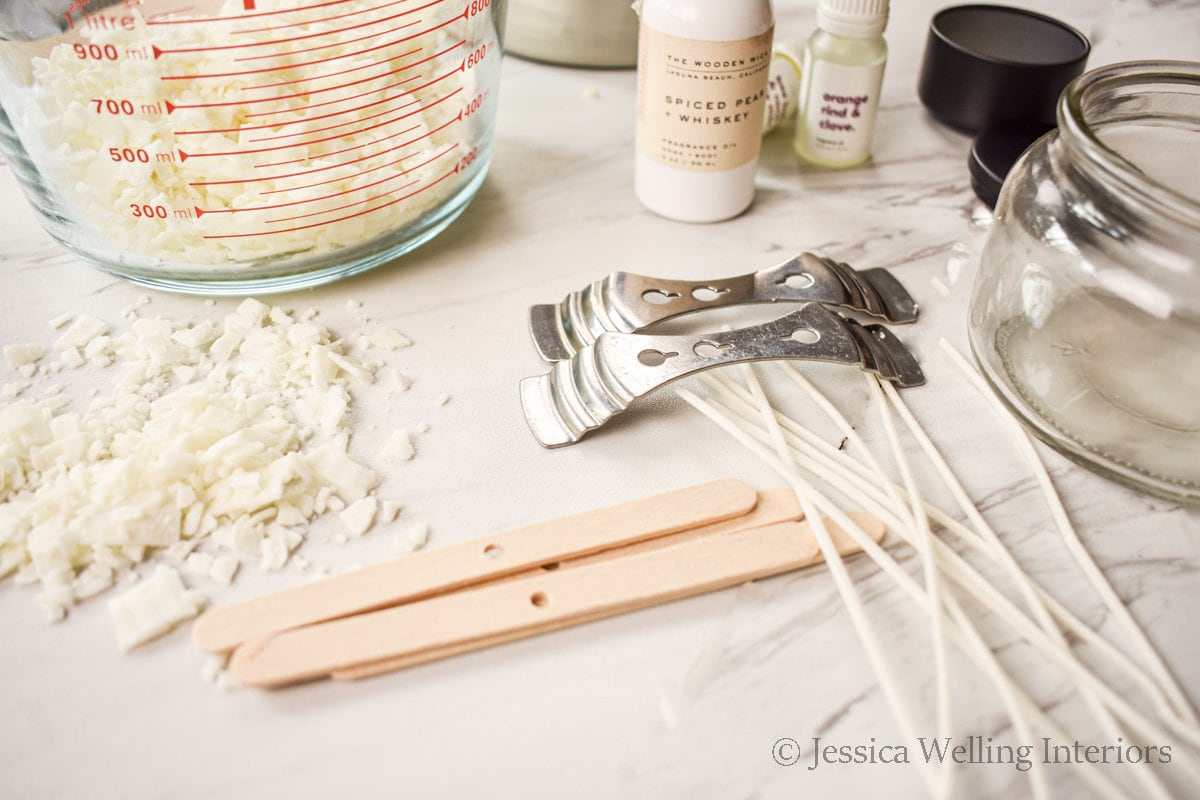
Materials

A. Paraffin Wax (this is what I’m using for this tutorial) or
C. Wax Dye (optional) This is my favorite wax dye kit because each color comes in its own container with a screw-on lid!
F. Silicone candy mold or
H. Candle Fragrance Oil (I’m using Calamansi & Tangerine Blossom, from Makesy)
Directions
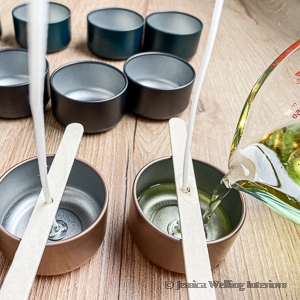
1. Measure the Wax
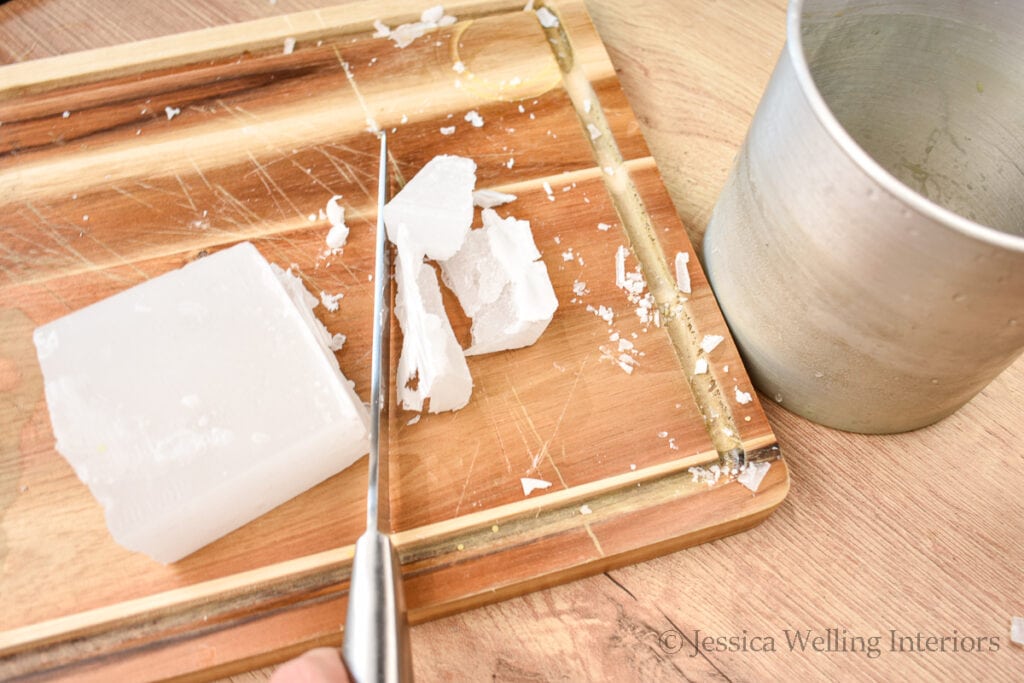
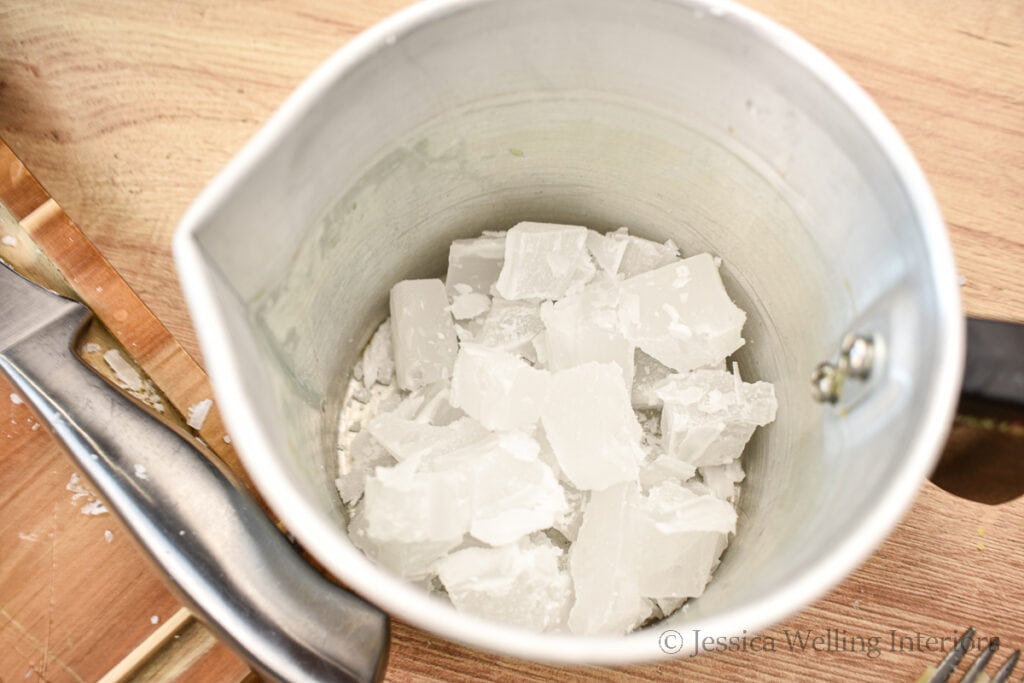
2. Melt the Wax
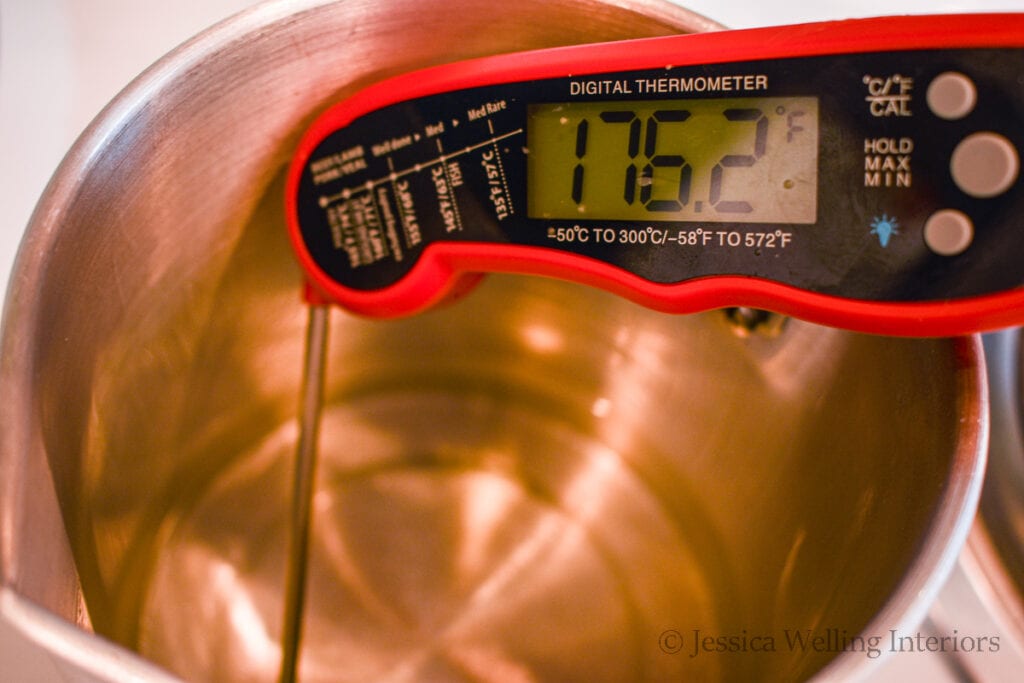
Create a double boiler by heating water in a medium saucepan on the stove, and placing the metal pitcher of wax chunks inside it.
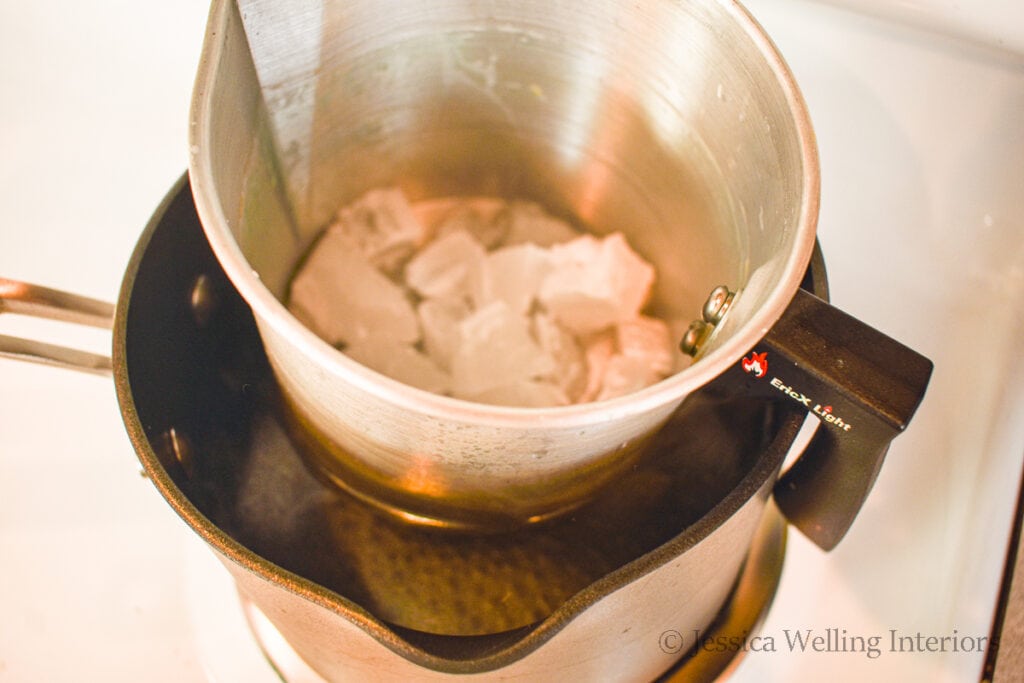
I like to use this digital meat thermometer to keep an eye on the temperature. Once the wax reaches 175-185 degrees, remove it from the heat.
Note: You can also melt your wax in a glass measuring cup in the microwave. Just heat it in 1-minute intervals & stir it frequently until you get it to your desired temperature.
3. Add Wax Dye
Add a pinch of wax dye chips and stir. If they don’t melt into the wax immediately, you may need to return your wax to the double boiler for a minute or two.

Since this is paraffin wax (which is translucent), I’m just using a very small amount dye. For opaque waxes like soy and beeswax, you’ll need to use a bit more colorant if you want to achieve a dark/bright color.
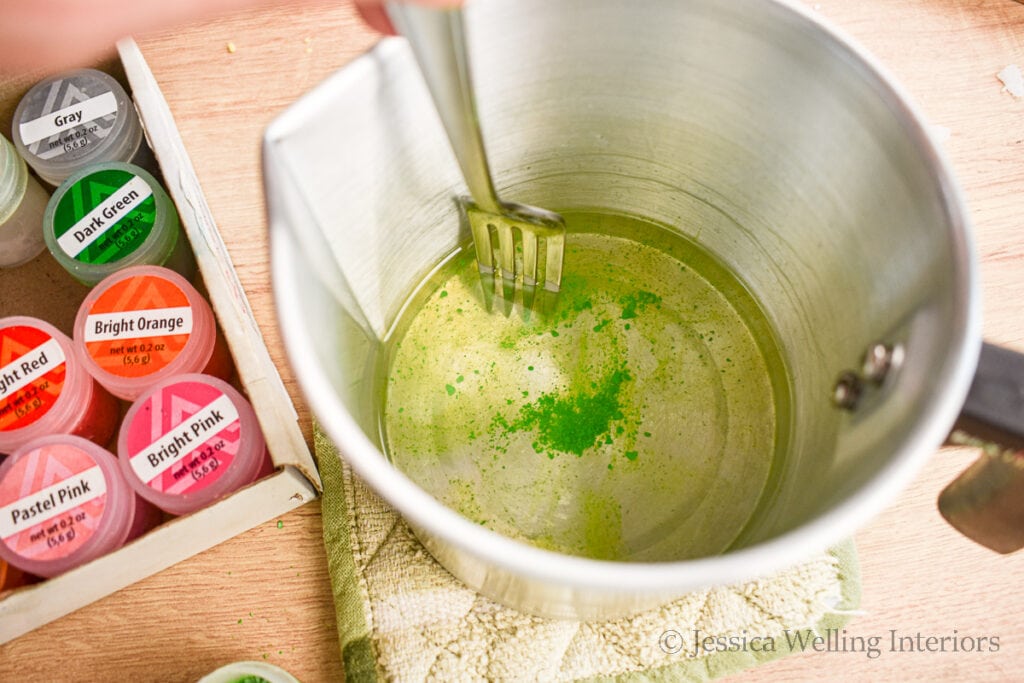
Stir until you cannot see any more specks in the wax. It may take a few minutes.
4. Add Fragrance Oil
Add the fragrance oil to the hot wax. It’s good to double-check your temperature- especially if you had to re-heat the wax at all. You want to add the fragrance oil between 175 and 185 degrees in order to ensure they combine properly. Trust me, this is important!
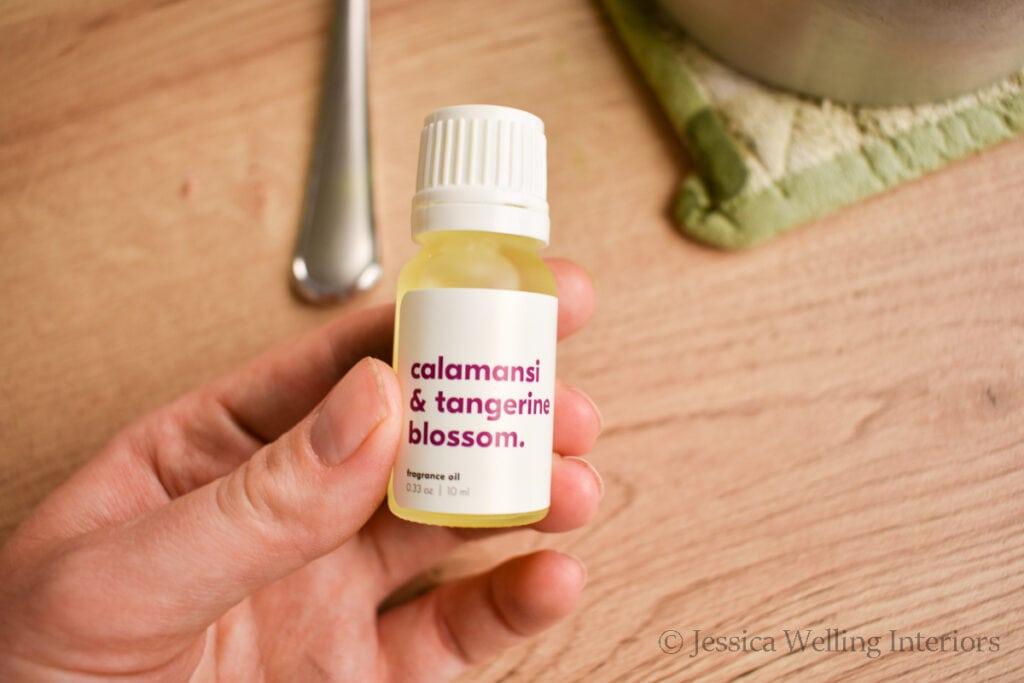
I’m using Calamansi & Tangerine Blossom fragrance oil from Makesy for this project. It’s fruity, yet sophisticated and one of my new favorite scents. You can use any candle fragrance oil you like for this project- just be aware that they are NOT all created equal! Here’s a list of my favorite candle fragrance oils (and I’ve tested hundreds of them from many different companies).
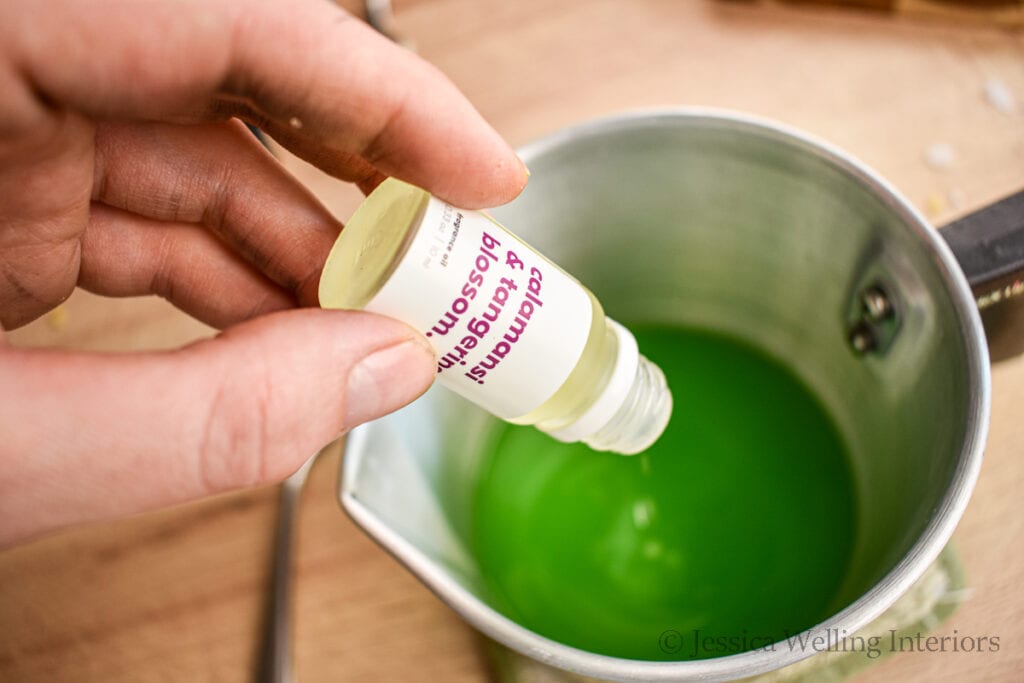
Stir well.
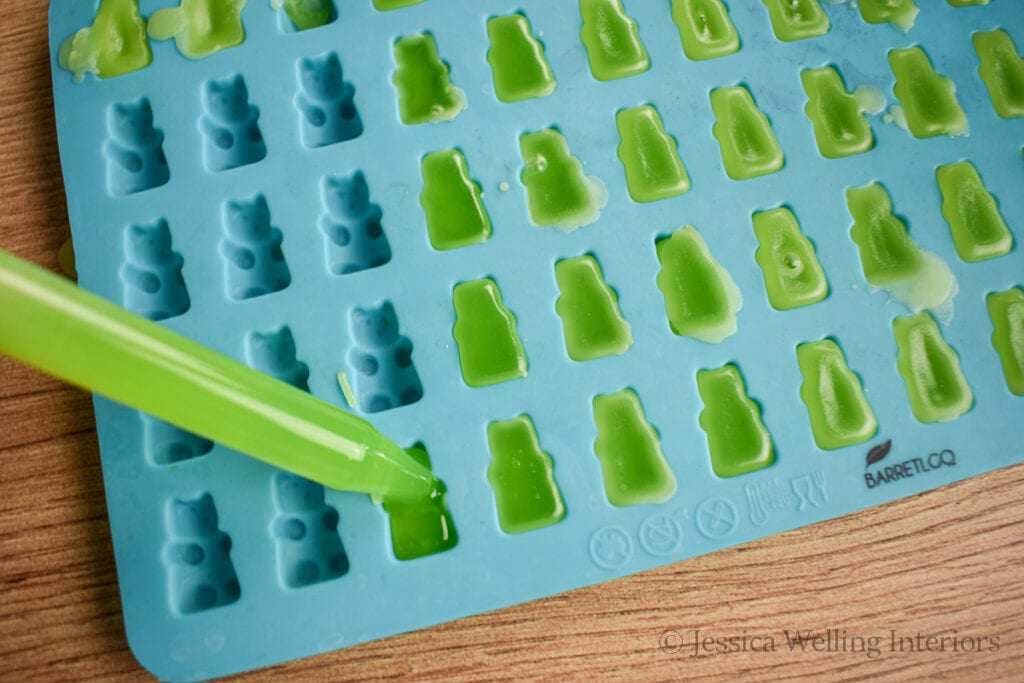
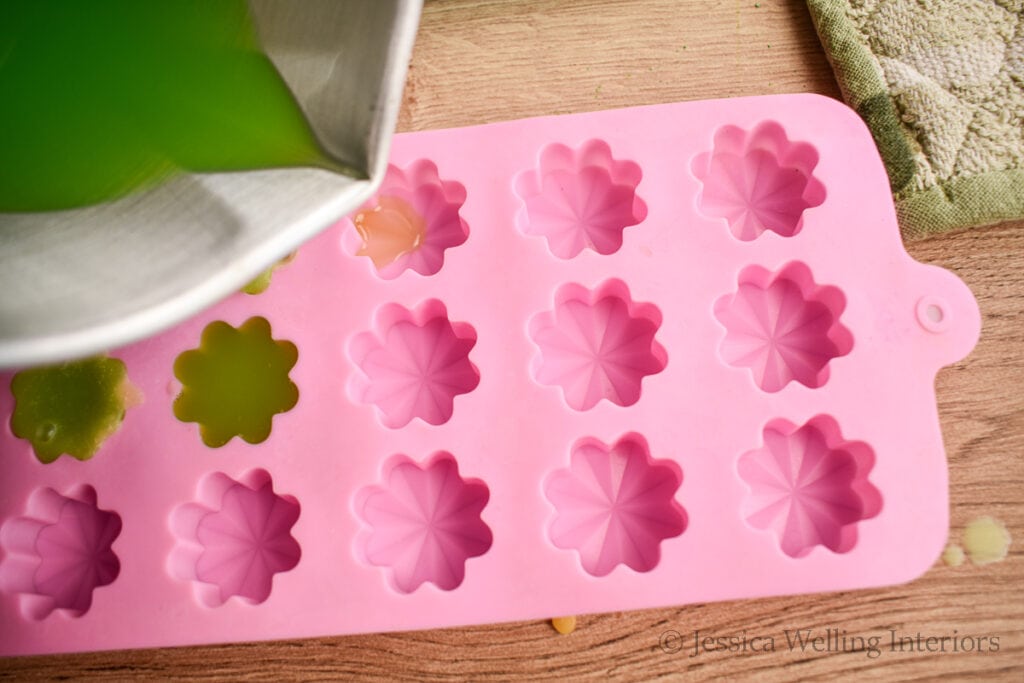
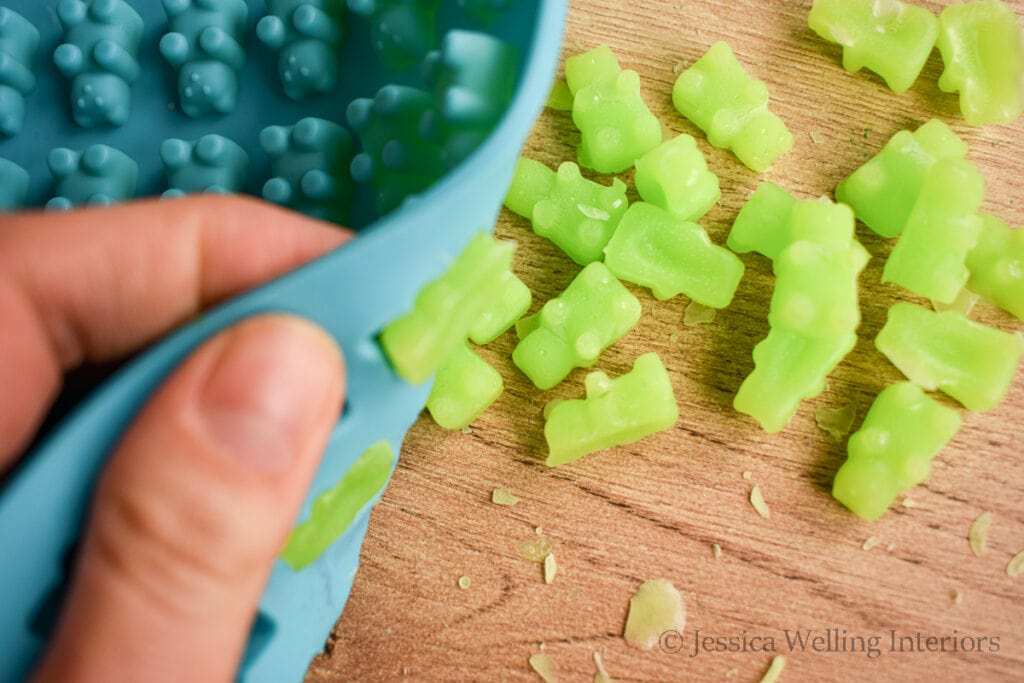
5. Fill Molds
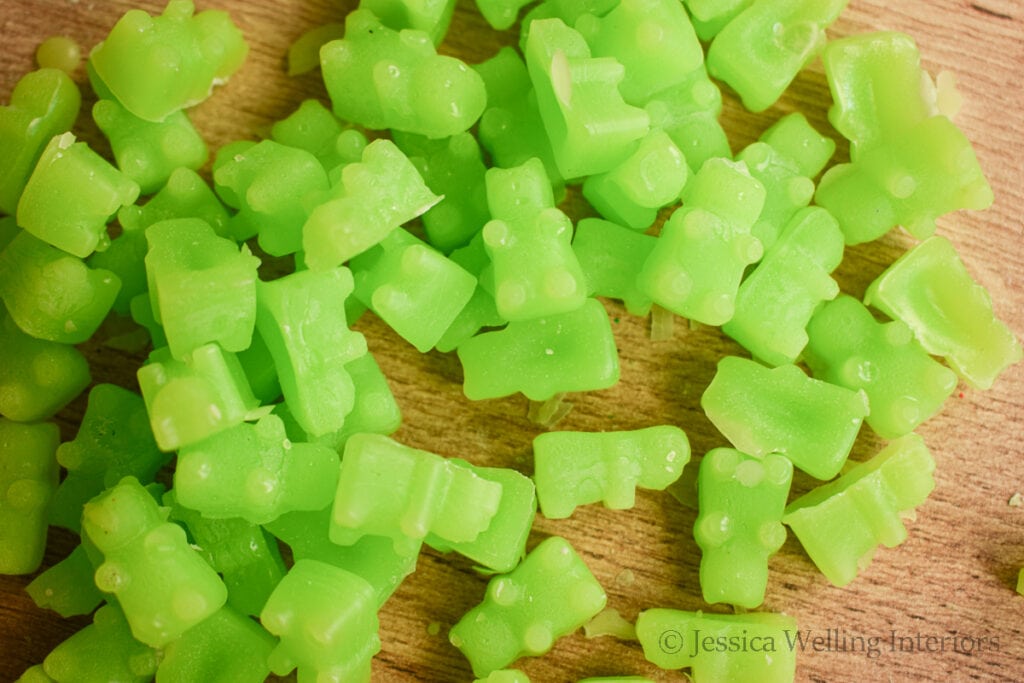
Now it’s time to fill the molds. I’m using this gummy bear mold and a flower mold. The gummy bears are small, so I’m using an eye dropper to fill them. The wax needs to stay hot for this part, so return it to the heat for a couple of minutes if it starts to gum up on you- and it most likely will unless you’re really really fast.
If your wax melt mold cavities are larger, you can try pouring the hot wax directly from the pitcher. See what works best for you.
6. Let Them Cool
The paraffin will begin to solidify almost immediately, but it will take at least an hour for the wax melts to completely harden. You don’t want to mess with them while they’re cooling, but once the wax looks pretty solid, you can pop them in the fridge for a little while to harden them up before removing them from the molds.
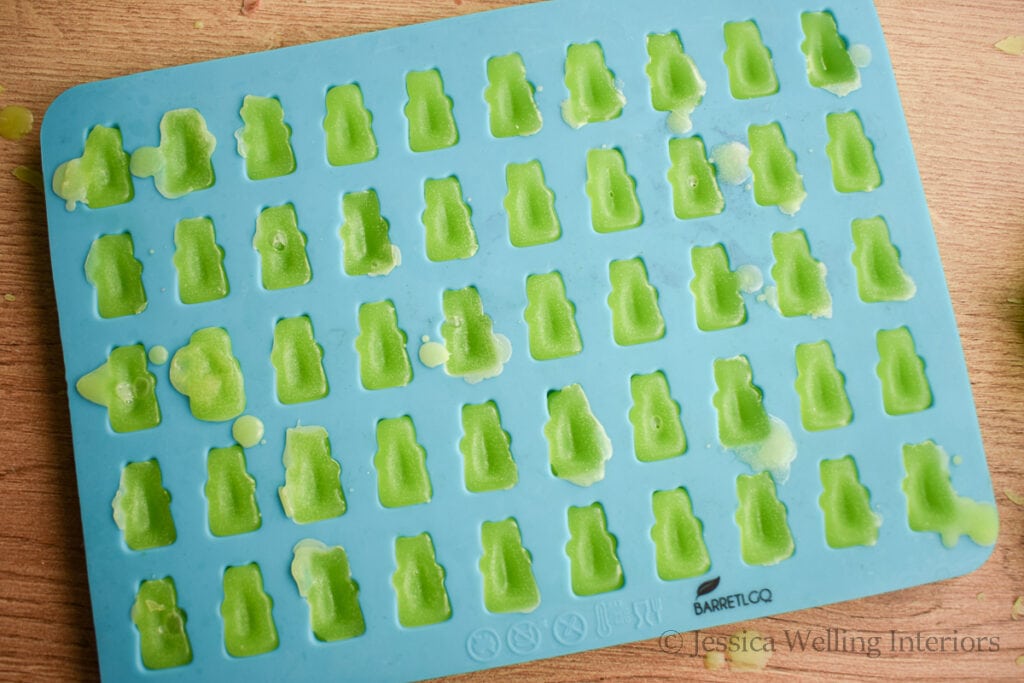
If you’re using paraffin or beeswax, you’ll probably notice dents in the backs of each melt once they’ve hardened. Paraffin wax shrinks a bit as it cools. If this really bothers you, you’ll find that soy wax doesn’t shrink as much.
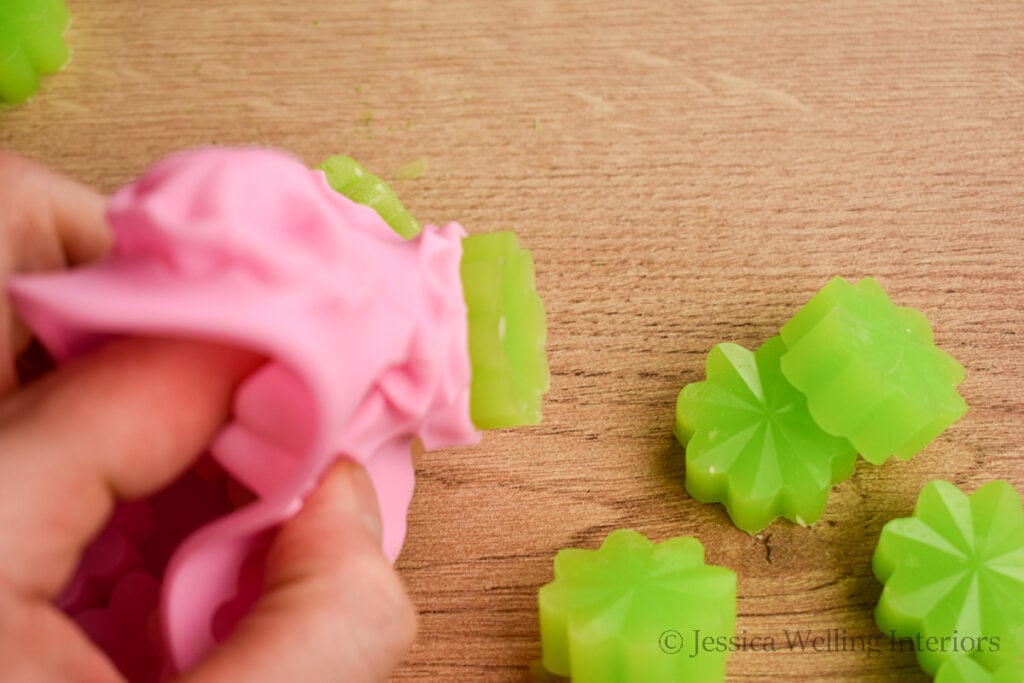
7. Remove from Molds
Once the wax has hardened completely, turn the silicone molds upside down and pop the melts out.
8. Let them Cure
In order to get the best fragrance from your wax melts, you need to seal them up in an airtight container or plastic bag and let them sit for 7-10 days. This will give the wax and fragrance oils time to bind together.
9. Enjoy!
Store your wax melts in a tightly sealed plastic bag until you’re ready to use them.
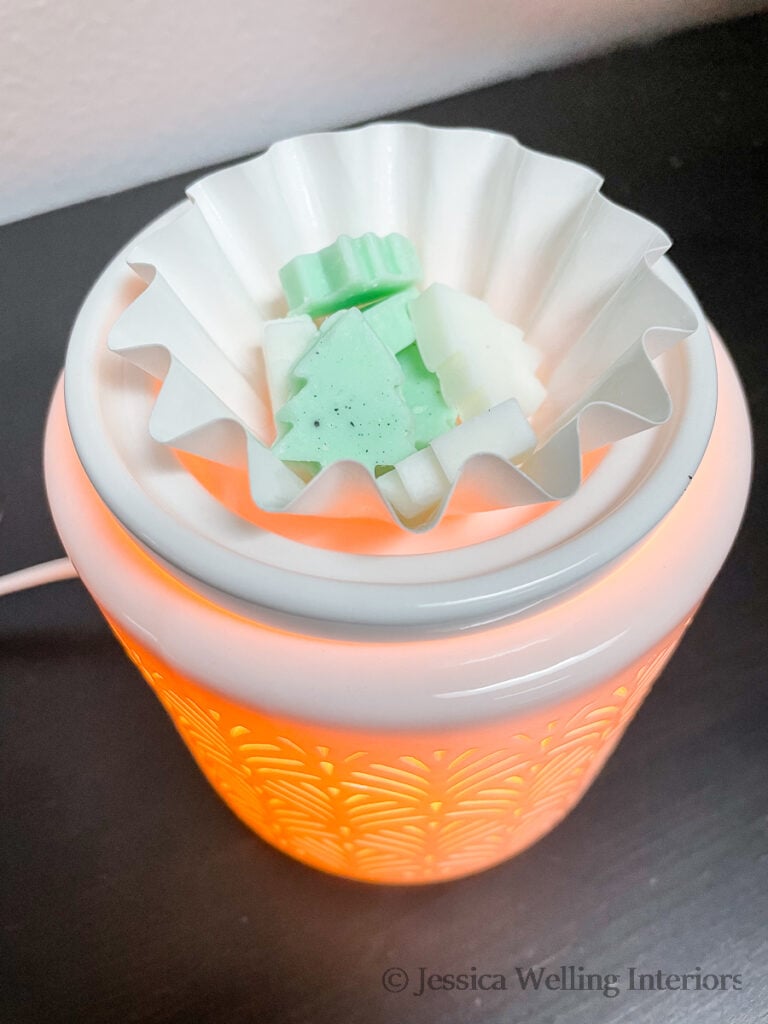
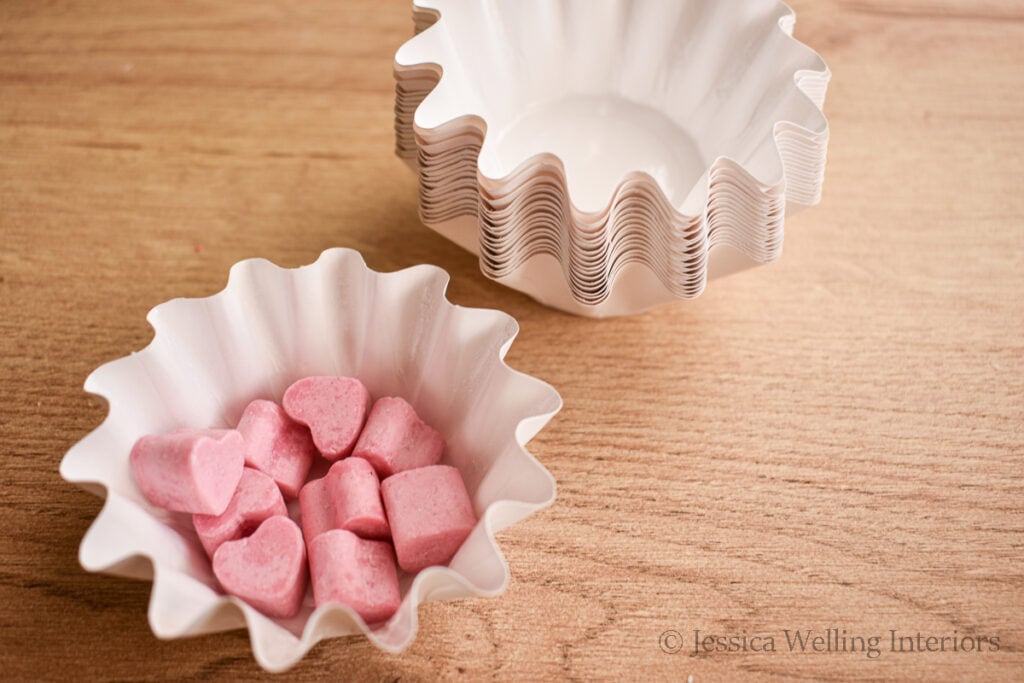
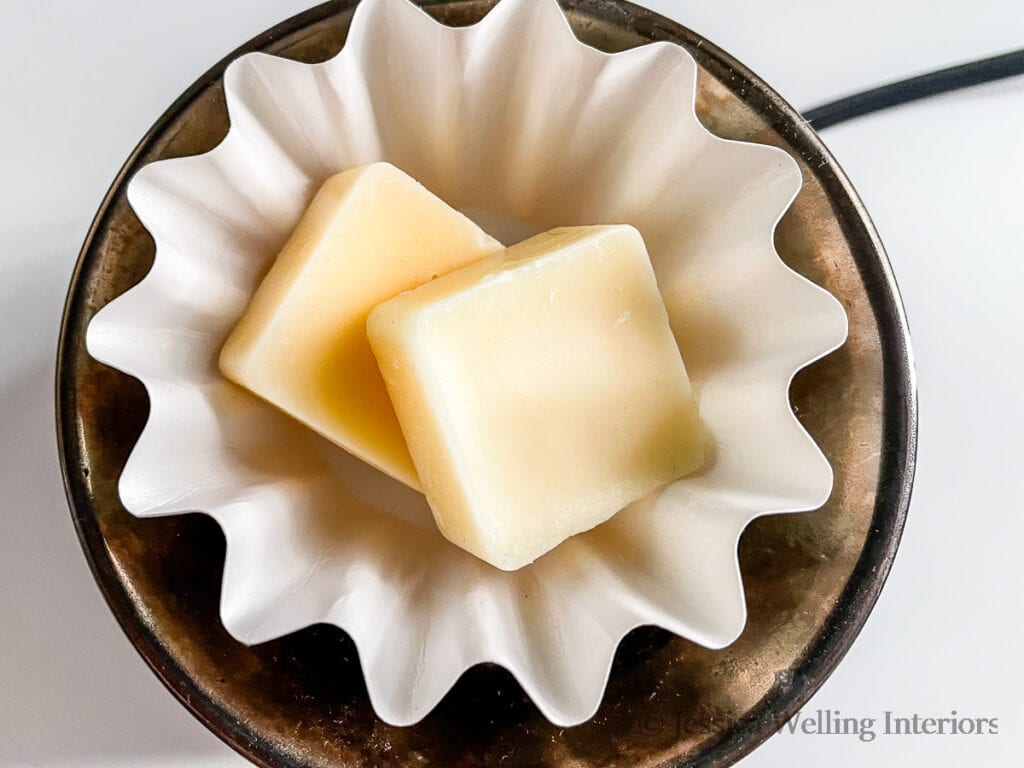
I like to use these paper wax melt liners in the wax warmer. They prevent the wax from making a big mess in the melting cup. Plus they make it easy to change out your scents whenever you want. And one more thing. I know these look a lot like cupcake papers… but they’re not the same. The wax goes right through cupcake liners and makes a big mess. Ask me how I know!
To use your wax melts, plug in the wax warmer and turn it on. Place a liner in the melting cup, and add a few melts to it, depending on their size. And enjoy!
They should give you at least a couple of days of scent. You can turn the wax warmer off and re-heat the wax whenever you like.
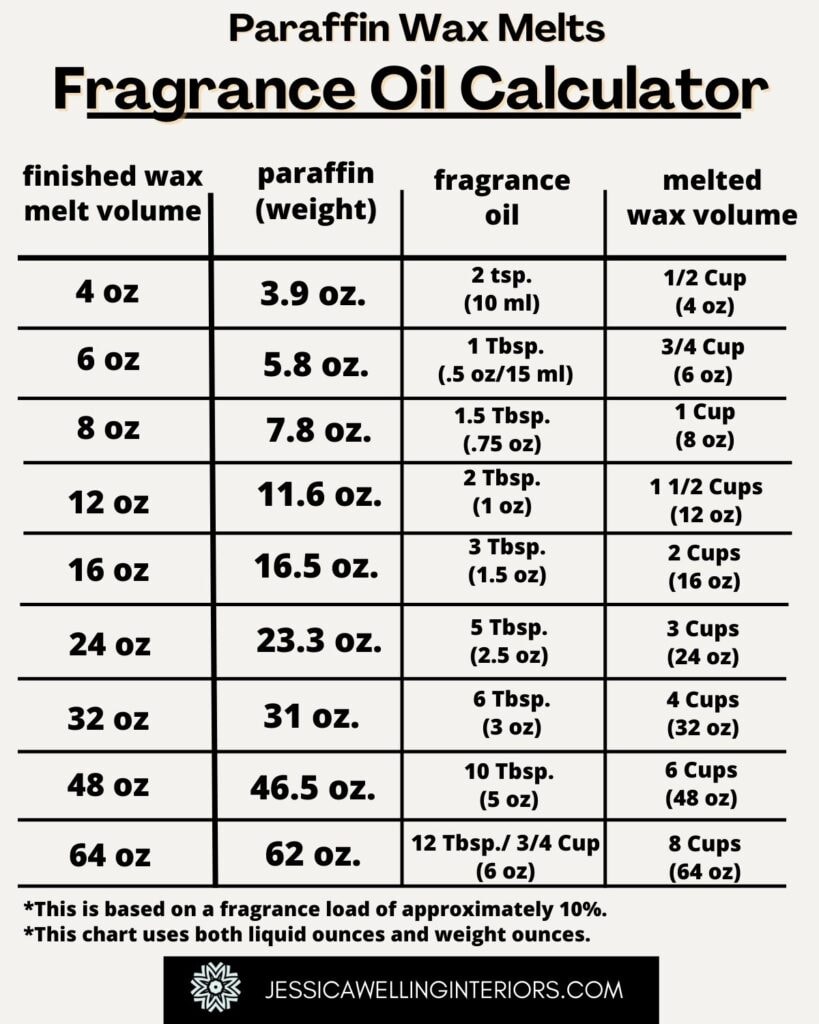
Fragrance Oil Calculator
I put together this chart to take the guess work out of calculating the amount of fragrance oil you’ll need for your wax melts. The proportions are essentially the same for soy wax melts, but you’ll want to check out this post if you’re using soy.
How To Make Wax Melts
Instructions
- Measure wax.
- Melt wax & heat to 185 degrees F.
- Add wax dye (optional).
- Add fragrance oil.
- Fill molds with an eye dropper.
- Let them cool.
- Remove from molds.
- Let them cure for 2 weeks.


Frequently Asked Questions
Why can’t I smell my DIY wax melts?
If your fragrance is underwhelming, this article has tips to help make your scent throw stronger. How to Make Wax Melts Smell Stronger
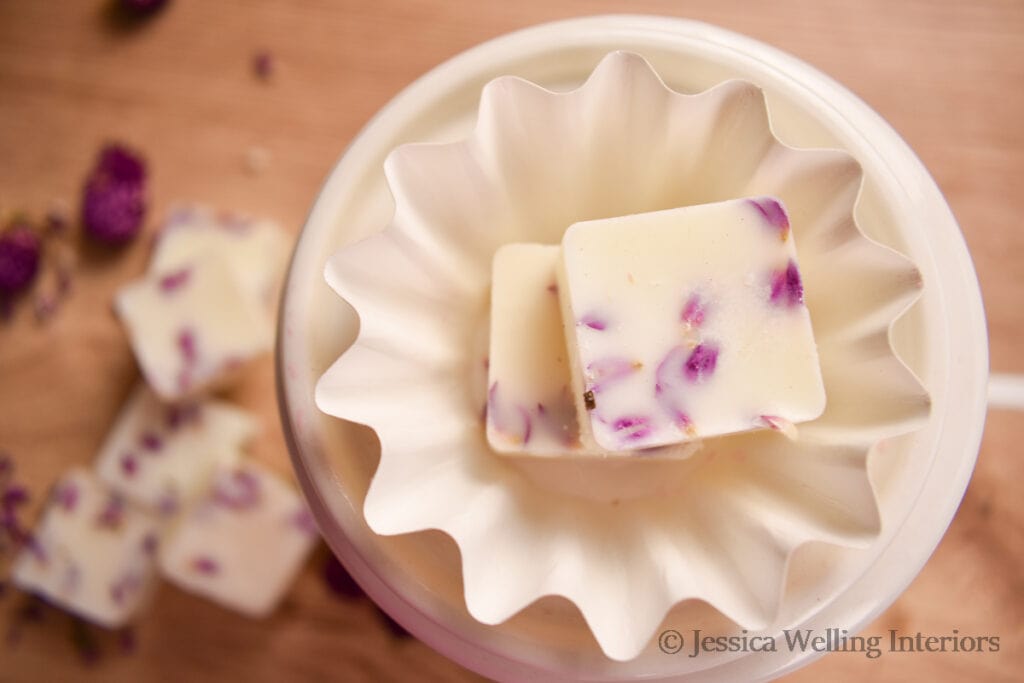
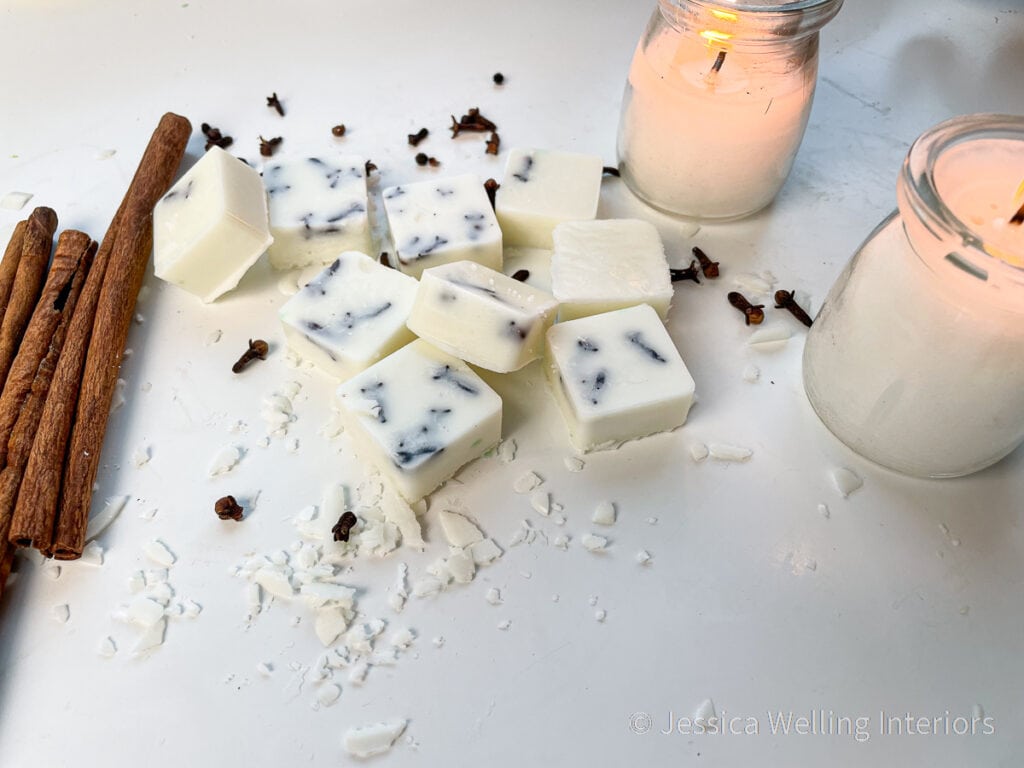
Adding Inclusions to Wax Melts

More Wax Melt Ideas…
DIY Wax Melts: 12 Easy Recipes
The Best Wax Melt Molds for Every Occasion
The Best Wax Melters On A Budget
How to Make Candles: A Beginner’s Guide
I’m curious how do you keep the gummy bears or any shape wax melt from sticking together in the packaging?
Good question! But I’ve actually never had a problem with them sticking together. I could see having a problem if you were trying to ship them in the Summer, but otherwise they seem to do just fine.
Some commercial wax melts, like Pioneer Woman and Better Homes & Garden (the ones sold in the paper tins), both sold at Walmrt, seems to have a flaky coating on them that prevents loose wax melts from sticking to each other. DO you know what coating that is?
Hi Wilma, I’ve never heard of this, but I will take a look next time I’m at Walmart.
How do you clean your pitcher without clogging your drain, and making sure you get all of the wax out to start a new scent?
Good questions! I usually heat up the pitcher with the leftover wax, pour any extra wax I’m not going to use out into some other container, then wipe the pitcher out with a paper towel. After that, I wash it with hot water & dish soap to get the scent out (this is what I do for paraffin wax or beeswax). This is why I love to use soy wax- it cleans up with just soap and water and I can just run my pitcher through the dishwasher. Of course I wouldn’t pour soy wax down the drain, but it breaks down much more easily. Good luck!
Have you ever exclusively used dried herbs to provide fragrance to your wax melts? For instance, i grew a ton of lemon verbena and dried it. I would love to use it in a wax melt but don’t know how. Do you melt the wax, steep the herbs, strain it then pour into the molds?
Ooooh lemon verbena is one of my favorites! Great question, but I never have. But I will say that I’ve tried using essential oils to scent candles and wax melts, and unfortunately it really doesn’t work. It’s just a waste of expensive essential oils. I suspect you would run into a similar problem with the dried herbs because the organic compounds break down when exposed to heat. If you try it I would be interested to hear how it goes! Good luck!
I am wanting to start my own side hustle selling wax melts. I’m trying to keep everything as natural and ecofriendly as possible. Do you have any packaging suggestions that won’t break the bank?
How exciting! I think they’ll need to be packaged in some kind of plastic so their scent doesn’t dissipate too much over time. If I was going to make them to sell I would use the plastic clamshell molds. But not sure how eco-friendly that is. Good luck with your new business!