
How to Make Soy Wax Melts
Learn how to make soy wax melts with this easy tutorial! They’re a great way to scent your home and make fabulous gifts too!
Soy wax melts are a lovely and mostly natural way to scent your home, and they make amazing homemade gifts too! I like to gift an inexpensive wax warmer (here are my favorite wax melters) with an assortment of melts. If you want to make wax melts with paraffin, check out this tutorial.
What Are Wax Melts?
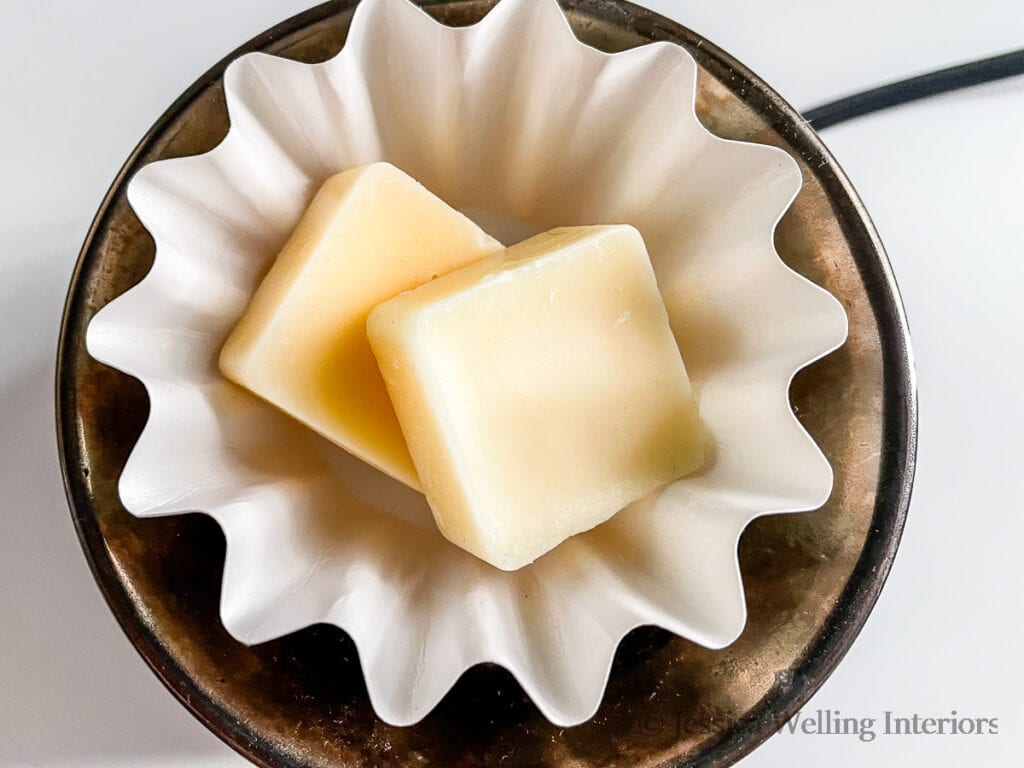
Wax melts are small pieces of scented candle wax, usually molded into a shape. They serve the same purpose as a scented candle, but instead of having a wick and flame, they’re melted in a wax warmer to give off their scent.
They’re safer than candles and generally allowed in places where you might not be allowed to have an open flame, like apartment buildings.
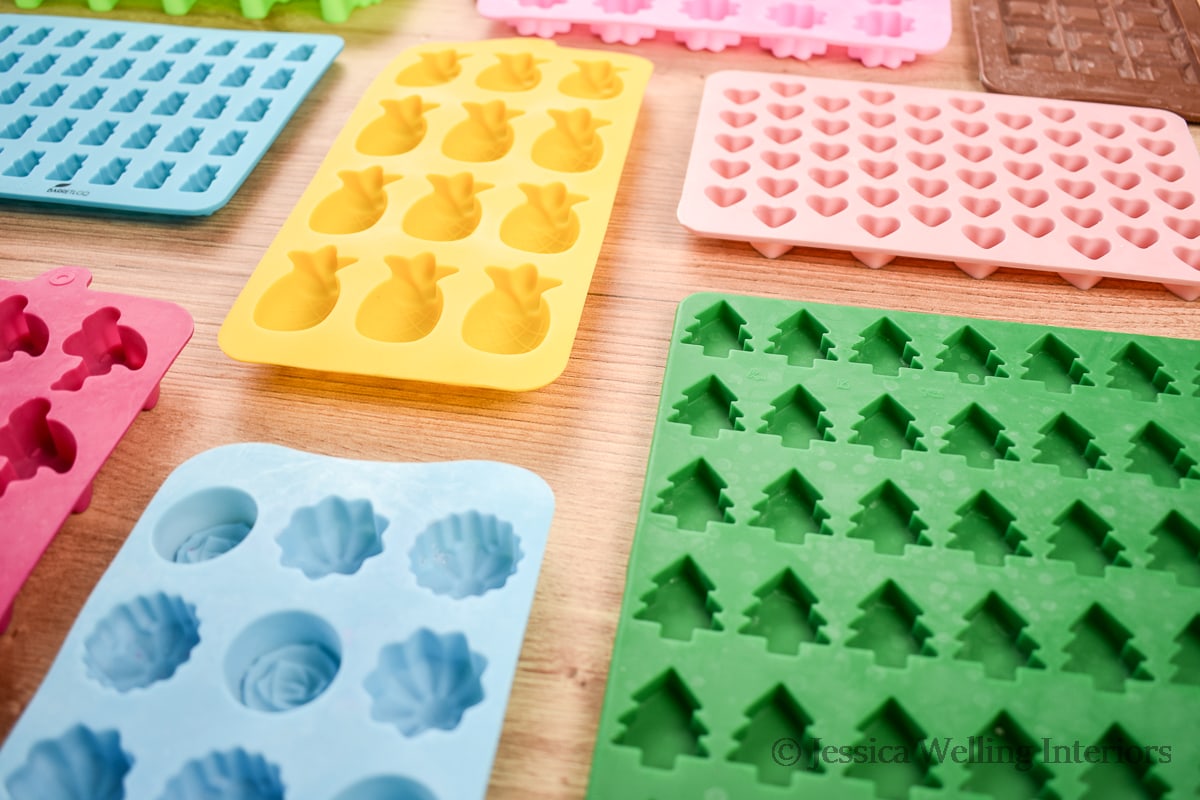
Wax Melt Molds

You can choose any shape you like for your wax melts. I’ve found that silicone candy molds work best, and clear plastic candy molds are good too. Here’s a roundup of my favorite wax melt molds from Amazon. You can also get empty wax melt clamshells from Amazon.
Supplies
Tools
Directions
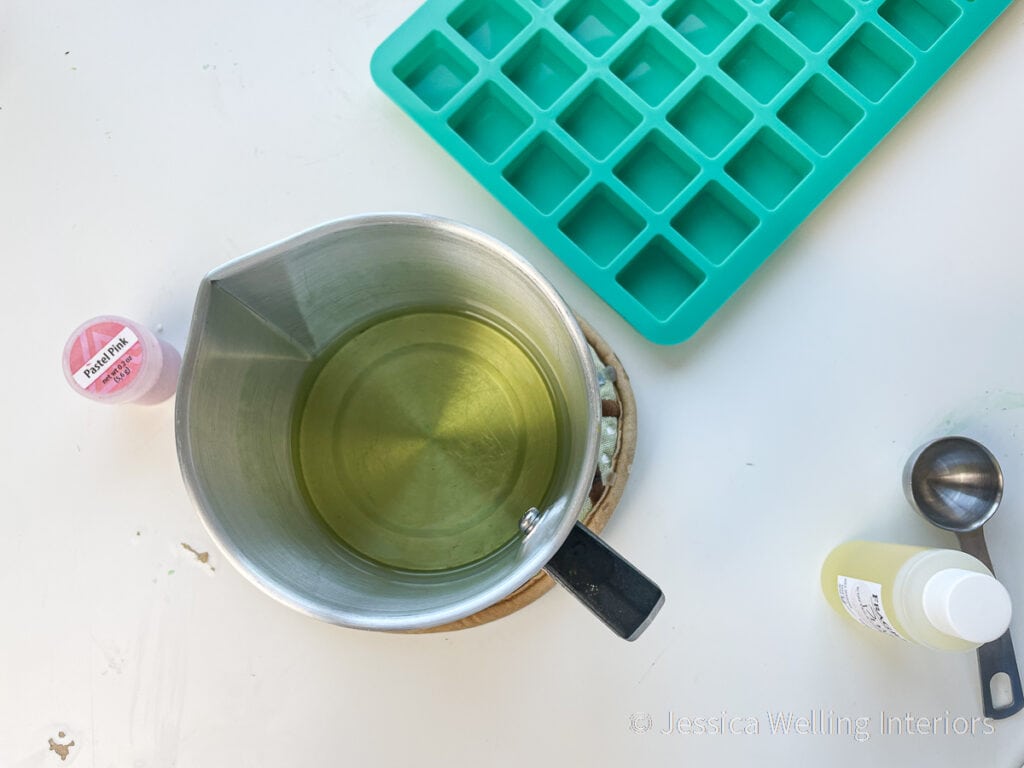
1. Melt The Soy Wax
I’m using this metal pitcher inside a pot of water on my stove. If you’re going to do a lot of candle and wax melt-making you’ll want to get one.
But you can also use a Pyrex glass measuring cup and heat your soy wax in the microwave. Start with one-minute increments, stirring between each one. As you get closer to your target temperature (175-185 degrees Fahrenheit ).

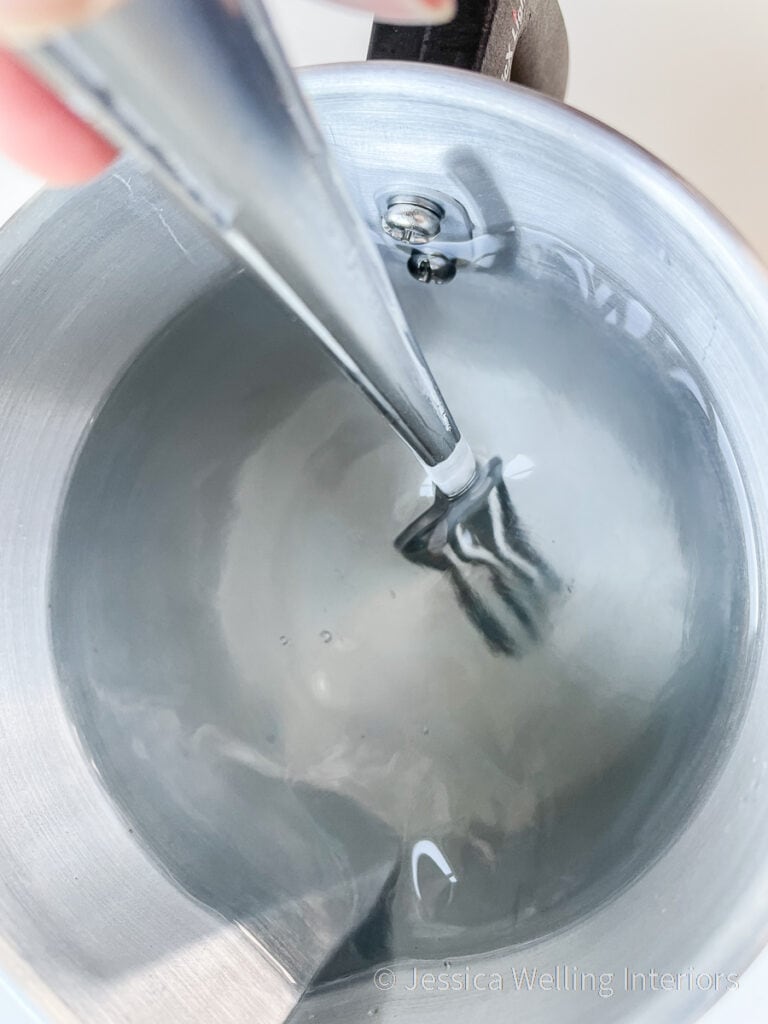
2. Add Color
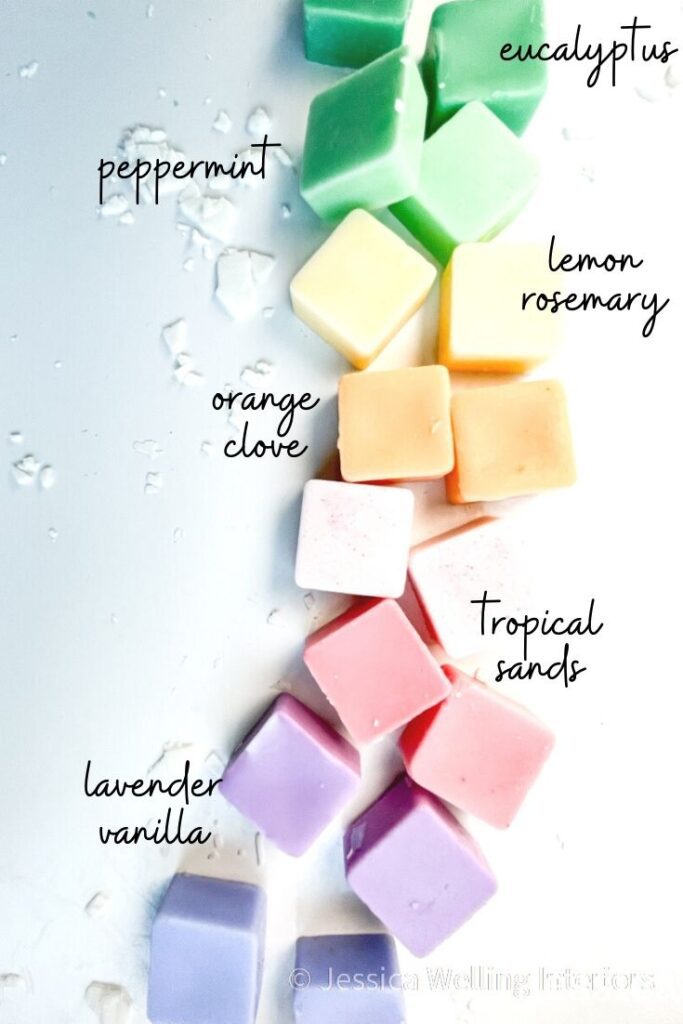
I’m adding a couple of pinches of light pink wax dye to my wax melts just for fun. Seems like “pink sands” ought to be pink, right? But this step is completely optional. Soy wax will be opaque white or cream when it hardens if you choose not to add color.
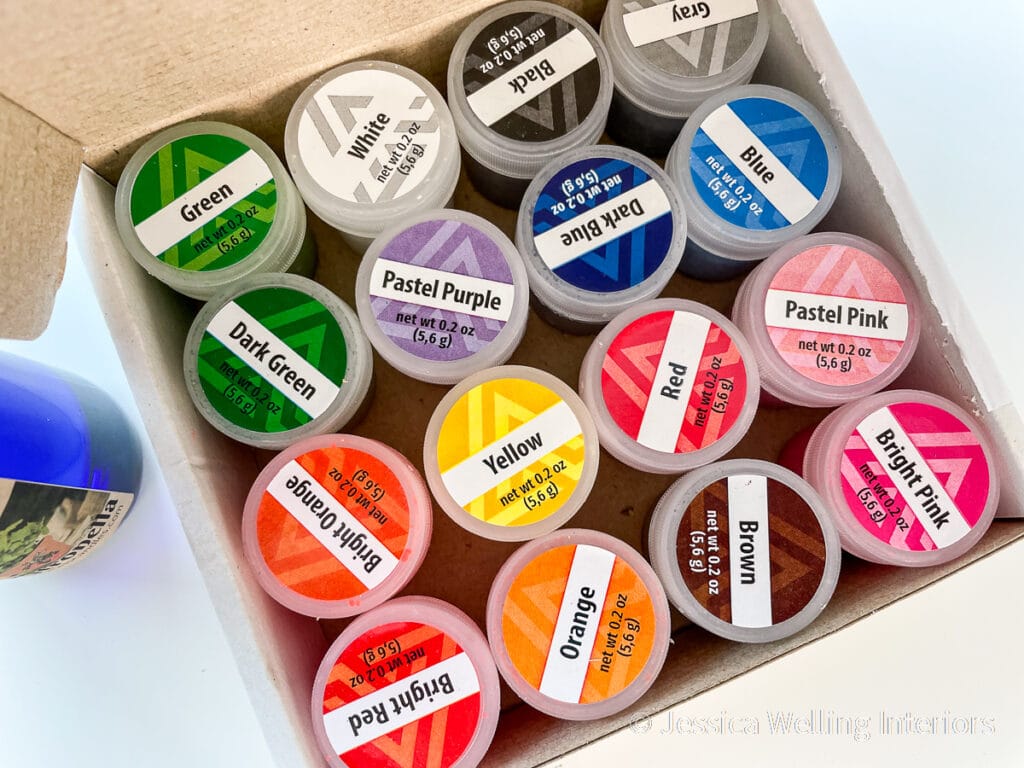
If you’re using a metal pitcher, I recommend leaving the pitcher in the double-boiler while you add the wax dye chips. They need a higher temperature to melt into your wax.
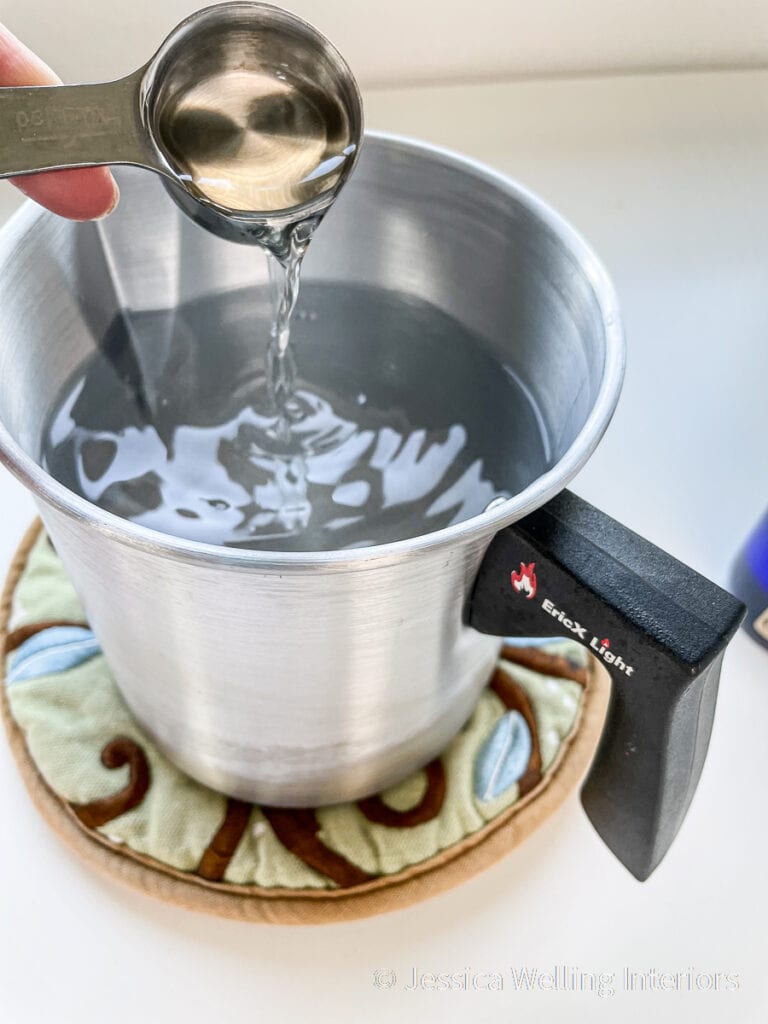
3. Add Fragrance Oil
The ideal temperature to add fragrance oil to soy wax is 175-185 degrees Fahrenheit. If your wax is too hot, your fragrance oil will break down. If it’s too cool, the wax and fragrance won’t combine properly.
It’s important to get the correct ratio of fragrance oil to wax because this will determine whether your wax melts actually give off enough scent when they’re heated.
Pour the fragrance oil into the wax and stir well.
4. Let It Cool to 135 Degrees
The ideal pouring temperature for soy wax is about 135 degrees F, so you’ll likely need to let it cool for a few minutes before pouring it into your molds. Soy wax will begin to look cloudy as it approaches pouring temperature.
5. Pour The Wax Into Molds
Carefully pour the wax into the candy molds or wax molds. I’m using a basic square mold for this project, but you can choose any shape you like, as long as each piece will be small enough to fit into your wax warmer.
6. Let It Cool
Let the wax cool completely, undisturbed. It will harden and turn opaque when it’s finished. If you need to hurry the process along, you can put the molds into the fridge for a while.
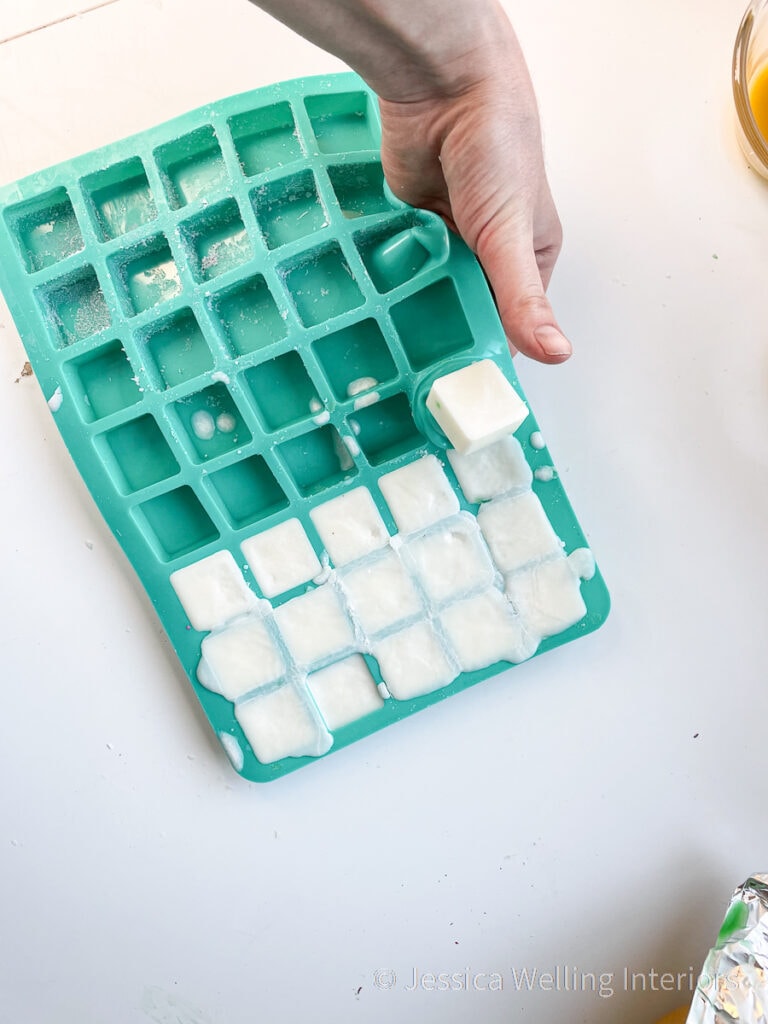
7. Remove Wax Melts From Mold
Once the wax melts are nice and hard, you can turn the mold over and pop them out.
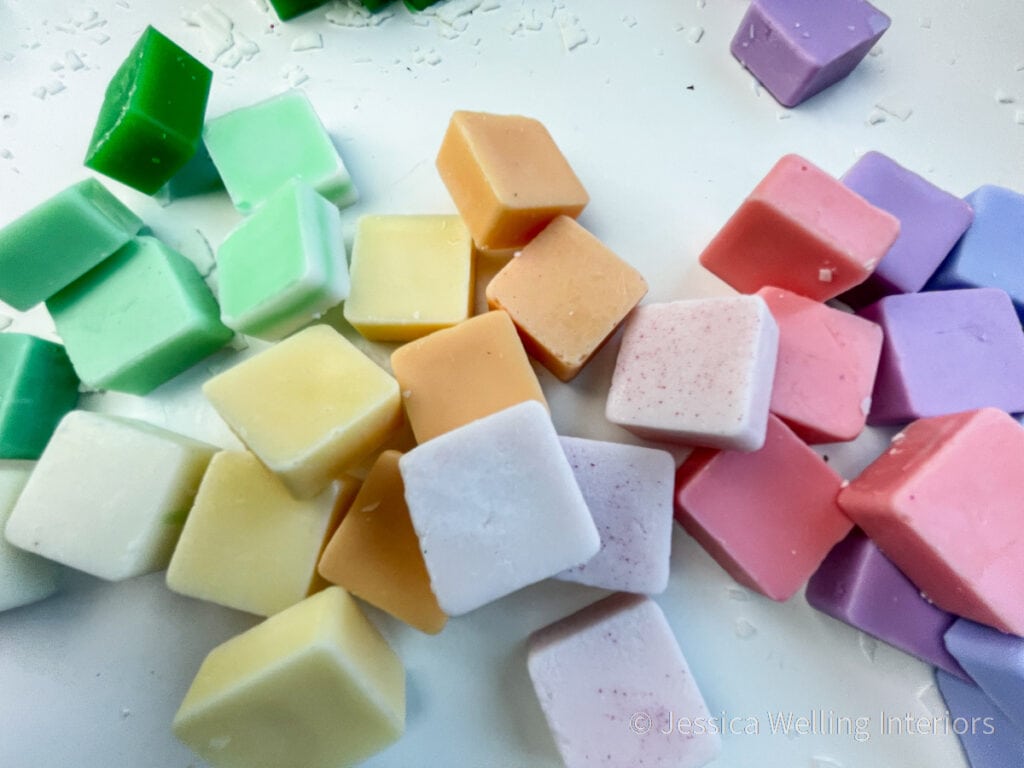
8. Store In A Sealed Container
The wax melts will have the best and strongest scent if you let them cure for a few weeks. Store them in a cool location in a tightly sealed container or plastic bag so they don’t lose their scent.
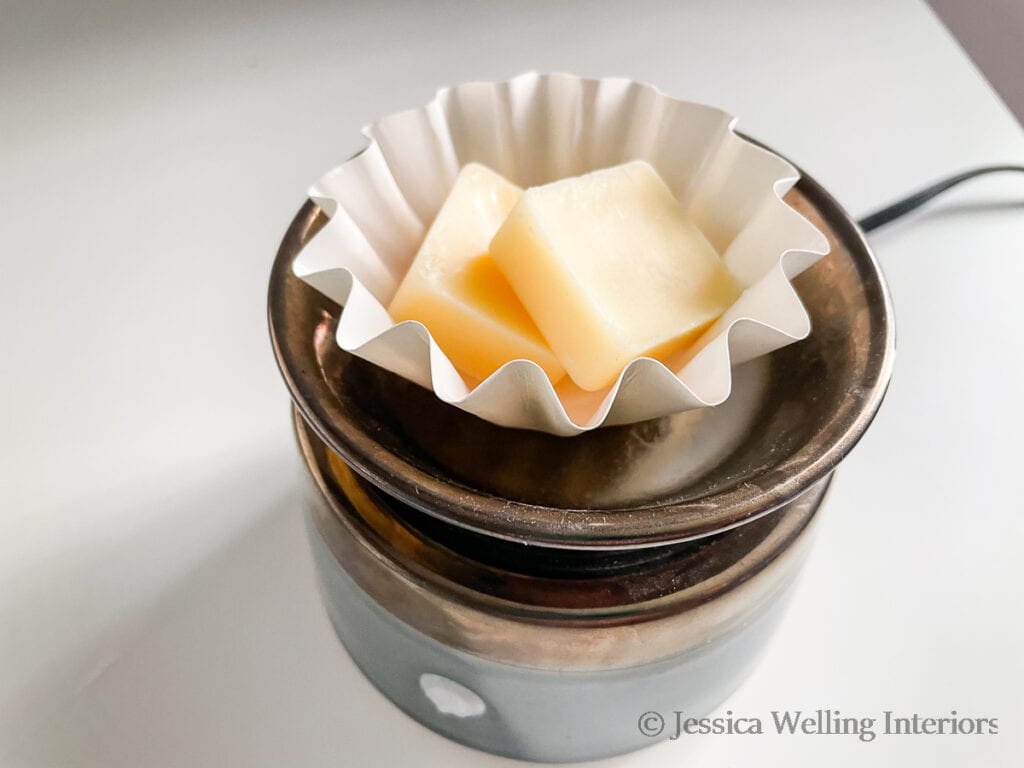
How To Enjoy Your DIY Wax Melts
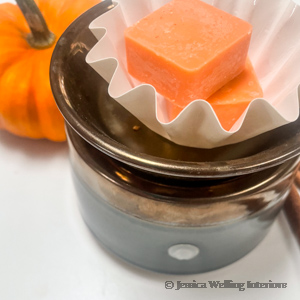
I like to use wax melt liners in the melting cup to prevent a mess, but they are optional. And I know they look like cupcake papers, but cupcake papers won’t work. Trust me, I tried it! The wax seeps right through them and makes a big mess.
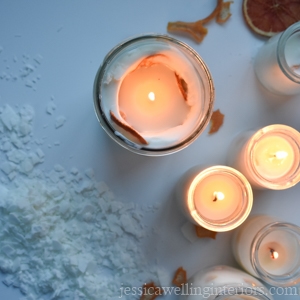
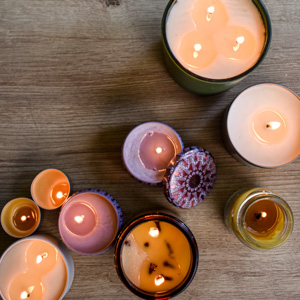
Place two or three soy wax melts into the melting cup on your wax warmer and turn it on. It’s that simple! You can continue to re-use your melted wax until it no longer gives off the scent you want.
Here are a few of my favorite inexpensive wax warmers from Amazon, and don’t forget to grab some wax melt liners too.
More Wax Melts & DIY Candle Ideas…
How to Make Soy Candles: A Beginner’s Guide
How to Make Candles Smell Stronger: 6 Tips for Great Scent Throw
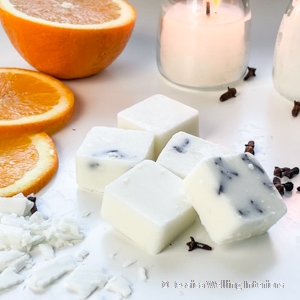
Easy Orange Clove Soy Wax Melts
DIY Pumpkin Spice Scented Wax Melts

You posted this so clearly!! And the illustrations match what you are saying!
I have several cats and a couple dogs and I can’t find soy melts. AND wiht pets I need them!
I have been looking into DIY but hot wax well that could be dangerous. And when I looked at the hobby store it was just confusing.
You made this all so clear I feel ready to go get the stuff and give it a try myself.
Thank you.
I do have one question though. Can you reuse the wax. Once my melts no longer have scent can I melt them and add scent?
Thank you I’m so glad it was helpful! I’ve never actually tried reusing the wax, but I don’t know why it wouldn’t work. I would test it with a small batch though, since you don’t want to waste a bunch of expensive fragrance oil. Please come back & let us know how it goes if you try it!
You are AWESOME
THANK YOU
Your instructions are as good as a book. I’m about to start my candle business, 💓🌻
Thank you and best of luck to you!
Thank you so much for this! I’m going to do some trial runs on melts! I’m hoping to make them for Christmas gifts this year! My question is, what is the best fragrance to soy wax ratio? Thank you!!
Hi, you’re right I need to add a fragrance oil calculator to this post! In the meantime if you go to this post and scroll to the bottom (https://jessicawellinginteriors.com/how-to-make-soy-candles-a-beginners-guide/) there’s a fragrance oil calculator. The ratio is the same for soy candles and wax melts. Good luck!