
DIY Modern Christmas Throw Pillows with Potato Stamps!
This project was originally published on Hometalk, and sponsored by DecoArt paint. All opinions are my own.
I remember making potato stamps in art class when I was a kid. It’s fun, simple, inexpensive, and makes for some really cool projects! I started with these
I chose to do a modern geometric Christmas tree pattern to go with my Boho living room decor. This Christmas tree shape was really easy to cut out. Let’s get started!
How to Make Potato Stamped Throw Pillows
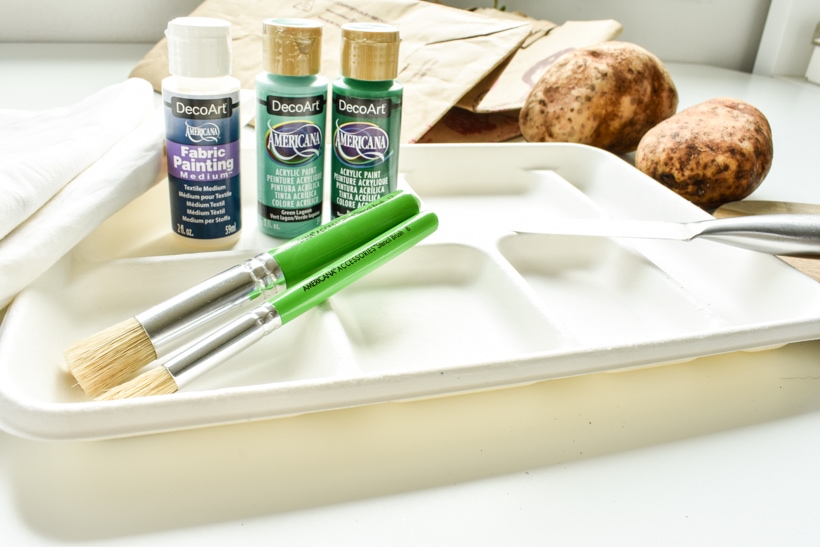
Materials
- 1-2 large russet potatoes
- solid white throw pillow cover (I used these inexpensive ones from Amazon)
- green acrylic craft paint
- fabric painting medium
- large kitchen knife
- paring knife
- cutting board
- something to cover your work surface
- paper towels
- stencil brushes
- paper plate
- sheet of cardboard to put inside pillow case
Directions
1. Wash & Dry the Pillow Covers
They’re 100% cotton and will shrink a bit. I like to wash mine before I paint them so the paint doesn’t rumple up if I need to wash them later. And since we have a new puppy, odds are I’ll need to wash them!
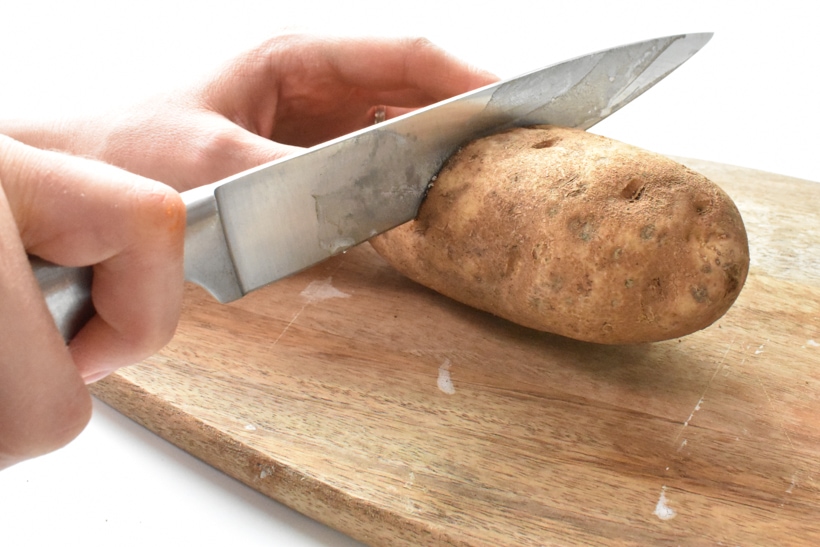
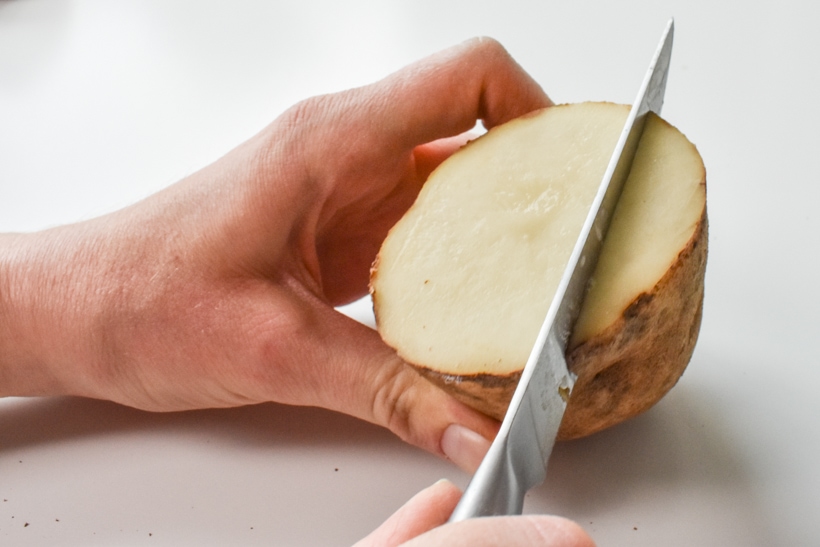
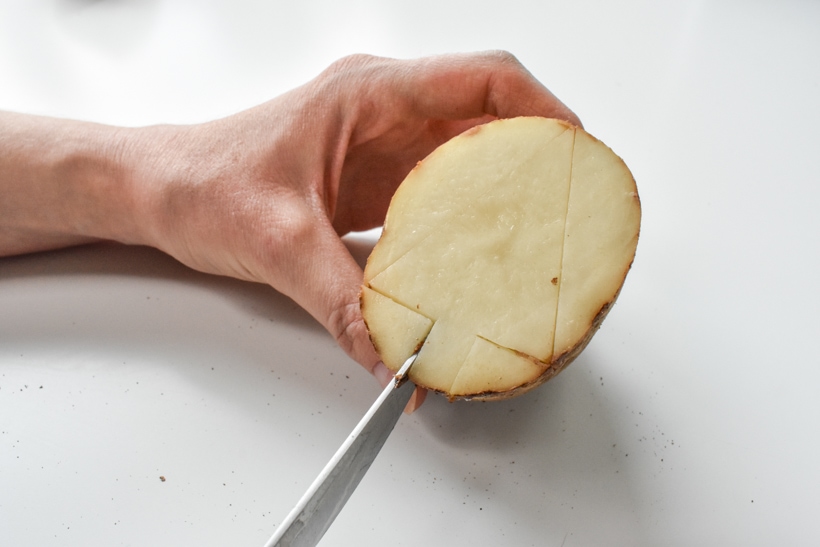
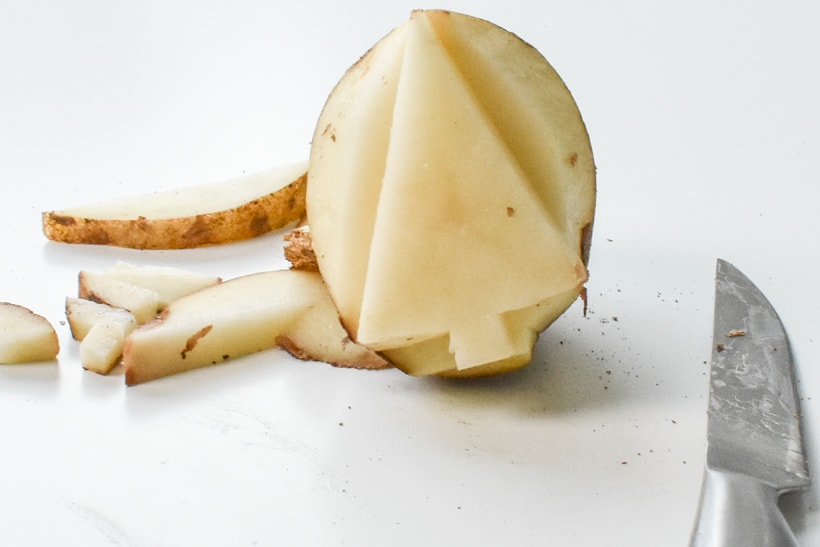
2. Cut Your Potato In Half
Use the large kitchen knife to cut the potato in half. It’s important for this cut to be straight and not jagged, because it will become your stamping surface.
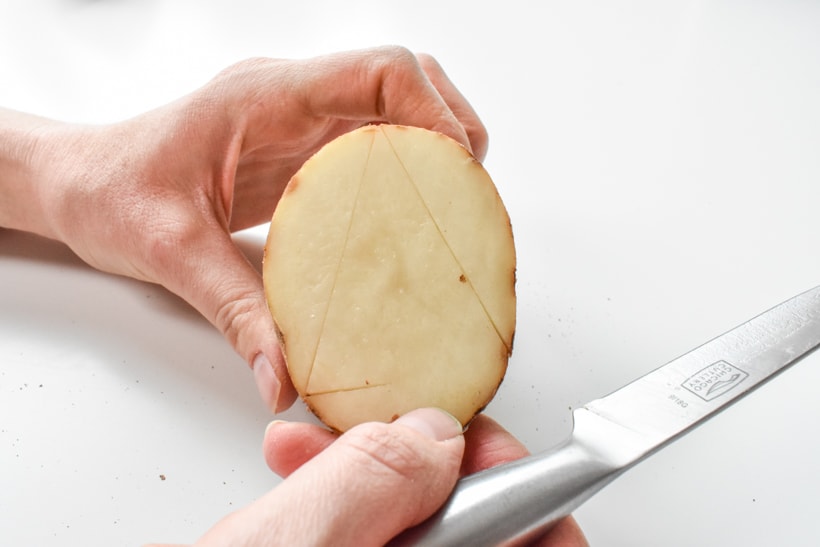
3. Cut The Christmas Tree Shape
Use the smaller paring knife to cut the long sides of the triangle-shaped Christmas tree. You’ll want all of your cuts to be about 1/2″ deep.
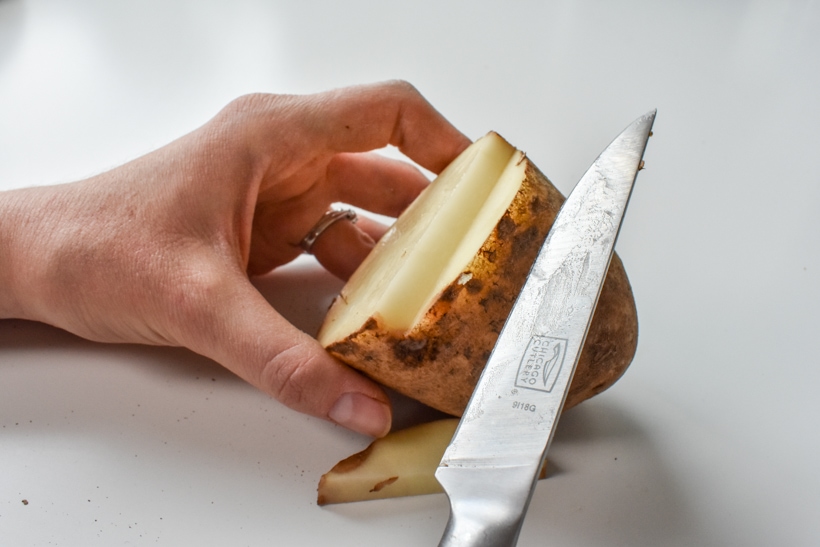
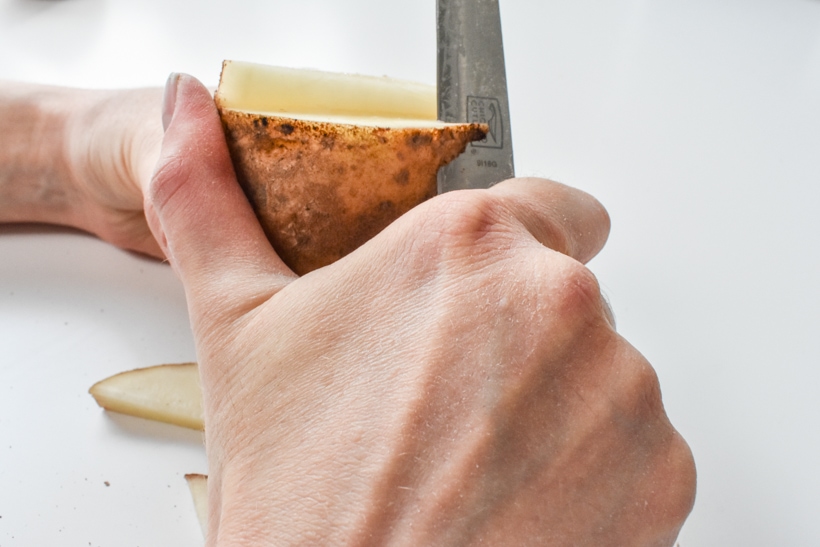
4. Remove the Pieces Around the Tree
Now carefully use the paring knife to cut in from the sides in order to remove the parts of the potato that are not part of the tree shape.
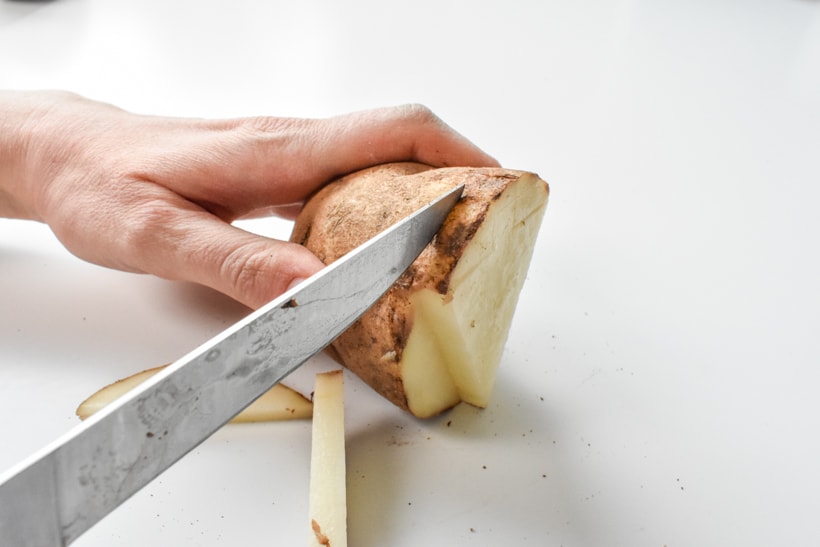

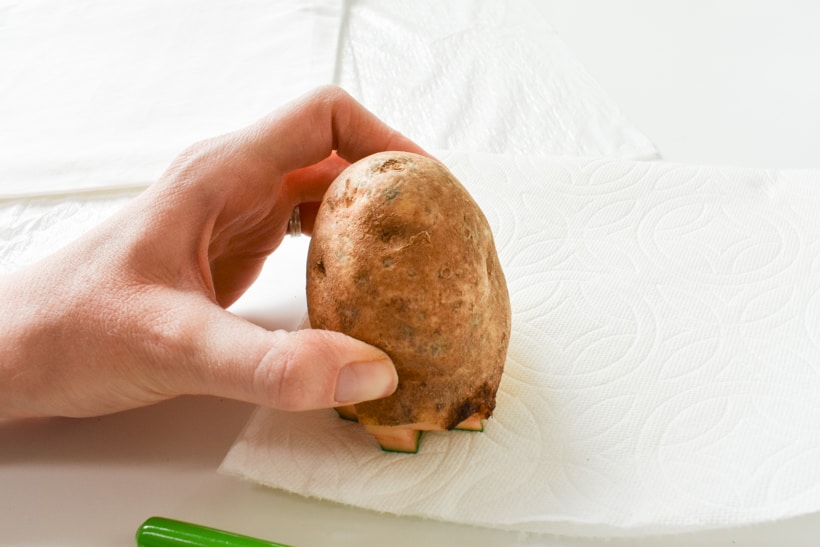
5. Slice Around the Outside
Once the tree shape is finished, take the knife around the outside edge of the potato and slice off a bit more. This will help prevent this part from accidentally printing excess paint on the fabric.
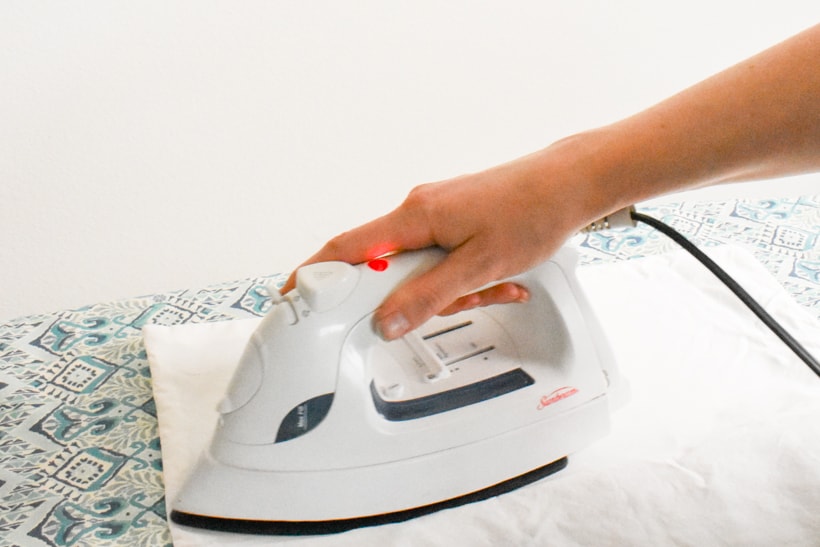
6. Iron the Throw Pillow Covers
My covers were a bit wrinkly when they came out of the dryer, so I ironed them before applying paint.
7. Put Protective Barrier Inside Cover
Cut a piece of cardboard or plastic to pit inside the throw pillow cover. This will ensure that the paint doesn’t seep through to the other side.
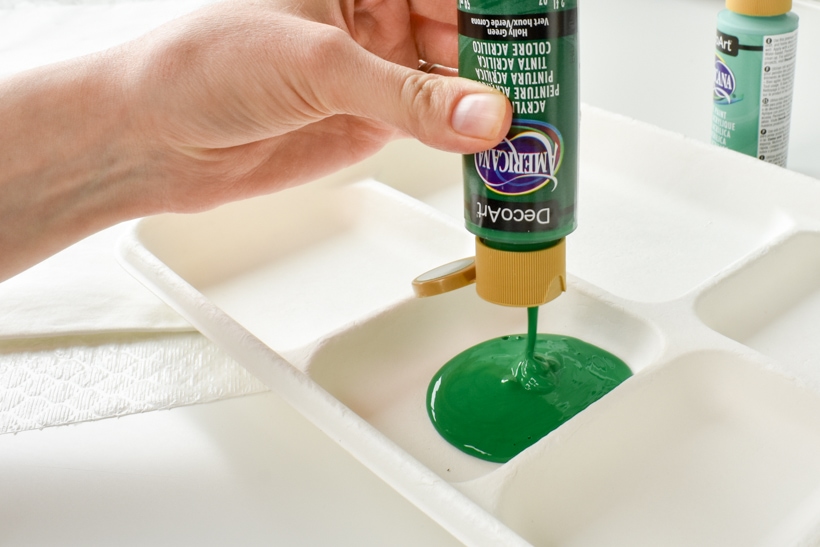
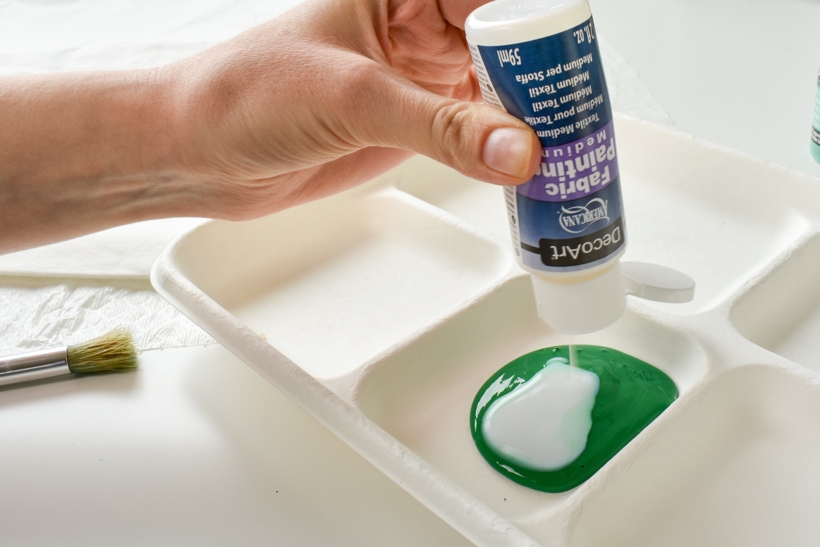
8. Mix the Paint
Mix the paint with a squeeze of fabric painting medium before you begin. The fabric medium makes the acrylic craft paint softer more flexible when it dries.
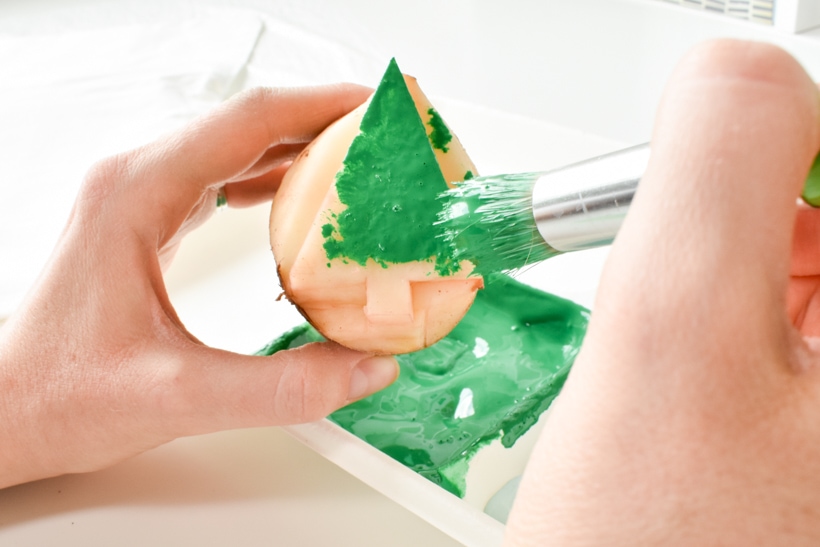
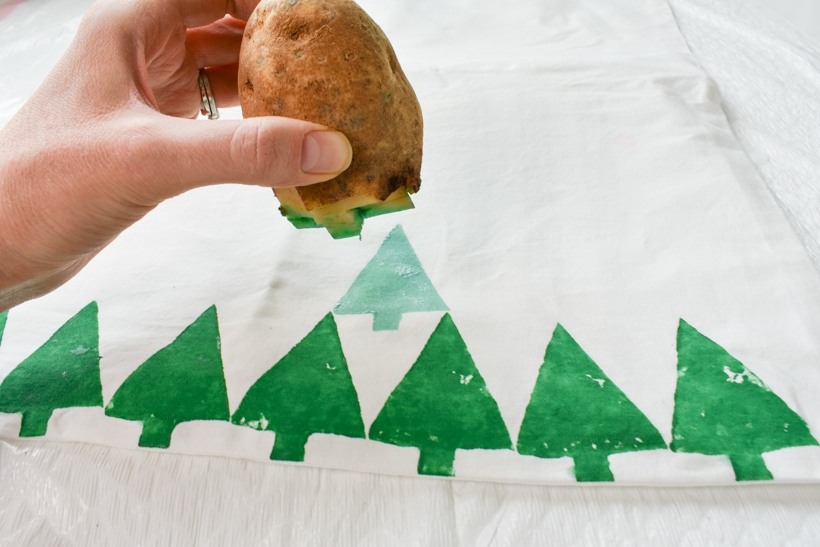
9. Apply Paint to the Potato Stamp
I like to use a stencil brush for this, because it applies an even layer of paint across the surface of the potato stamp.
Lightly dip the brush into the paint, then apply it to the stamp with a dab-dab-dab motion.
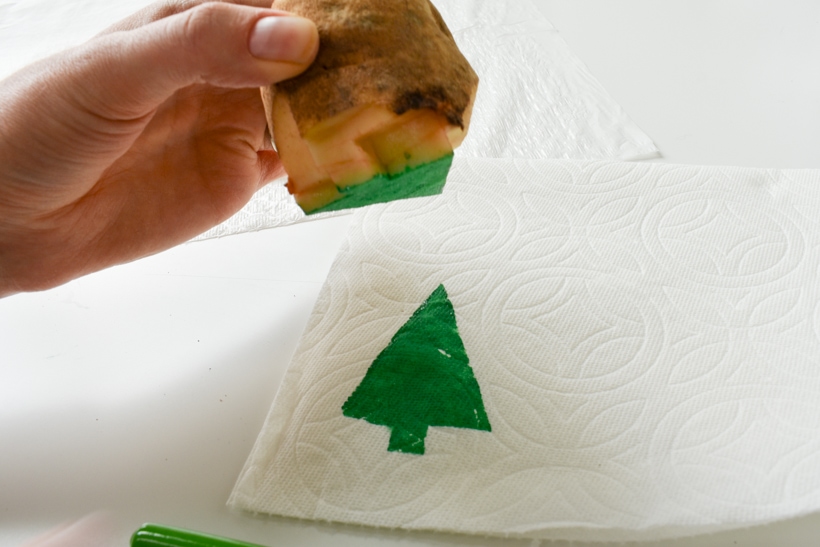
10. Test
I always like to do a practice stamp on a paper towel to make sure everything looks good before I start on the actual project.
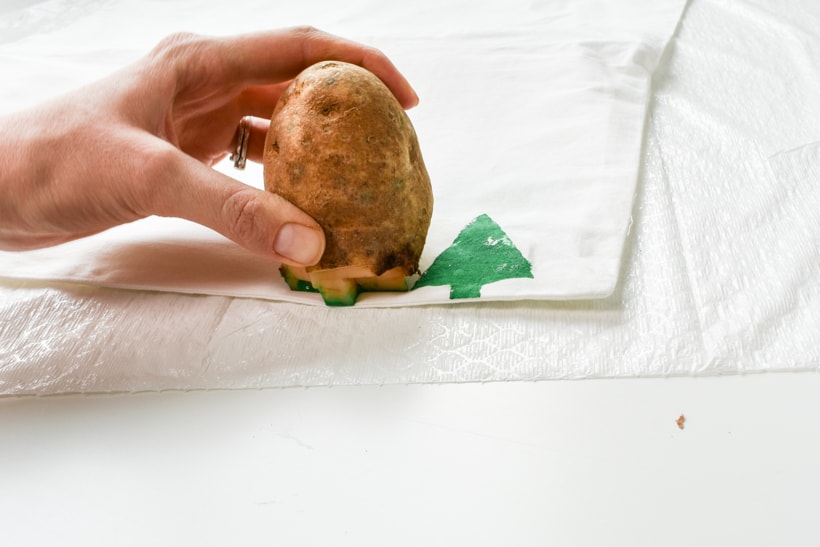
11. Start Stamping
I re-apply the paint after each stamp to be sure my trees look uniform.
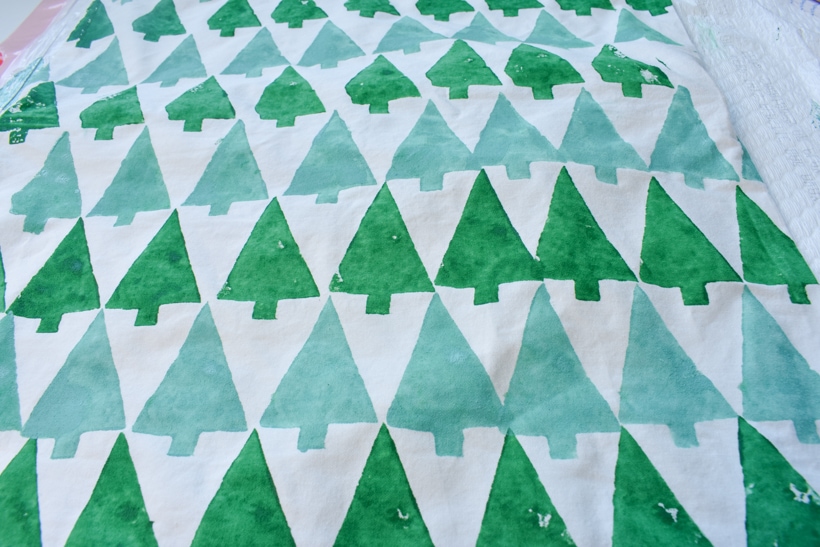
12. Change Colors
I chose to print rows of two different colors of green trees. I washed off my potato stamp between colors.
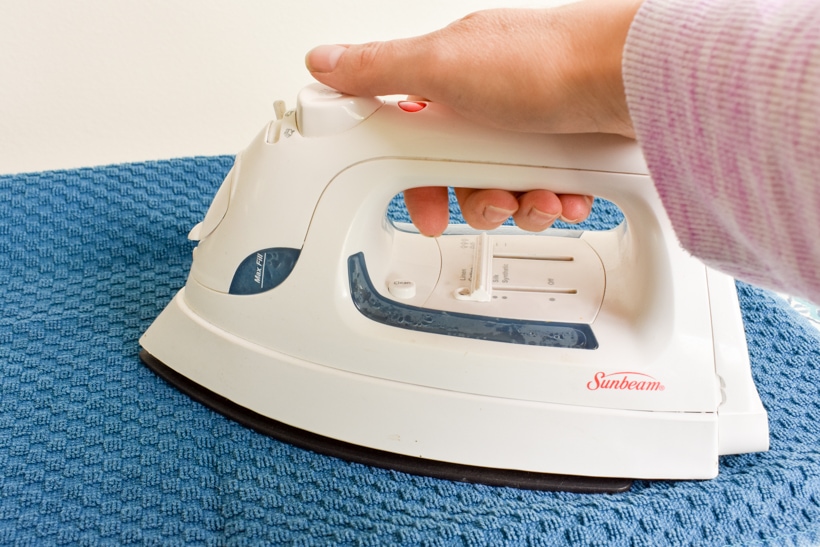
13. Heat Set Your Paint
After the paint is completely dry,
14. Add a Throw Pillow Insert
You’ll want to choose a throw pillow insert that’s one size larger than the pillow cover. I know that’s counter-intuitive, but this will ensure that your pillows look full.
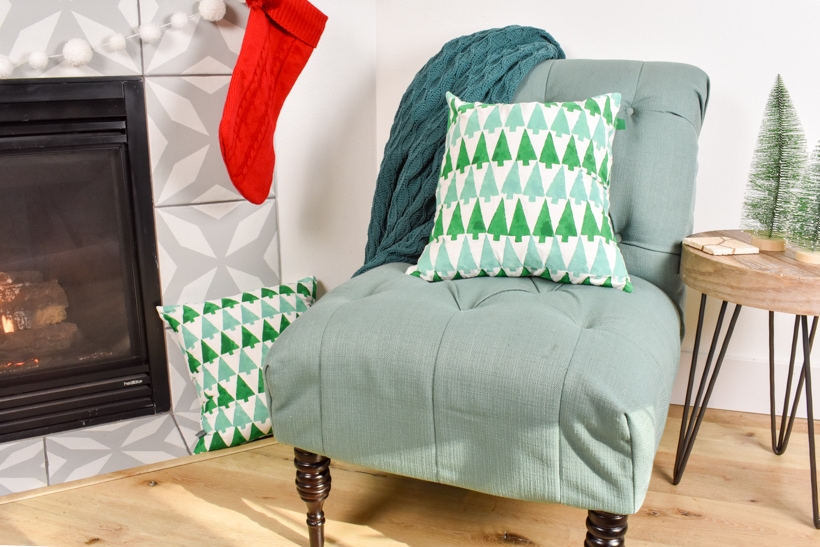
Now pair these fun pillows with other patterns and textures! As you can see, Fozzy is enjoying them too!

I would love for you to come see the rest of my Christmas living room tour HERE!

More Christmas Crafts You’ll Love…
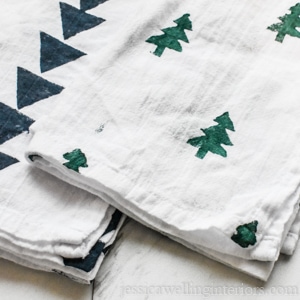
Potato Stamp Tea Towels: Easy & Inexpensive DIY Gifts!
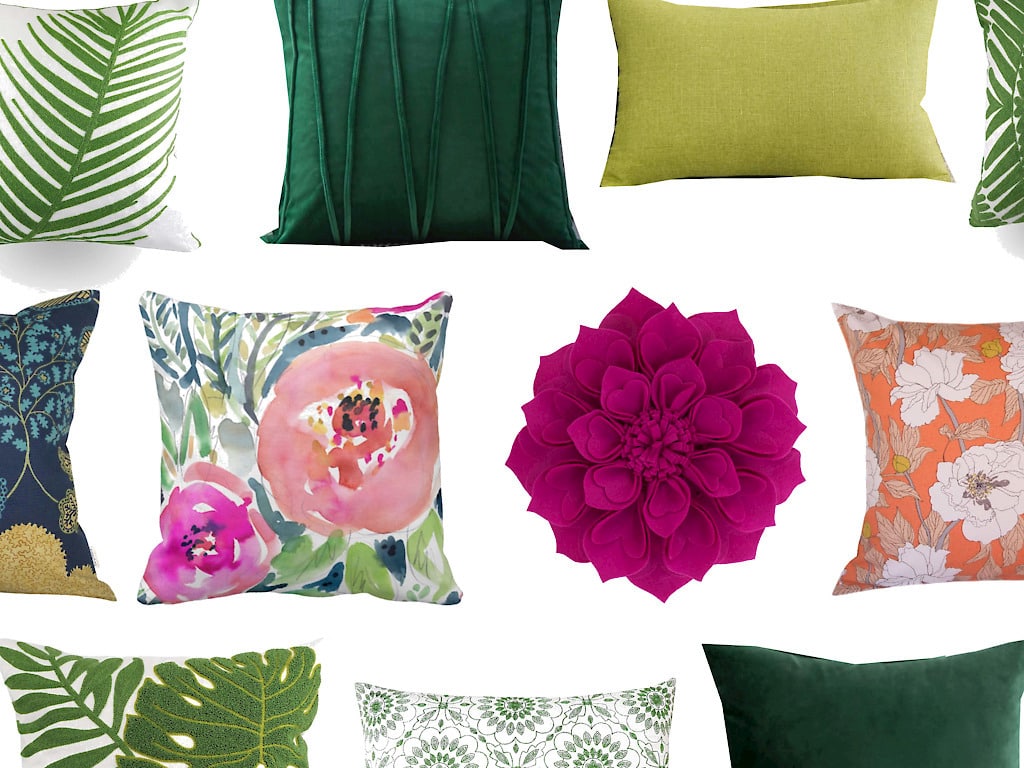
The Best Amazon Christmas Pillow Covers Under $15!

How to Make Wood Bead Christmas Ornaments

Make Your Own Advent Calendar!


4 Comments