How to Make Beeswax Candles
Learn how to make beeswax candles with this quick and easy step-by-step tutorial. They make great gifts, or enjoy them yourself!
How to Make Beeswax Candles
Beeswax is the most finicky of all the natural waxes used for candle making. This is because is has a high melting point, which means you won’t have much time to work with it while it’s in liquid form. It’s also tricky because every batch of beeswax is just a little different.
This means you may not get the same scent throw, burn rate, etc. from one batch of candles to the next. Here’s a more in-depth look at the different types of candle wax on the market and the best uses for each:
What is the Best Wax for Candles? Soy vs. Beeswax vs. Paraffin
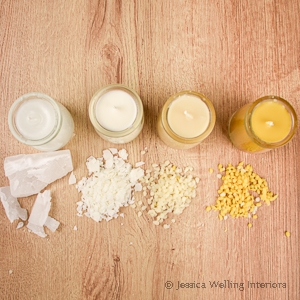
If you’re brand new to candle making, I would suggest starting with soy wax instead of beeswax, since it’s much easier to work with and your end results will be more consistent. Here’s my go-to soy candle tutorial.
That said, beeswax does make for gorgeous rustic candles, and it’s hard to beat their natural warm honey fragrance. If I haven’t talked you out of trying beeswax by now, let’s make some beeswax candles!
Materials
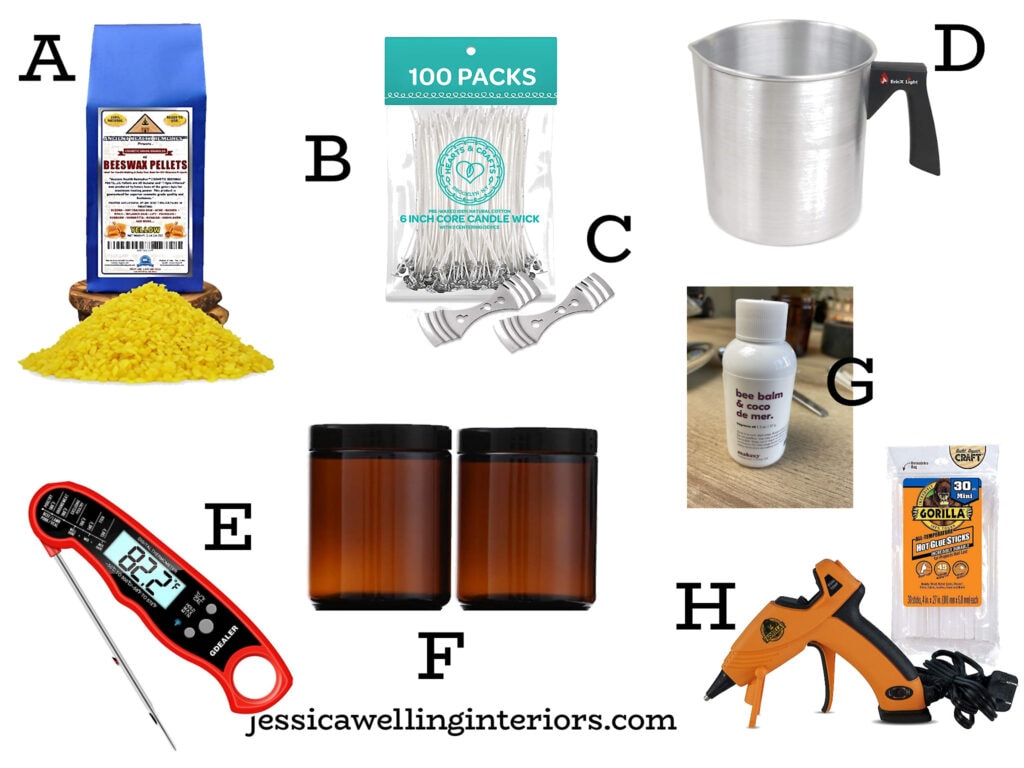
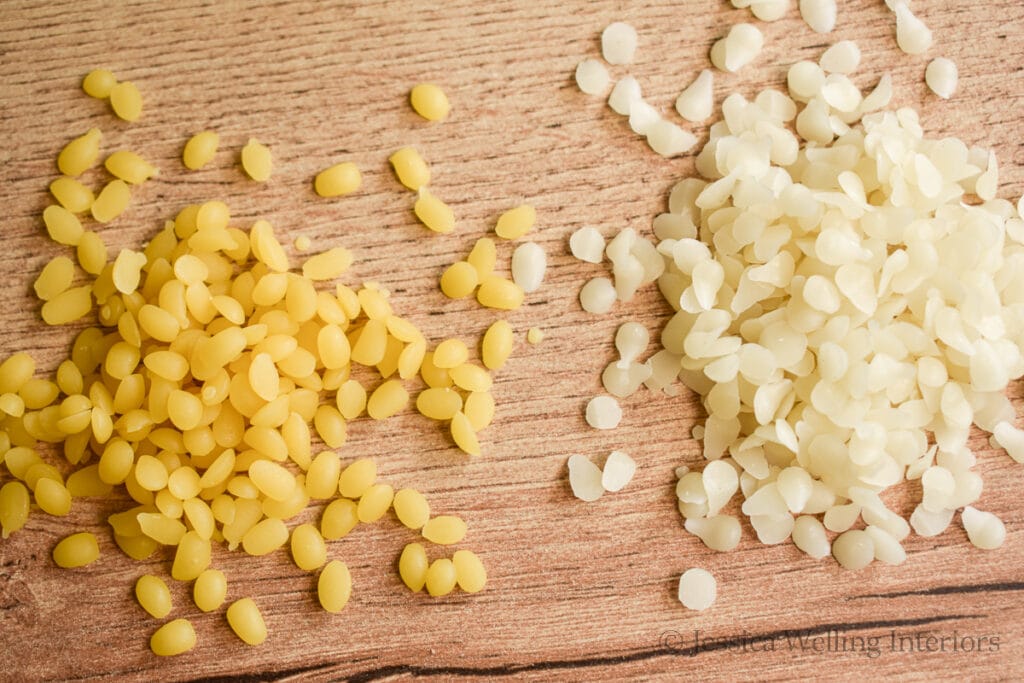
A. Beeswax Pastilles (I’m using this brand from Amazon. You can also use white beeswax)
C. Wick Centering Devices (mine came with the wicks above but you may need more than 2)
D. Metal Pitcher (I’m using this inexpensive one from Amazon)
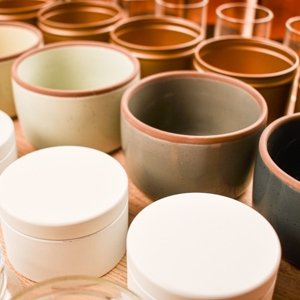
F. Candle Vessels (I’m using these 8 oz amber glass jars. Here’s a list of my favorite candle jars & tins if you’d prefer something different)
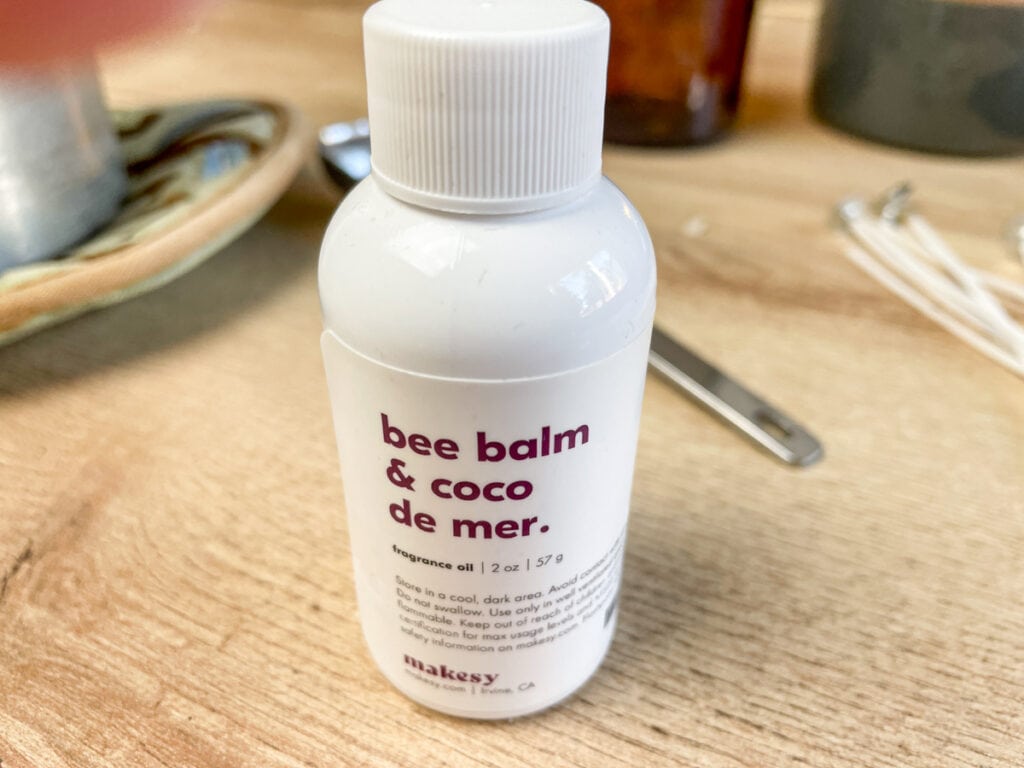
G. Bee Balm & Coco de Mer Candle Fragrance Oil, from Makesy (This oil smells amazing with the beeswax. You can omit the fragrance oil for a more subtle scent)
Directions
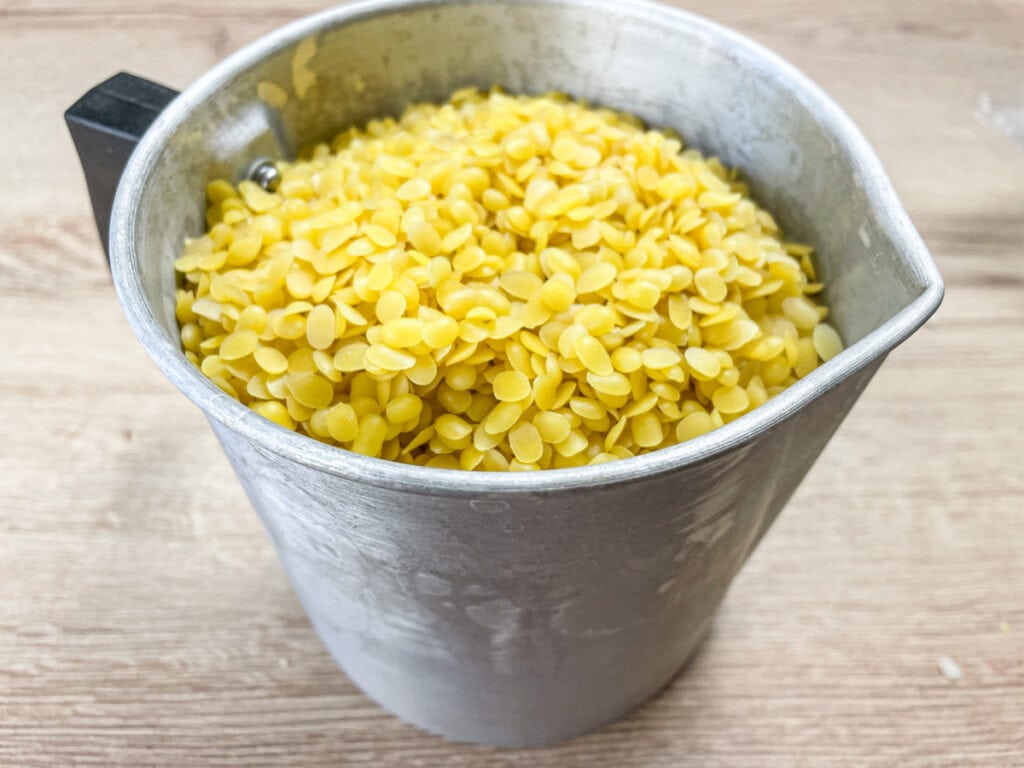
1. Measure the Beeswax
Beeswax pastilles will melt down to roughly half their original volume. I’m making two 8 oz candles and I want a little extra wax to be on the safe side. So I’m using 5 cups of pastilles, which should melt down to about two and a half cups of wax.
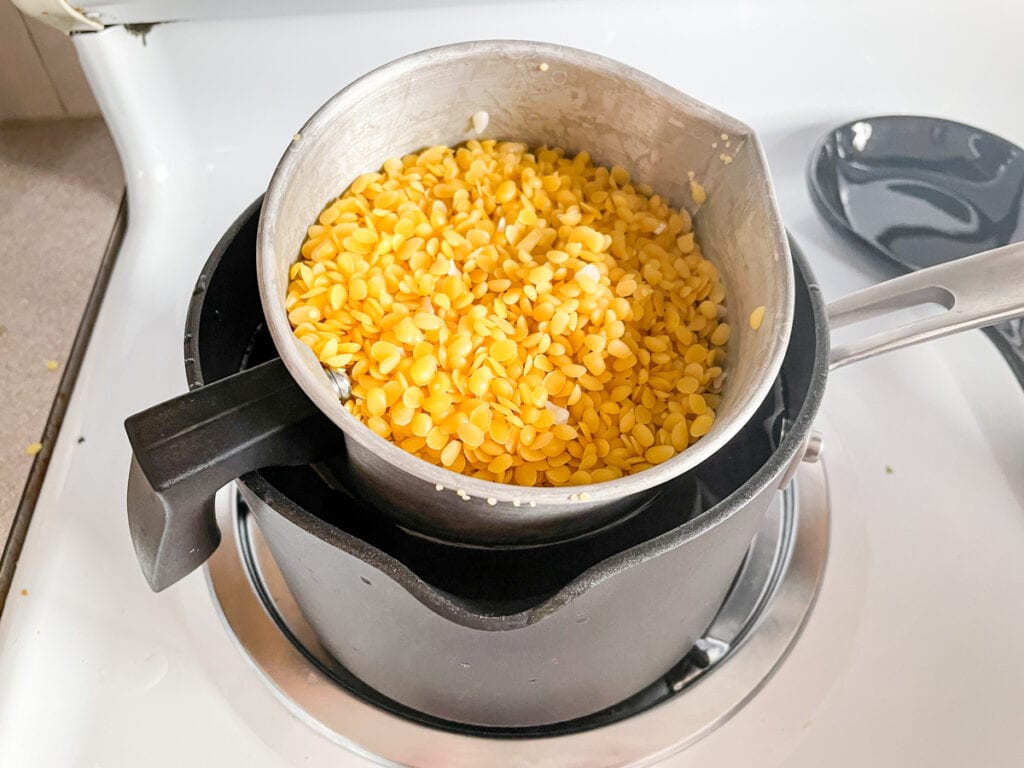
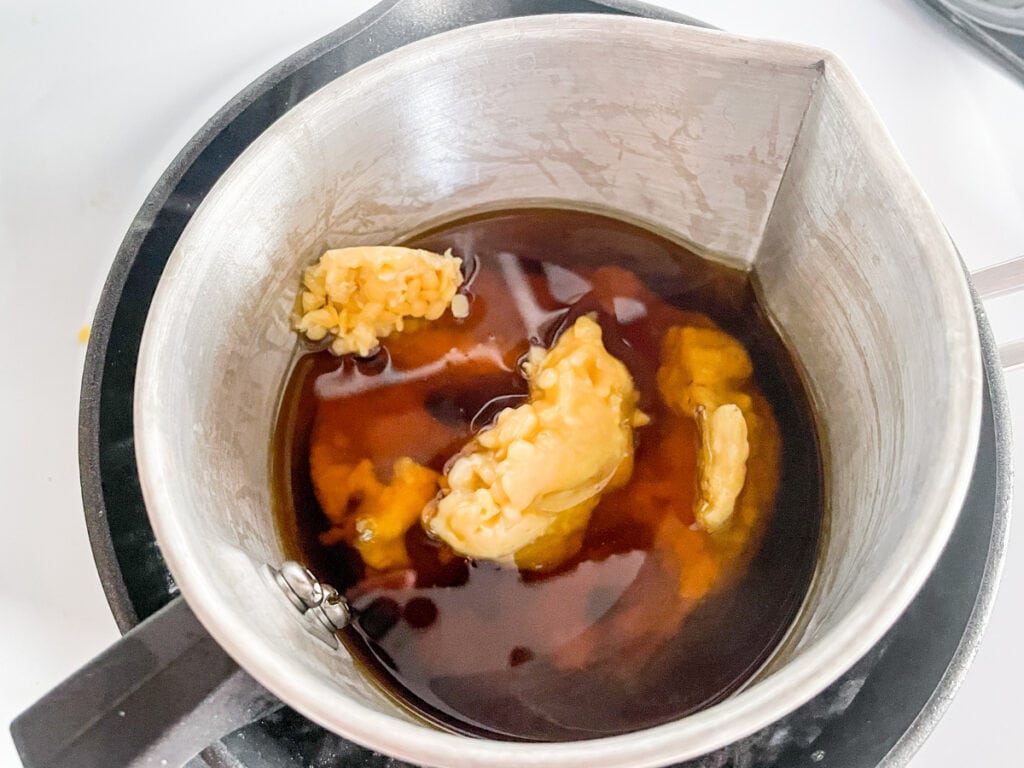
2. Melt the Wax
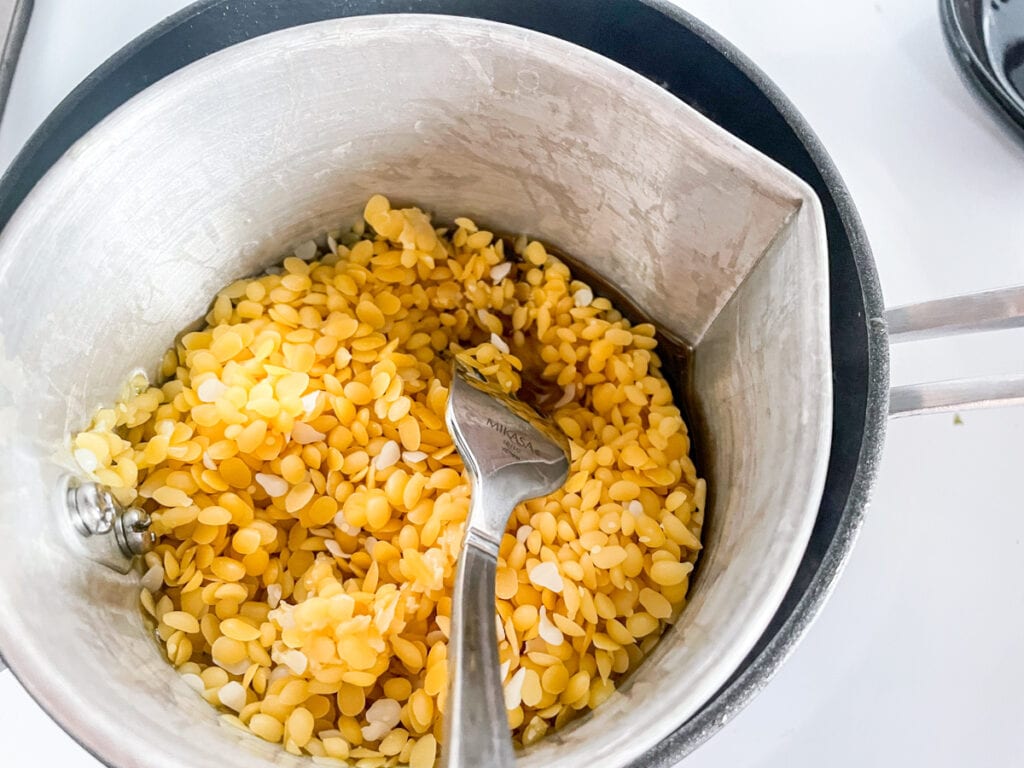
Set up a double boiler on the stove by placing the metal pitcher inside a saucepan of hot water. The wax will melt quickly with this method, so keep a close eye on it and stir it frequently.
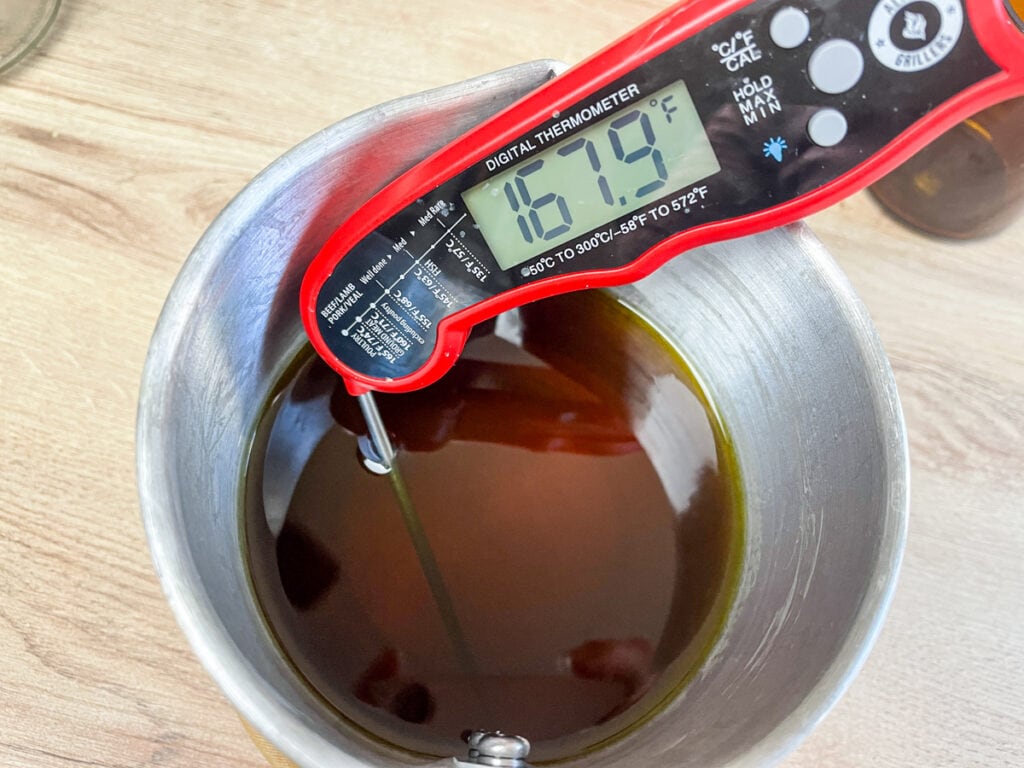
This digital meat thermometer from Amazon is my go-to for all my candle making and wax melt projects.
3. Add Fragrance Oil (Optional)
I’m adding this lovely Bee Balm & Coco de Mer fragrance oil from Makesy to give my beeswax candles some extra scent. This is totally optional. Yellow beeswax has a nice scent on its own, but it will be more subtle.
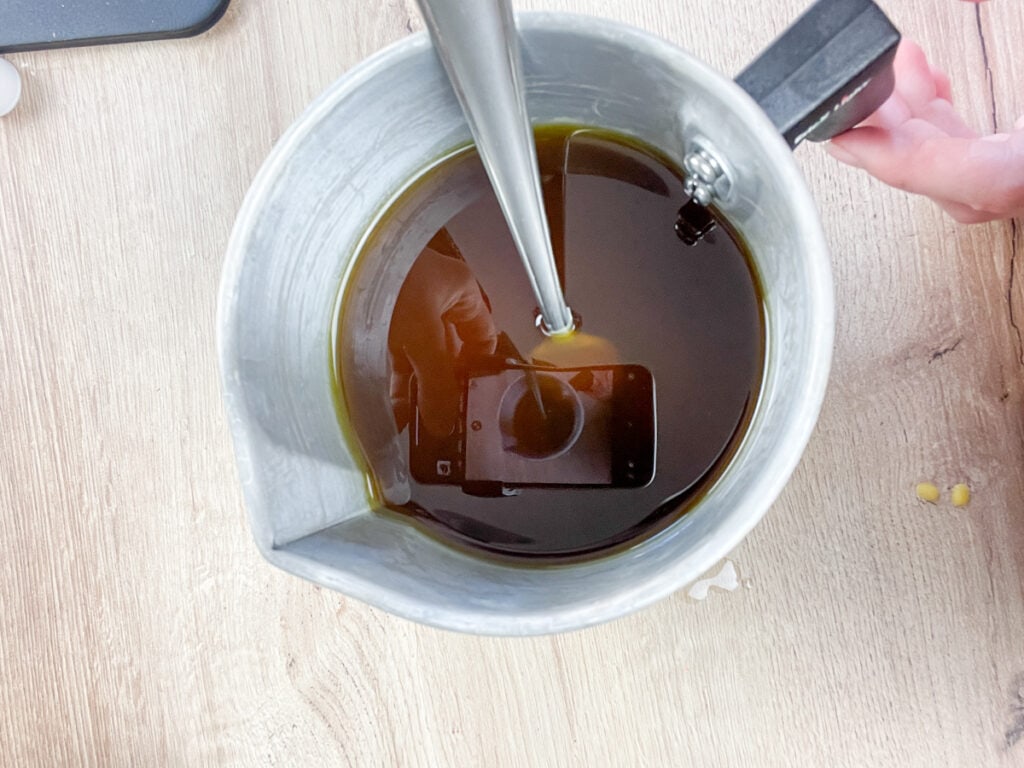
Add _________ Fragrance Oil. If you’re making a different quantity of wax, see the Beeswax Candle Math Guide at the end of this post to figure out the right ratio of wax to fragrance oil.
Stir well for at least 30 seconds to be sure all the fragrance is incorporated into the wax.
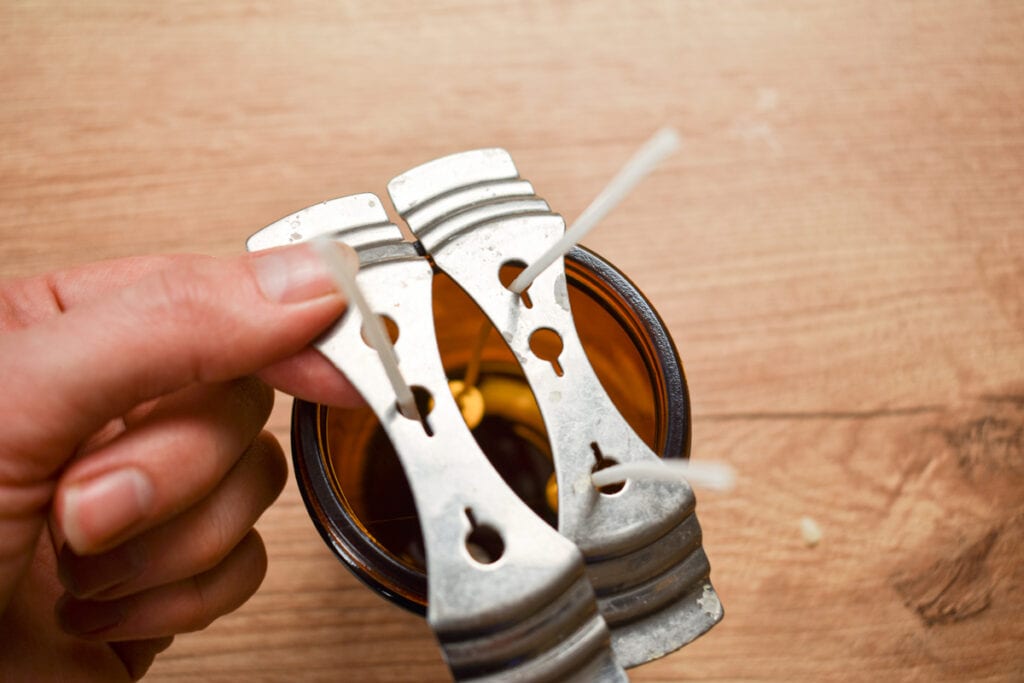
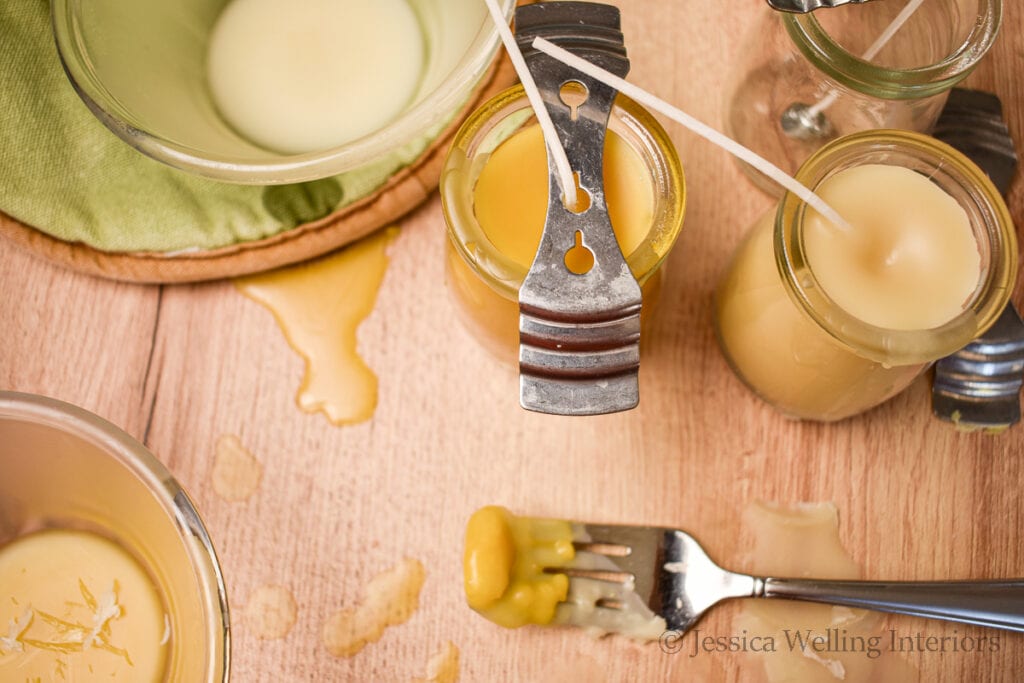
4. Secure the Wicks
Use a hot glue gun to add a dab of glue to the bottom of the first wick. Then stick it to the bottom of your candle jar. As you can see, I’m using three wicks for this candle, so I’m doing my best to space them evenly.
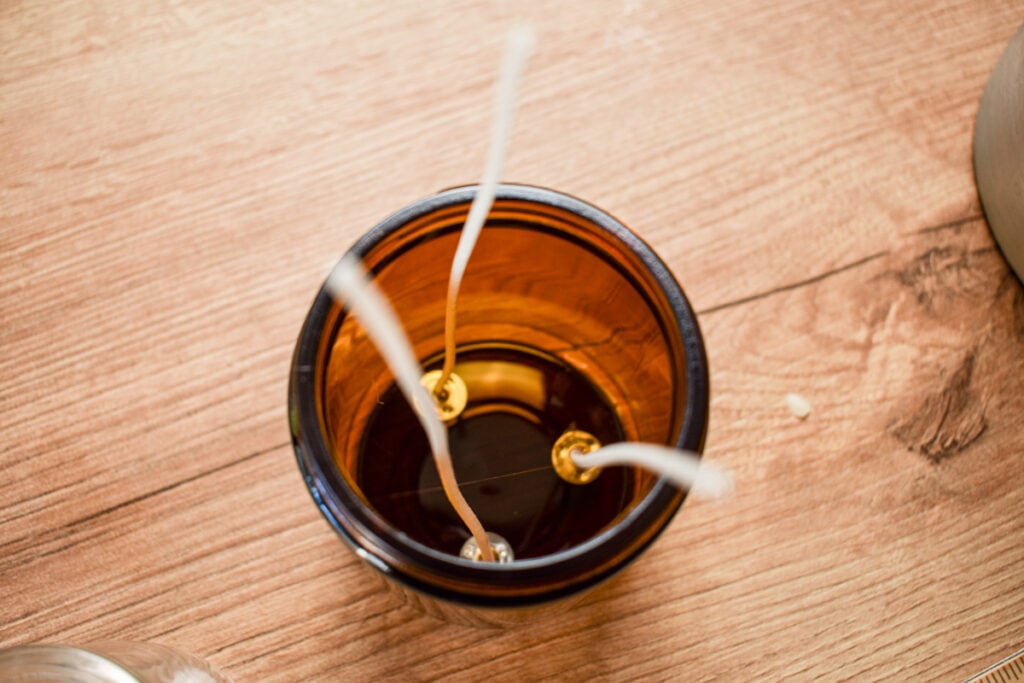
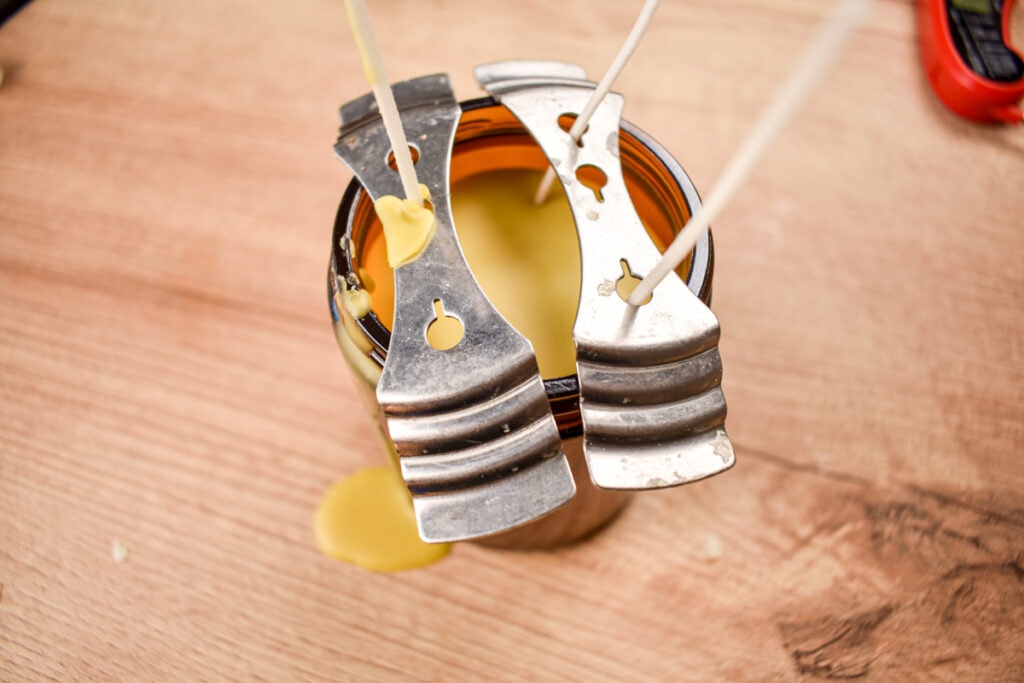
Next use the wick centering devices to hold the wicks in place. They could probably stand up on their own right now, but as soon as a hot wax hits them, they will flop over.
5. Pour the Candle
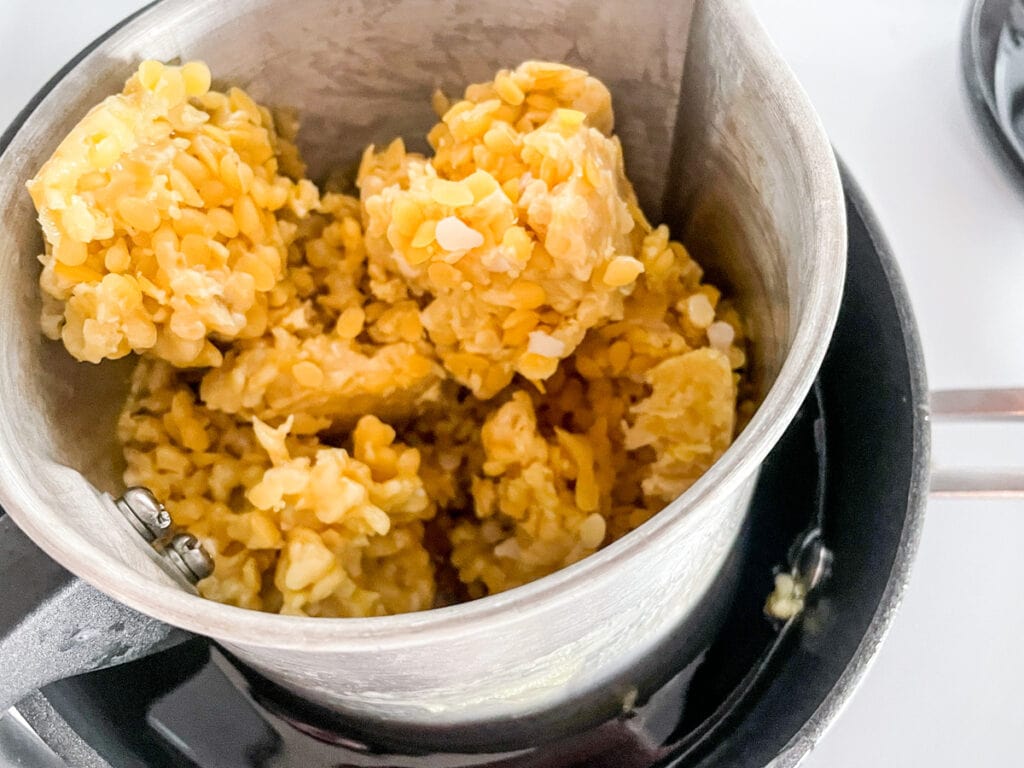
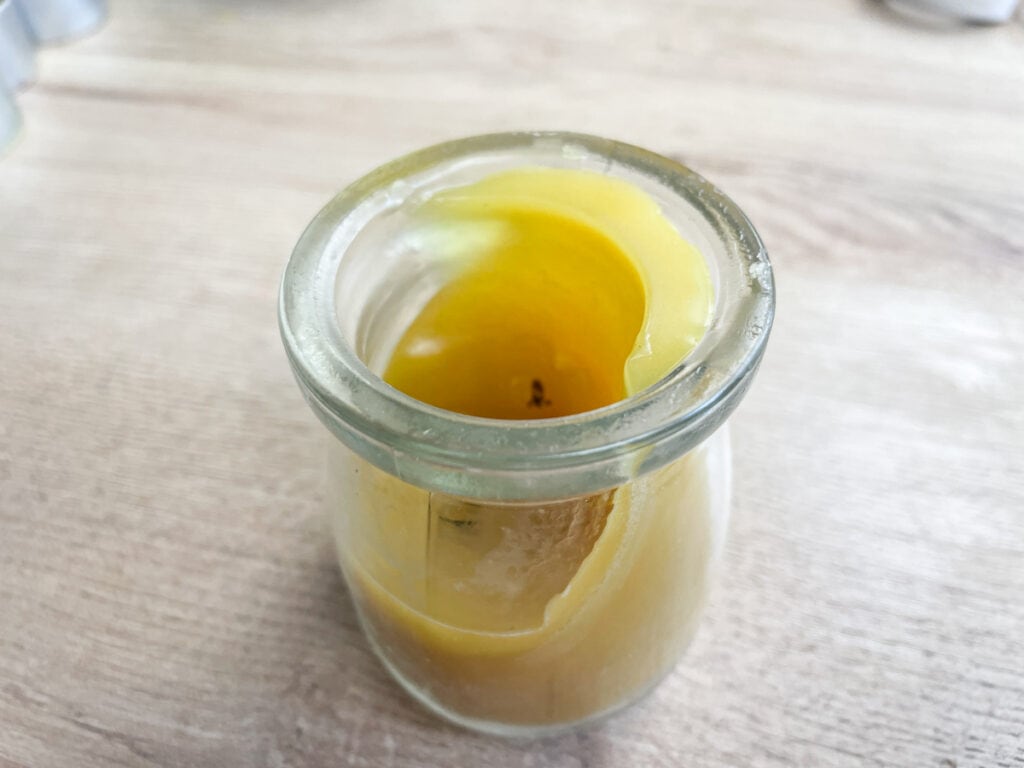
The wax should have had a little time to cool by now. It’s best to pour beeswax when it’s hovering right around its melting point. Unfortunately I can’t just give you a target temperature.
But you’ll know your wax is just right when it immediately starts to harden when it touches a cooler surface. See how some of the wax is already hardening on the walls of the pitcher?
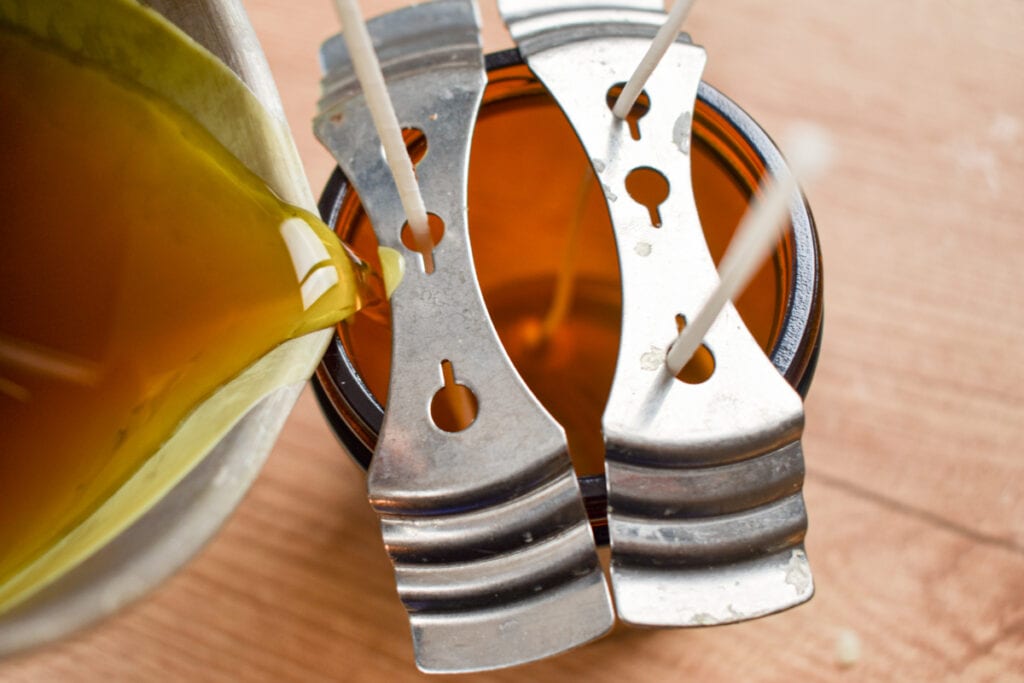
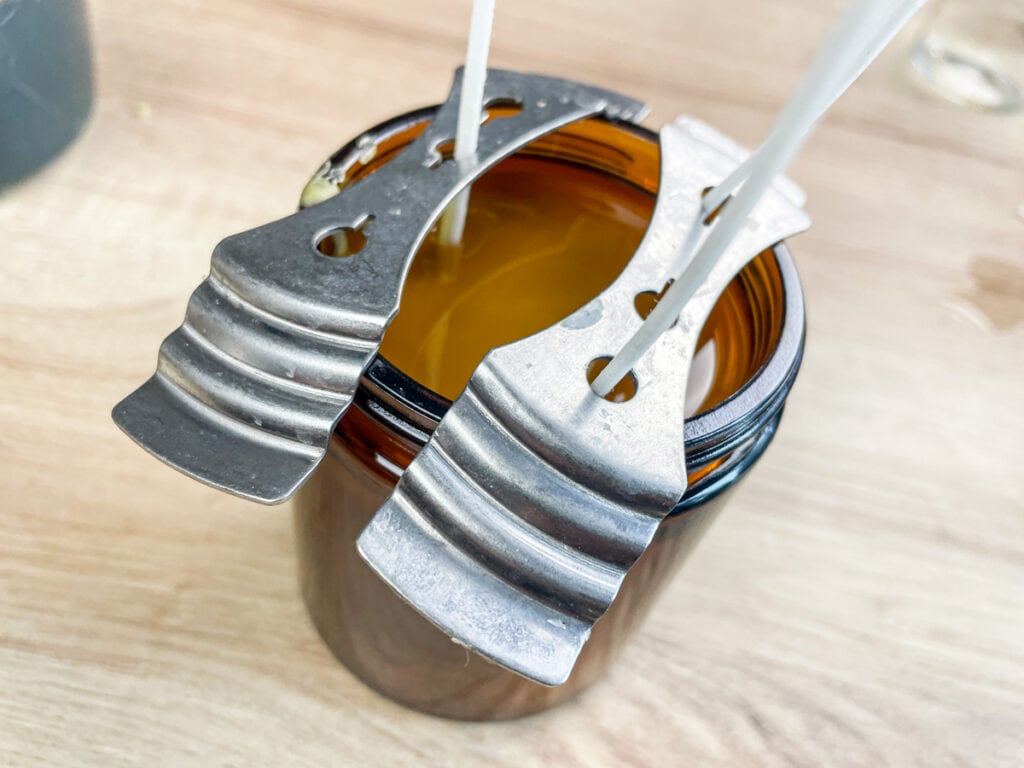
Carefully pour the candle, leaving a good 3/4 inch at the top of the jar. We’ll come back and do a second pour later.
6. Let it Cool
You’ll see the wax begin to harden quickly, but the candles will need to sit for at least a few hours before doing the second pour. They should be completely cool.

7. Re-Heat the Wax
Return the pitcher with the remaining beeswax to the double boiler and to re-melt it. You’ll know it’s at the right temperature when it’s just barely melted.
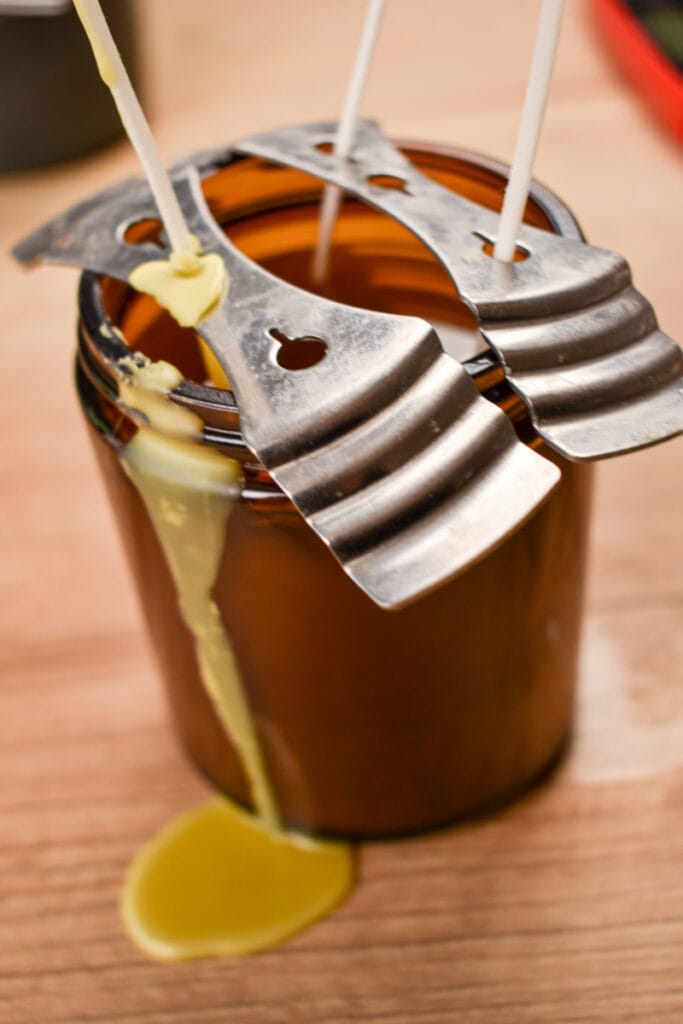
8. Second Pour
Pour enough wax to completely cover the top of the candle.

9. Let it Cool
Give the candle time to cool completely. This won’t take very long since there’s not nearly as much hot wax this time.
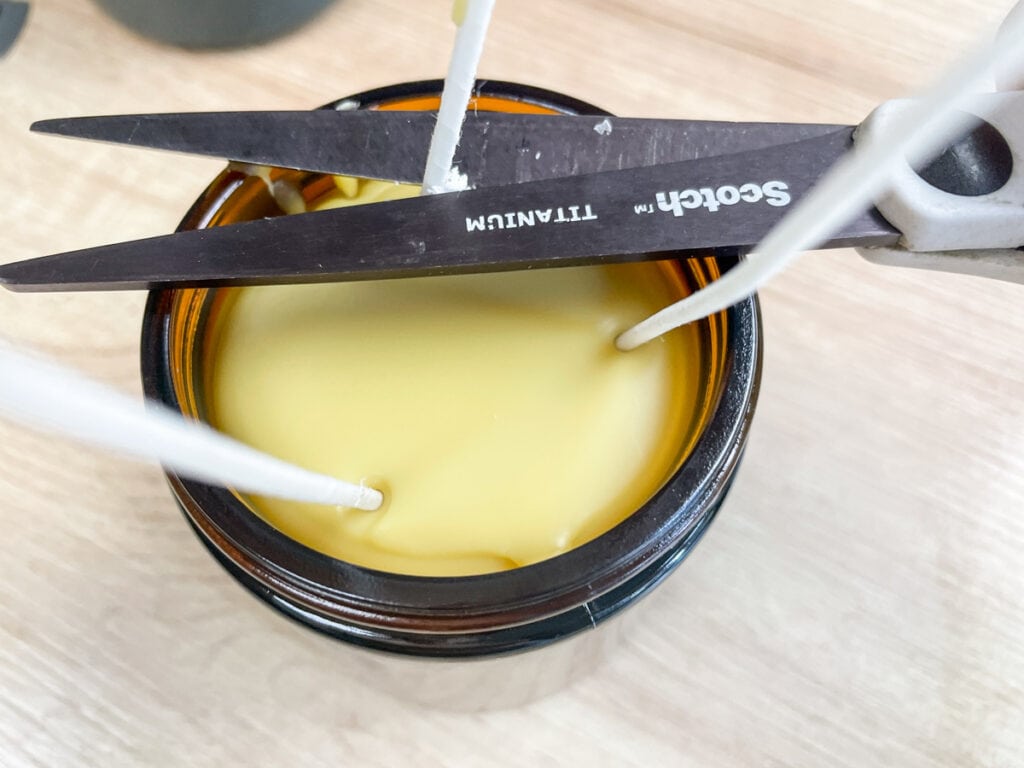
10. Trim Wicks
Use a pair of good sharp scissors to trim the wicks to about a half inch.
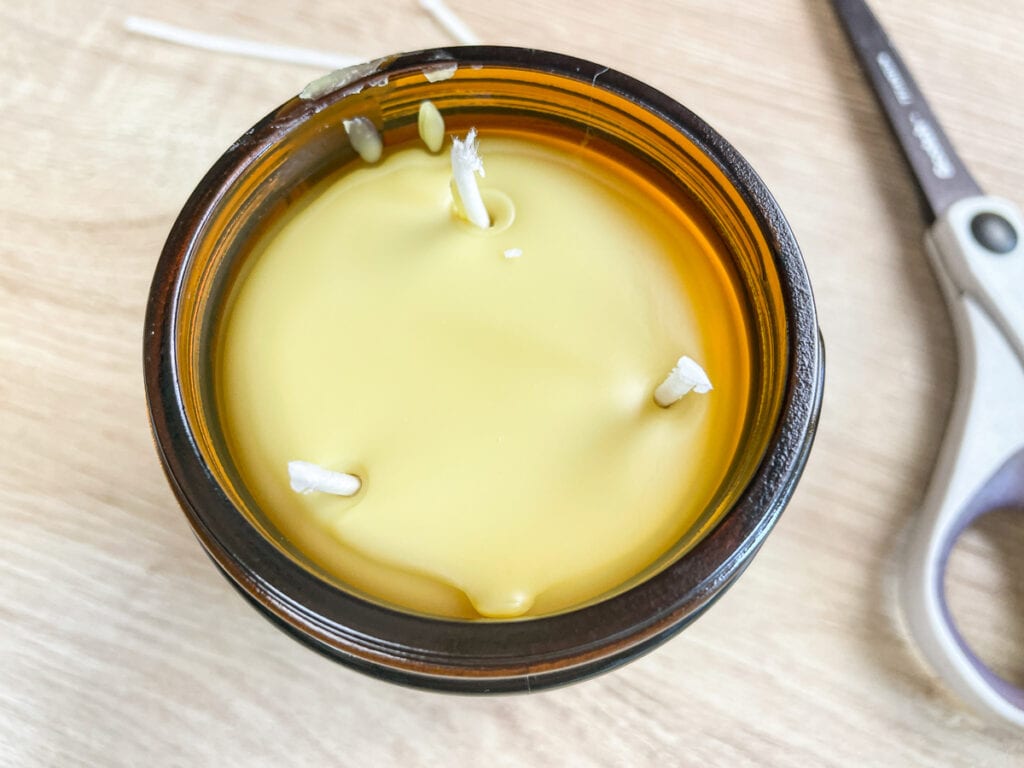
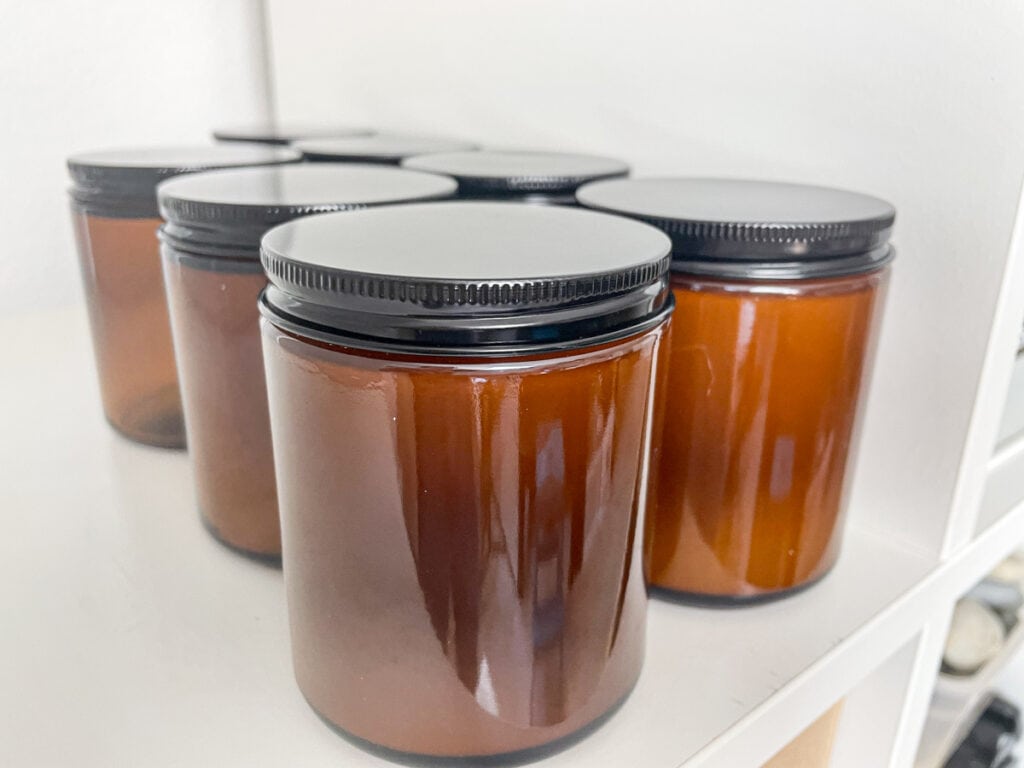
11. Cover & Let it Cure
Replace the lid on the jar and set it in a dry place away from direct sunlight for two weeks.
How long do beeswax candles need to cure?
The rule of thumb is two weeks. Every batch of beeswax has a slightly different makeup since it’s a natural product, but two weeks is a safe bet. This is true for all beeswax candles, whether of not they have additional fragrance added.

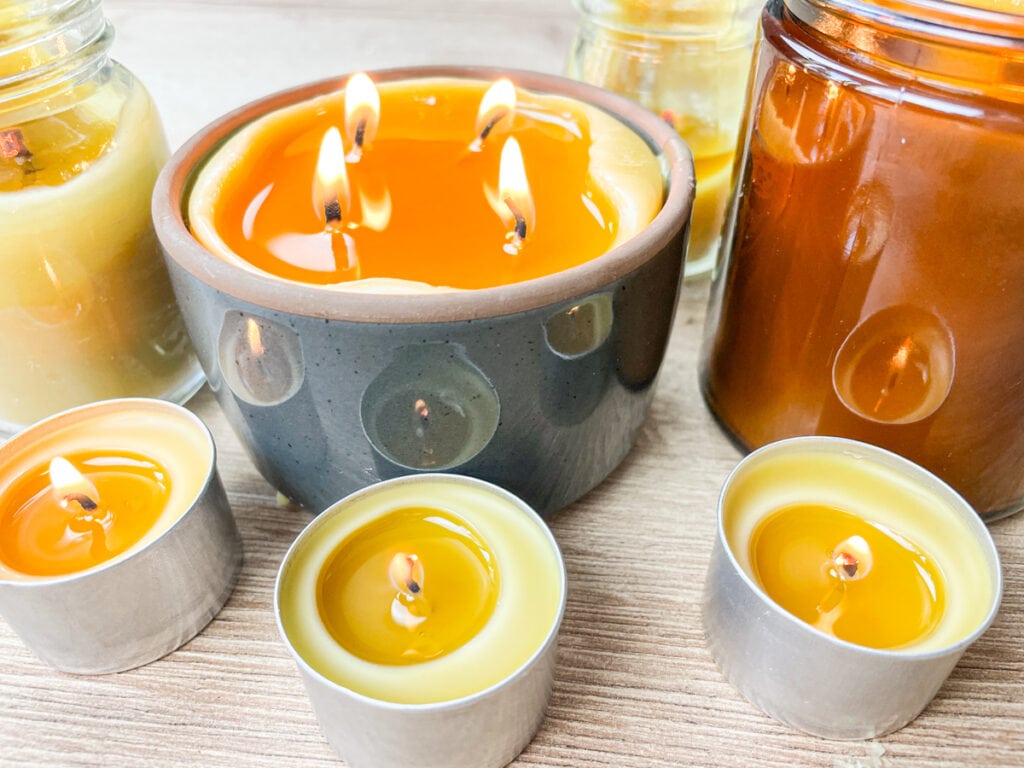
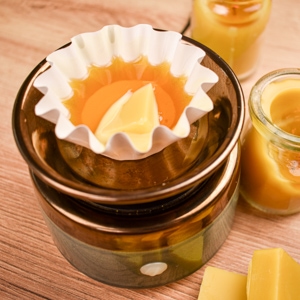
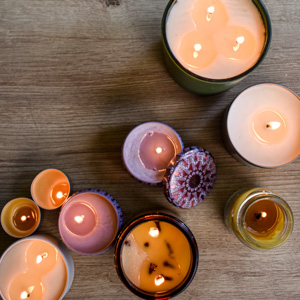
What To Do With Leftover Beeswax
It’s likely that you’ll end up with some extra scented wax after pouring your candles. Don’t let it go to waste! I’ve got two great options to use the leftovers: beeswax wax melts, or make a few tealight candles.
Beeswax Candle Math
Helpful Tips for Working With Beeswax
- I try to use as few bowls and utensils as possible, since cleaning the hardened wax off of things is a pain.
- If your wax is cooling too quickly in the pitcher before you have time to use it, place it back in the pot of hot water to keep it hot.
Clean Up
How to Get the Most Out of Beeswax Candles
As with all candles, it’s best to keep beeswax candles sealed up when not in use. That’s why I prefer to use candle vessels that come with lids.
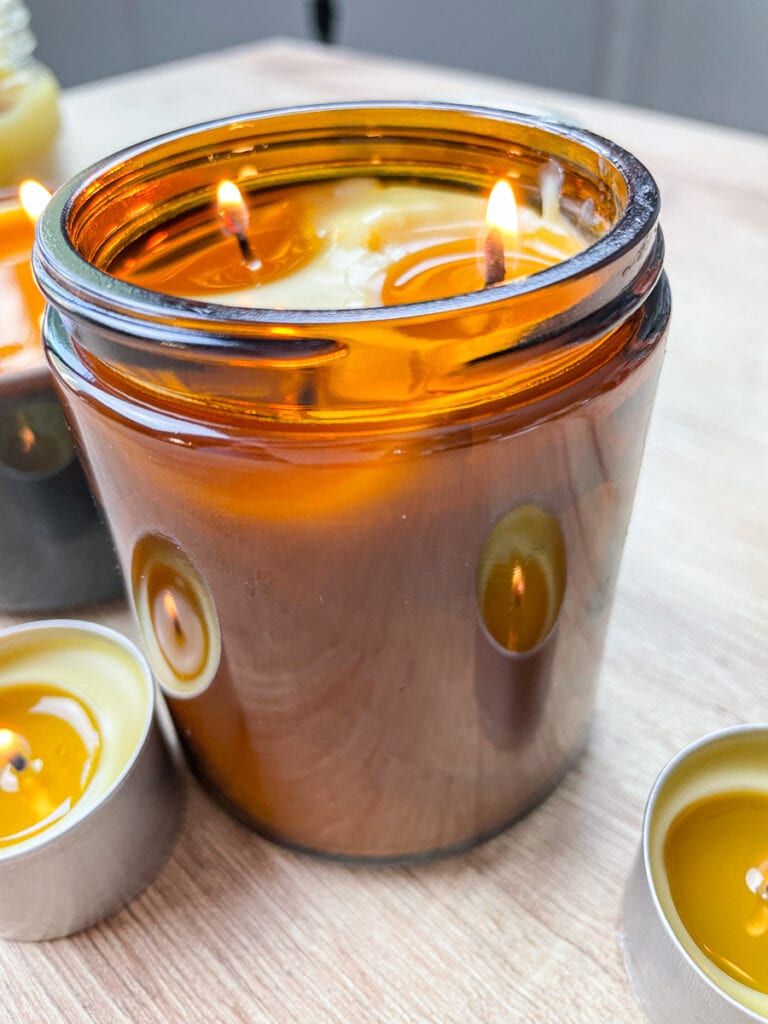
When you burn your candles for the first time, be sure to light all the wicks at the same time. The goal is for the candle to burn evenly and for the wax pool to reach all the way to the outside edges of the candle jar every time you burn it.
If you just burn your candle for 30 minutes and put it out before the wax pool has covered the entire top of the candle, you’ll get an effect called tunneling. I’m sure you’ve seen this before. It’s where only the wax right around the wick gets used and the wax around the outside never melts.
Tunneling is more common with beeswax than other types of wax like soy and paraffin because of it’s high melting point.
More DIY Candles…
The Best Candle Jars & Tins & Where To Get Them
How to Make Candles Smell Stronger: 6 Tips for Great Scent Throw
Easy Spiced Pear Scented Soy Candles