
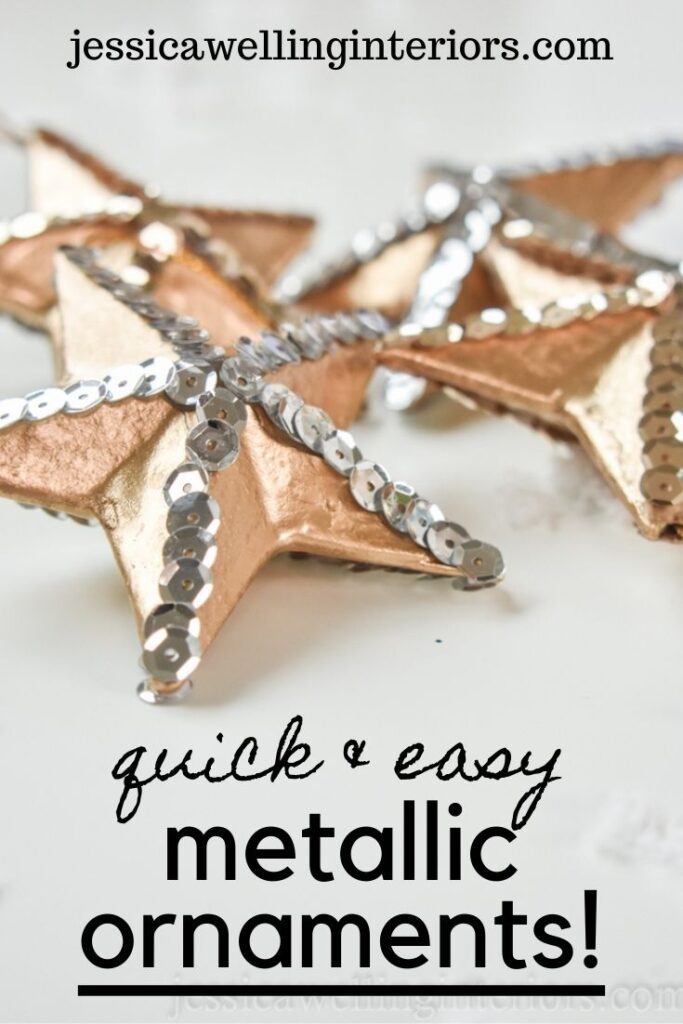
DIY Christmas Ornaments: Metallic Stars
Make these easy DIY Christmas ornaments to give your tree a retro look!
Materials:
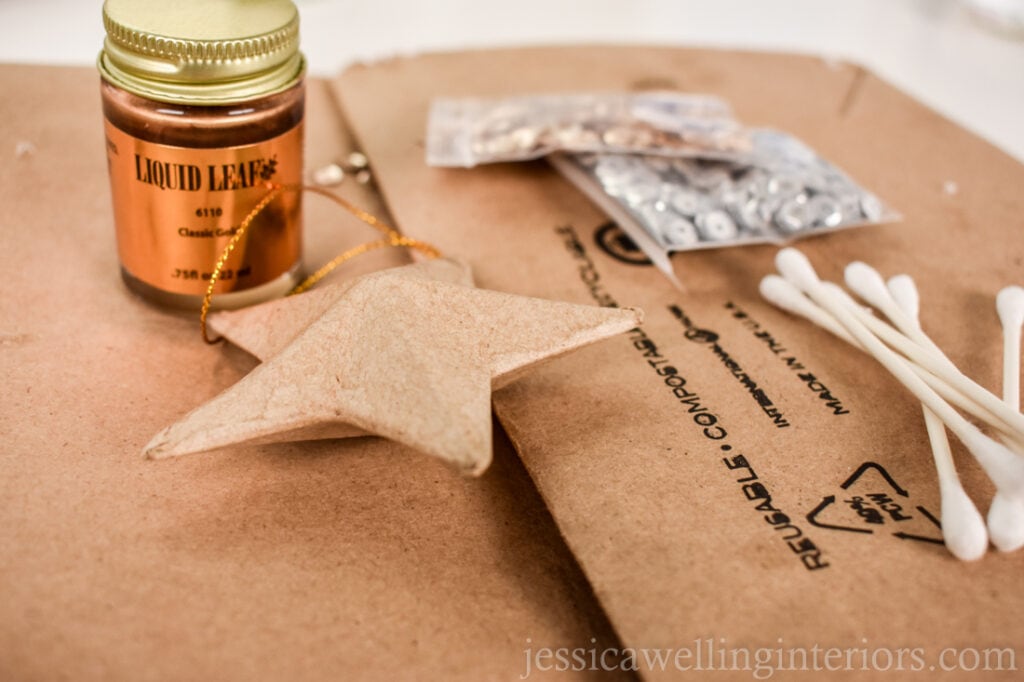
- paper mache star ornaments (I used these inexpensive ones from Amazon)
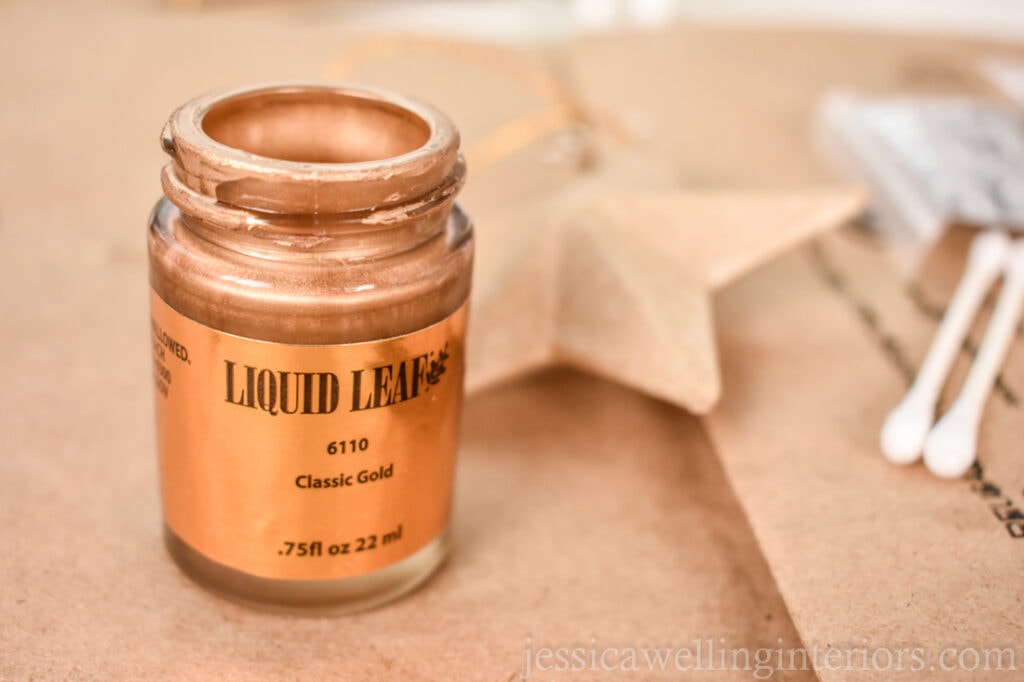
- gold leaf paint (this is my favorite brand- I use it all the time!)
- Que-tips or disposable paintbrush
- tacky glue
- sequins– I used this multi-pack
- paper bag or something to protect your work surface
Directions
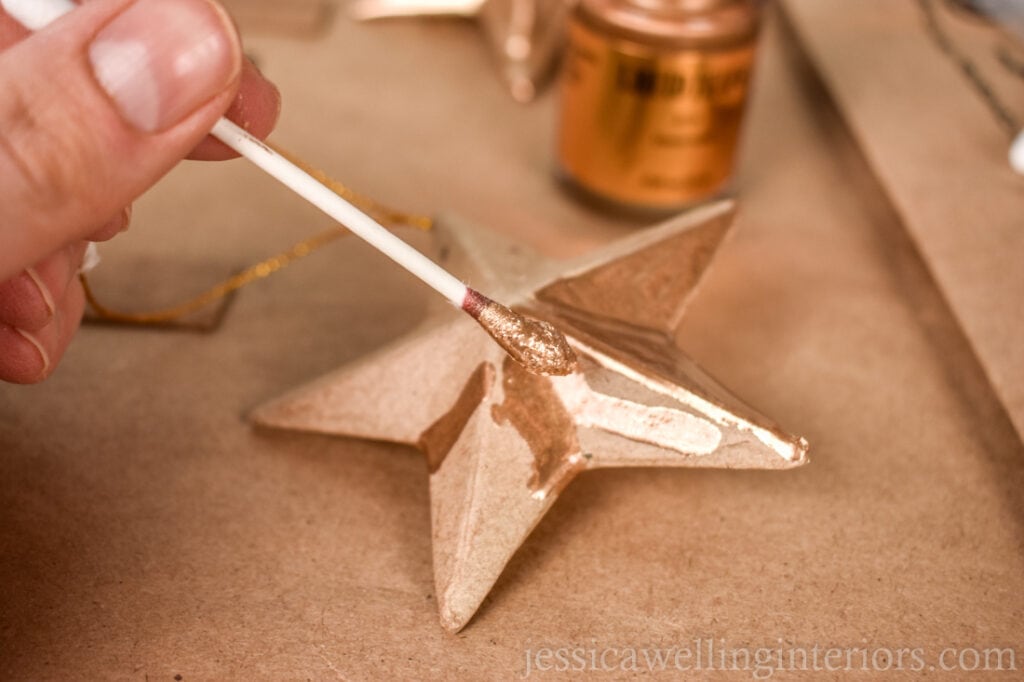
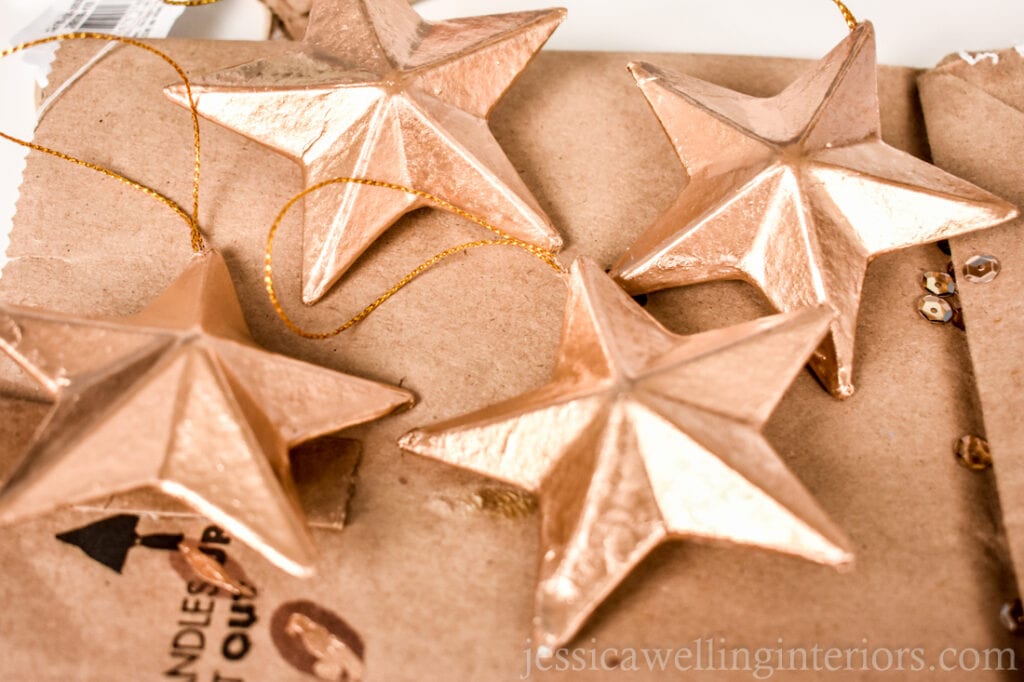
1. Paint Your Ornaments
Begin by shaking up the gold leaf paint. It has a red pigment in it that separates out when it sits for a while, so you’ll want to be sure it’s mixed well.
I used a Que Tip as a disposable paintbrush to apply the paint to the star. The paint is oil-based and doesn’t clean up easily. Another note: DO NOT store the paint on it’s side- I’ve had a couple of messy leaks. As long as it stays upright you should be fine.
Let the first side dry for at least an hour before painting the second side.
2. Paint the other Side
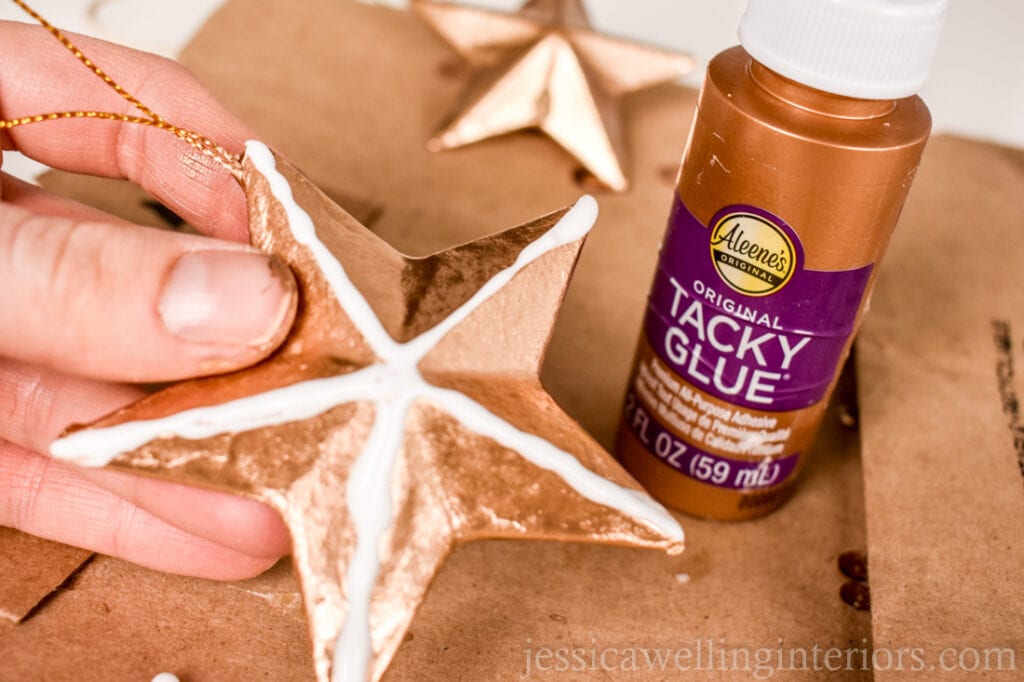
3. Apply Tacky Glue
Once the paint on both sides is dry, apply a thin line of tacky glue to the ridges on the star.
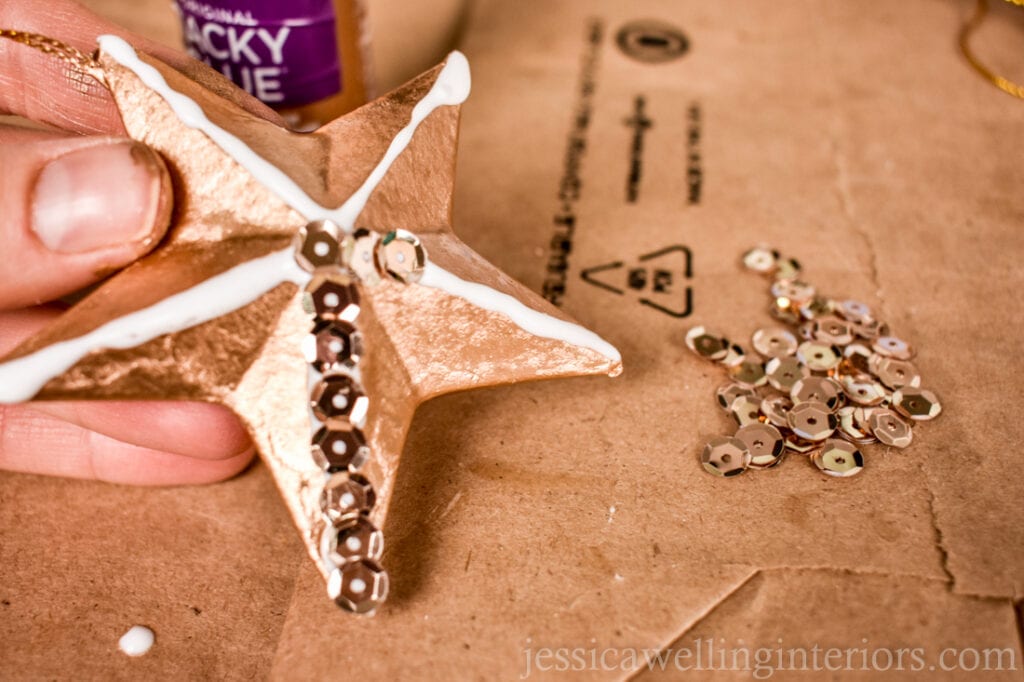
4. Apply Sequins
Start with the first sequin in the middle. I arranged mine so the bowl-shape is facing up. Place the next sequin next to the first, overlapping it slightly. Continue this until the sequins form lines down each of the star’s ridges.
When all the sequins are arranged, adjust and that are not quite forming straight lines while the glue is still wet.
Let the glue dry.
5. Apply Sequins to Other Side
Once your glue is dry, flip the star over and do the same thing on the other side.
When this is dry, your ornament is ready to hang on the Christmas tree!
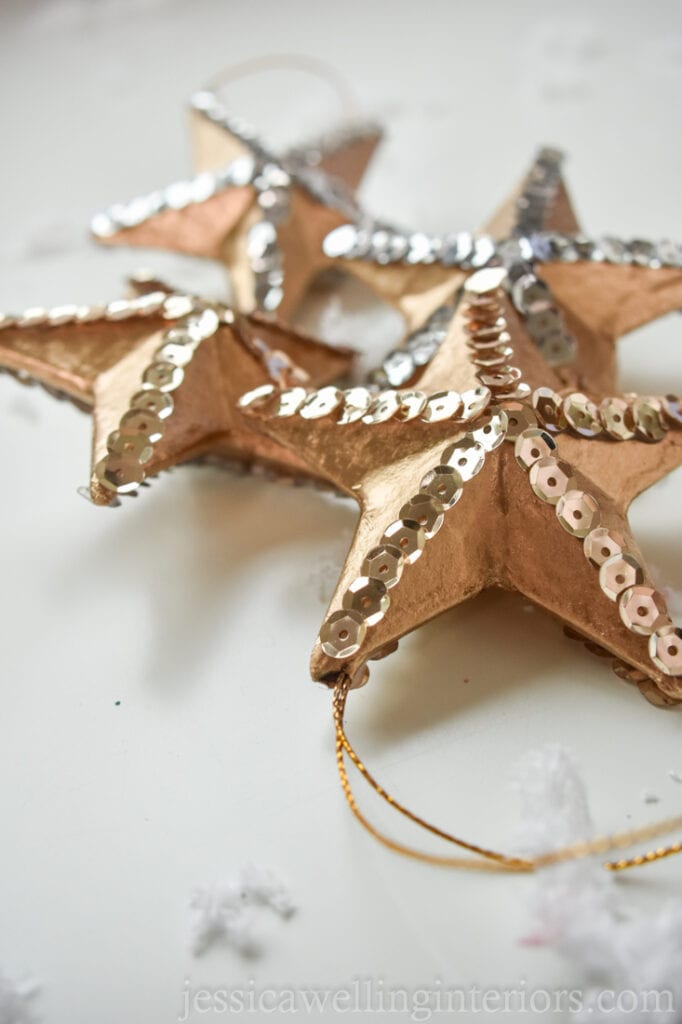
Enjoy!
There are so many variations on this too! I tried white stars with gold and silver sequins, and I’ll add more combinations as a get them finished!
More DIY Christmas Ornaments…
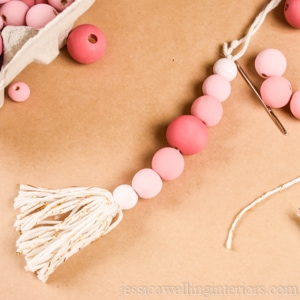
How to Make Wood Bead Christmas Ornaments
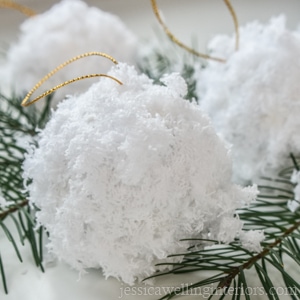
Fluffy Snowballs: DIY Christmas Ornaments

Your ornaments looks so pretty Jessica. I never used liquid gold leaf, it looks easier to work with than the gold leaf paper. Happy Holiday decorating.
Thanks Terrie! Yes I’m guessing it’s a lot easier- though I’ve never used traditional gold leaf. Happy decorating to you too!