DIY Beeswax Wax Melts
Make beeswax wax melts with this fun and easy tutorial. They make great gifts and will make your home smell amazing!
Why Use Beeswax?
Beeswax is a natural and earthy product and many people love it for candles because of its color and warm sweet fragrance.
However I will say that it’s the most difficult type of wax to work with of all the types I’ve tried. It’s a bit finicky, is easy to scorch, and has a high melting point. This means it will begin to harden and gum up almost immediately once you remove it from the heat source, so you don’t get a lot of time to work with it.
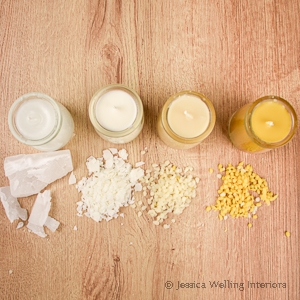
Here’s my guide to the different types of waxes for candle making and DIY wax melts:
What is the Best Wax for Candles? Soy vs. Beeswax vs. Paraffin
If you’re brand new to making candles and or wax melts, I would suggest starting out with soy wax. It’s still natural and feels luxurious, but it’s much more forgiving and harder to mess up. Here’s my tutorial for soy:
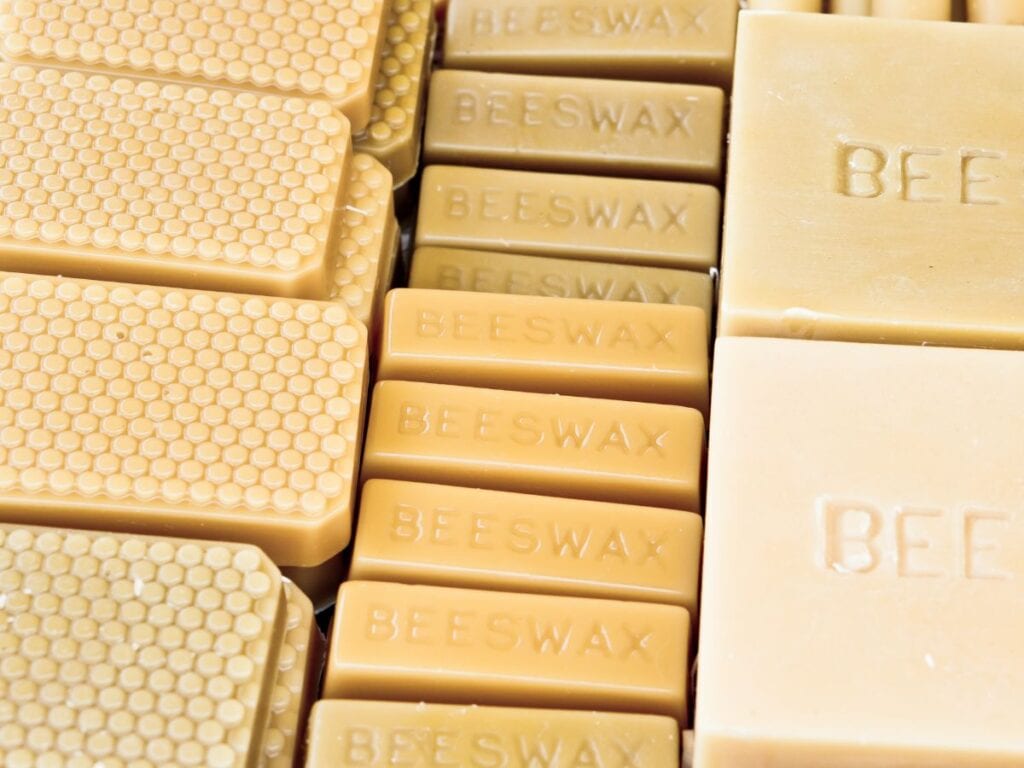
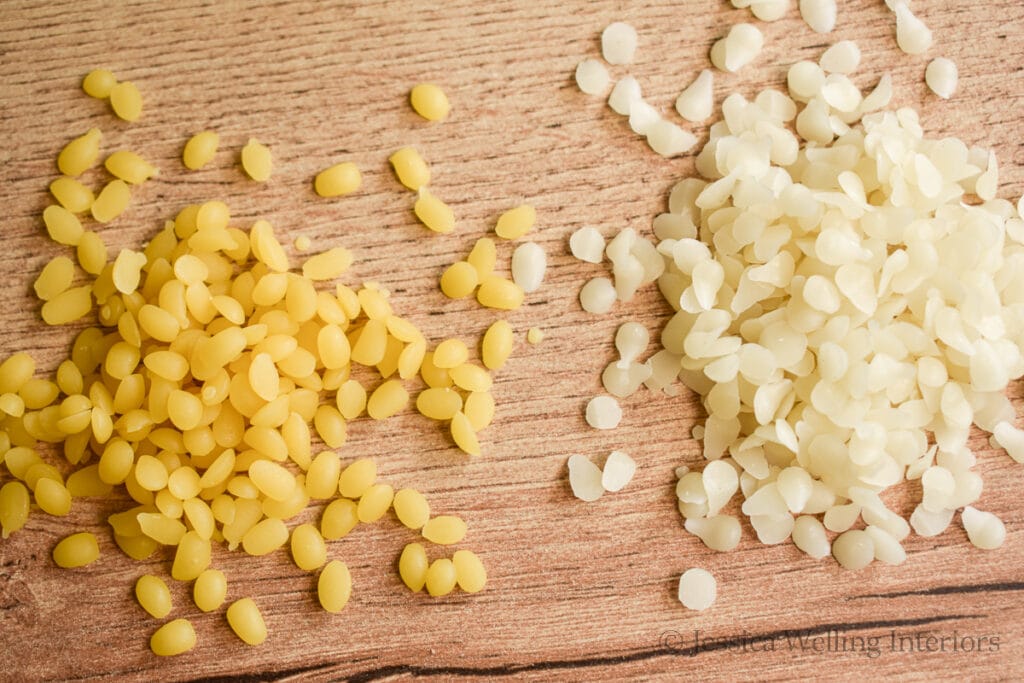
Types of Beeswax
Beeswax comes in two colors: yellow and white. Yellow beeswax is a bit closer to it’s natural state and retains it’s color which it gets from pollen. It also has a mild warm honey scent. Many people love the rustic natural look and fragrance, so it is usually left as-is without the addition of wax dyes or fragrance oils.
While still a natural product, white beeswax has been processed a bit more to remove the yellow color and scent. It is still darker colored than other waxes such as paraffin and soy wax, but it can have color and fragrance oils added to it.
How to Make Beeswax Wax Melts
Materials
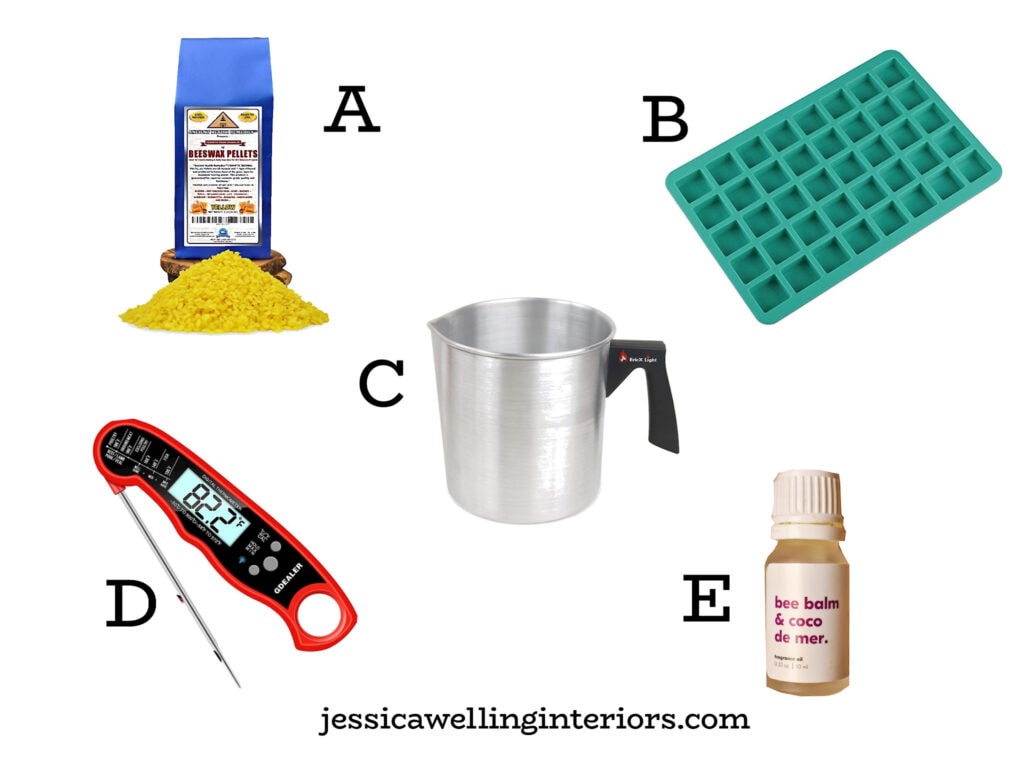
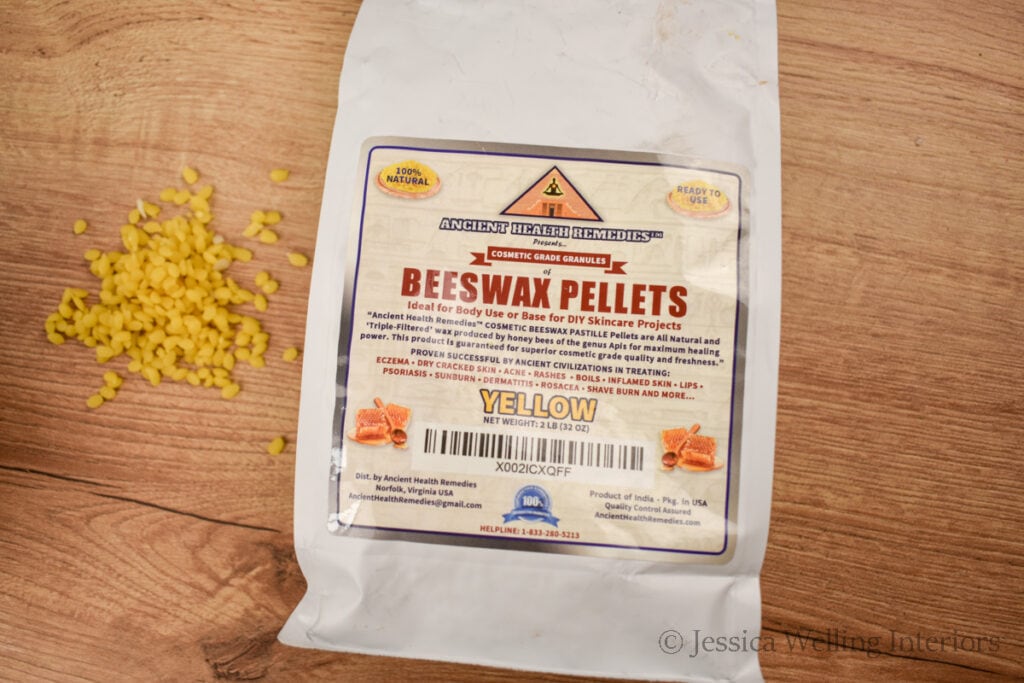
A. Beeswax (I’m using this brand from Amazon) I suggest getting your beeswax in the form of pastilles or pellets rather than bars because the bars will take FOREVER to melt!
B. Silicone Candy Mold (this is one of my favorites)
D. Thermometer (I use this inexpensive digital meat thermometer from Amazon for all my candle making projects)
E. Bee Balm & Coco de Mer Candle Fragrance Oil, from Makesy
Directions
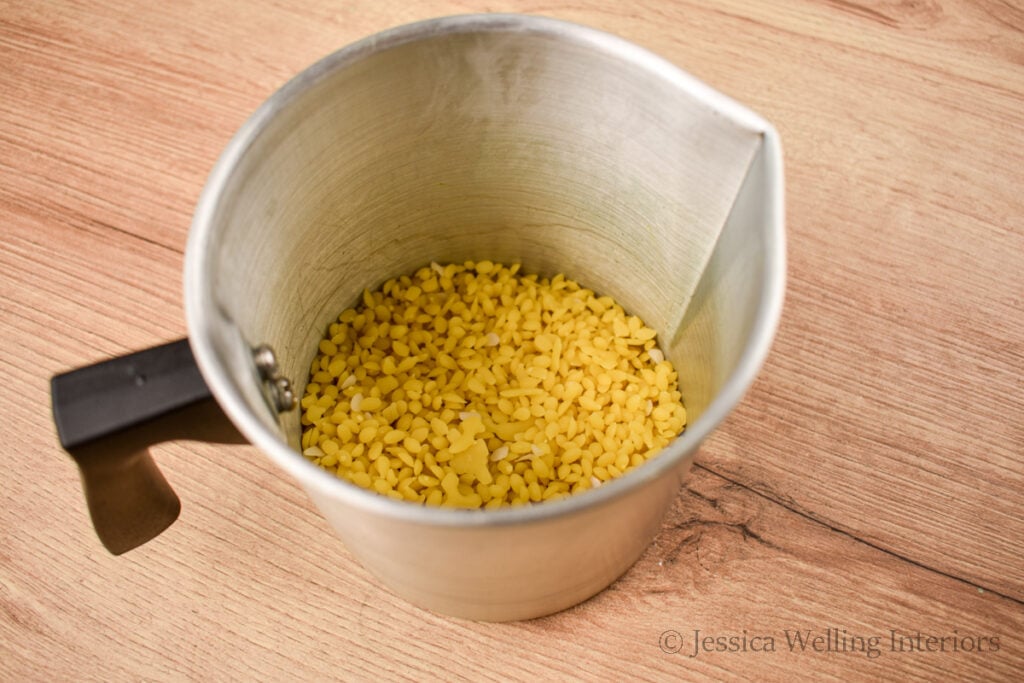
1. Measure the Beeswax
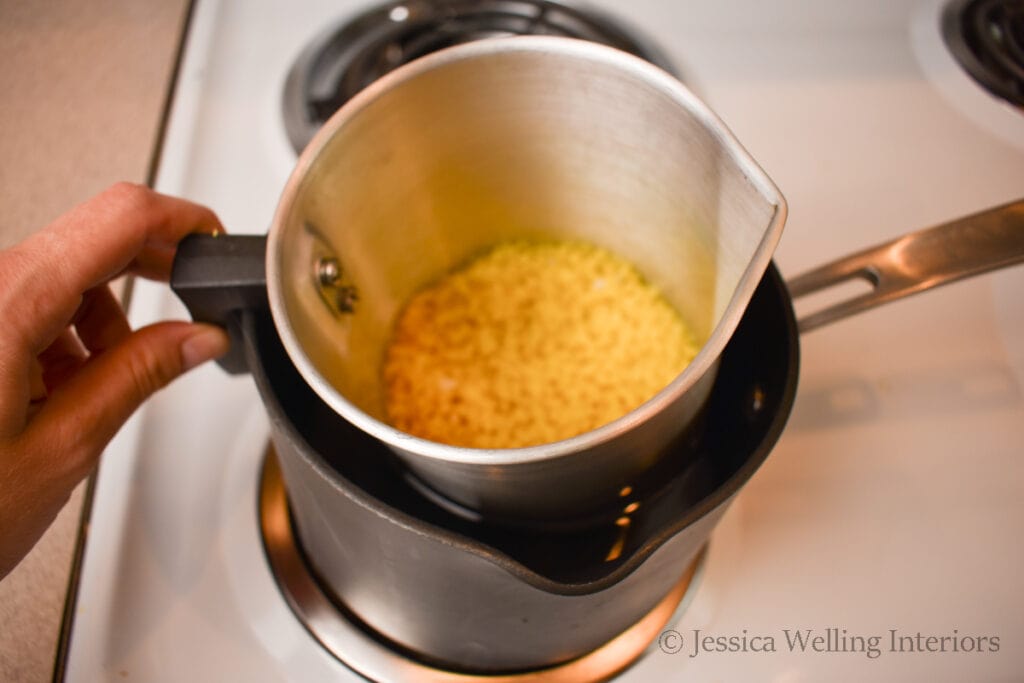
Pour about one cup of yellow beeswax pastilles into a metal pitcher. This is the one I use.
2. Melt the Wax
Set up a double-boiler by heating a saucepan of water on the stove and setting the metal pitcher inside it.
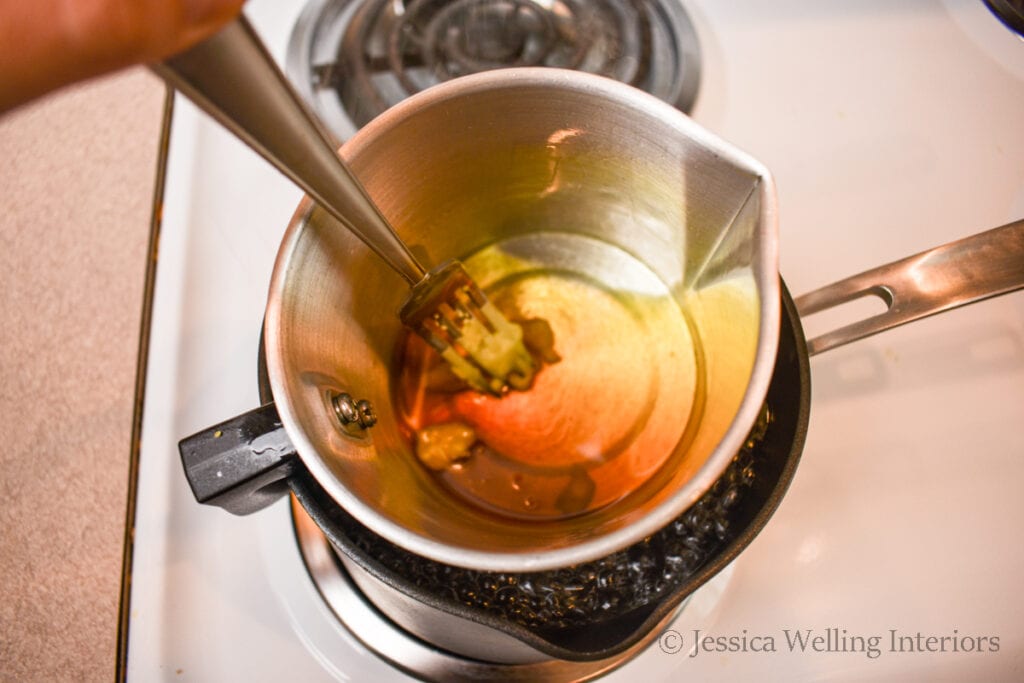
Keep a close eye on it and stir the wax frequently as it melts. Beeswax can scorch if it gets too hot, so this is important.

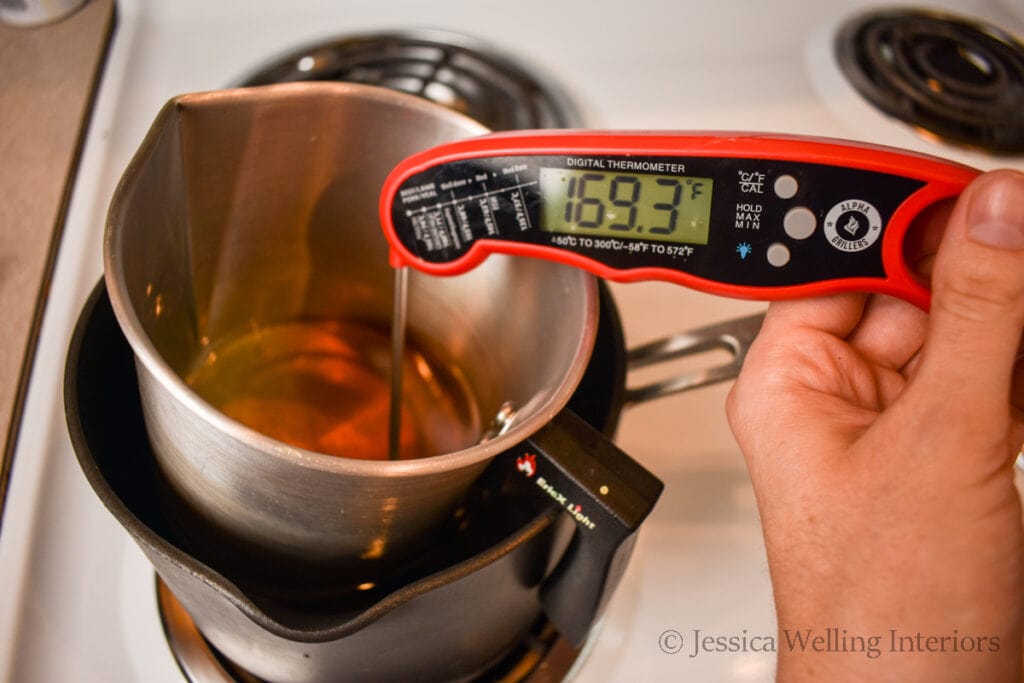
Use a digital meat thermometer to keep an eye on the temperature. The target is about 170 degrees, and you’ll want all the chunks of wax to be melted. Remove it from the heat.
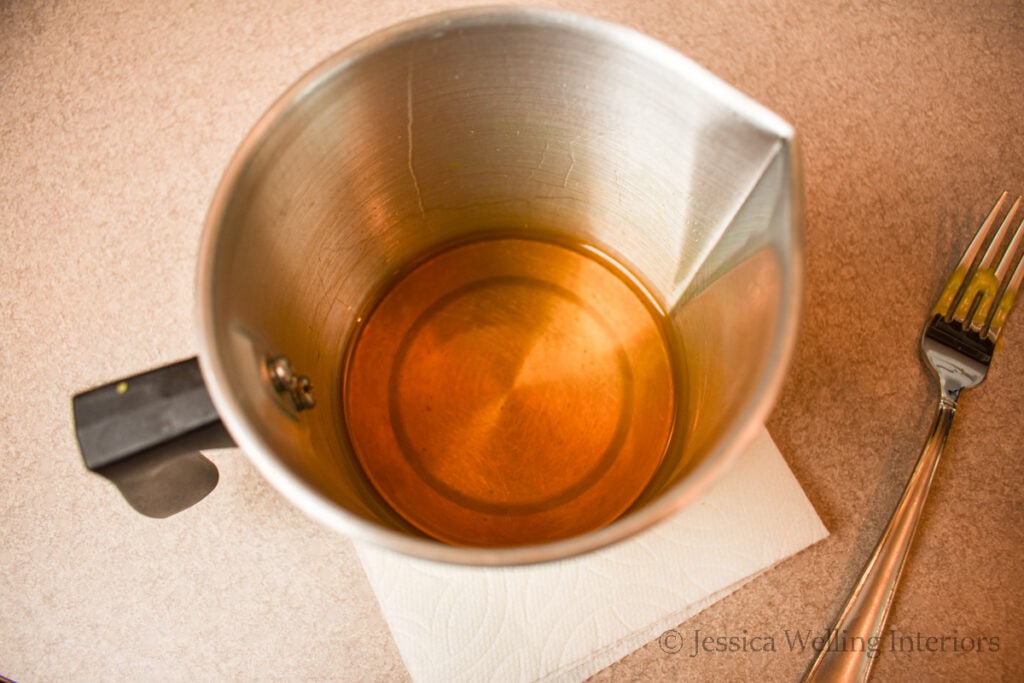
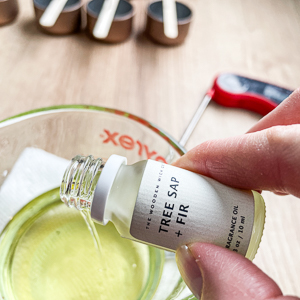
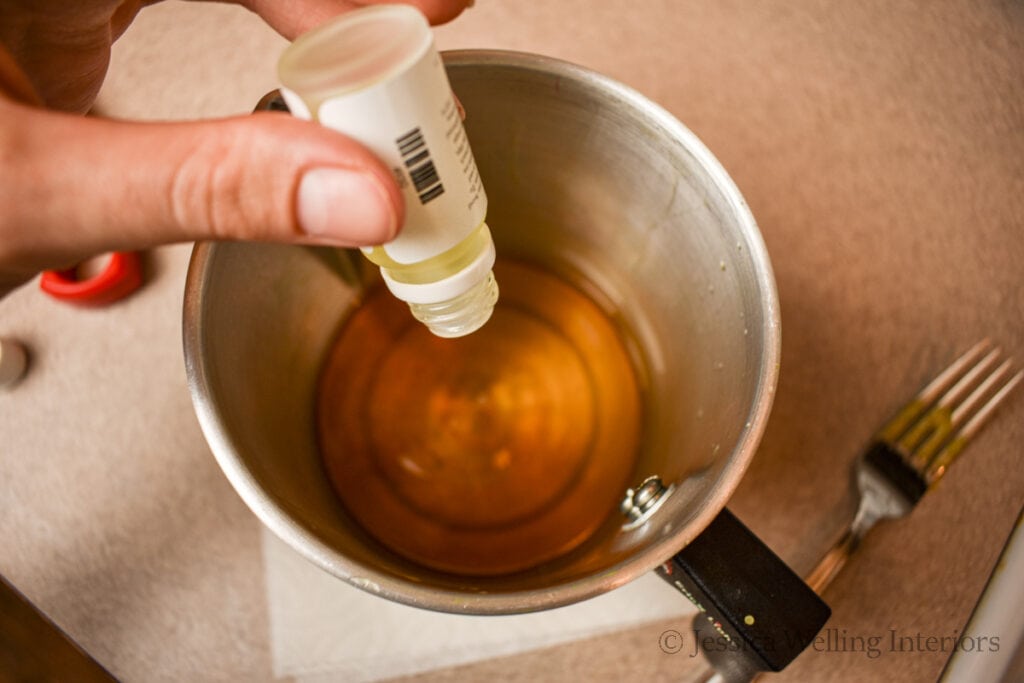
3. Add Fragrance Oil
Add 2 teaspoons of candle fragrance oil (in my case it’s one 10ml sample-sized bottle). I’m using my favorite scent for beeswax- Bee Balm & Coco de Mer, from Makesy to enhance the natural warm honey scent.
Stir well and let the wax sit for a few minutes. Then stir it well again before the next step to ensure all of the fragrance is incorporated into the wax.
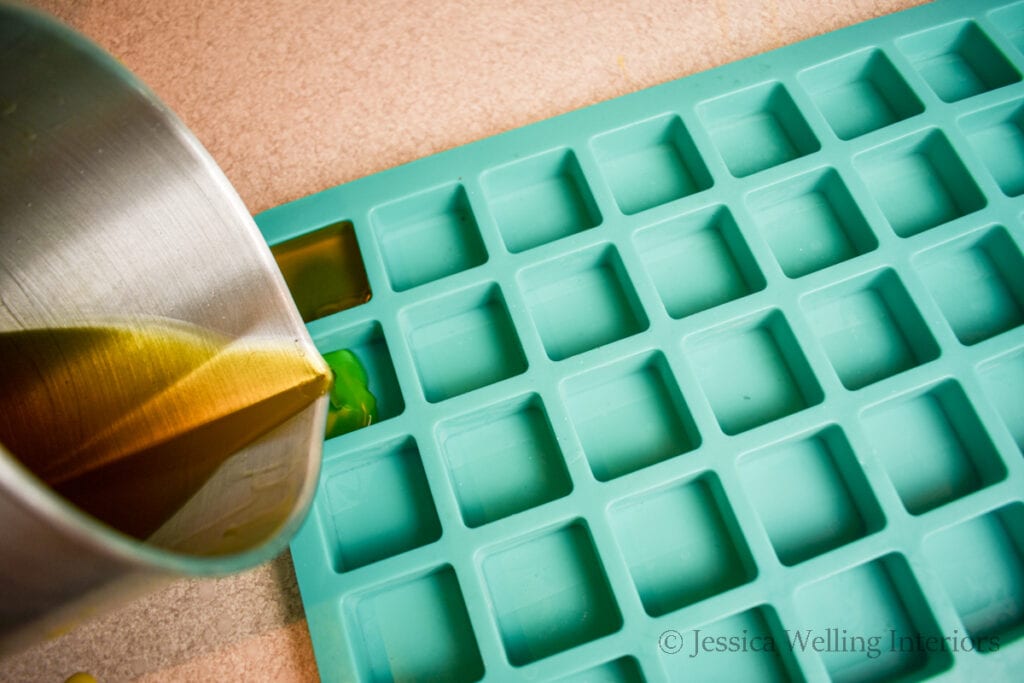
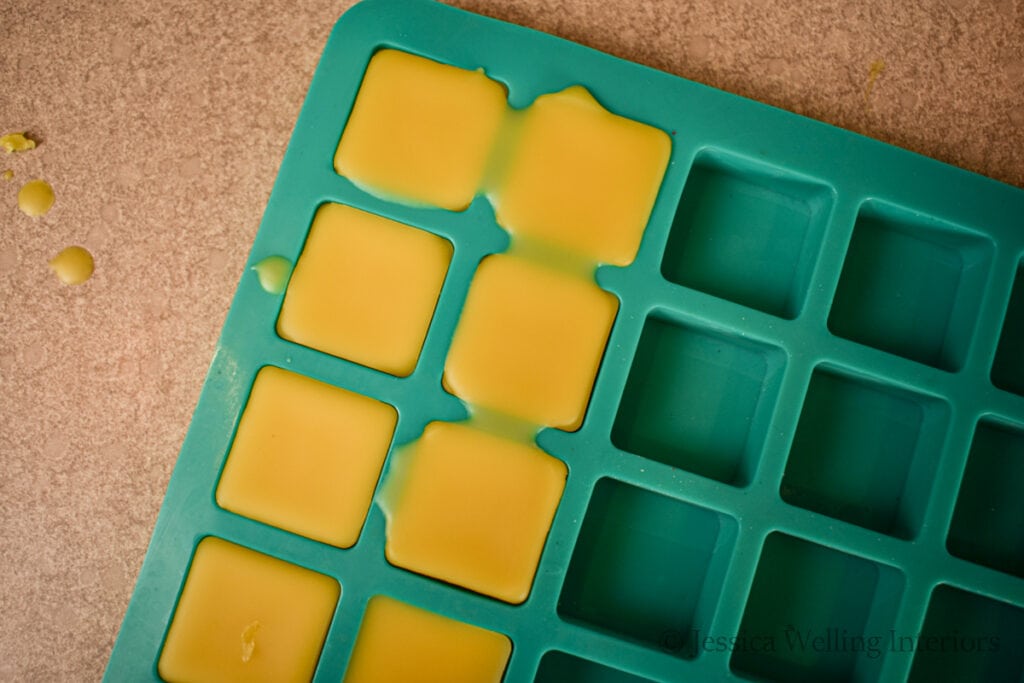
4. Pour Into Mold
Pour the hot wax directly from the pitcher into the cavities of the silicone mold.
5. Let it Cool
Let the wax cool undisturbed until it has hardened completely.
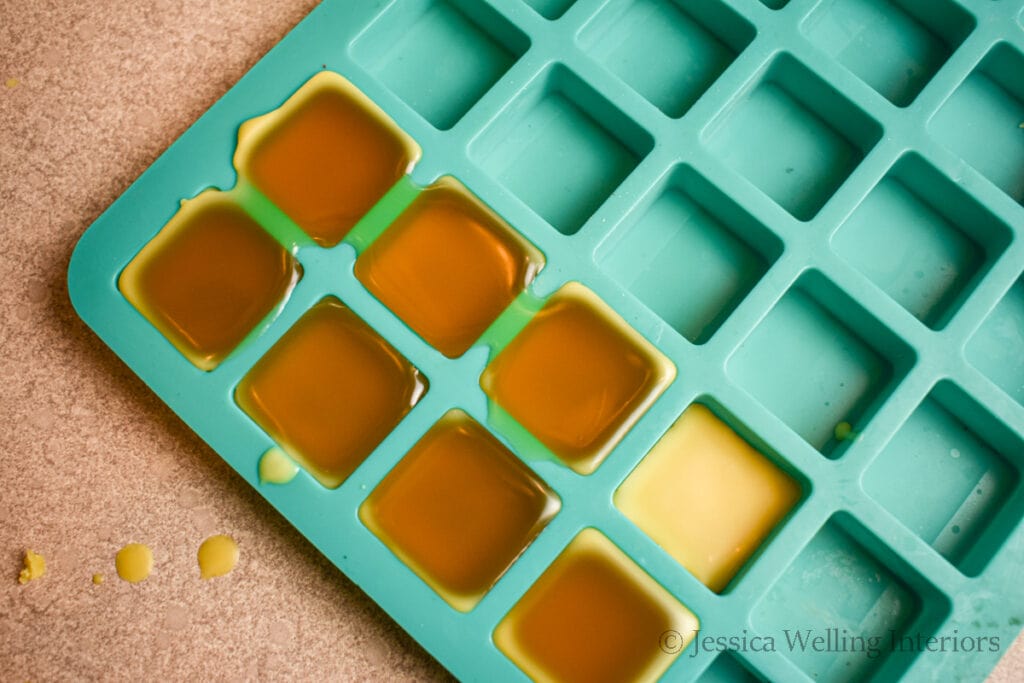
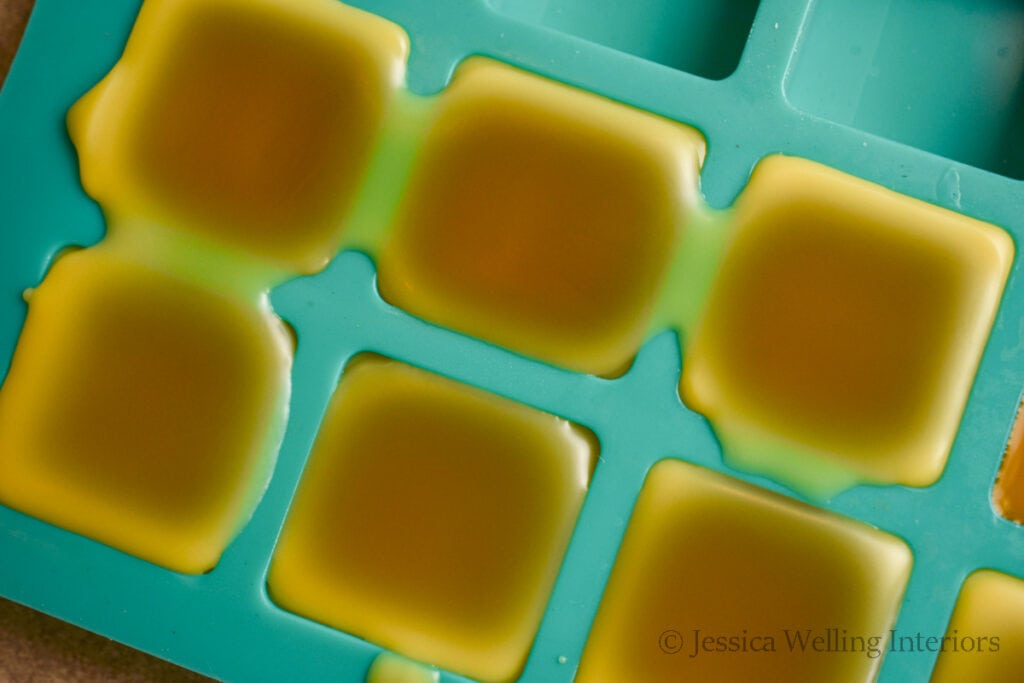
You’ll notice that it will begin to solidify quickly because of it’s high melting temperature. But be sure to wait until it is no longer warm and pliable before you touch it.
6. Remove From Mold
Once it’s cooled completely, turn the mold over use your fingers to gently push each wax melt out.
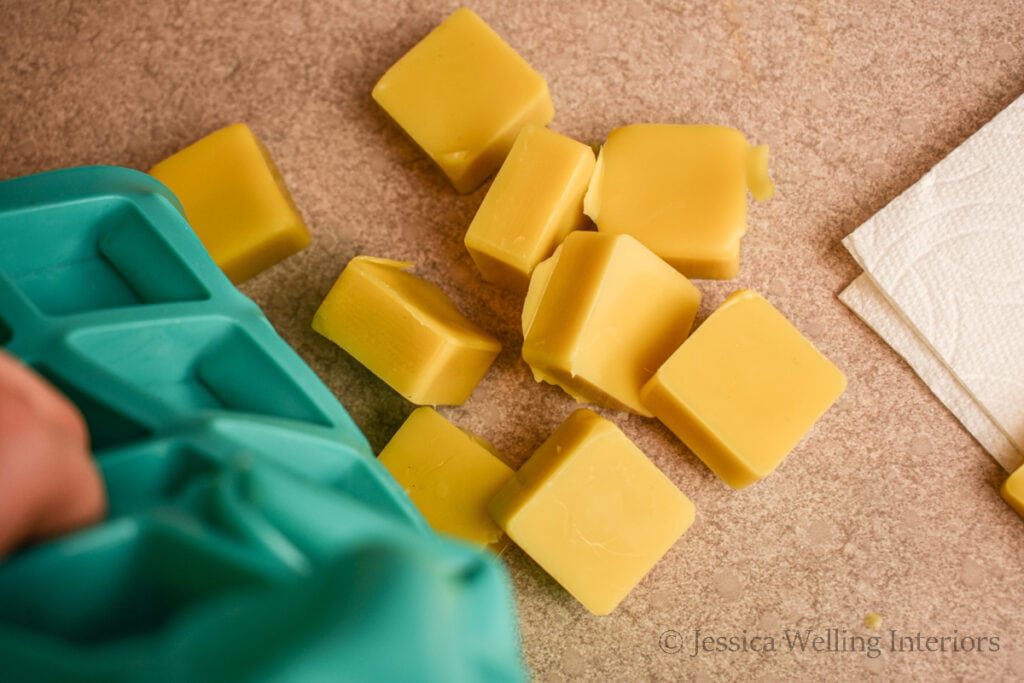
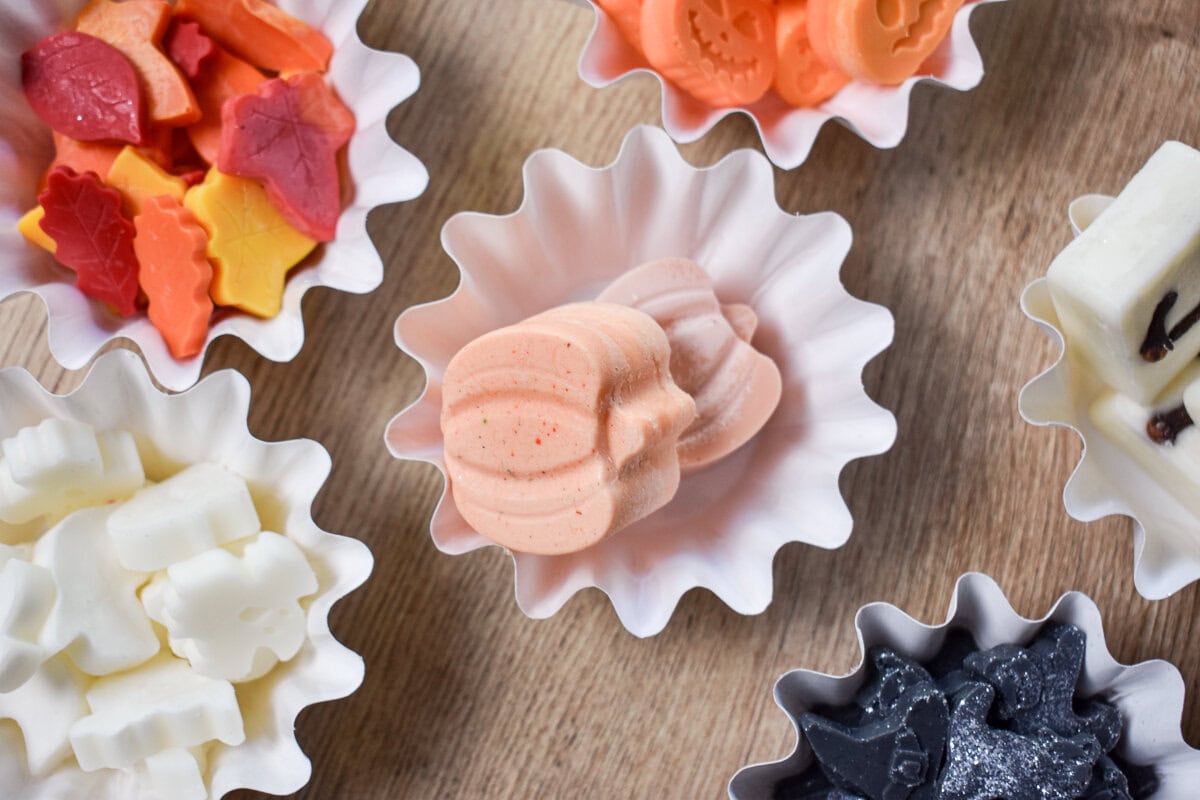
7. Enjoy!
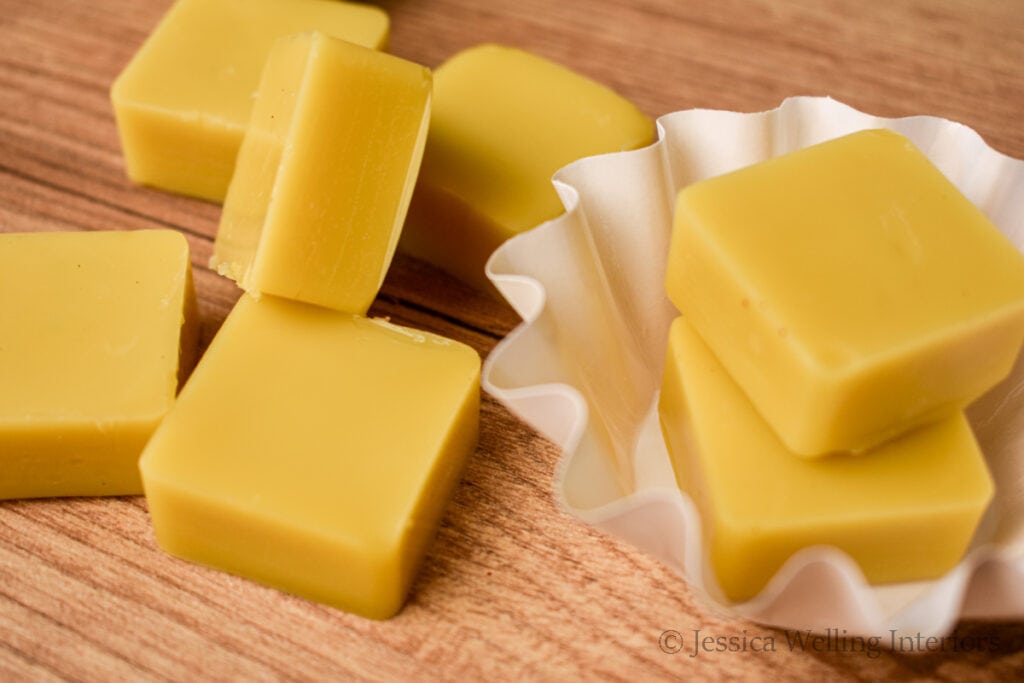
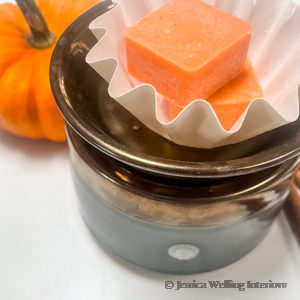
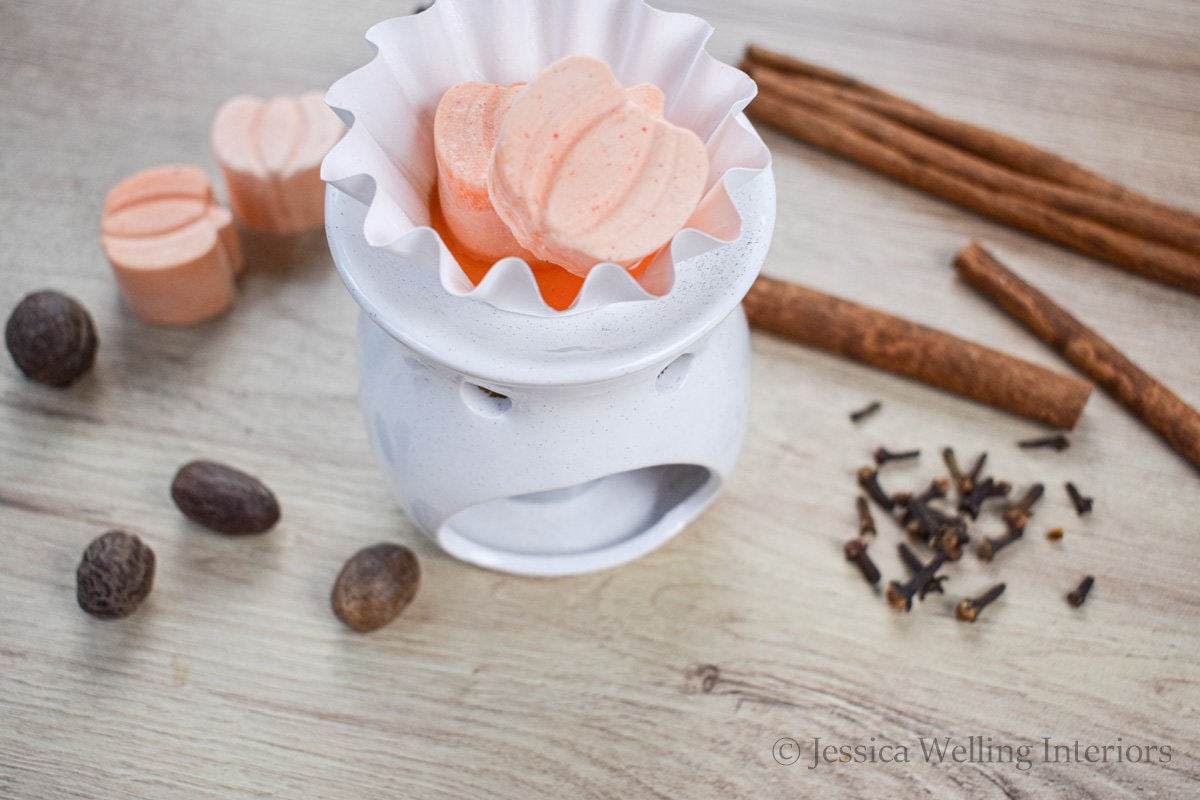
How to Enjoy Your Beeswax Wax Melts
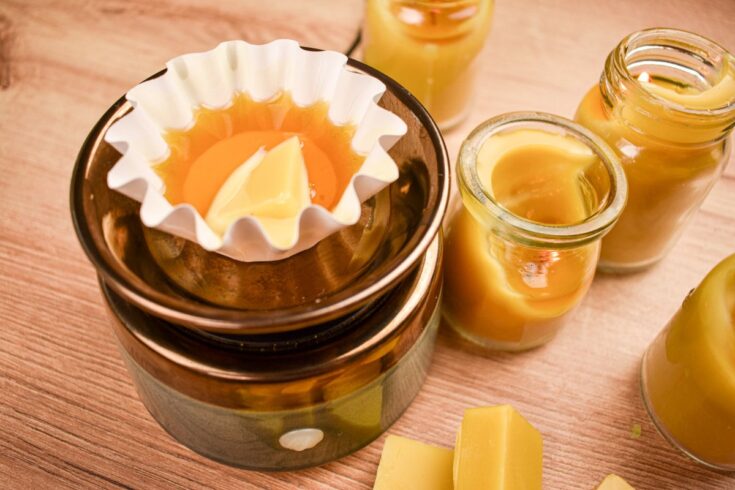
Use your beeswax melts the same way you would any other wax melts. Melt them in a wax warmer and enjoy their fragrance. I like to use these paper wax melt liners to prevent the beeswax from making a mess in the melting cup. I know they look like cupcake papers, but they are not the same- trust me!

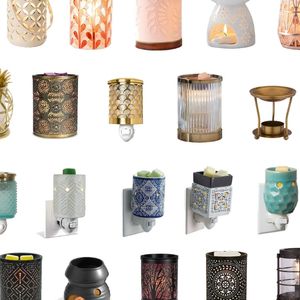
Here’s a list of my favorite inexpensive wax warmers. I like to pair one of these with some homemade beeswax wax melts to give as a gift.
The Best Wax Warmers On A Budget
Helpful Tips
Here are my recommendations for working with beeswax:
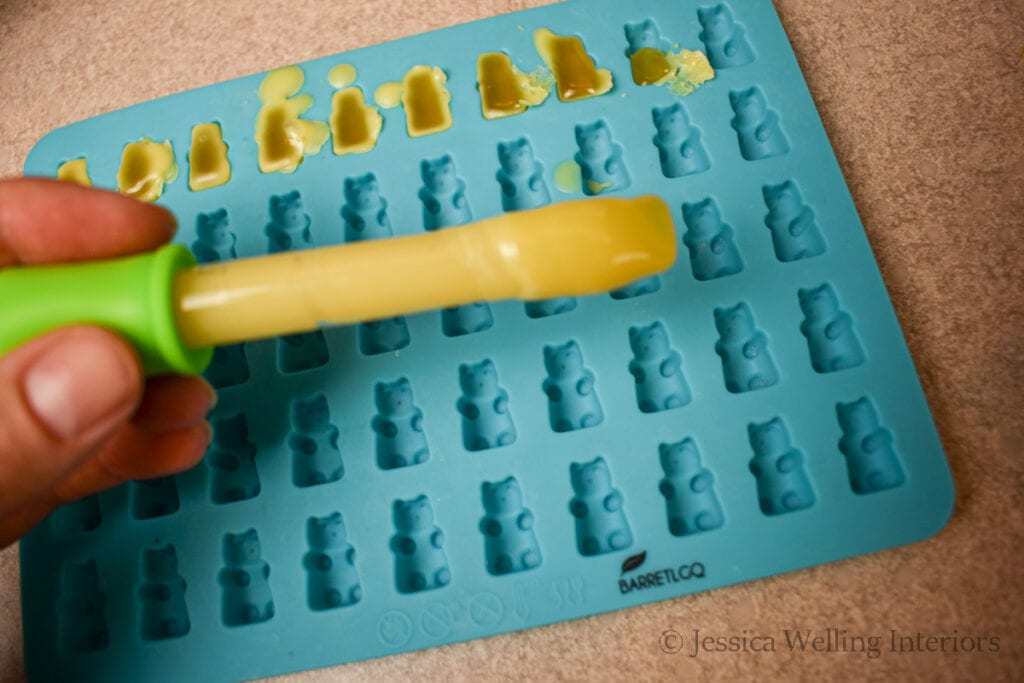
- Choose a silicone mold with larger cavities. I was originally planning to make cute beeswax melts in a gummy bear mold. But the small size requires using an eye dropper to fill the mold. This works great with soy wax, but the beeswax begins to solidify as soon as it touches the eye dropper, so it got gummed up really quickly. It’s much easier to just pour the wax directly from the pitcher.
- Keep the pan of hot water nearby. Again, the beeswax will cool and begin to harden quickly once its removed from the double boiler. So you may need to return the pitcher to the pot of water once in a while to keep it liquid and pourable.
DIY Beeswax Wax Melts
Make beeswax wax melts with this fun and easy tutorial. They make great gifts and will make your home smell amazing!
Materials
- 1 cup yellow beeswax pastilles
- 10 ml. Bee Balm & Coco de Mer Candle Fragrance Oil
Tools
- Double Boiler Wax Melting Pitcher
- Digital Thermometer
- Silicone Wax Mold
Instructions
- Measure 1 Cup of beeswax pastilles into a metal pitcher.
- Set up a double boiler inside a pot of water on the stove and heat the wax to 170 degrees Fahrenheit.
- Add 2 teaspoons (10 ml.) of candle fragrance oil and stir. (optional)
- Pour the hot wax into the silicone mold.
- Let it cool completely.
- Pop the finished wax melts out of the mold.
- Store in an airtight container or plastic bag.
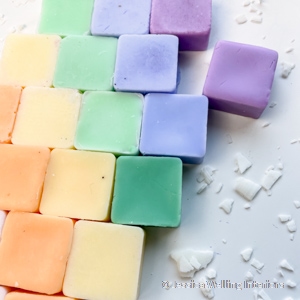
More DIY Wax Melts…
How to Make Wax Melts: Everything You Need to Know
The Best Candle Fragrance Oils- That Actually Smell Good!