DIY Outdoor Throw Pillows: An Ultra-Easy Tutorial
Sew your own DIY outdoor throw pillows with this easy step by step tutorial! You can use your outdoor fabric as-is or use paint and fabric stencils.

Making outdoor throw pillows is exactly the same as making indoor throw pillows. Whaaaaat????? The only difference is the fabric you use- and maybe the choice of filling too. But the making part? Exactly the same! And oh-so-simple.
How to Make Outdoor Throw Pillows
If you never got the chance to make a pillow in home-ec class, here’s your chance! Pillows are pretty much the easiest beginner sewing project out there.
Materials
- outdoor fabric
- heavy-duty thread
- polyester fiber-fill batting (or a waterproof pillow insert)
- white acrylic craft paint
Tools
- stencil
- stencil brush
- paper plate
- sewing machine
- hand-sewing needle
- sewing pins
- sewing scissors
- sewing tape measure
Directions
1. Measure and Cut Fabric
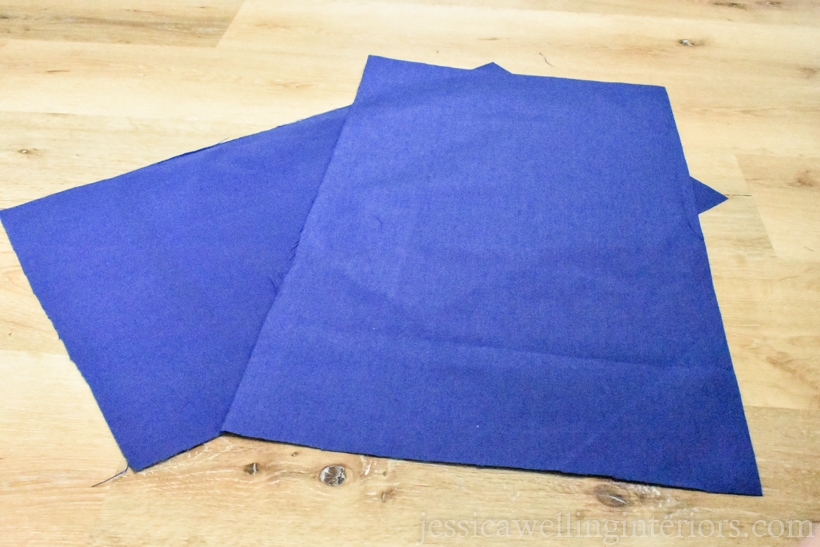
I’m making rectangular lumbar pillows, so I cut two _________ rectangles from the outdoor fabric for each pillow.
2. Place the Stencil
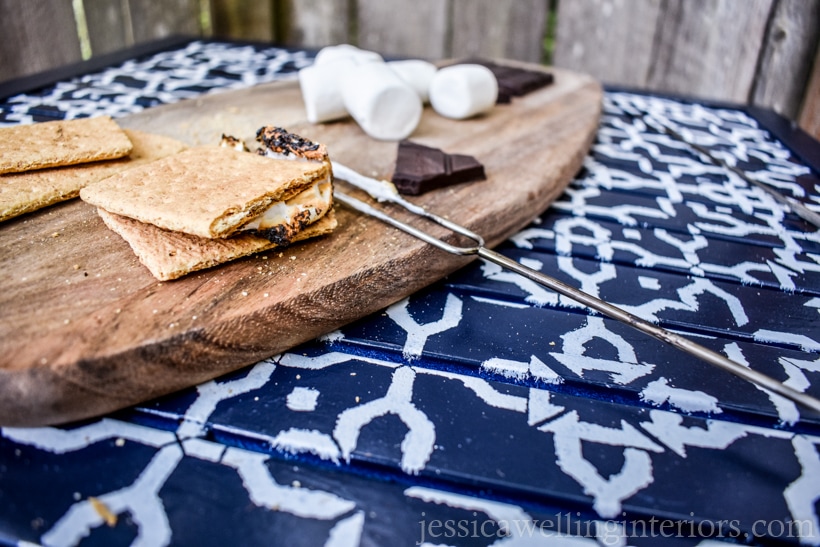
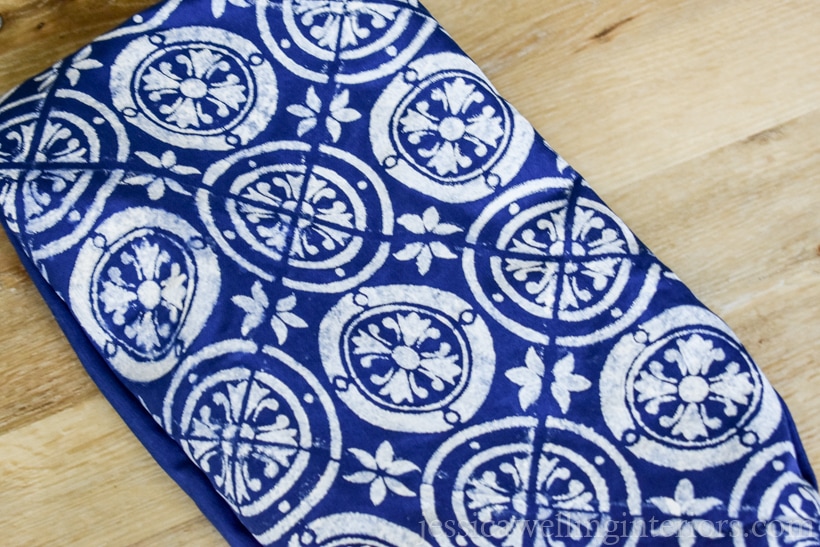
I ordered this set of inexpensive Morroccan tile stencils from Amazon, and I used a different pattern on each of my four outdoor pillows.
It’s probably a good idea to practice stenciling on a piece of scrap farbric before you do the real thing. It’s easy enough, but takes a tiny bit of practice.
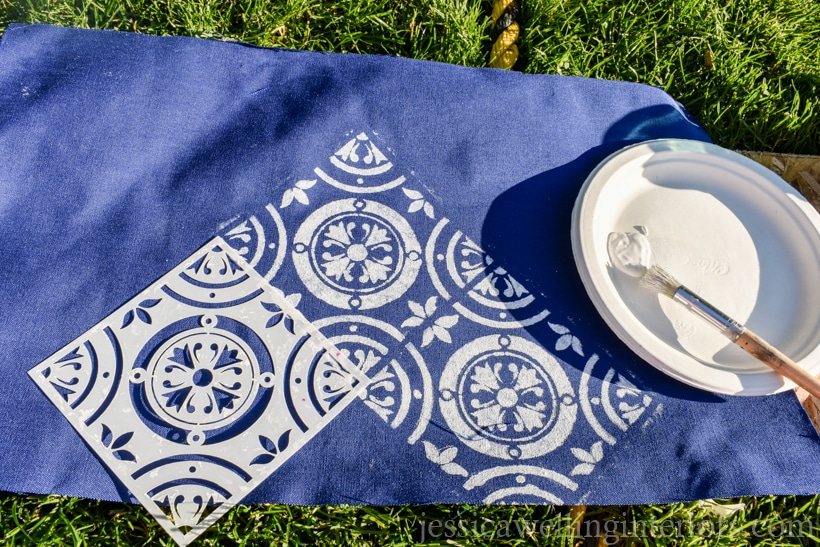
I found that it works well to do the first stencil in the center of the fabric, and then work out from there. As you can see, I did this one diagonally.
3. Load The Brush
Pour a small puddle of paint on the paper plate. Dip the stencil brush in the paint lightly, and then swirl it on an unused section of the plate to remove any excess paint.
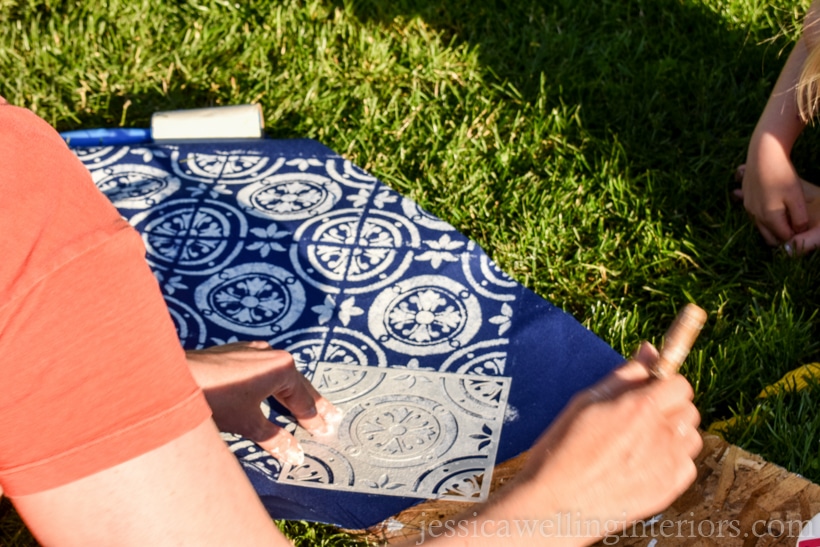
4. Apply The Paint
Hold the stencil brush perpendicular to the fabric, and apply the paint with a dab-dab-dab motion. I like to hold the stencil down with my other hand. Continue until the stencil pattern is all filled in.
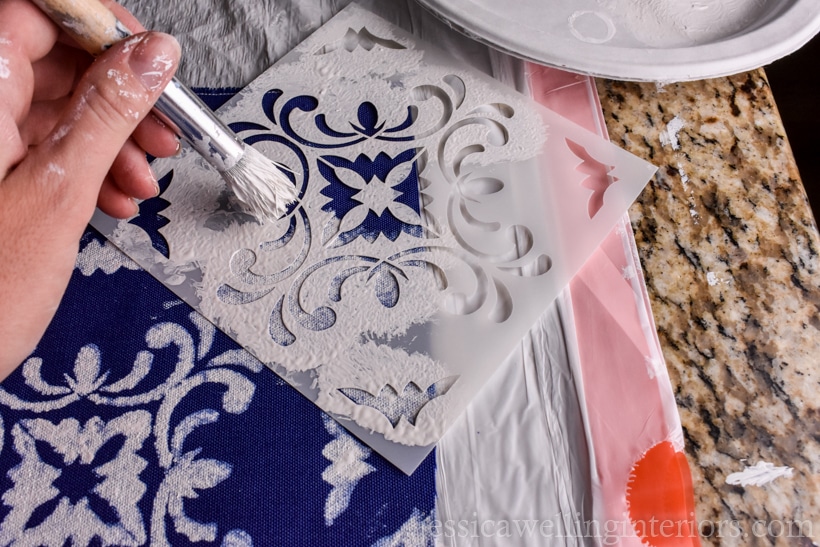
Carefully remove and wash the stencil between each use. Continue the pattern to cover all the cloth. Then let it dry for several hours.
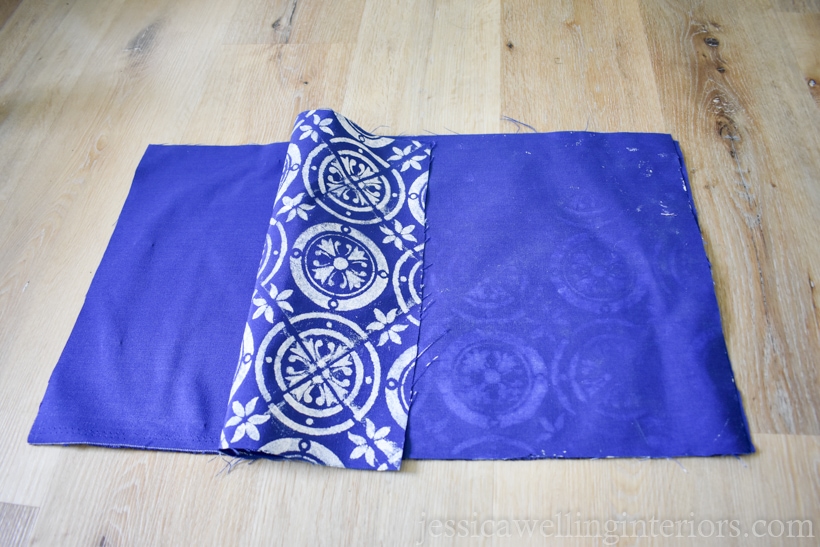
5. Lay Out The Fabric
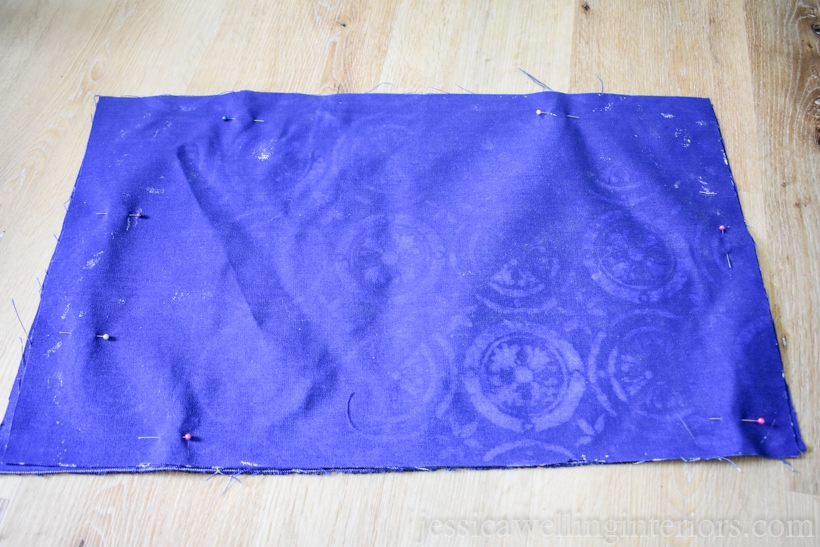
I only stenciled one side of my pillows, and my fabric doesn’t have a “right” side. I laid out the two pieces, with the patterned side on the inside.
6. Pin
Pin the two pieces together with the sewing pins. I started by placing two pins about 5 inches apart on the left side. I inserted the perpendicular to the edge of the fabric to mark where I will leave an opening for stuffing.
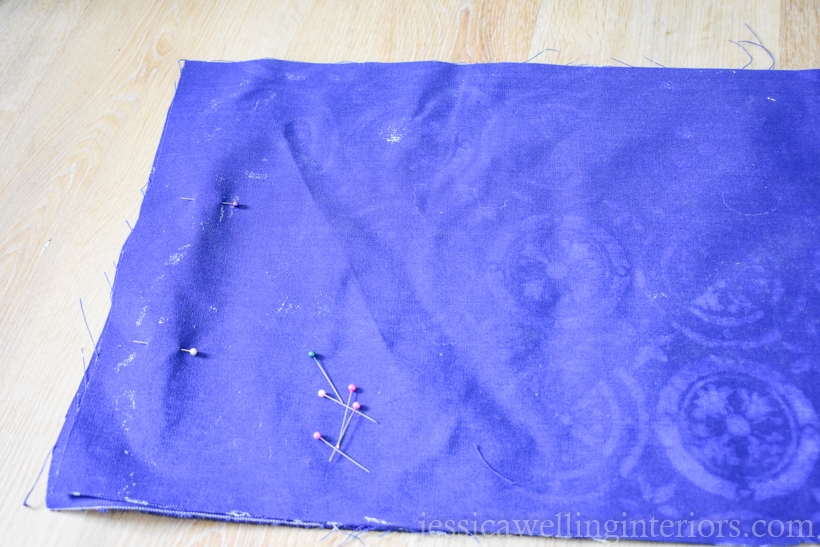
Then pin around the perimeter of the fabric to hold the two pieces together.
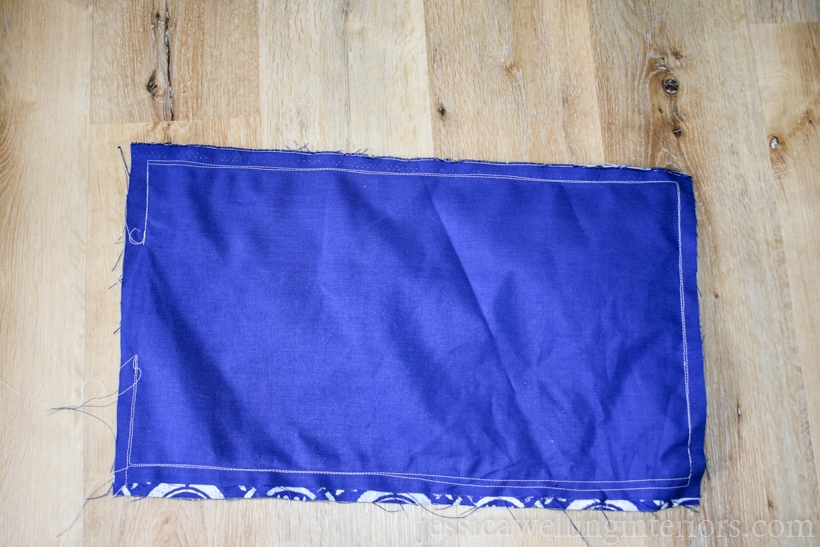
7. Sew
Now start at one of the perpendicular pins, and sew around the outside perimeter of the farbic, leaving a 5/8 inch seam allowance.
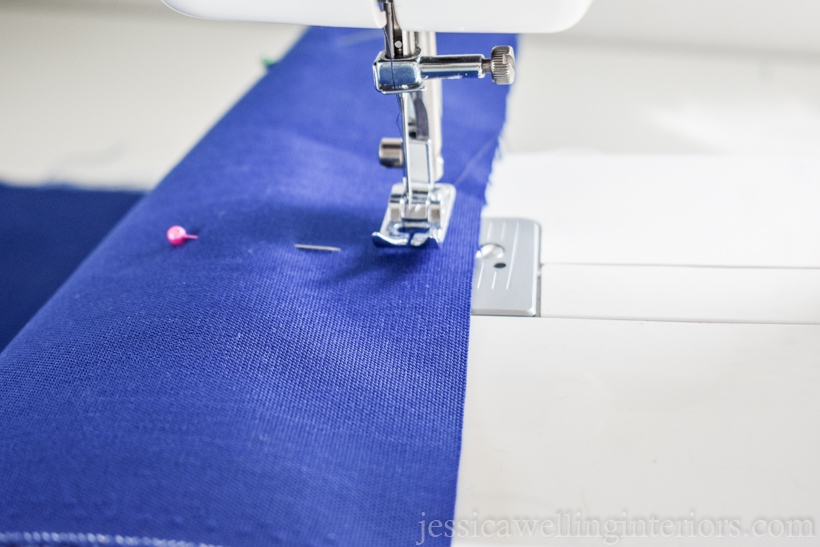
Be sure to reinforce the beginning and ending of the seam.
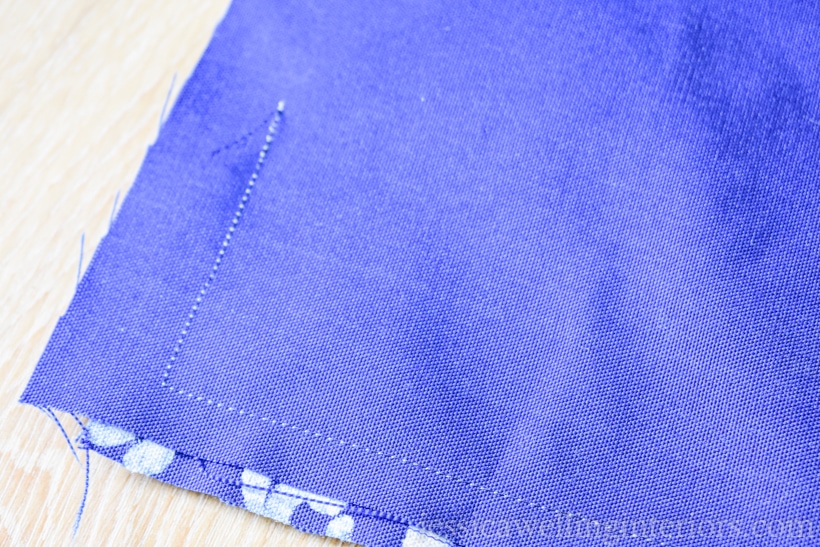
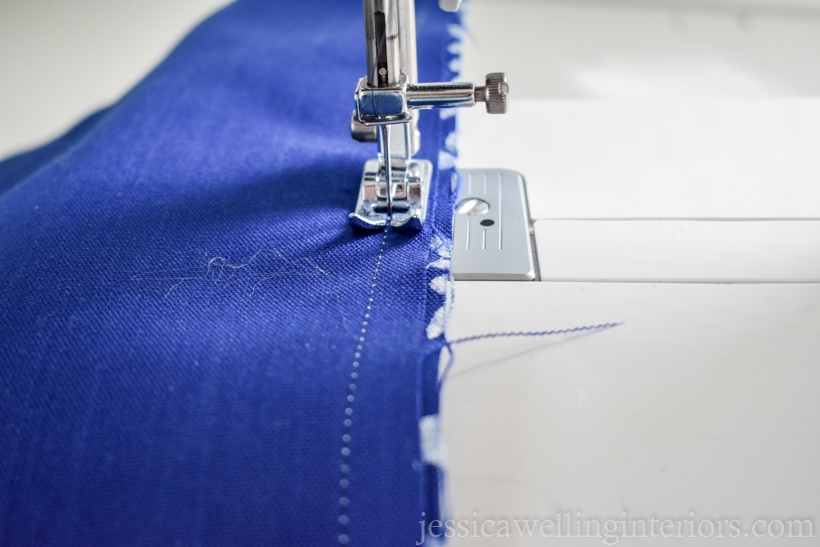
8. Reinforce The Seam
I like to run back over my seam a second time to reinforce it.
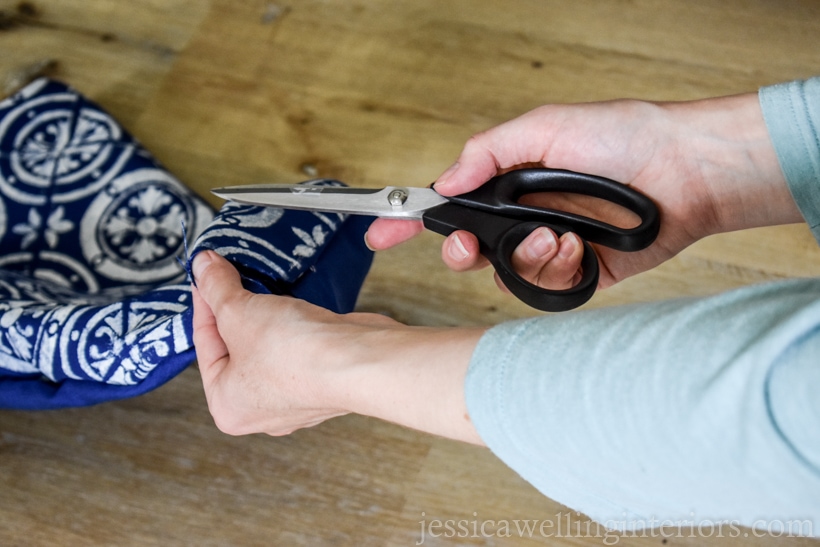
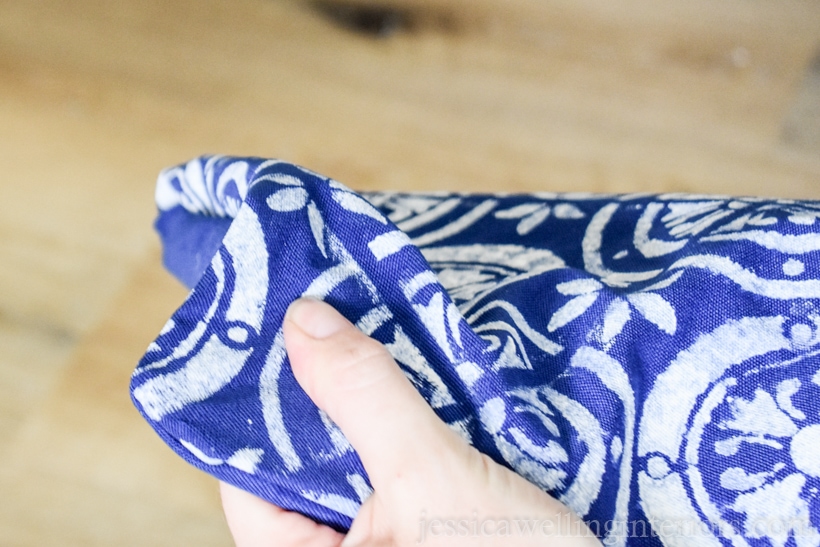
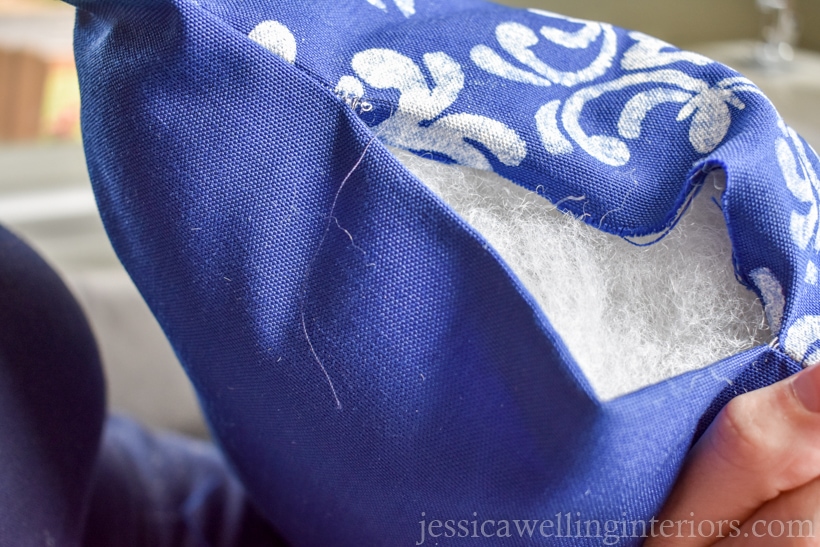
9. Turn Inside-Out
Now reach inside the opening and turn the pillow case inside-out.
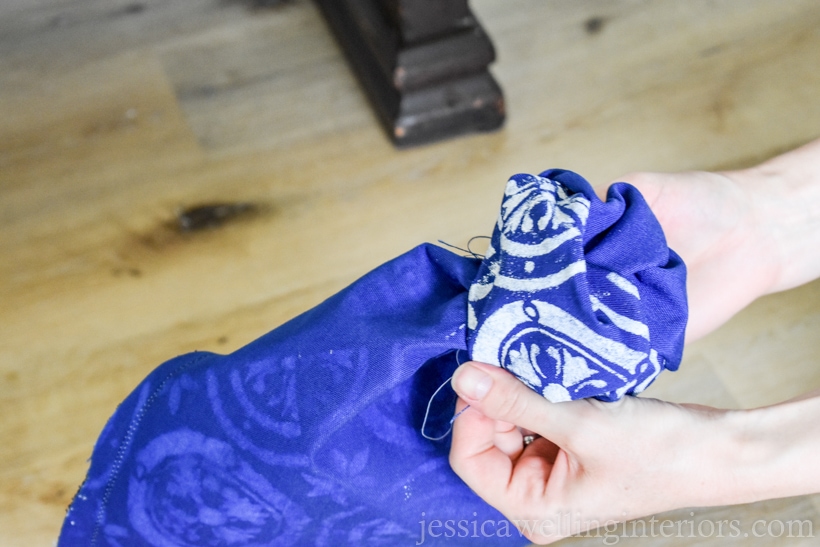
I like to use a pair of closed sewing scissors or a pencil to poke out the insides of the corners.
10. Stuff the pillows
Fill your pillowcase with polyester fiber-fill batting, to your desired firmness.

11. Fold Edges Together
Now it’s time to close up the opening. Fold the two edges together and pin them closed.
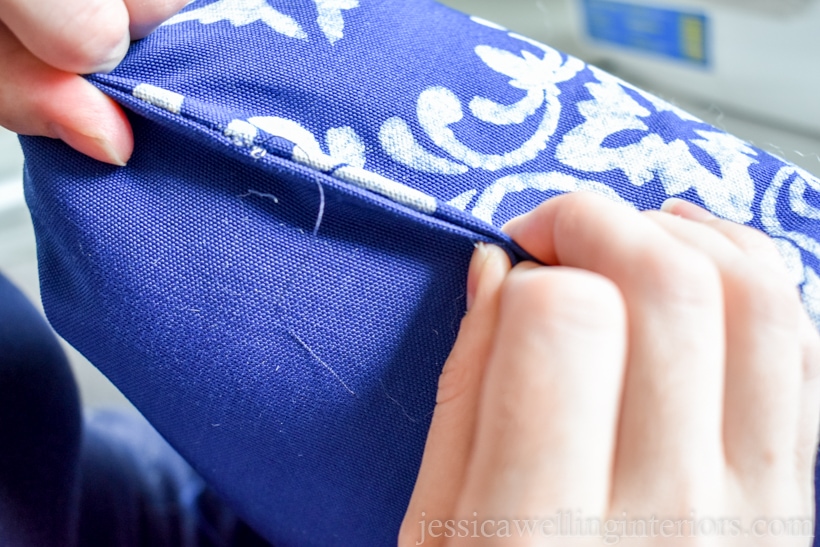
12. Hand-Stitch The Opening
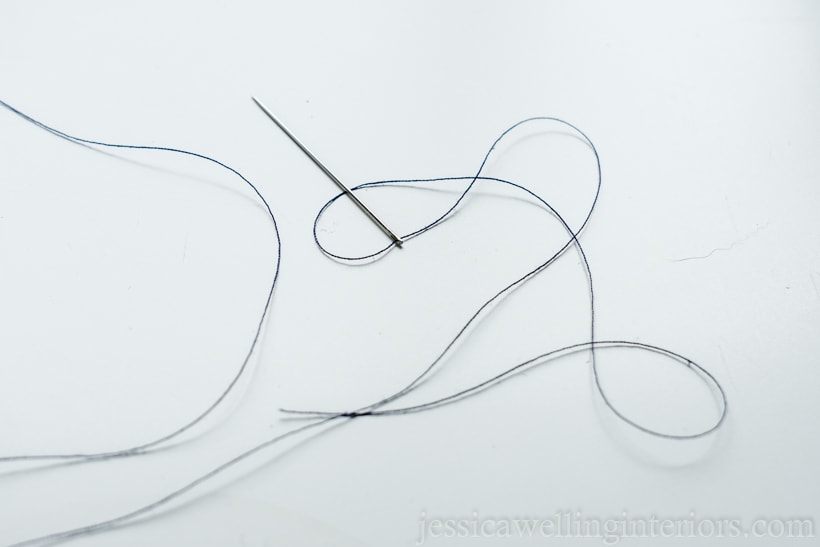
Now thread a needle, and hand-stitch the opening closed. Be sure to tie off the thread when you’re finished.

And it’s finished!

More Outdoor Living Ideas…
Stencils for Painting: An Easy Patio Table Makeover

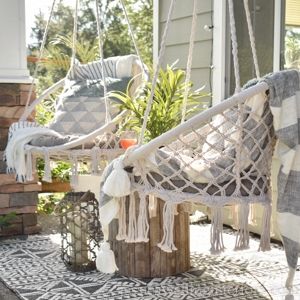
Boho Porch Swings Reveal: Small Front Porch Decorating Ideas