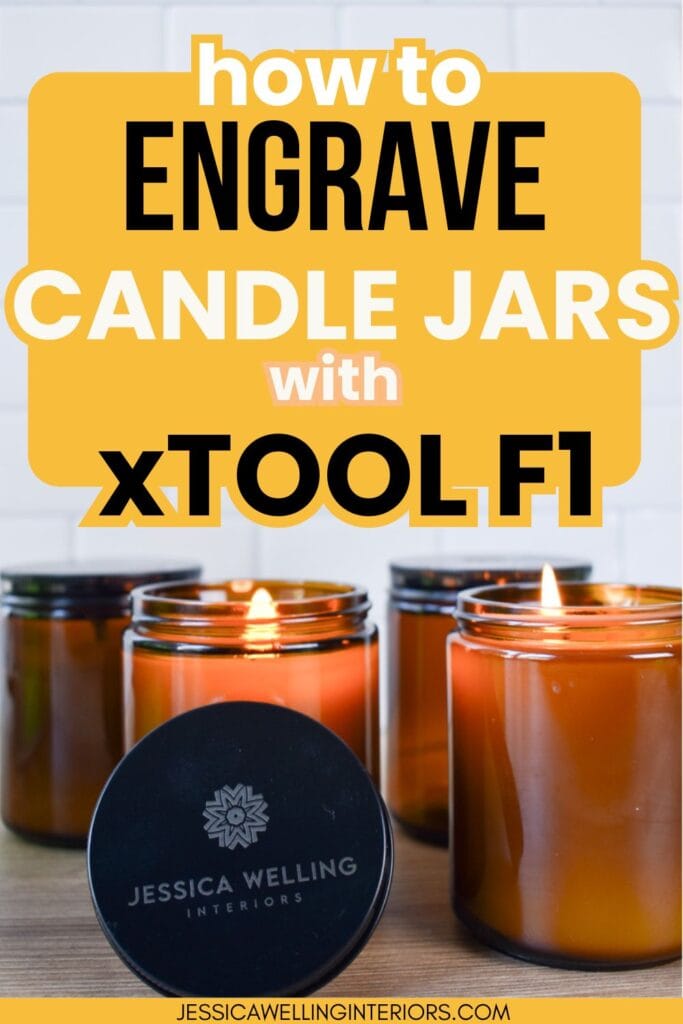
Engraving Metal Candle Lids with xTool F1
Learn how easy it is to engrave metal candle jar lids for your small business with xTool F1!
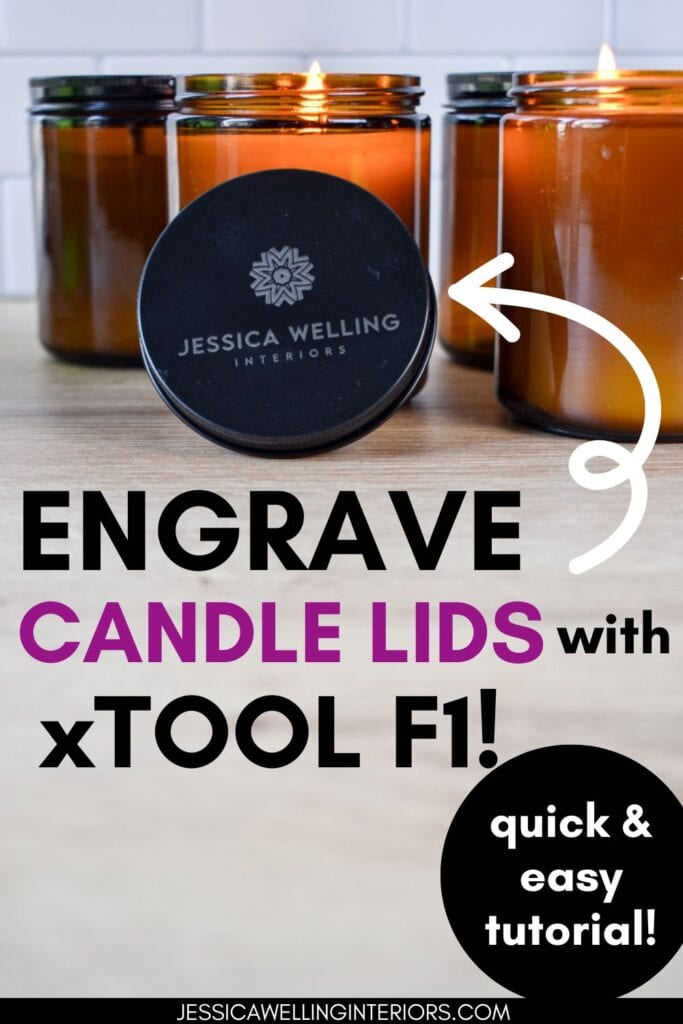
Today I’m partnering with xTool to show you how easy it is to engrave your logo or any other custom design on your metal candle jar lids (you can see my wood lid tutorial here). This is especially perfect for candles because you won’t need to worry about sticker labels fading or falling off when exposed to heat, so it’s ideal for a handmade candle business.
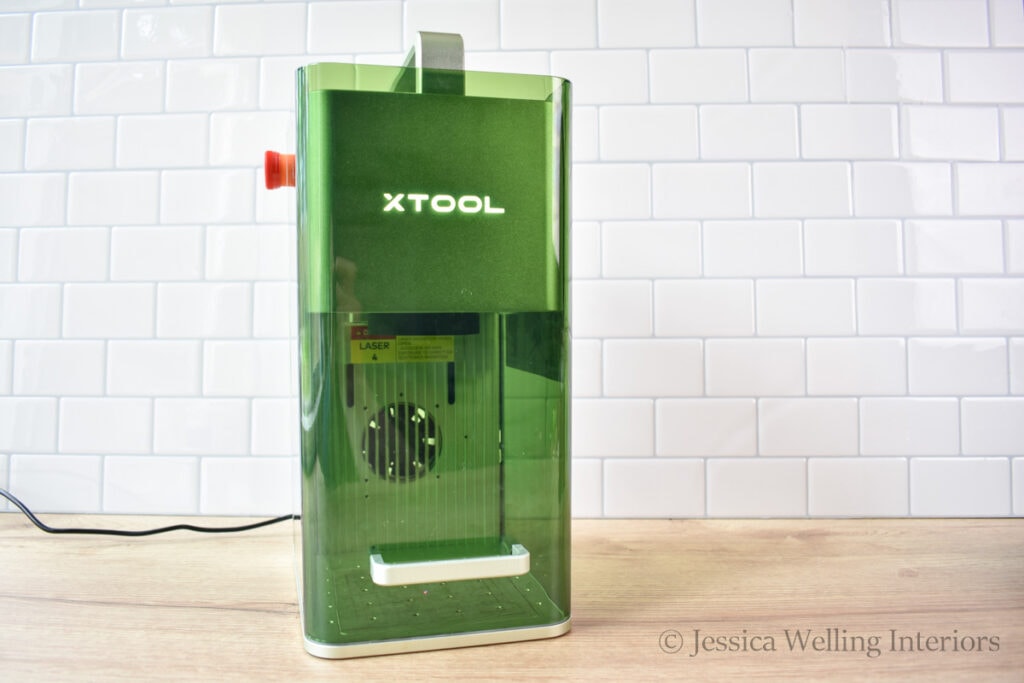
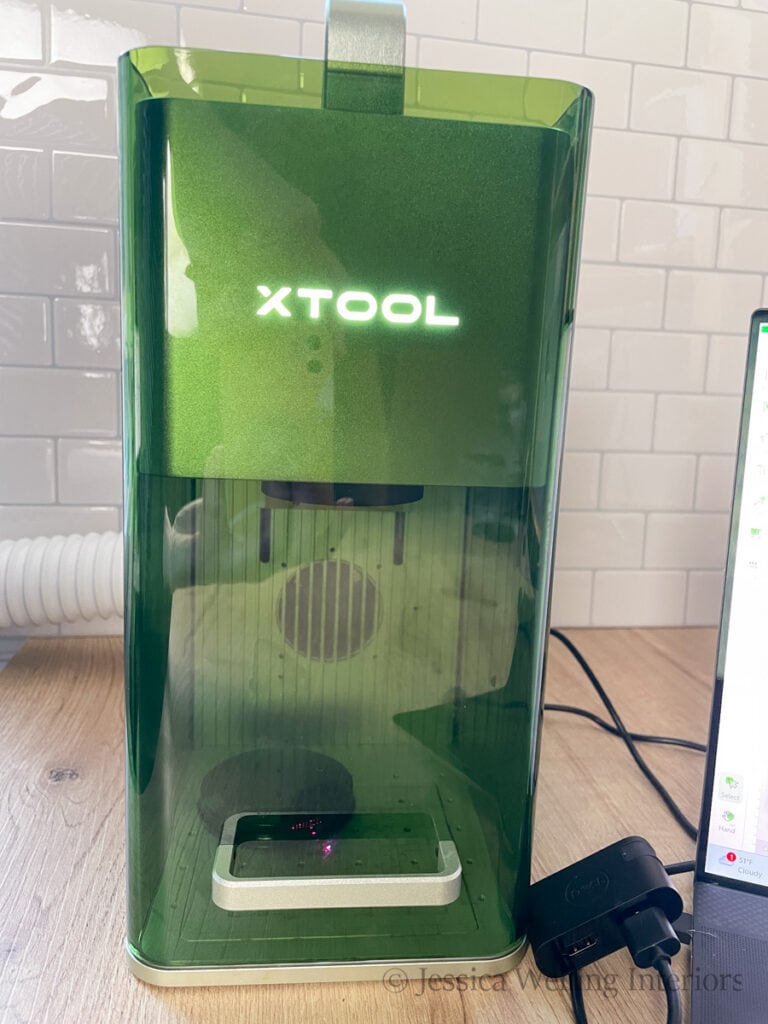
What is xTool F1?
xTool F1 is a portable tabletop laser engraving and cutting machine. I’m still just getting started with it, but it can engrave and/or cut wood, leather, metal, acrylic, cardstock, glass, and even some foods! This is the perfect laser machine for beginners and it’s portable, so perfect for quick custom work at craft fairs and farmers’ markets. And did I mention it’s a LOT of fun too?
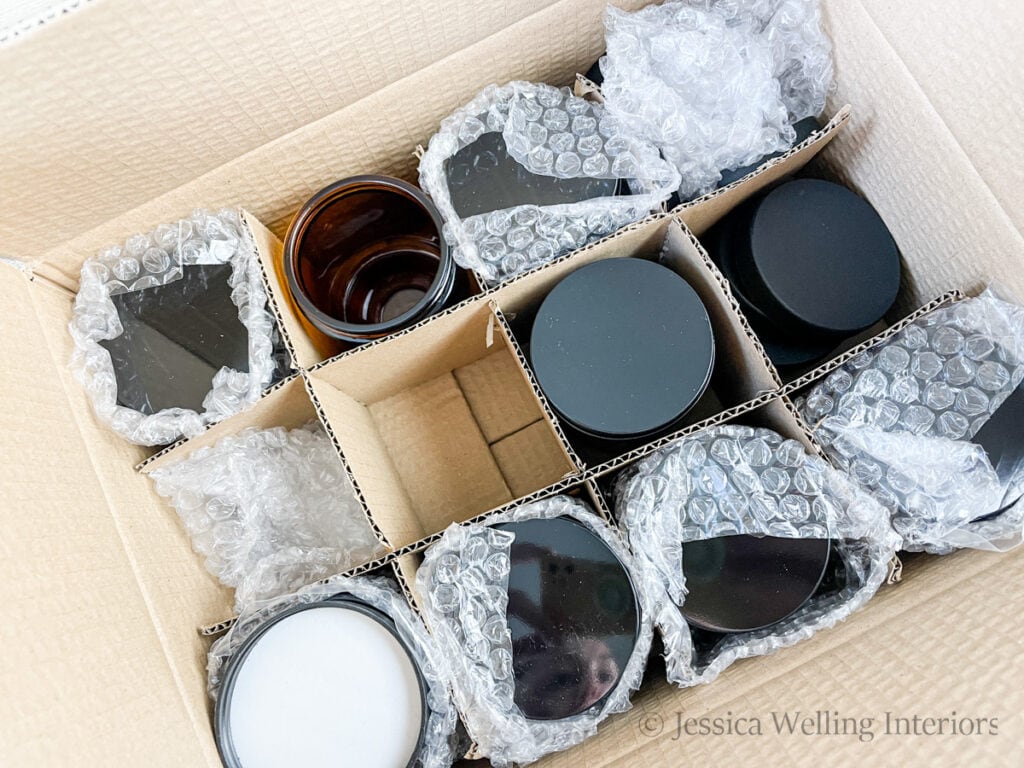
Materials
- Jars or tins with metal lids (I’m using these 8 oz. amber glass jars from Amazon)
Directions
1. Create or choose image or logo.
You can use any image or logo you want, or create one in xTool Creative Space. I already have my logo file, so I’m just going to import it into xTool Creative Space.
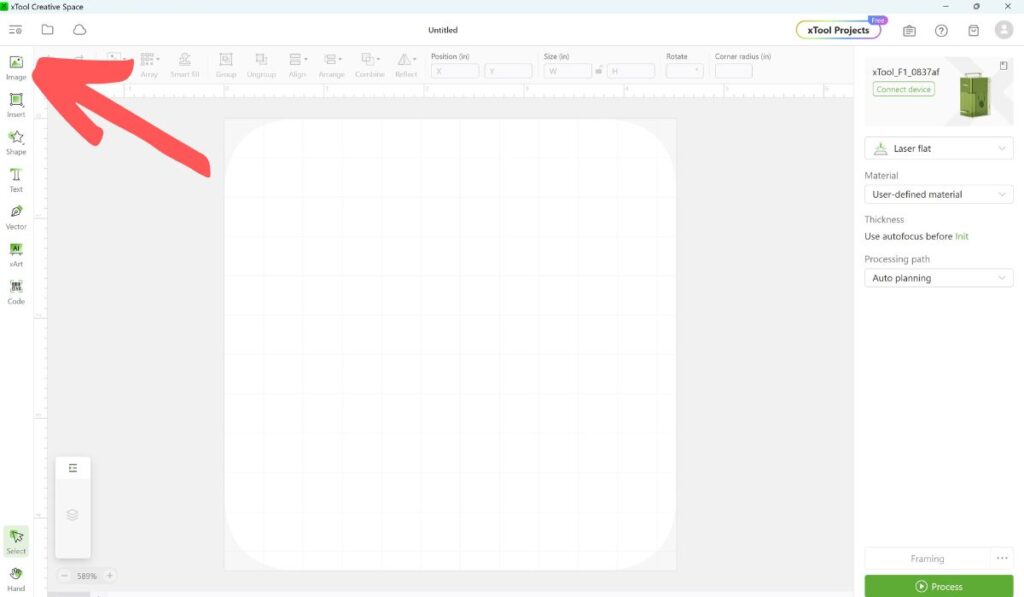
2. Import logo or image.
Click the “image” button at the top left of the screen.
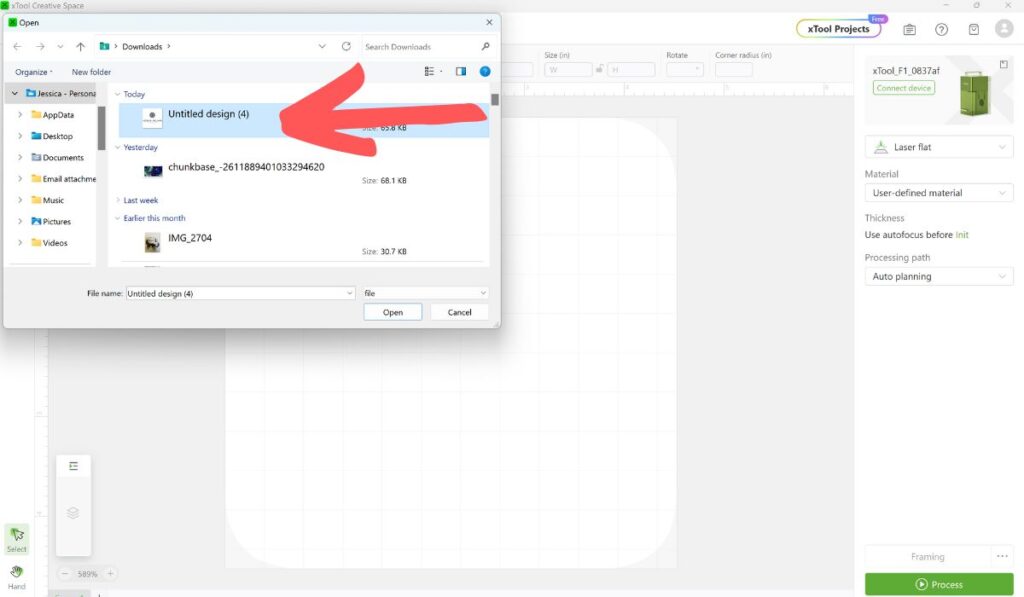
Choose your file and click “open”.
3. Adjust image size.
Measure the lid’s diameter.
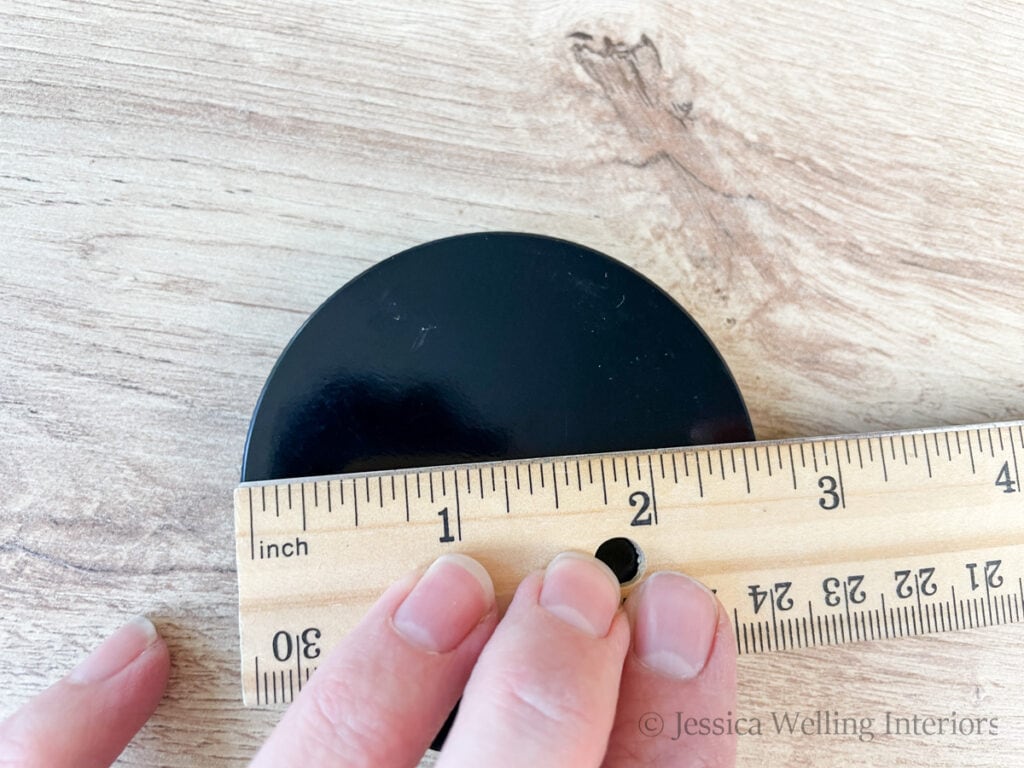
Adjust the size of your image/logo to fit that space using the ruler across the top of the screen for reference. As you can see, my lid is just over two and a half inches in diameter, so I’m making the logo two inches wide to leave a little space on either side.
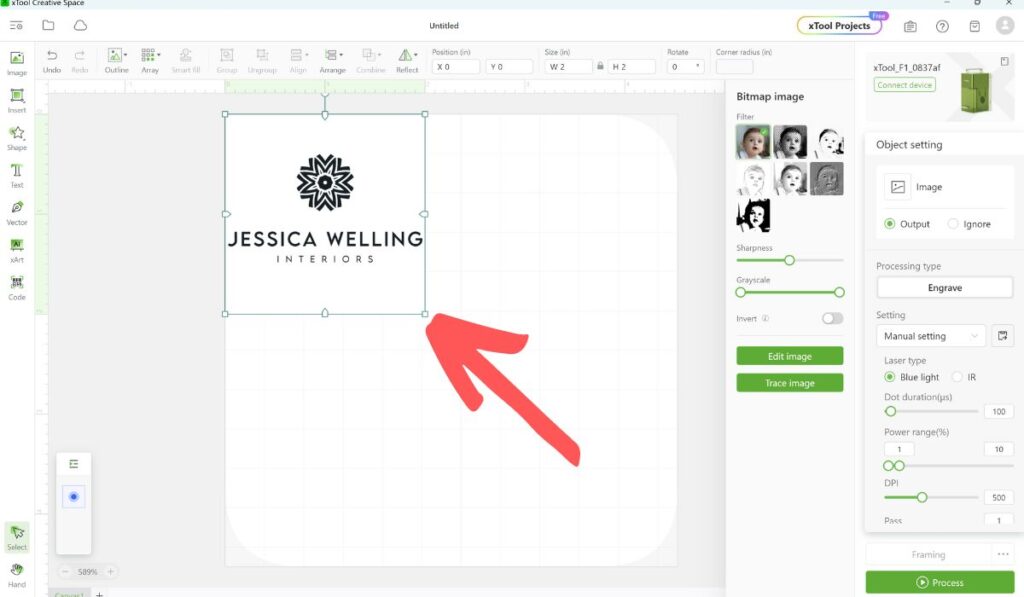
You’ll have another opportunity to double-check the size and alignment during the framing step.
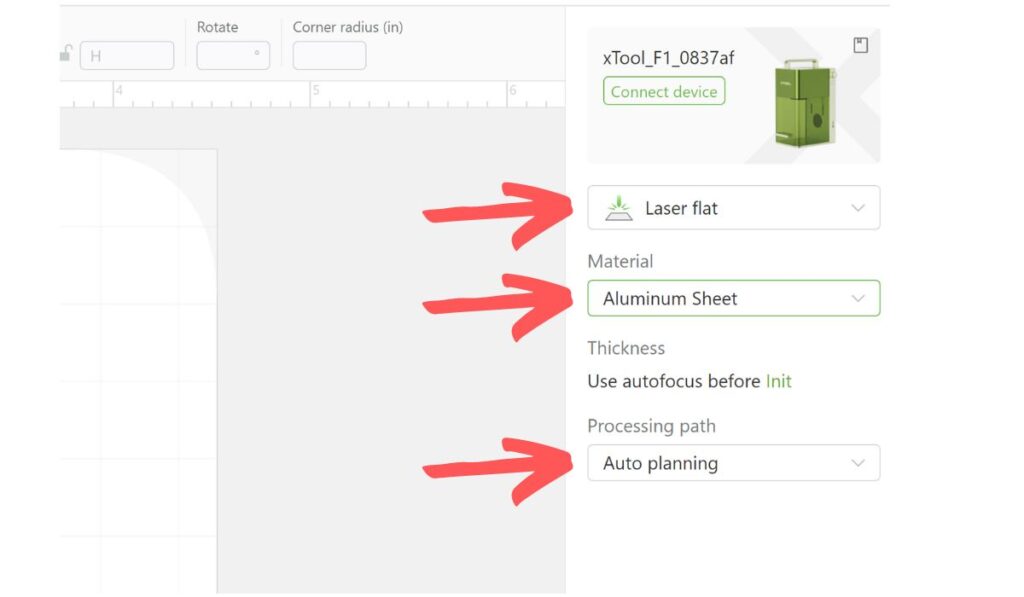
4. Select material & settings.
Select the following on the left sidebar menu:
Mode: Laser flat (for a flat surface as opposed to a curved one)
Material: Aluminum Sheet
Processing Path: Auto planning
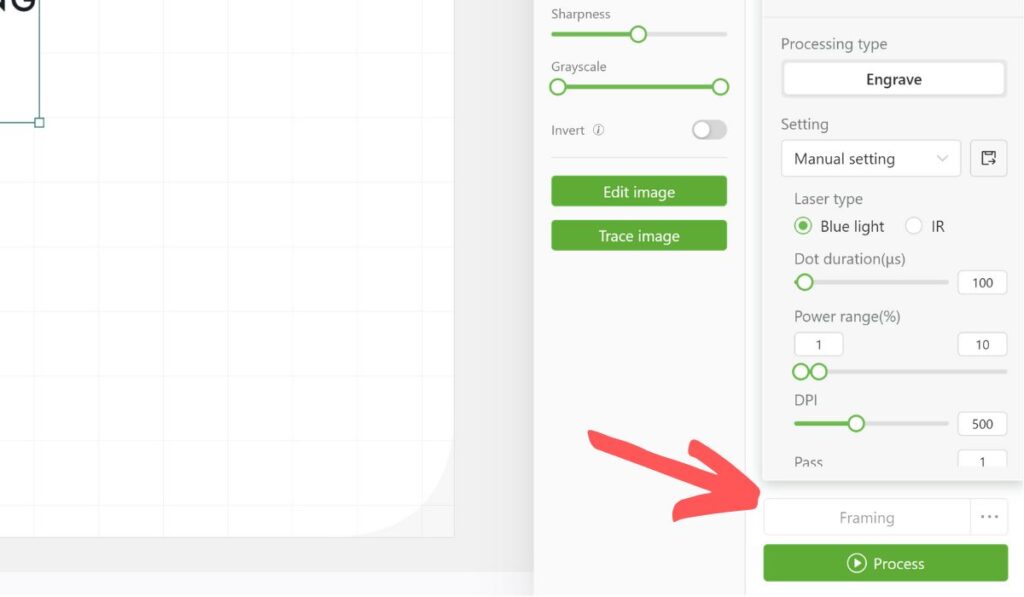
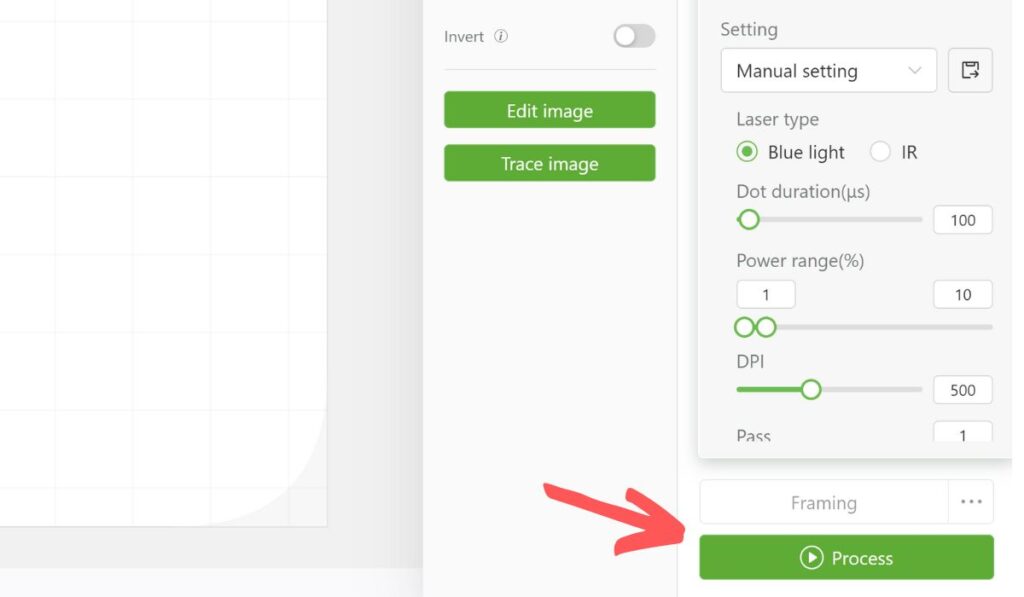
5. Frame
Once you’ve selected all your settings, click the “Framing” button at the bottom right of the screen.
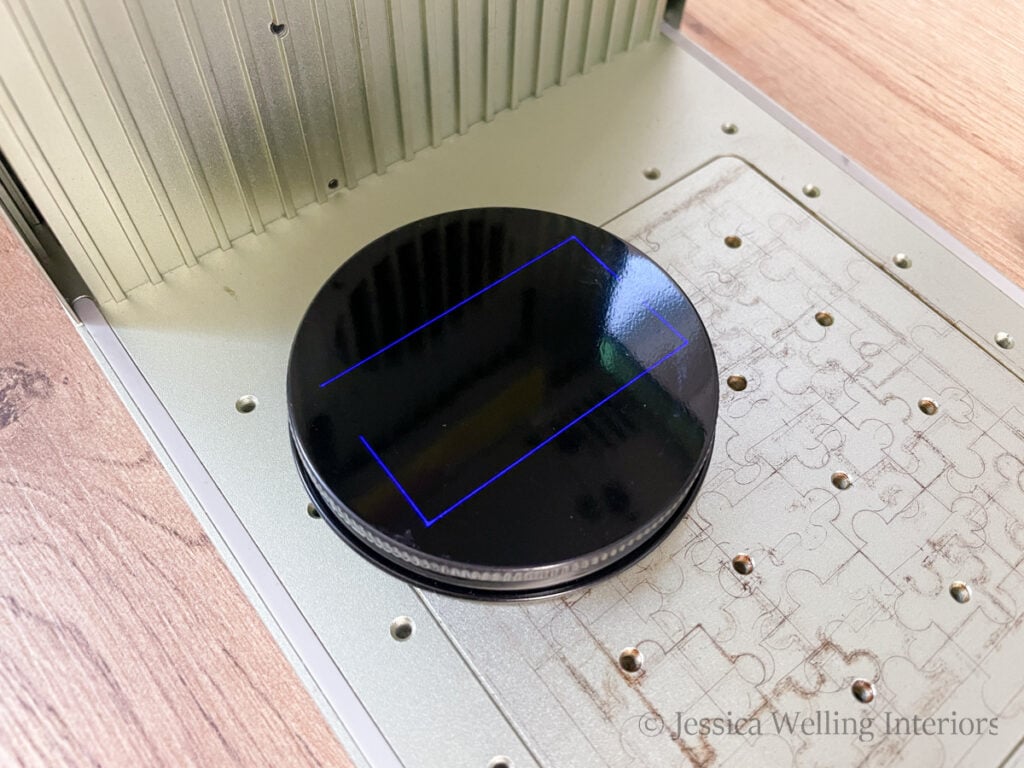
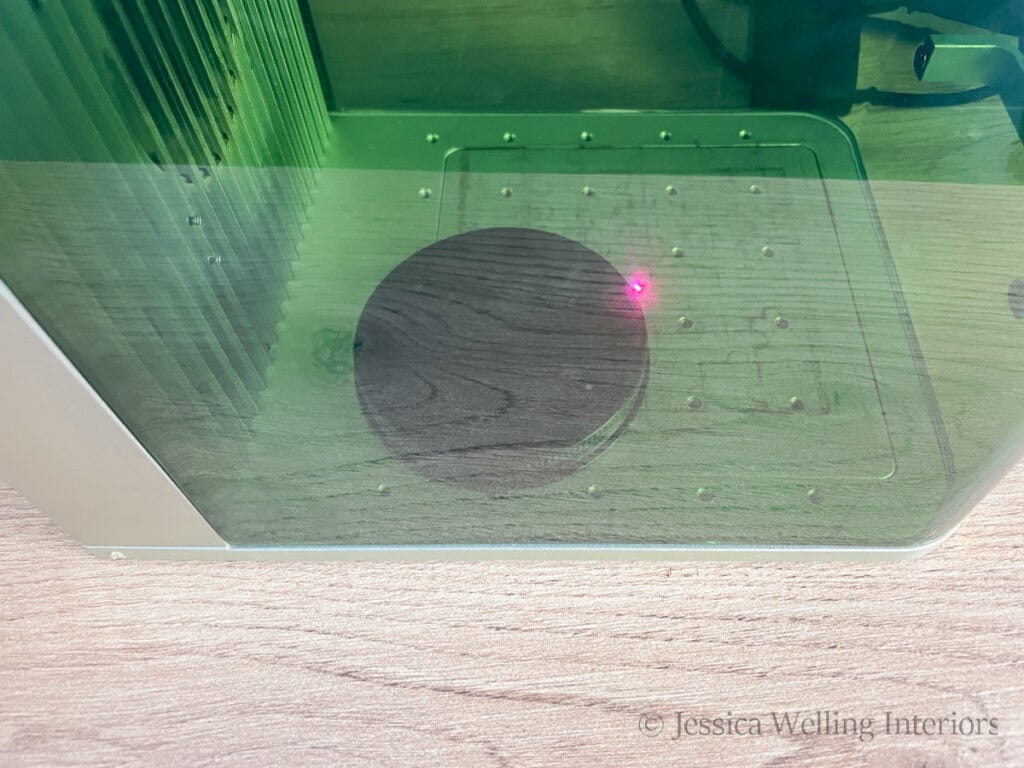
The frame will show up in blue. Set the jar lid on top of the engraving plate and position it so that the frame is where you want your logo to to.
6. Put safety cover down.
Slide the green safety cover down.
7. Start engrave.
Click “Process”. You should hear the machine beep.
After it beeps, press the start button on the top left side of the machine.
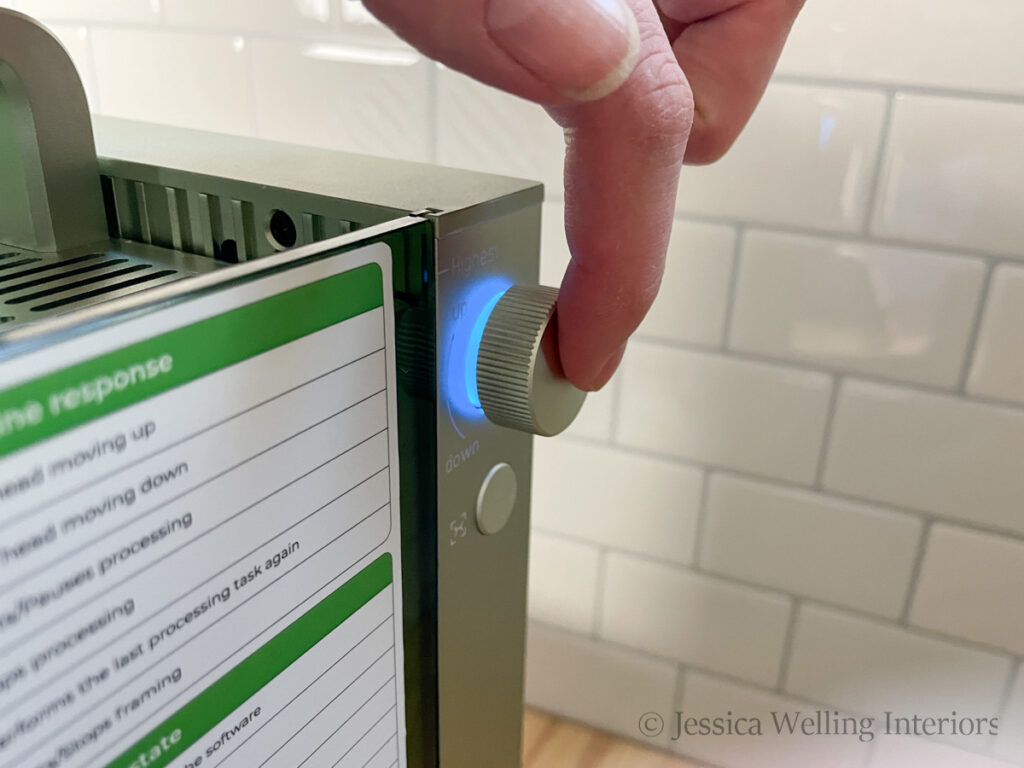
Engraving should begin.
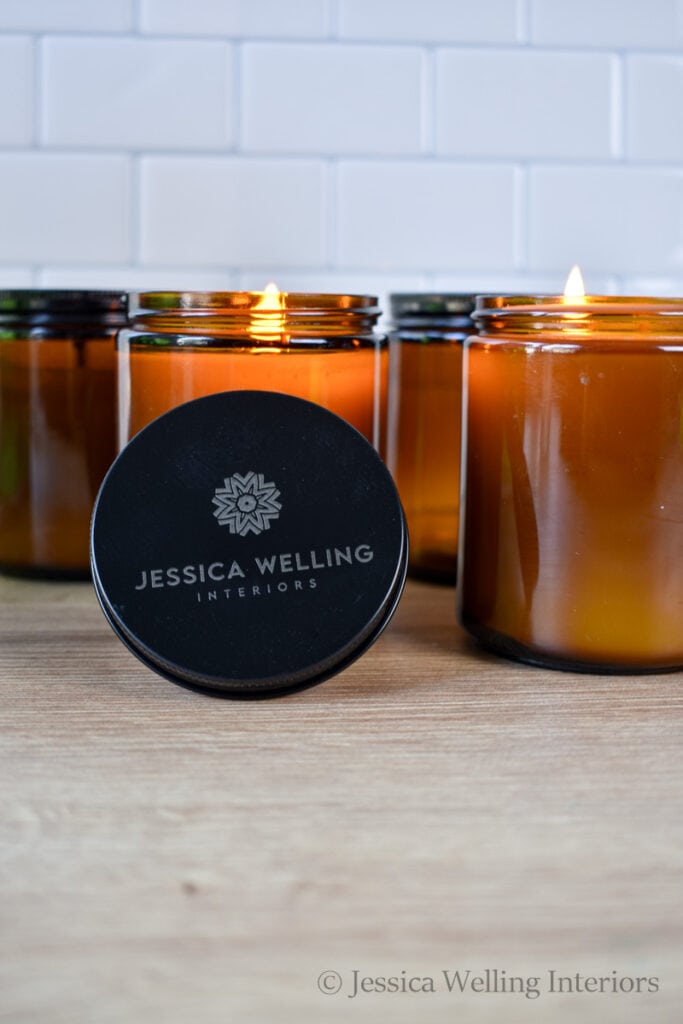
Once the engraving process is finished, lift the green cover and remove your lid.
And that’s it! This is such a quick and easy process.
More DIY Candles…
How to Make Soy Candles: A Beginner’s Guide
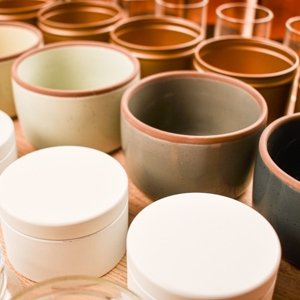
The Best Candle Jars & Tins & Where to Get Them
How to Make Candles Smell Stronger: 6 Tips for Great Scent Throw