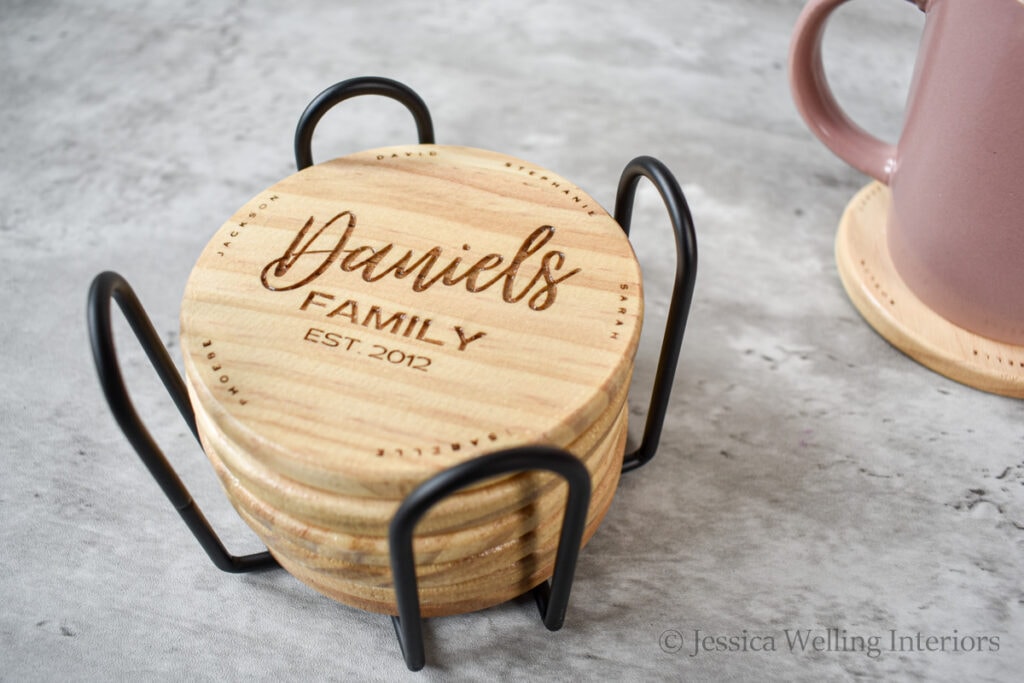
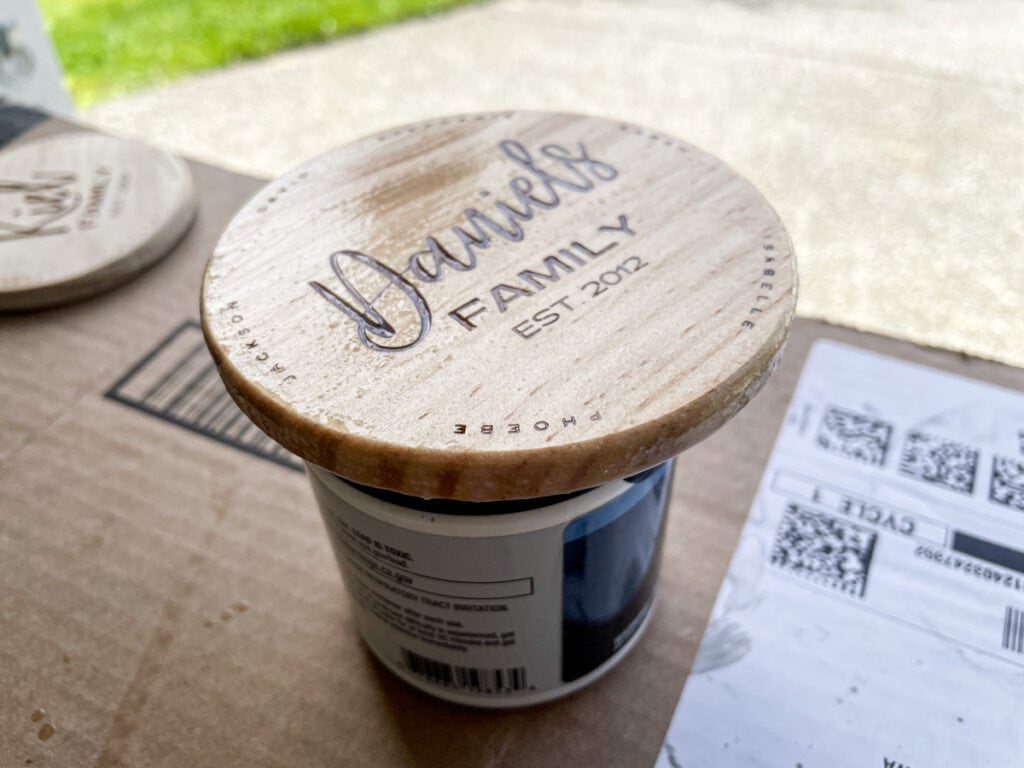
Engraved Wood Coasters with xTool F1
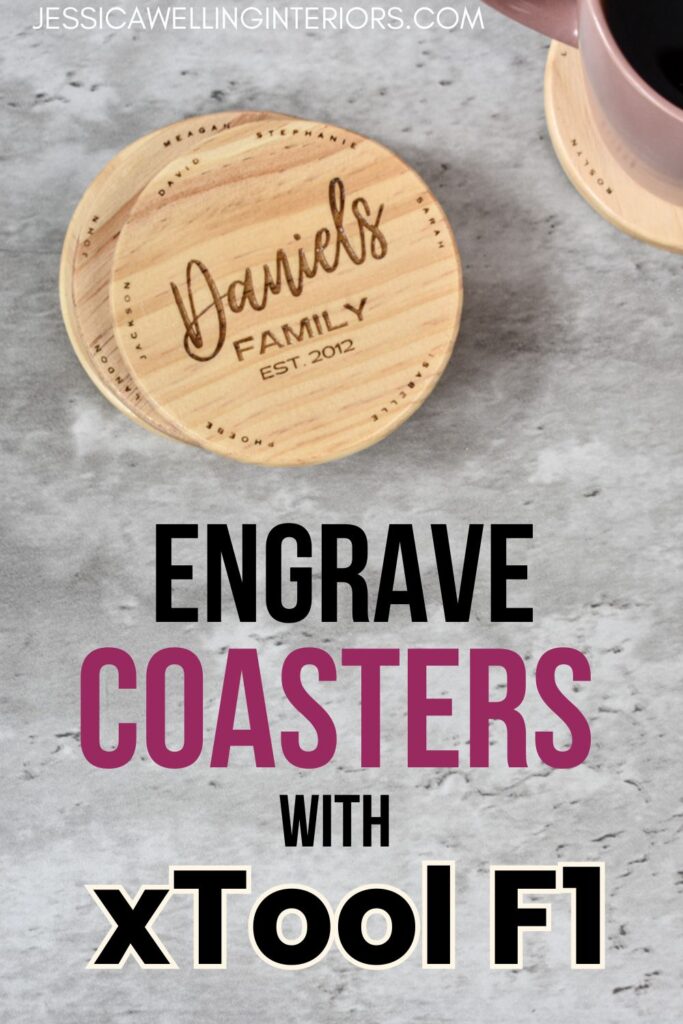
Today I’m partnering with xTool to make custom engraved wood coasters. I’m planning to surprise my sister with these for her birthday. Shhhhh!
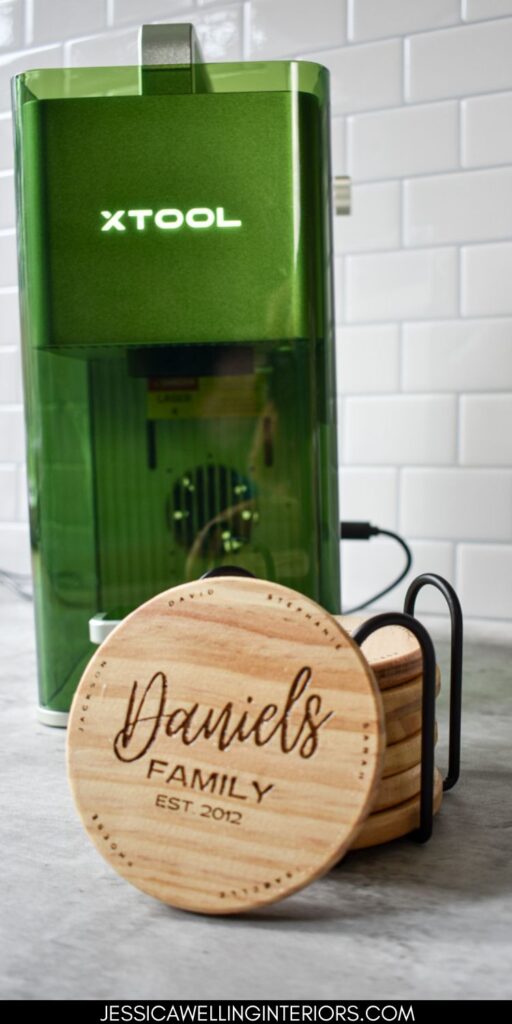
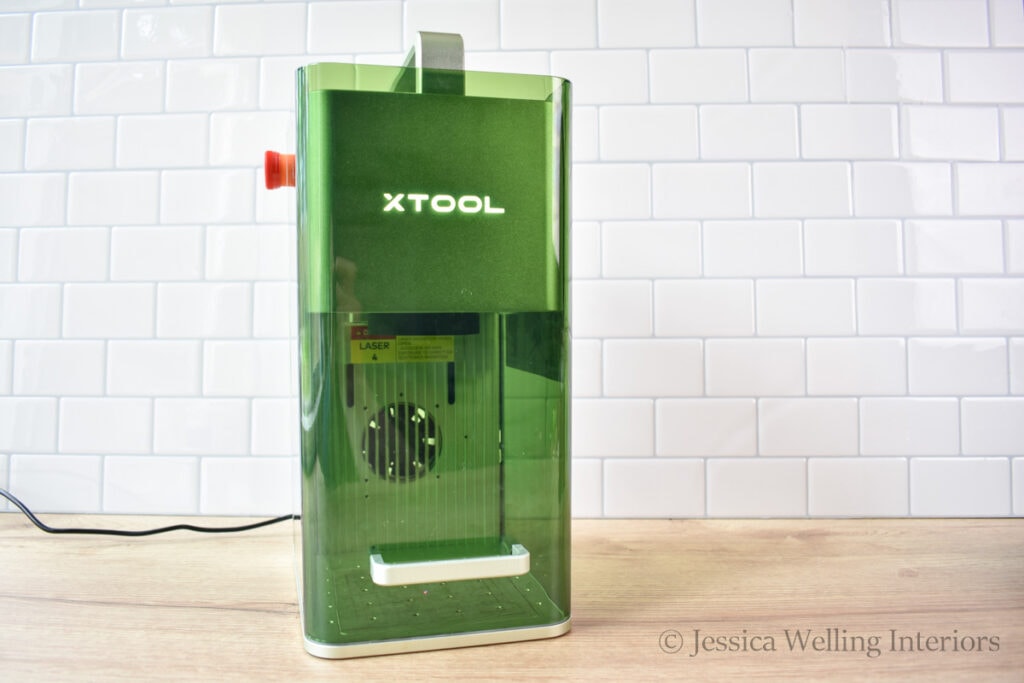
xTool F1
xTool F1 is a portable tabletop laser engraving & cutting machine. It’s ideal for beginners and anyone who wants to customize products on site at craft fairs, farmers markets, etc. My girls and I have made a TON of cool stuff with this thing, and there’s more to come! It can engrave and cut wood, acrylic, metal, leather, and the list goes on…
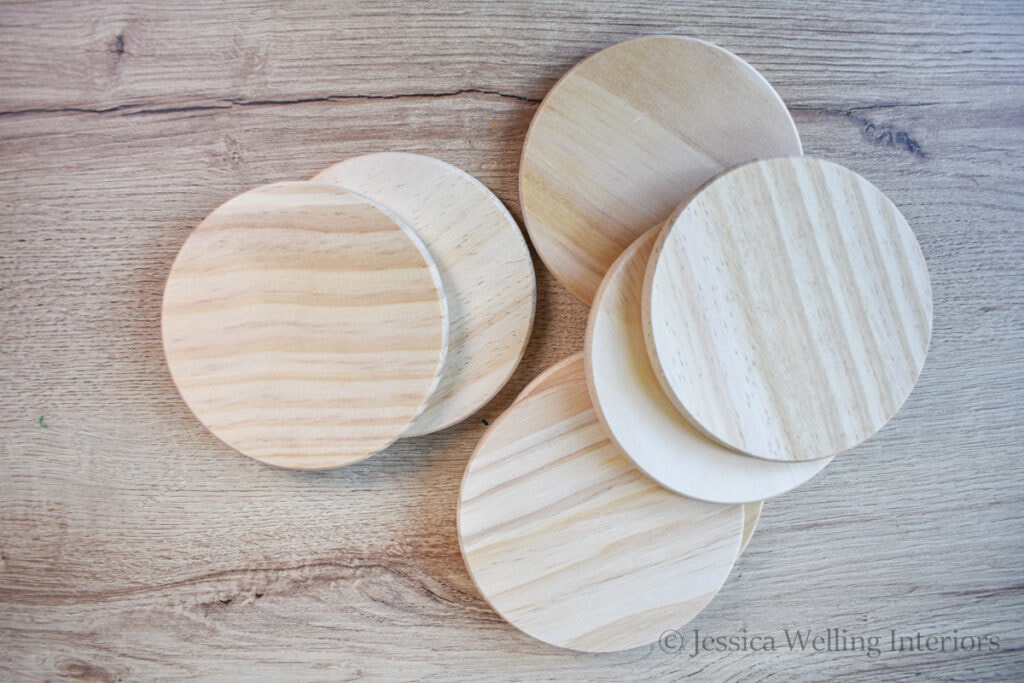
Materials
Unfinished wood coasters (I’m using this inexpensive set from Amazon)
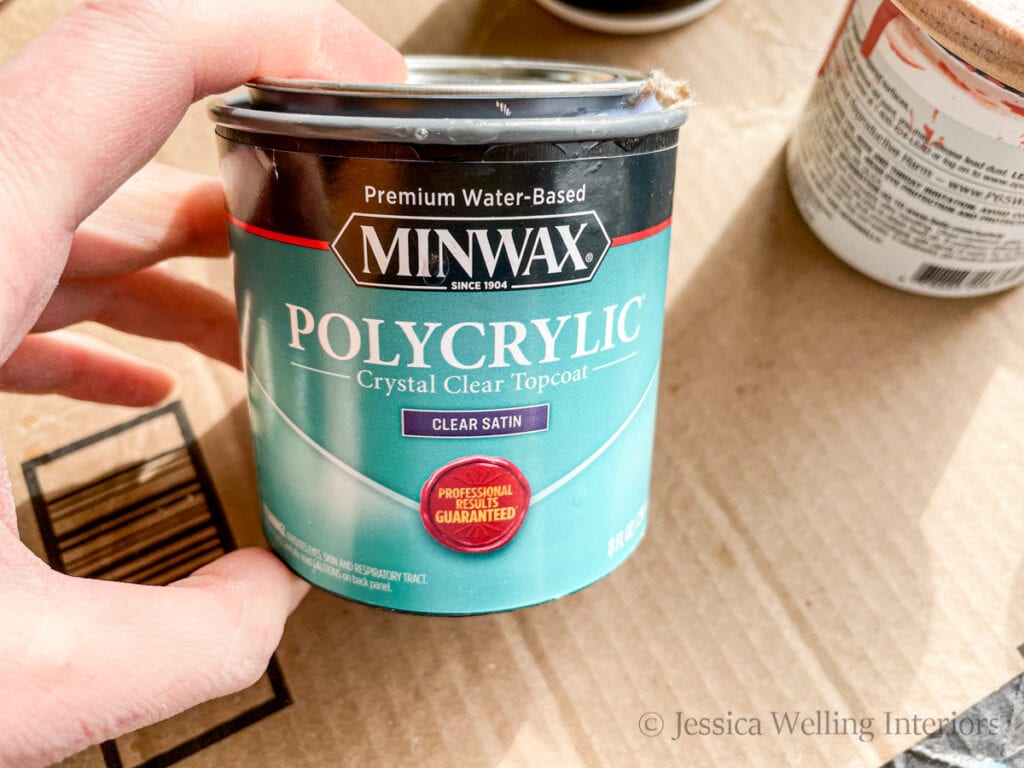
Minwax Polycrylic Protective Wood Finish
Directions
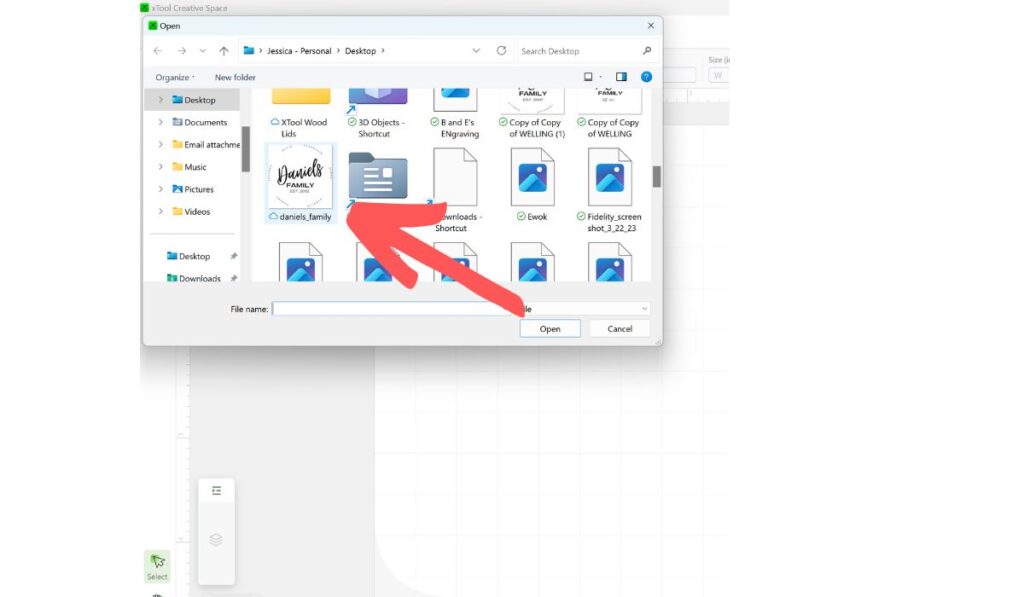
1. Import image.
You can either import an image or logo you already have, or create your design right in xTool Creative Space.
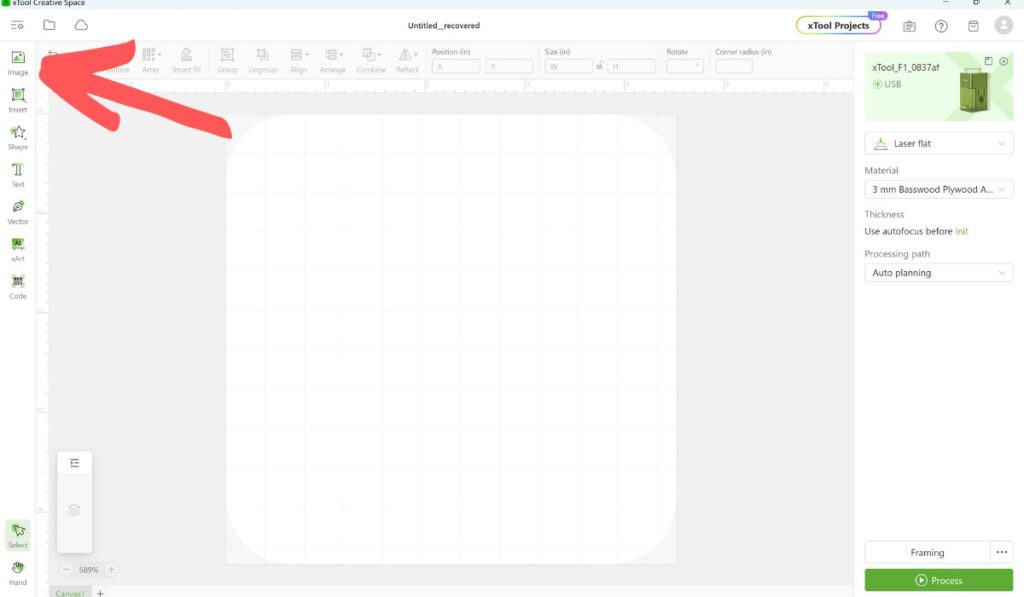
I already have my coaster design saved as a .PNG, so I’m just going to import it.
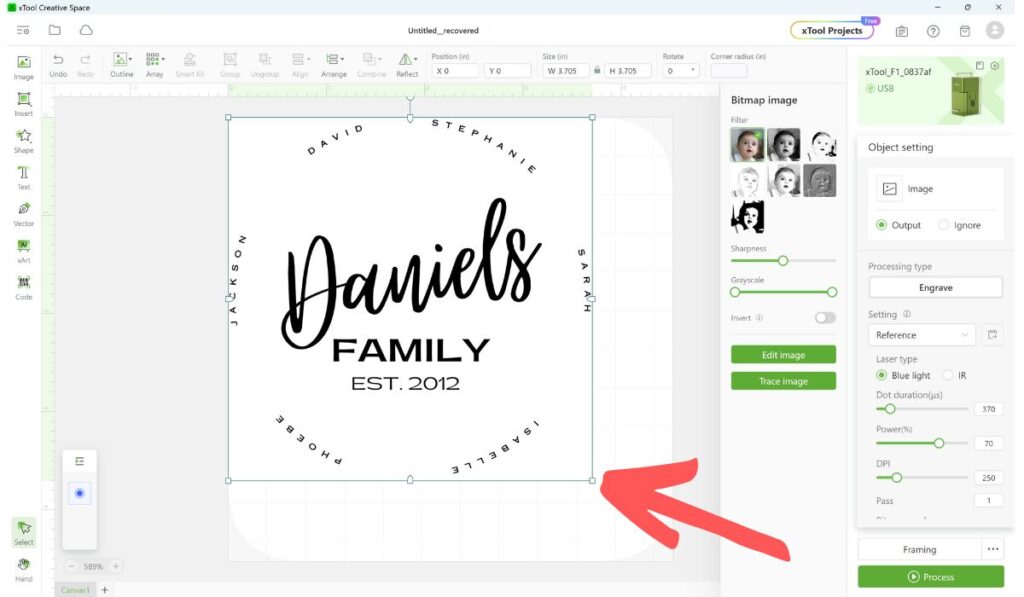
2. Resize
You can resize the image by clicking its bottom right corner and dragging.
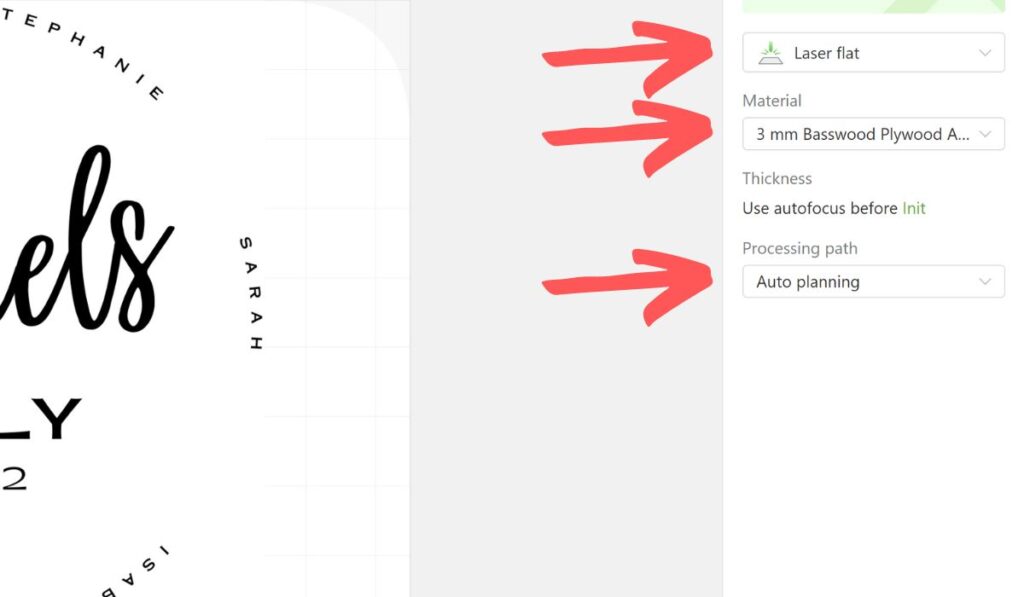
3. Select material settings.
Select the following settings on the right sidebar:
Laser flat
Material: 3 mm Basswood Plywood
Processing Path: Auto planning
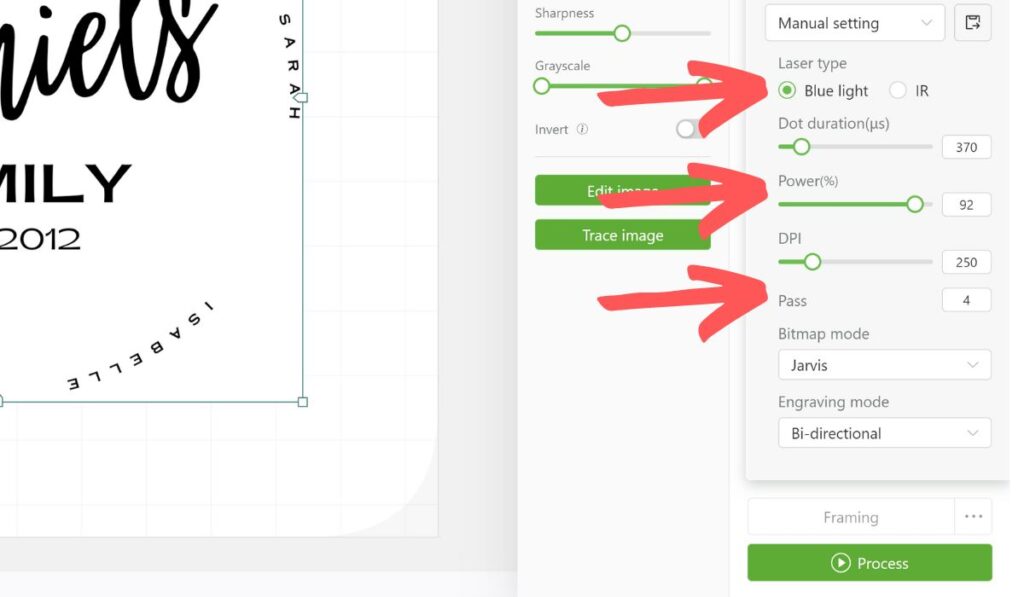
4. Select engraving settings.
Now select the following:
Laser type: Blue light
Power: 92 (this is one you may need to adjust depending on the type of wood you use, but this is the setting that worked for my coasters).
DPI: 250
Pass: 4 (The number of passes will determine the depth of the engraving. Four passes seems to be perfect for this soft wood.)
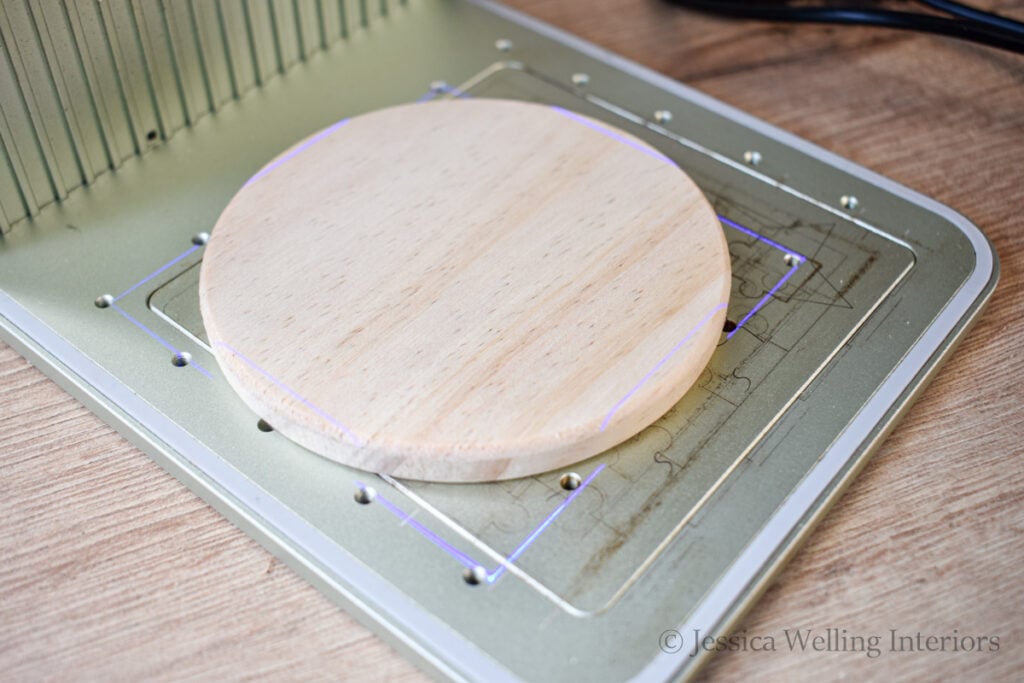
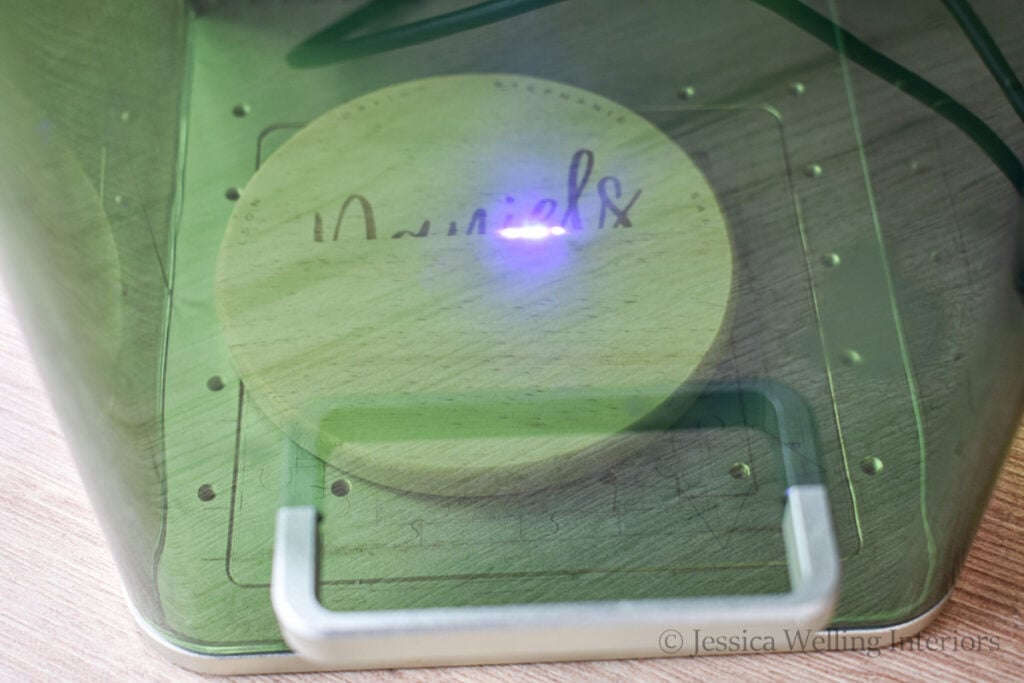
5. Frame.
Click “Framing” in the lower right corner of the screen, then place the coaster on the engraving plate.
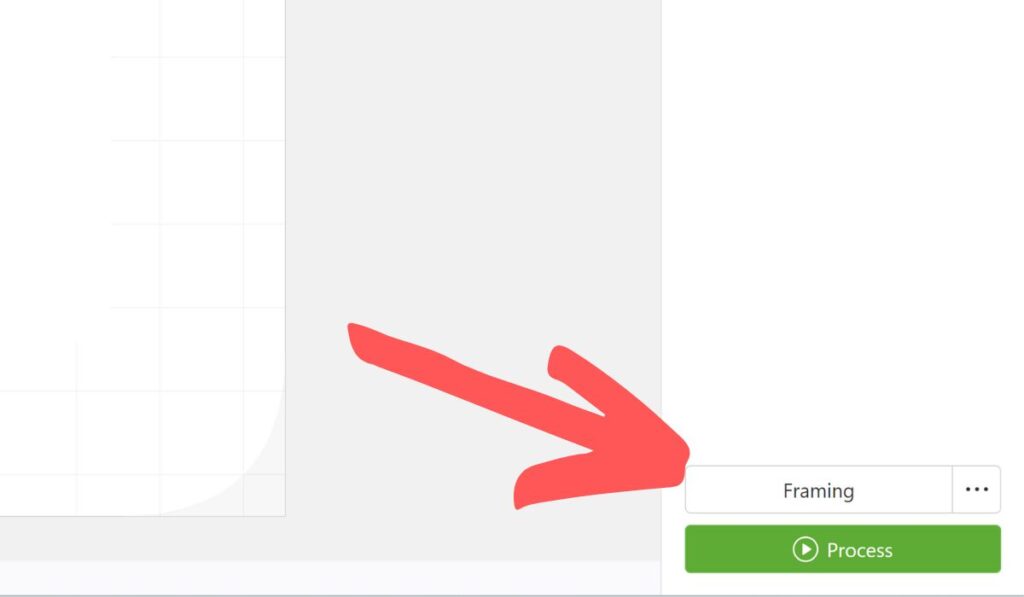

You should see a blue rectangle outlining the area where your design will be engraved. Adjust the coaster so the rectangle (or square in this case) is centered.
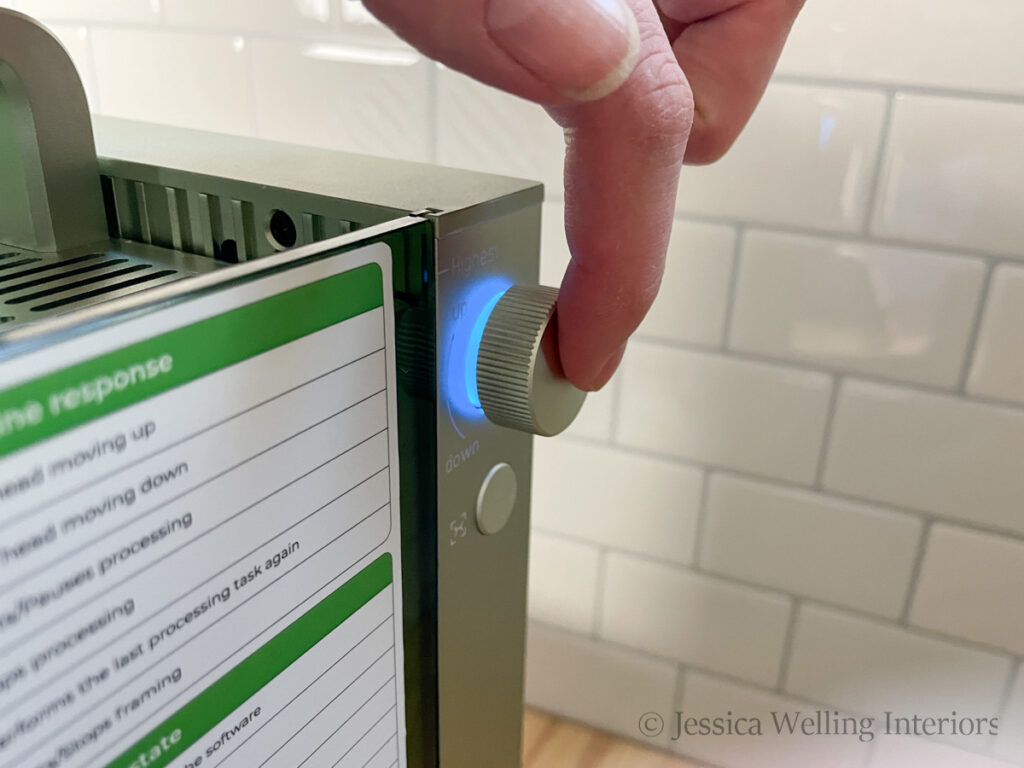
6. Close safety cover.
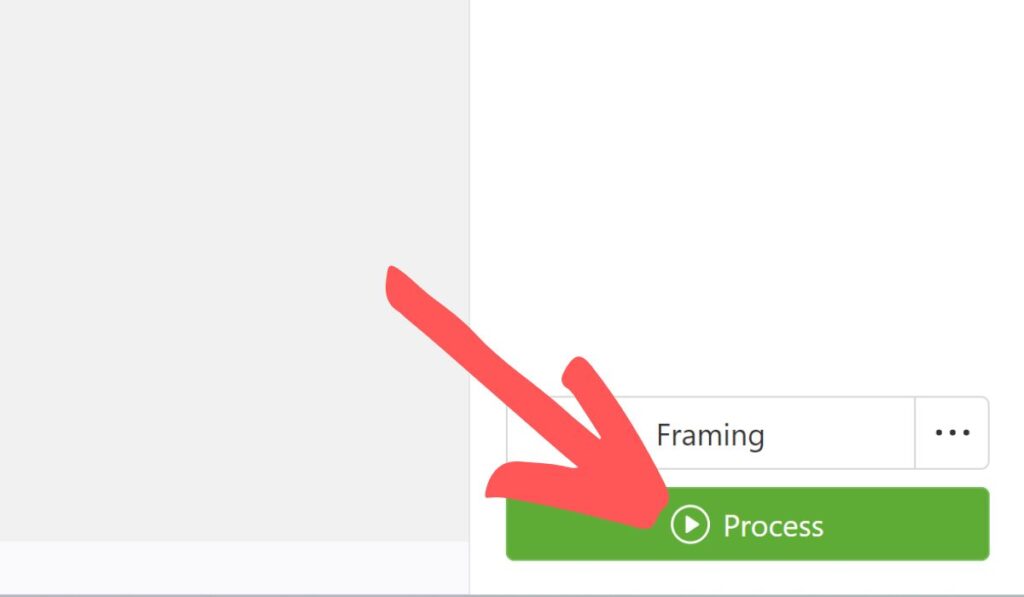
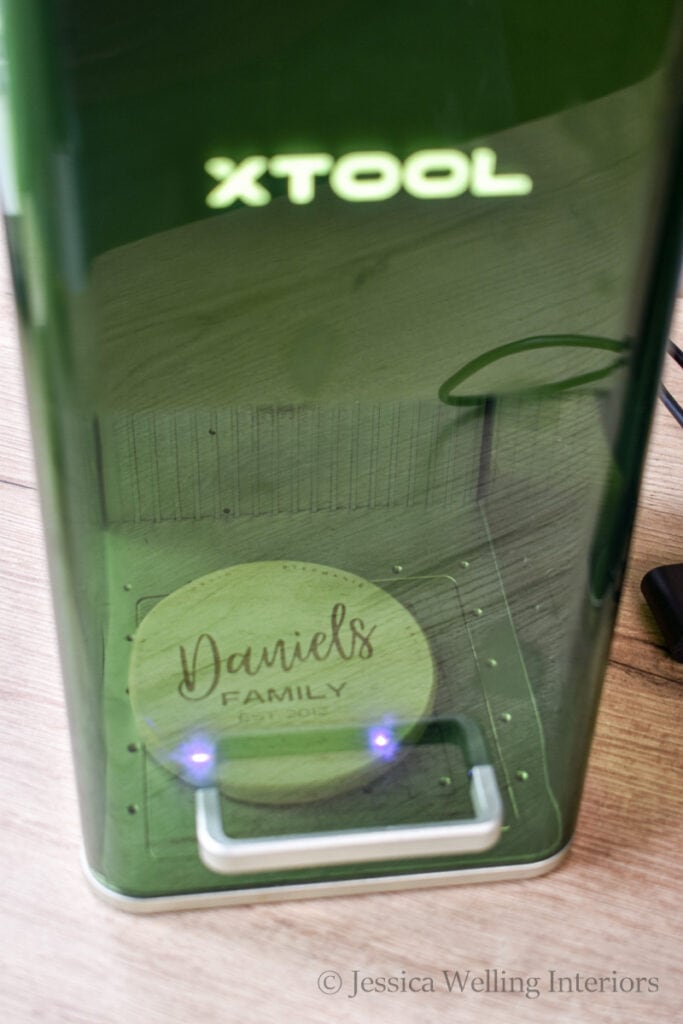
7. Engrave.
Next click “End framing” and “Process”.
You’ll see the window below. Click “Start” in the upper right corner.
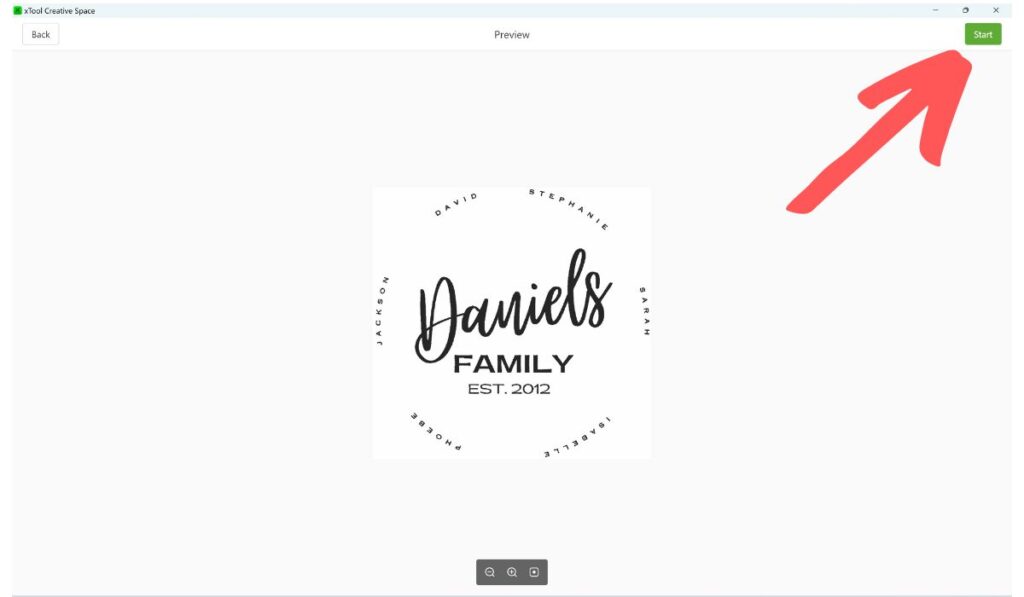
You should hear the machine beep. Press the start button on the right side of the machine.
8. Apply clear coat.
Now it’s time to apply a clear coat to make the coasters waterproof. I’m using Minwax Polycrylic in clear satin, but you can choose whichever finish you’d like.
Use a small paintbrush to apply the first coat, being sure to get it into all the grooves.
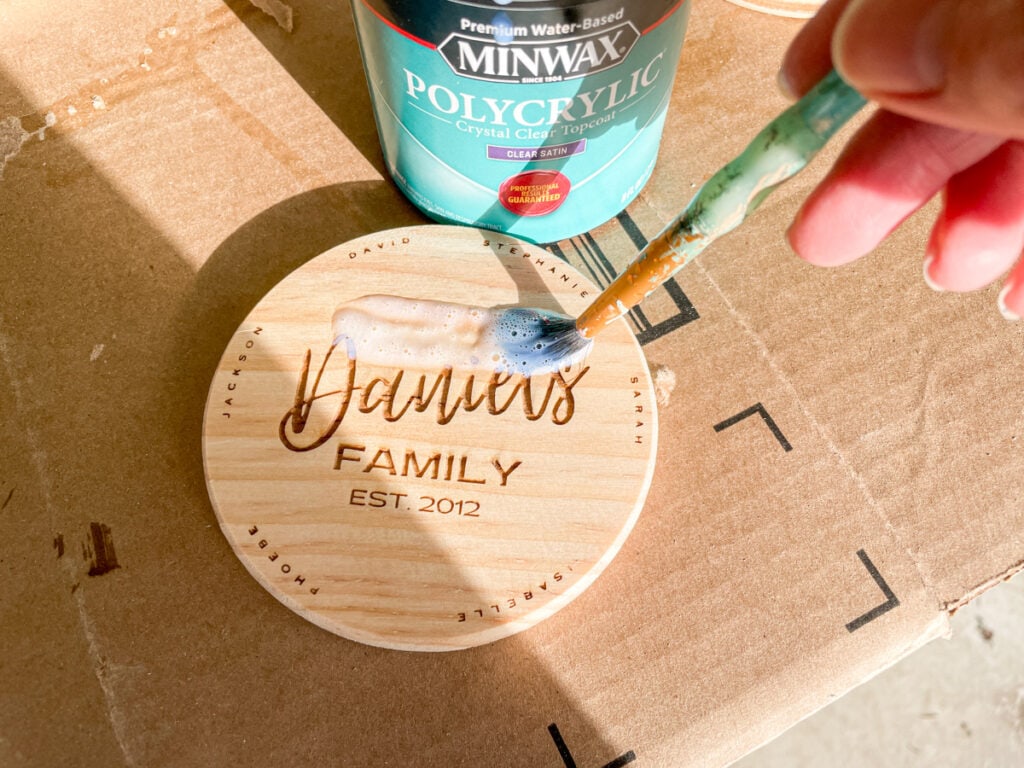
Then let it dry for at least two hours. The bubbles should disappear as it dries.
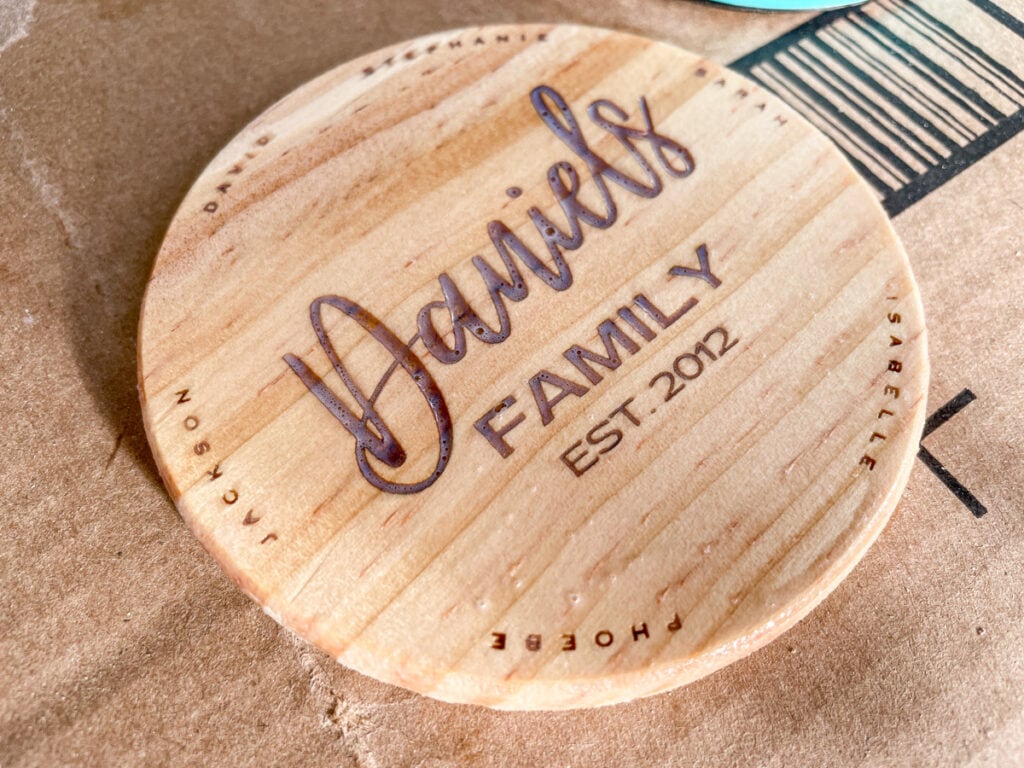
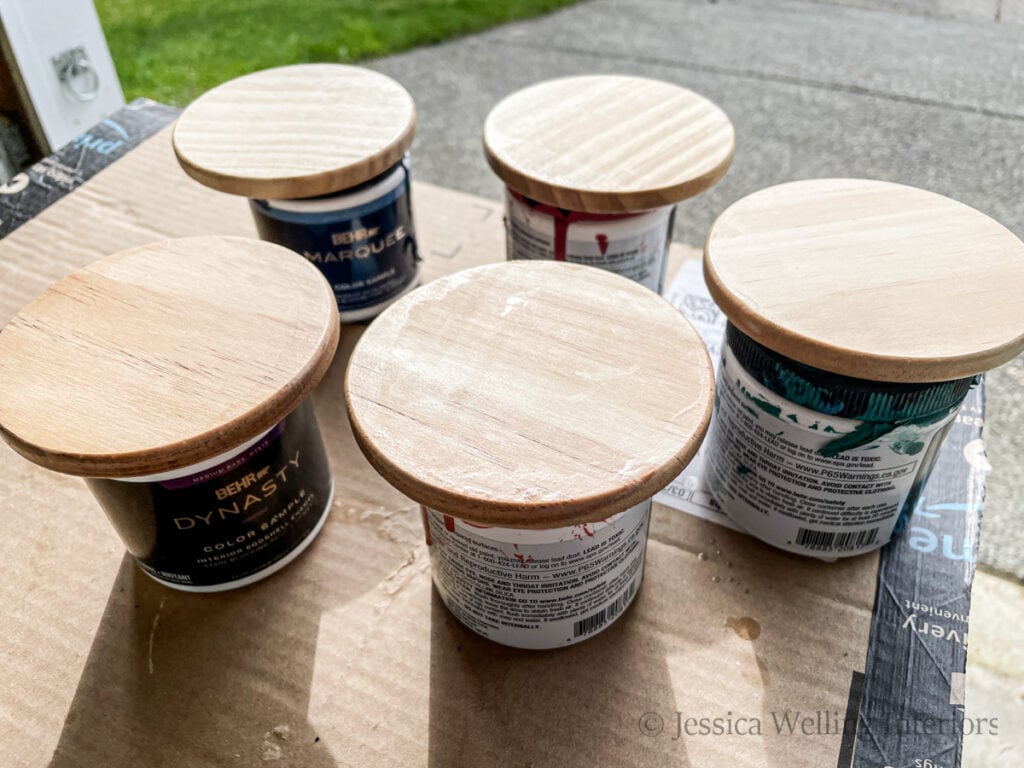
Sand.
Once the first coat is completely dry, you’ll probably notice that some of the wood grain is raised, creating a rougher finish than before. Use a piece of 220 grit sandpaper to lightly sand the surface of the coaster, going with the direction of the wood grain.
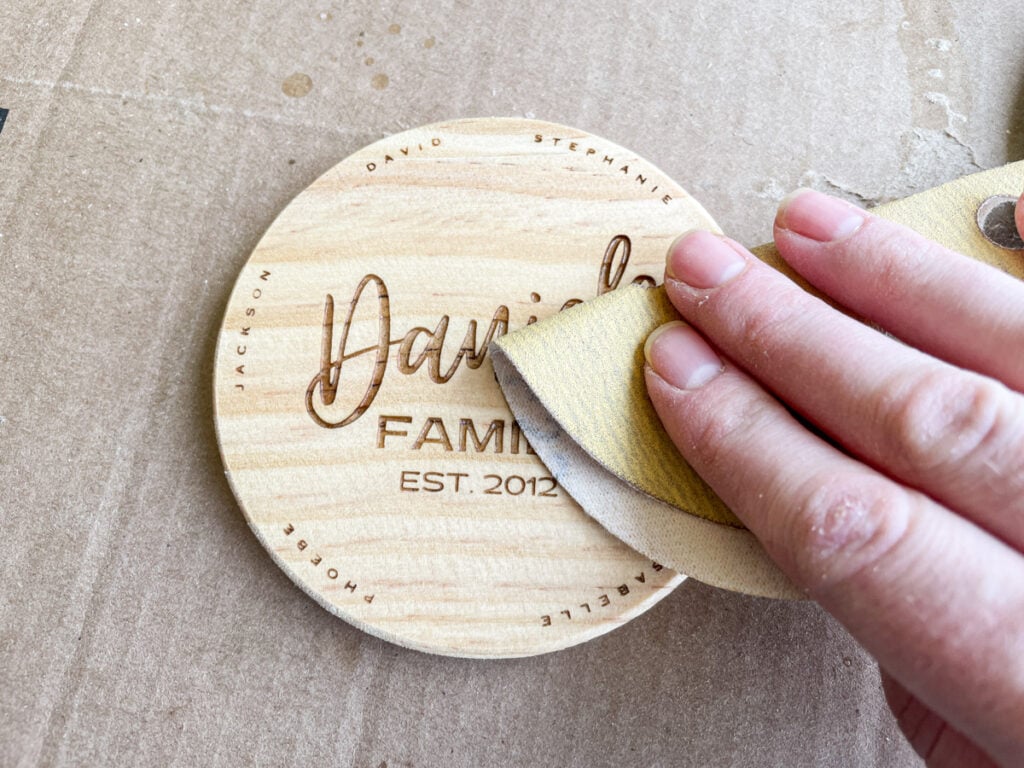
Remove any sanding dust and apply a second coat of sealer. And let it dry again.
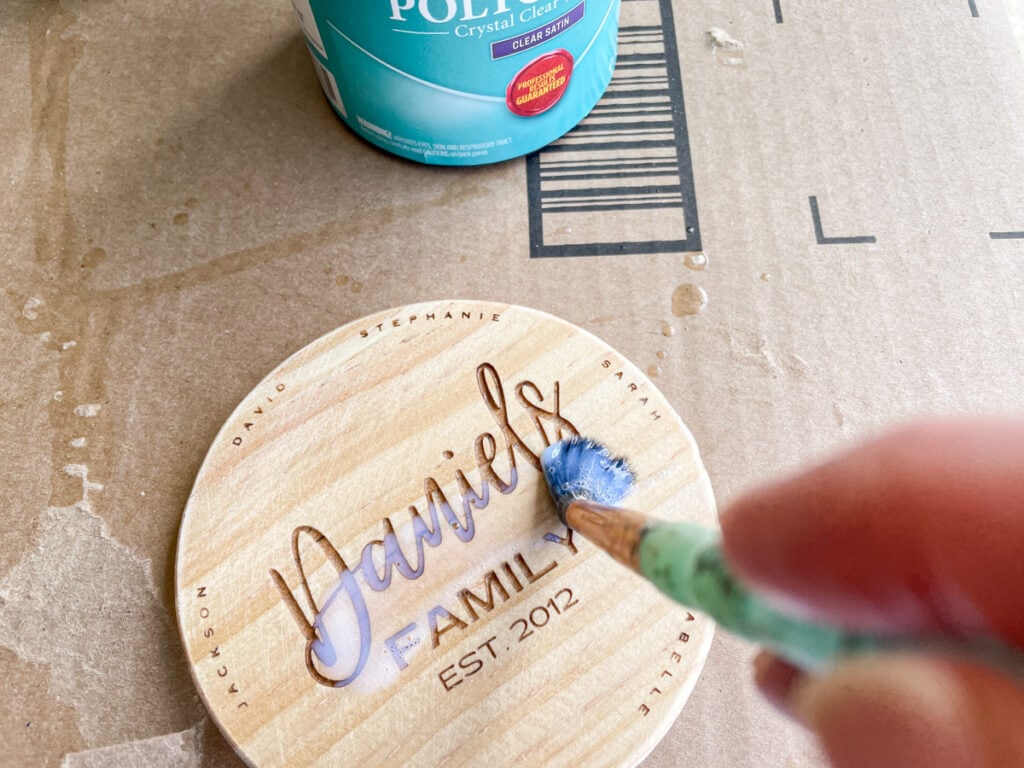
Flip them over and apply sealer to the backs as well.