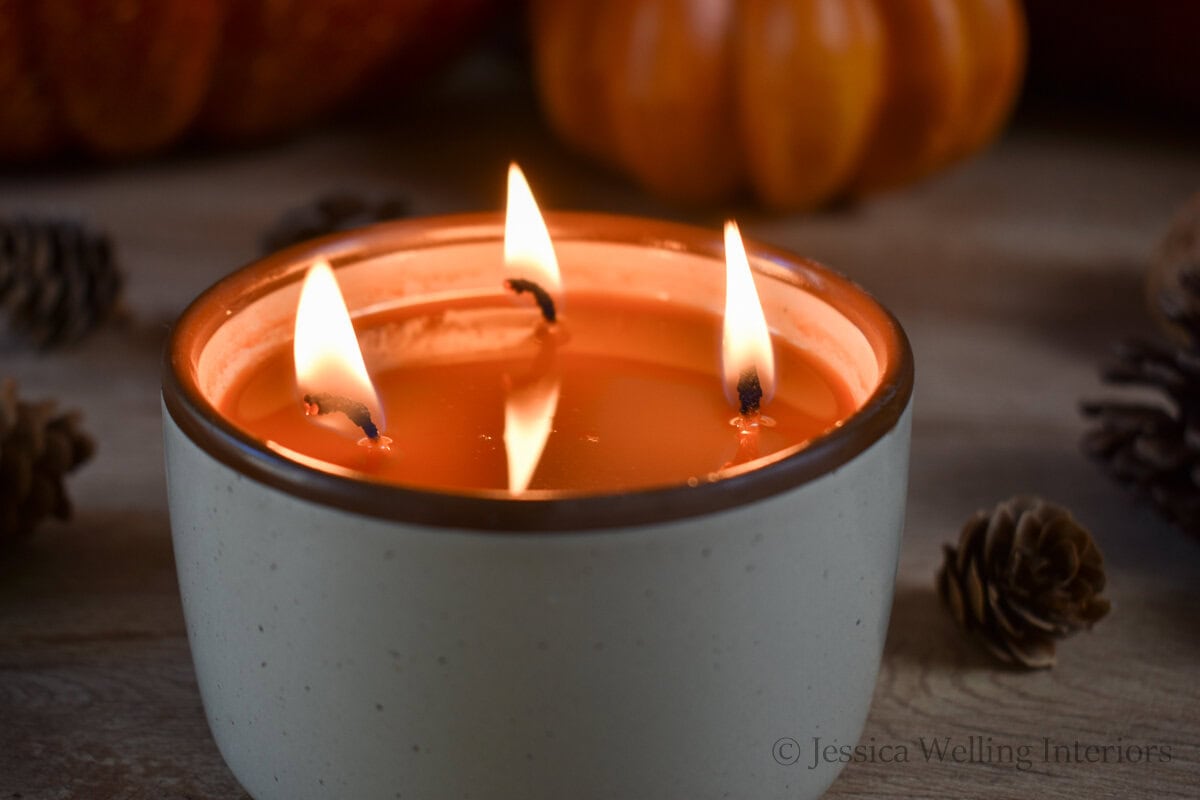
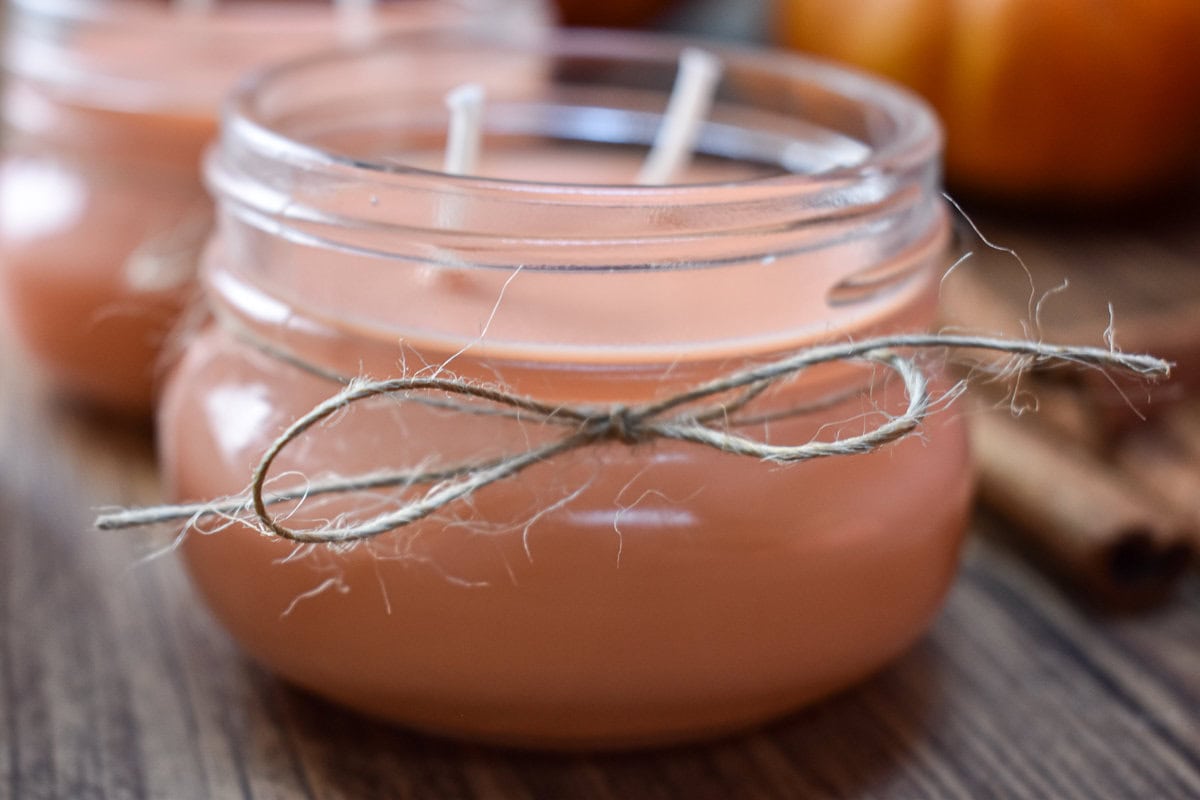
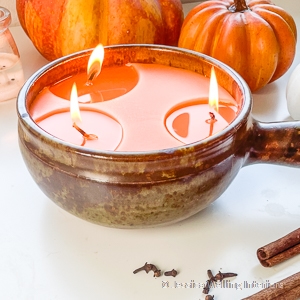
DIY Pumpkin Spice Candles
Make your home smell amazing this Fall with these quick and easy DIY pumpkin spice candles!

Nothing brings cozy Fall vibes to your home like the scent of pumpkin spice… except maybe a fire and some fabulous Fall throw pillows.
I love making scented soy candles because they’re mostly natural and make my home smell sooo good! If you want to make soy candles with other scents and colors, check out this in-depth soy candle tutorial.
Why Use Soy Wax?
Soy wax is a natural product that’s much better for your indoor air quality than paraffin wax. It’s also relatively inexpensive and here comes one of my favorite parts: It cleans up with soap and water! That’s right. If you’ve ever had to clean up after using paraffin wax, you’ll understand why this is a big deal!
To clean up after a soy candle making project, I take any big bits of wax out of my containers, and I put them in the dishwasher. And that’s that.
Supplies
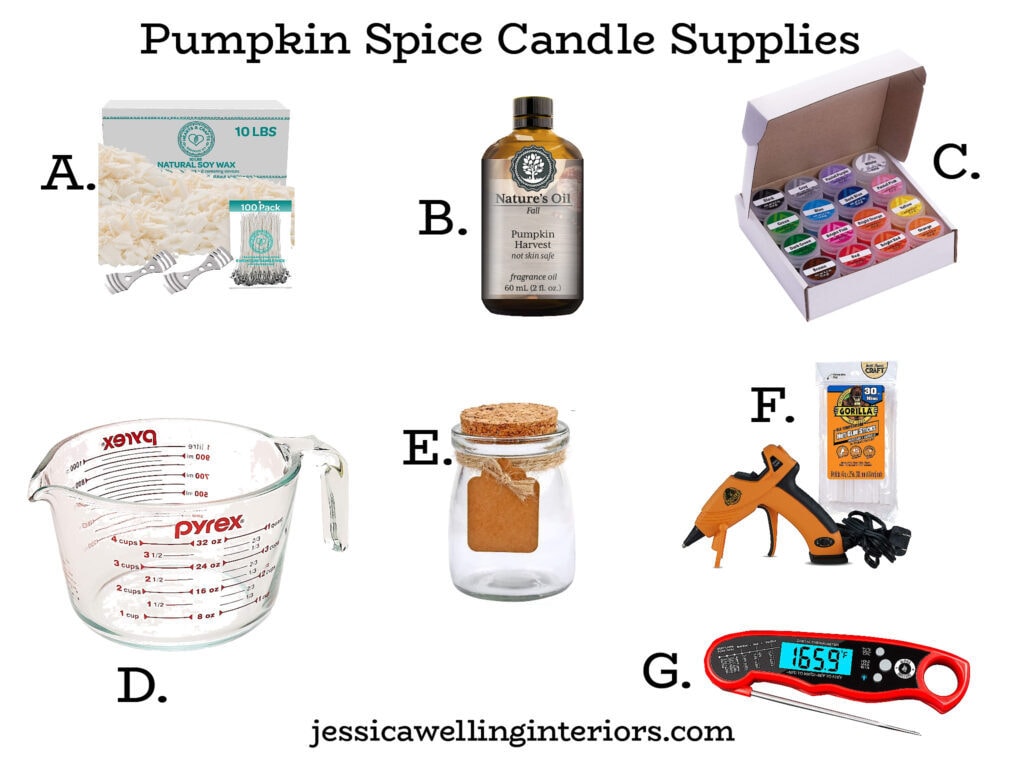
A. Soy Wax Flakes (this is my favorite brand from Amazon)
B. Pumpkin Harvest Candle Fragrance Oil
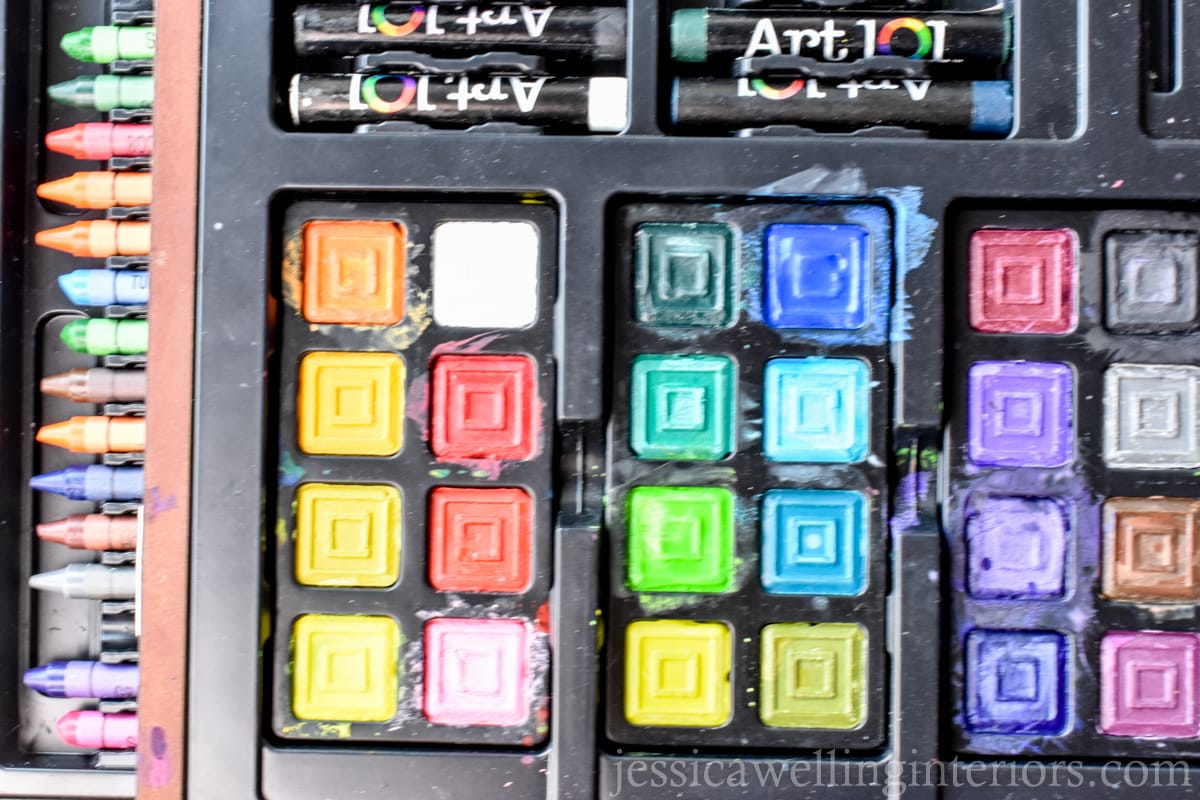
C. Orange Wax Dye (this is my favorite multi-colored kit)
E. Glass Jars
Directions
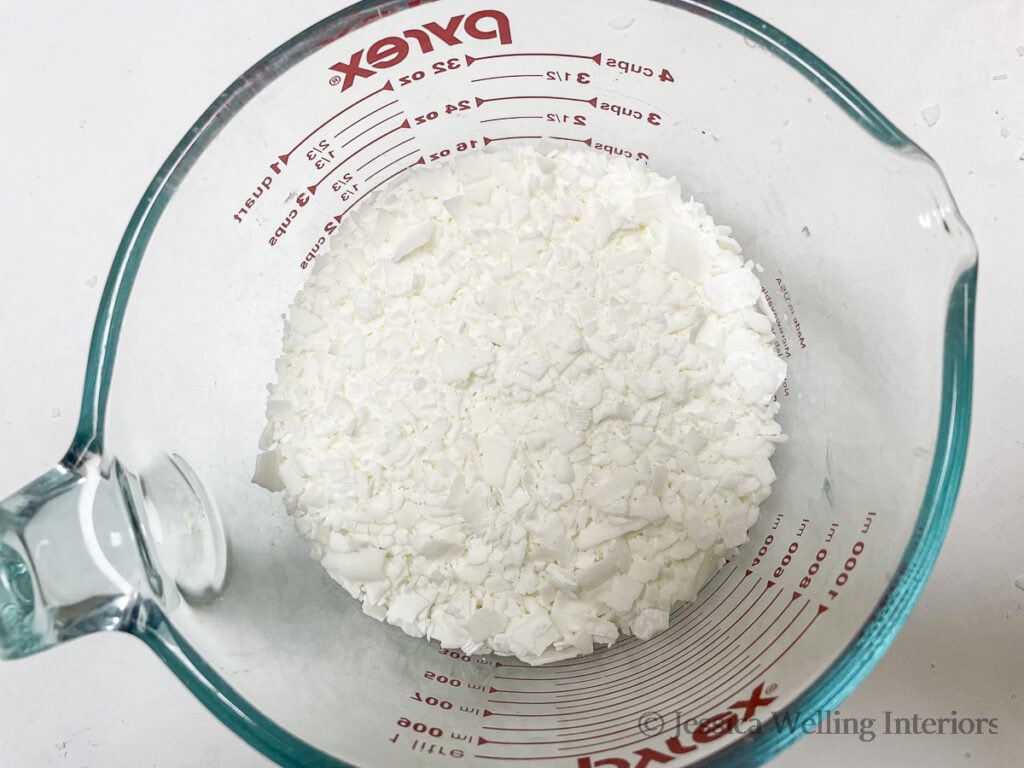
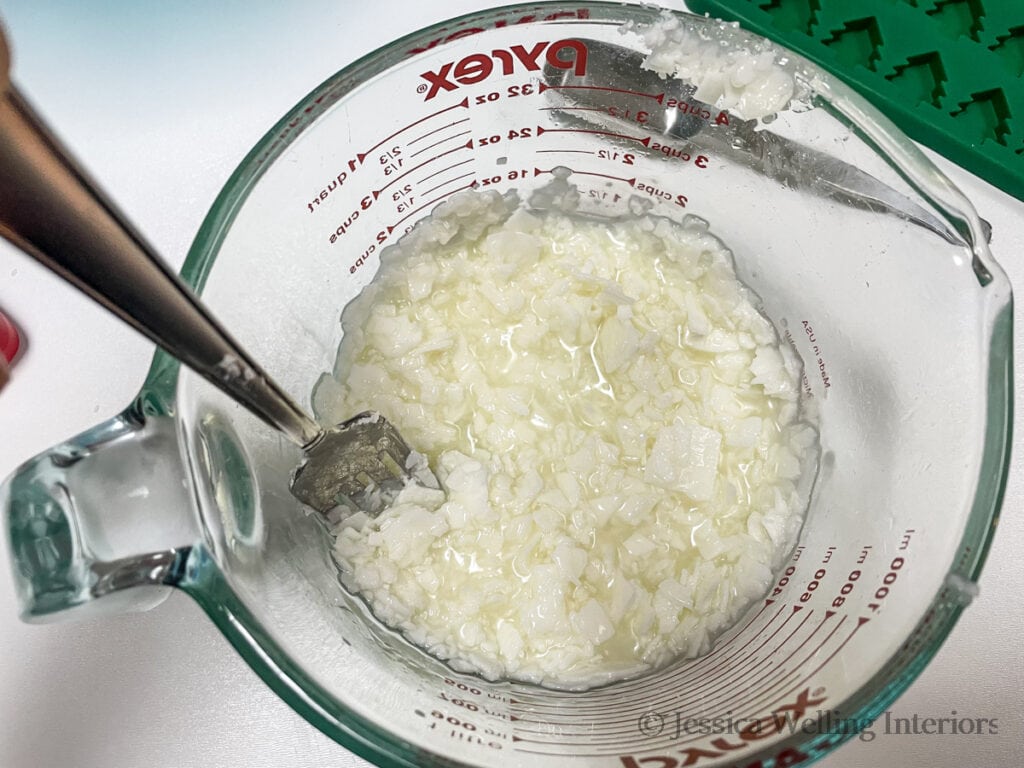
1. Measure the Wax Flakes
I’ve found that soy wax flakes will melt down to about half their original volume. I’m starting with about four cups of flakes to get 2 cups of melted wax.
2. Melt the Soy Wax
I’m using the microwave method for this project because it’s quick and easy and doesn’t require special tools. But you can also set up a double boiler on the stove using a metal pitcher if you prefer. This DIY Fall candle tutorial explains that method in more detail.
Start with one-minute intervals in the microwave, removing the wax to stir it each time. I just use a fork, and it goes into the dishwasher with everything else when I’m done.
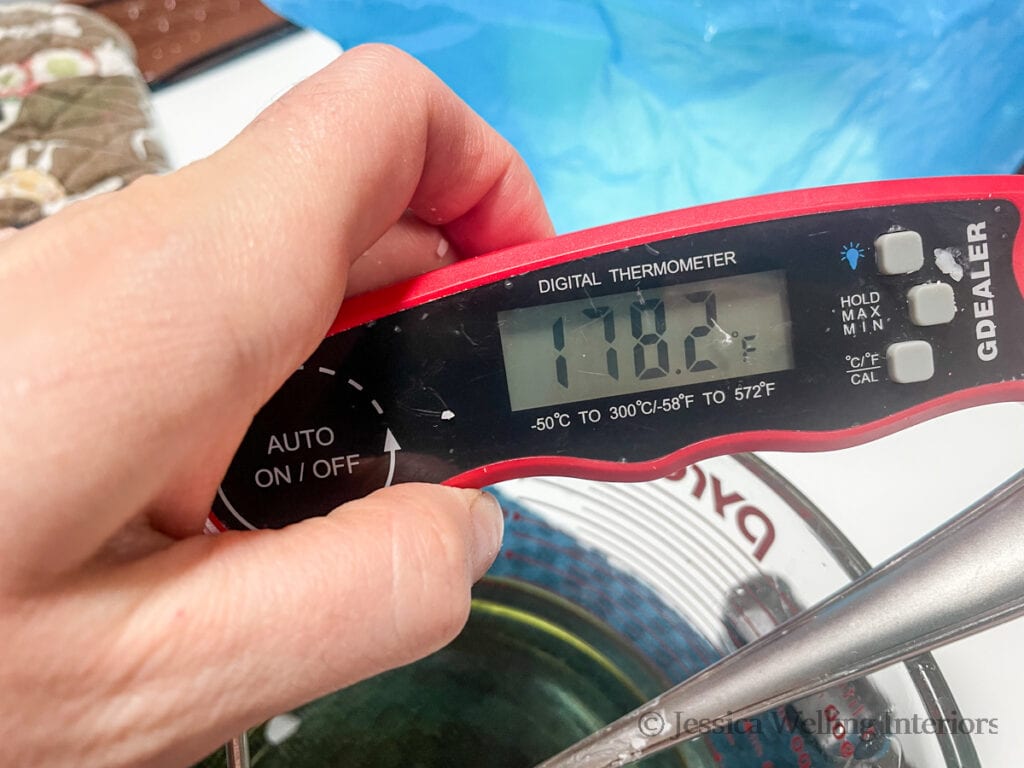
Once your wax is completely melted, test it with a digital thermometer. The target temperature is between 175-185 degrees. Use a digital thermometer like this one to check. If you’re planning to add wax dye, I recommend going toward the higher end of this range to melt and fully incorporate the wax dye chips.
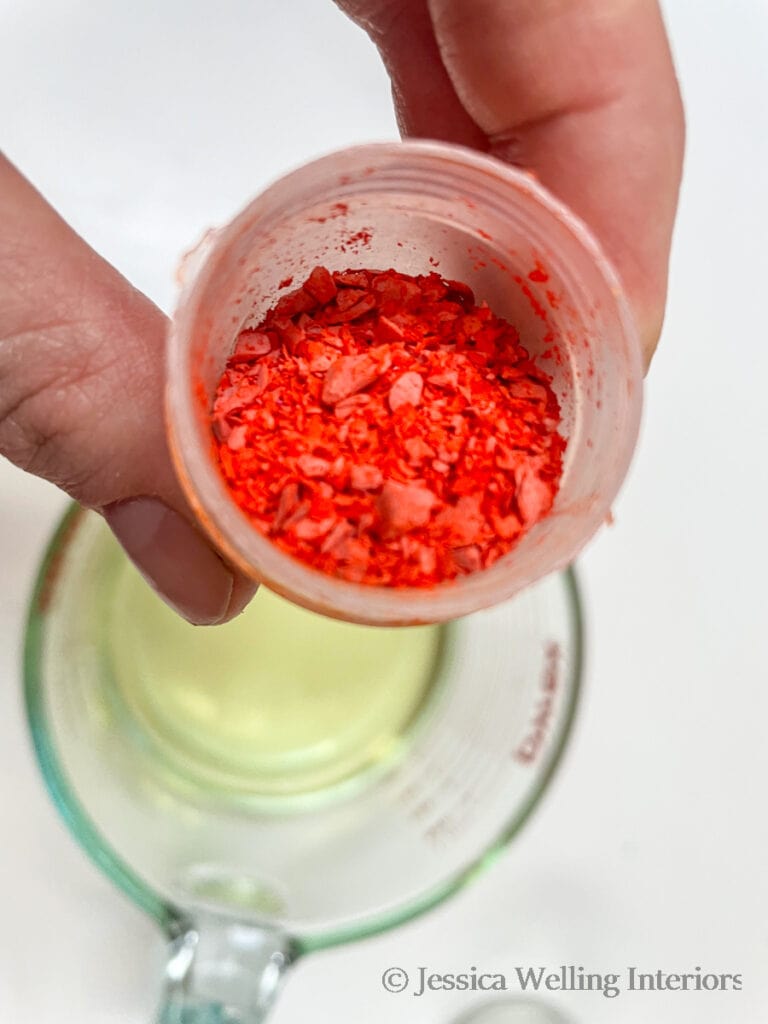
3. Add Wax Dye
I’m using the orange wax colorant from this wax dye kit from Amazon. Sprinkle in a few flakes and stir until you can’t see any specks.
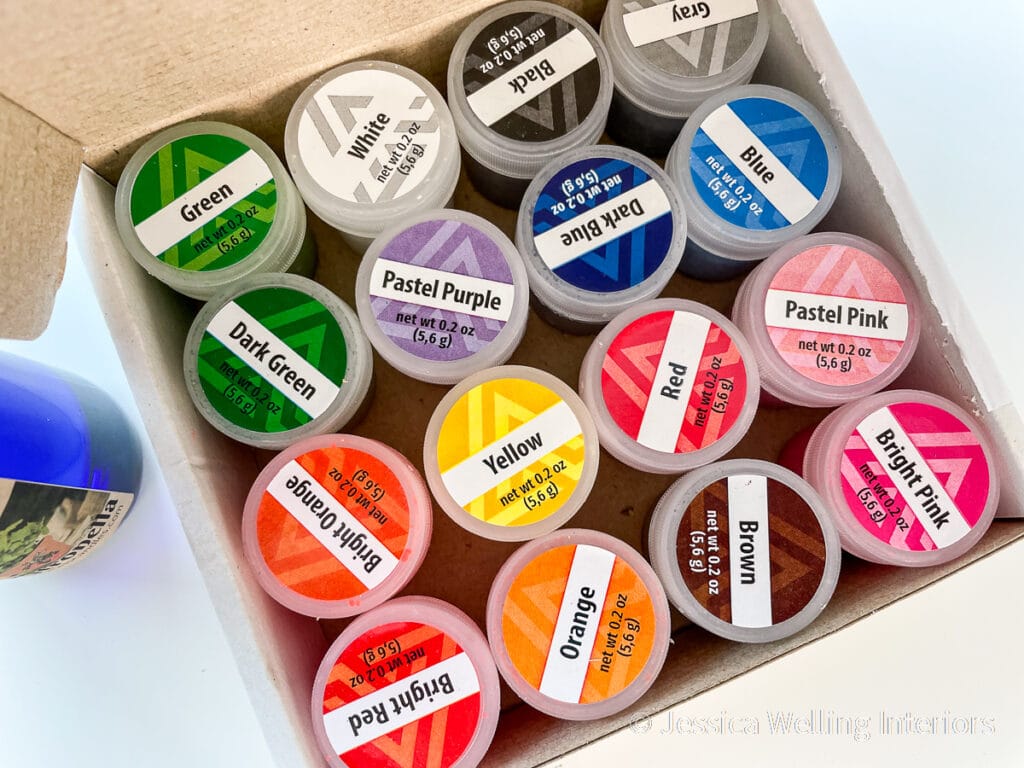
Below you can see that the hot wax is melting the wax dye chips immediately.
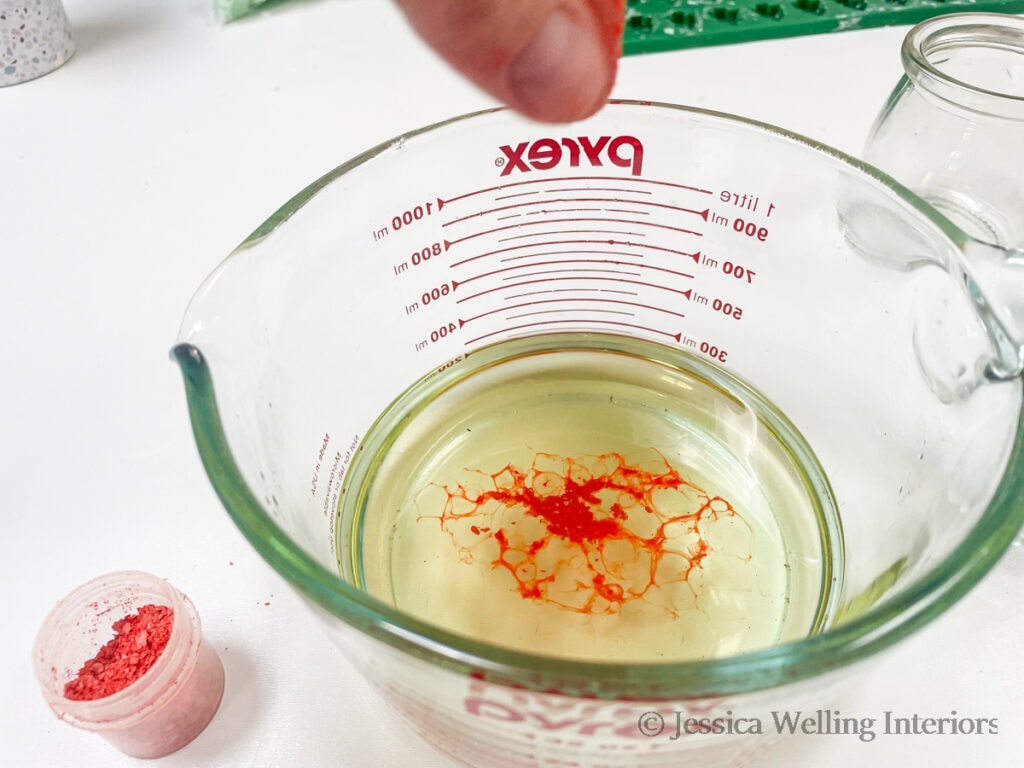
If your dye chips aren’t melting into the wax, then your wax is not hot enough, so pop it back into the microwave for 30 seconds.
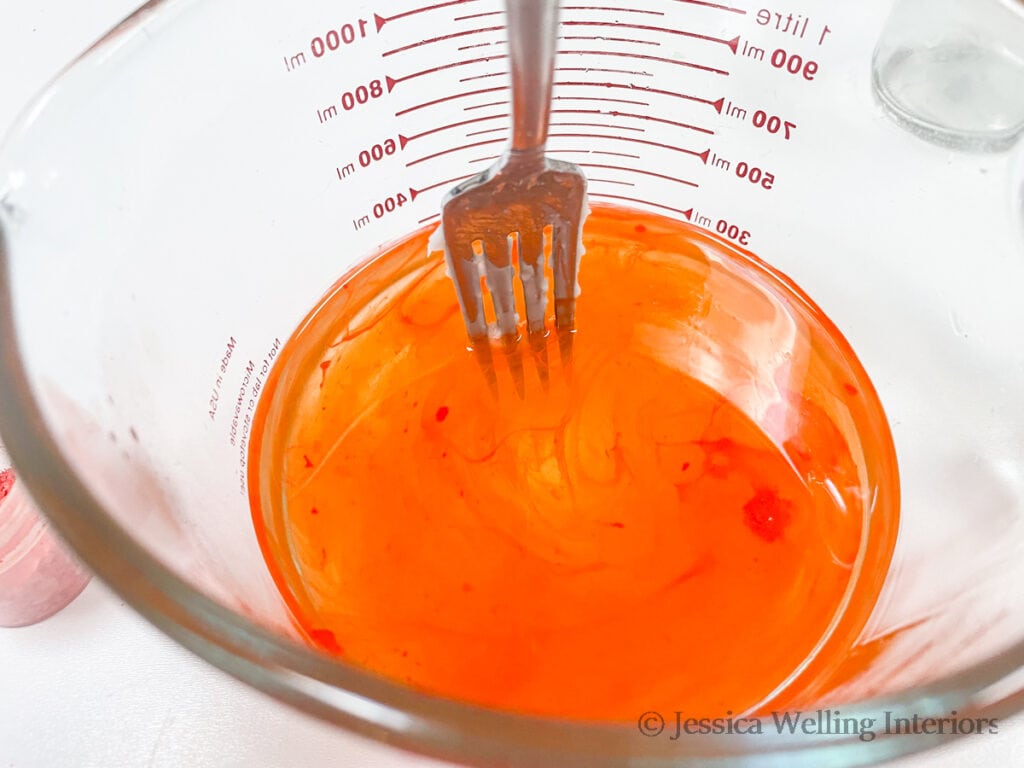
Remember that soy wax will be opaque when it hardens, so the color looks much darker and brighter now than it will once the candle has cooled.
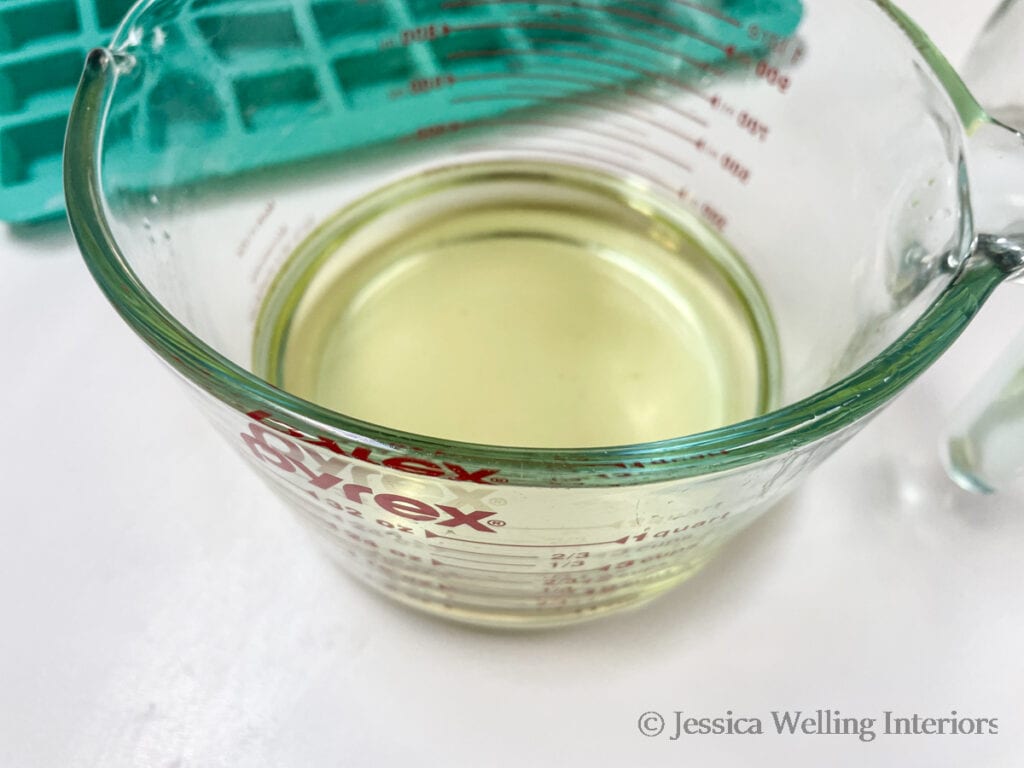
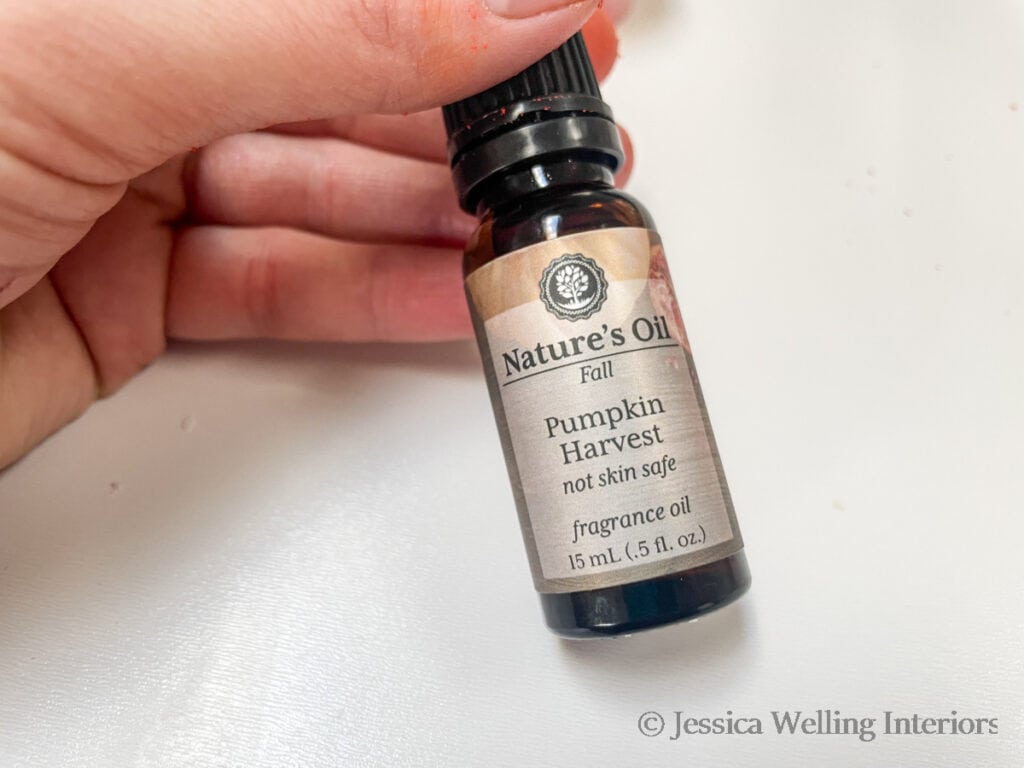
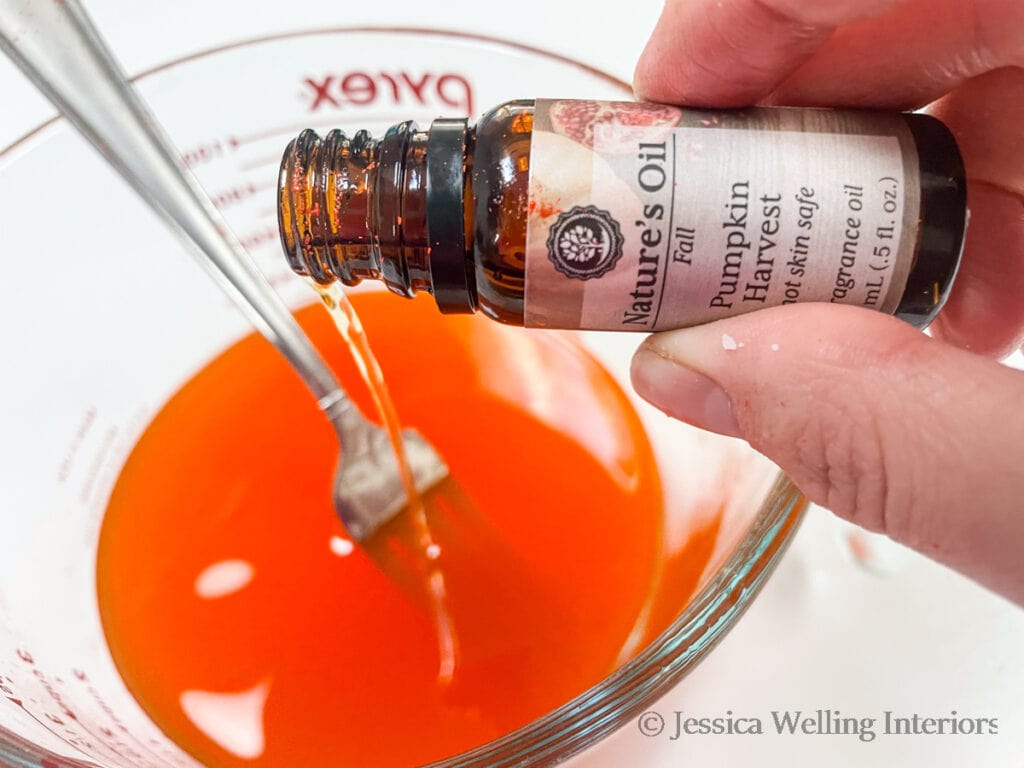
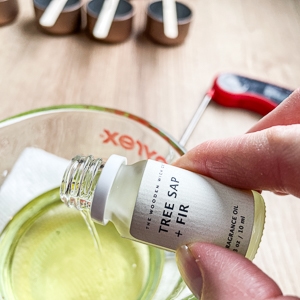
4. Add Pumpkin Spice Candle Fragrance Oil
The ideal temperature to add fragrance oil to soy wax is between 175-185 degrees, so it’s a good idea to take the temperature again and adjust as needed.
If your wax is a little too hot, you can add a small handful of unmelted soy wax flakes to cool it down. If it’s too cool, put it back in the microwave for 30 seconds.
How Much Fragrance Oil Should I Add to My Soy Candles?
One of these 15 ml sample-sized bottles of fragrance oil is perfect for 1 cup of melted soy wax. So the
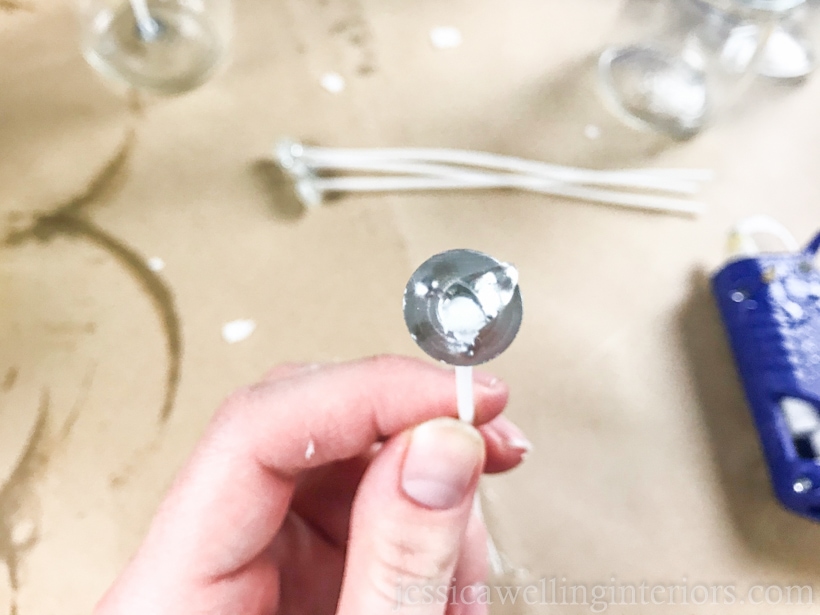
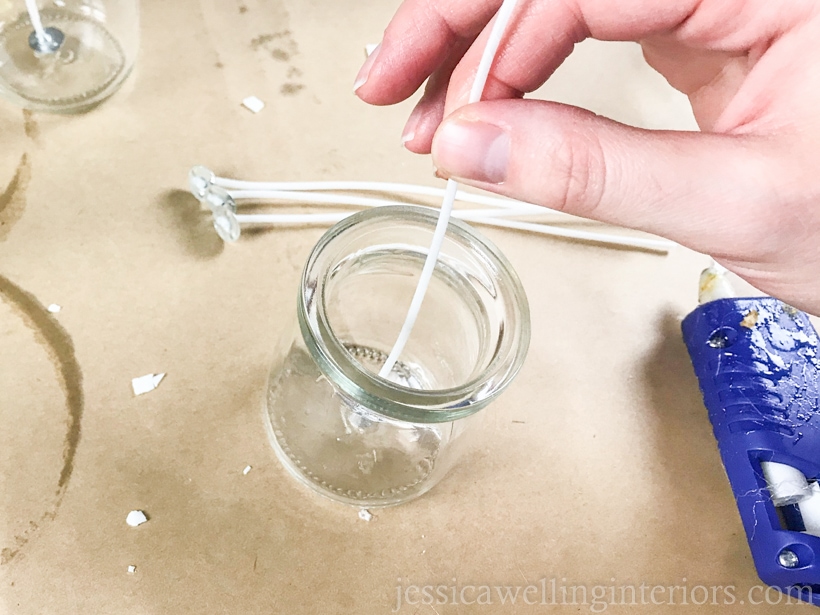
5. Prepare the Wick
These cotton candle wicks came with the soy wax I get from Amazon, so I always have plenty on hand. Some wicks will come with wick stickers you can use to attach the wick to the bottom of the candle container.
If you don’t have wick stickers, use a small dab of hot glue to secure the wick. This is important.
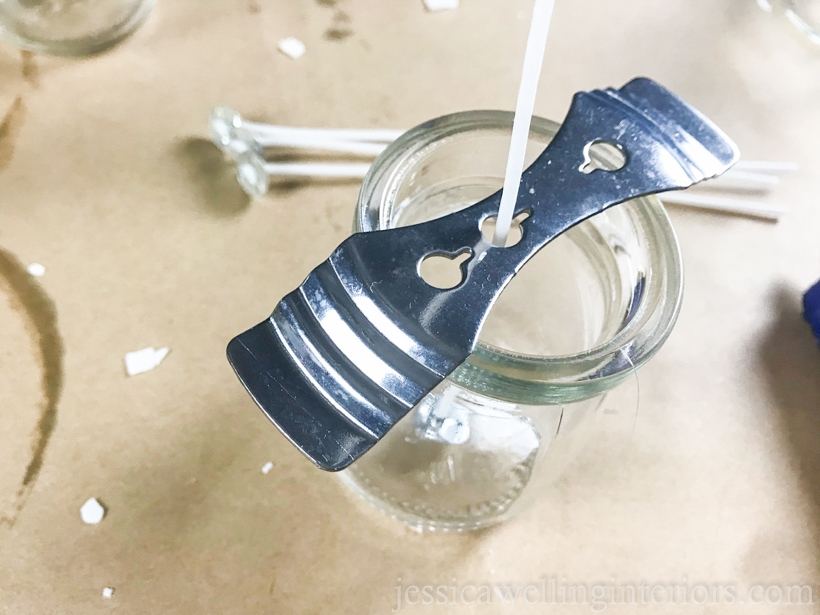
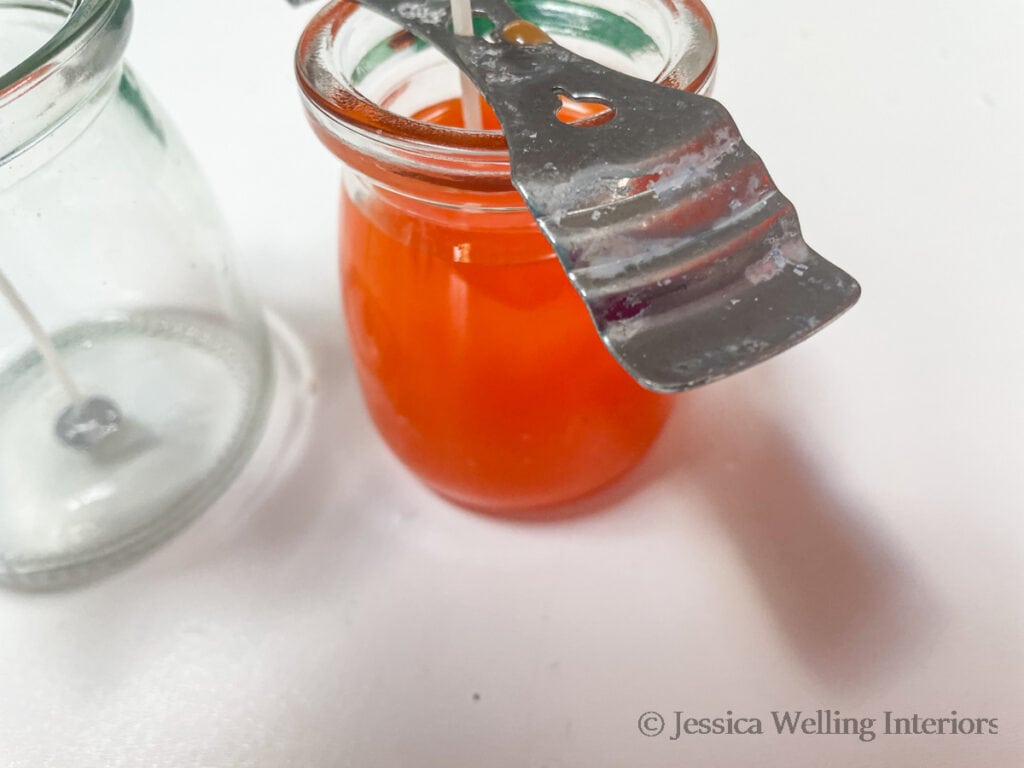
6. Place the Wick Holder
Use a metal wick holder to keep the wick upright in the container. Once the hot wax is poured, the wick will get floppy, so it’s important to keep it in the center until the wax hardens.
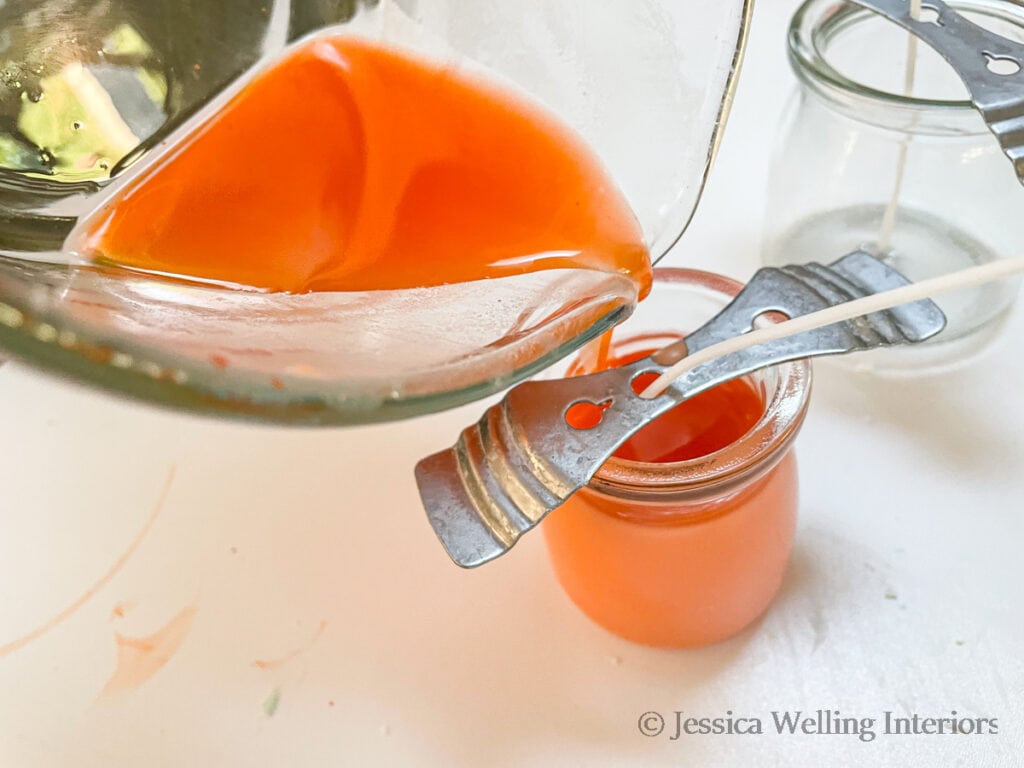
7. Pour the Wax
The ideal pouring temperature for soy wax is about 175 degrees, or slightly cooler. So the scented wax should be ready once the fragrance oil has been stirred in. Carefully pour the hot wax into the jar, leaving about 3/4 inch at the top.
Let this sit, undisturbed for a few hours, until the wax is completely hardened. If you’re making more than one candle, be sure to reserve a little wax in the glass measuring cup for the second pour.
8. 2nd Pour
Once the wax from the first pour is completely cooled and hardened, you may notice that the top of the candle has a sink-hole, small bubbles, or other imperfections. The second pour is just a thin layer of wax poured on top to even out these blemishes and make the top of the candle look pretty.
Re-heat the leftover wax in the microwave and pour a little more into the top of the candle, just enough to cover the entire top surface.
Let this cool completely. It will cool much faster than the first pour did.

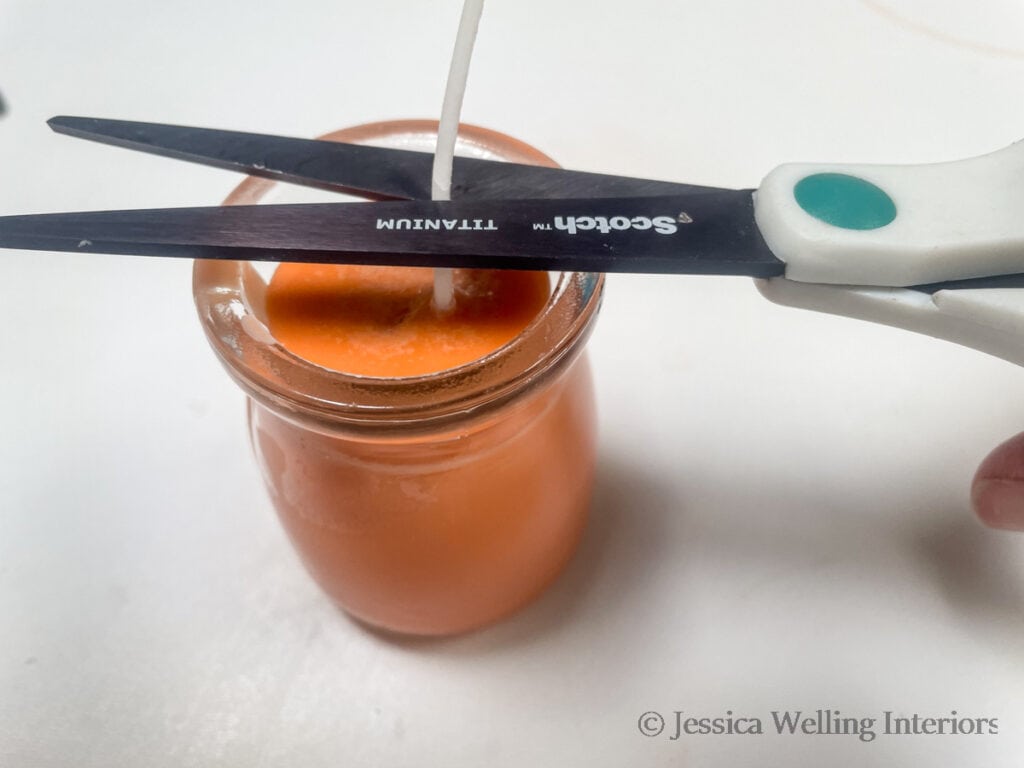
9. Trim the Wick
Once the second pour has completely hardened, use scissors to trim the wick to the desired length. It stick up about 1/2 inch from the top of the candle.
10. Seal & Let it Cure
Whenever possible, I like to use candle containers or jars with lids. Soy candles need at least a few weeks to fully cure and give off the maximum amount of fragrance when burned.
If you don’t have lids, you can cover them with plastic wrap to store them until you’re ready to use them.
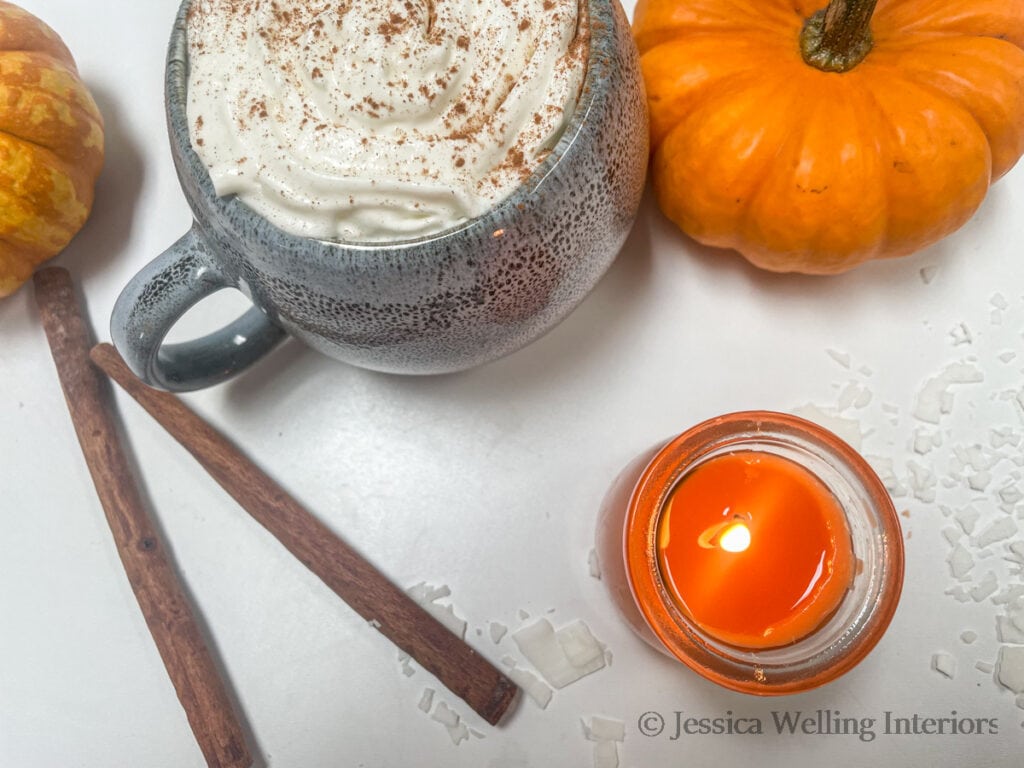
Enjoy!
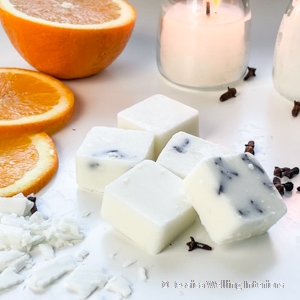
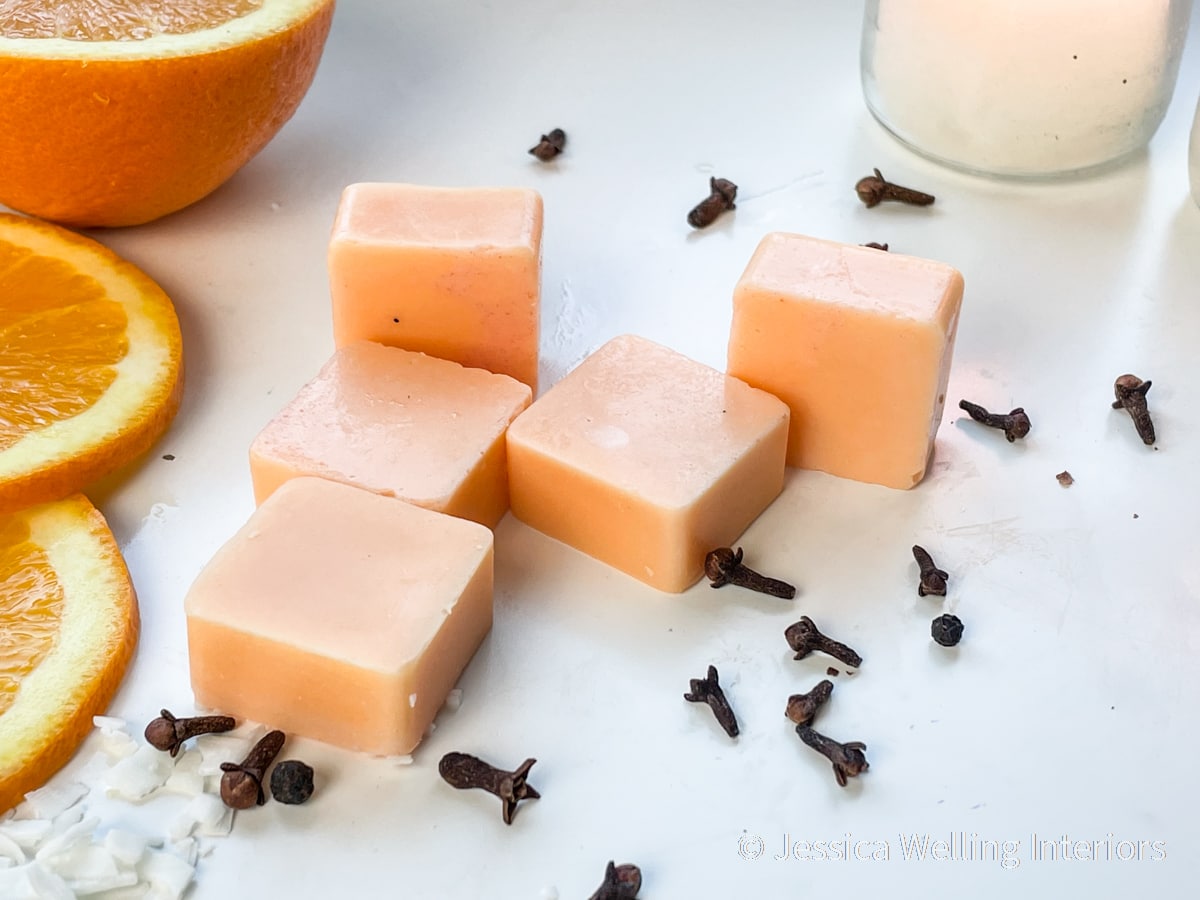
If you have leftover wax, try pouring it into a wax mold to make pumpkin spice scented wax melts with this quick tutorial!
Pumpkin Spice Candles
Instructions
- Measure Wax
- Melt Wax
- Add Color
- Add Fragrance
- Prep Wick
- Place Wick Holder
- 1st Pour
- 2nd Pour
- Trim Wick
- Cure
More DIY Candles & Wax Melts…
The Best Fragrance Oils for Candles (That Actually Smell Good!)
How to Make Scented Candles for Fall
Easy Orange Clove Soy Wax Melts