
DIY Bubble Bath Bombs
Make your own bubble bath bombs using all natural ingredients with this fun tutorial! These make perfect gifts or enjoy them yourself!
What could be more fun than bubbling bath bombs? Nothing. These beauties are perfect to give as gifts. Or better yet, enjoy them yourself!
Making your own all-natural bath products can get a little pricey because there are a few ingredients here that you probably don’t just have sitting around. If you’re looking to make simpler and/or less expensive DIY bath products, I recommend starting with my all-natural homemade bubble bath recipe or this ultra-simple homemade bath salt recipe.
Of if you want to make basic bath bombs that still fizz but don’t create bubbles, check out this tutorial:
How to Make Bubble Bath Bombs
Bubble Bath Bomb Ingredients
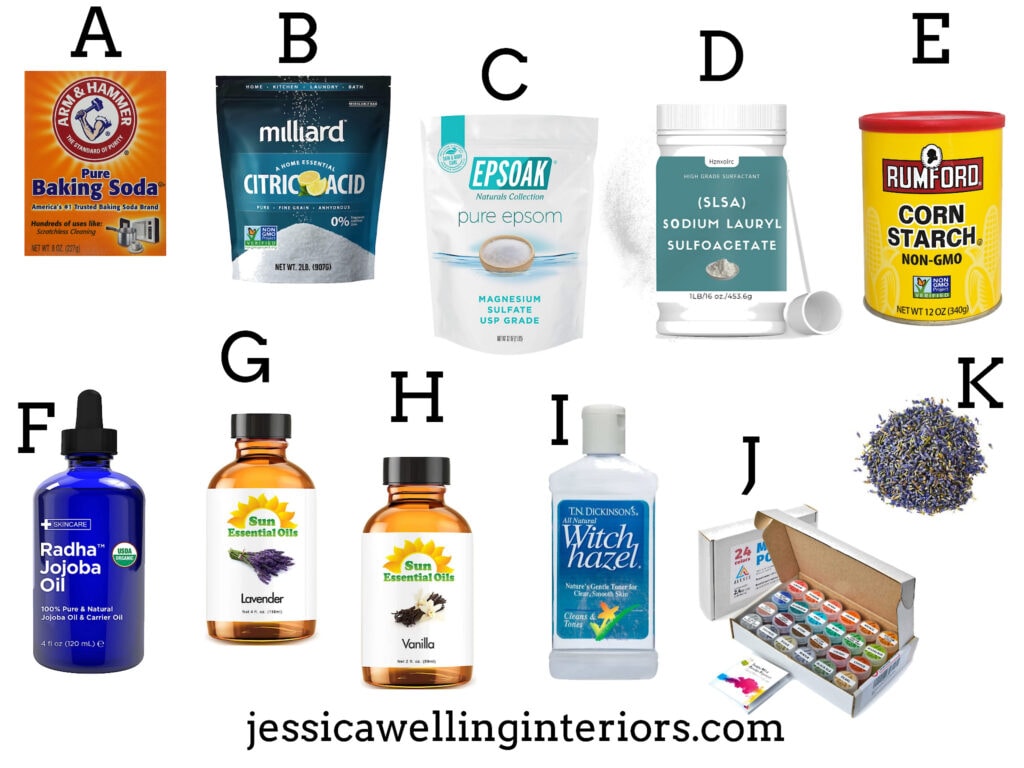
A. baking soda
B. citric acid
D. SLSA (sodium lauryl sulfoacetate)
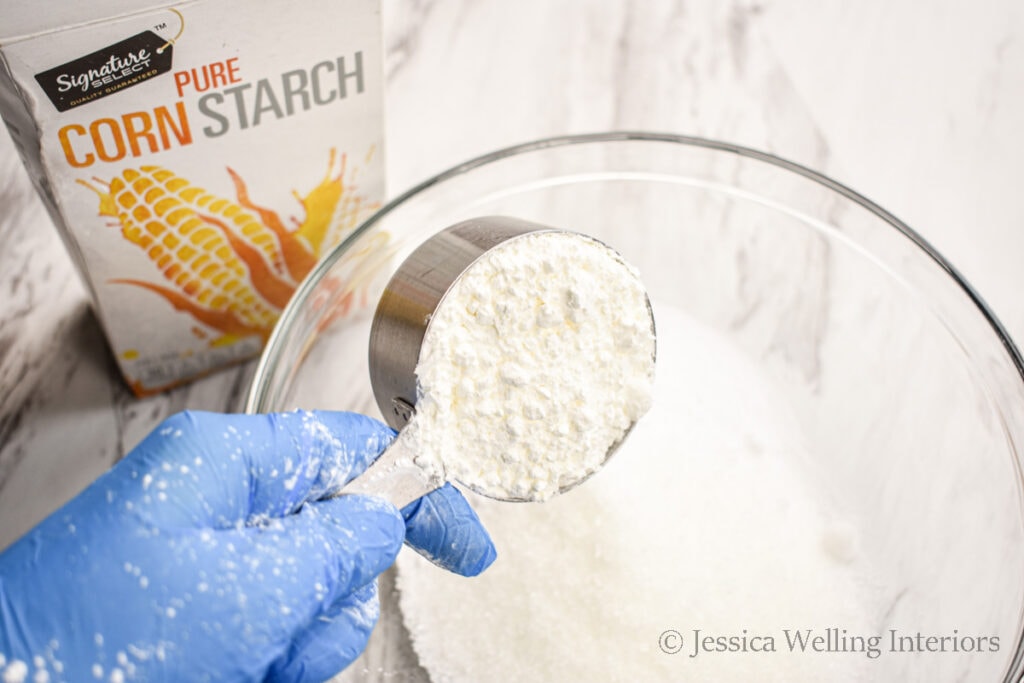
E. cornstarch
F. jojoba oil
I. witch hazel
J. colored mica powder (optional)
Tools & Materials

B. measuring cups & measuring spoons
C. face mask
F. bath bomb molds (I like this set from Amazon because it comes with 3 different sizes)
Directions
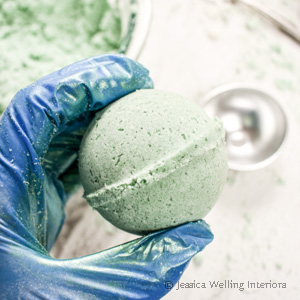
Be sure to put on a mask and gloves before you begin. The SLSA is a very fine particulate and it makes me sneeze and cough every time I use it.
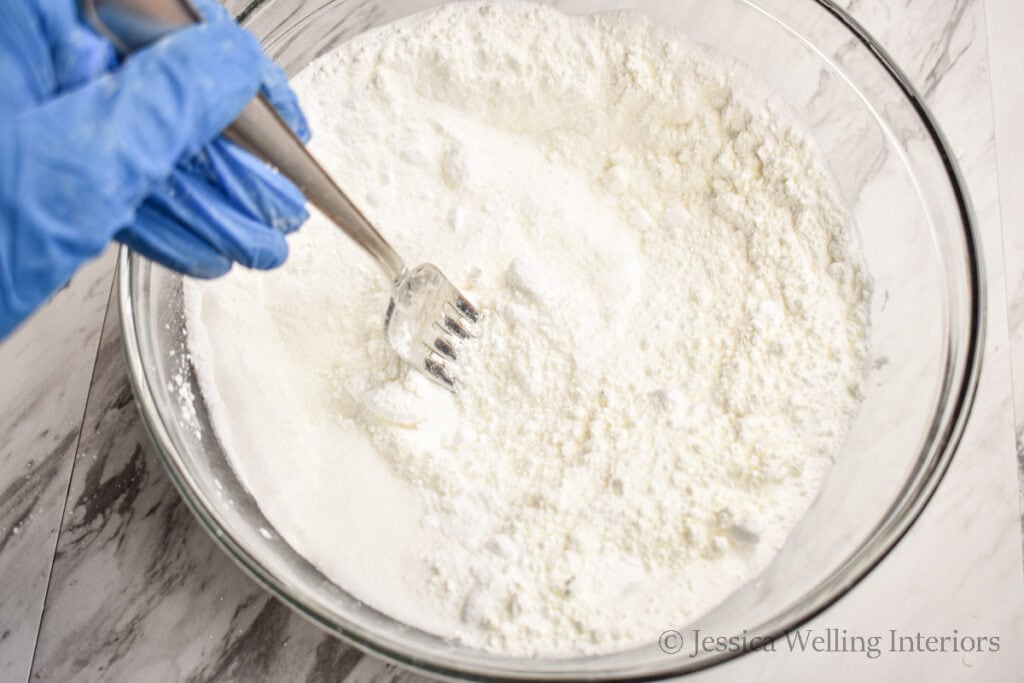
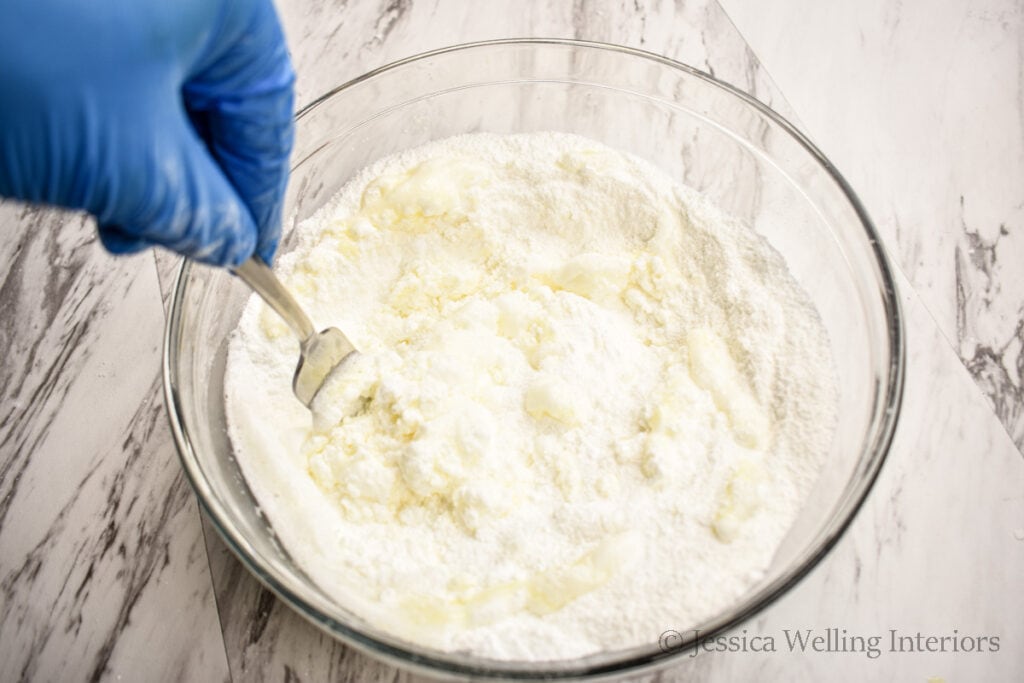
1. Combine dry ingredients.
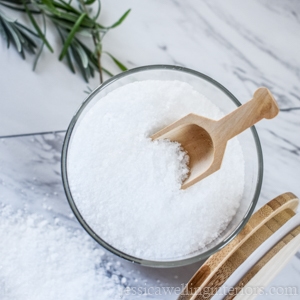
Combine the baking soda, citric acid, epsom salt, SLSA, and cornstarch in a large mixing bowl and stir it carefully with a fork, making sure not to create a big cloud of powder.
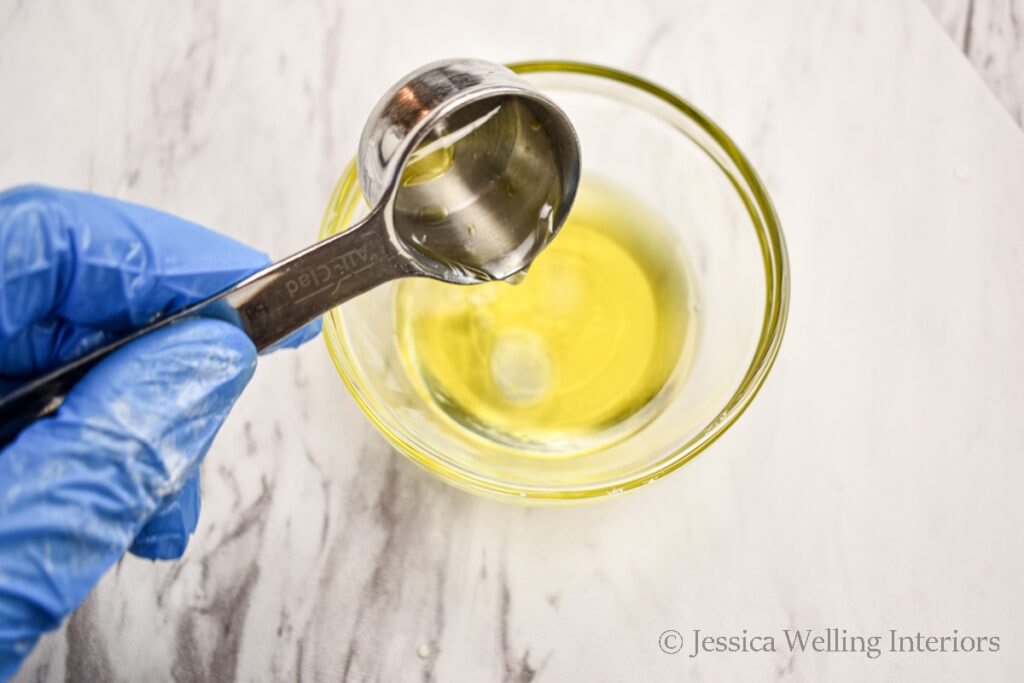
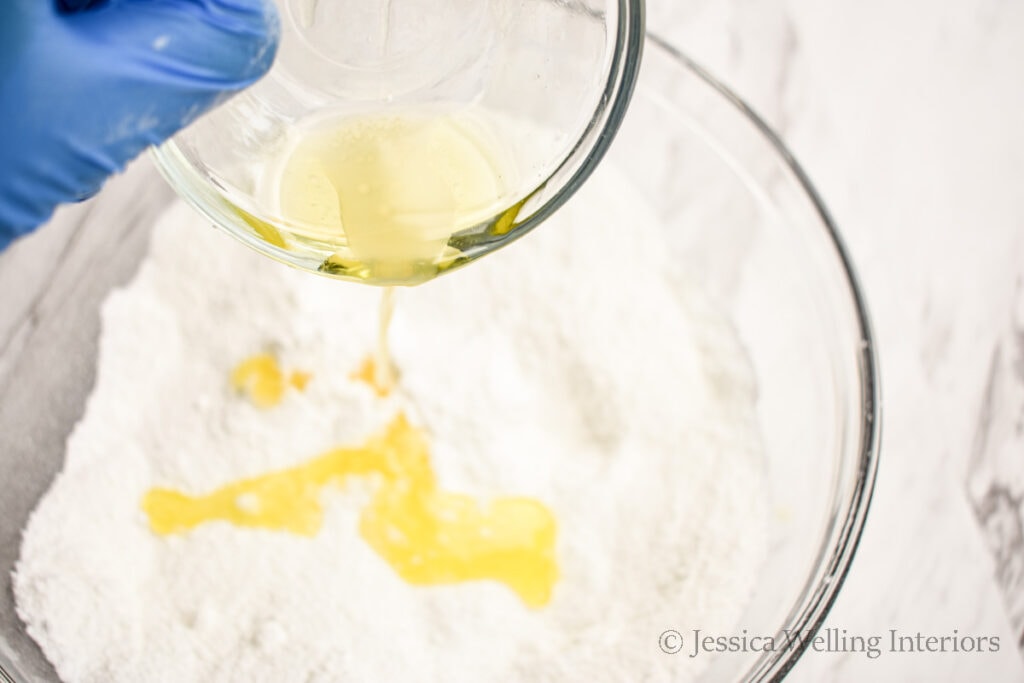
2. Combine wet ingredients.
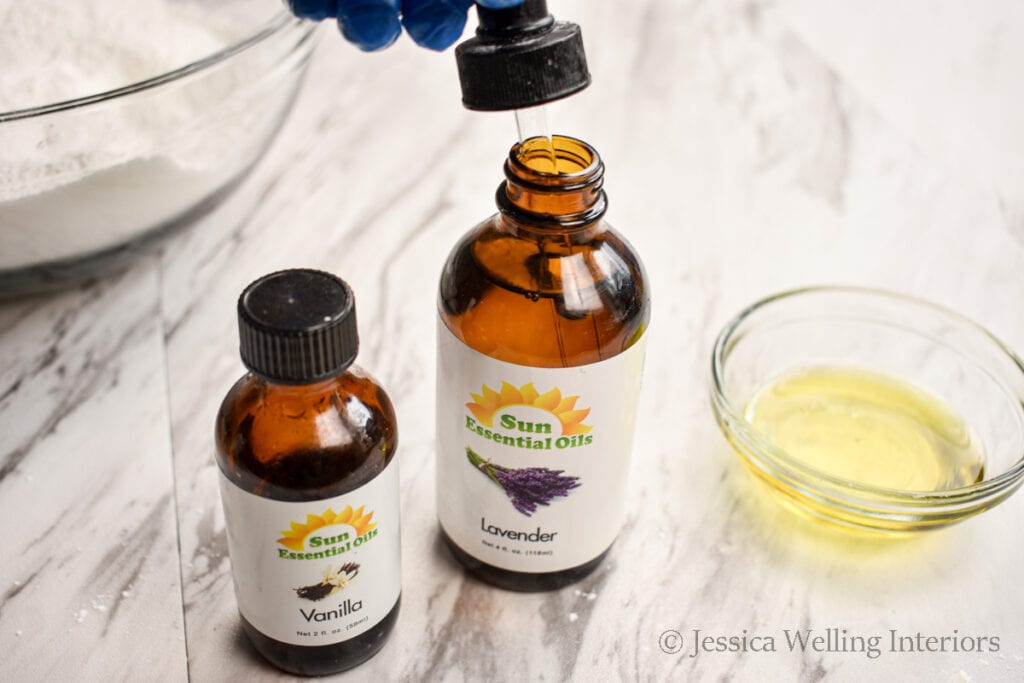
Add the jojoba oil, polysorbate, cold water, and essential oils to a small bowl and stir. Note: I don’t recommend using liquid food color, but if you do, you’ll want to add it during this step.
3. Add wet ingredients to dry ingredients.
Pour the wet ingredients into the dry ingredients. The water will activate the baking soda and citric acid a bit, so it’s normal to see a little bit of foaming. Stir it with a fork.
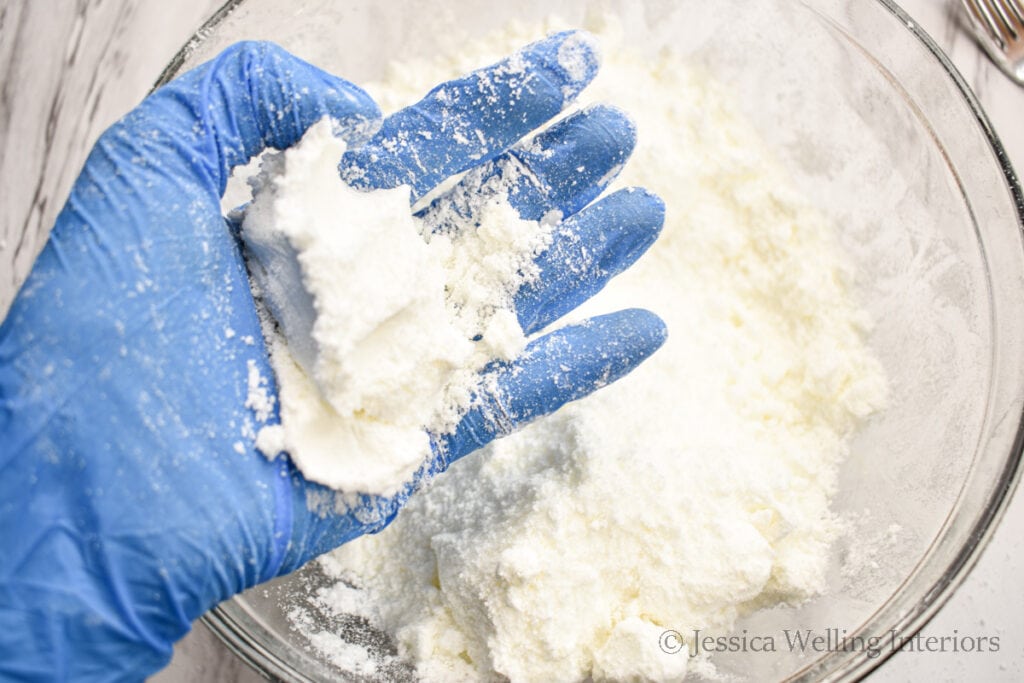
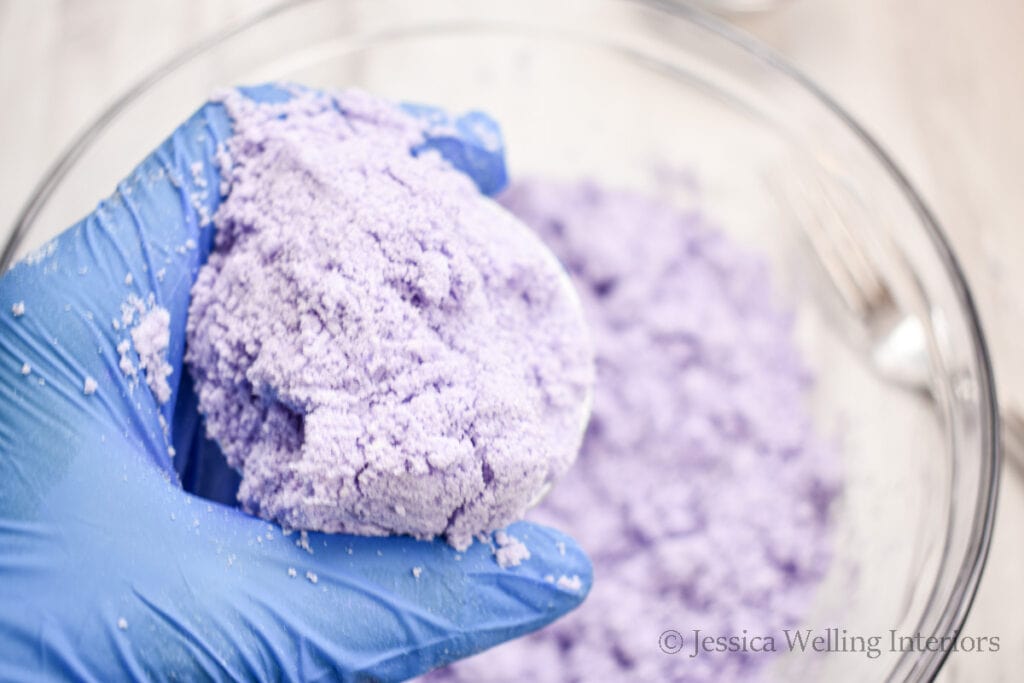
4. Knead
Once the mixture is combined and crumbly, use your hands to knead it together.
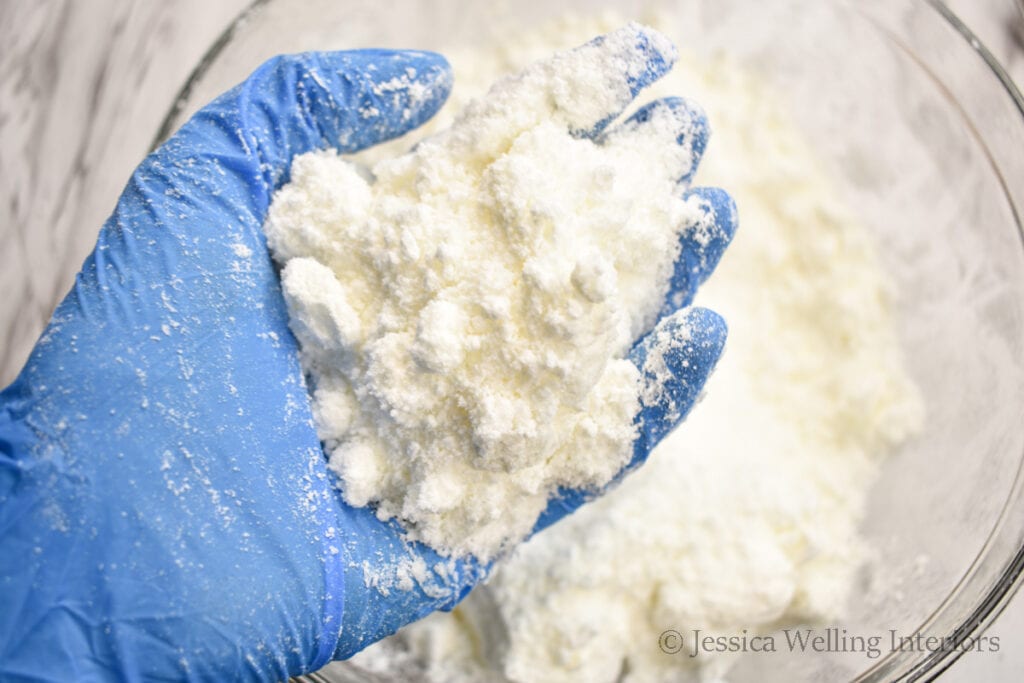
Use a fine mist spray bottle of witch hazel to spritz the mixture a few times and continue kneading it. The goal is to get it to a consistency where it will form a clump if you squeeze it together in your hand. The texture should be similar to brown sugar.
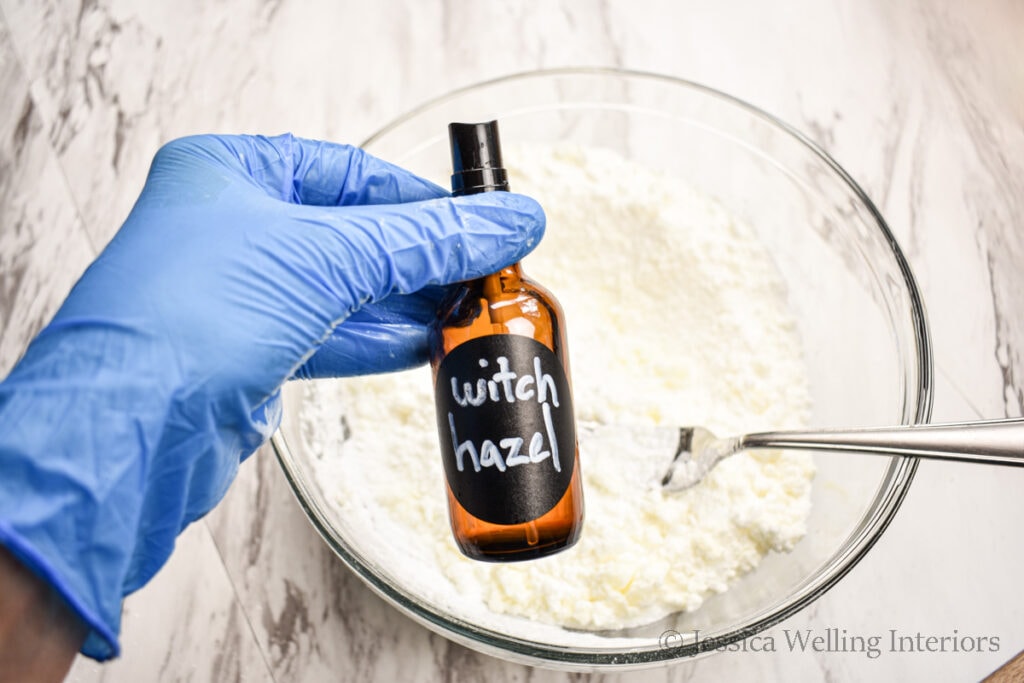
Getting the consistency just right is the trickiest part of making bath bombs, so don’t be surprised if it takes a little while to get it just right. It’s important to not add too much liquid (in this case witch hazel). If you do, you’ll never get your bath bombs to hold together in the molds.
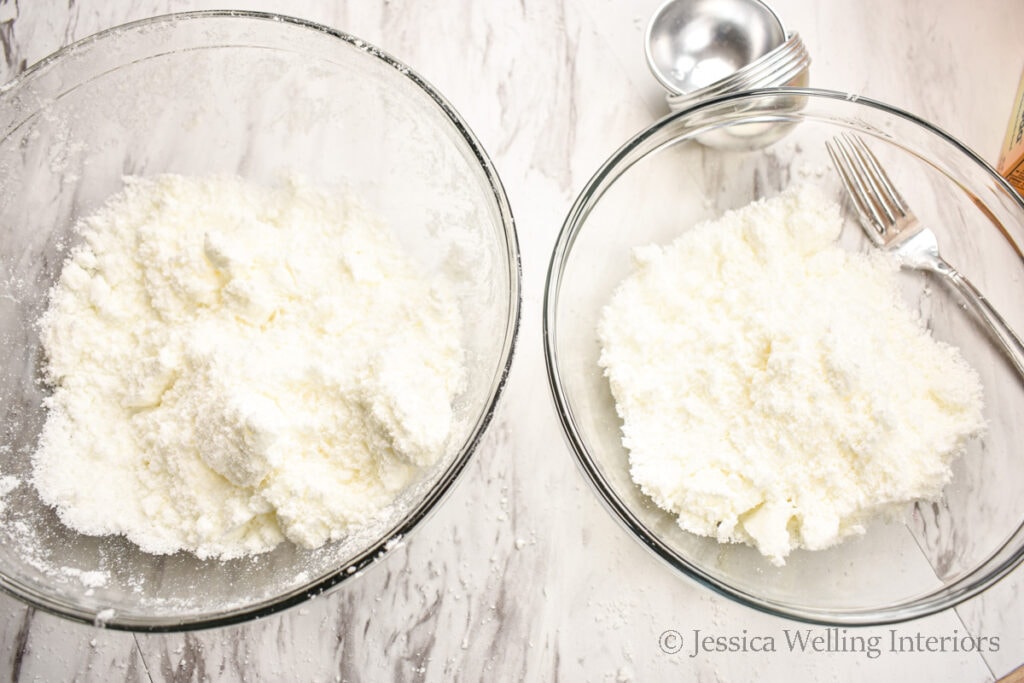
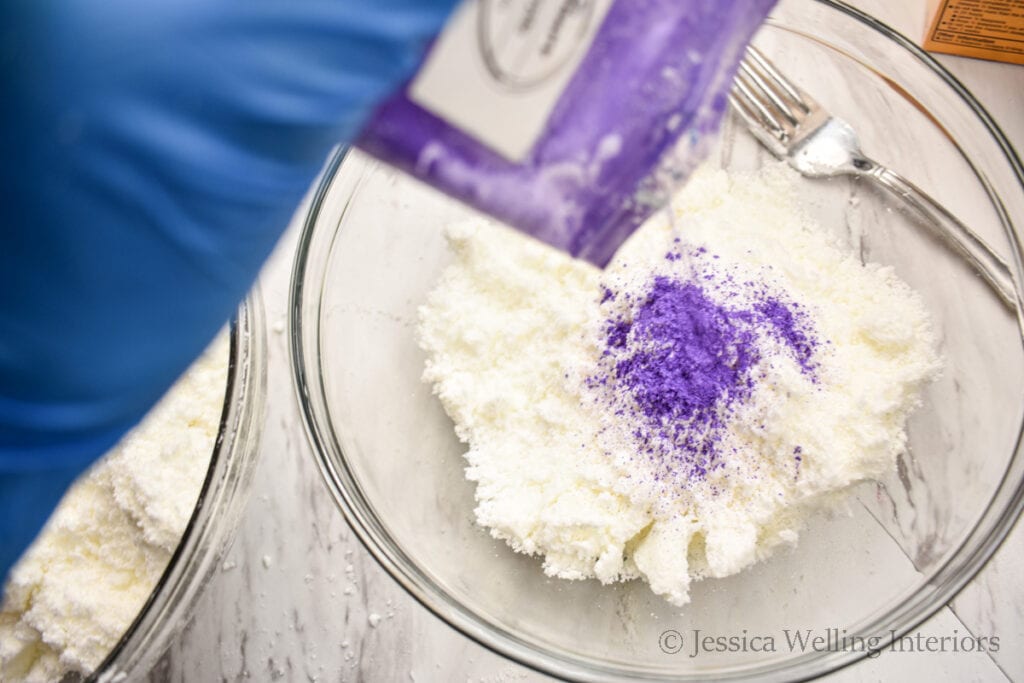
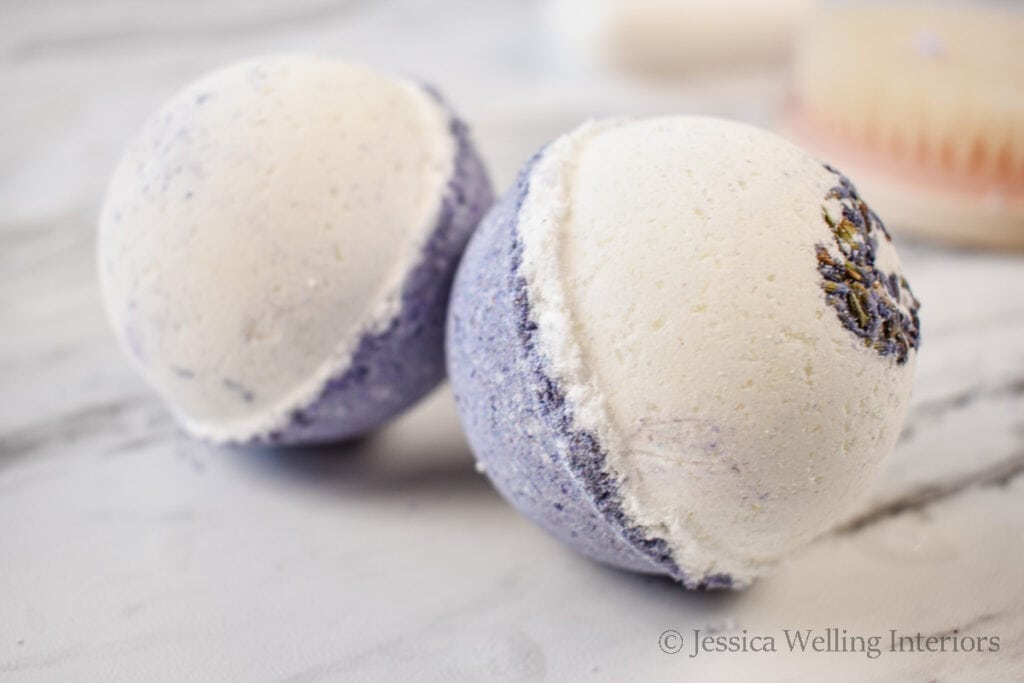
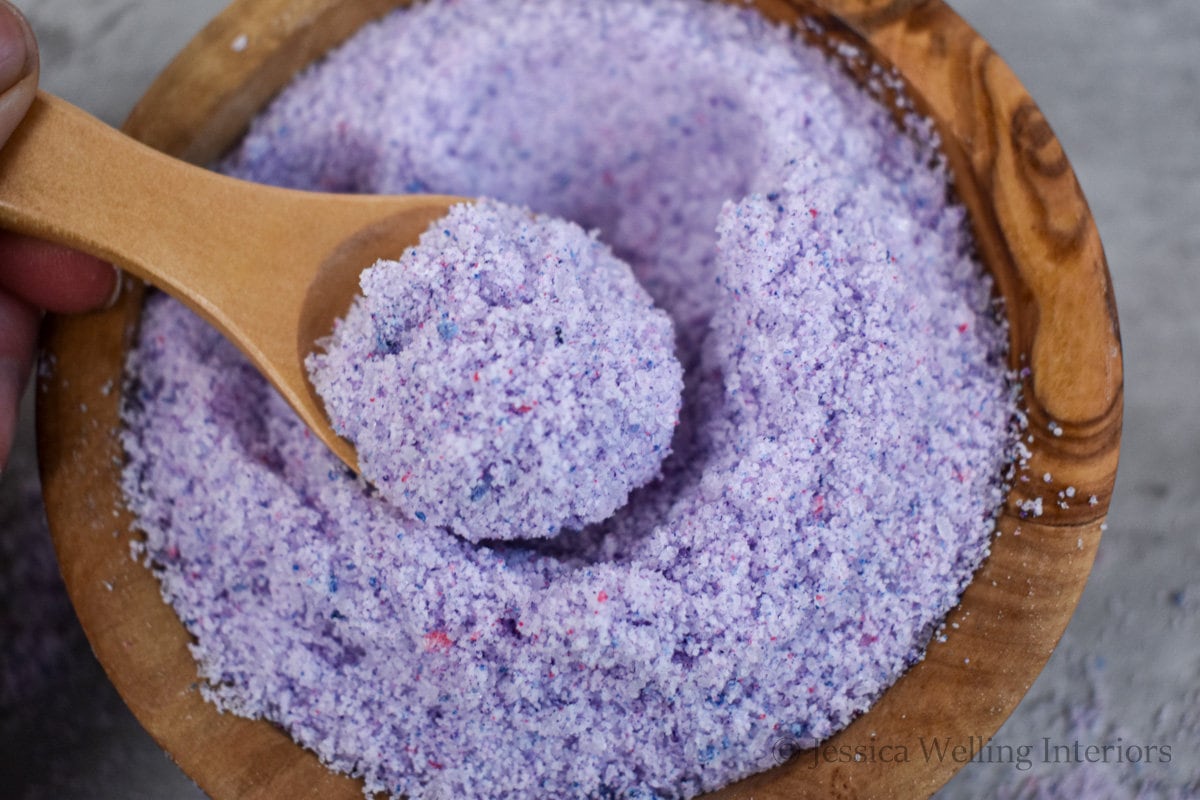
5. Divide into separate bowls & add color.
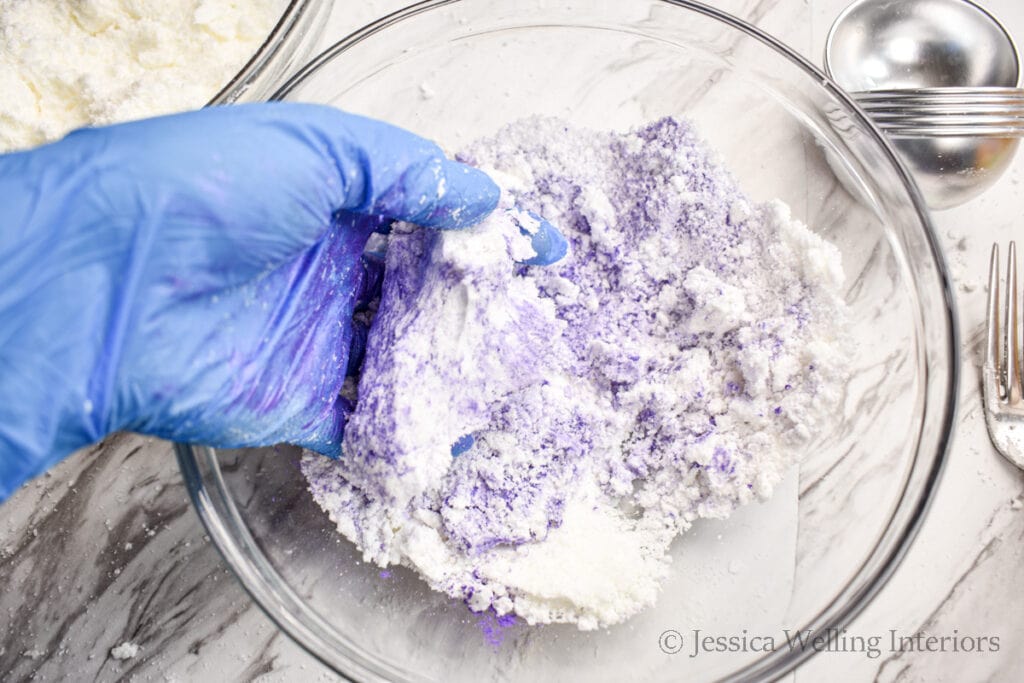
If you want to make two-colored bombs, put half of the mixture into a second bowl, add mica powder, and knead it in until you get consistent color throughout.

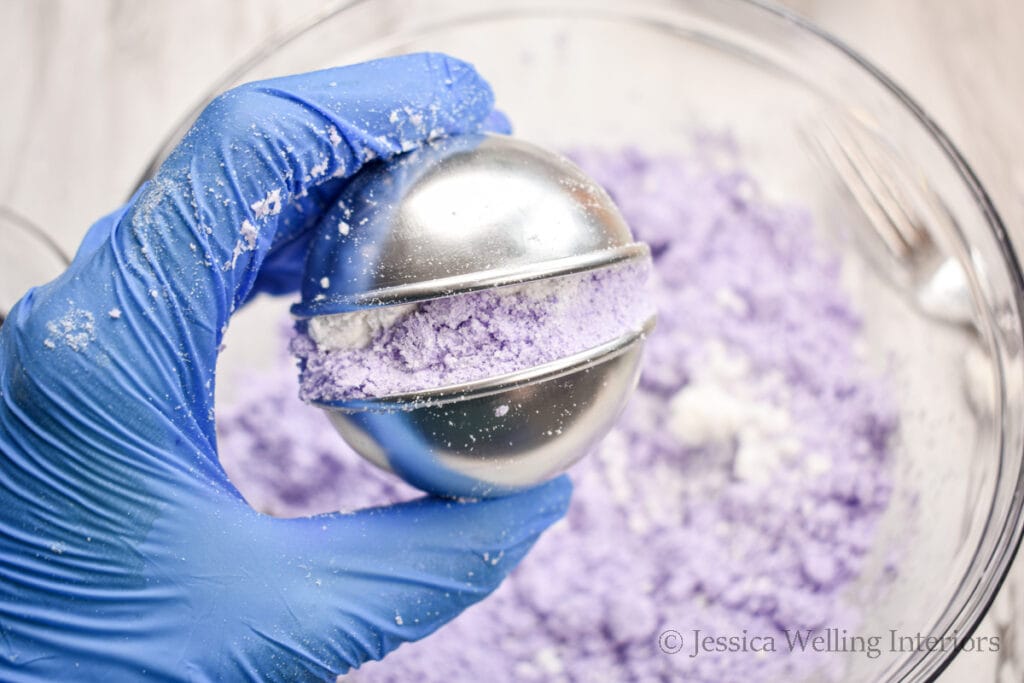
6. Fill the first half of bath bomb mold
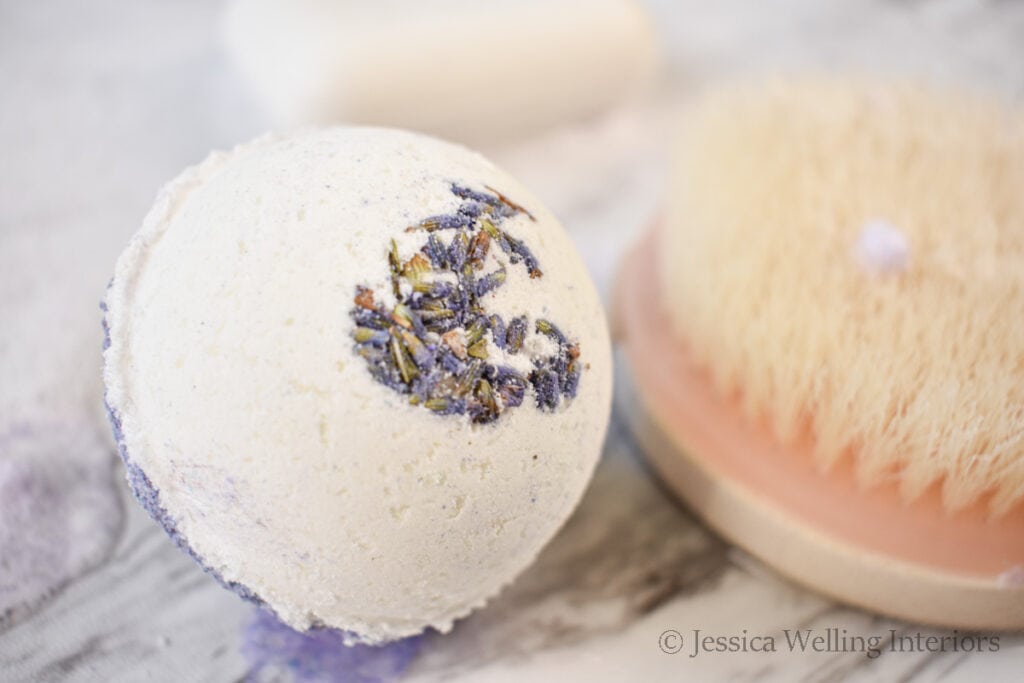
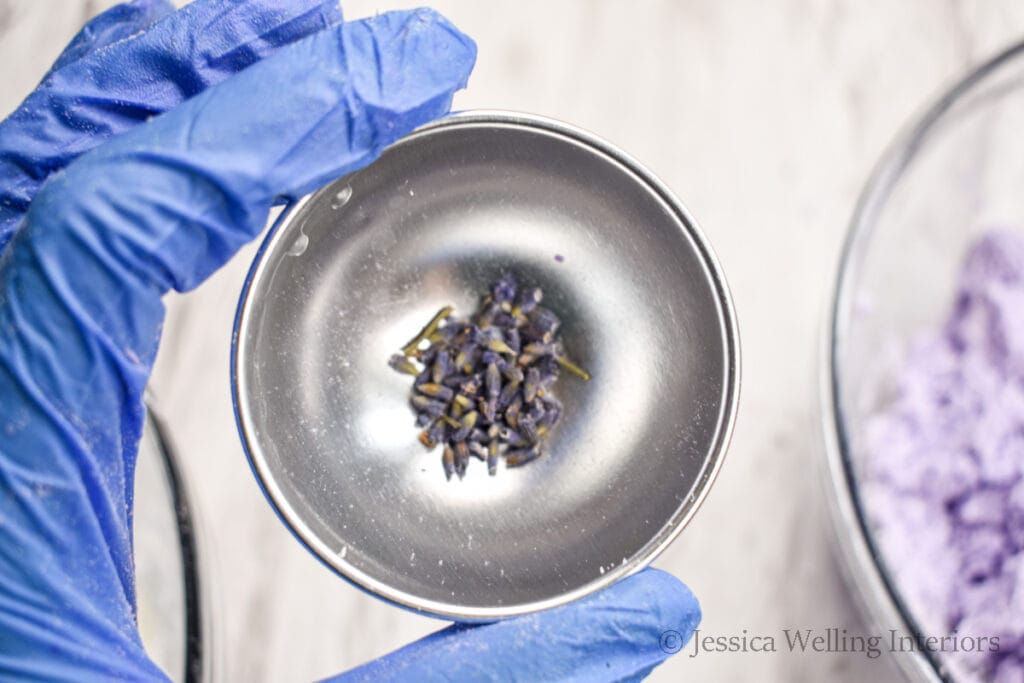
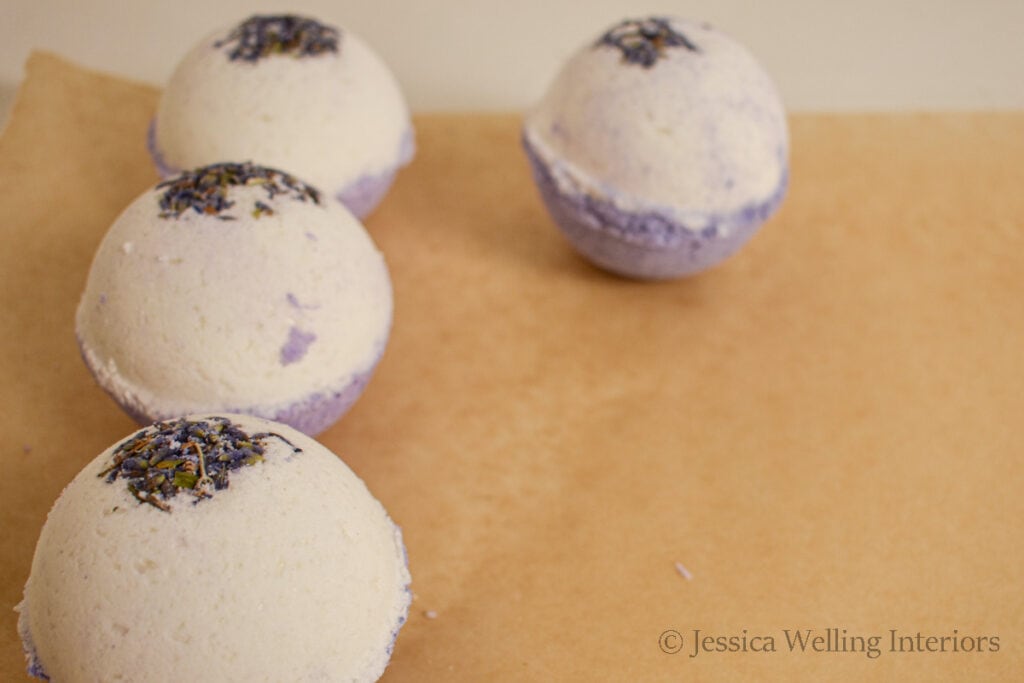
Now it’s time to fill the bath bomb molds. This is the most difficult part of the process. I’m adding some dried lavender flowers to my bombs for decoration, but this is very optional.
Take one half of the bath bomb mold and sprinkle in a few flowers.
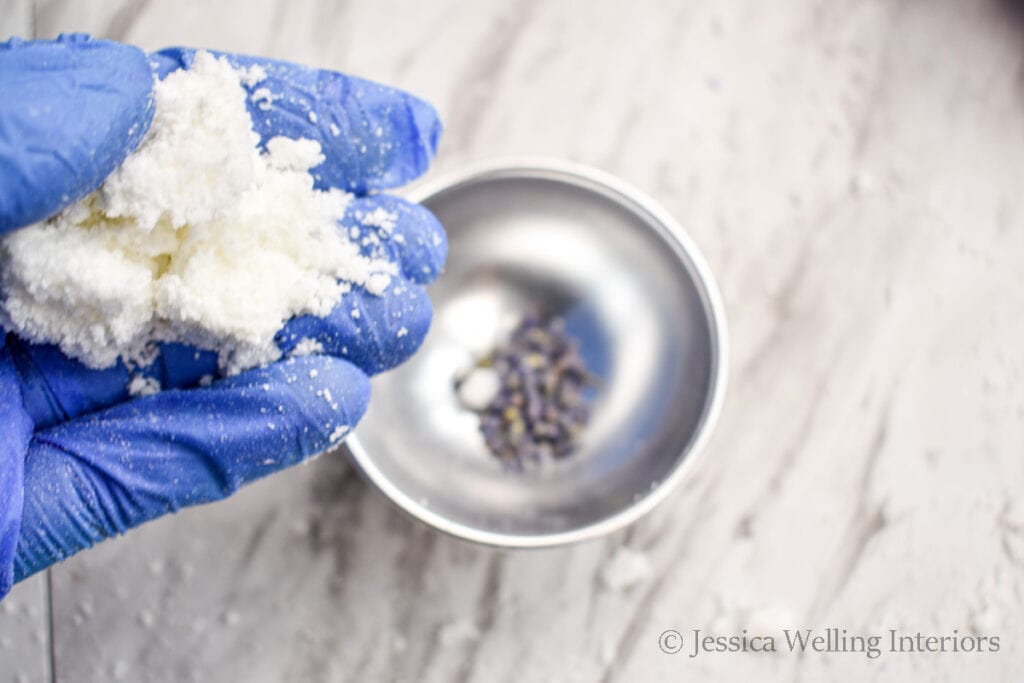
Next cover the flowers with the white mixture. Fill the mold to overflowing, pressing the mixture in gently.
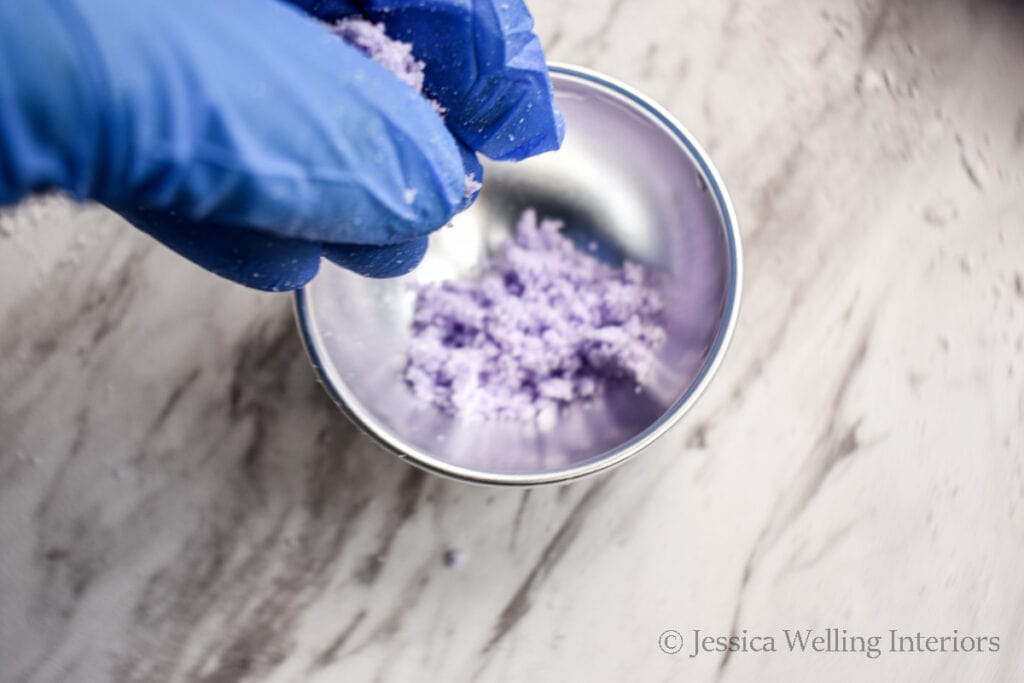
7. Add embed (optional).
Now take the second half of the mold and put a little bit of the purple mixture in the bottle.
I’m adding a bath bomb embed to make my bombs extra fizzy and bubbly. You can see the quick tutorial for these here. This is totally optional, and if you choose not to use embeds, just go ahead and fill up the second half of the mold.
You want to place the embed a bit off-center so it will cause the bath bomb to spin as it dissolves, like this:
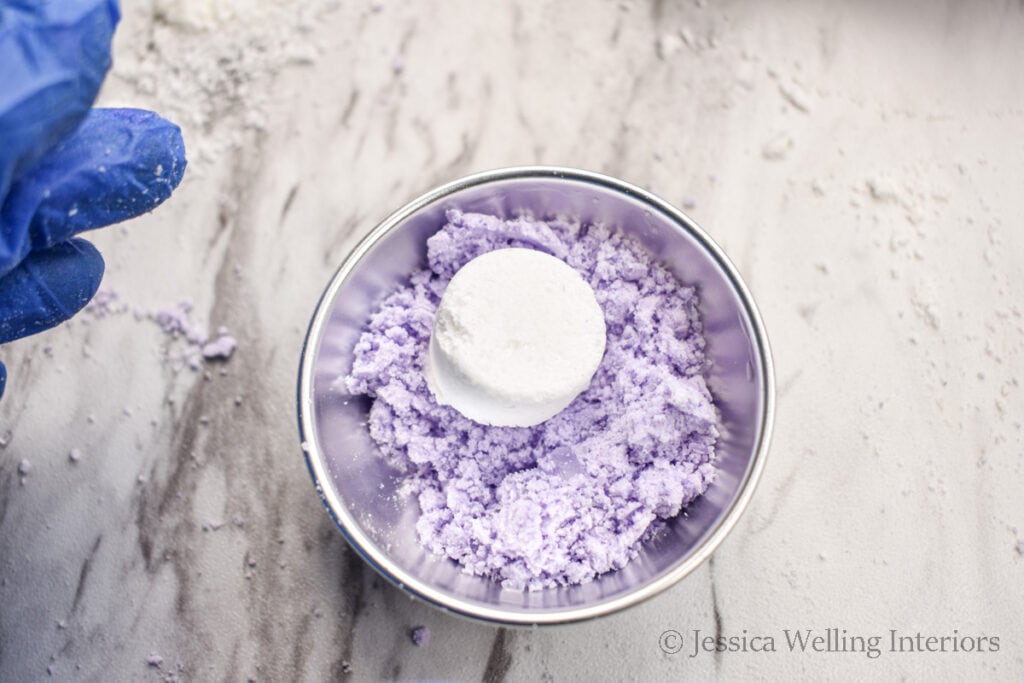
Then pack more of the mixture in around it, mounding it up.
8. Press the two halves together.
Take the two mounded halves and press them together. Squeeze hard. I usually do this step over the bowl of purple mixture so I can just mix any extra white into the purple.
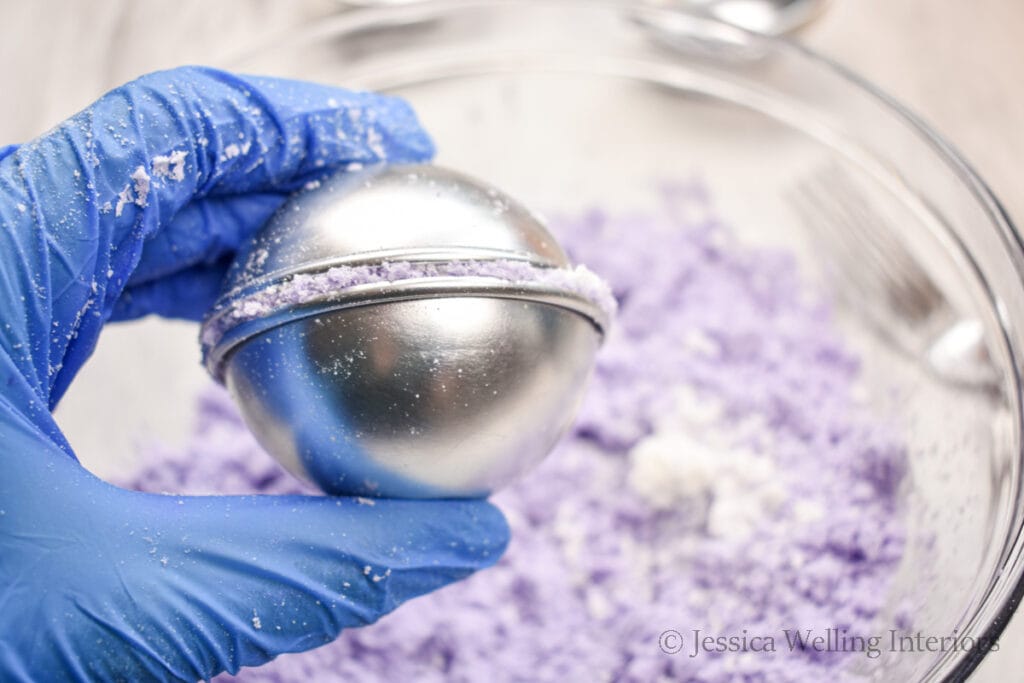
9. Remove molds.
Carefully remove the mold, one half at a time. If you have your consistency perfect, this step will go smoothly. If you don’t have it quite right, you’ll find that the mixture stays in one side of the mold, and you won’t be able to get the two halves to stay together. See the troubleshooting tips below if you run into this.
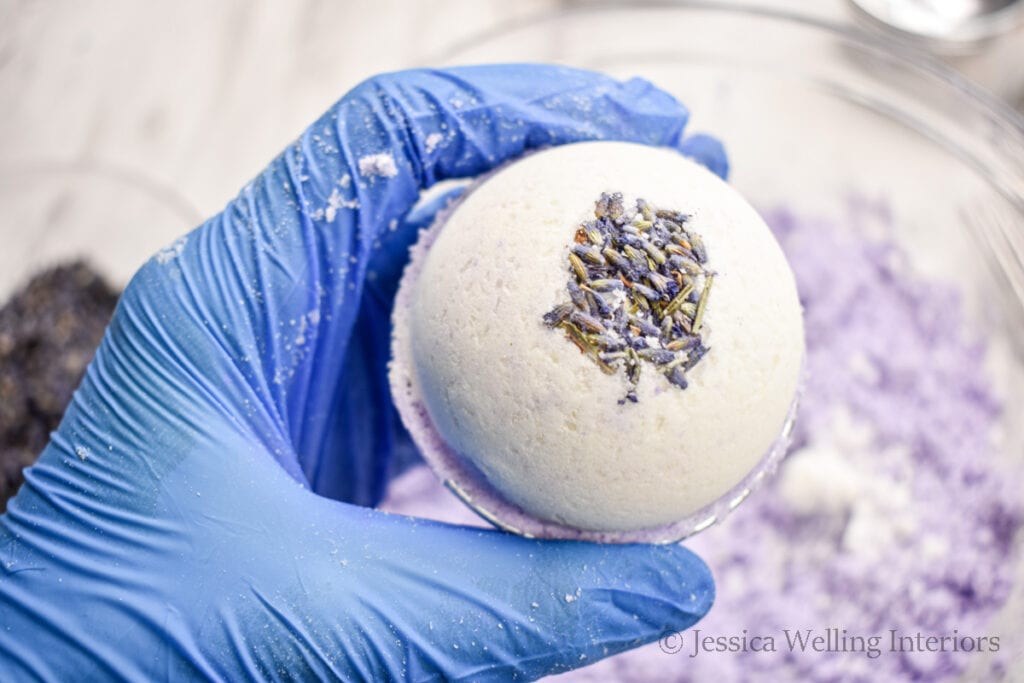
10. Let them dry.
Set the bombs out of the way to dry. I like to let mine dry for at least 24 hours before packaging them or sealing them up.
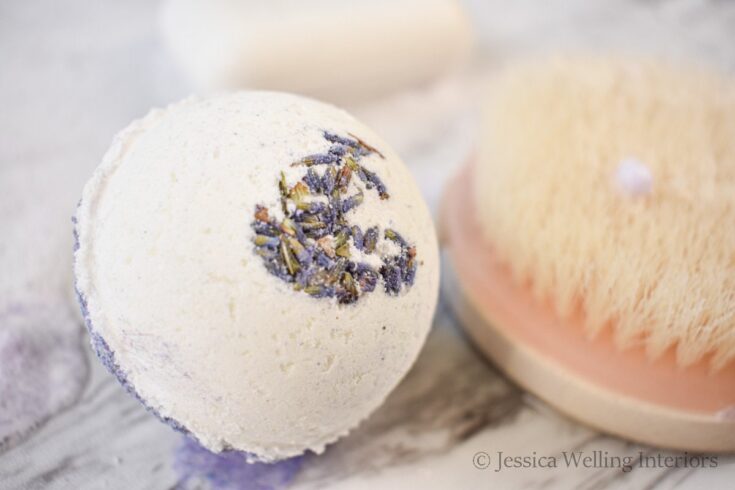
How to enjoy your homemade bubble bath bombs
Bubble Bath Bomb Add-Ins
If you want to add inclusions in your bubble bath bombs (or any bath bombs), I recommend choosing items that are very small and biodegradable so they can just go down the drain, without the risk of clogging the pipes. Very small flower petals, sprinkles, and biodegradable glitter are great options. Just remember that the more add-ins you include, the more stuff you’ll have to clean out of the tub later.
Tips & Troubleshooting
Getting the consistency just right
As I mentioned before, getting the correct bubble bath bomb consistency will determine whether your bombs turn out lovely… or just bomb.
Can you make a double batch?
While it might be tempting to double the recipe, I prefer to work with smaller batches, and here’s why: The mixture is pretty dry as it is, and as I’ve mentioned several times already, the perfect consistency is the key to getting the bombs to hold together. I’ve found that when I try to make a larger batch, it’s really difficult to get the perfect texture throughout the whole batch.
Can you use liquid food coloring in bath bombs?
Yes. That’s the short answer. But here’s the reason why I prefer to use mica powder to color my bath bombs. The ratio of liquid to dry ingredients in bath bombs is fragile, and I’ve found that it’s easy to end up with too much moisture in your mix when using liquid food color. Too much liquid will activate the baking soda/citric acid mixture and cause everything to bubble and expand and make a sticky mess.
If you do choose to use liquid food color, mix it into the wet ingredients before you add them to the dry ingredients. Otherwise it will be very difficult to disperse the color evenly.
DIY Bubble Bath Bombs
Materials
- 1 cup baking soda
- 1/2 cup unscented epsom salt
- 1/2 cup cornstarch
- 1/2 cup citric acid
- 1/4 cup SLSA
- 1 Tbsp. jojoba oil
- 1 1/2 tsp. cold water
- 50 drops lavender essential oil
- 50 drops vanilla essential oil
- witch hazel in a spray bottle
- purple mica powder (optional)
Tools
Instructions
- Combine dry ingredients in a large mixing bowl.
- Combine wet ingredients in a small bowl.
- Add wet ingredients to dry ingredients.
- Knead
- Divide into two bowls and add color to one.
- Fill the first half of the bath bomb mold with white.
- Add bath bomb embed (optional)
- Press the two halves together hard.
- Remove the mold, one half at a time.
- Let them dry for at least 12 hours.
More DIY Bath Products…
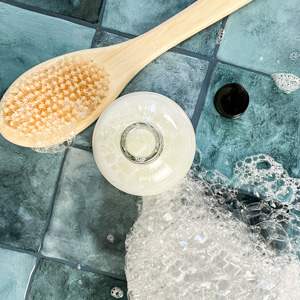
How to Make Bubble Bath (That Actually Bubbles!)
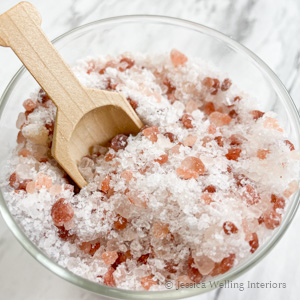
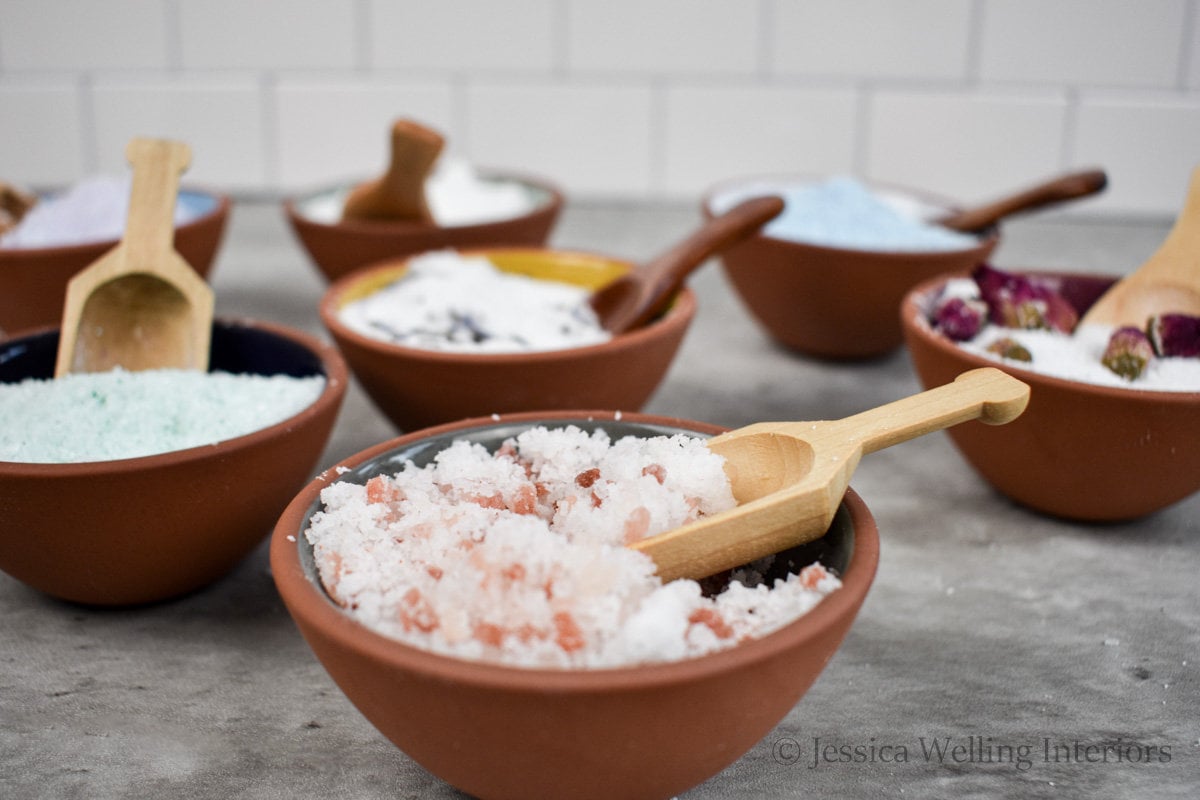
The Very Best Himalayan Salt Bath Recipe
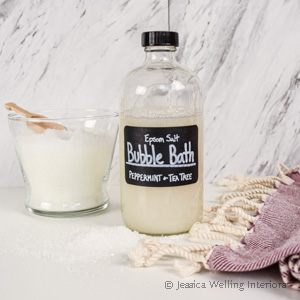
DIY Bubble Bath with Epsom Salt

Excellent post
Thanks.
Of course!