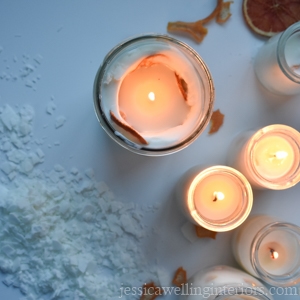
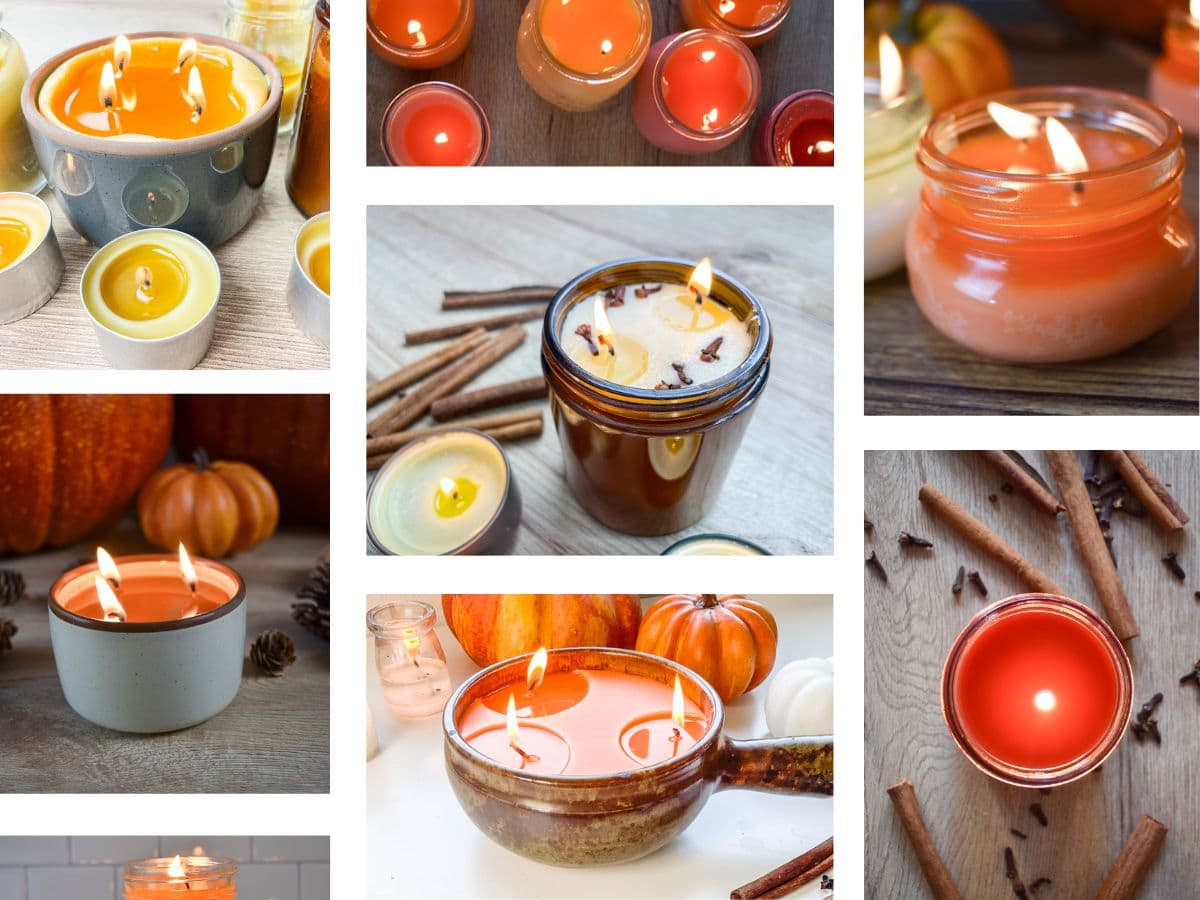
DIY Wax Melts For Summer
These quick & easy DIY wax melts are all natural and they make great handmade gifts, or you can use them to scent your own home!
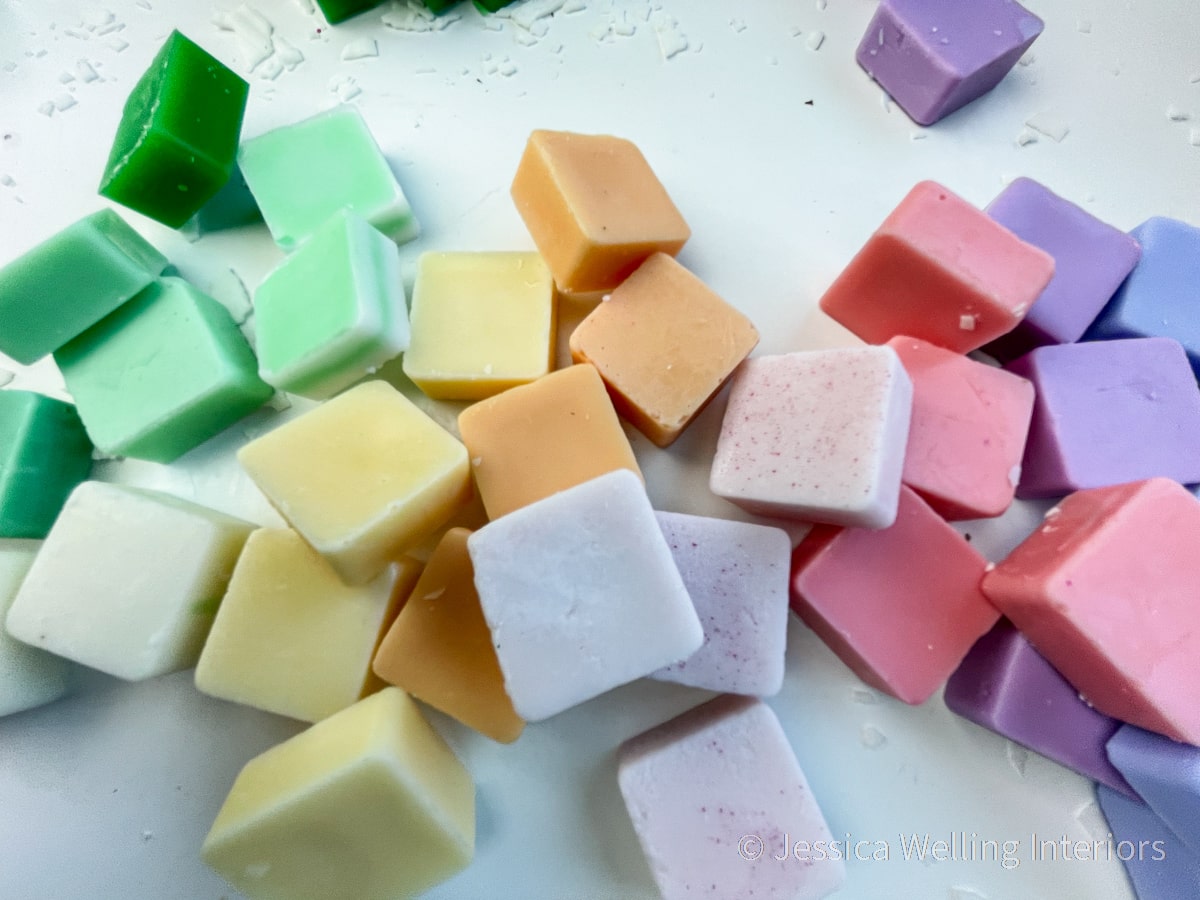
How to Make Pink Sands Wax Melts At Home
If you’re looking for a generic soy wax melts recipe, check out this post. The ingredients and instructions are essentially the same, but you can change up the colors, candle fragrance oils, and wax melt molds.
Why Use Soy Wax?
I like to use soy wax to make candles and wax melts because it’s natural and non-toxic. It usually comes in flake form and is very easy to measure and work with.

And last, but certainly not least, it cleans up with just soap and hot water. If you’ve ever spent time cleaning paraffin or beeswax off of utensils or your kitchen counters, you’ll get why this is a big deal! I usually just run my containers, utensils, and silicone molds through the dishwasher when I’m done!
In this recipe we’ll use soy wax, but if you want to make wax melts using paraffin instead, check out this tutorial:
How to Make Wax Melts: Everything You Need to Know
You can check out this post for a more in-depth comparison of different waxes used for candle making.
Materials

- Soy wax flakes (this is my favorite brand from Amazon)
- Candle Fragrance Oil (I’m using Pink Sands from Candle Lynn)
- Wax Dye (I’m using bright pink from this set)
- Glass measuring cup
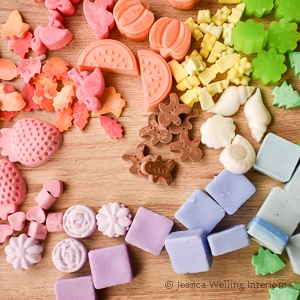
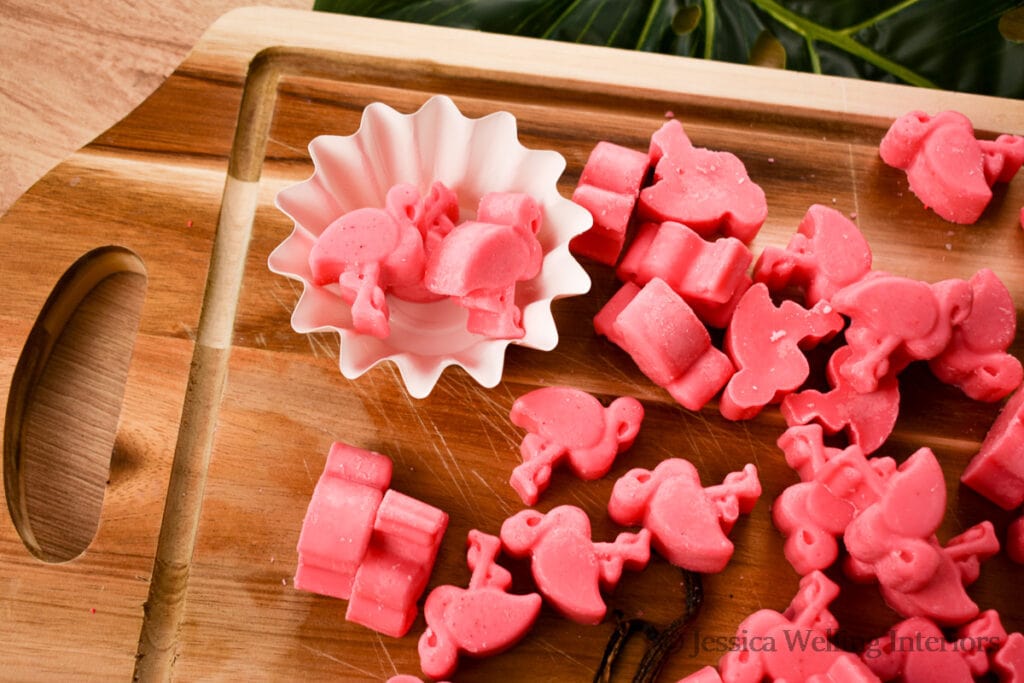
- Silicone wax melt or candy mold (I’m using the flamingo mold from this set)
- Digital meat thermometer
- Plastic Eye Dropper
Directions
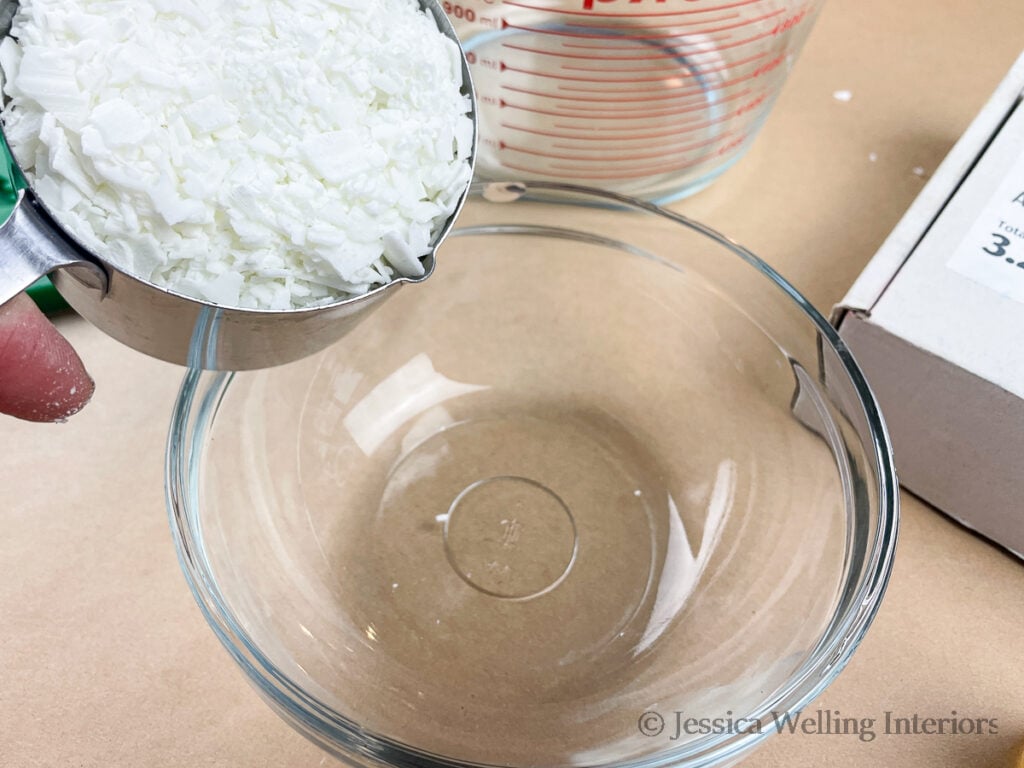
1. Measure The Wax
I’ve found that soy wax flakes will melt down to approximately 1/2 of their original volume, so two cups of flakes will melt down to about one cup of wax.
Start by measuring two cups of flakes into a microwave-safe container. If you prefer to use the double-boiler method to melt your wax, check out this scented candle tutorial.
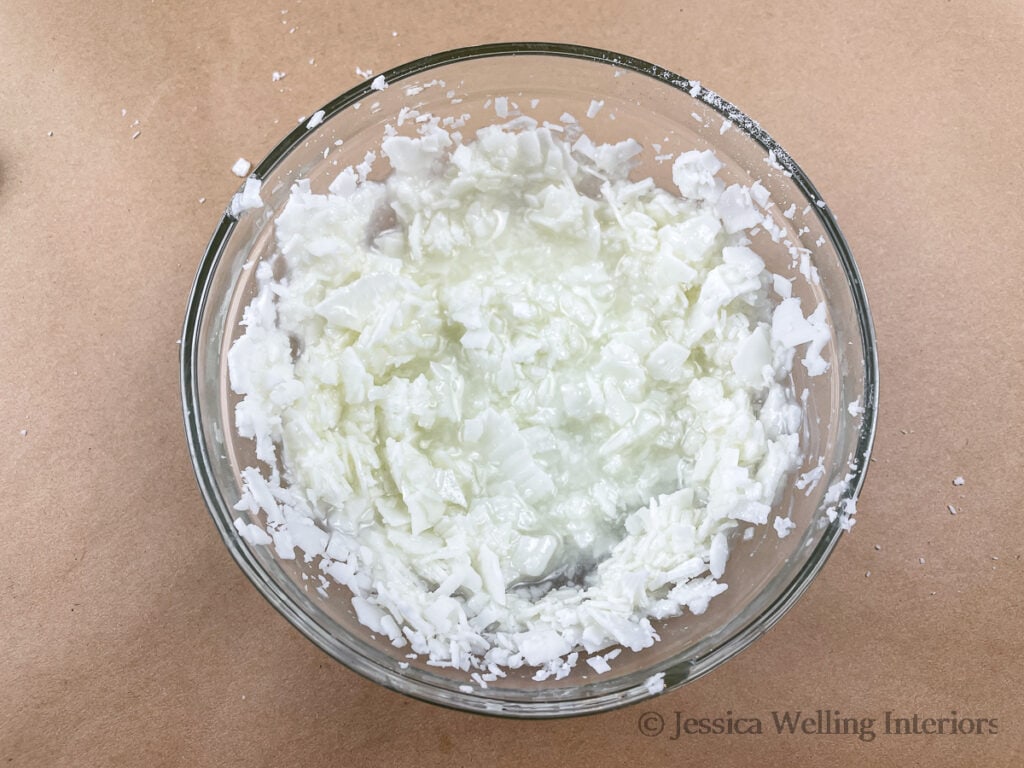
2. Melt the Wax
The key to successfully melting candle wax in the microwave is to heat it in short intervals, taking it out to stir frequently.
Begin with a couple of one-minute intervals, stirring with a spoon or fork. Then go down to 30-seconds until the wax is all melted.
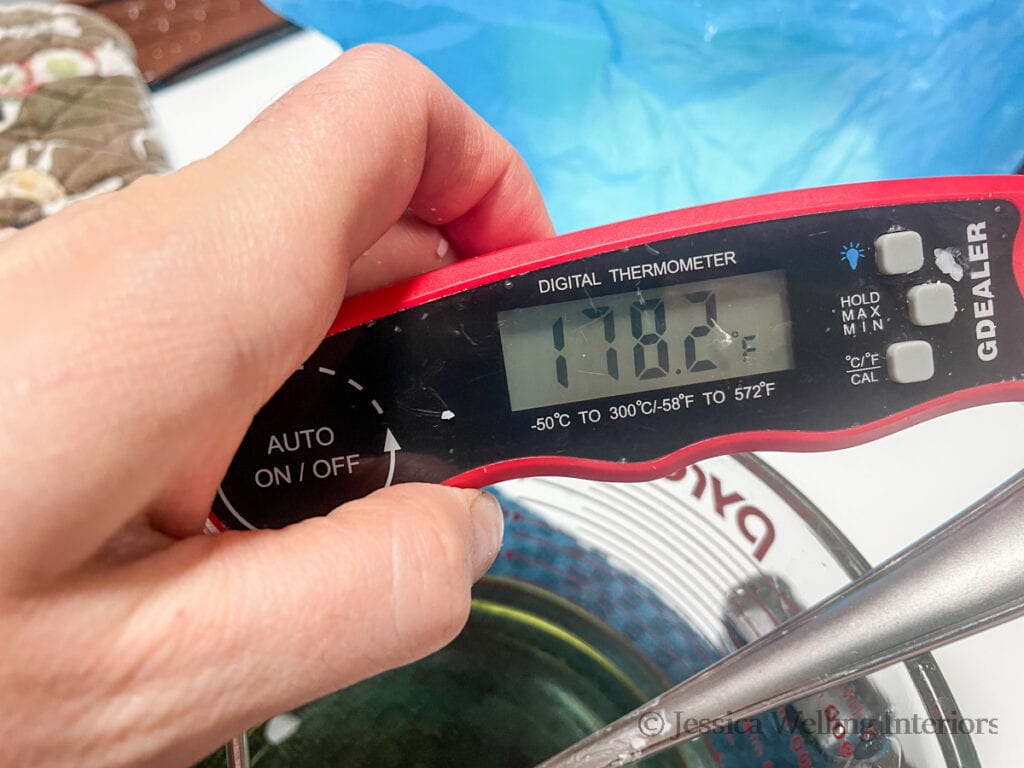
3. Heat to 185 Degrees
The target temperature for soy wax is somewhere between 175 and 185 degrees Fahrenheit. If you plan to add color to your wax, you’ll want to get closer to 185 to ensure that the dye melts into your wax completely. This is my favorite digital meat thermometer from Amazon.
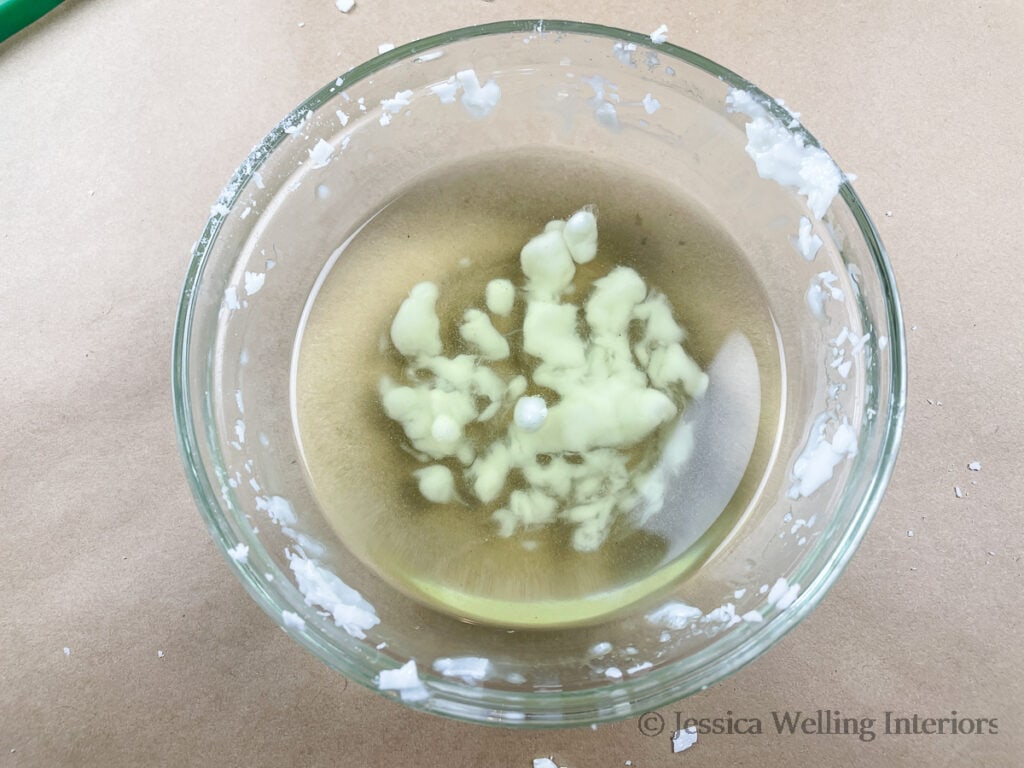
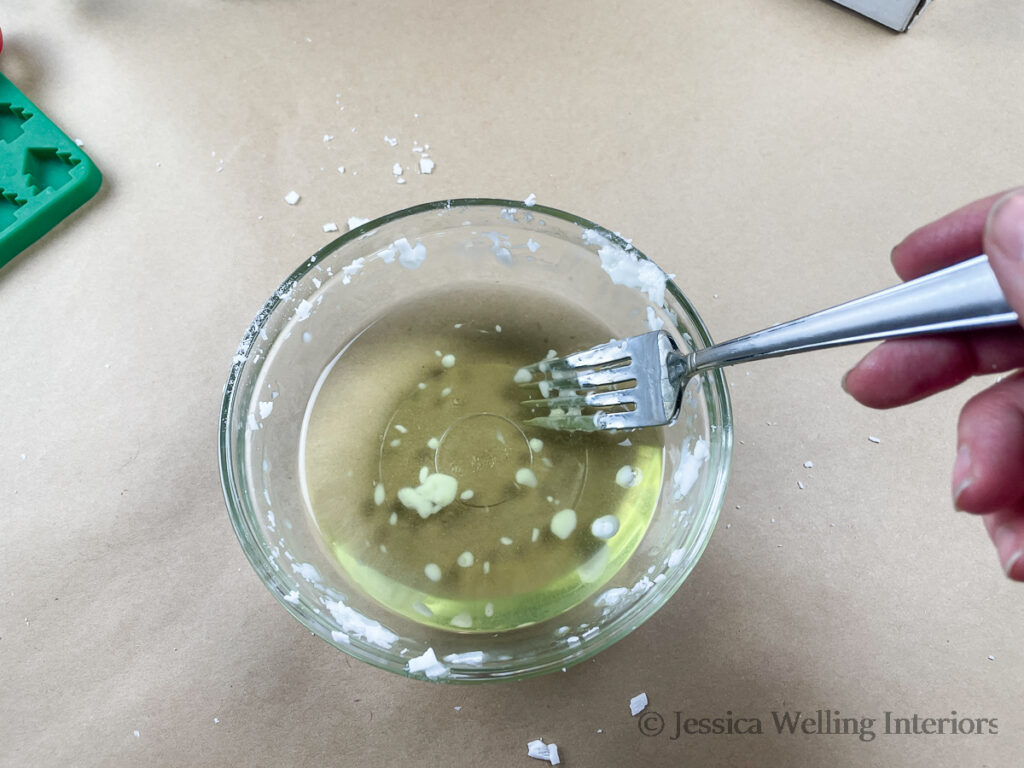
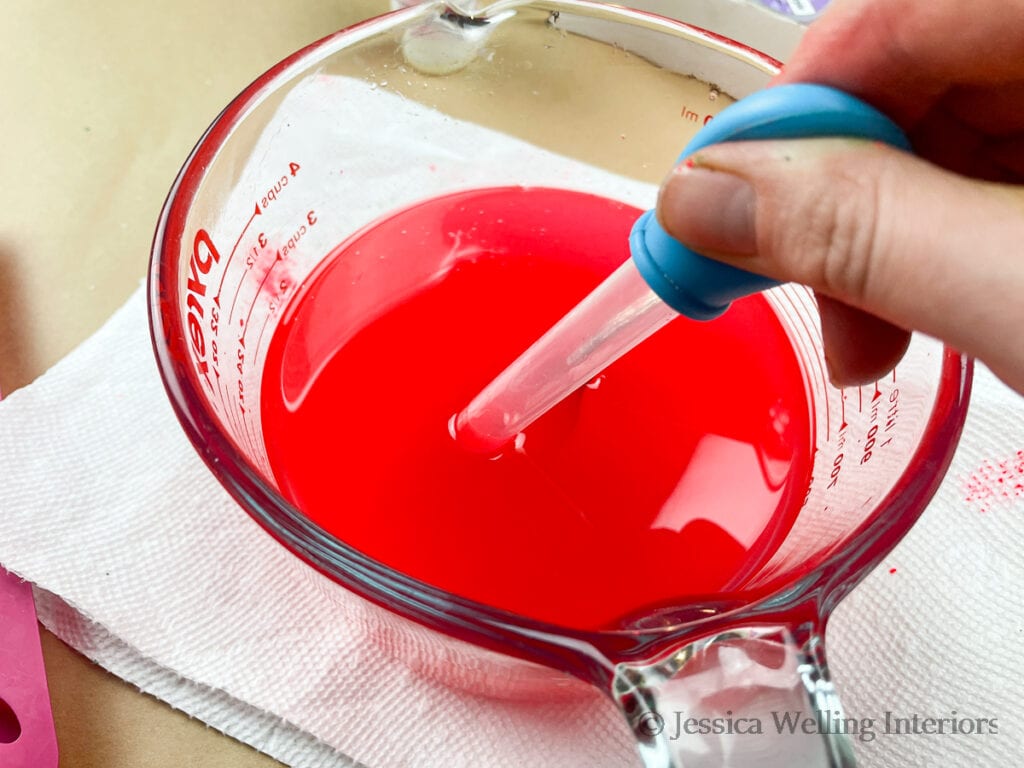
4. Add Wax Dye
Sprinkle in a pinch of wax dye chips. I’m using bright pink from this set from Amazon.
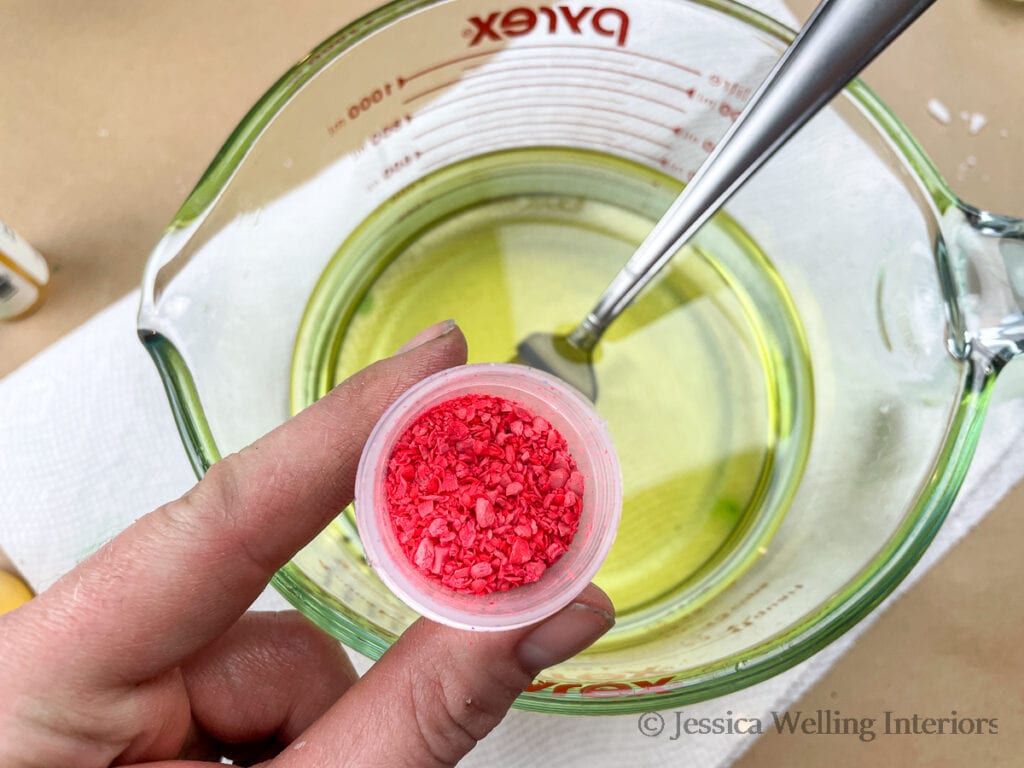
The dye chips should melt immediately when they hit the hot wax (below). If they haven’t completely melted after sitting for about a minute, pop the wax back into the microwave for another 30 seconds.
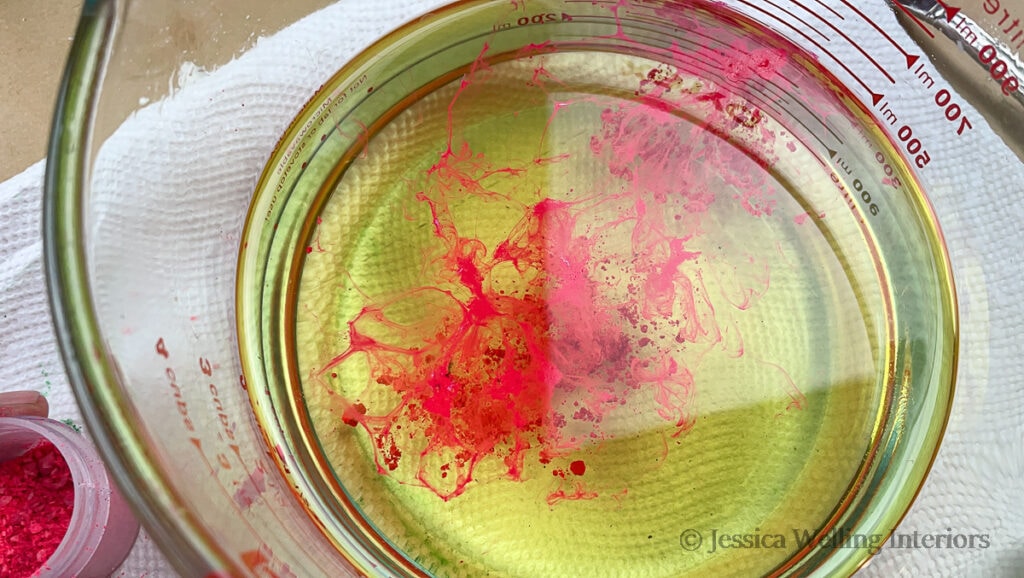
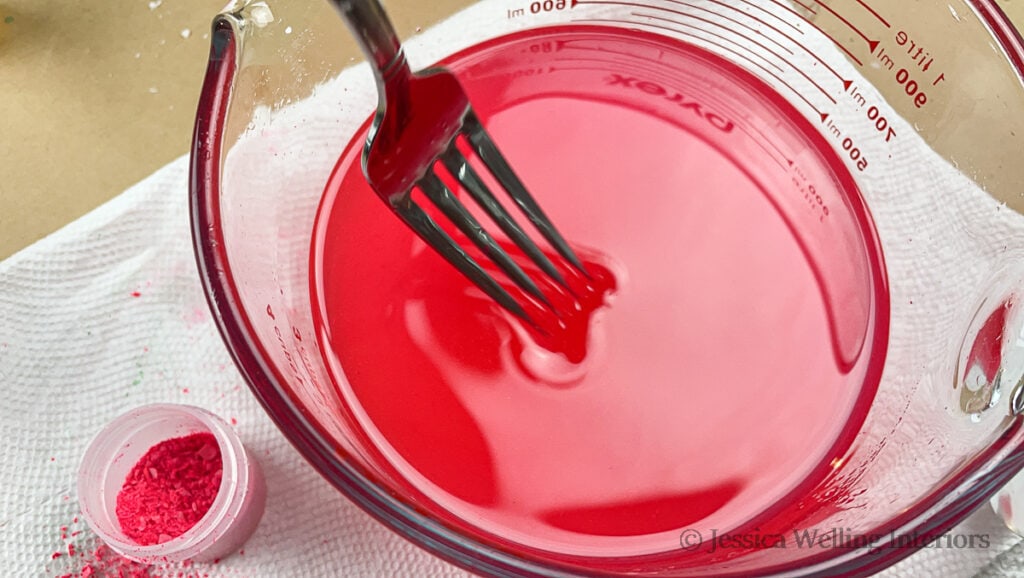
Stir well, being sure there’s no wax dye at the bottom of the bowl.
5. Add Pink Sands Fragrance Oil
I’m using this Pink Sands candle fragrance oil from Candle Lynn. It’s one of my all-time favorite scents, and it reminds me of a tropical beach vacation.
I try to add the fragrance oil when the wax is about 175 degrees.

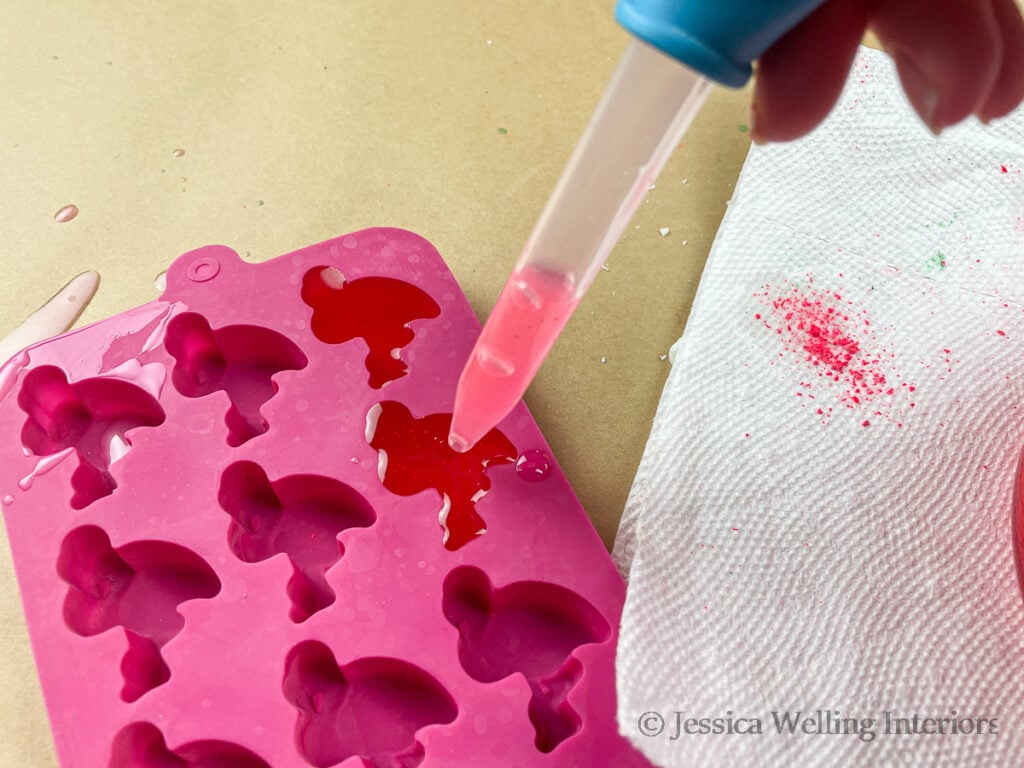
6. Fill Wax Melt Molds
Use the eye dropper to fill the silicone molds.
7. Let It Cool
Let the filled mold sit, undisturbed for an hour or two to let the wax cool. If you’re in a hurry, you can move it to the fridge once the wax is mostly solid.

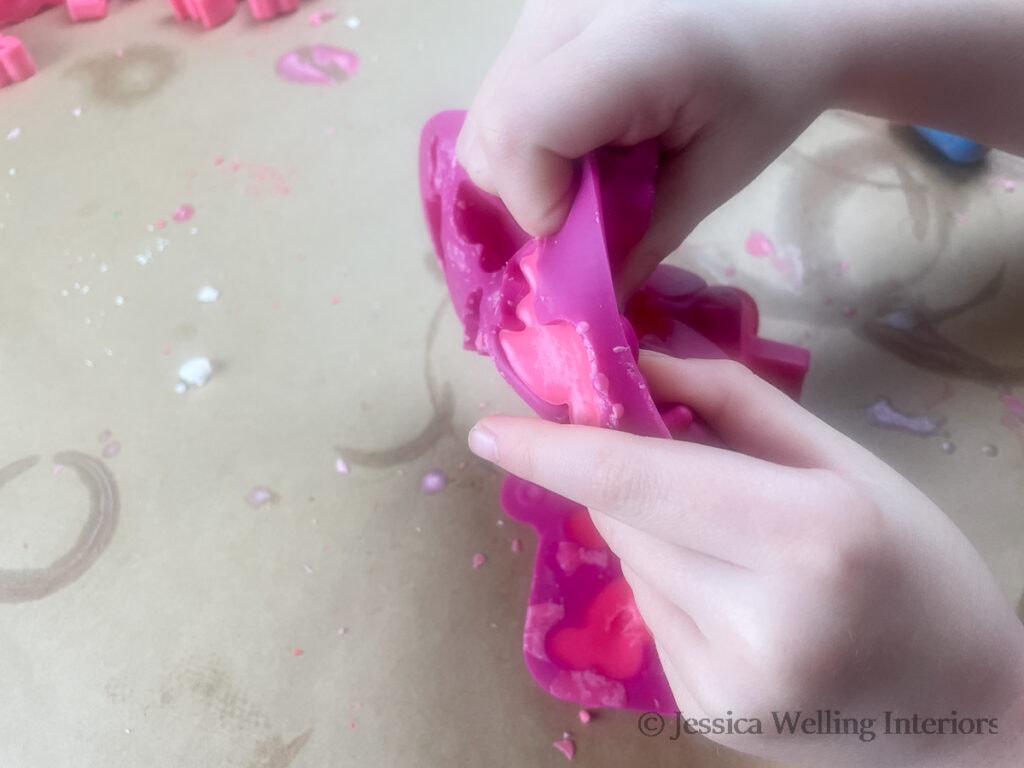
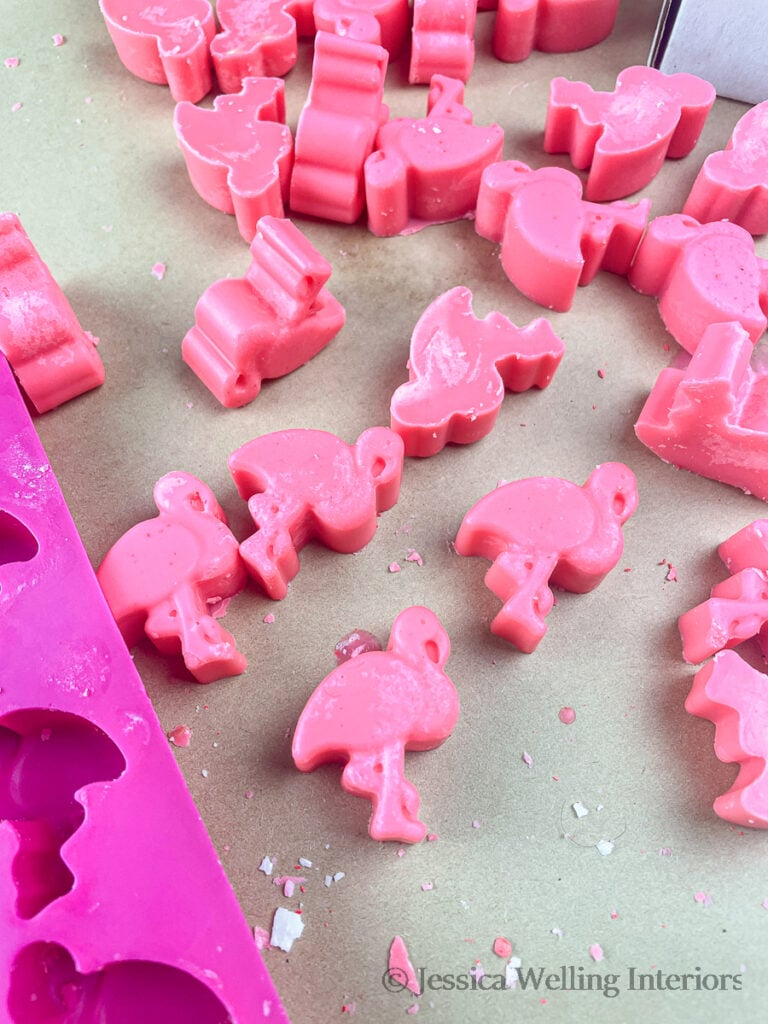
8. Remove From Molds
Once the wax has hardened, you can pop the melts of the the silicone mold.
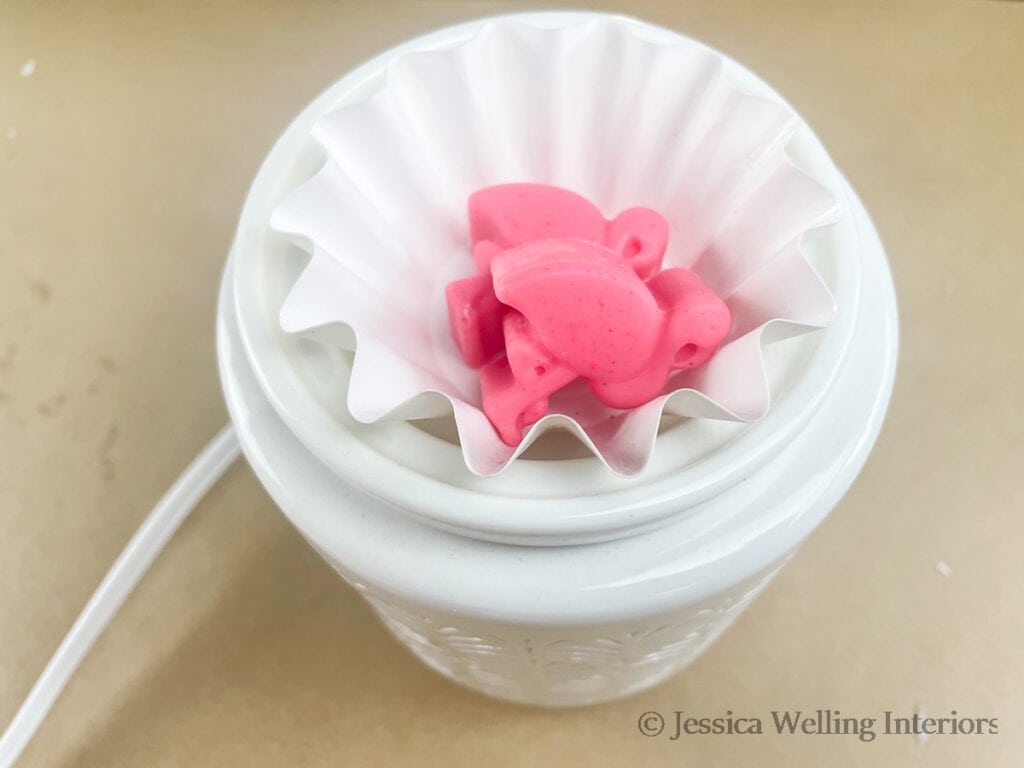
9. Store In A Sealed Container
I like to keep my melts sealed in a Ziplock bag or other airtight container to prevent the fragrance from dissipating.
Enjoy!
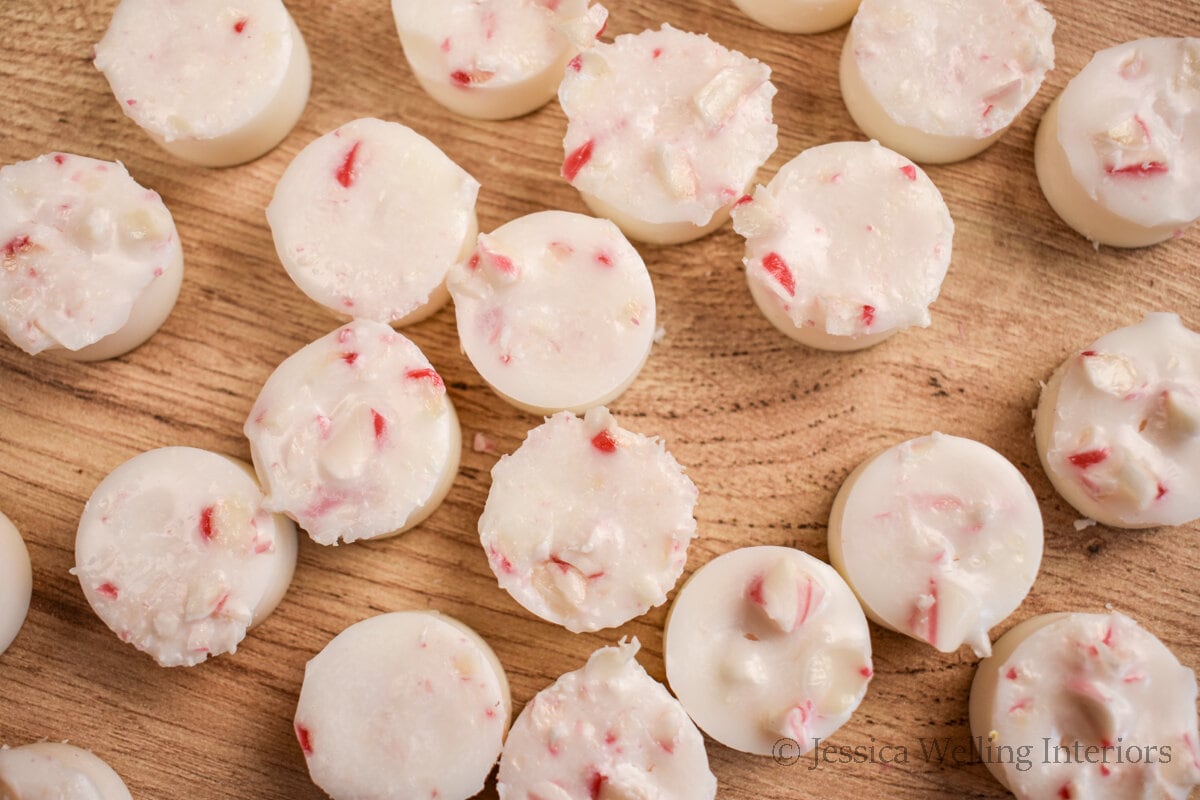
More Wax Melt Ideas…
The Best Wax Melters On A Budget
How to Make Soy Candles: A Beginner’s Guide