
$110 DIY Fireplace Makeover: How to Paint Tile
Learn how to paint a tile fireplace surround with this easy step-by-step tutorial. All it takes is a tile stencil and paintbrush!

Hello! I’m really excited to show you my new fireplace! Well the fireplace itself isn’t new, but it recently got a serious (but inexpensive!) makeover. I’ve been looking at this ugly thing for years, and I’ve had a few different plans to refinish it.
My most recent plan involved tiling over it with modern patterned cement tile. I’m not afraid to try something new, but there were a few complicating factors that would have made this a tricky tiling project.
I do still intend to try tiling someday, but I’m thinking I ought to start with something simple that isn’t the centerpiece of my home.
I decided to try painting my tiles as a long shot experiment. I haven’t had great success with stenciling projects in the past, so I wasn’t really expecting this to turn out. I just figured I might as well give it a shot before tiling over the top of it.
But it turned out SO much better than I expected! I actually really love the end result. So for about $50 I was able to totally change the look of the tile! And then for about $60 more, we built a new mantel! Now I promise you won’t even recognize it!
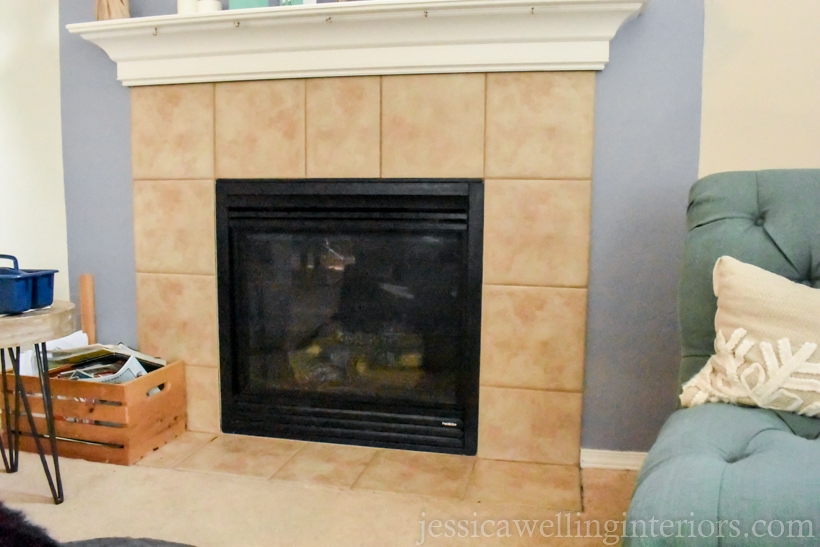
Before…
Builder-grade blah…
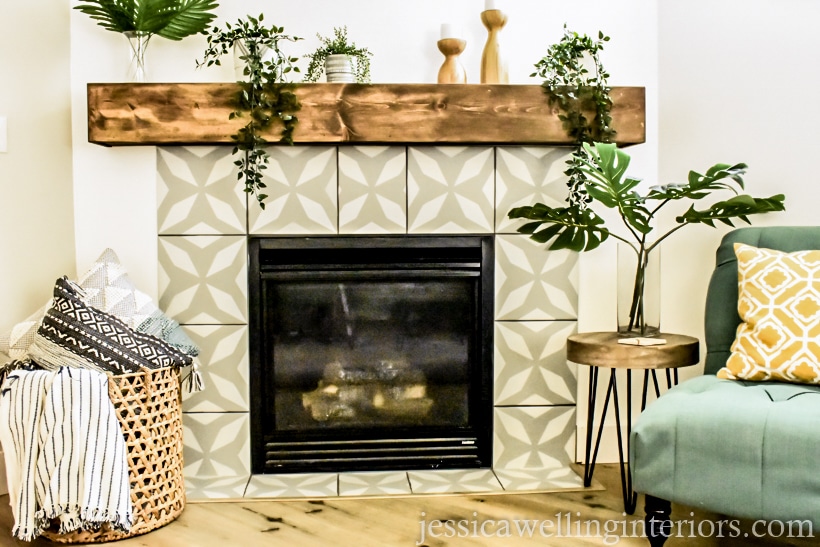
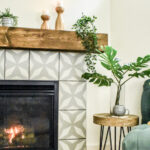
And After…
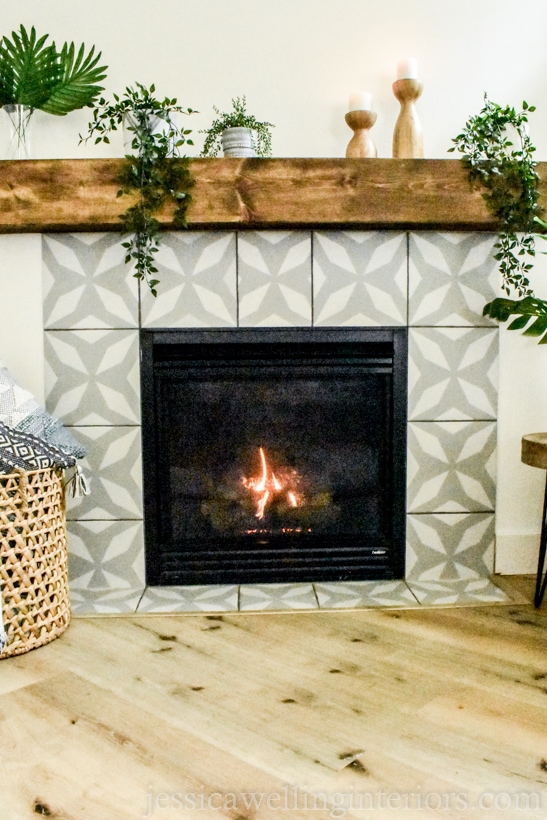
Okay, in fairness I painted the wall behind it and we put in new floors too.
I’m going to show you exactly what I did. And since doing this project at my own house, I’ve painted a client’s fireplace and my moms’ too, using different stencils.
Supplies:
- grout pens (I actually used a drippy product called “grout refresh” for this project, but I’ve since discovered these grout pens and they’re much easier to use and less messy!)
- BIN Primer (this stuff is AMAZING! 1 quart should be more than enough for a fireplace)
- chip brushes/ disposable paintbrushes ( this primer does not clean up with water so it’s easier to just throw away the brush)
- 2″ angled paint brush (this is my favorite all-purpose brush)
- latex paint (2-3 colors I’m using BEHR matte finish. Home Depot paint samples were perfect for this project. And they’re only about $3.50 each, so you can afford to get a few colors and experiment if you want) Here are the colors I used: Behr Lunar Surface and Evening White
- tile stencil (be sure your stencil is the same size as your tiles- mine are 12″x12″) You can check out my other favorite tile stencils here!
- stencil brushes
- flat angled artist’s paint brushes for touch-ups and grout
- disposable gloves
- denatured alcohol (optional- to clean up shellac-based primer)
- 2-3 clean rags
- paper plates (3-4)
- Frog tape or masking tape

How To Paint & Stencil Tile
Ok a quick disclaimer before we begin: Most of these process photos were taken by my seven-year-old assistant;)
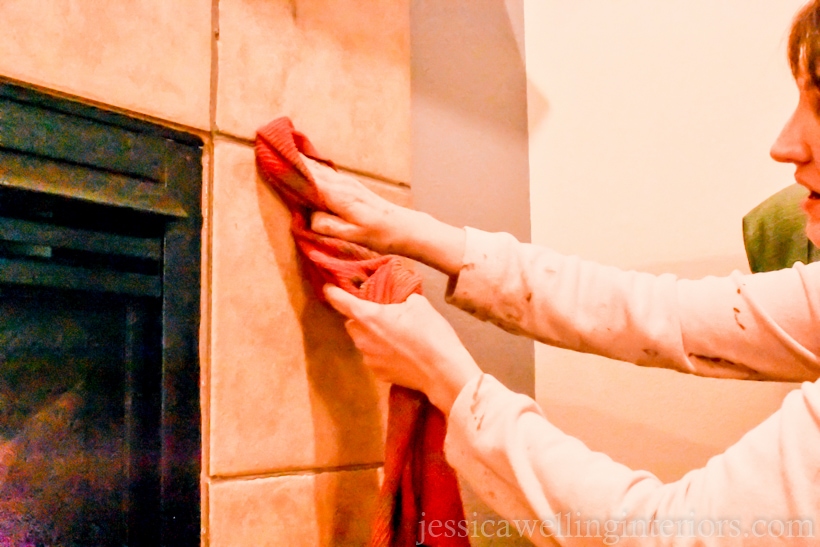
1. Clean your tile and grout.
Use a wet rag to get any grime or dust off the surface of your tile. This is important to be sure the primer will stick!
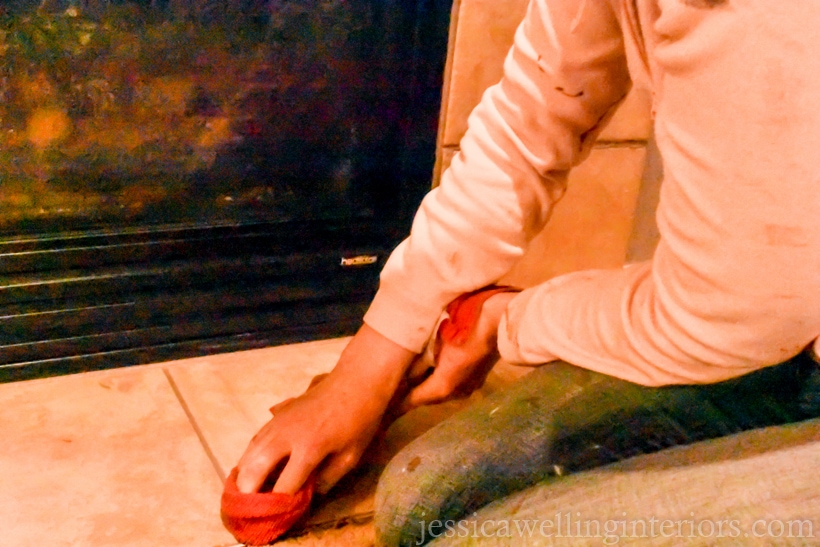
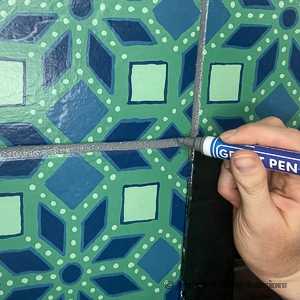
2. Color your grout.
Even if you’re happy with your current grout color, I recommend using colorant because this project is going to get a little messy. I assume my grout was white once upon a time, but now it’s sort of brown, so it definitely needed something.
I chose this dark grey. The product worked really well, though the directions on the bottle were minimal, so I’ll tell you what I did.
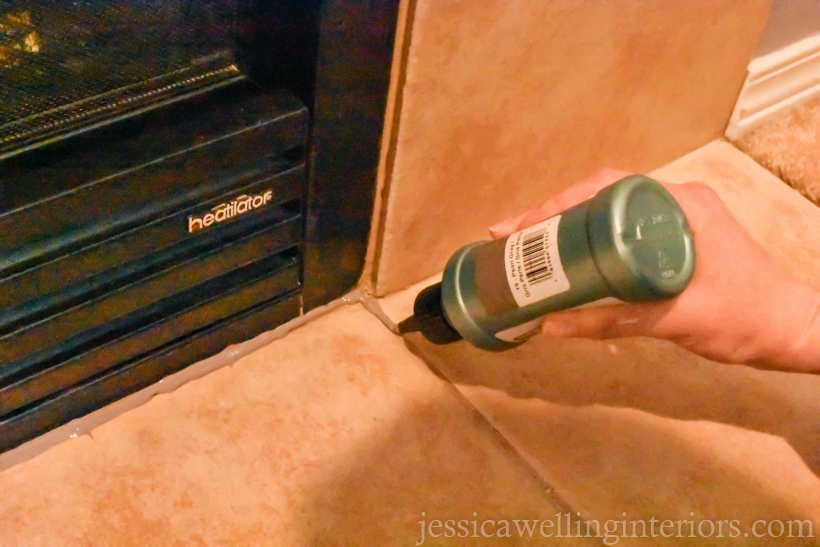
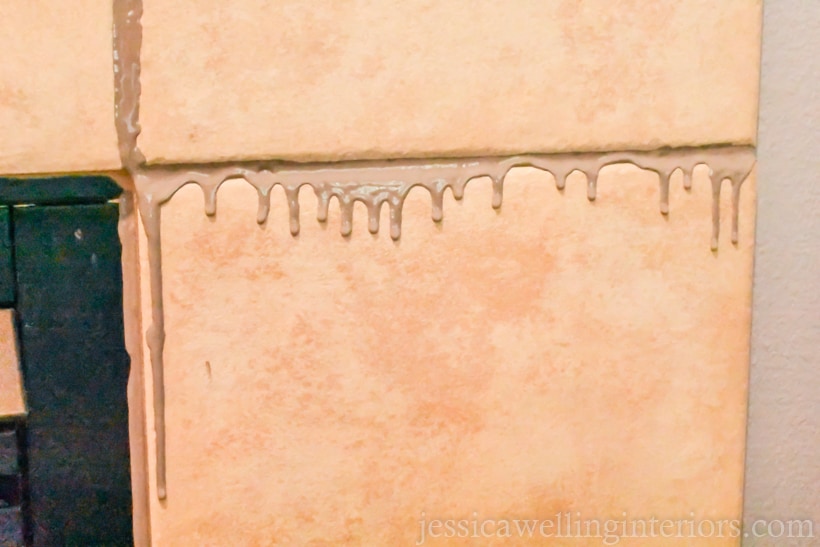
Squeeze the grout refresh on and let it sit for 20-30 minutes. Using a damp rag, wipe it off. I ended up re-doing a bit of it because I didn’t get perfect coverage the first time. It’s okay if it goes on messy. And it will, especially if you’re using it on vertical tile. Let this dry for a while.
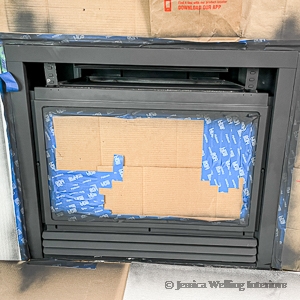
3. Prime the tiles.
Paint BIN shellack-based primer on the tiles. This is detailed work. I used a foam brush because the primer does not clean up with water. This stuff takes about 45 minutes to dry, and it needs to get painted over within a few hours, or a day at most.
I recommend wearing disposable gloves. I didn’t with the first project, and it takes a few days to come off of your hands. It’s ok if you get some primer on the grout. You’ll be going over the grout lines with a grout pen that will cover it up.
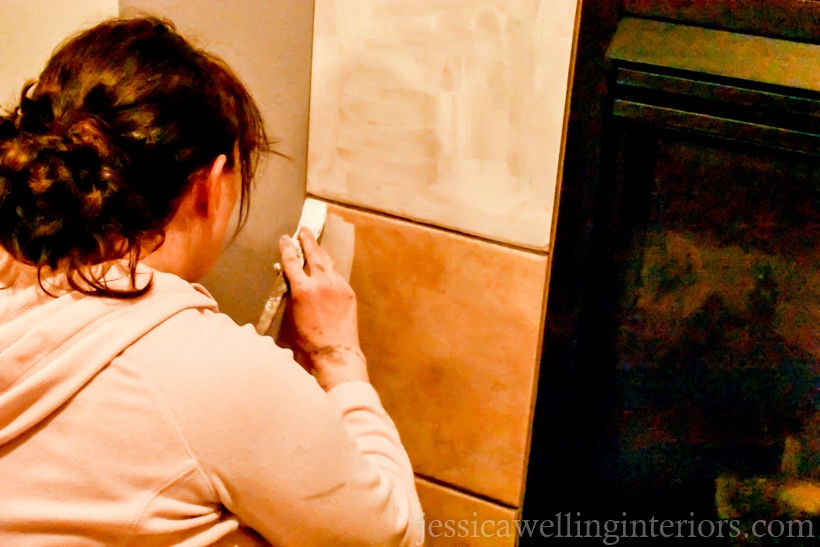
4. Paint the base color.
Using a 2″ angled brush, paint the tiles. I ended up doing 2 coats, and using a small angled artist’s brush for some of the detail work. You may need to do two coats- especially if your base color is white.


Be sure your paint is fully dry before moving on to the next step. Let it dry overnight if possible.
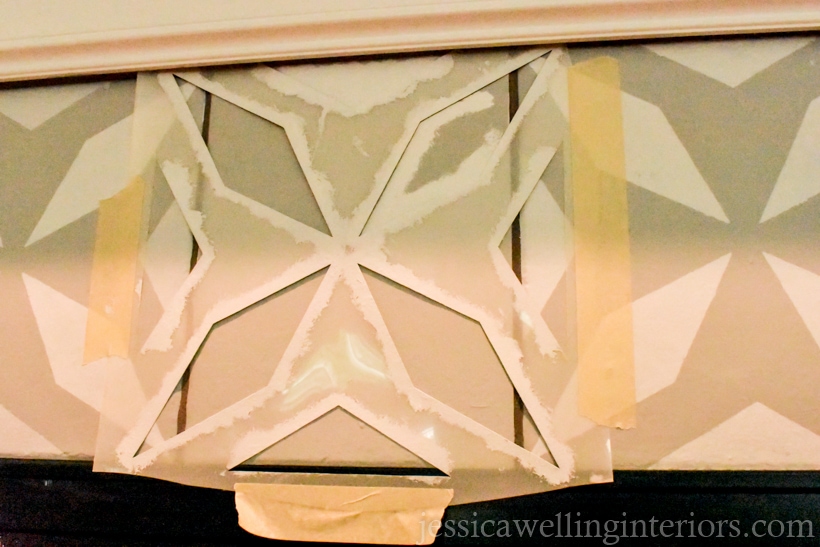
5. Line up and tape your stencil.
For the first stencil, I recommend choosing an easy tile that’s accessible. There will likely be trickier tiles to stencil in corners, etc., and you’ll want to have the hang of it before you tackle those. I used masking tape to hold my stencil in place.
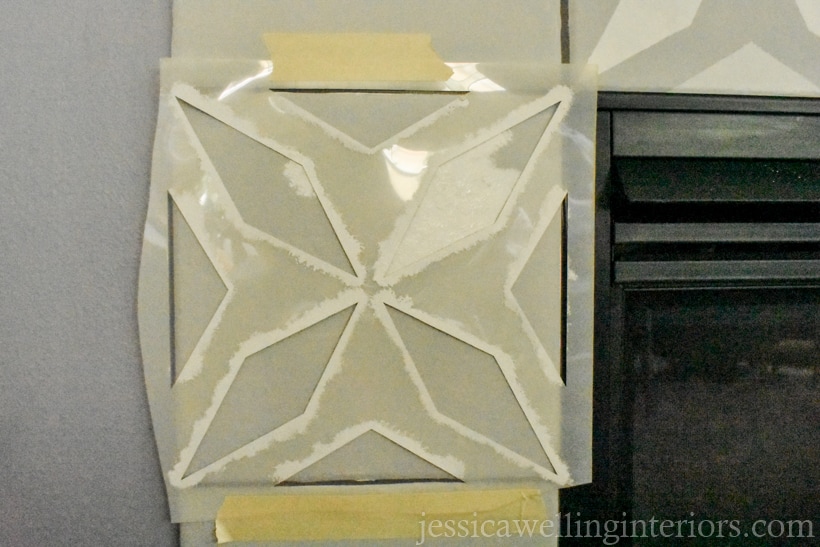
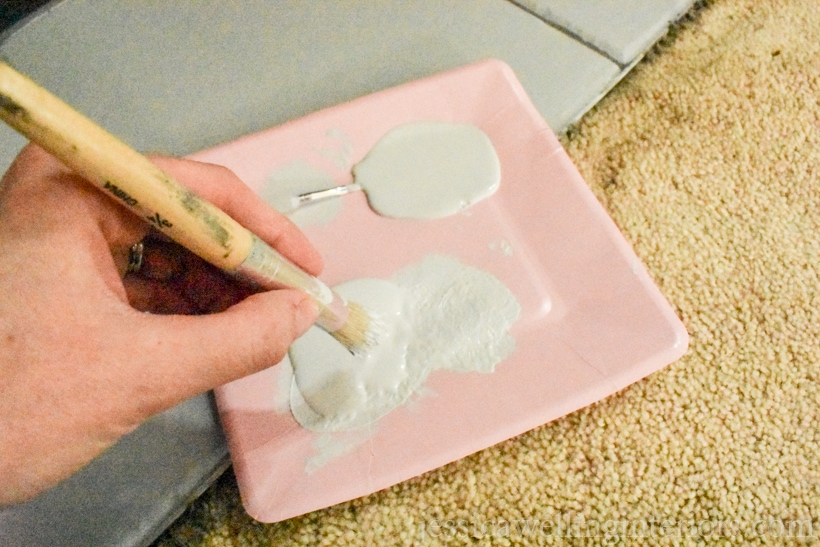
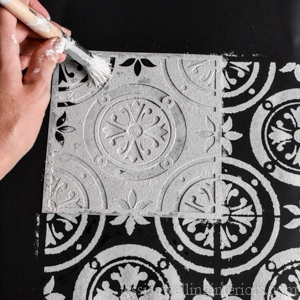
6. Dry Brush Stencil Technique
Next, you want to pour a small amount of paint onto your paper plate. Using the stencil brush, lightly dab into the paint. Then lightly swirl the brush around on a clean portion of the paper plate to remove any excess paint.
Now hold the brush perpendicular to the tile and apply paint with a dabbing motion.
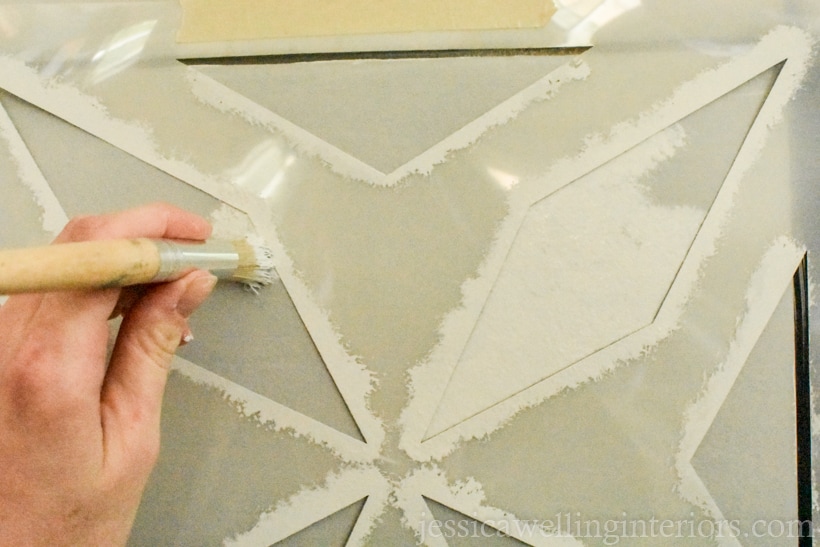
You don’t want to brush the paint back and forth, because this will push paint under your stencil and make your lines messy. Continue using this technique until you’ve covered all of the openings in the stencil.
Depending on the tile stencil pattern you choose, you may need to use a small artist’s brush for detail work close to the grout lines. As you can see, I had to do that with my pattern.
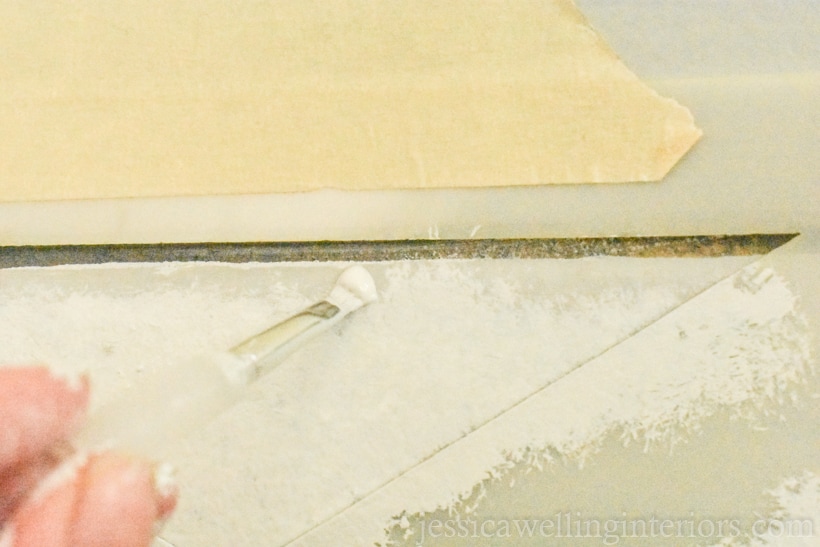
7. Remove & clean stencil.
Now gently remove the stencil and clean it in the sink- especially the back side. If you let the paint dry and build up on the stencil, your future paint lines will not be as sharp. It’s also easy to transfer wet paint to another tile. I know it’s tempting, but you don’t want to skip this step!
8. Position stencil on another tile and repeat.
I stenciled every other tile in order to give the paint a chance to dry. Then, I came back later and filled in the missing tiles.
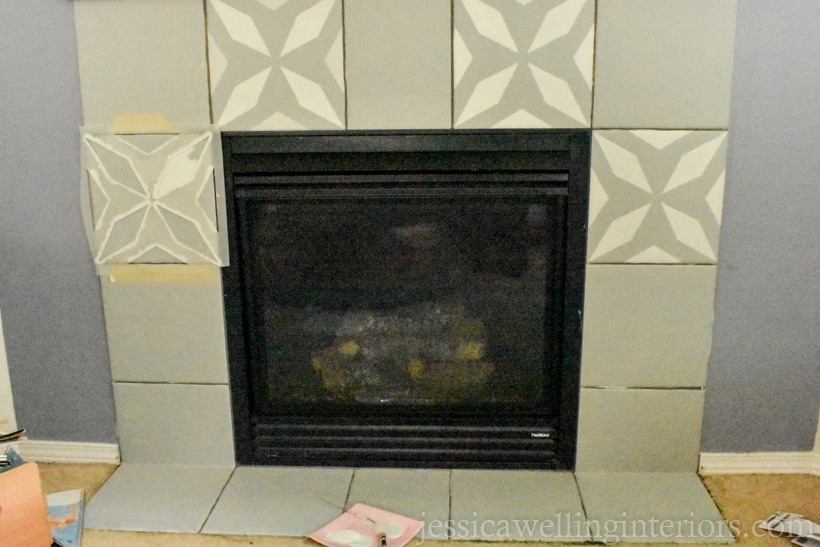
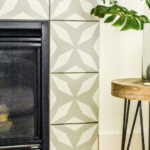
9. Save the tricky tiles for last.
As you can see, the center tiles on my fireplace are a few inches narrower than all the others. I chose to position the stencil in the middle of the tile and just paint as much of the pattern as would fit on these two tiles.
You may have to get creative. This stencil kit came with some extra triangle stencils, so I made use of those where necessary.
10. Touch up pattern.
Unless you’re much better at this than I am, there will be a fair amount of touch-up work with a small angled artist’s brush after the initial stenciling.
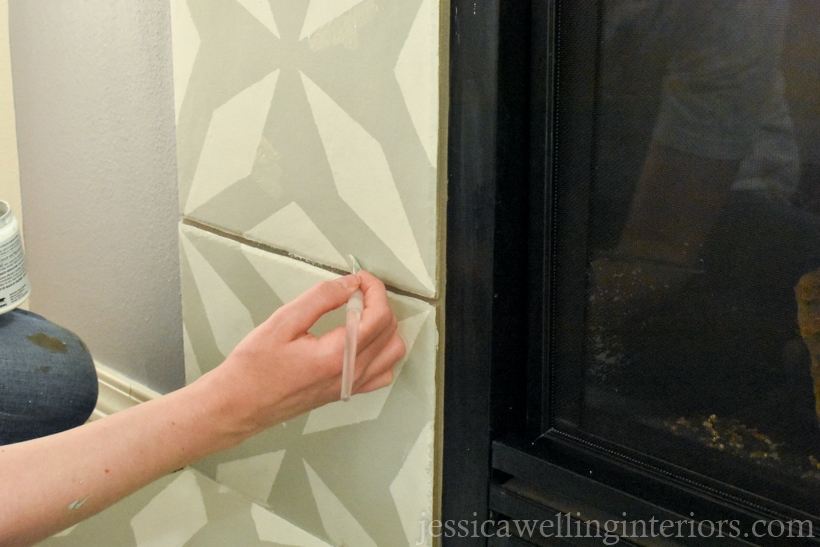
11. Touch up grout lines.
Using a small artist’s brush and the grout refresh, come back and fix and areas where the paint got away from you.

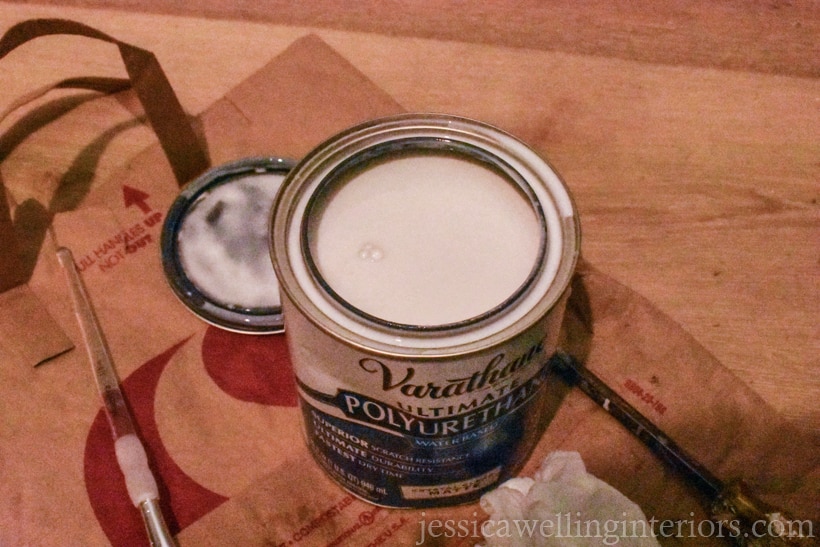
12. Seal with polyurethane.
Once everything has had some time to dry (ideally 24 hours at least) come back and paint a clear top coat over the tiles to protect your hard work.
I used Varathane Crystal-Clear Matte Finish. It looks white in the can, but I promise it goes on clear. It’s pretty runny stuff, similar to the BIN primer. Let that dry, and maybe do a second coat for good measure. And that’s it- you’re done!
More Fireplace Makeover Ideas…
Painting Fireplace Tile: The Ultimate Guide
DIY Fireplace Makeover With High Heat Paint
25 Modern Moroccan Tile Stencils


This turned out awesome!
Thanks so much Wendi! It turned out way better than I expected!
It’s so funny! I came across this post today but I used the same stencil in different colors for my fireplace a couple of weeks ago. I started with a shiny, shiny black marble that was here when we bought the house. I painted with a matte dark gray and used a lighter gray for the stencil. Then I used a gray antiquing gel over the lighter gray. I love how it turned out!
Oh that’s so cool! This was the perfect stencil! I did another fireplace for a client with a much more intricate pattern that was repeated 4 times per tile, and it took FOREVER! Did you have any trouble getting the paint to stick to the shiny marble? I would love to see a picture!
Amazing! Adds value to the home. Nice job.
Thanks so much! I think it was probably a lot easier than retiling!
This turned out beautiful. Definitely one to add to the DIY/ Decor board.
Thanks so much!
Do you know if I could do this on marble tile?
Hi Sonya! I believe you could. I think the most important factor will be how shiny the tile surface is. You’ll probably need to rough up the surface with some sandpaper. Do you have an extra tile somewhere? If so try it on that first!
Do you have any advice if the tiles you are starting with are really dark?
Hi Rhonda! I don’t think it will matter. The primer will help to cover them. Good luck, and let me know how your project goes!
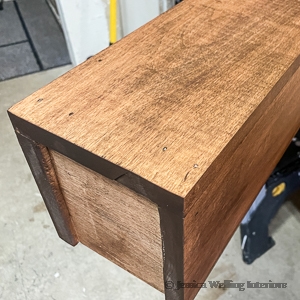
This looks amazing!! Can I ask what color of stain you used on the wood mantle?
Hi Kristi!
It’s Varathane Special Walnut. Hope that helps!
Hi,
This is amazing.Looks so much like those decorative cement tiles.May I know where you got the mantle from?
Thanks
Rohitha
Hi Rohitha! Thank you so much! We actually built the mantel. I have all the photos, but I never got around to writing a blog post about it. Sorry that’s not very helpful!
Hi Rohitha, Excellent tutorial! Would I use this same process for a ceramic tile floor? Also, do you have any idea how well/ how long a painted floor holds up over the years when painted in this way?
Hi Michelle,
I think it would be the same process… but you might need to sand the tiles a little depending on how shiny the surface is. I’ve done three fireplaces, but never a floor that actually gets walked on. It’s hard for me to imagine that holding up well over time, but I know a lot of bloggers do it and say it works!
I just did this and it turned out amazing! I had a much bigger and more expensive make-over planned before I discovered your post, so this saved so much money and time!
Oh I’m so glad to hear that! I would love to see a picture!