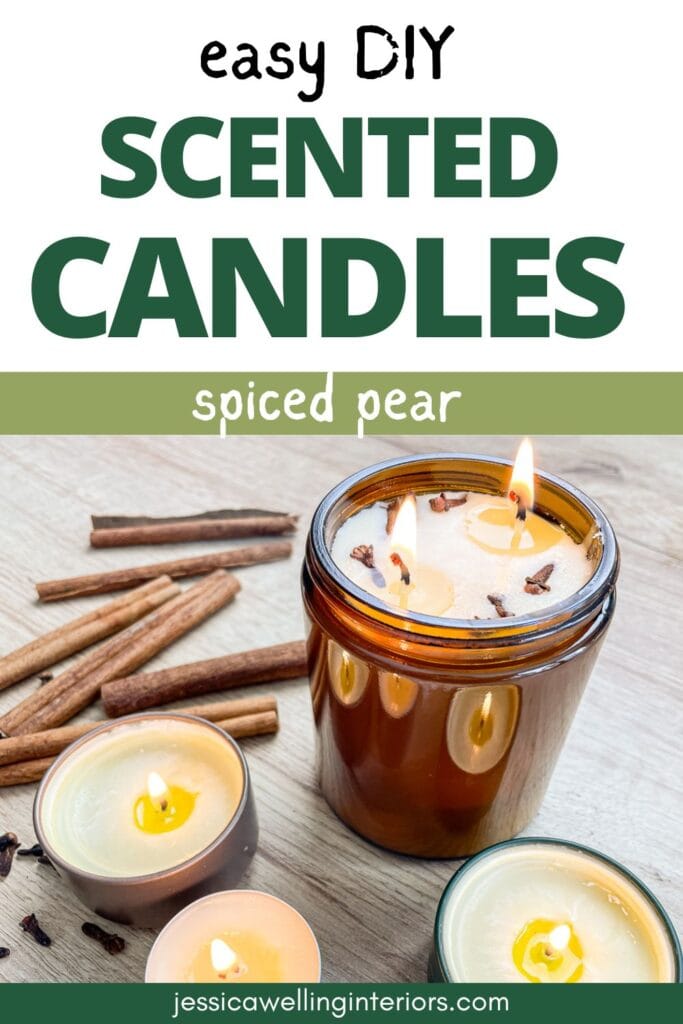
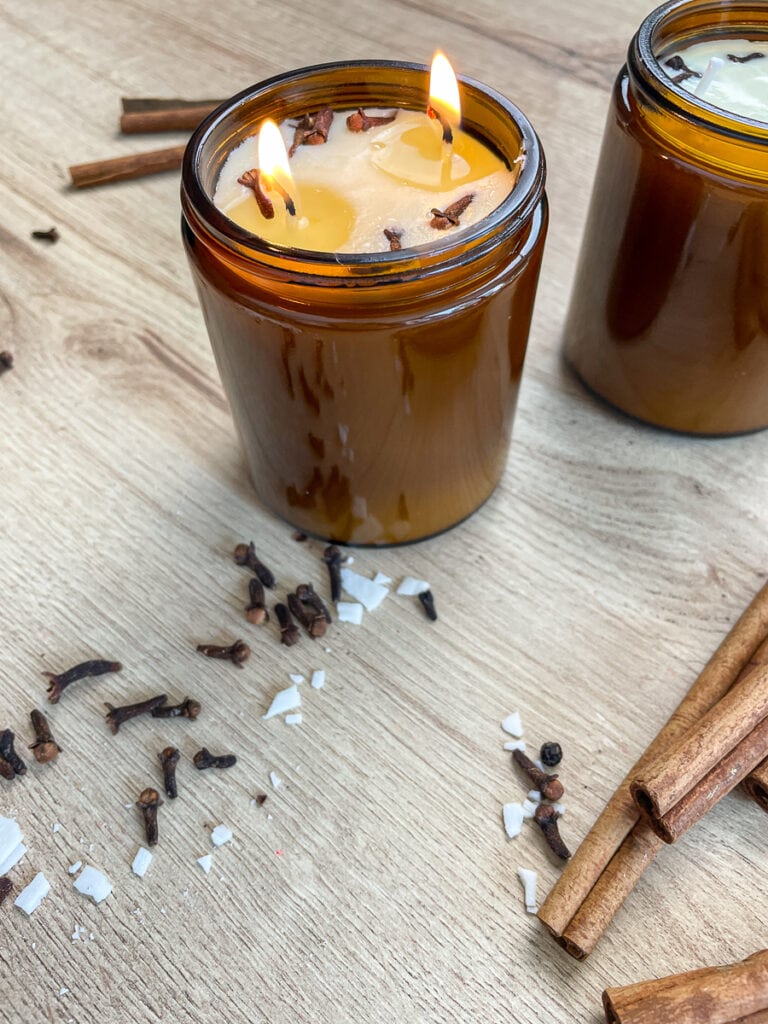
Easy Spiced Pear Scented Soy Candles
These quick and easy scented soy candles are perfect for Fall and the holidays! Make these to give as gifts or to scent your own home!
How to Make Scented Soy Candles for the Holidays
I love making candles, and one of my new favorite scents for Fall and Christmastime is Spiced Pear & Whiskey, from Makesy (formerly The Wooden Wick Co.). So today I’m making these lovely scented soy candles. Let’s get started!
Materials
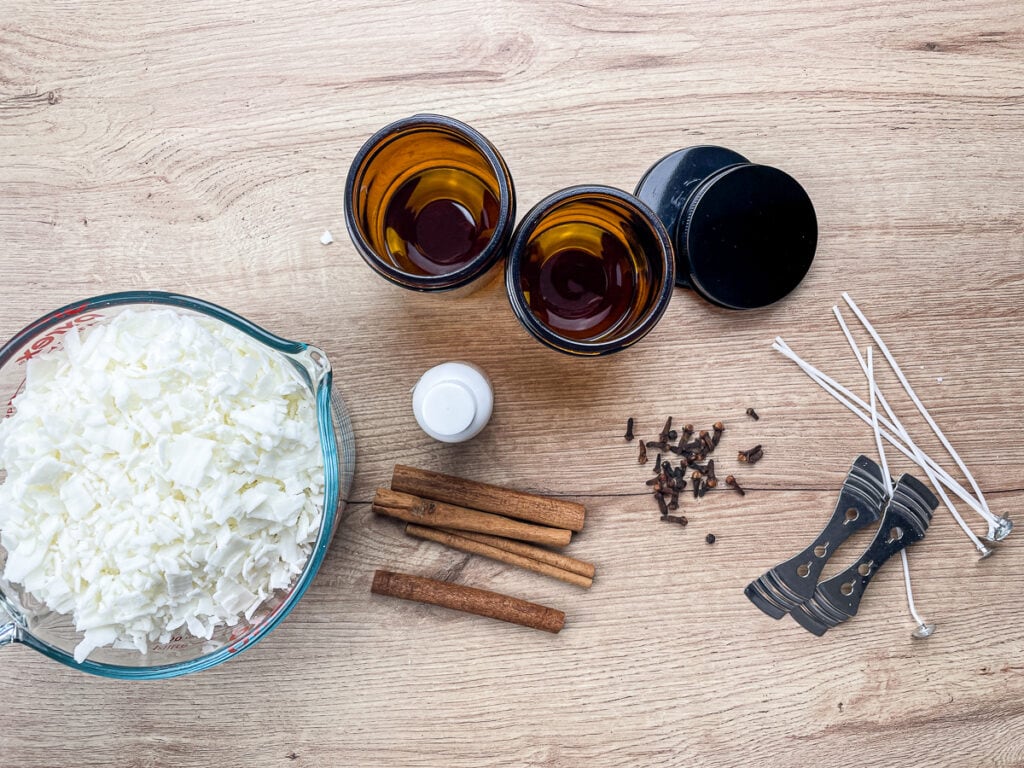
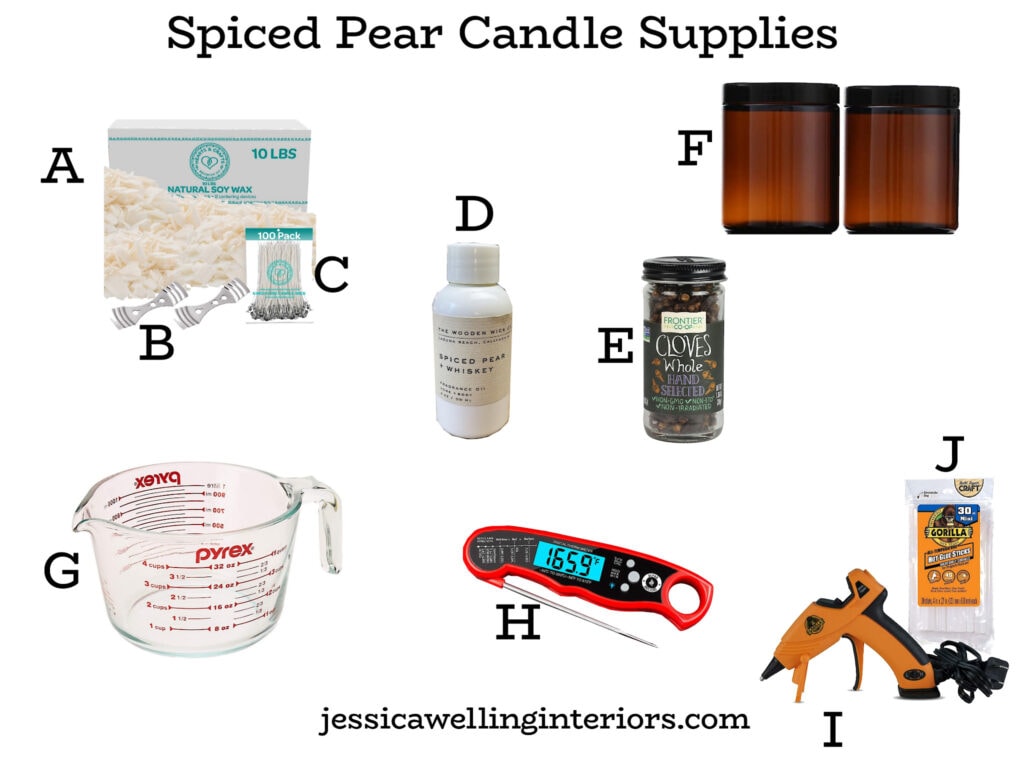
A. Soy Wax Flakes (I like this brand from Amazon and it comes with wicks and wick centering devices too!)
B. Wick Centering Devices (I’m using the ones that came with the soy wax kit above but you can get them separately here.
C. Cotton Candle Wicks (again, mine came with the wax but you can get them separately here)
D. Spiced Pear & Whiskey Candle Fragrance Oil (this is my favorite fragrance oil company after A LOT of testing. You can find more great candle scent options here)
E. Whole Cloves
F. 8 oz Amber Glass Candle Jars with Lids (I’m using these jars from Amazon. You can see more of my favorite candle vessels here.
G. 4 Cup Glass Measuring Cup (or other microwave-safe bowl)
I & J. Hot Glue Gun & Glue Sticks
Directions
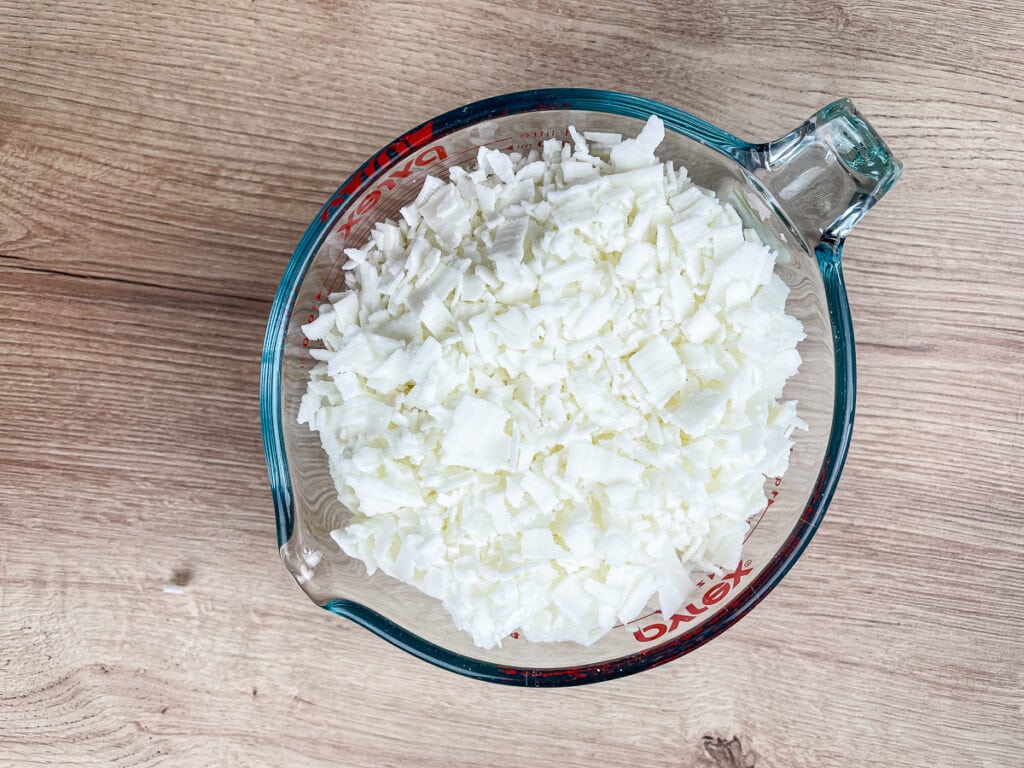
1. Measure the Wax
Measure 4 cups of soy wax flakes into a glass bowl or microwave-safe container. I’m making two 8-oz candles, so I will need about two cups of melted wax. Soy flakes melt down to about half their original volume.
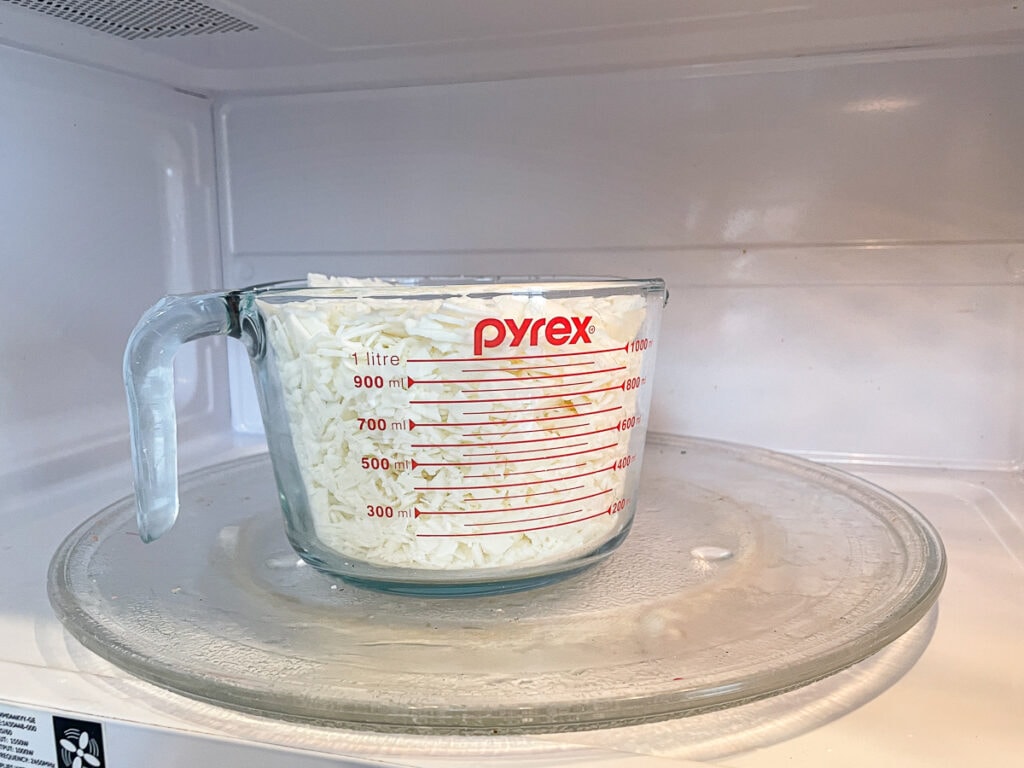
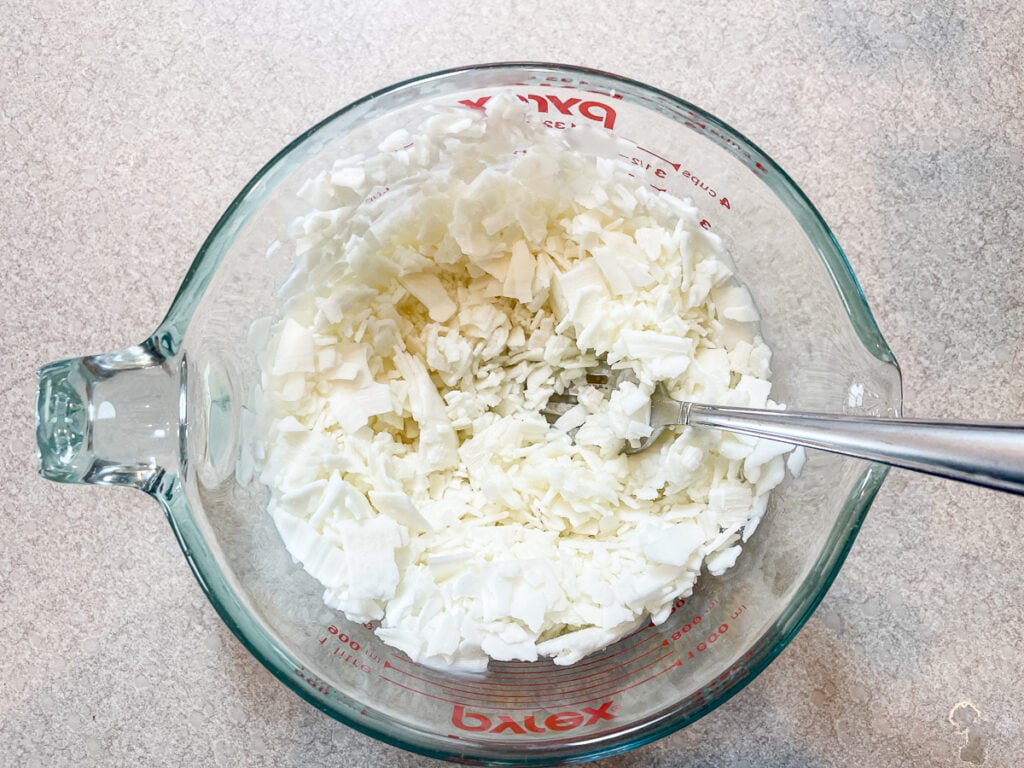
2. Melt the Wax
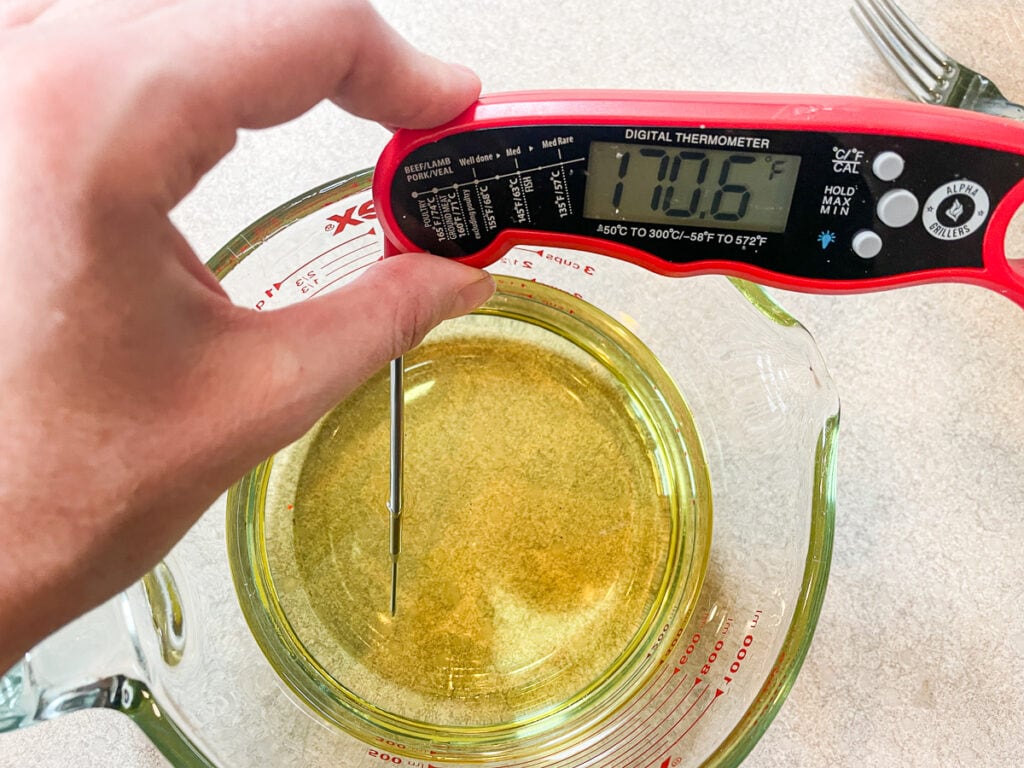
Melt the wax in the microwave, starting with two minutes, and then going down to one-minute intervals. Stir it well each time. The target temperature is 170 degrees. This is important because the wax needs to be at the correct temperature to bind with the fragrance oil.
This is my go-to inexpensive digital meat thermometer from Amazon.
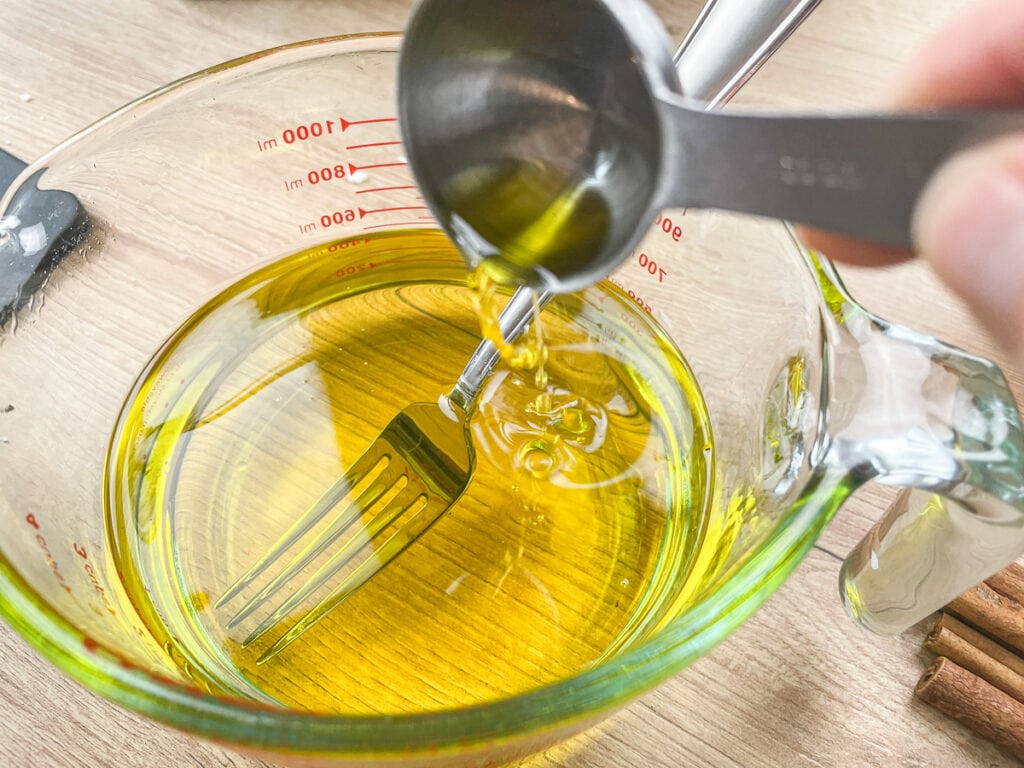
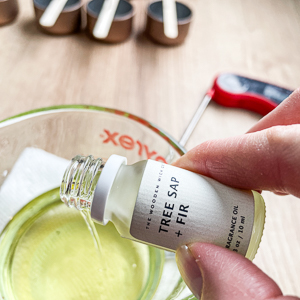
3. Add Fragrance Oil
Add about 3 Tablespoons (1.5 oz) of candle fragrance oil. I’m using Spiced Pear and Whiskey, from Makesy. This is one of my favorite Fall and holiday scents! Stir it well.
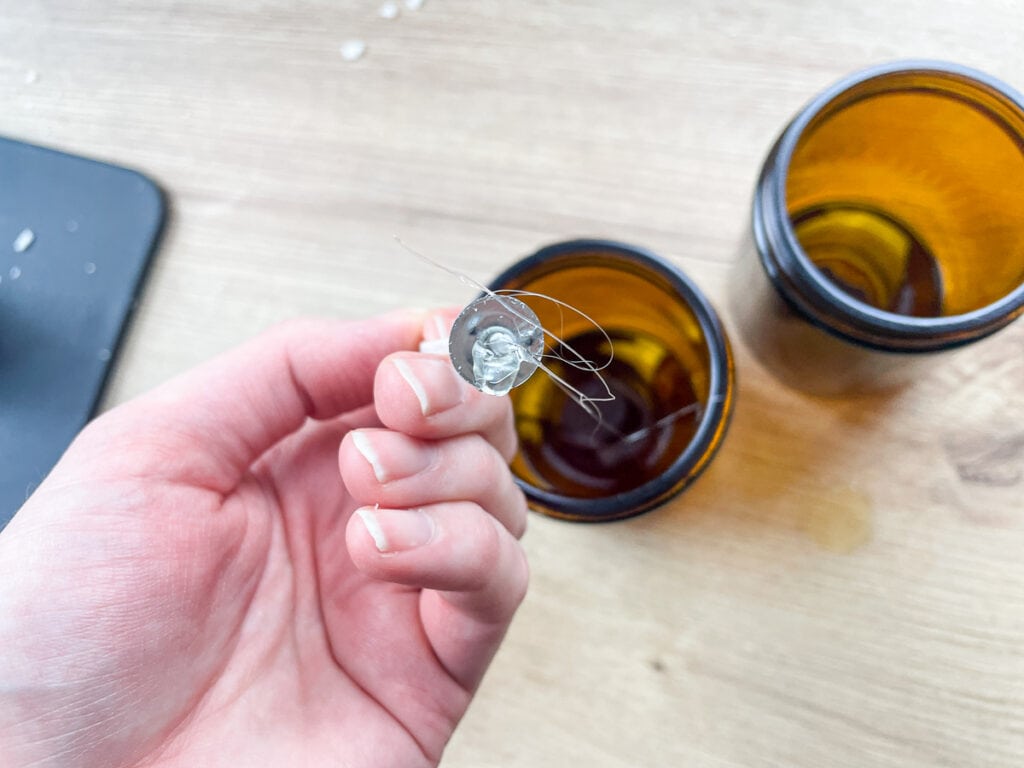
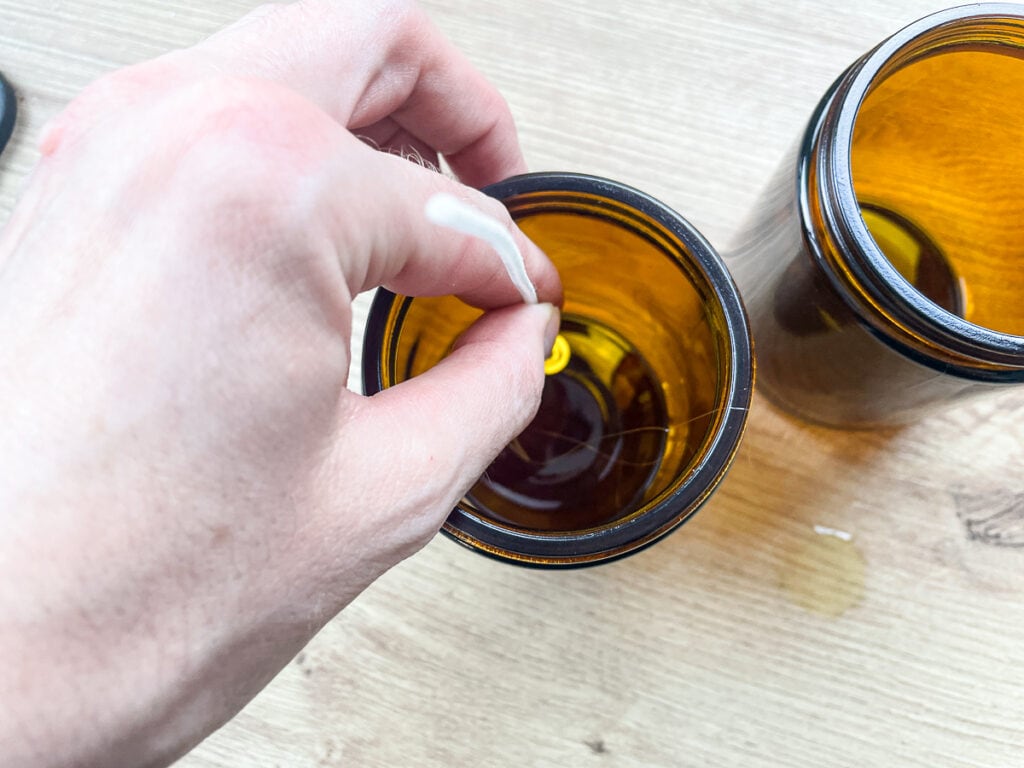
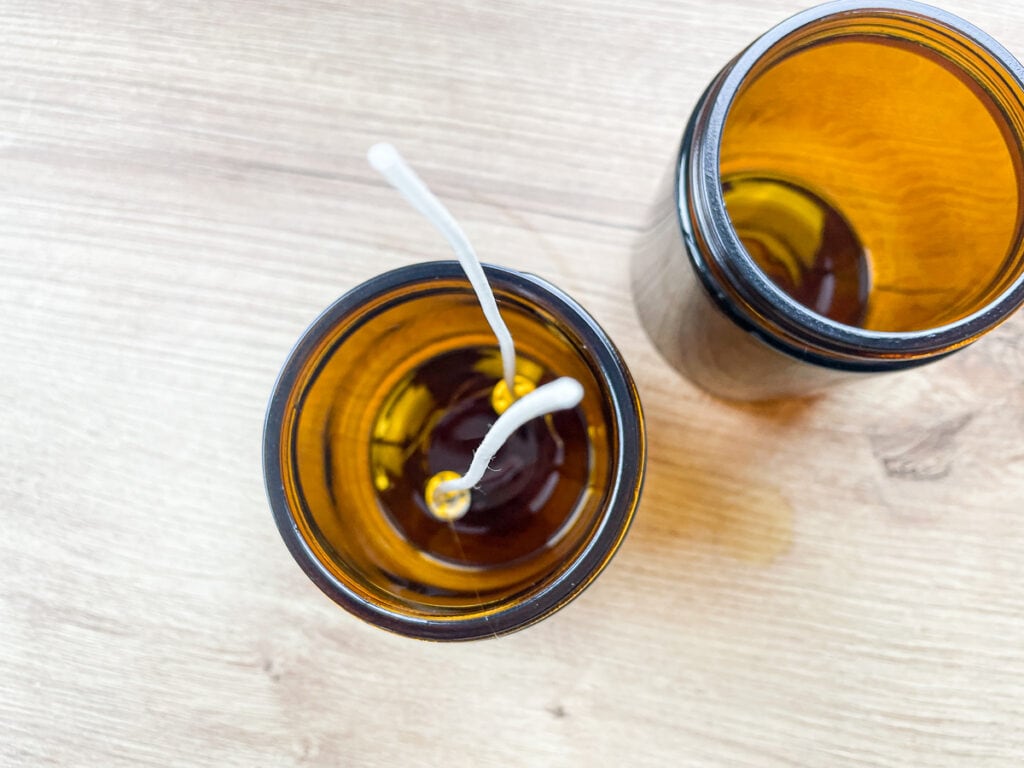
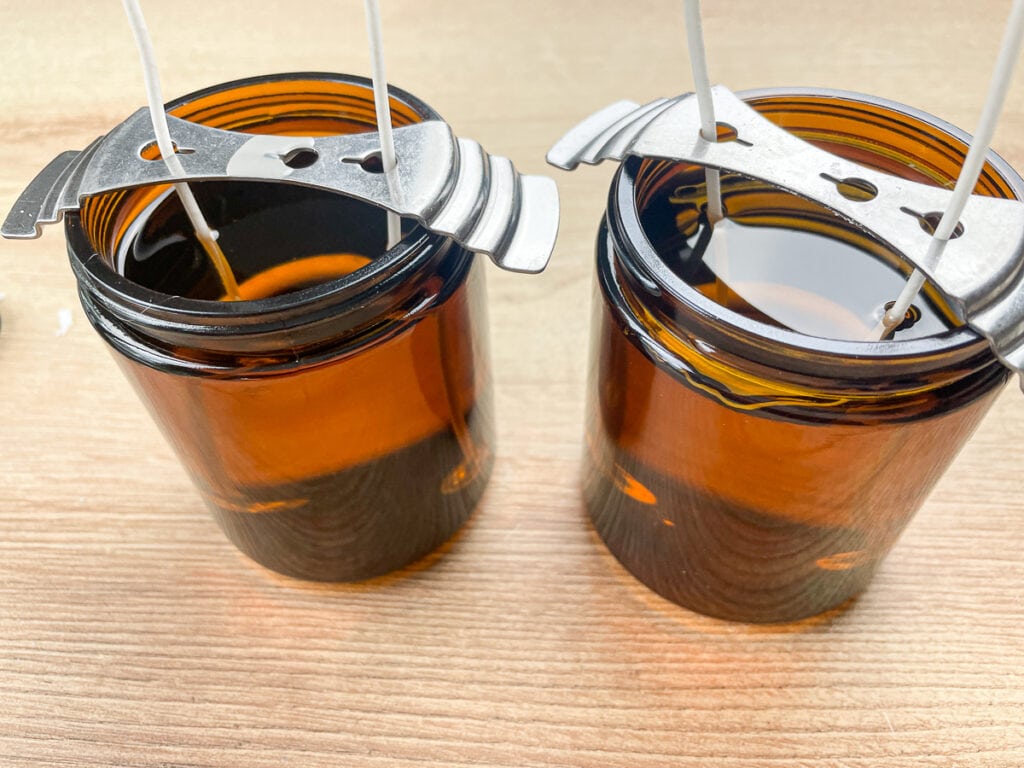
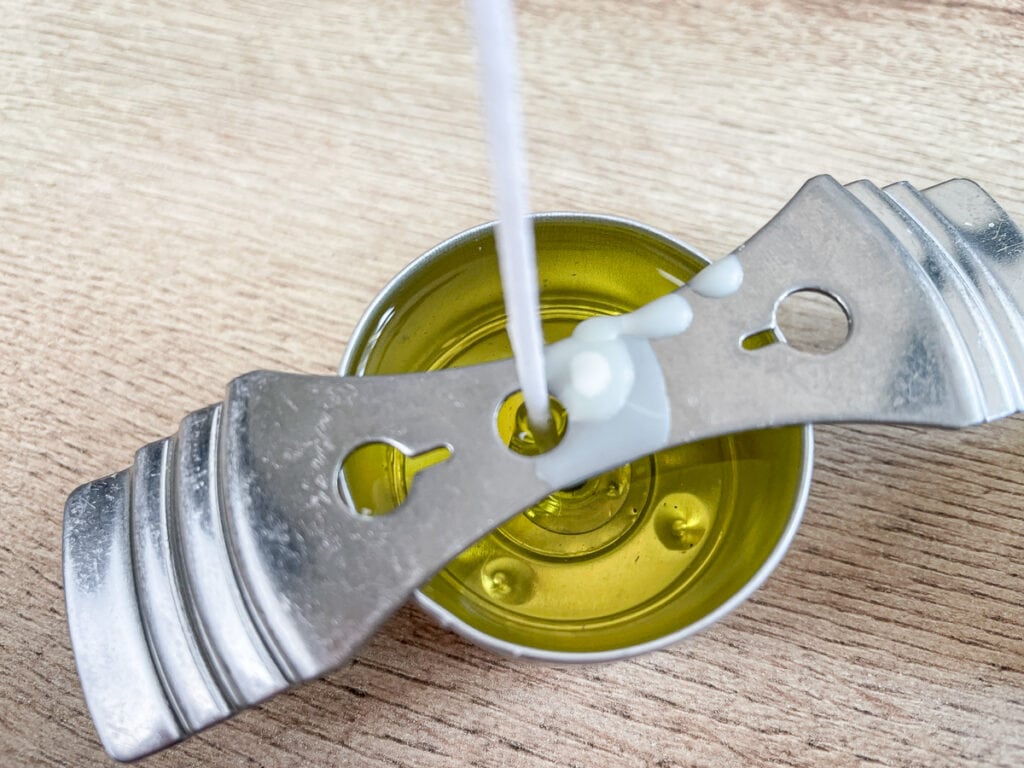
4. Secure Wicks
Use a dab of hot glue to attach two wicks to the bottom of each candle jar. Then use a wick centering device to secure them at the top of the jar. It’s important to keep the wicks in place because they will get floppy and fall over once the hot wax is poured.
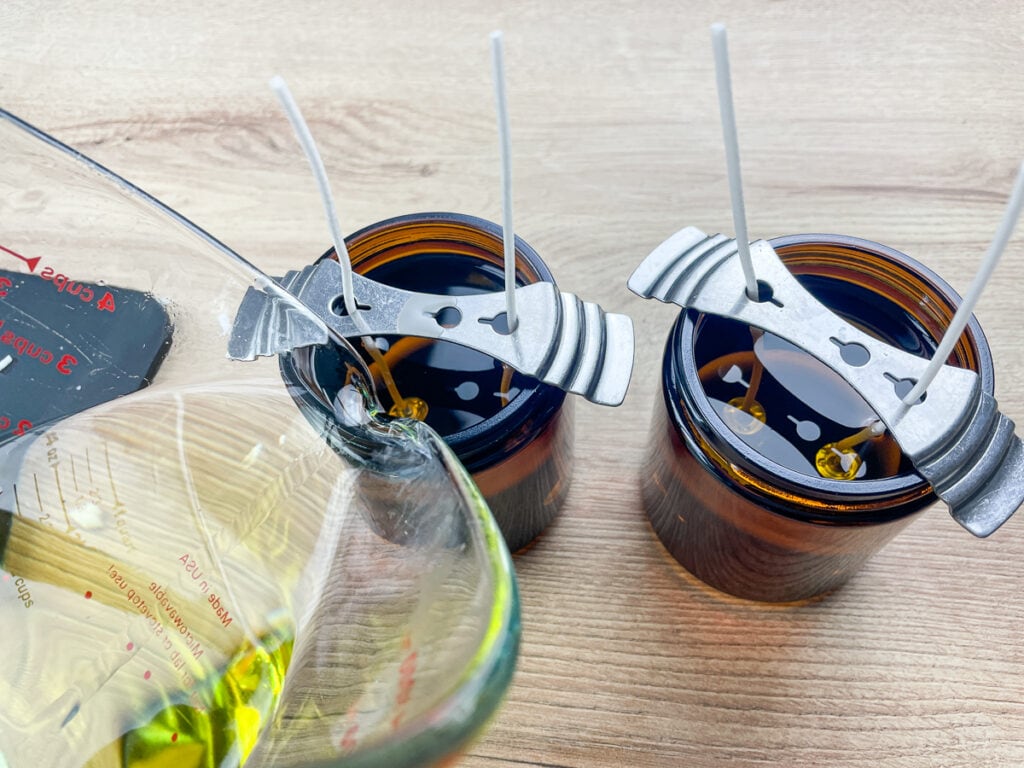
5. Pour Wax
Carefully fill the candle jars with the hot wax, leaving a little space at the top of the jar for the second pour. Be sure to leave yourself enough wax in the measuring cup to cover the tops of both candles again later.
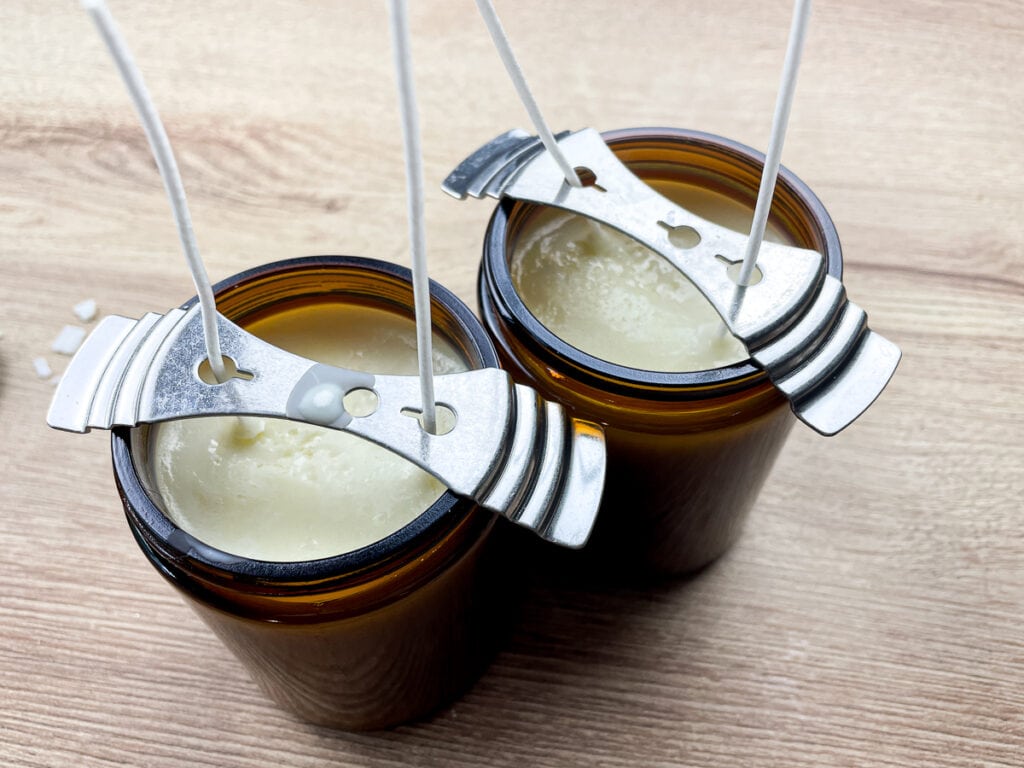
6. Let it Cool
Let the candles cool completely. This will take a few hours. You may notice that the tops of your candles are not perfectly smooth. They may sink slightly in the center or have uneven tops. This is fine.
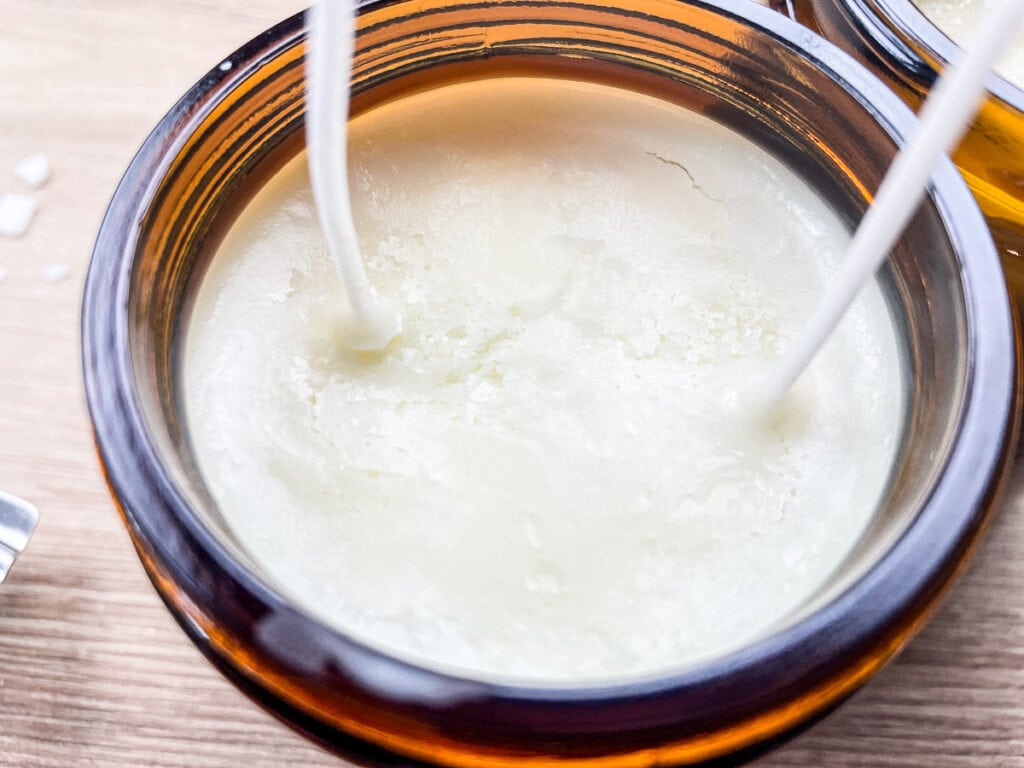
7. Pour Top Layer
Re-heat the remaining wax in the microwave so that it’s just melted. You don’t want to overheat it because too much heat will break down your fragrance oil. Now pour a thin layer of wax over the top of each candle, just enough to cover the tops.

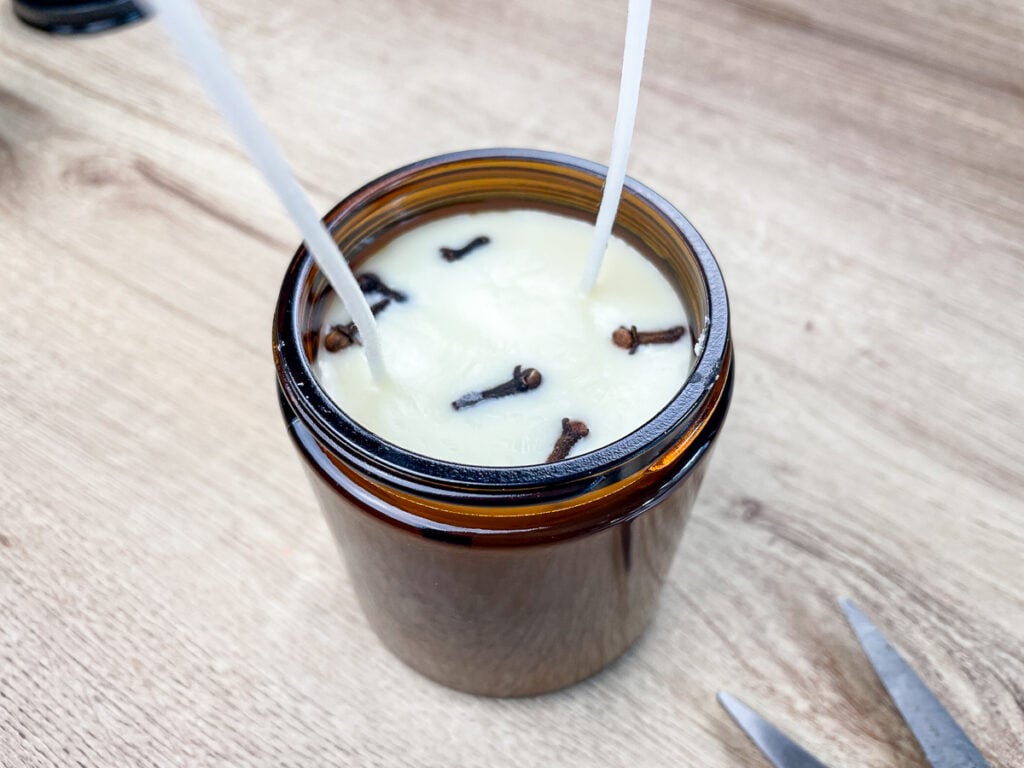
8. Add Inclusions (optional)
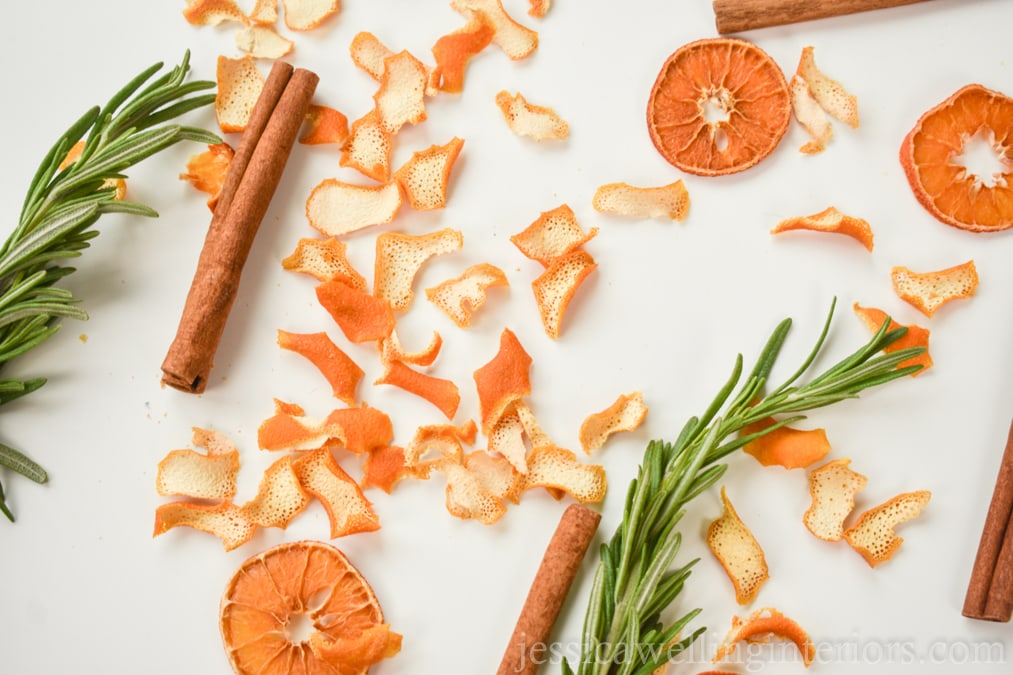
Add a few cloves and/or bits of cinnamon bark to the tops of the candles while the wax is still liquid. Try to position them so they’re not too close to the wicks, and don’t add anything larger than a clove.
9. Let it Cool
Let the top layer cool completely.
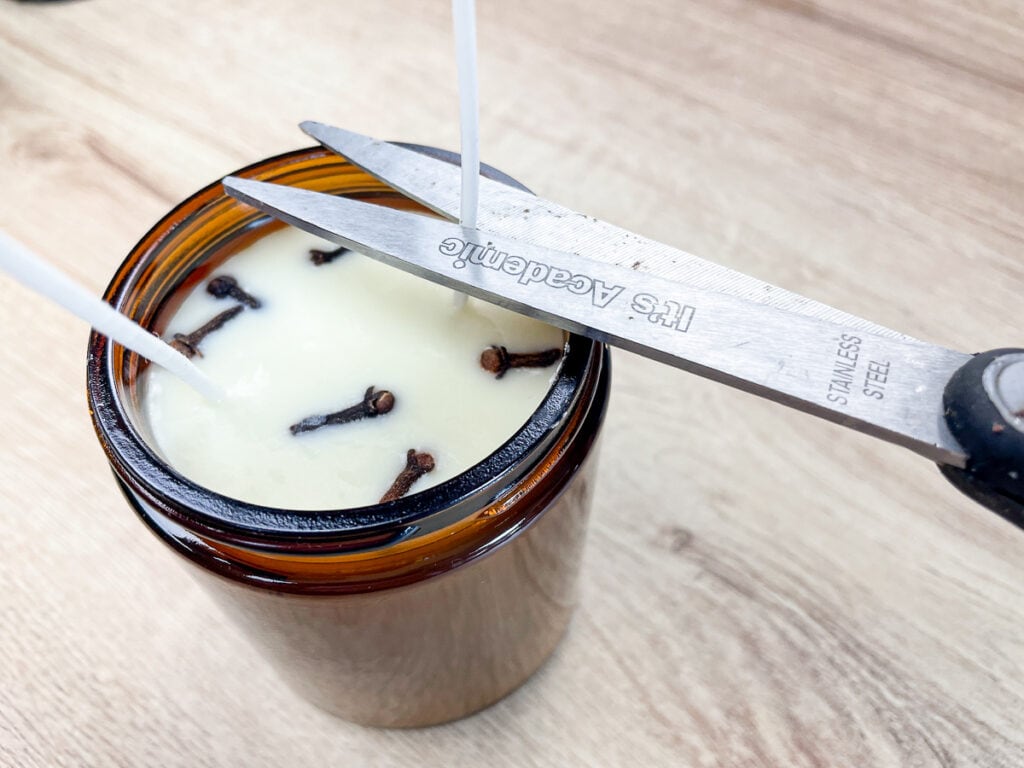
10. Trim the Wicks
Use scissors to trim the wicks to about 1/2 inch above the top of the candle.
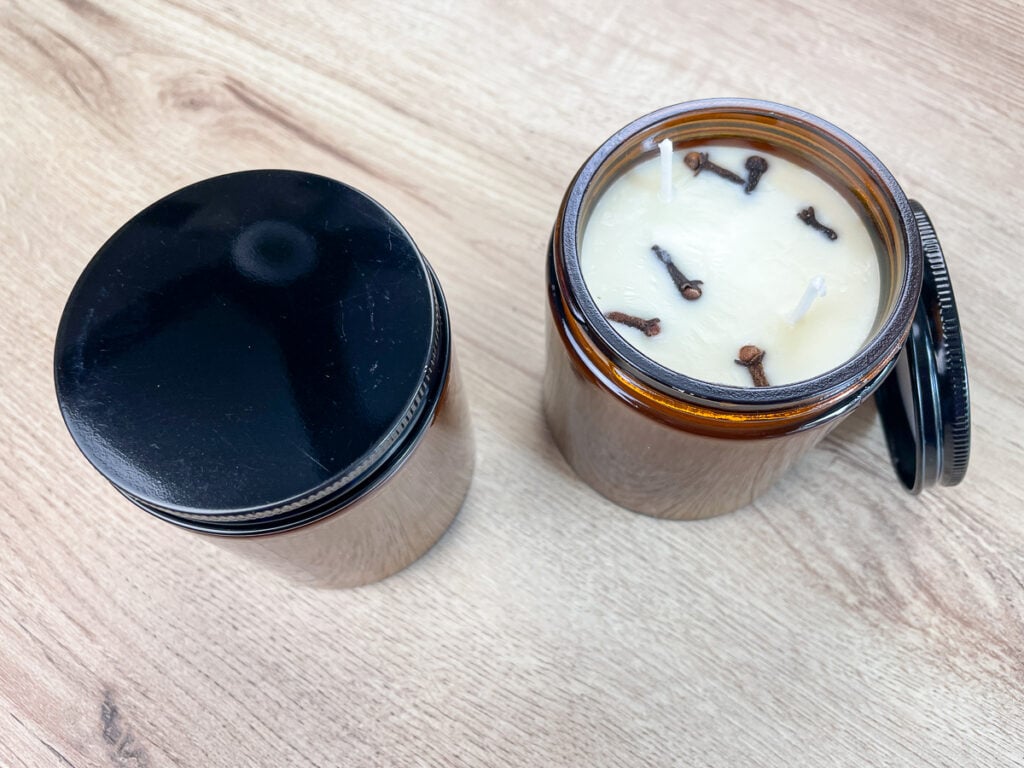
11. Let Them Cure
Replace the lids (or seal up your candles if you don’t have lids) and let them sit for a few weeks. This will allow them to cure and give your candles the best possible scent throw.
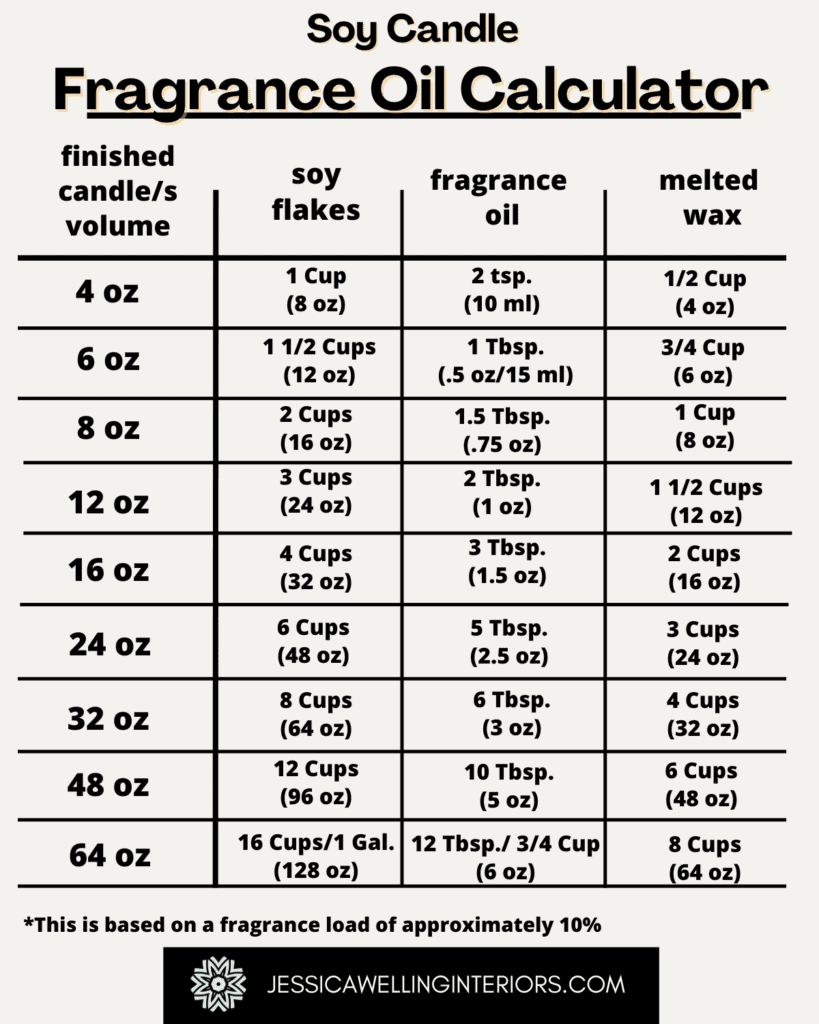
Candle Fragrance Calculator
One of the most difficult aspects of candle making is getting the right ratio of wax to fragrance oil. You’ll find some pretty complex explanations out there, but I wanted something simple to refer to that uses measuring spoons and cups I already have in my kitchen, so I put together the chart below.
Leftover Wax
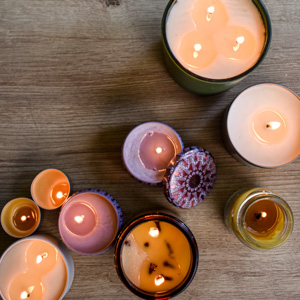
What can you do with leftover scented wax? I have two great options for you! First you can make a couple of tealight candles. The full tutorial is coming soon, but it’s pretty much exactly the same as making larger candles.
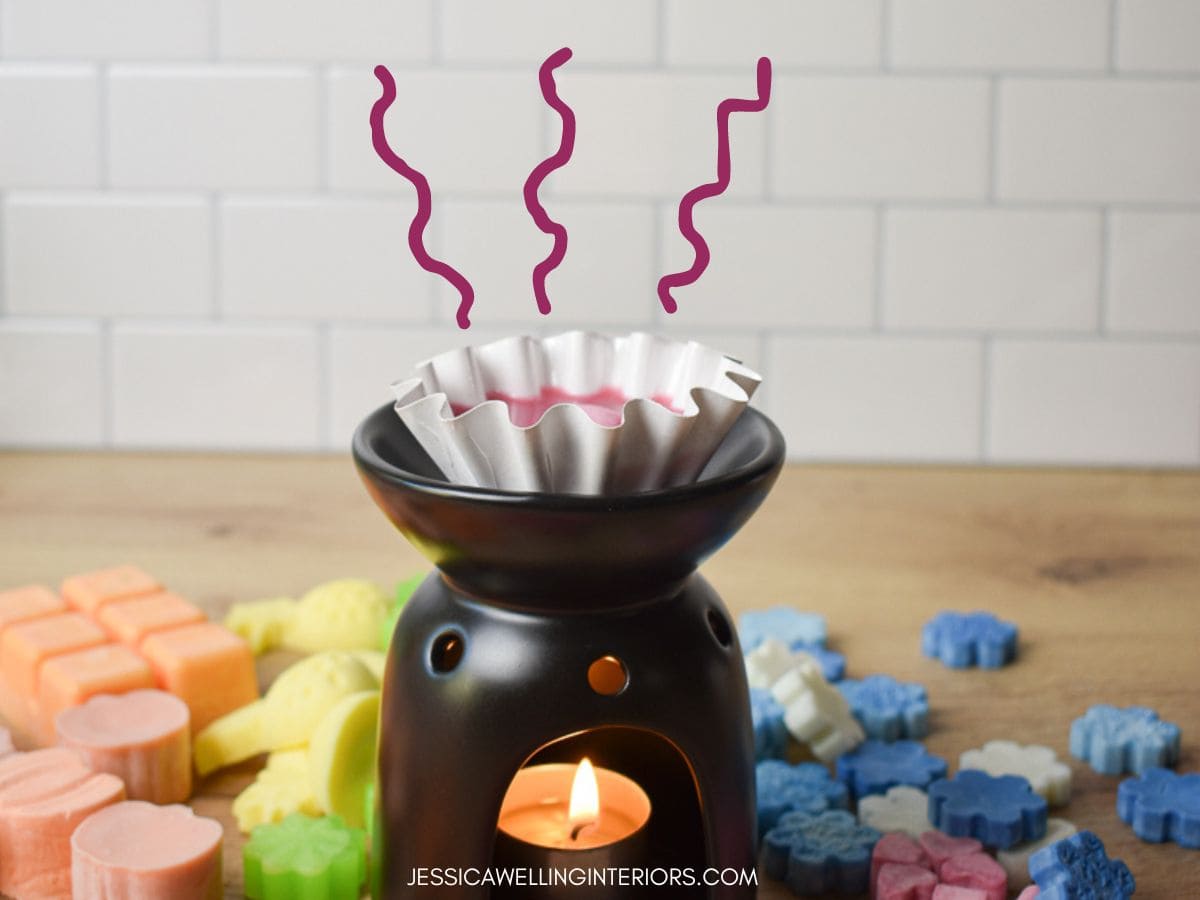
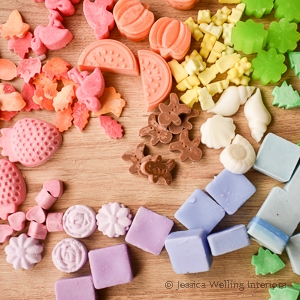
The second option is to make wax melts. I do this all the time, and they’re lovely! Here’s a tutorial for wax melts:
How to Make Wax Melts: Everything You Need to Know
More DIY Candles…
The Best Fragrance Oils for Candles- That Actually Smell Good!
The Best Candle Jars & Tins & Where to Get Them
How to Make Candles Smell Stronger: 6 Tips for Great Scent Throw