DIY Christmas Tree Scented Candles
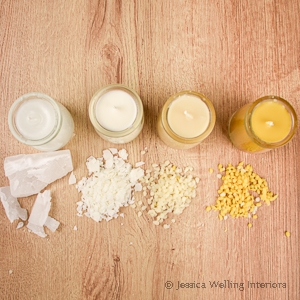
Ever since selling out and getting a fake Christmas tree last year, I’ve been on a mission to replace the fresh-cut Christmas tree smell. Scented candles seemed like the most obvious solution, but finding the perfect tree scent proved more difficult than I expected.
I started with essential oils in my candles. No good. Then I tested at least 7 different Christmas tree-scented candle fragrance oils. And I finally have a winner! Drumroll please…
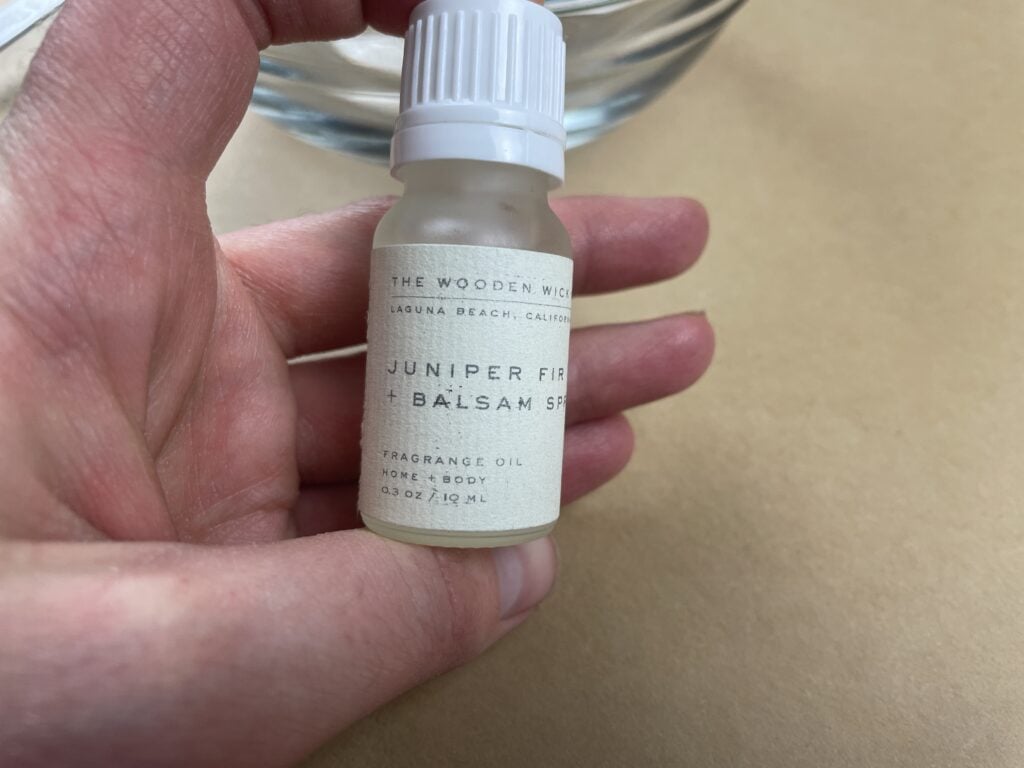
Juniper Fir and Balsam Spruce, from The Wooden Wick Company.
Check out this post for a beginner’s guide to making soy candles.
Why Use Soy Wax?
I’m using soy wax for this project because it’s my favorite. It’s natural, sustainable, and non-toxic, easy to measure and work with, and creates beautiful opaque candles.
And last but not least, it cleans up with soap and water. If this is your first foray into candle making, you may not quite comprehend how awesome that is… but you’ll understand soon enough.
When it’s clean-up time, I just remove any excess wax and throw my utensils and containers in the dishwasher.
If you’re interested in other types of wax, check out this article:
What is the Best Wax for Candles? Soy vs. Paraffin vs. Beeswax
Supplies
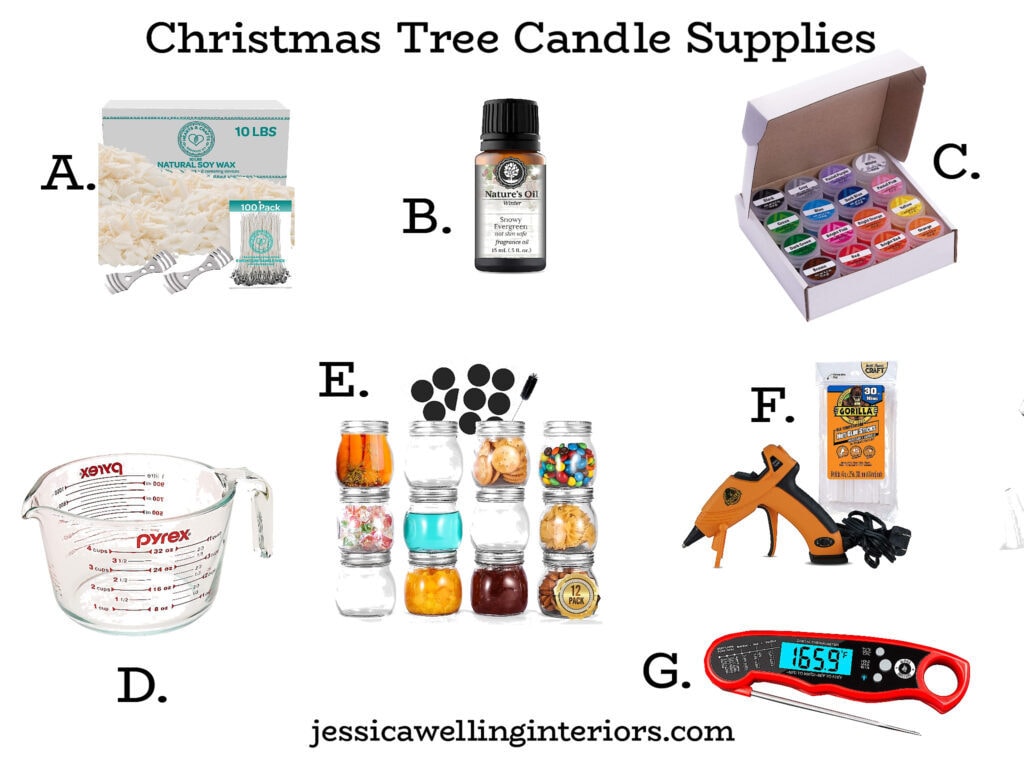
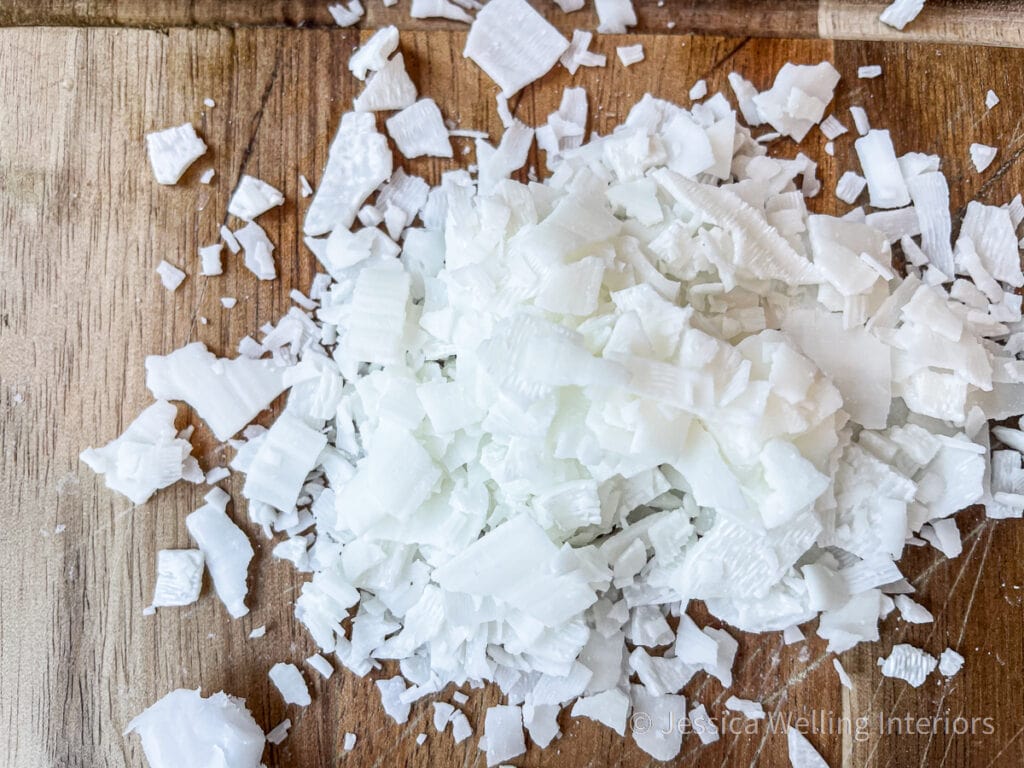
A. Soy Wax Flakes- this brand comes with wicks and wick holders
B. Candle Fragrance Oil- I’m using Snowy Evergreen, from Nature’s Oil
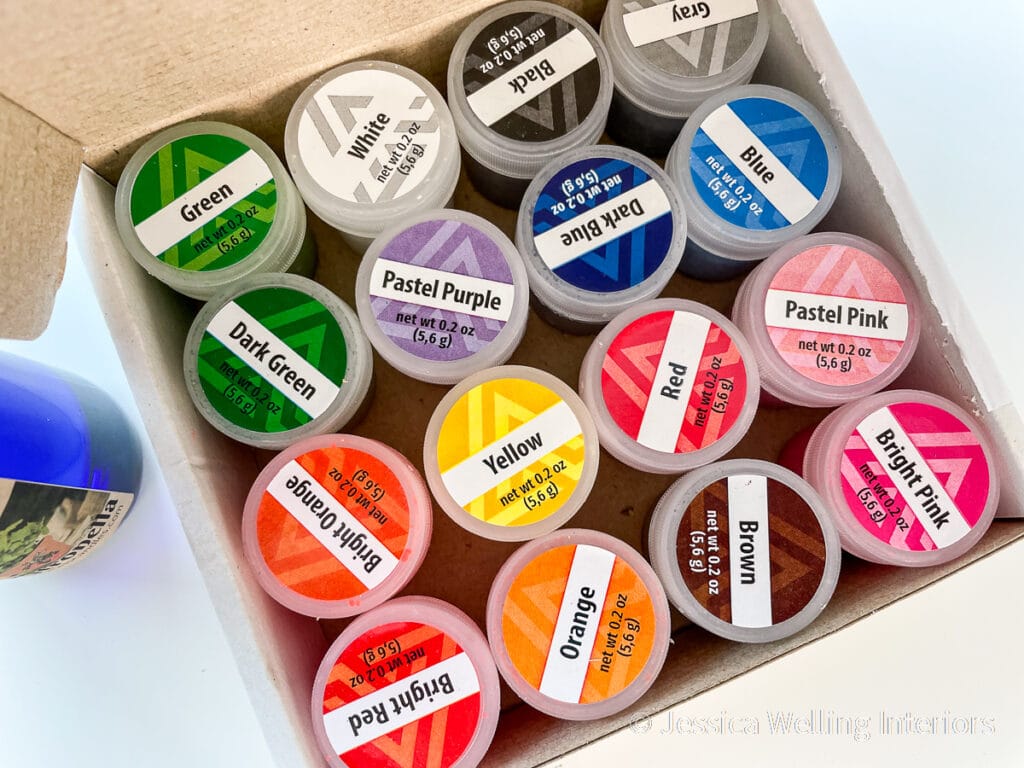
C. Green Wax Dye- I like this multi-color wax dye kit from Amazon
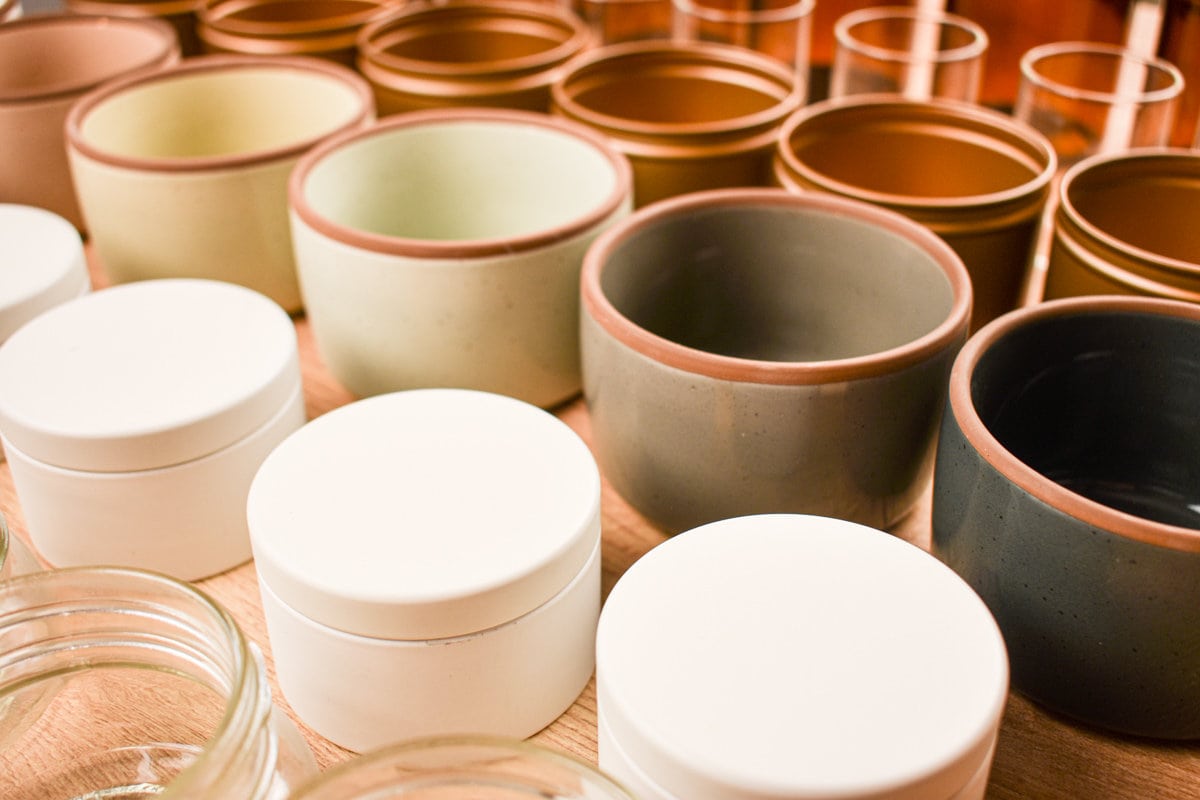
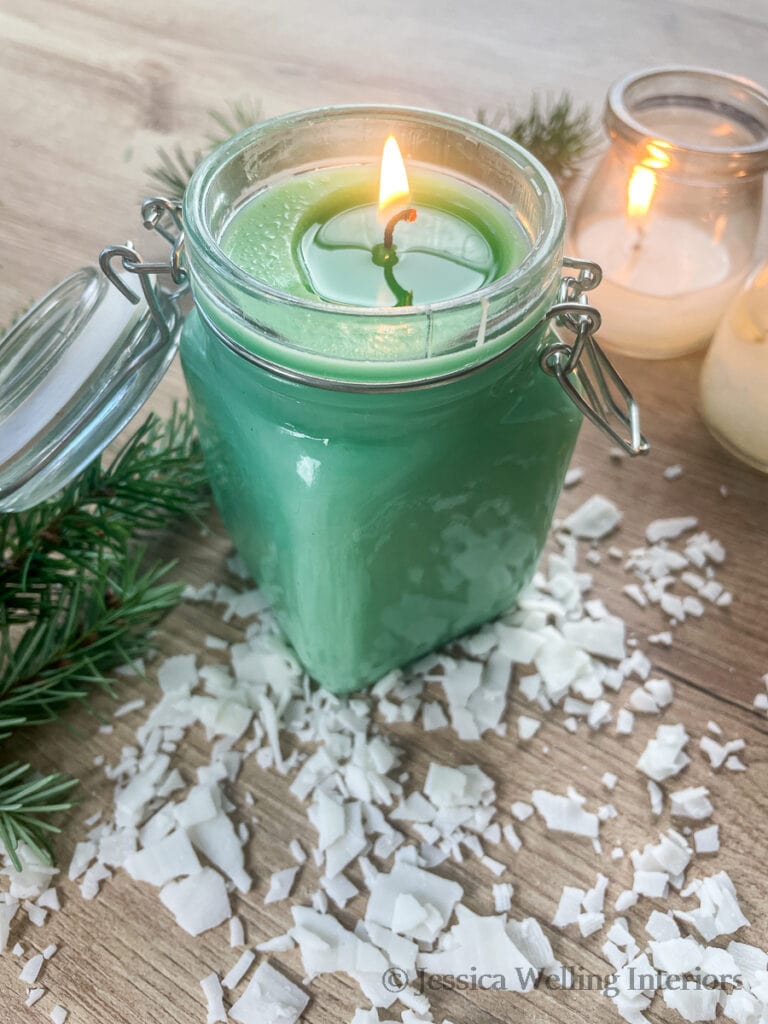
E. Jars with Lids Any glass jar or non-flammable container will work. I like this set from Amazon because they’re a perfect gift size, and they come with lids to keep the candles sealed up when not in use. You can see all my favorite inexpensive candle jars & tins here.
G. Digital Kitchen Thermometer
Directions
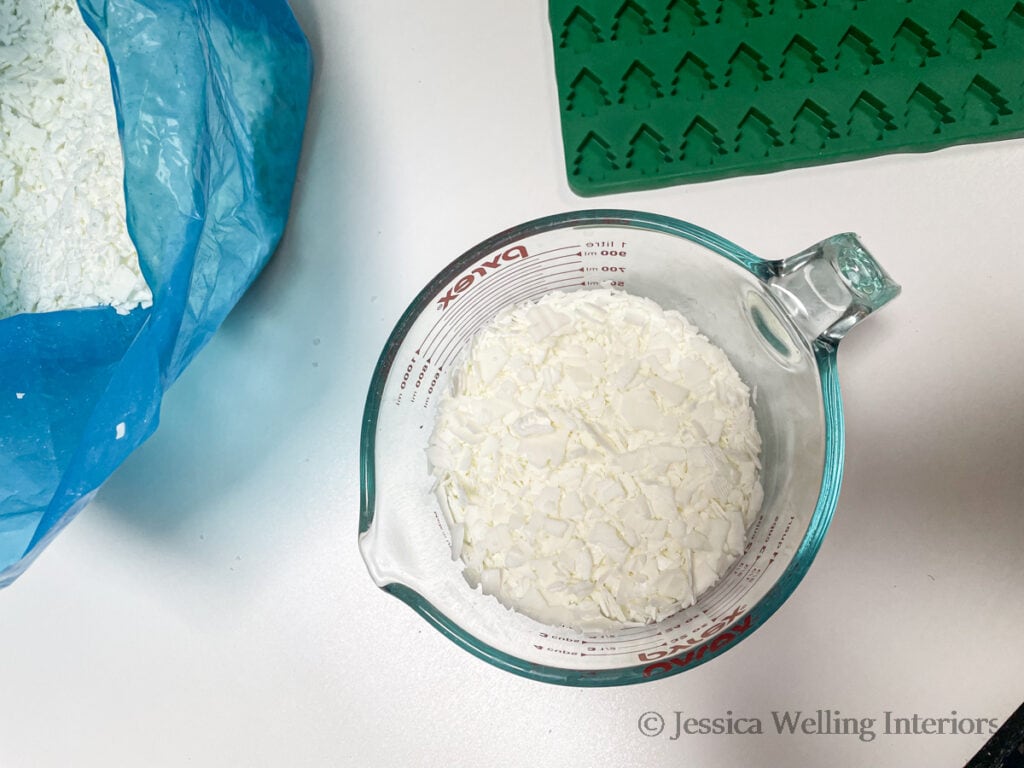
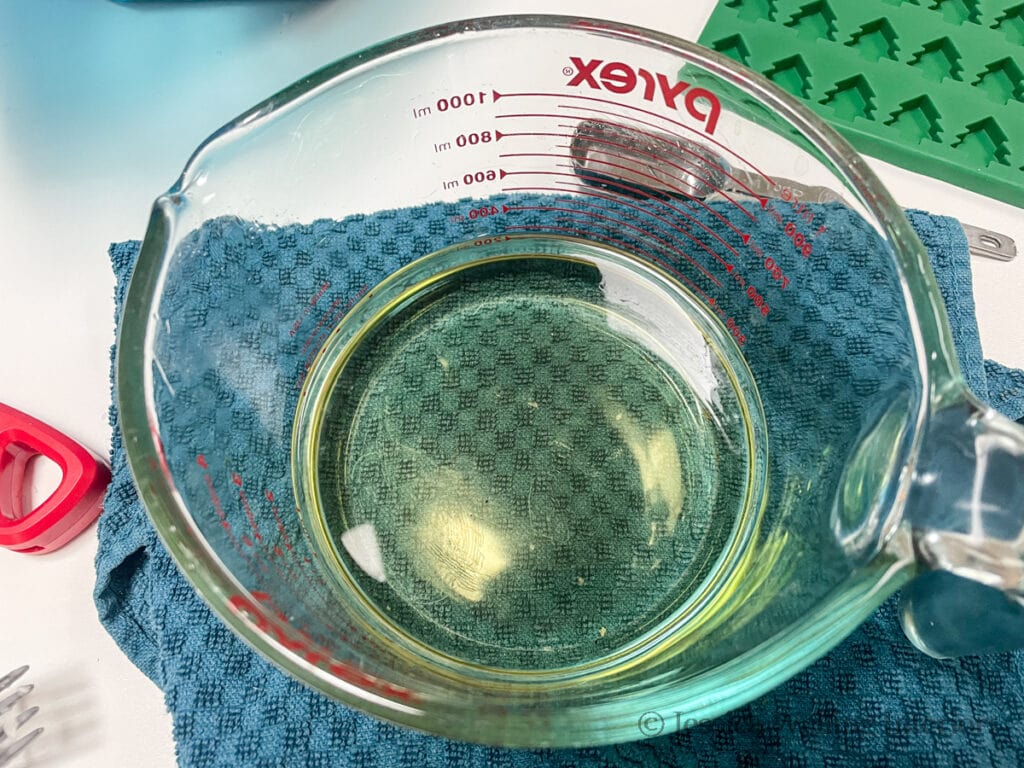
1. Measure the Wax
I’ve found that soy wax flakes will melt down to about 1/2 their original volume. I’m making a small batch for just one candle and some wax melts. You can always make a larger batch.
So I’m starting with 2 cups of soy wax flakes in this Pyrex measuring cup.
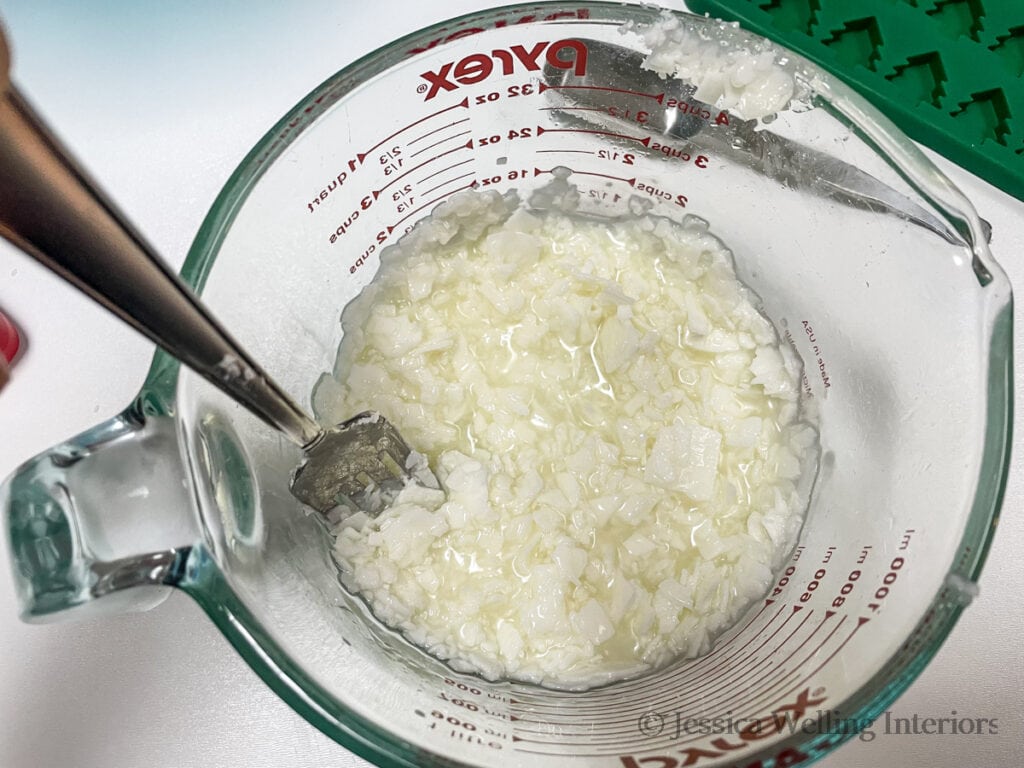
2. Melt the Wax
Melt the wax in the microwave, starting with a couple of one-minute intervals. Take it out and stir each time. Once you get close to liquid, continue with 30-second intervals in the microwave.
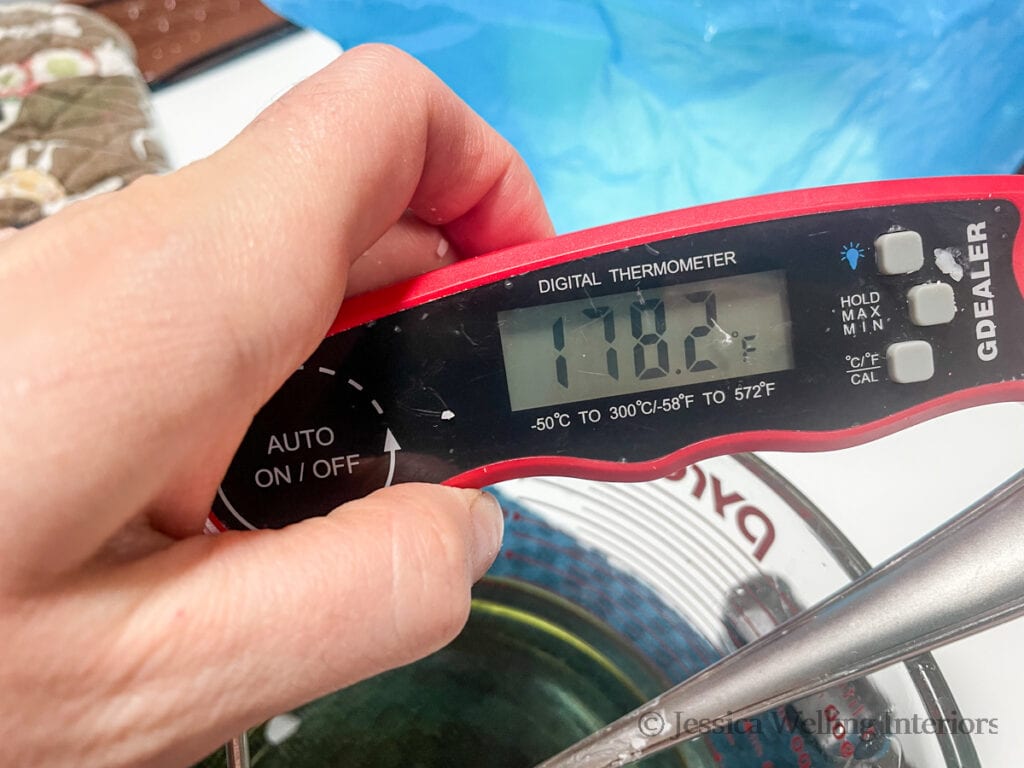
3. Heat to 175 Degrees
Once your wax is all liquid, take the temperature with a digital kitchen thermometer. Your target temperature is between 175 and 185 degrees.
If you plan to use solid wax dye (like I am), aim for closer to 185 degrees to ensure the dye chips melt.
4. Add Green Wax Dye
This is my favorite wax dye kit that I use for all my candles and wax melts. It has a good variety of colors and I like that it’s really easy to control and adjust how much dye I’m adding. It’s also easy to mix the colors.
Start with just a pinch of green colorant and sprinkle it into your melted wax. The chips should melt immediately and you can stir them in.
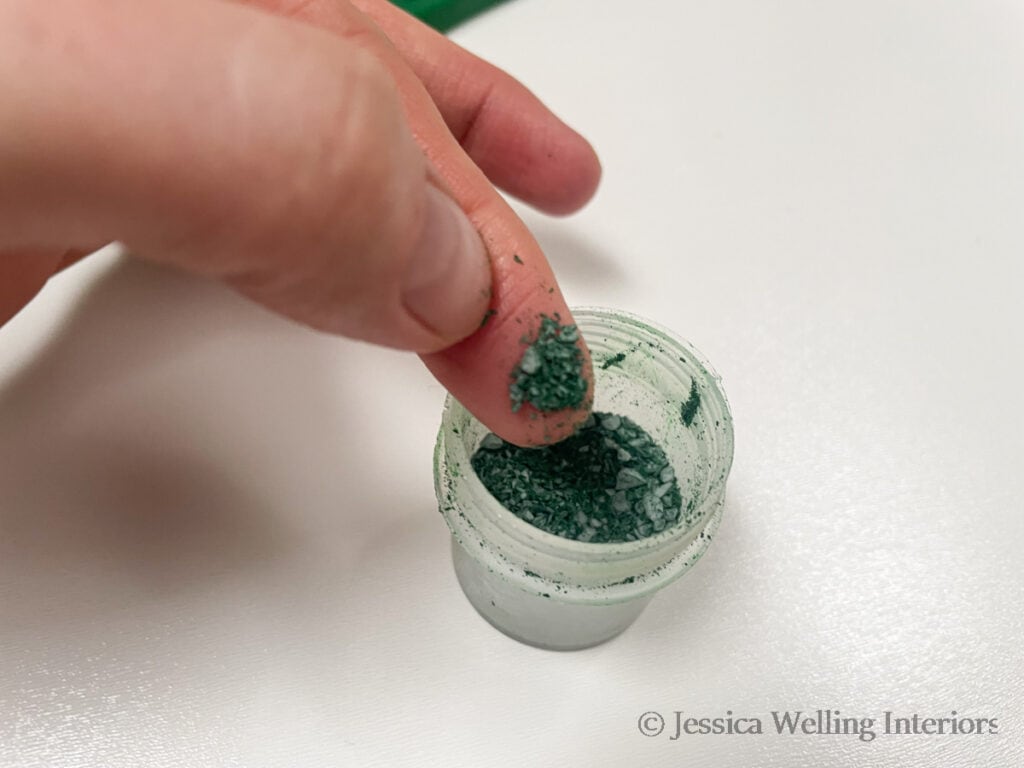
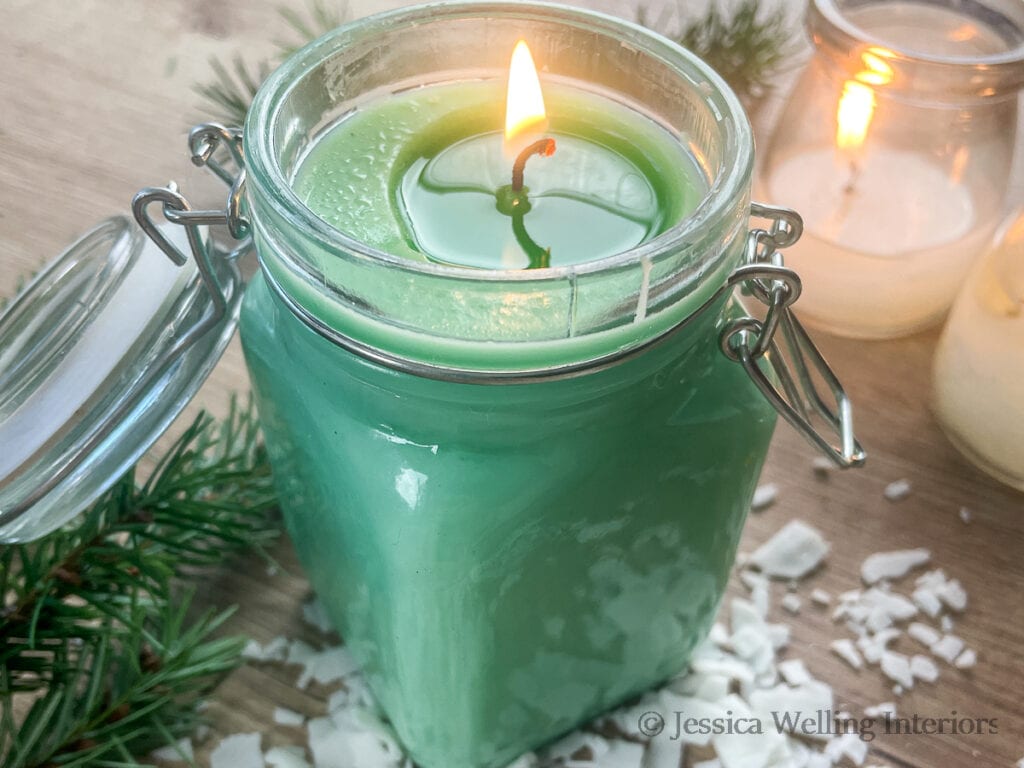
I’m going for a light green. Remember that the wax color will look a lot lighter once the candle has solidified. Soy wax is opaque when solid. If you want a darker green, add another large pinch or two of wax dye.

Stir well and be sure there are no flecks of wax dye. If there are, pop the wax back into the microwave for 30 seconds and give it a good stir.
5. Add Candle Fragrance Oil
Now it’s time to add the fragrance oil. I’m using Juniper Fir & Balsam Spruce, from The Wooden Wick Co. (my favorite Christmas tree scent after trying A LOT of other companies’ fragrance oils!). It’s a good idea to take the temperature again to be sure your wax is still between 175-185 degrees, since this is the ideal temperature range for adding fragrance oil.
How Much Fragrance Oil Should I Add?
Add about 3 Tablespoons of fragrance oil to 2 cups of soy wax. Be sure to stir it in well and wait a few minutes before pouring the candle.
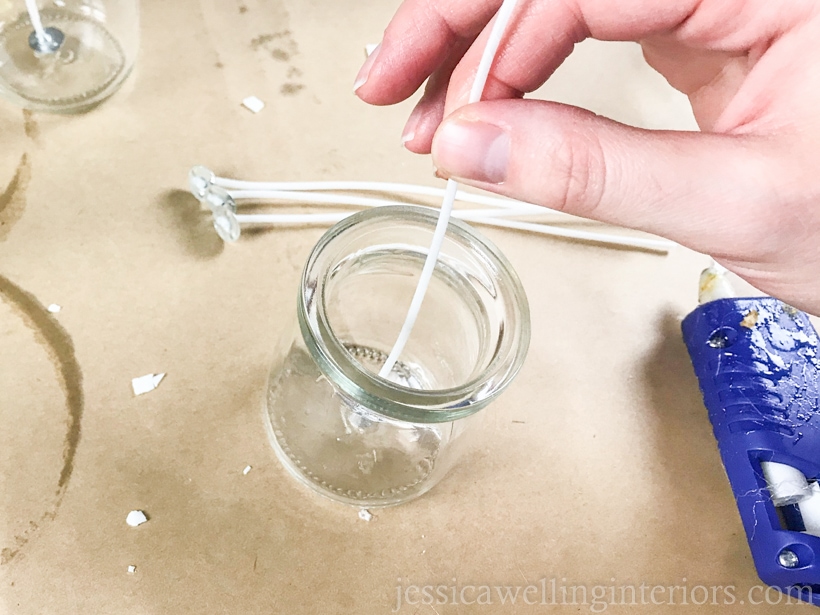
6. Prepare the Wicks
I’m using these cotton wicks that came with the soy wax I buy from Amazon. Put a small dab of hot glue on the metal piece and attach the wick to the center bottom of your candle container.
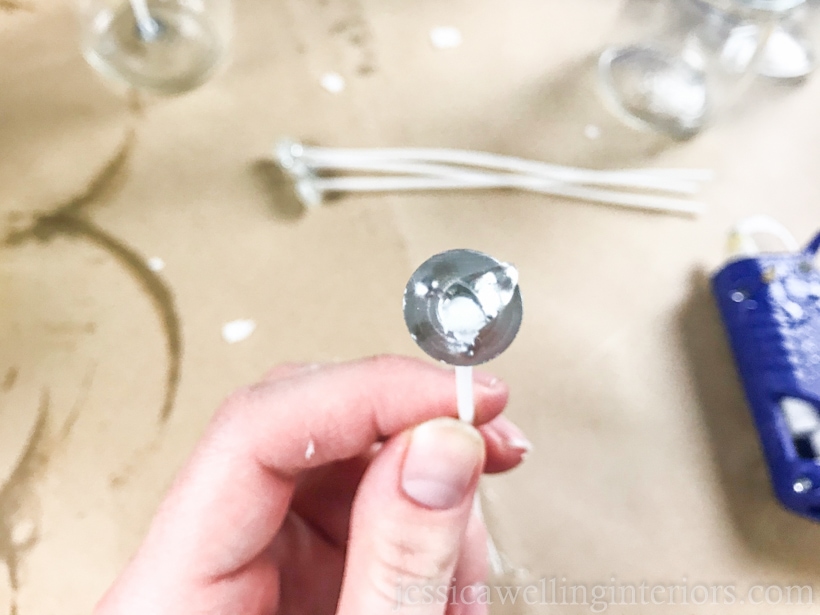
Don’t skip this step!
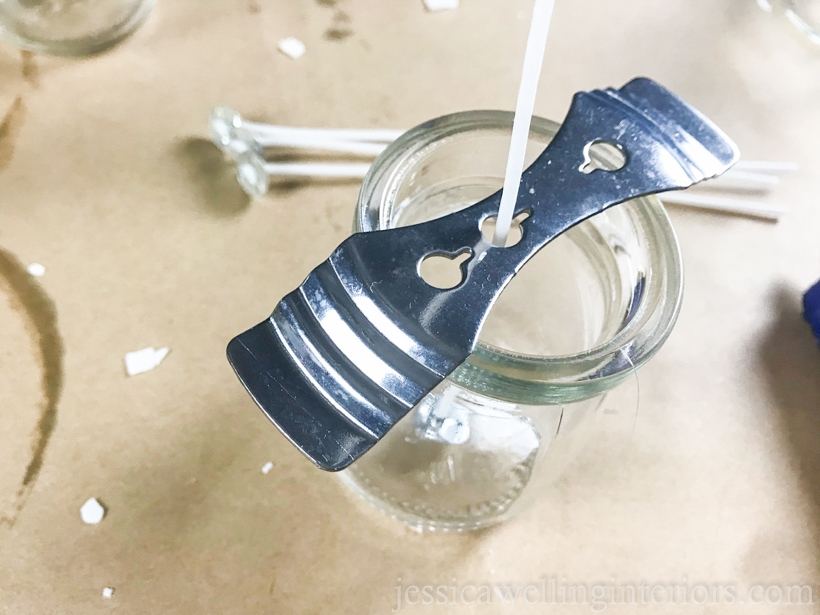
7. Place Wick Holder
These wick holders also came with my soy wax, and they’re great because you can use them for different sized containers. Put your wick holder on top of the candle jar, so that the wick goes through the center hole.
Once the hot wax hits the wick, it will get floppy, so it’s important to hold it in place.
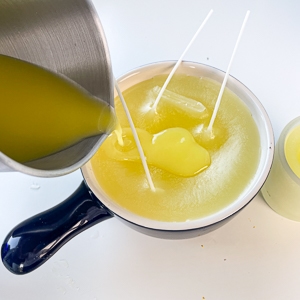
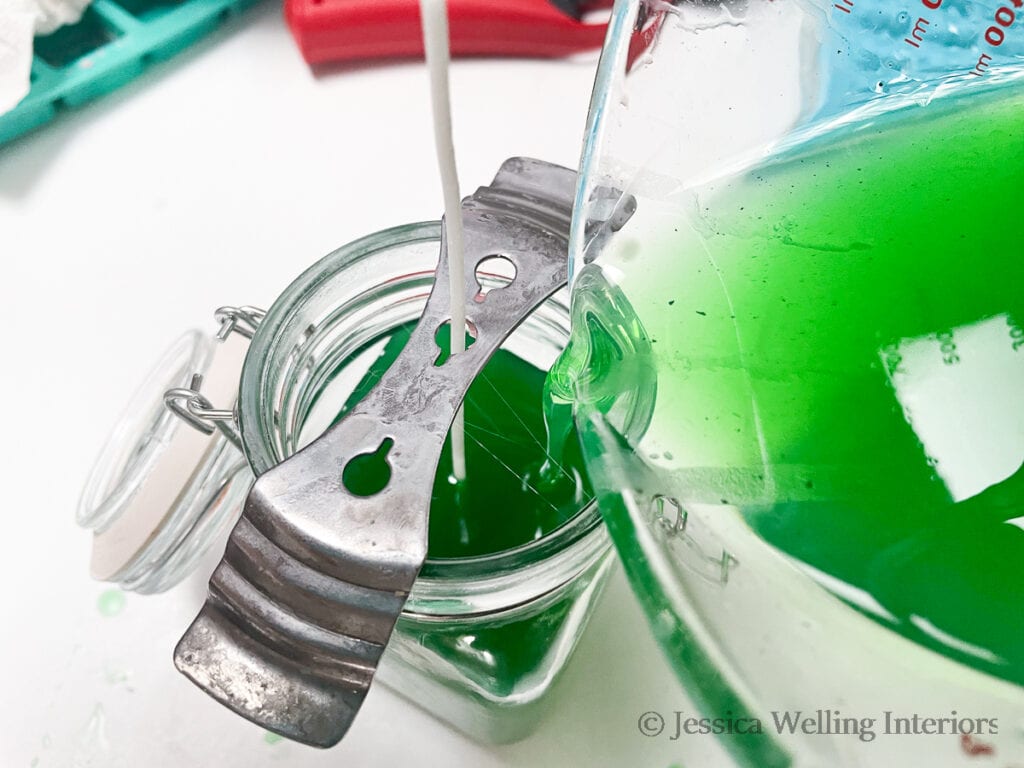
8. Pour the Candle
Give your wax a final stir and carefully pour it into the candle container.
Leave a little space at the top for the second pour- about 1/4 inch. And remember to reserve some of your wax for the second pour.
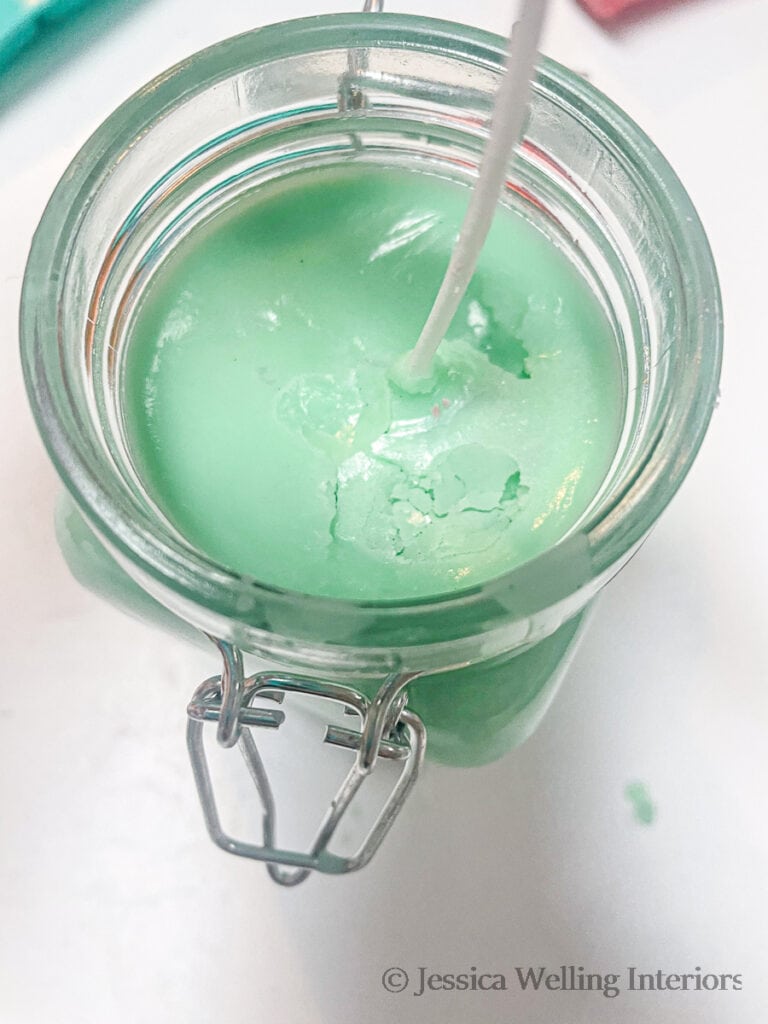
9. Let it Cool
Now let your candle cool completely, undisturbed. This will probably take a few hours. Better yet, leave it to cool overnight.
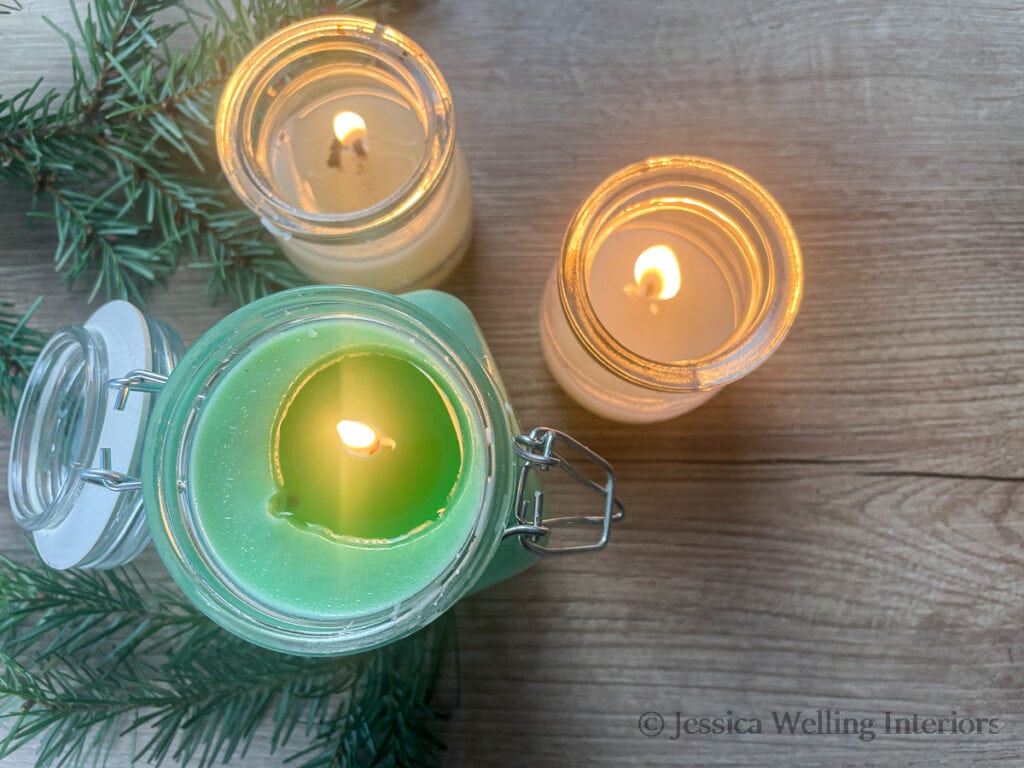
Once the wax has hardened, you’ll likely notice some imperfections on the top of your candle, like the one below. Sometimes there are bubbles, and often there’s a sink hole in the center. But never fear!
This is expected, and it’s the reason we’re going to do a second pour.
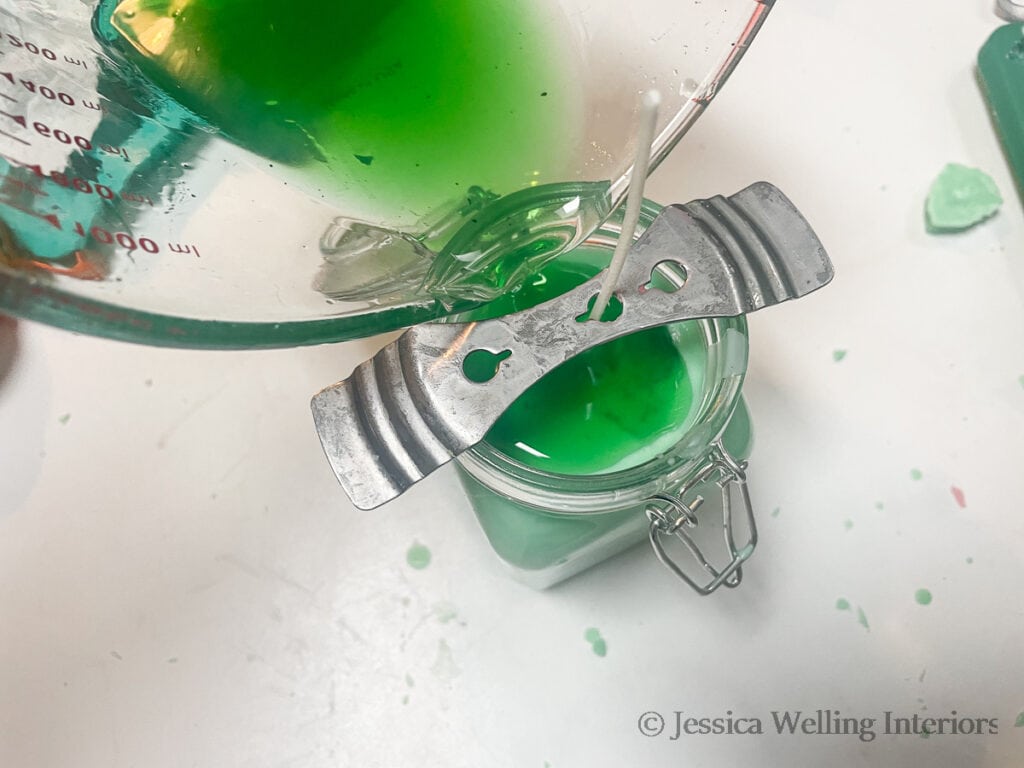
10. Second Pour
Re-heat the leftover wax in the microwave, getting back to about 175 degrees. Then do the second pour, just enough to cover the top surface of the candle.
Let this cool completely. It will go much faster than the original pour, since there’s a lot less wax to cool.
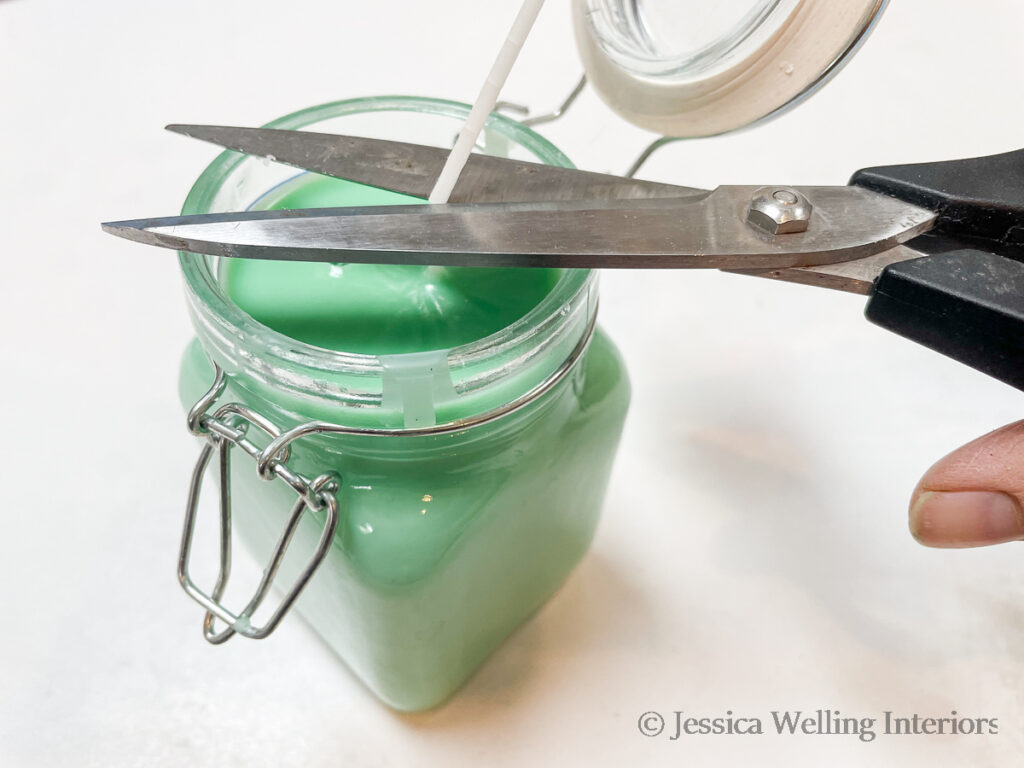
11. Trim the Wick
Use scissors to trim the wick. I usually leave about 1/2 inch.
12. Let it Cure
Scented soy candles need a few weeks to cure before you burn them in order to get the maximum scent throw (the candle making term for the amount of fragrance your candle gives off). Store your candles with the lids on or covered tightly with plastic wrap.
If you have leftover scented wax, you can make Christmas wax melts. The instructions are identical to this recipe, up until the point where you prepare the candle wicks.
Ingredients
Method
- Measure the Wax
- Melt the Wax
- Heat to 175 Degrees
- Add Green Wax Dye
- Add Candle Fragrance Oil
- Prepare the Wicks
- Place Wick Holder
- Pour the Candle
- Let it Cool
- Second Pour
- Trim the Wick
- Let it Cure
More DIY Candles & Wax Melts…
How to Make Scented Candles for Fall
How to Make Citronella Candles