How to Make Citronella Candles
Learn how to make citronella candles with this quick & easy DIY tutorial! They’re pretty and they keep the bugs away!
I absolutely love outdoor entertaining in the Summer. But I don’t love mosquitoes (who does?). Citronella candles are one of my favorite ways to keep pesky bugs at bay… but they can be expensive. And sorry, but I’m not paying $30 for one candle… even if it repels bugs and looks really cool doing it!
So I hatched a plan to make my own DIY citronella candles.
Why Is Paraffin Wax Best for Citronella Candles?
I’ve been experimenting with different types of wax and candle fragrance oils, because I want to get the very best hot throw (that’s candle-speak for the amount of fragrance a candle gives off while it’s burning). That’s the point of a citronella candle, after all.
This is why I’m using paraffin wax for this particular project. I like to make natural soy wax candles too, especially for indoor use. But Paraffin is better than soy for dispersing fragrance. And since these candles will be used outdoors, I’m less concerned about breathing in small amounts of toxins.
And just a warning, candle-making is kind of addictive. You’ll probably want to order at least 10lbs of wax to get started. You won’t need that much for this project… but I’m pretty sure you’re going to want to make more.
How to Make Citronella Candles
Materials
- 1 lb paraffin wax– this was the best deal I could find online and it shipped fast!
- ceramic, glass, or metal container (I found my containers at GoodWill)
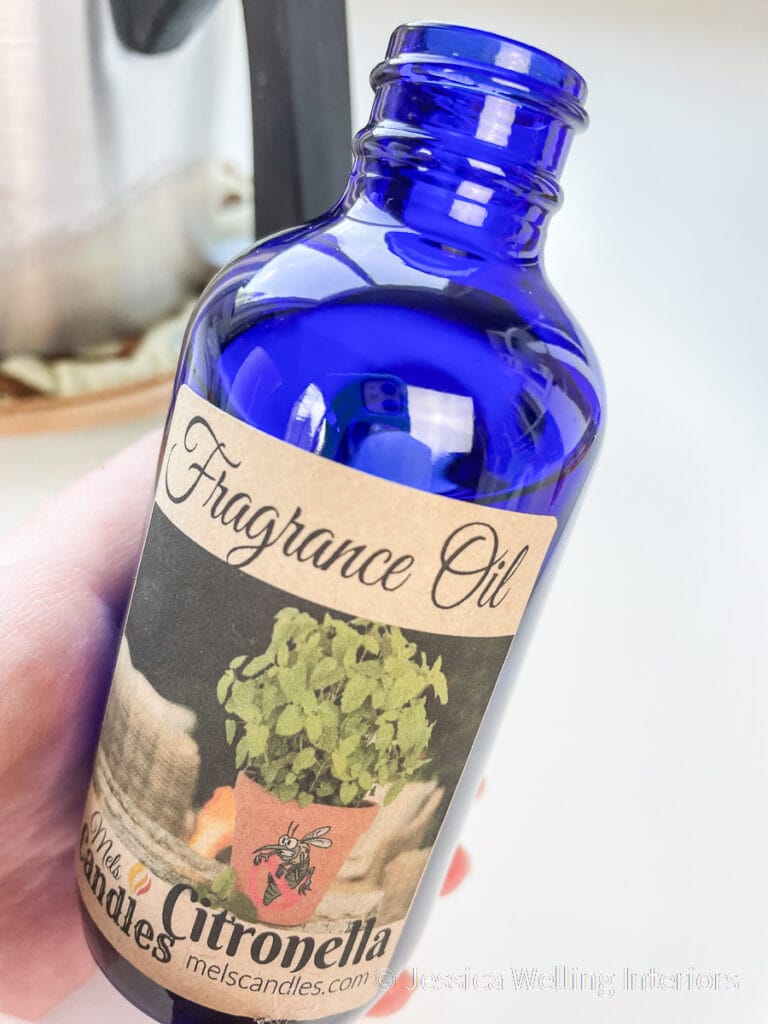
- citronella fragrance oil (you’ll need about 1-1.5 oz. per pound of wax, which is about 2 Tablespoons)
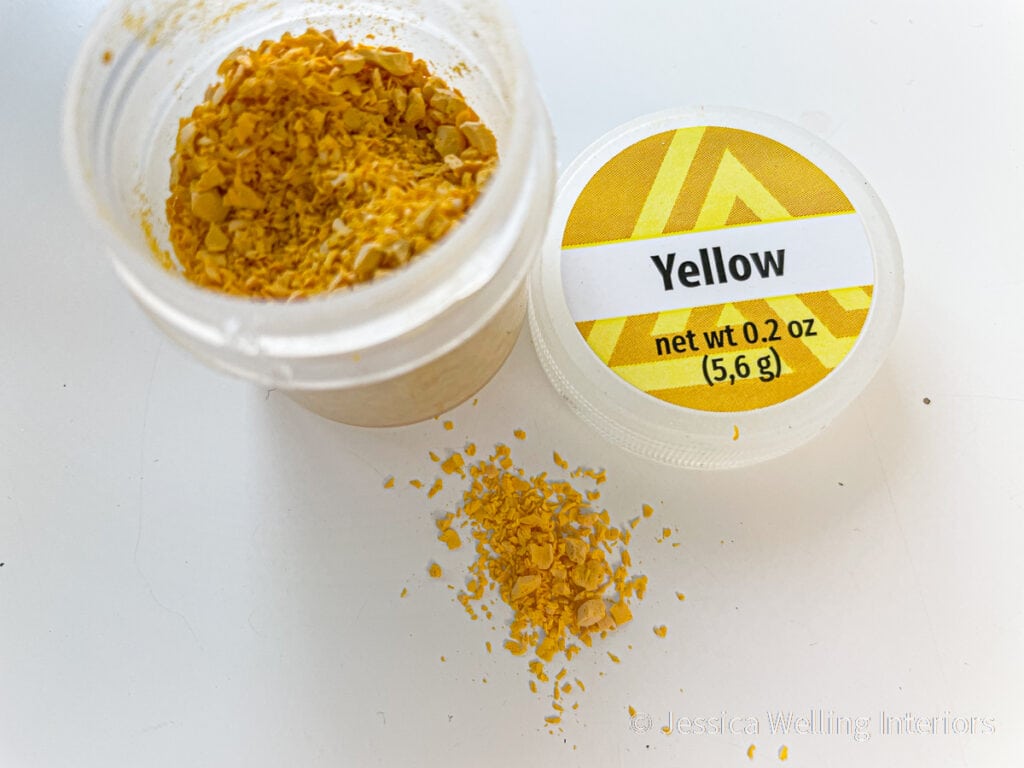
- candle dye (optional)
- cotton wicks
Tools
- metal pitcher (for double-boiler method) or large glass measuring cup (for microwave method)
- large sauce pan
- knife & cutting board
- digital thermometer
- pot holders
- wick holders (these came with the wicks I ordered)
- hot glue gun & glue sticks
- measuring spoons
- fork
I started with a trip to GoodWill for some cool ceramic and glass containers. The bowl section did not disappoint. And yes, I went a little overboard. But you have to admit these are pretty cool, right?
Directions
1. Heat Double-Boiler
Fill a large sauce pan about 1/2 way with water and heat it on high. If you’re going to use a glass measuring cup to melt the wax in the microwave you can skip this step.
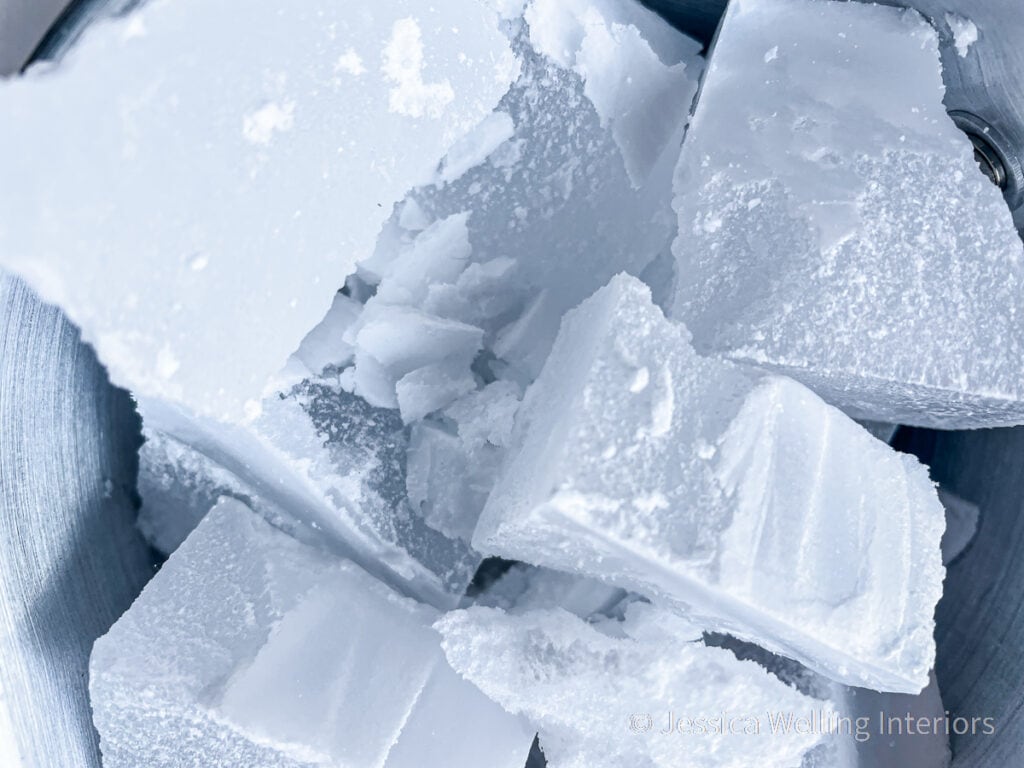
2. Cut The Wax
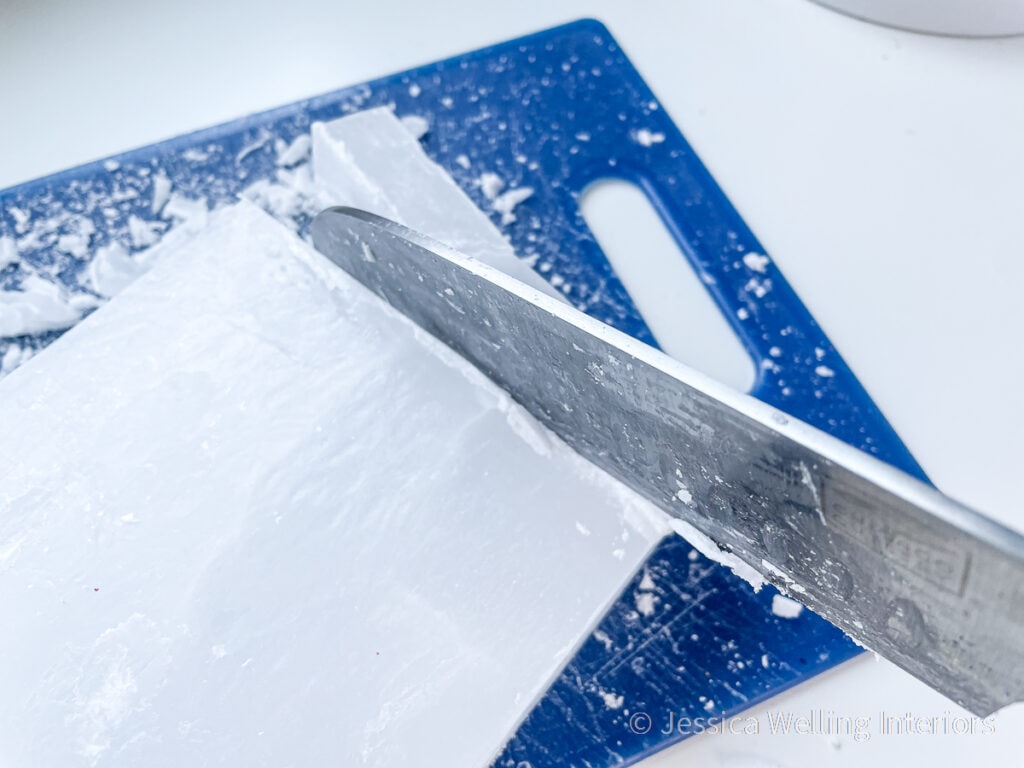
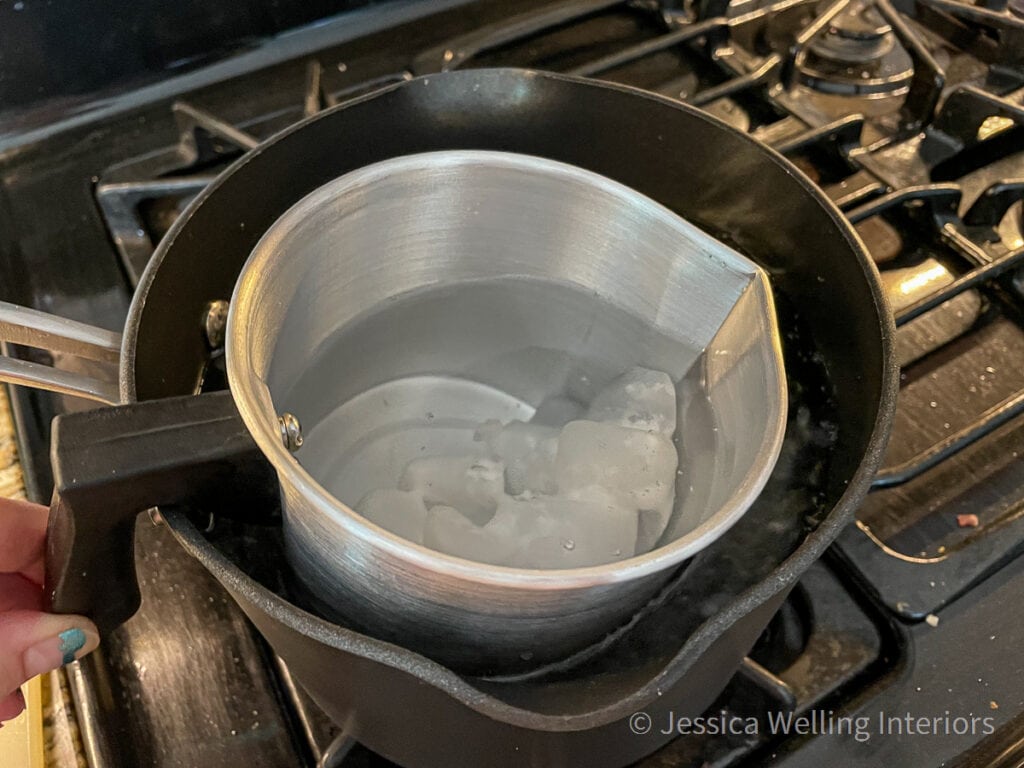
Use a large kitchen knife (maybe not your favorite one) and a cutting board to cut your blocks of paraffin wax into roughly one-inch chunks, and put them into your pitcher. The smaller the pieces, the faster your wax will melt.
3. Melt The Wax
Place your metal pitcher into the sauce pan of hot water and secure it. This is going to take a while, so you don’t want to be stuck holding it in place.
If you’re using the microwave method, start with 2 minutes, then a couple of one-minute intervals. As the wax melts go down to 30-second intervals, stirring each time.
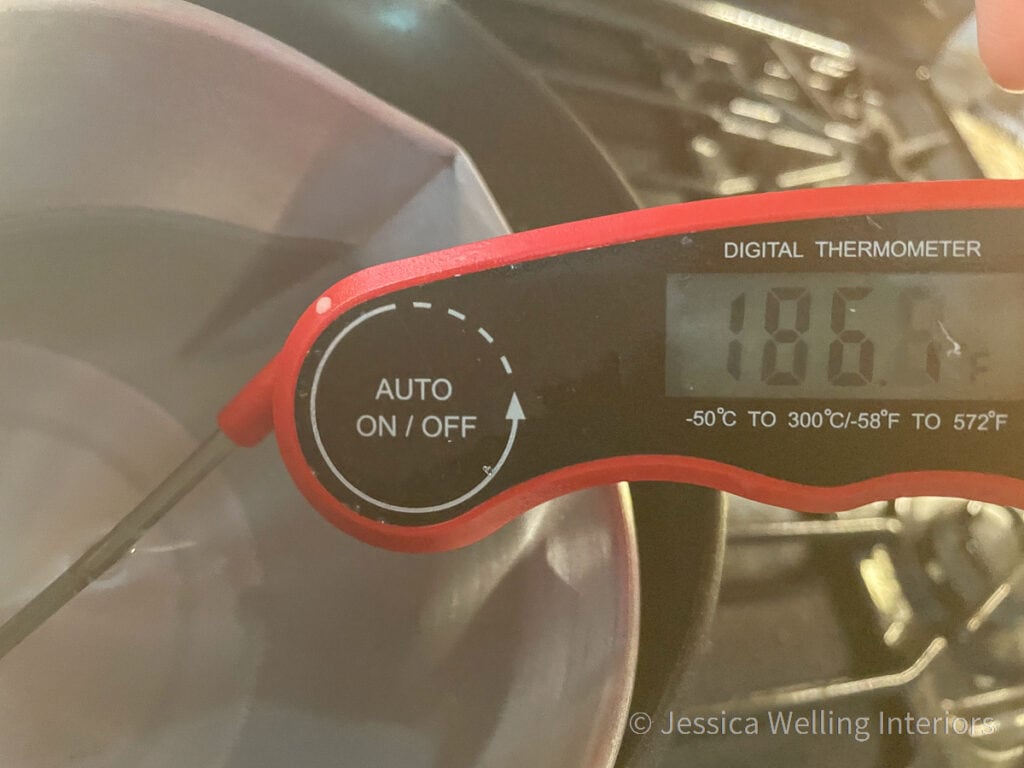
Your target temperature is 185 degrees. This is the optimal temperature to add fragrance oil to paraffin wax, and also the ideal temperature for actually pouring your candle.
4. Prepare Your Wicks
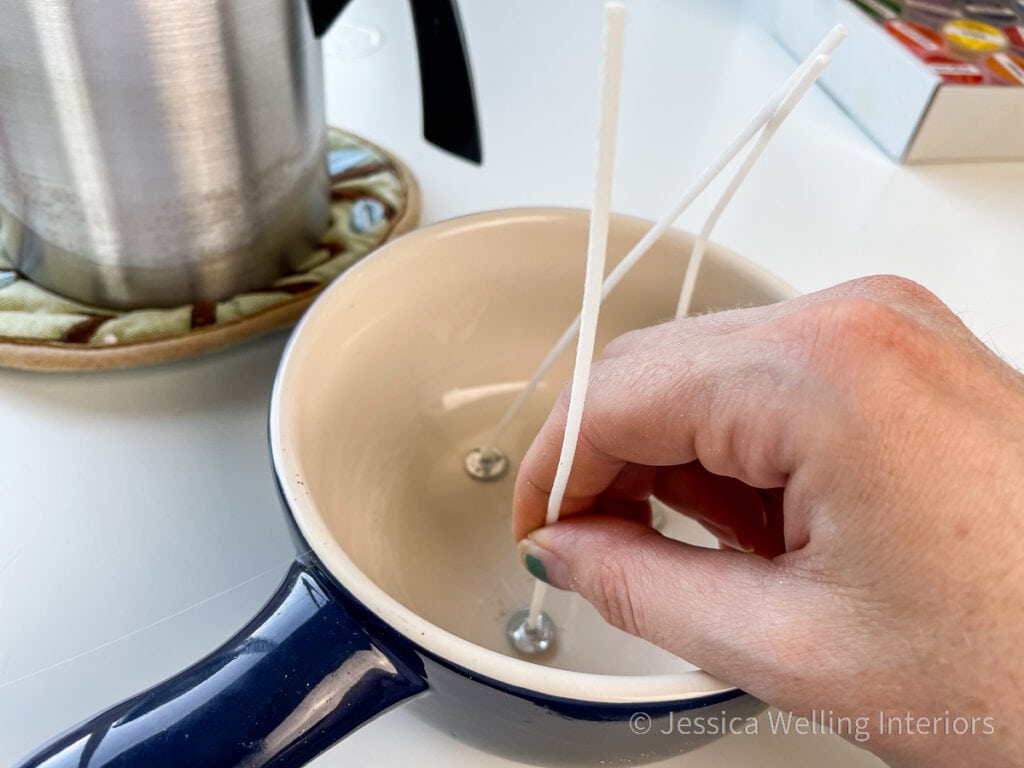
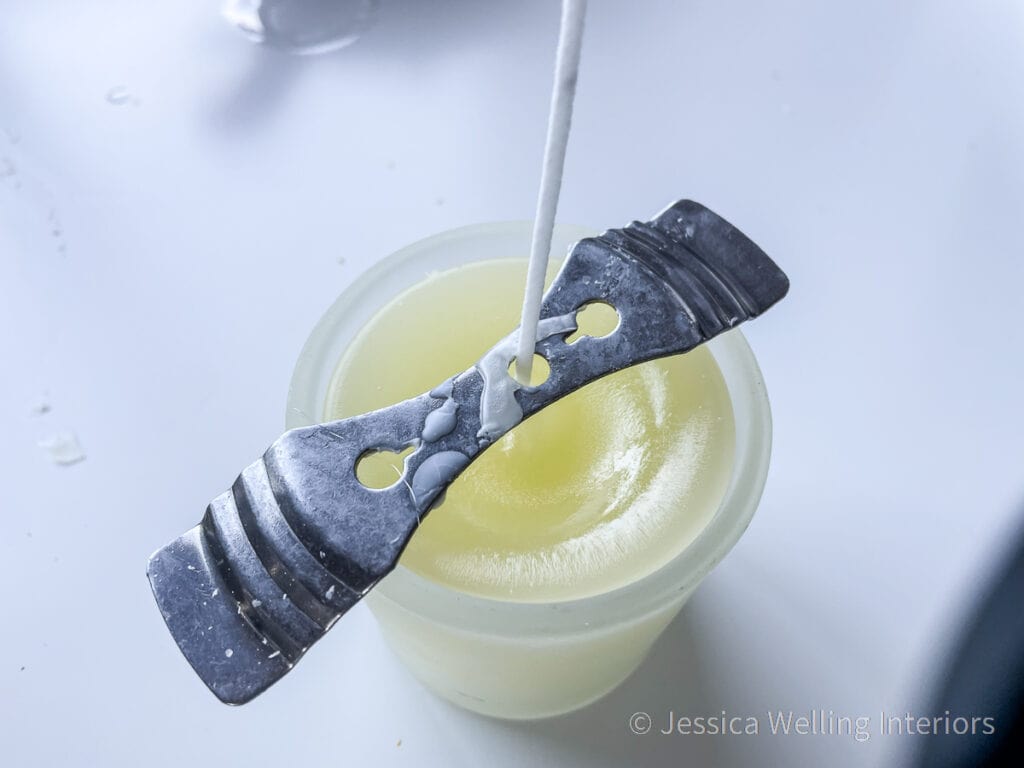
While you wait for the wax to melt, get your container and wick ready. I like to use a dot of hot glue to attach the wick to the bottom of the container and keep it in place.
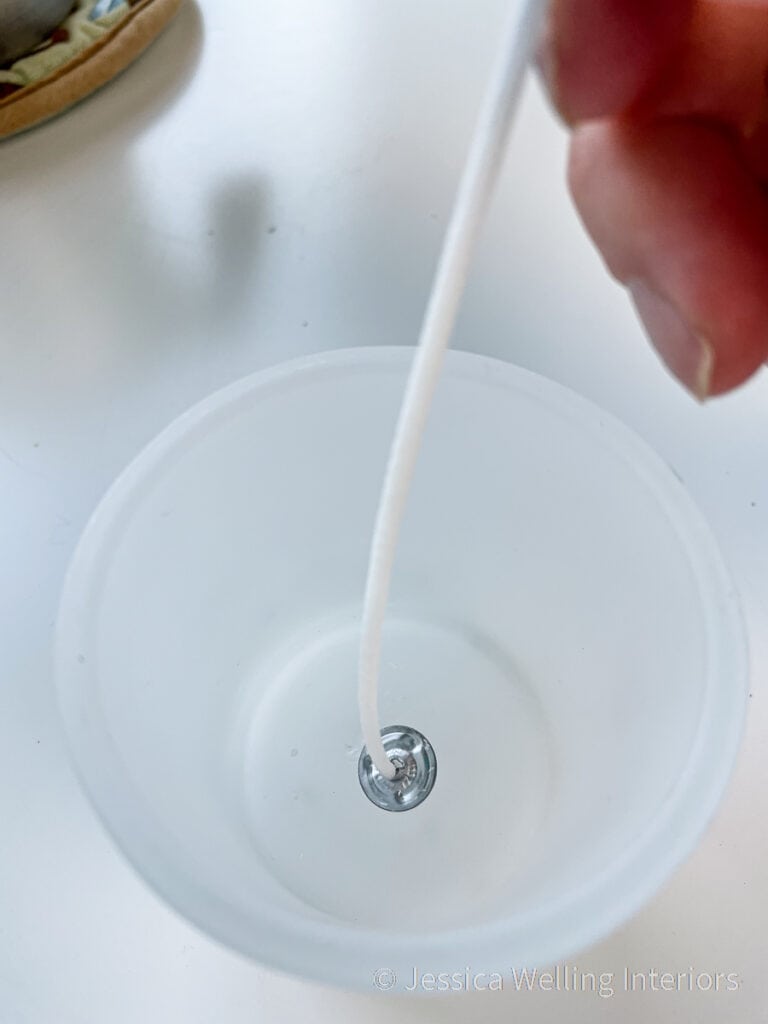
Then use a wick holder to hold the top of the wick in the center of the candle. Even if the wick seems to stand up on its own right now, it will bend and end up sideways as soon as the hot wax touches it.
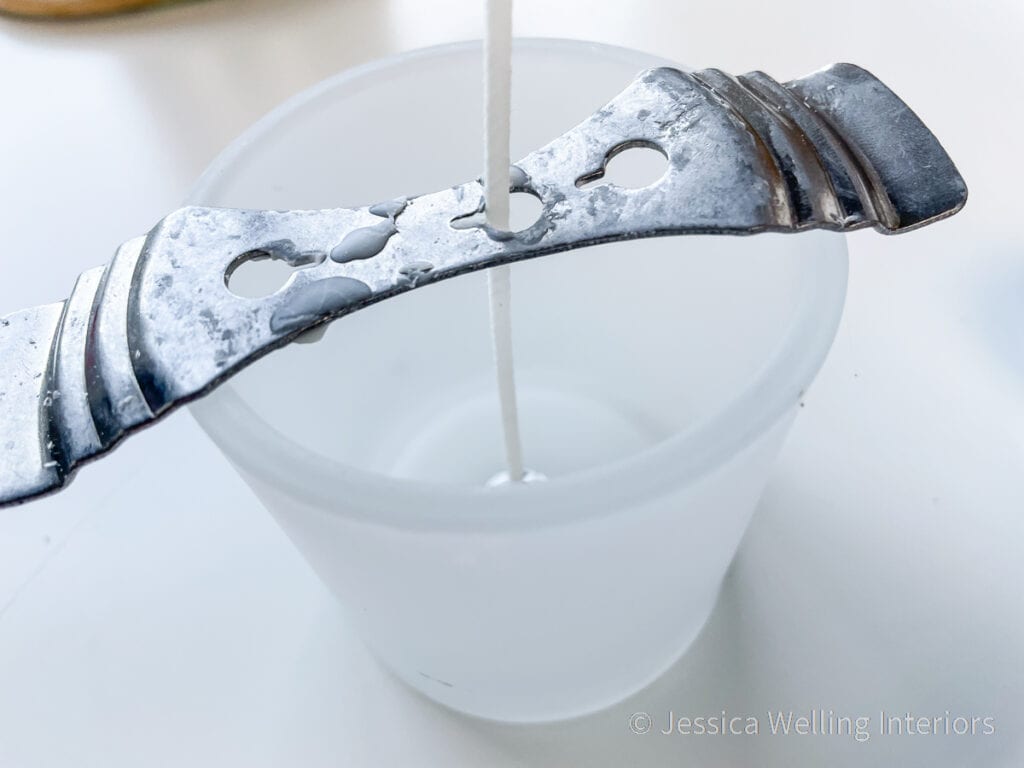
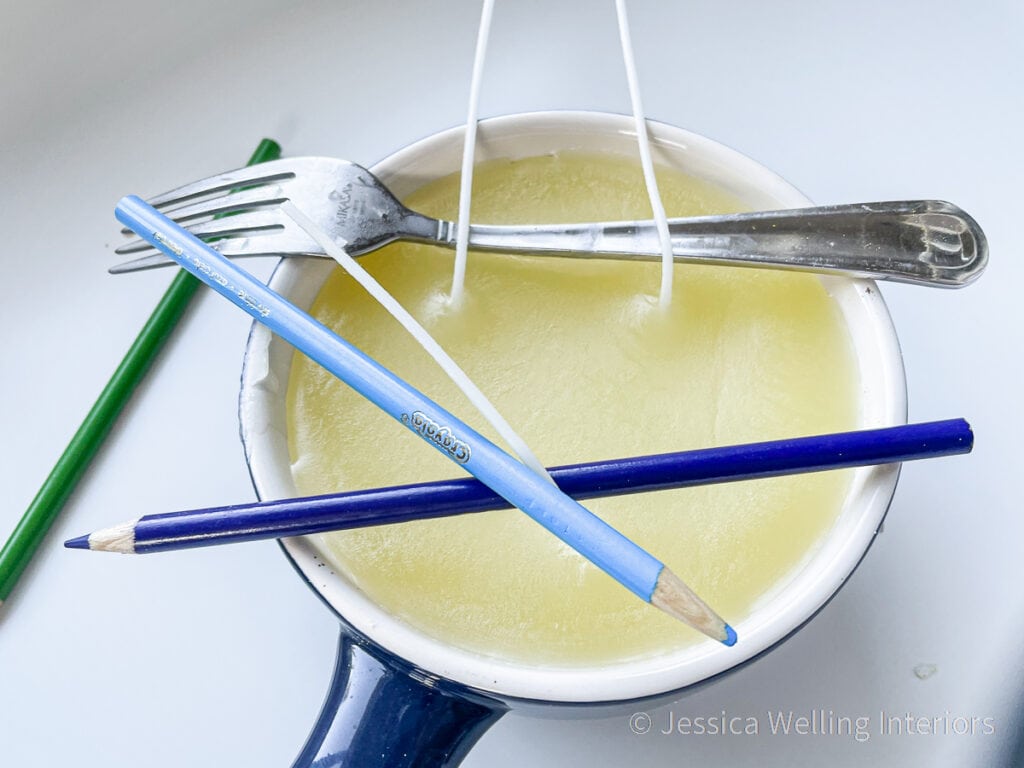
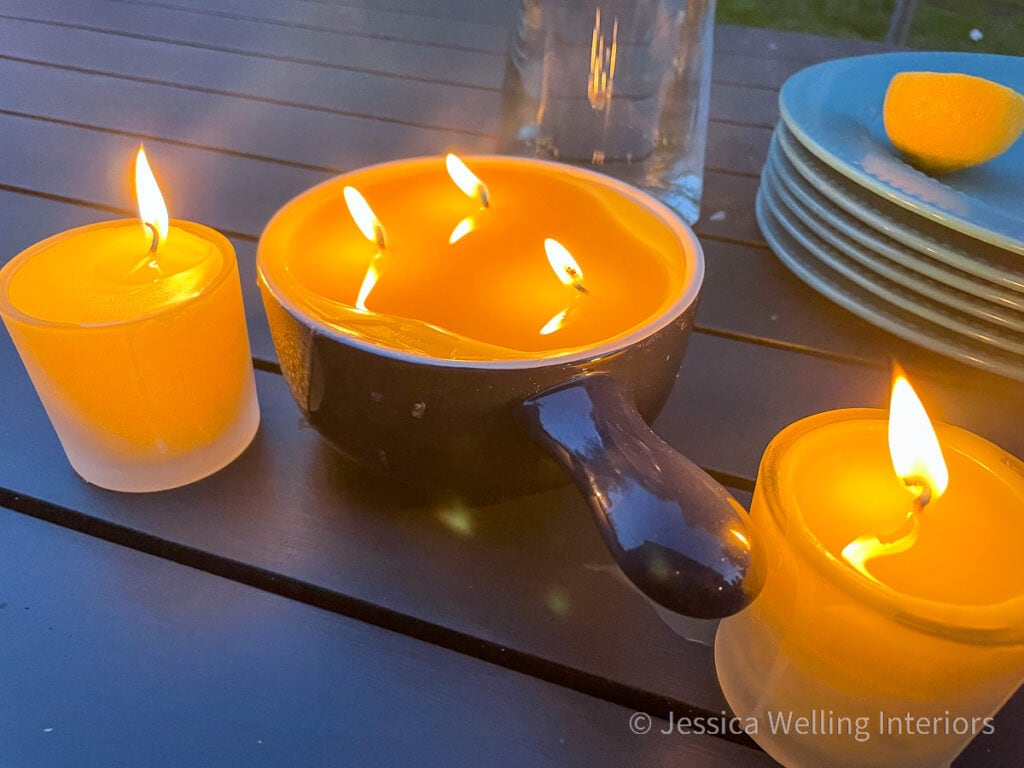
I’m making a second citronella candle in a small pot/dish I found at GoodWill. Since it’s a wider container, I’m using 3 wicks. I used dots of hot glue to secure the wicks to the bottom, but I had to get creative with pencils and a fork to keep the tops of the wicks in place.
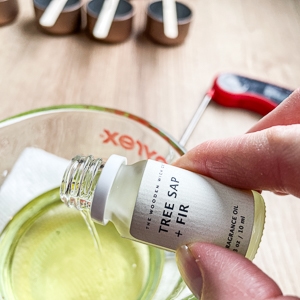
5. Add Citronella Oil
Since you’ll want your citronella candles to have a good strong hot throw (the amount of fragrance the candle gives off while burning), aim for a ratio of 1.5 oz fragrance oil to 1 pound of wax. I’m melting about one pound of wax, so I’m adding 3 Tablespoons of citronella oil.
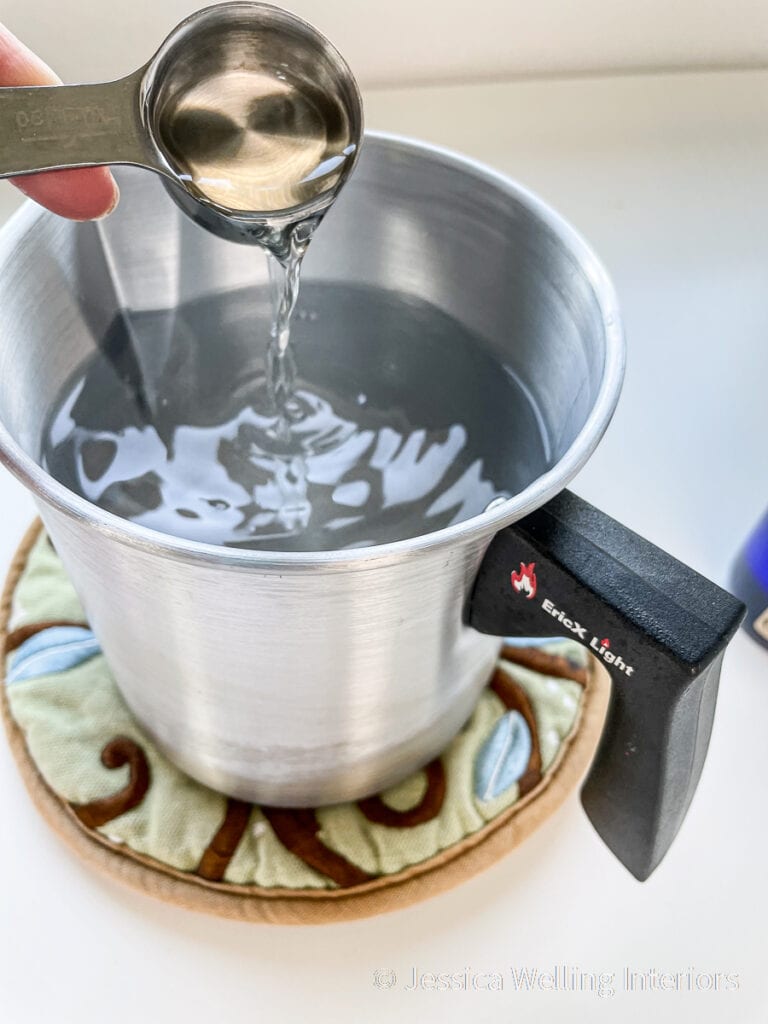
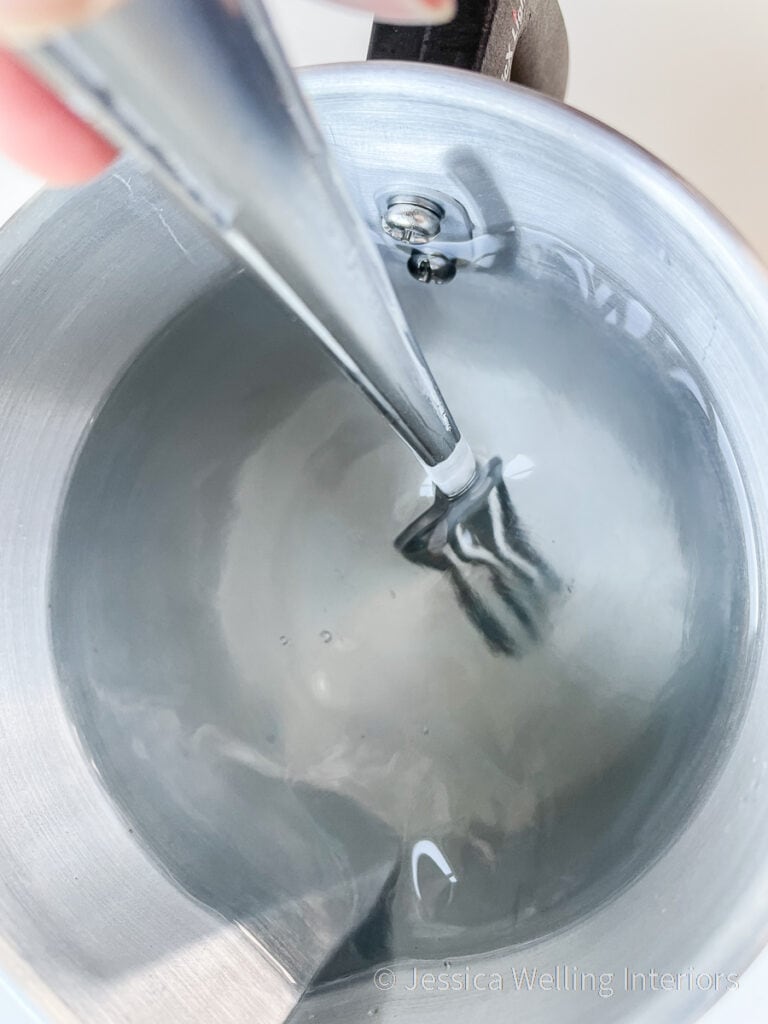
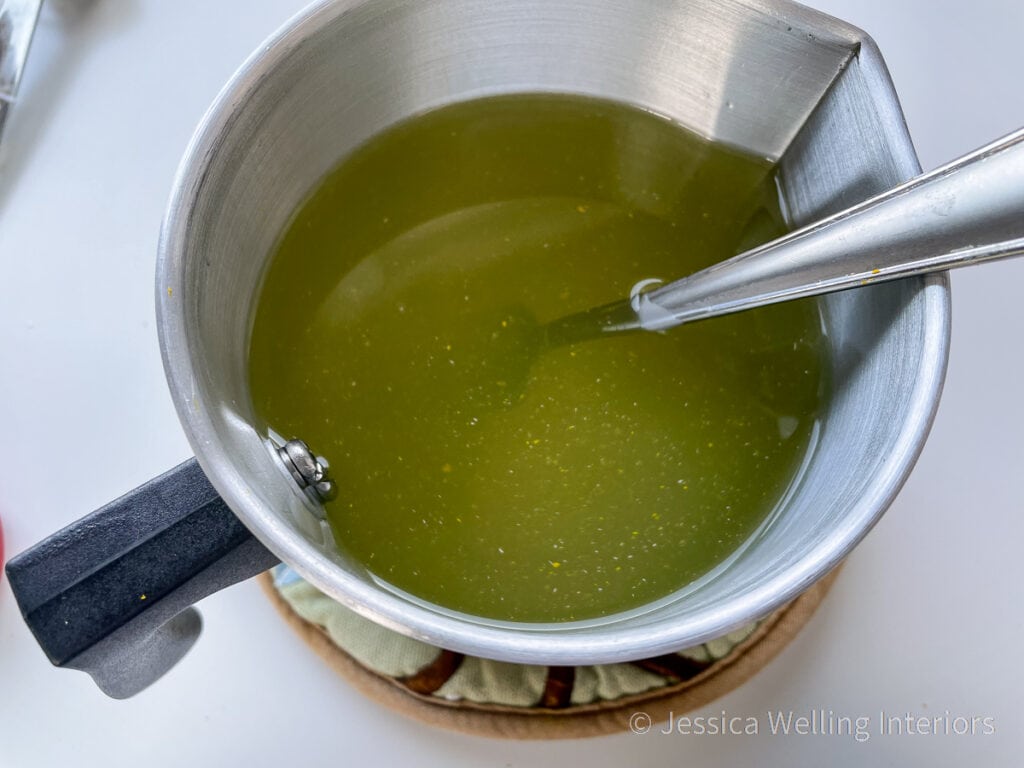
Stir the wax until you can no longer see the droplets of fragrance oil.
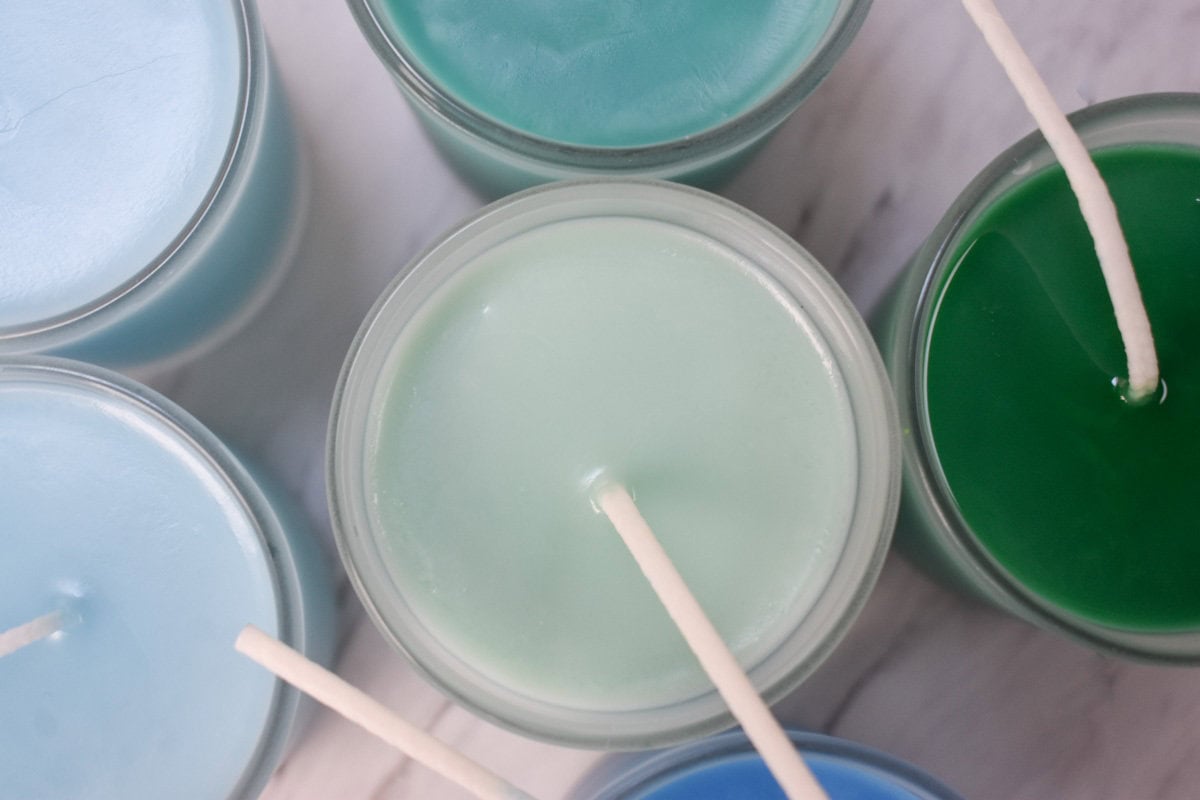
6. Add Candle Dye
If you want to color your candles, add a few pinches of wax dye flakes. I’m using yellow, since that’s the traditional citronella color.
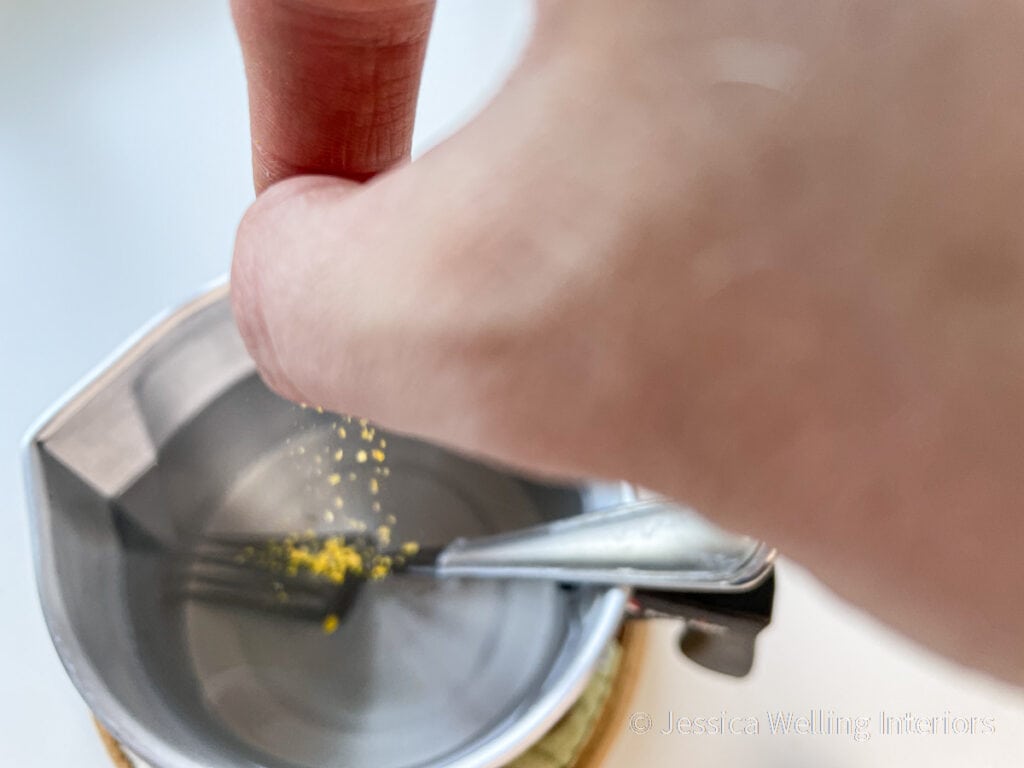
Stir the wax dye flakes in until they dissolve. This may take a few minutes, and if your dye isn’t dissolving, you can return the pitcher of wax to the double boiler for a couple of minutes.
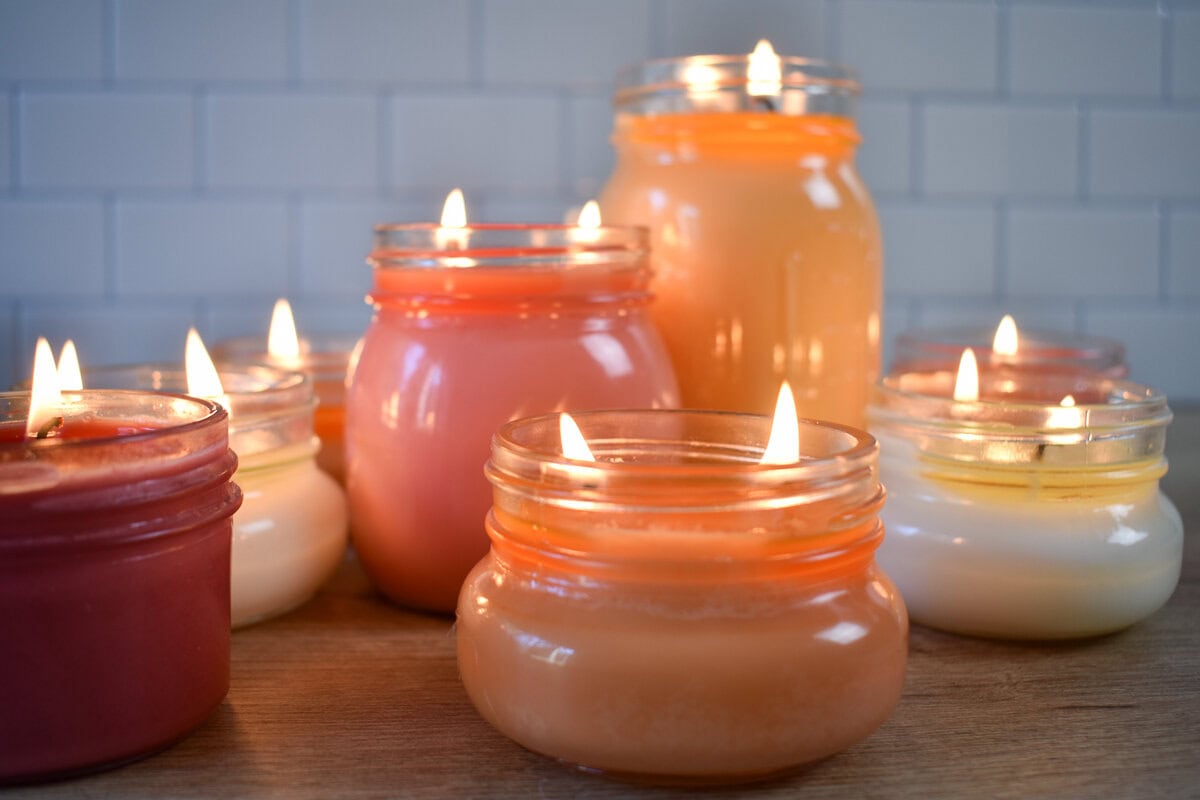
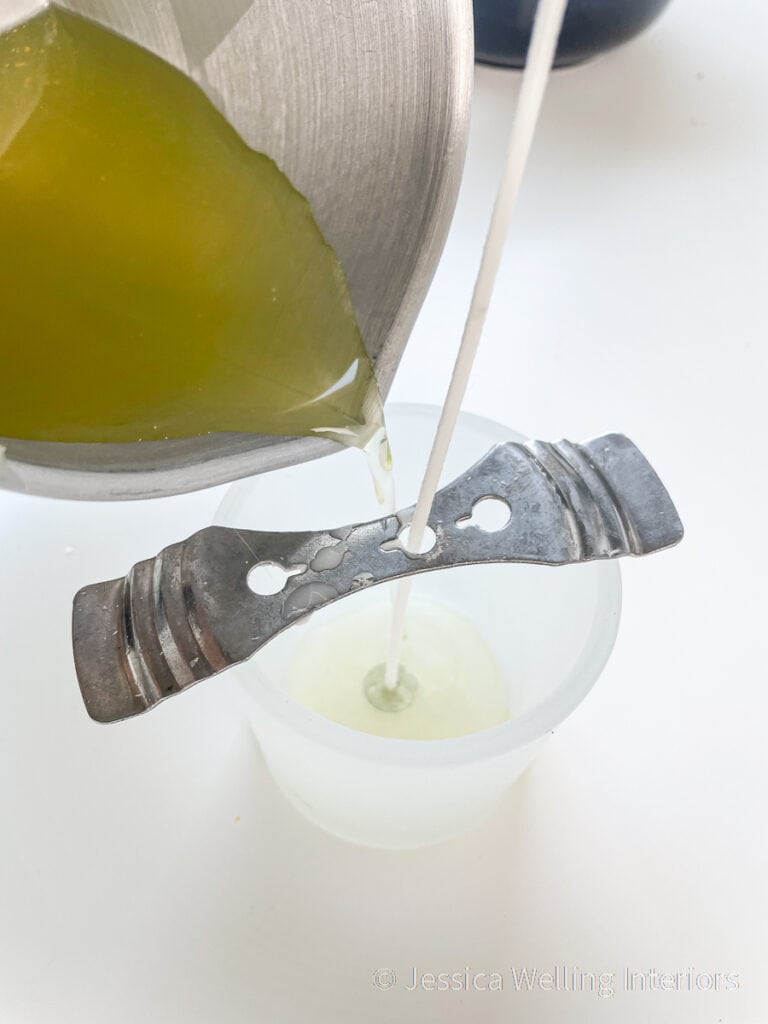
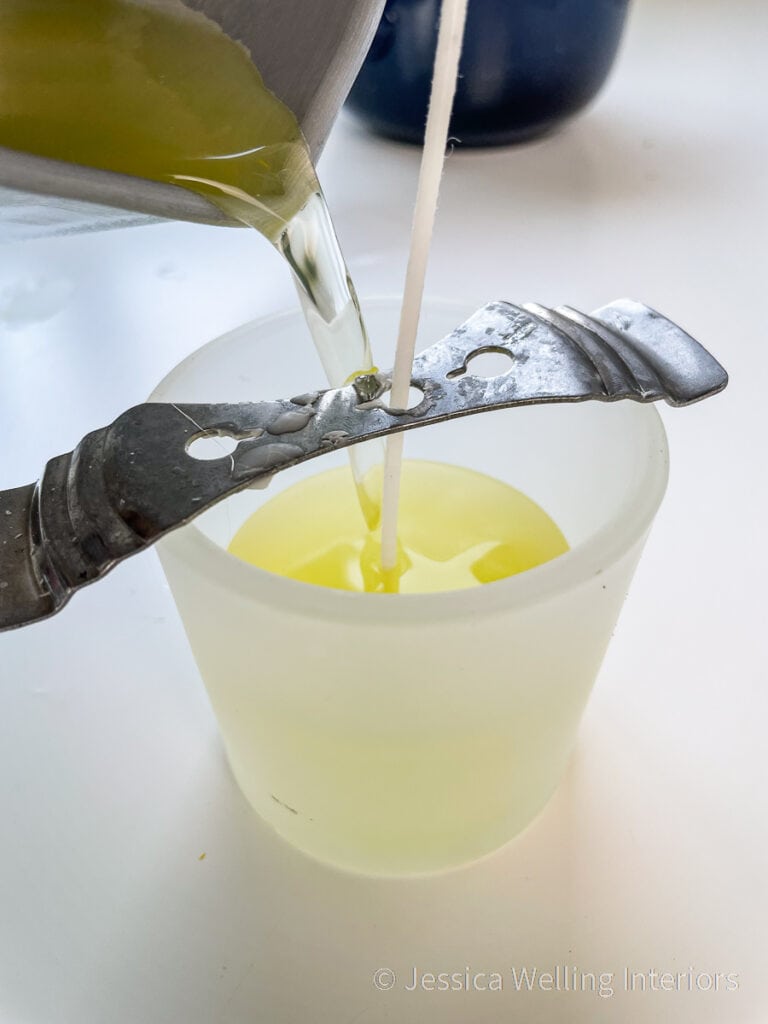
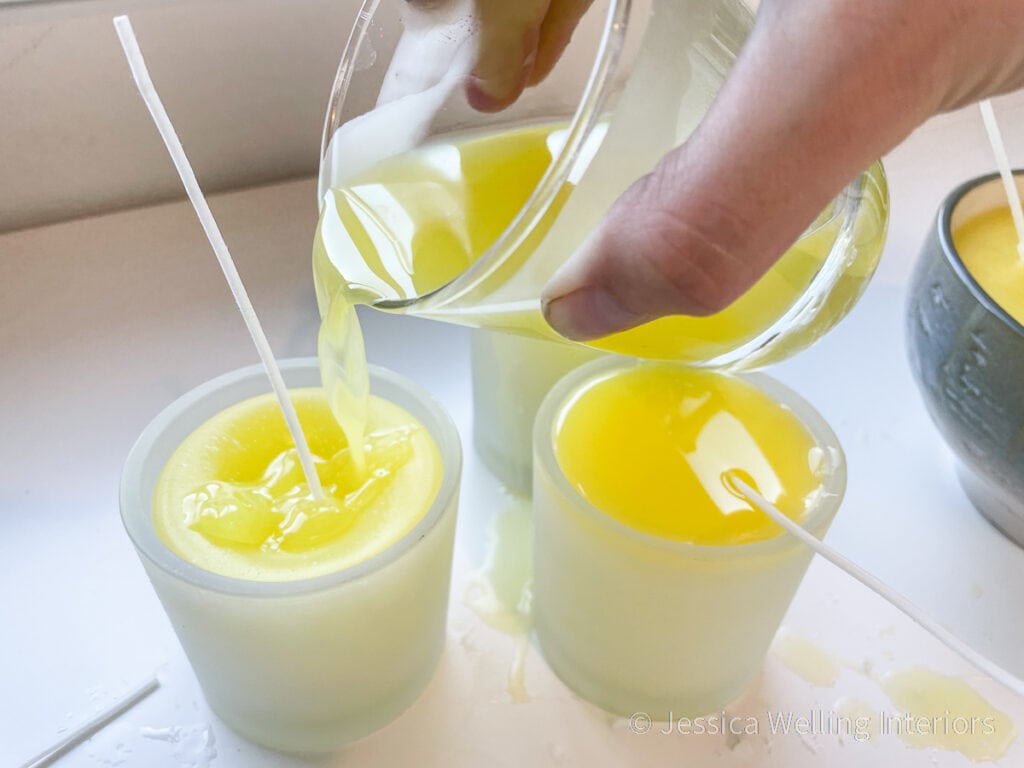
7. Pour Wax
Carefully pour the hot wax into your candle containers, filling them to about 1/2″ from the top. The wax will shrink a bit as it hardens. Save a little wax in your pitcher for a second pour at the end.

8. Let Wax Cool
Let your candles sit, undisturbed, for an hour or two to let the wax cool and harden. The larger the candle, the longer it will take to cool.
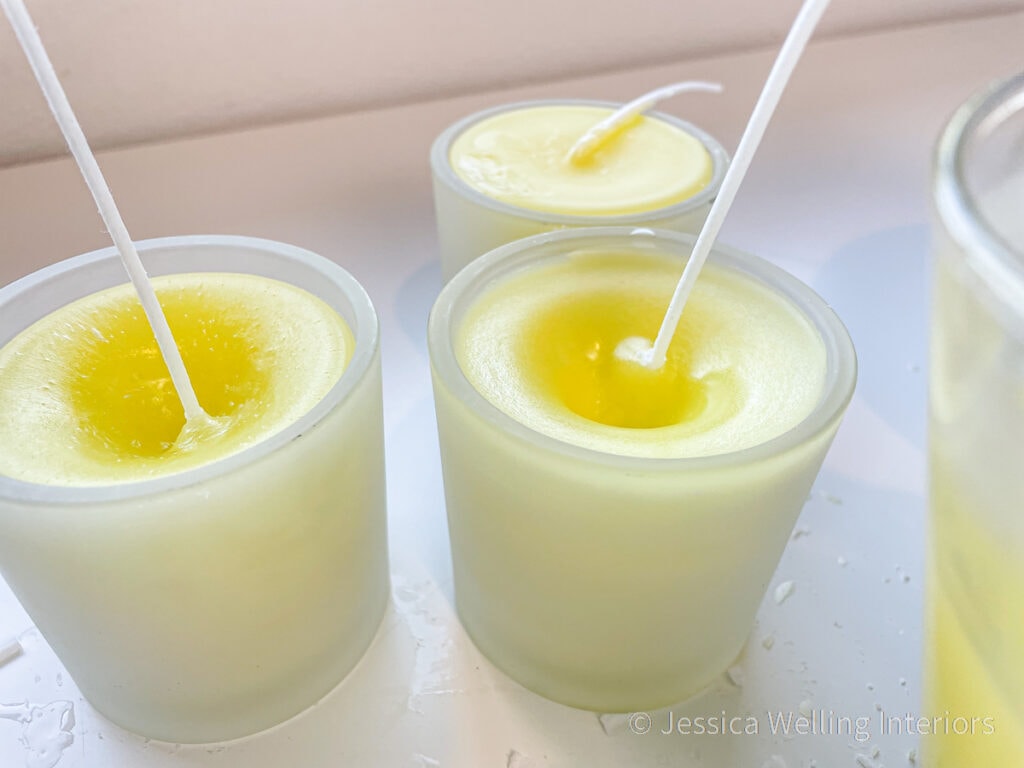
As you can see in the two photos above, the surface of the hardened candles isn’t beautiful. That’s why we’ll do a second pour.
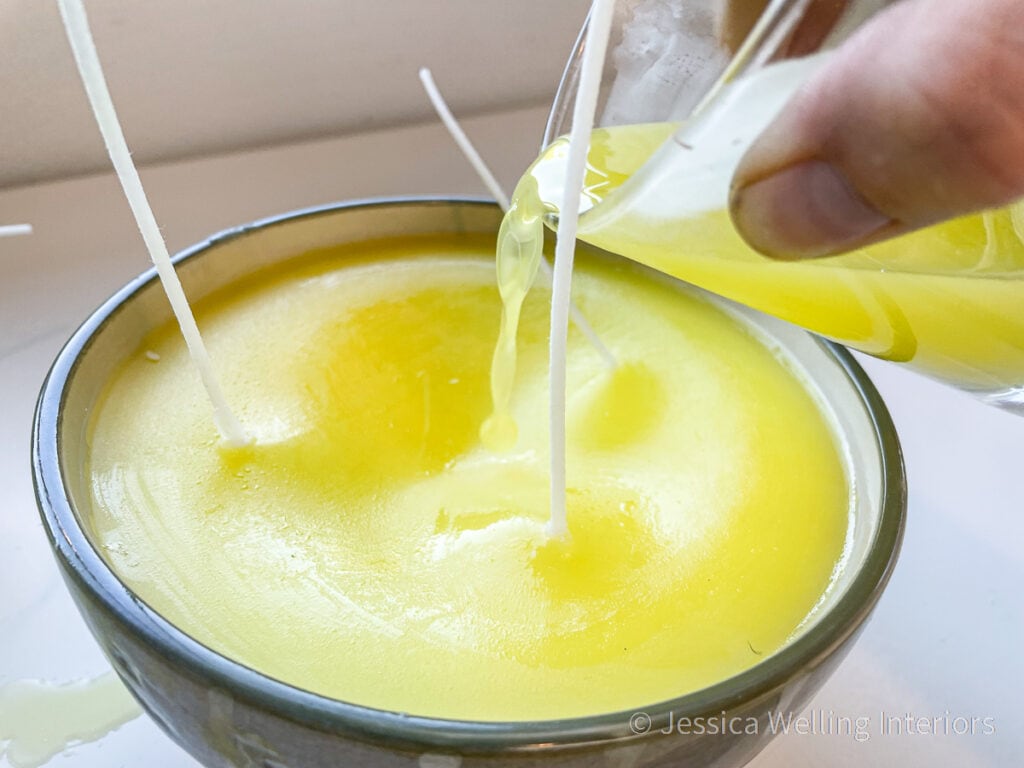
9. Second Pour
Once the wax hardens, you may notice a divot in the center near the wick, or other unsightly lumps and bumps on the surface of your candle. Once it is completely cool- maybe even the next day, re-heat your remaining wax to 185 degrees. Add just a splash more fragrance oil, and pour a thin layer of wax to just cover the top of your candle.
This final pour should harden fairly quickly since the rest of the candle is cool.
10. Trim The Wicks
Once your wax is completely hardened, use a pair of scissors to cut the extra length of wick. Leave about 1/2 inch.

11. Let It Cure
A scented candle needs a few days to cure after being poured. Cover it will an airtight lid to store it, or you can cover it with plastic wrap.
Candle-Burning Tips
- Let your candles “cure” for at least 48 hours before you burn them. You’ll notice that their scent gets stronger as they sit.
- Keep your candles covered when not in use, so they don’t leach their fragrance away.
- As with any container candle, when you light it for the first time, be sure you let it burn long enough that the wax pool reaches the outside edges of your container. It may need to burn for a couple of hours the first time. This will prevent what’s called tunneling, where you have a deep hole in the center of your candle and the outer wax never gets used.
More DIY Candles & Wax Melts…
How to Make Soy Candles: A Beginner’s Guide
The Best Fragrance Oils for Candles (That Actually Smell Good!)
The Best Wax Melt Molds for Every Occasion