
How to Make Scented Candles For Fall
Learn how to make scented candles for Fall in any container you choose with this quick and easy tutorial!
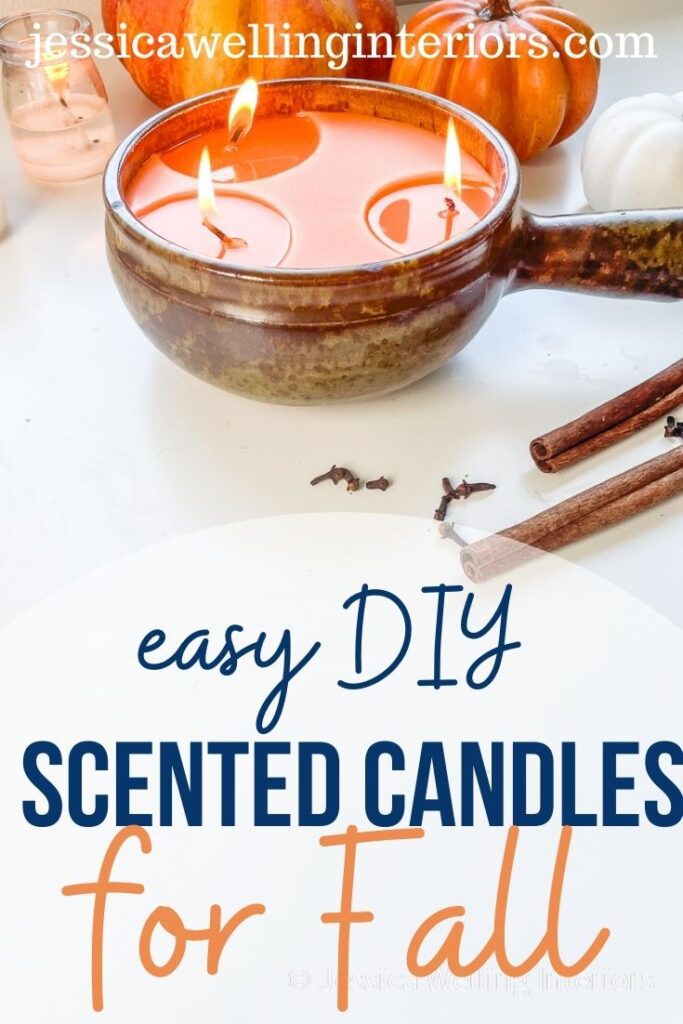
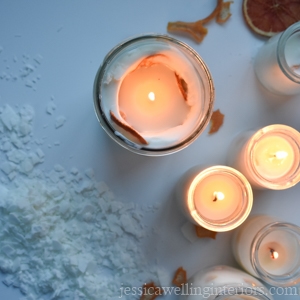
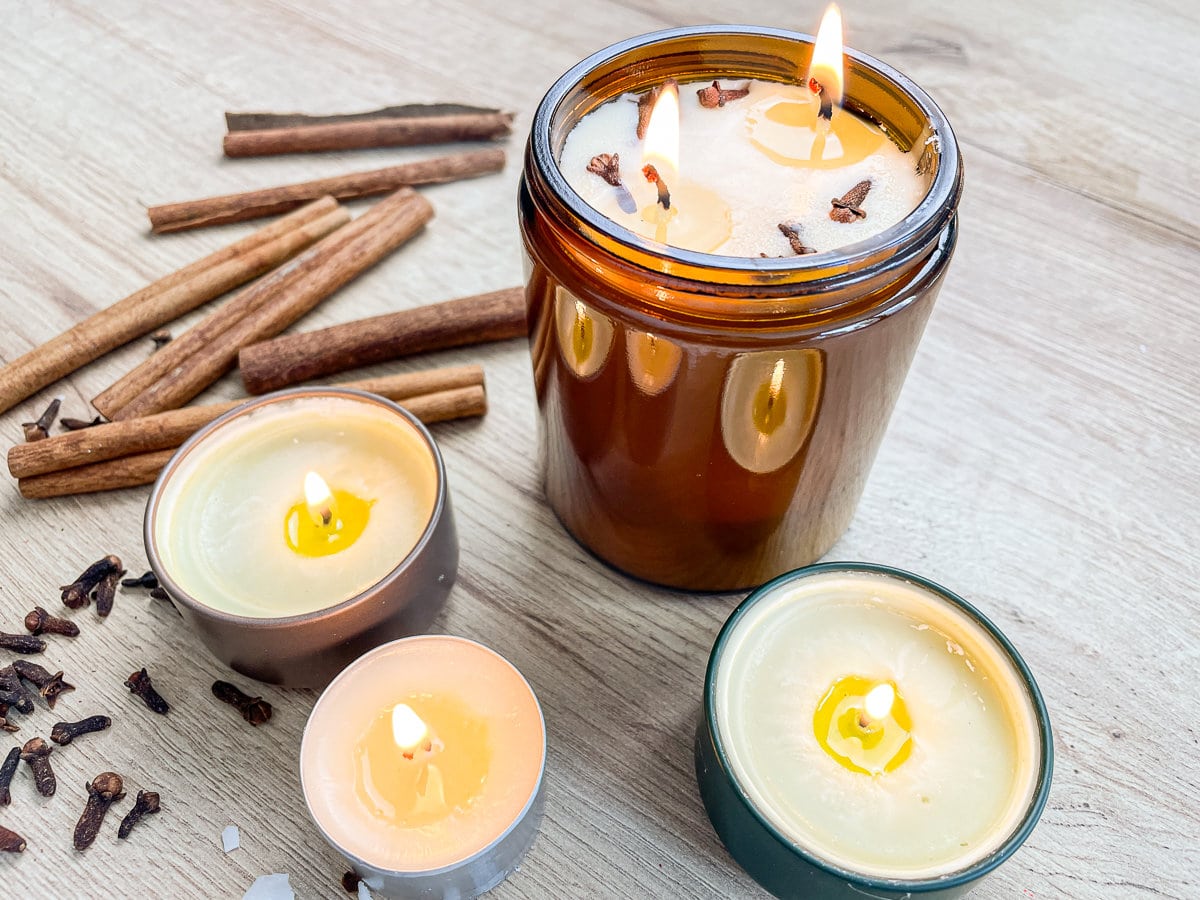
DIY scented candles are the perfect way to add some cozy Fall cheer to your home!
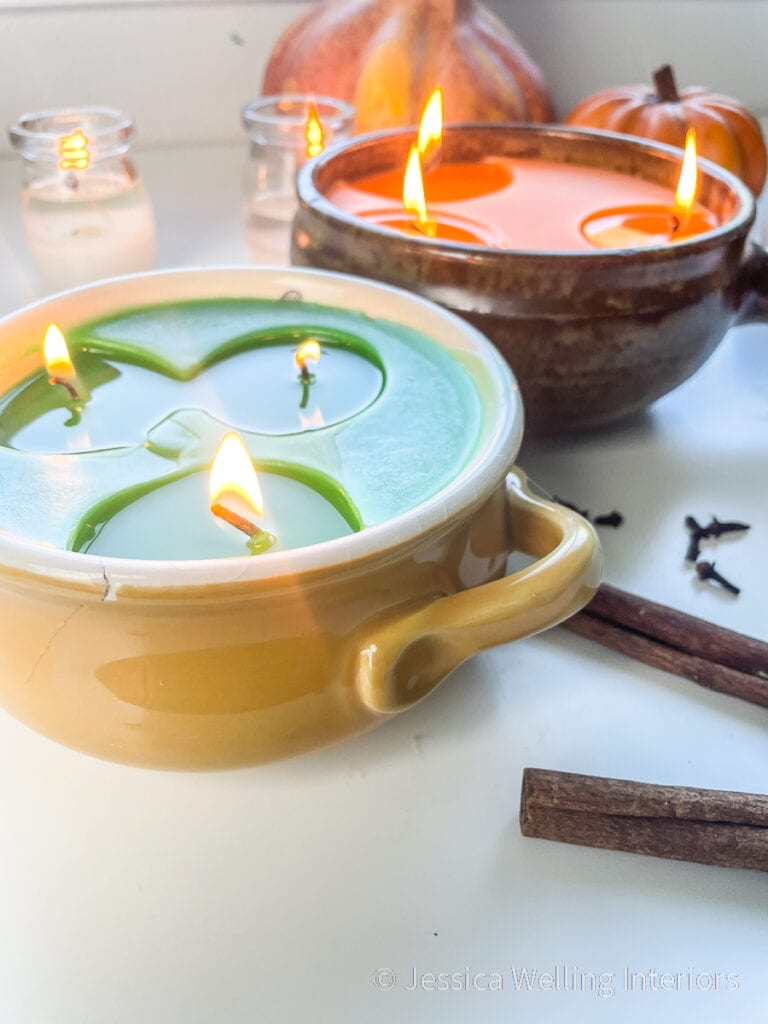
I wanted my candles to be earthy and a little bit rustic, so I headed to Goodwill and looked for earthenware, stoneware, and ceramic bowls and tureens to use as candle containers. I wanted to find the kind of bowls you want to eat hearty stew out of on a chilly Fall day.
This recipe will also work with mason jars or any other glass, metal, or ceramic container you want to use. Just be sure to steer clear of any flammable or plastic containers.
Fragrance Oils
The right fragrance oil will make or break your candle-making success. And trust me, fragrance oils are not all created equal! It may take some time and experimenting to find your favorite scents. Thus far, my favorite fragrance oil company is Nature’s Oil. The scents are clean and strong and I’m liking their fragrances much better than several other brands I’ve tried.
Cold Throw & Hot Throw
The goal when making scented candles is usually to have a good “cold throw” (the amount of fragrance a candle gives off when it’s unlit) and “hot throw” (the amount of fragrance it gives off when lit).
In order to achieve this ideal scent throw, you’ll need to do a bit of calculating to get the right ratio of wax to fragrance.
Here’s the general rule of thumb:
1 Pound Wax to 1 Oz. Fragrance Oil
I’m not a precise measuring person. But my 10-pounds of paraffin wax came in 5 roughly equal slabs. So I’m assuming each slab of wax weighs about 2lb. So if I melt down half of a slab, I need to add 1 fluid ounce of fragrance oil to it.
I know it may seem like more fragrance oil will give you a stronger scent throw…and this is true up to a point.
But if you exceed the fragrance load of your wax (i.e. add more fragrance oil than the wax can hold), it won’t combine properly and you’ll end up with oil droplets, or even a puddle of oil on top of your candle after it hardens. Been there. Done That.
And the fragrance oil is generally the most expensive ingredient in candles, so you don’t want to waste it.
Can I Use Essential Oils to Make Scented Candles?
The short answer is “not very well.” Once again, I’ve been there and tried that so you don’t have to waste your expensive essential oils. You can read more about making soy candles and natural fragrance oils here.
Supplies:
- Paraffin wax (this was the best and most reasonably priced paraffin wax I could find). If you want to use soy wax instead use this tutorial.
- cotton candle wicks
- ceramic or stoneware bowl or other container for your candle
- fragrance oil (I’m using Autumn Harvest from Nature’s Oil)
- candle wax dye (optional, I’m using orange and white from this set)
- foil
Tools:
- large knife and cutting board
- large sauce pan
- metal pitcher (or a large glass measuring cup if you want to melt your wax in the microwave)
- digital kitchen thermometer
- hot glue gun & glue sticks
- fork or spoon
- pot holder
- scissors
Instructions
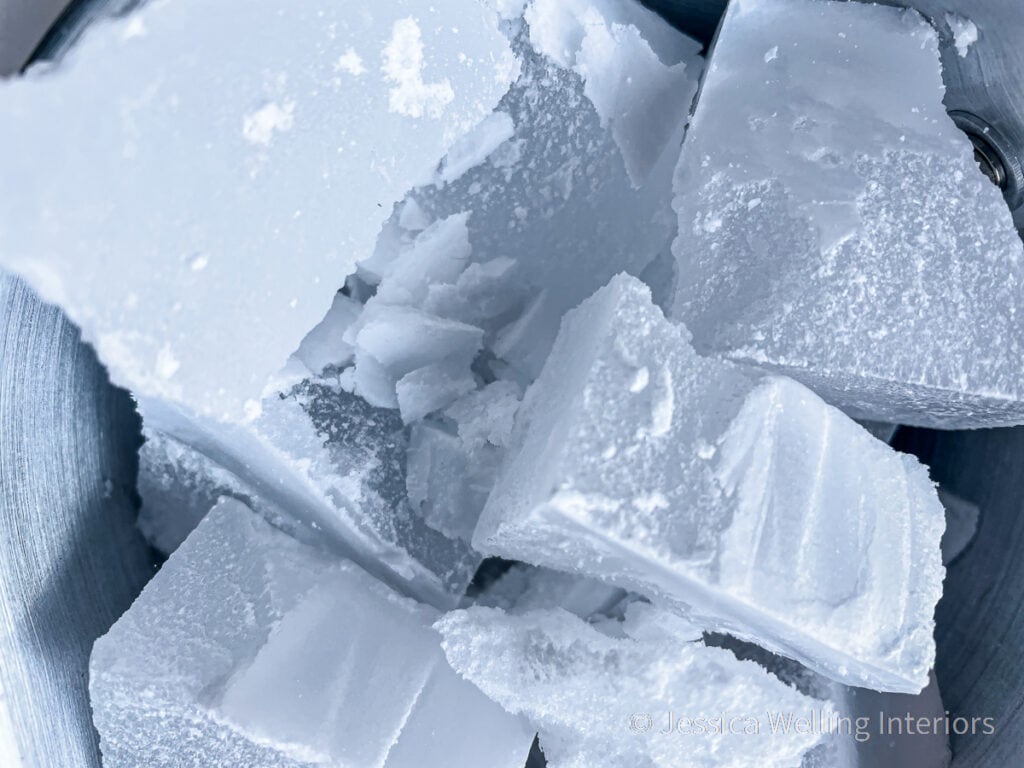
1. Cut The Wax Into Small Chunks
Most paraffin wax comes in large blocks like this, so you’ll need to cut it into smaller pieces to work with it. I like to cut mine into roughly one-inch cubes. The smaller you make your wax chunks, the more quickly the wax will melt.


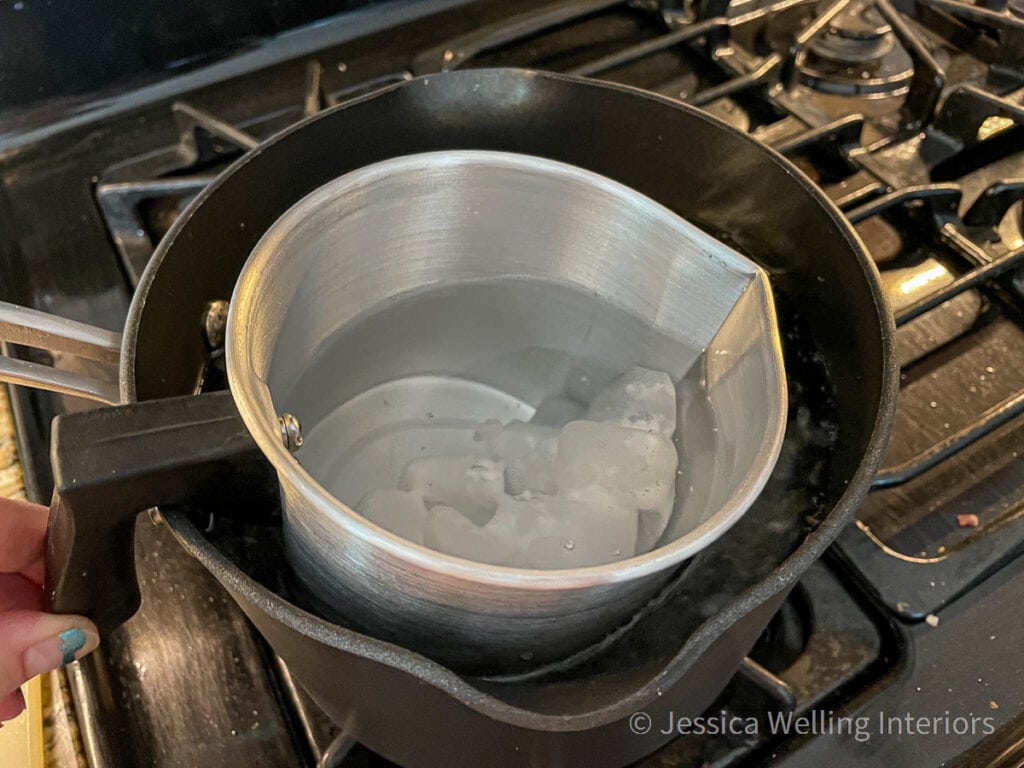
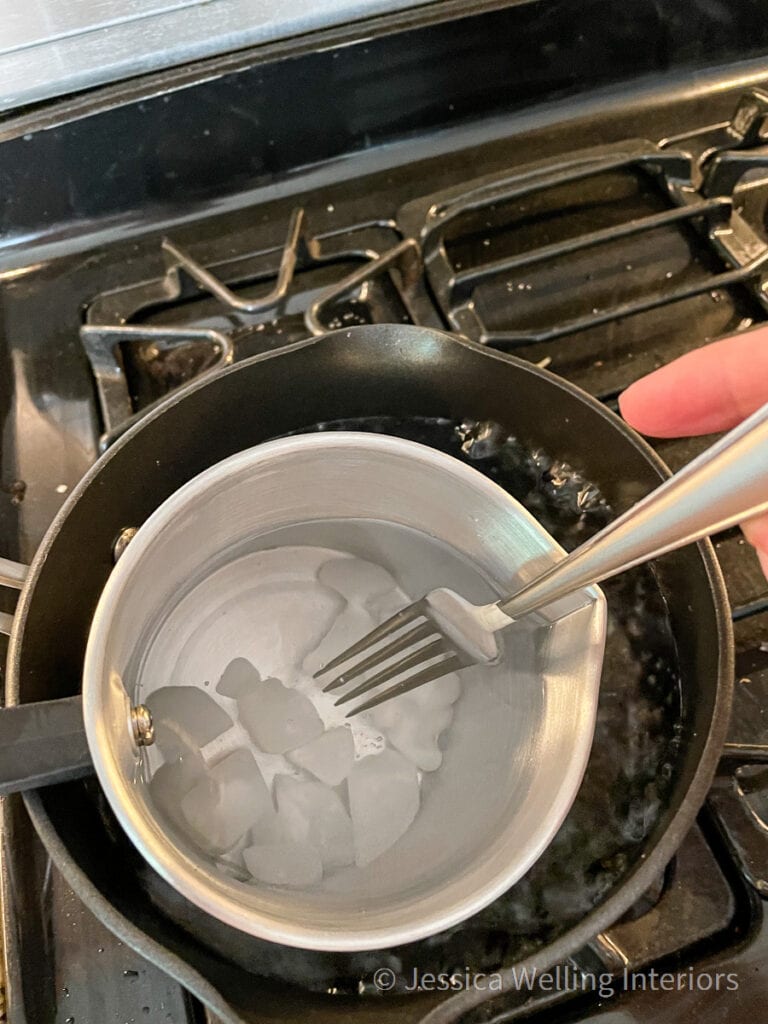
2. Set Up The Double-Boiler
It’s important to control the temperature of your wax, and a double-boiler is an easy way to do this. Fill a large saucepan about half-way with water and heat it on high. Then place your metal pitcher of wax inside it.
If you don’t have a metal pitcher to set inside a large saucepan, you can also melt your wax in a large glass measuring cup in the microwave, starting with 2-minute intervals and getting shorter as the wax gets closer to your target temperature (185 degrees).
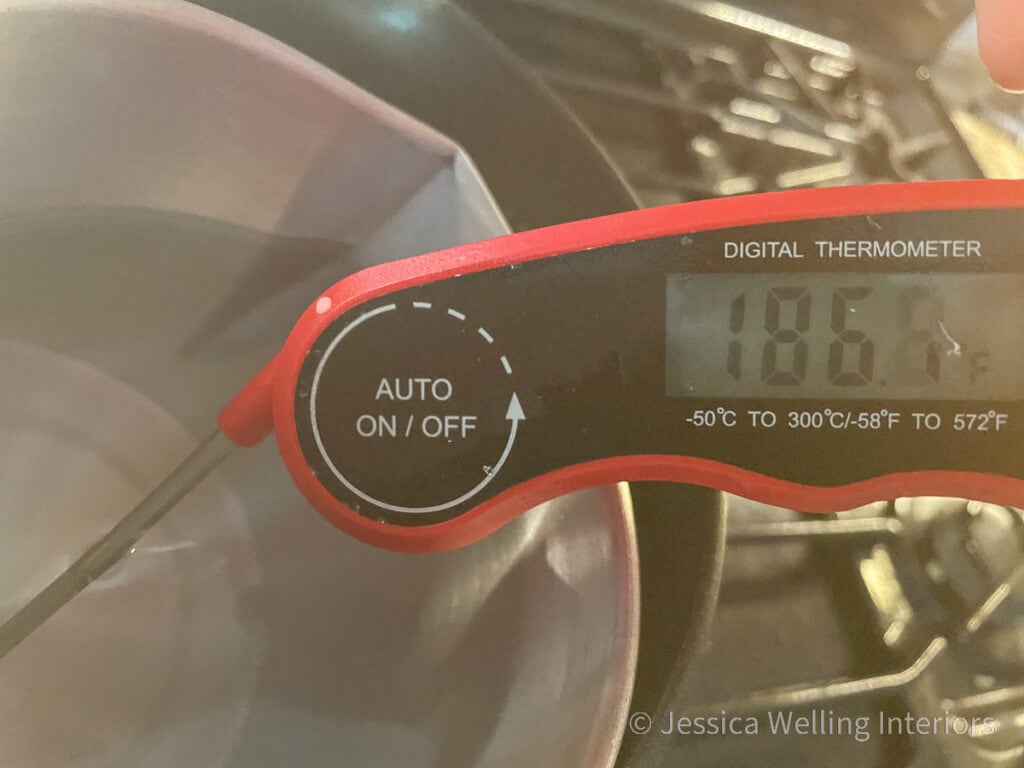
3. Heat The Wax to 185 Degrees
I like to use this quick-read digital thermometer to check the temperature of my wax. If you’re heating your wax in the microwave, you’ll want to do shorter and shorter intervals (like 15 or 20 seconds) as you get closer to your temperature.
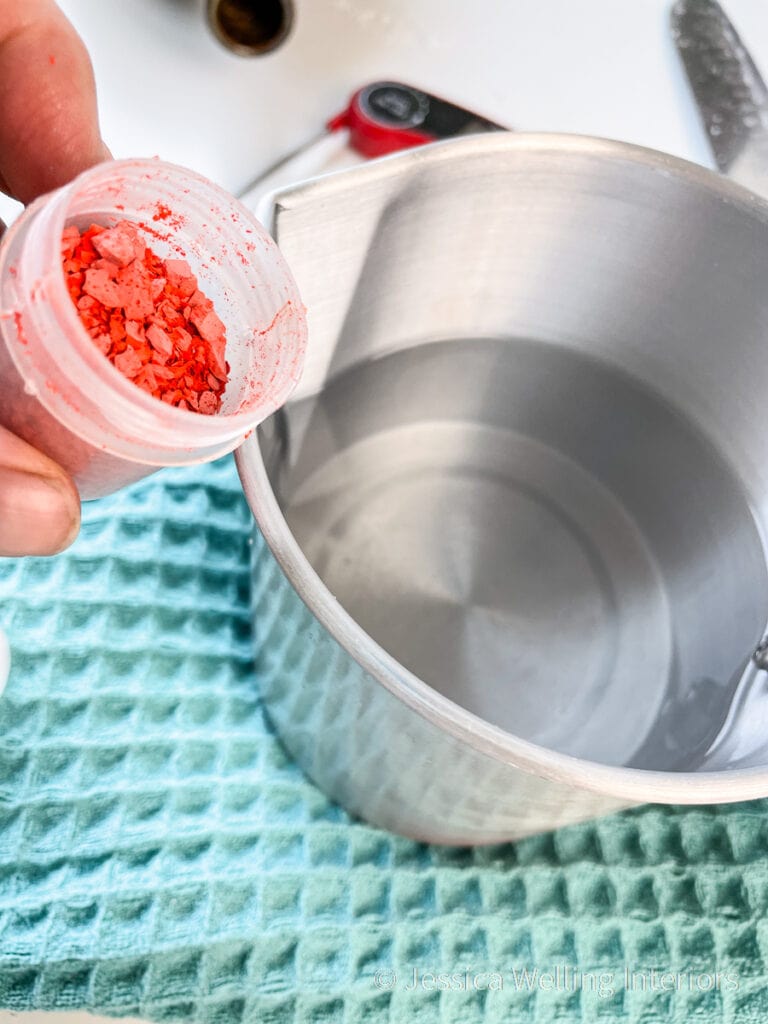
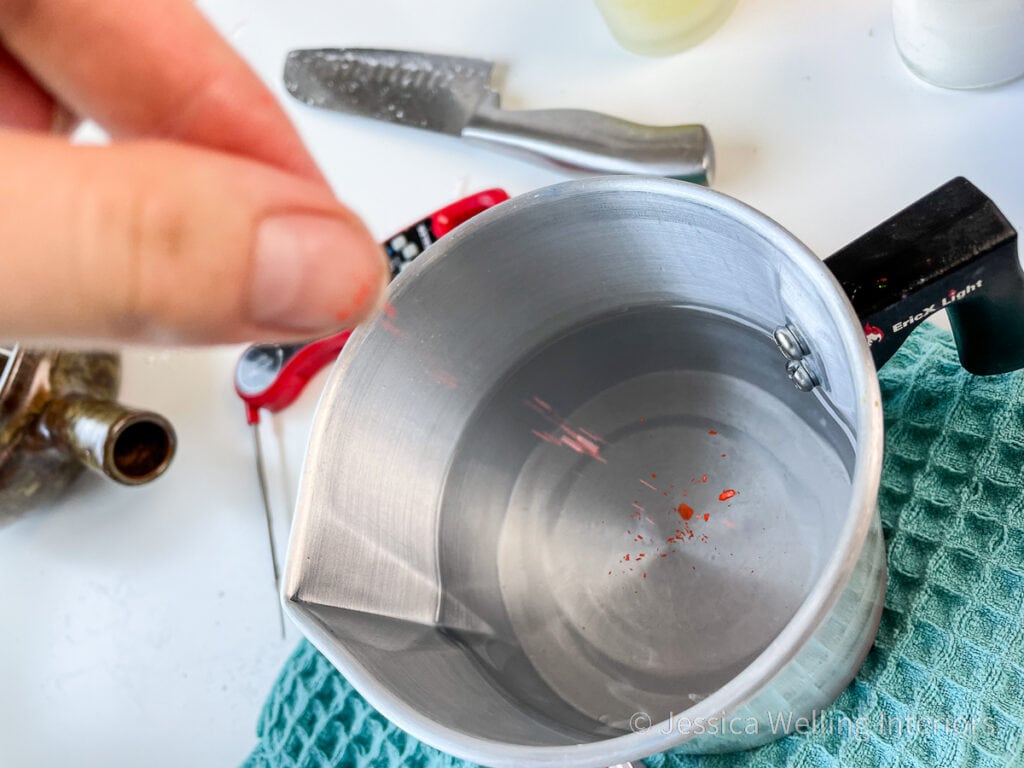
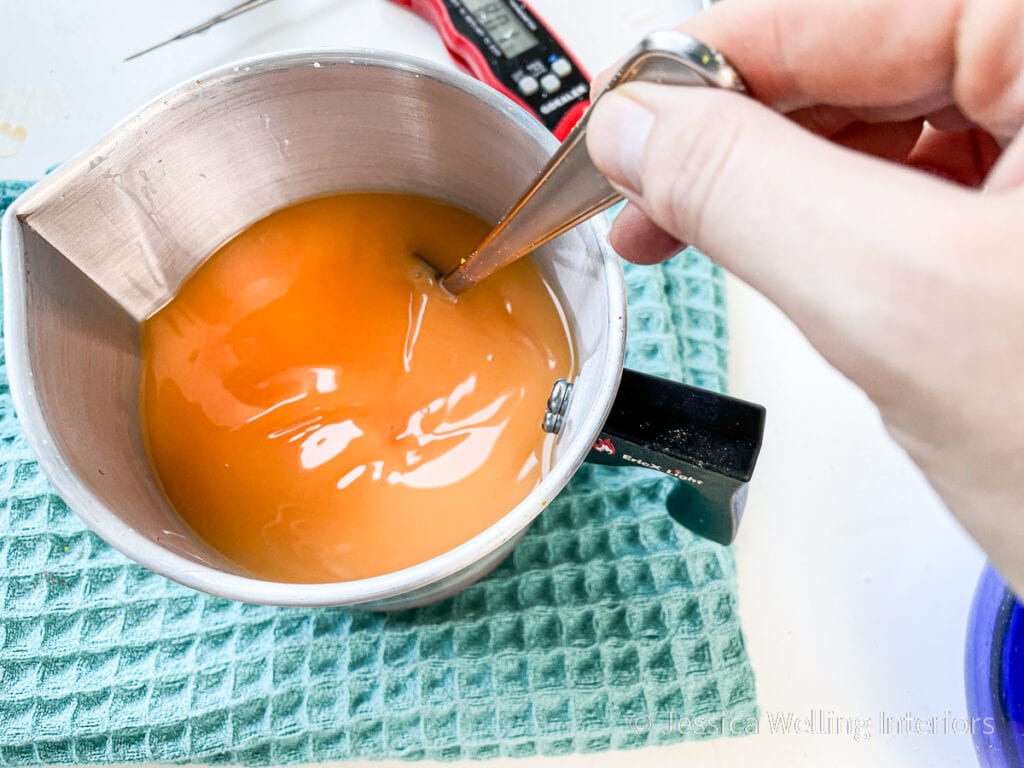
4. Add Wax Color
Sprinkle just a few wax dye flakes into the hot wax and stir with a fork. If you find that your wax dye isn’t melting into the wax after a minute or two, you may need to return the wax to the double-boiler.
Also, make sure to scrape the bottom of the pitcher, as the wax dye can sometimes sink to the bottom. Feel free to mix colors. I added orange and a few yellow flakes to get the pumpkin orange I wanted.
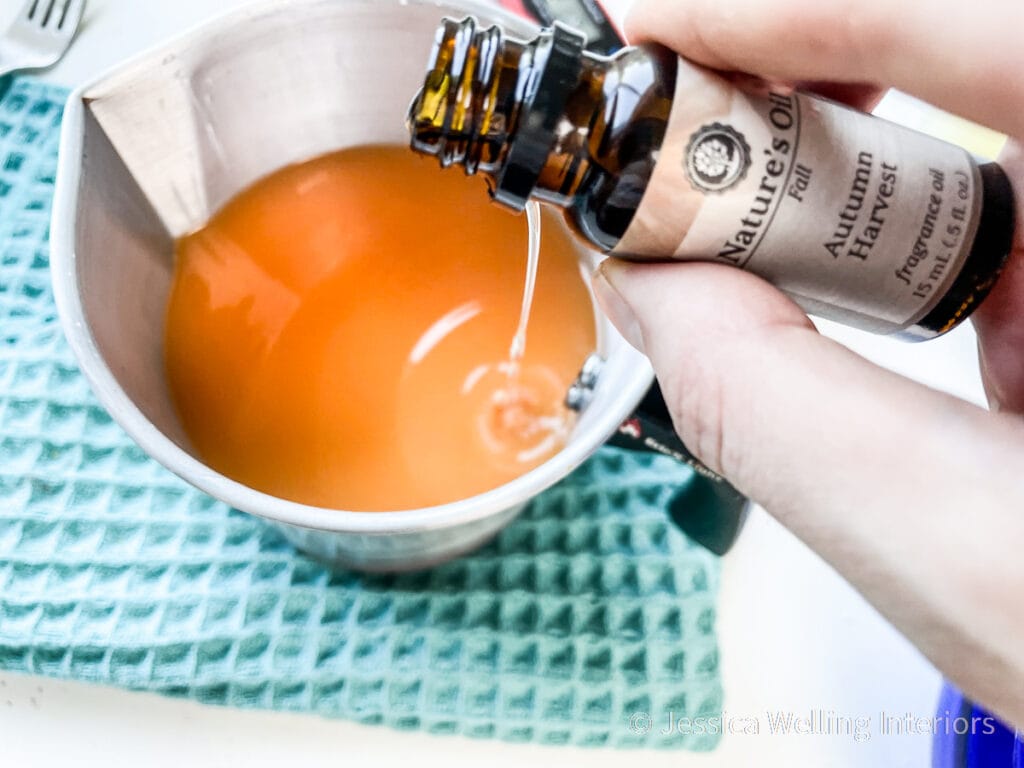
5. Add Fragrance Oil
Make sure your wax is still at about 185 degrees. Measure and add the fragrance oil at a ratio of 1 oz. oil to 1 lb wax and stir it well to combine.
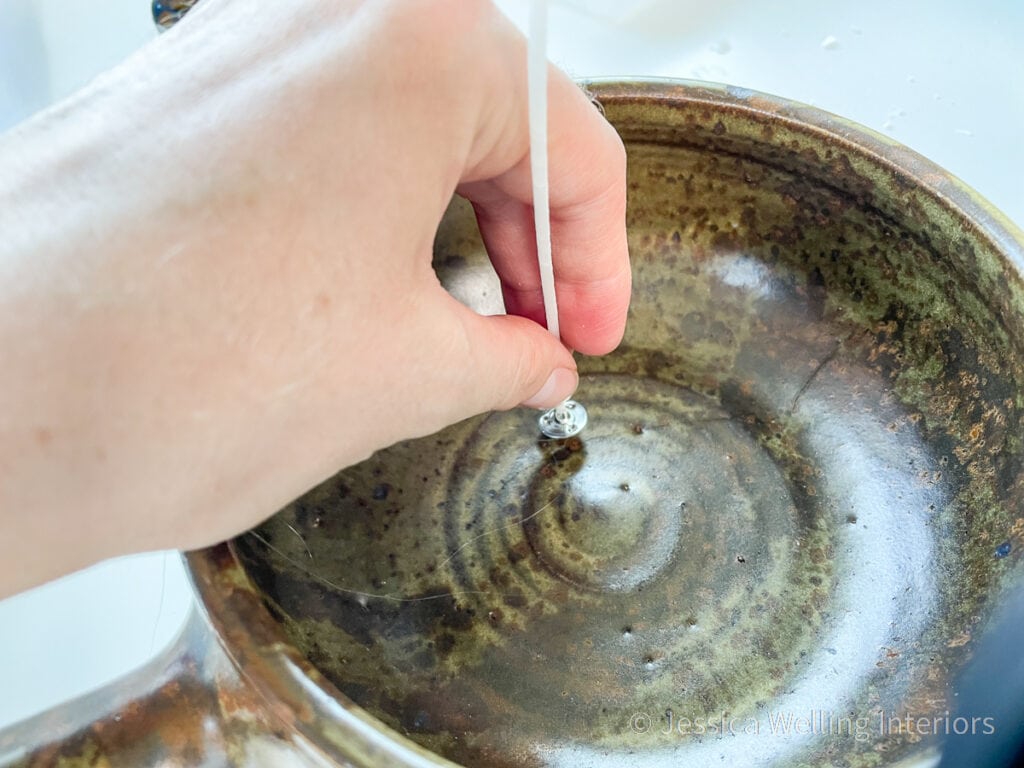
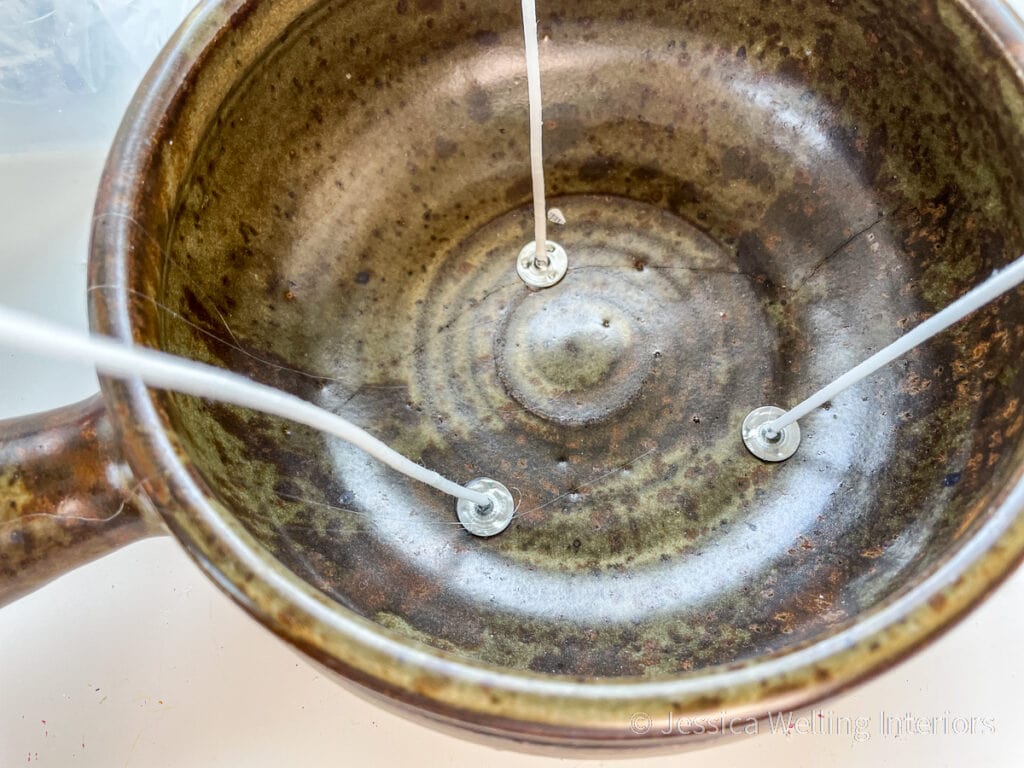
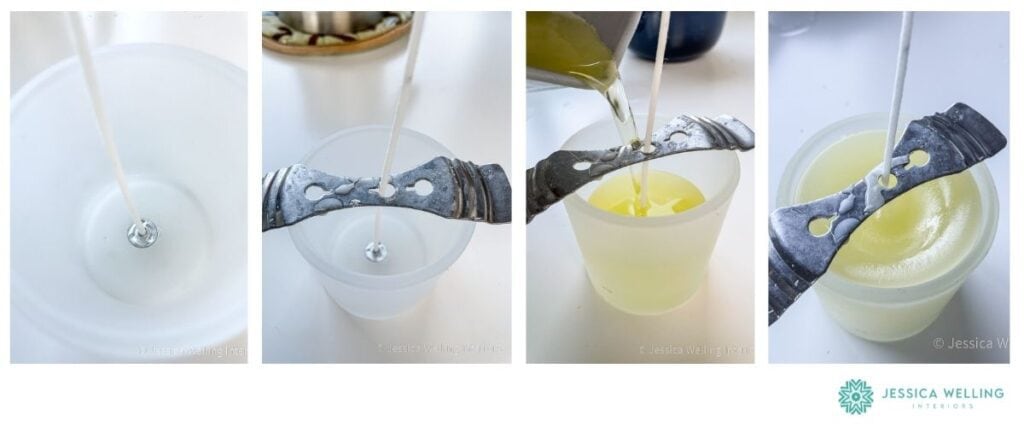
6. Attach The Wicks To The Container
I like to use a dab of hot glue to attach my wicks to the bottoms of my containers. Some wicks will come with stickers, and if you’re using a wood wick, it will come with a metal piece to hold it in place. For this large bowl, I’m using three wicks. For a smaller jar, one wick in the center will be sufficient.
7. Secure The Wicks
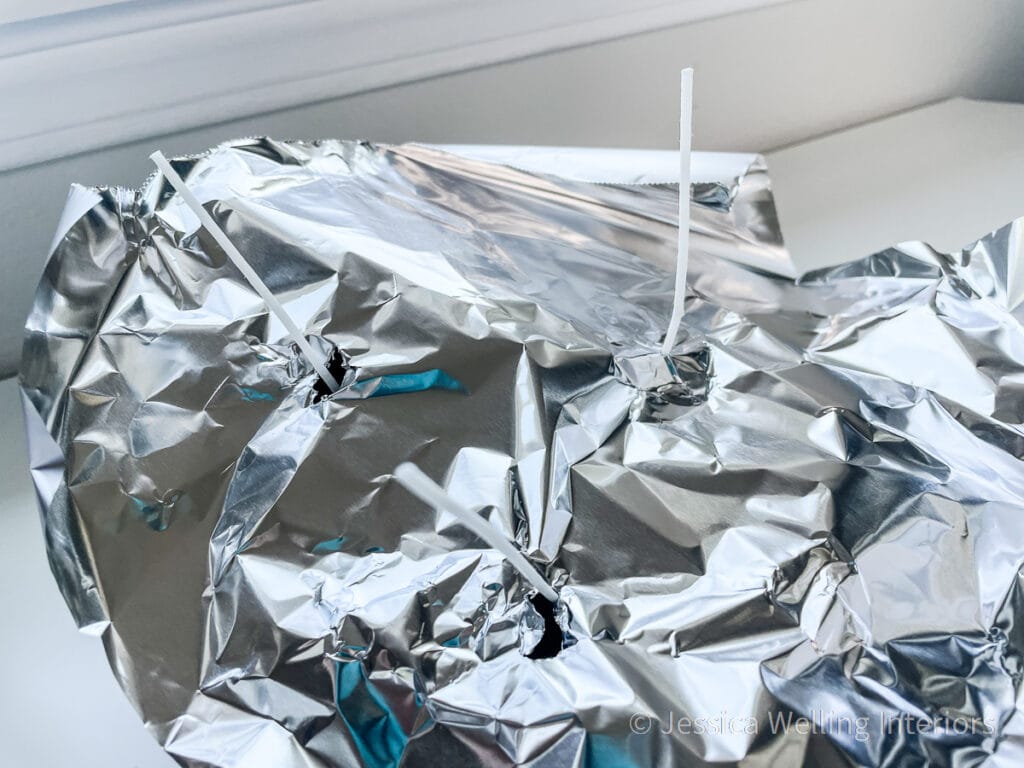
The wicks are stiff and stand up on their own now, but as soon as the hot wax hits them, they’ll flop over. On a smaller container candle, I would use a metal wick holder to keep the wick upright while the wax cools (see below). But since this container is wider and I’m using three wicks, I’m improvising with aluminum foil.
Fold the foil so it’s two or three layers thick. Then lay it over the top of your candle container. Poke a hole for each of the wicks, and stick them through.
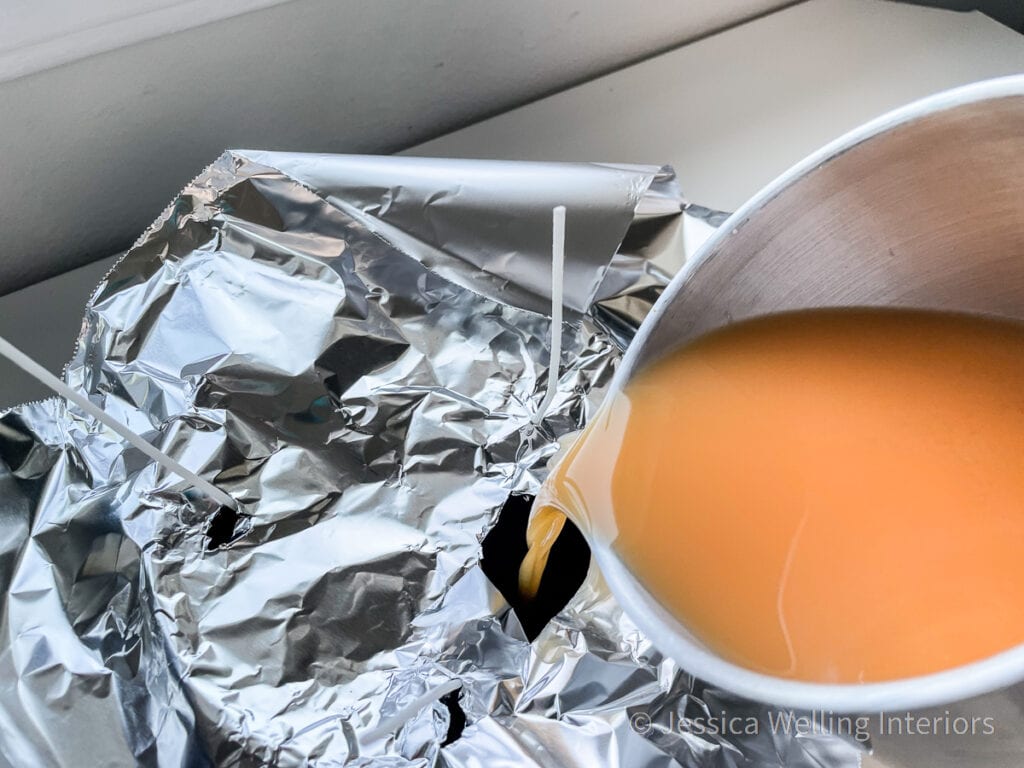
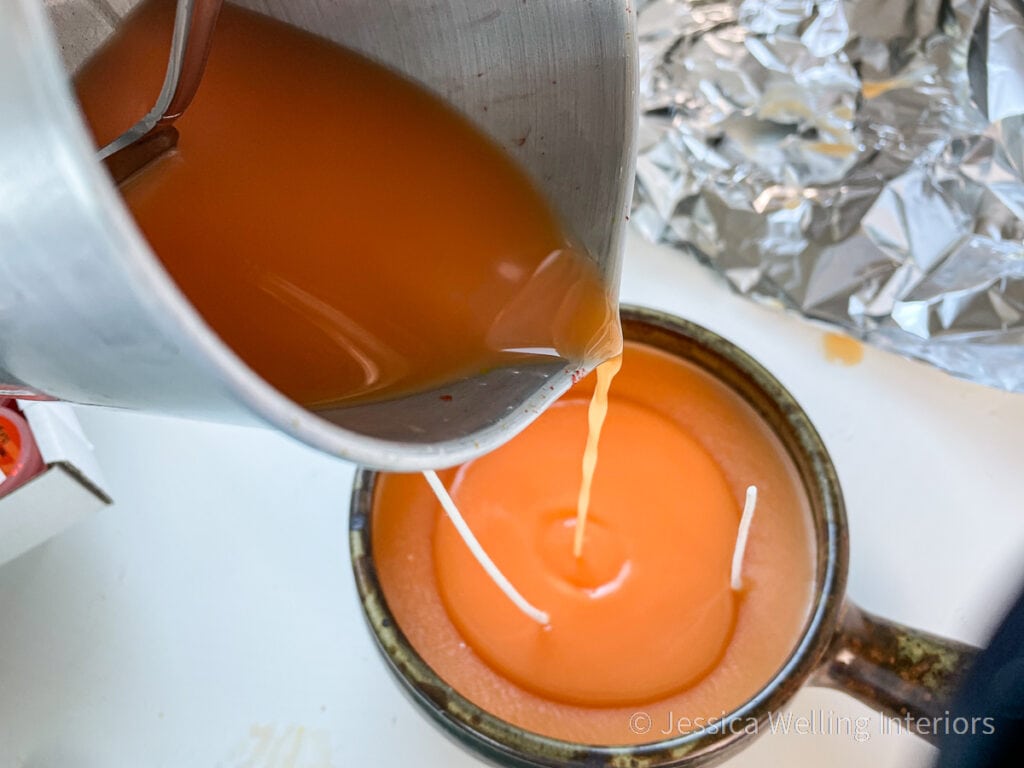
8. Pour The Wax
Create a larger hole in the center of the foil to pour the wax through.
Check the temperature of the wax. You want it to be right around 170 degrees F when you pour. If the wax is poured when it’s too hot, you may end up wit a sing hole in the center of your candle.
Then carefully pour, filling the container to about 1/2 inch from the top. Save enough wax in the pitcher to cover the top of the candle when you do the second pour.
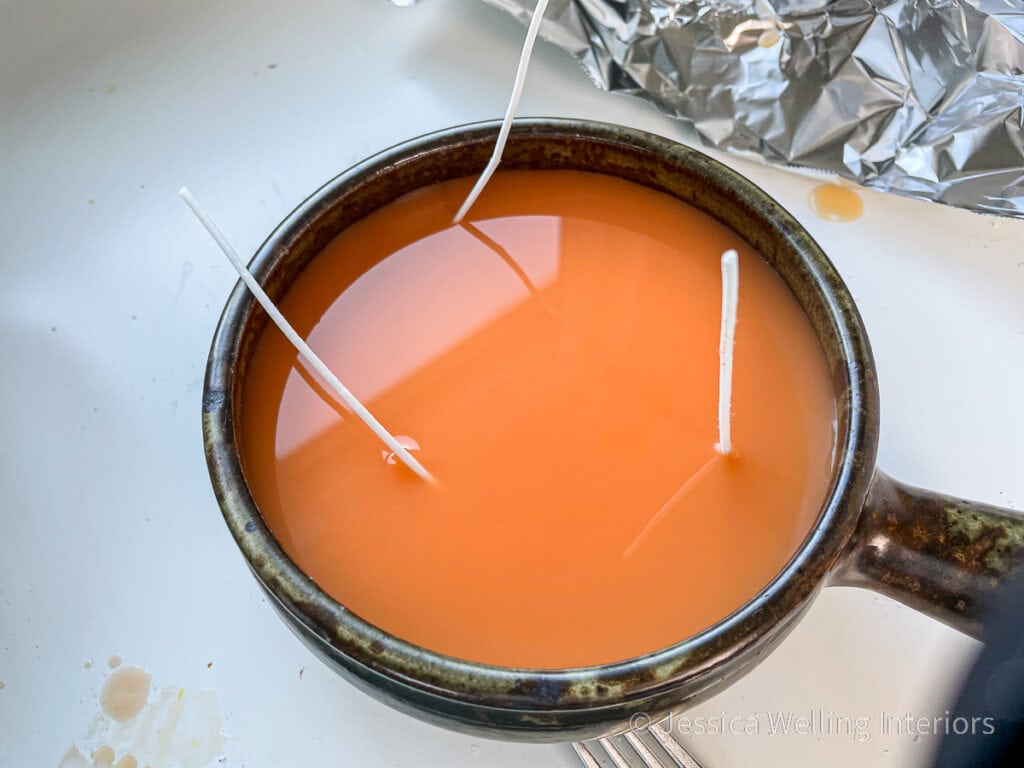
9. Let It Cool
Let your candle sit undisturbed until the wax cools completely. This will take at least a few hours with a large candle like this. Trust me, it’s worth the wait time!
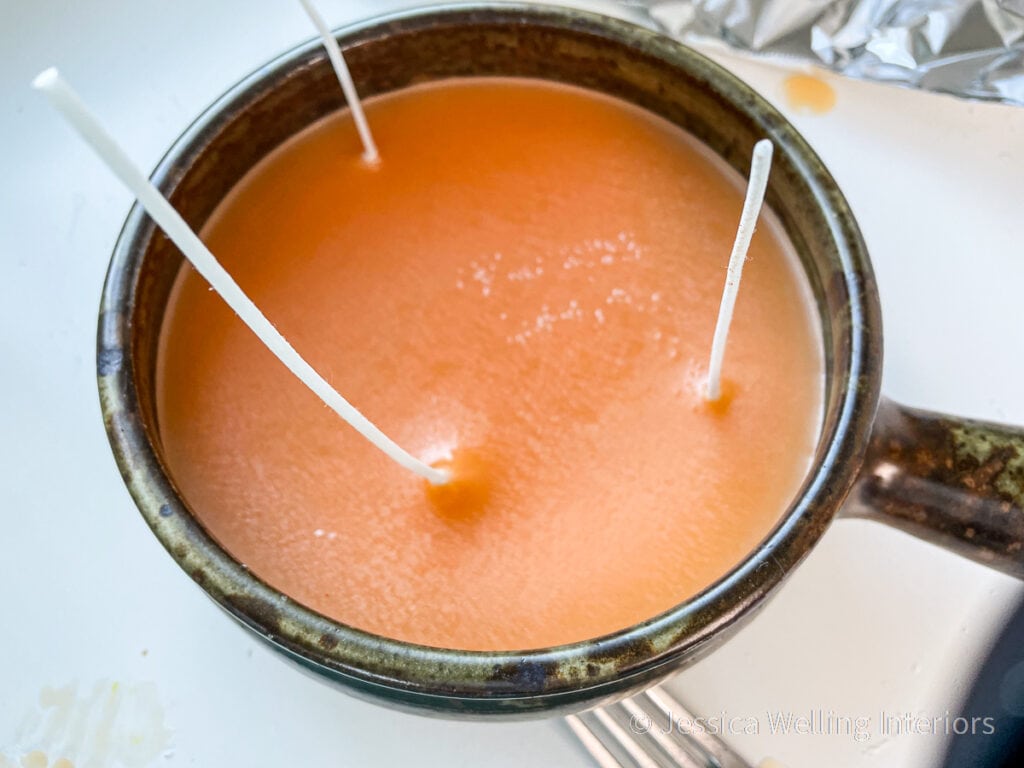
10. Second Pour
Once your candle has completely cooled all the way to the center, you may notice that the top surface isn’t perfect. It may have a small sink home or two. My orange candle above had a bumpy texture, and a bit of white crystalizzation. The second pour is a small top layer to smooth out any imperfections on the top of the candle.
Now you can re-heat your wax and do the second pour. Be careful not to heat it above 185 degrees, as this will break down your fragrance oil.
Pour a this layer of wax on the top of the candle, just enough to cover the entire surface. You may need to replace the foil to keep the wicks in place as this last layer cools.
Notice that the wicks are beginning to flop over again after the second pour. So I replaced my foil wick holder to keep them in place until the wax hardened.
11. Let It Cool
Now let the top layer of your candle cool completely. It shouldn’t take too long since there’s a lot less hot wax this time around.
12. Trim The Wicks
Use scissors to trim the wicks. I like to leave about 5/8″.
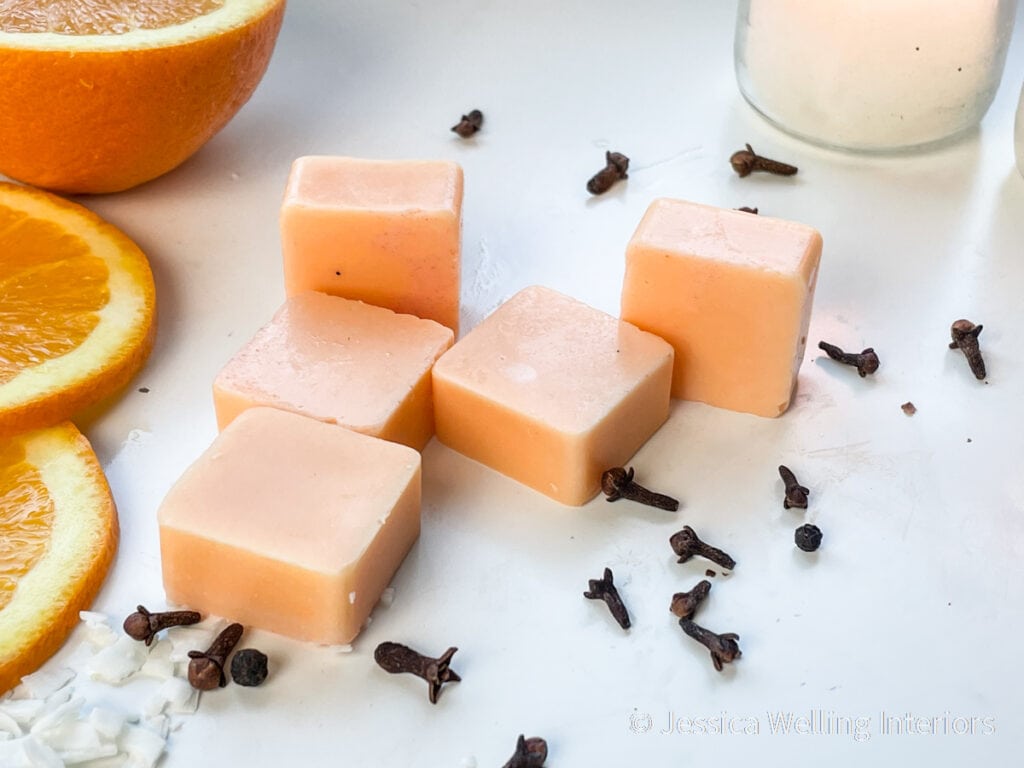
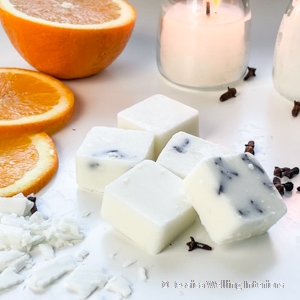
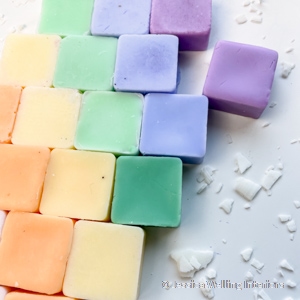
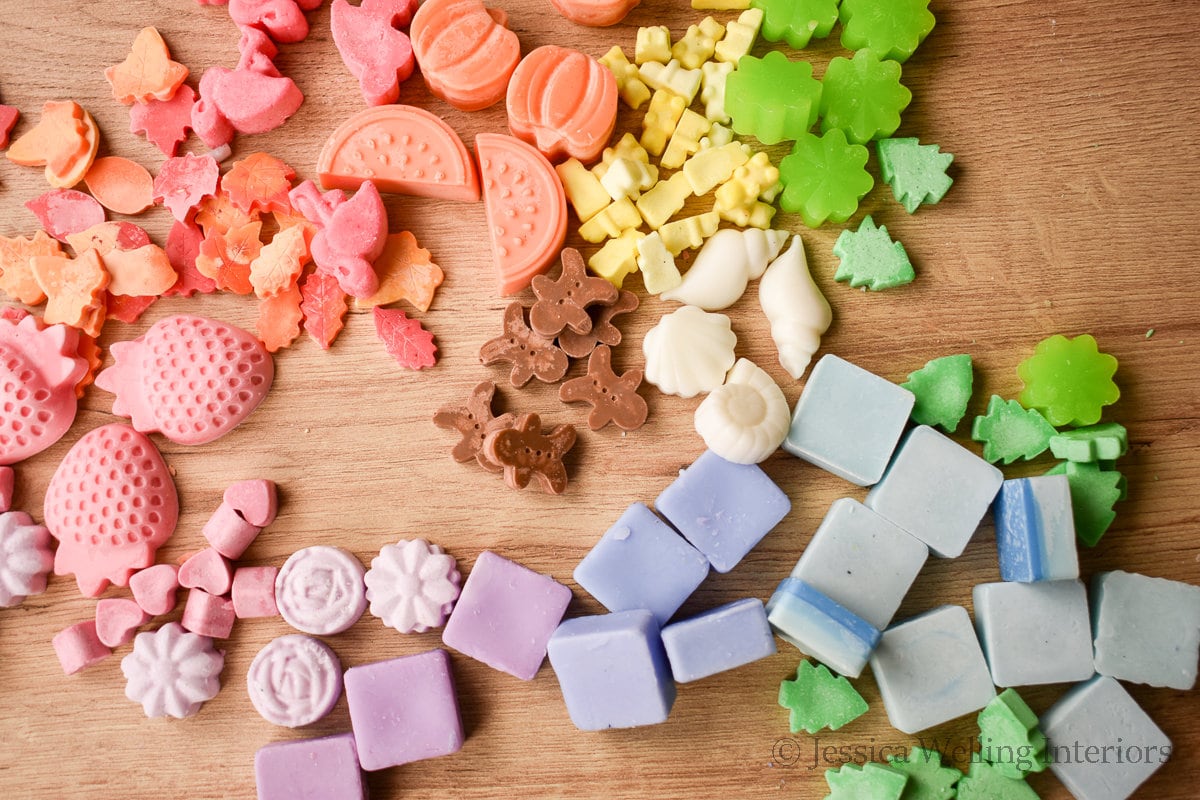
Leftover Candle Wax
What can you do with leftover wax that’s already scented and colored? Make wax melts, of course! Here’s a simple tutorial for soy wax melts. The process is identical when using paraffin wax. And really, you can skip most of the instructions. All you’ll need is a wax melt mold. This inexpensive silicone one from Amazon is my favorite.
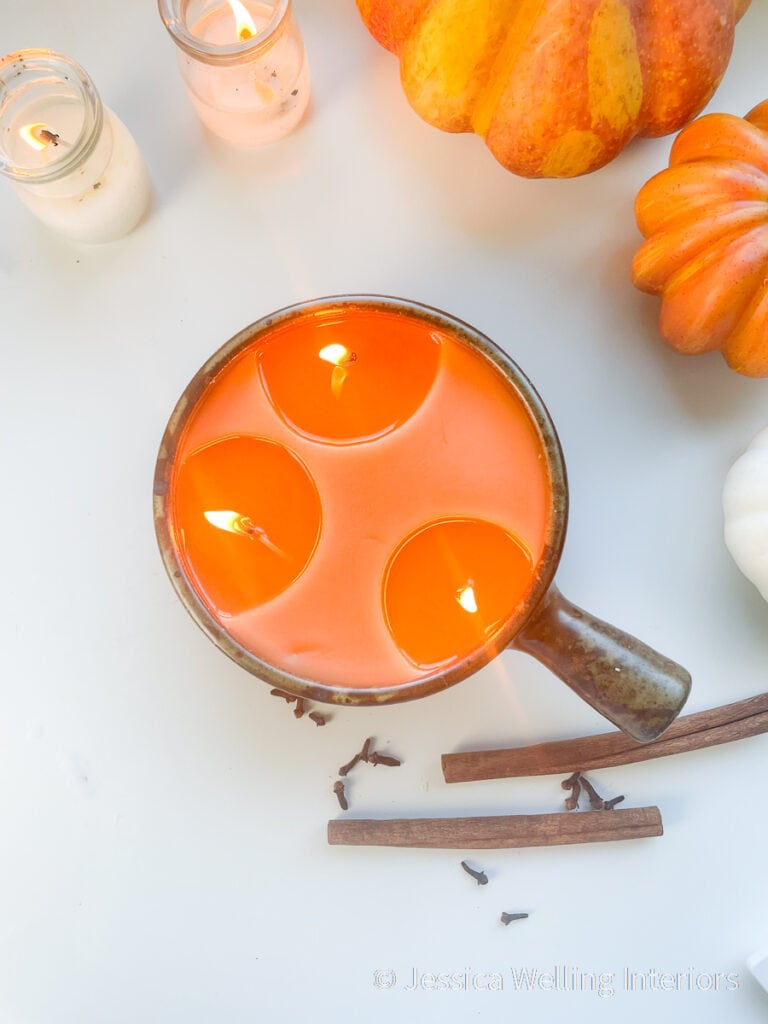
How To Get The Most Out Out Your Scented Candles
The first time you light your candle, be sure to burn it for long enough that the wax pool fill the entire container.
With a large three-wick candle like the one in this tutorial, it will most likely need to burn for a few hours to achieve this. If you don’t there will be a pool only around each of the wicks, and it will “tunnel” or create a deeper and deeper hole each time you burn it.
More DIY Candles & Wax Melts…
How to Make Soy Candles: A Beginner’s Guide
Easy Spiced Pear Scented Soy Candles

Easy Orange Clove Soy Wax Melts
I have had a major problem with tunneling no matter what I do.I have searched the internet for answers and tried everything to no avail.Ironically your site was the first to pop up tonight.AND you have been the only one who mentioned the heat factor can cause tunneling!!!! I am so happy
and am sure that is my mistake, too hot …..I am usually doing this with 3 of my grandkids. I tend to get distracted and pay little attention to the temos,just that it is melted.Can’t wait to try.Thank you!
Thanks for your note, and good luck! I don’t know which articles I mentioned this in, but you also need to wait until the wax is completely cool before you do the second pour. If you don’t you’ll end up with the same problem.