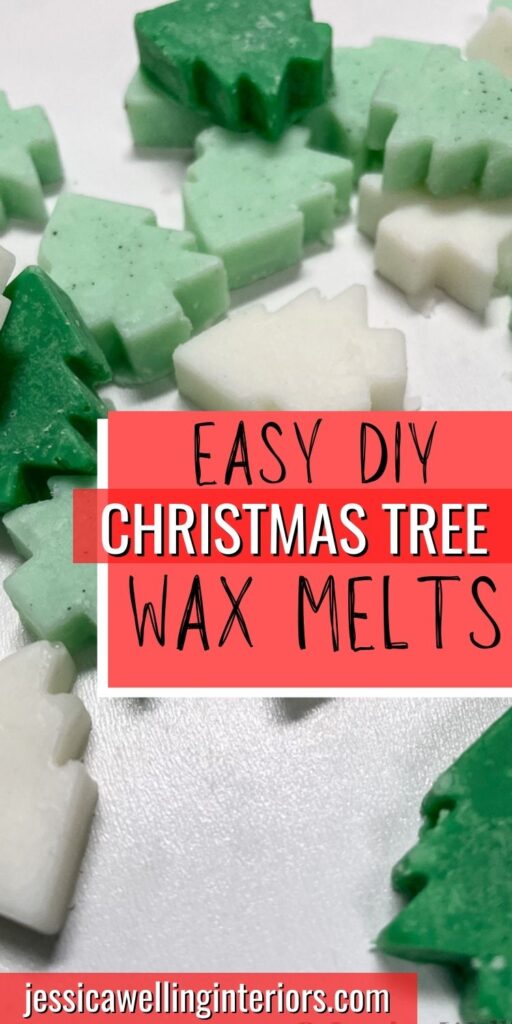
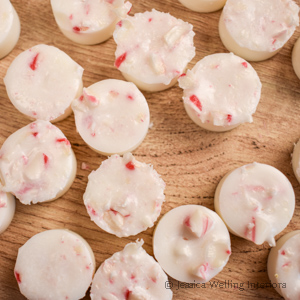
DIY Christmas Wax Melts
Materials
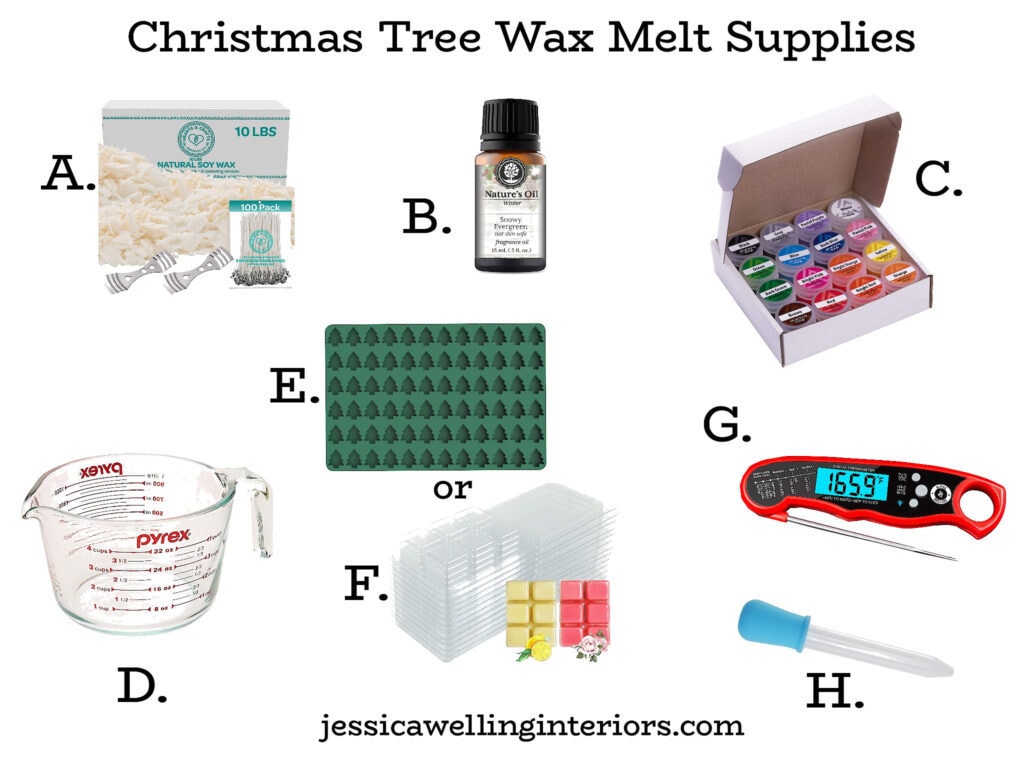
A. Soy wax flakes- this is my favorite brand from Amazon
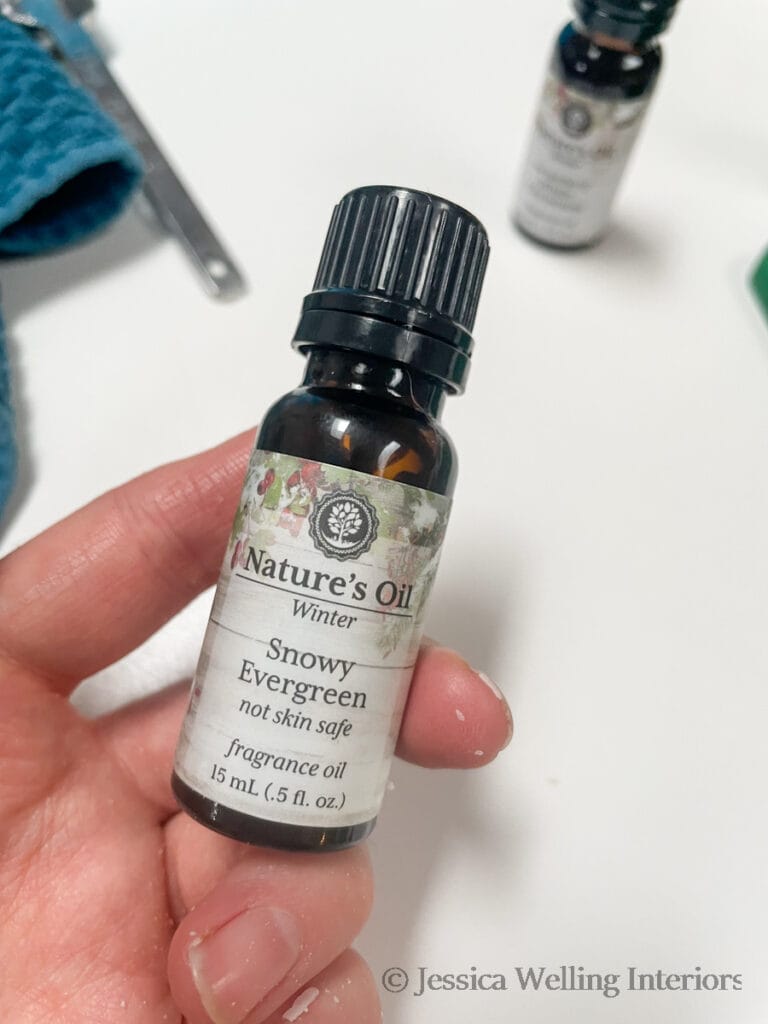
B. Fragrance Oil- I’m using Snowy Evergreen from Nature’s Oil
C. Wax Dye- I’m using this wax dye color set from Amazon
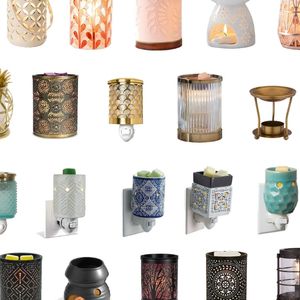
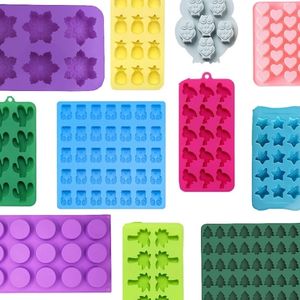
E. Christmas tree wax melt mold– This post has all my favorite Christmas wax melt molds.
or
H. Pipette
Directions
1. Measure the Wax Flakes

2. Melt the Wax
Microwave Method
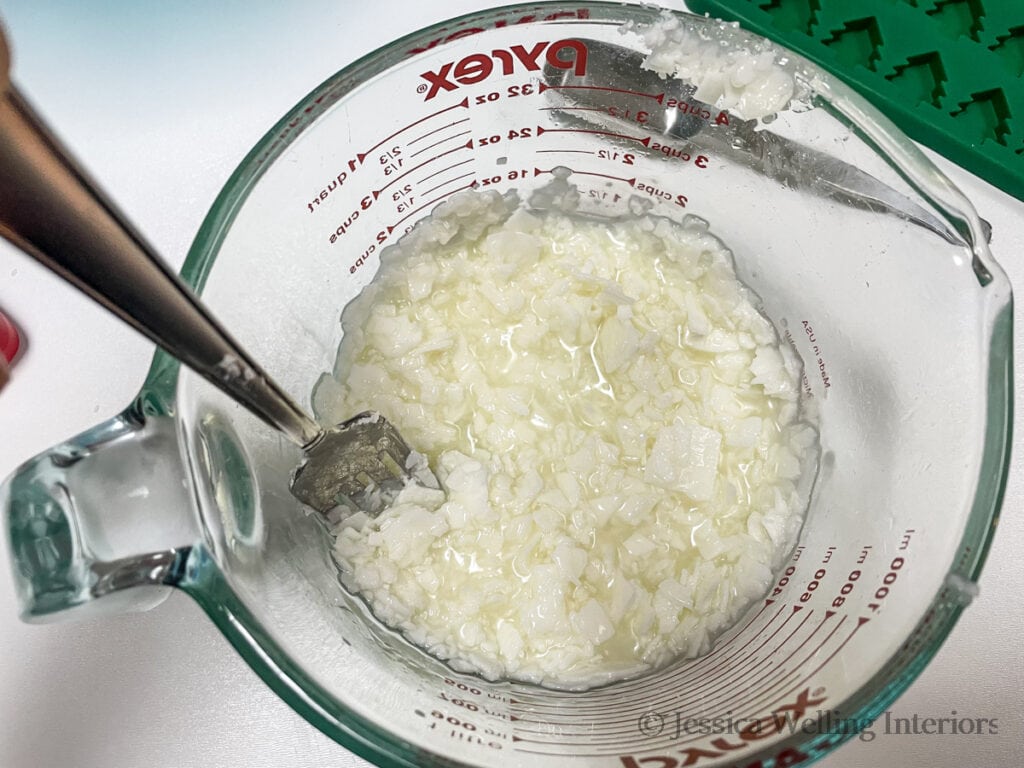
I’m using a glass measuring cup to melt my wax in the microwave. Start with 1-minute intervals, removing the wax to stir it between each one. Once it gets soupy (like the image below), switch to 30-second intervals.
Double-Boiler Method
You can also set up a double boiler using a metal pitcher like this one and a pot of water on the stove. I generally use a double boiler when I’m making a larger quantity or pouring larger candles, since they require a lot more wax. You can see more detailed instructions for melting wax in a double boiler here.
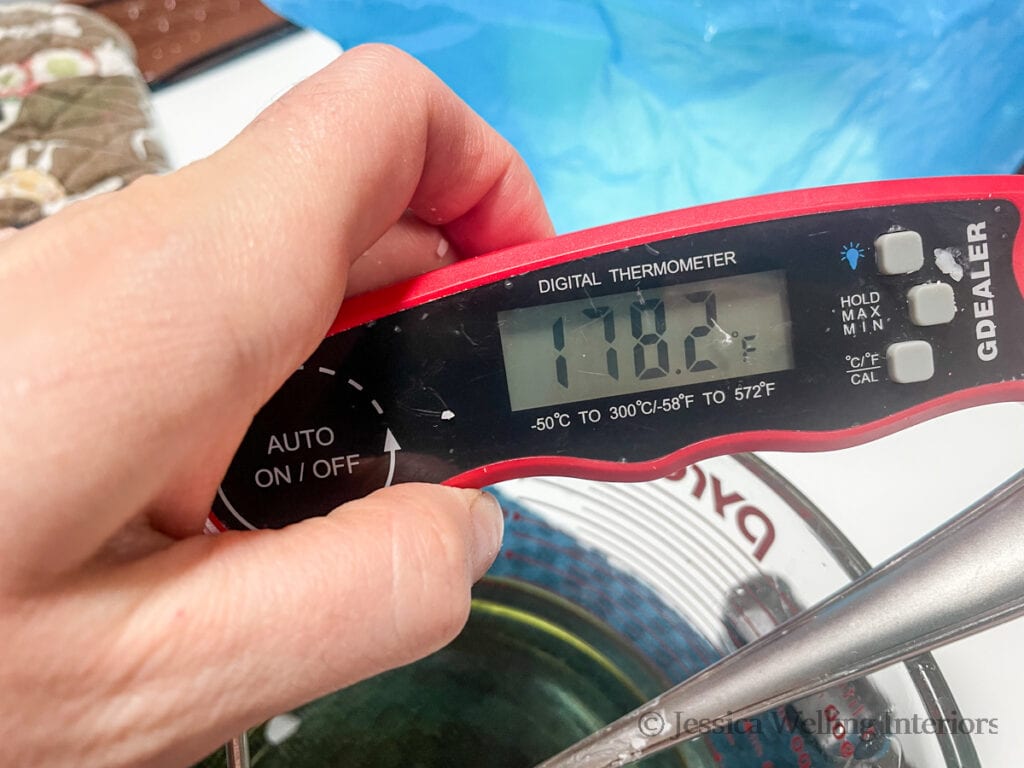
3. Check the Temperature
The ideal temperature to add fragrance oil and colorant to soy wax is between 175-185 degrees. Continue to microwave in smaller increments until you reach this range. If your wax gets too hot, you can add a handful of soy flakes to cool it down a little.
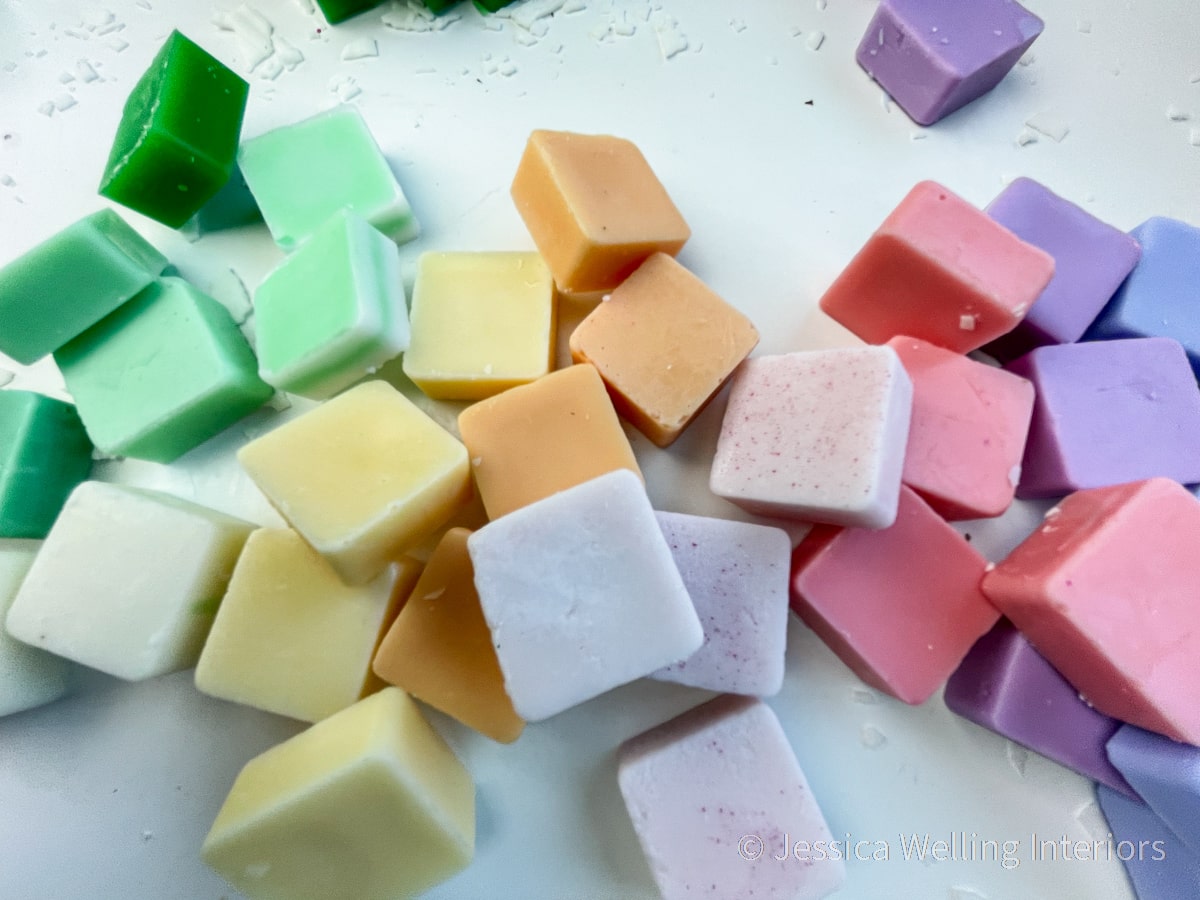
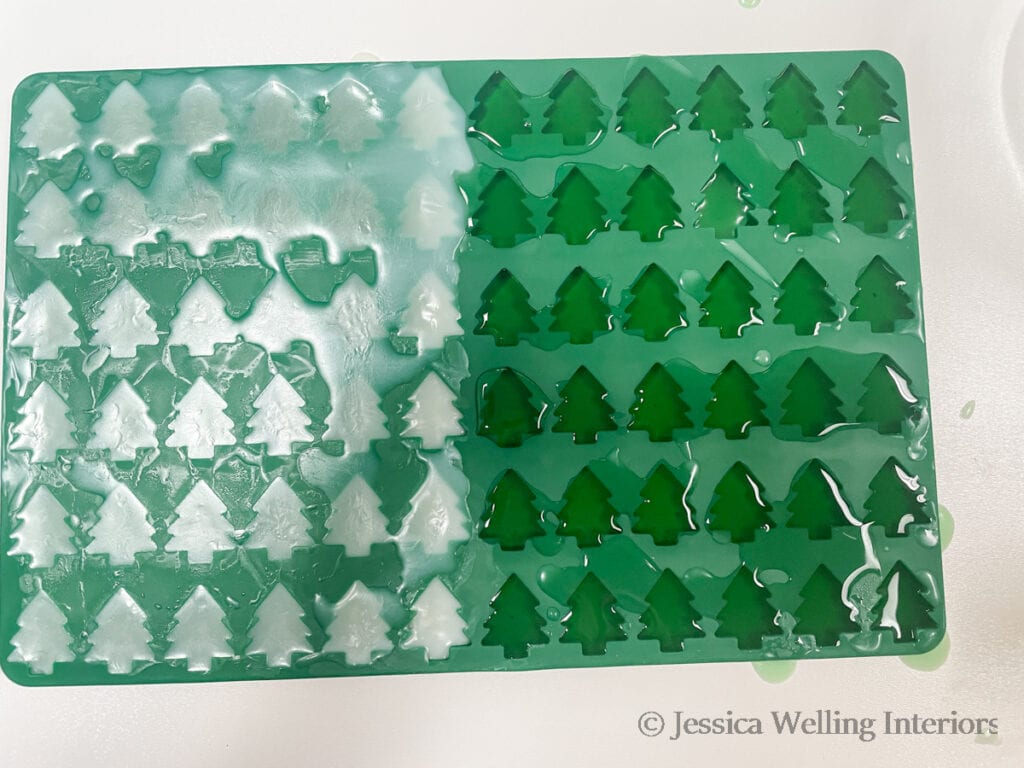
4. Add Wax Colorant (Optional)
I made some of my Christmas tree wax melts without color, and then I added some dark green colorant to the second half of the batch. I’m using this inexpensive wax color kit from Amazon.
A small pinch of the color chips is usually all you’ll need. And of course you can mix the colors too.
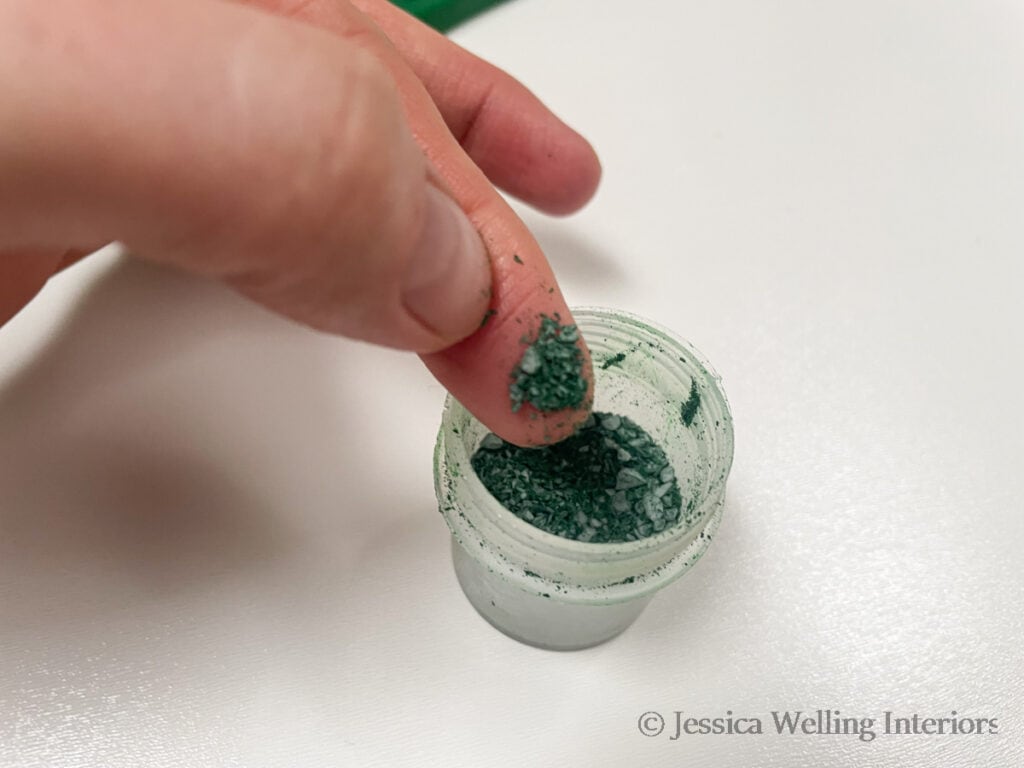
Stir the hot wax until there are no color specks left. If your chips are not melting, put the wax back into the microwave of 15 seconds.
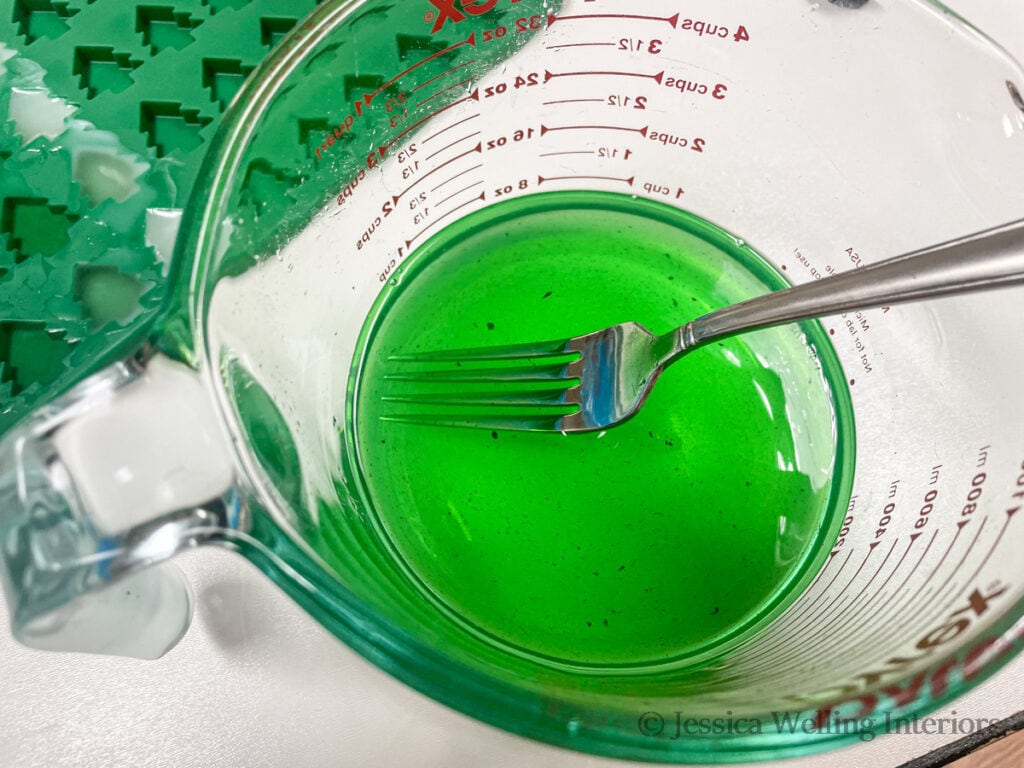
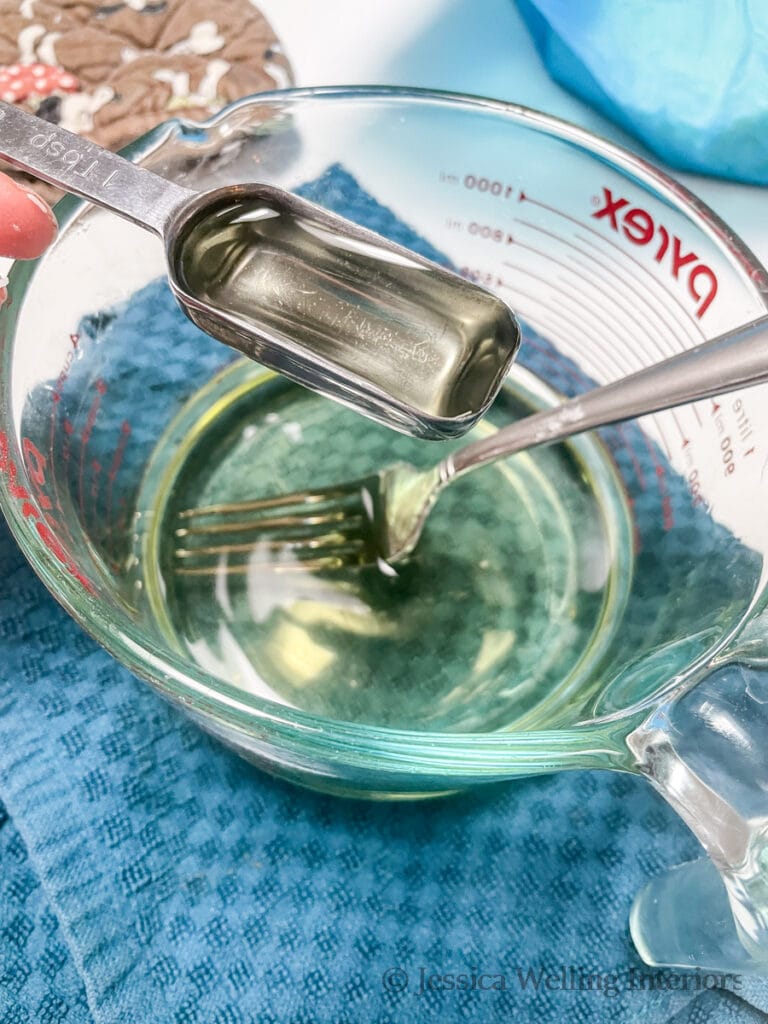
5. Add Fragrance Oil
Here’s my general rule of thumb for fragrance oil:
Add 1.5 Tablespoons to 1 cup of melted wax.
Here’s my carefully curated list of my favorite fragrance oils for candles & wax melts. I have a few more Christmas tree scents on there too.
Stir well.
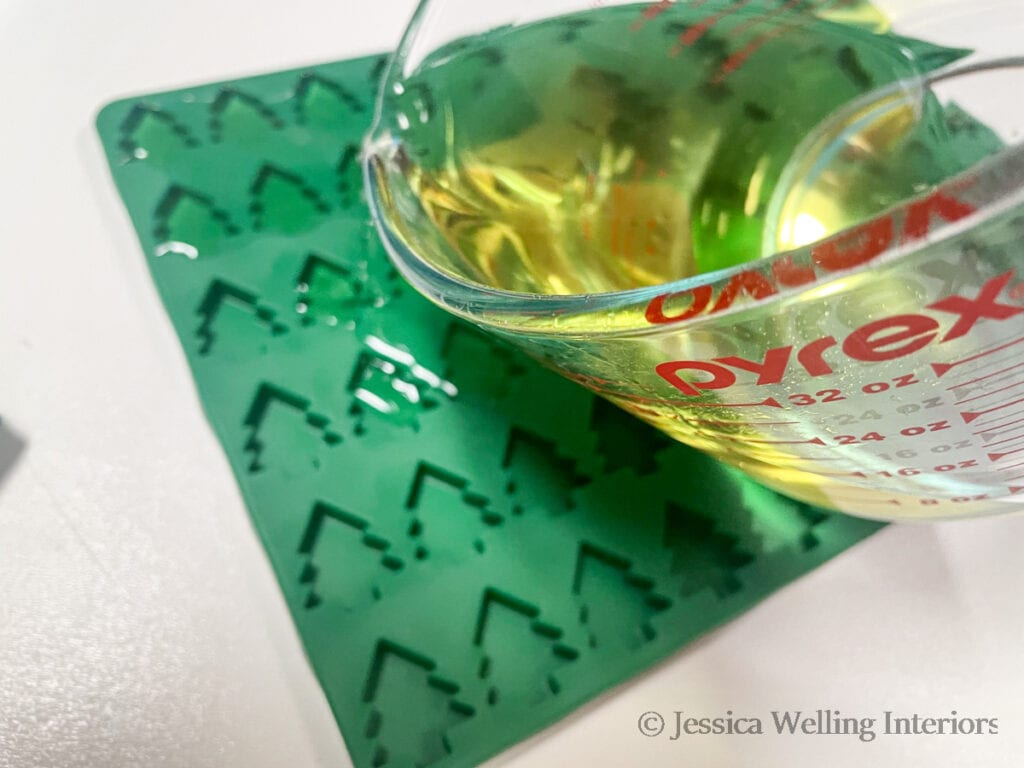
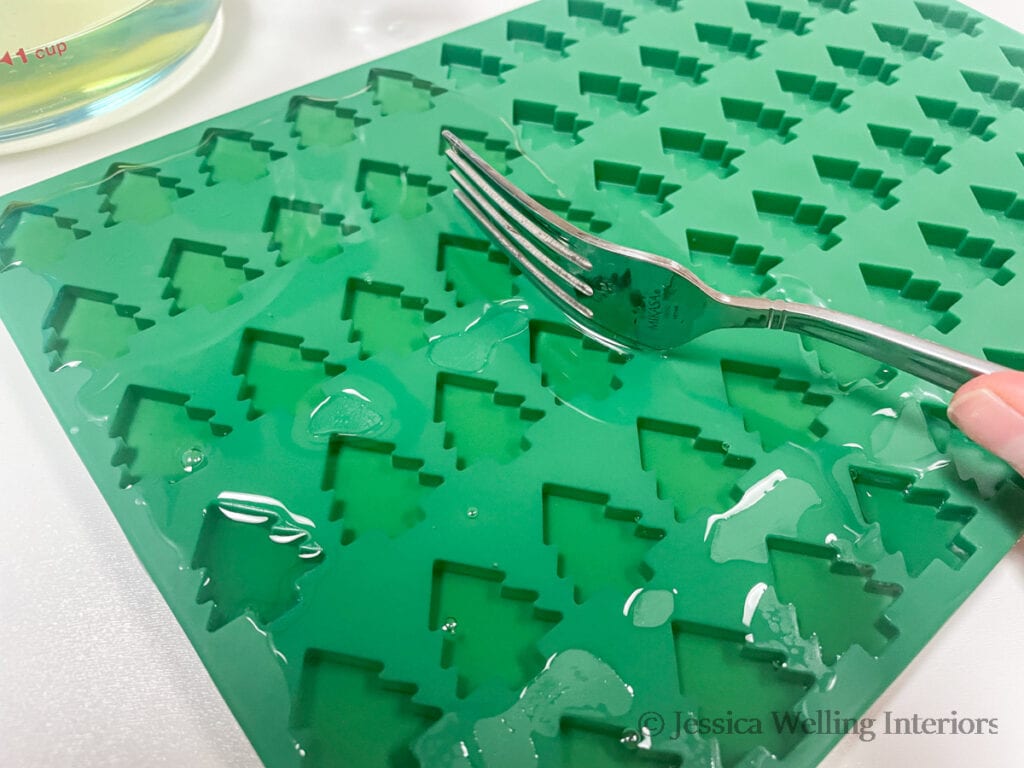
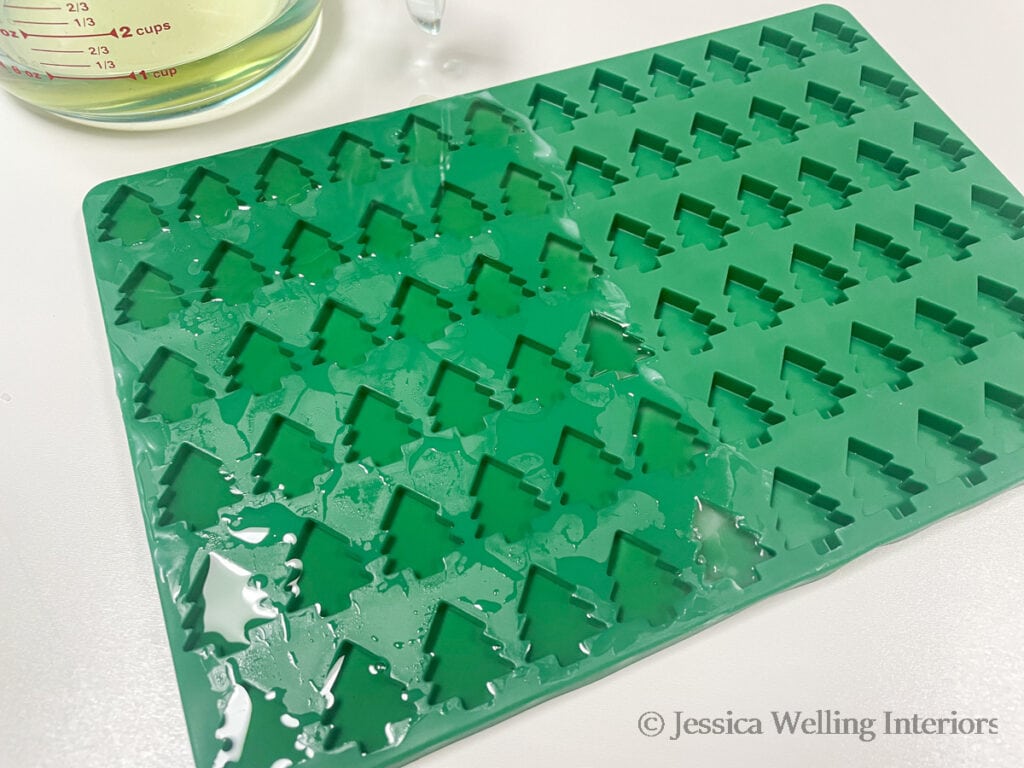
6. Fill the Molds with Wax
Pipette Method
This Christmas tree wax melt mold has smaller compartments than ones I’ve used in the past, so I experimented with a couple of different methods for pouring the wax.
A pipette was by far the best and easiest method. And it turns out the cleanest wax melts too.
Pouring it directly from the glass measuring cup worked fine, but I had to use a butter knife or fork to scrape the excess wax off of the flat part of the mold.
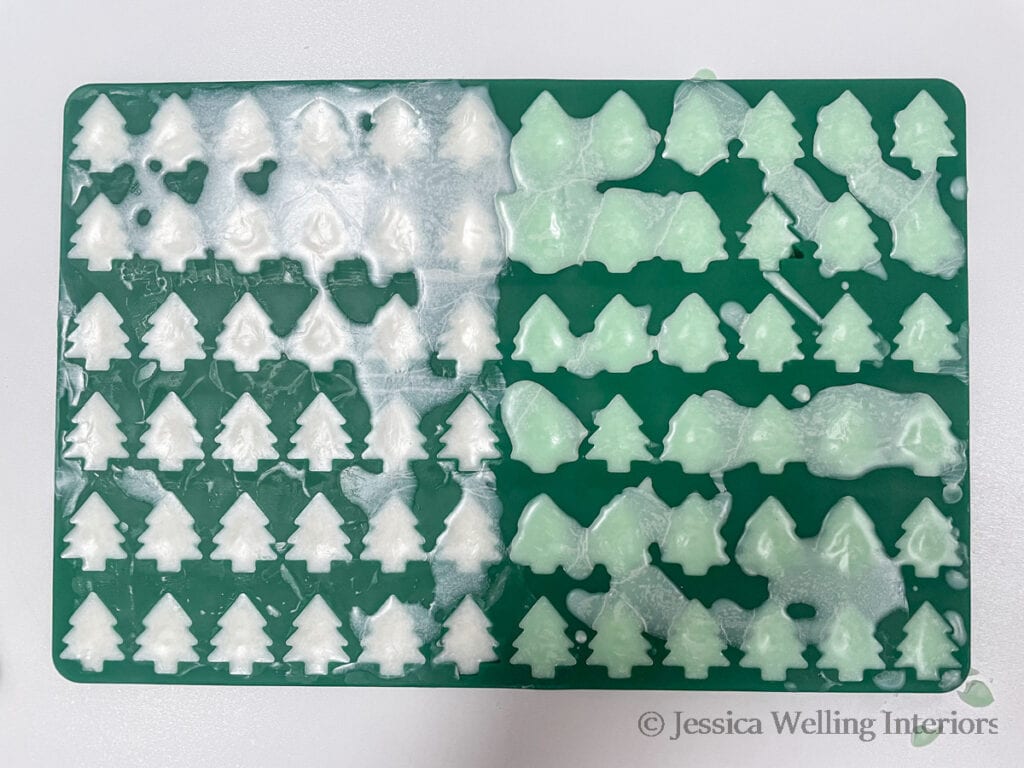
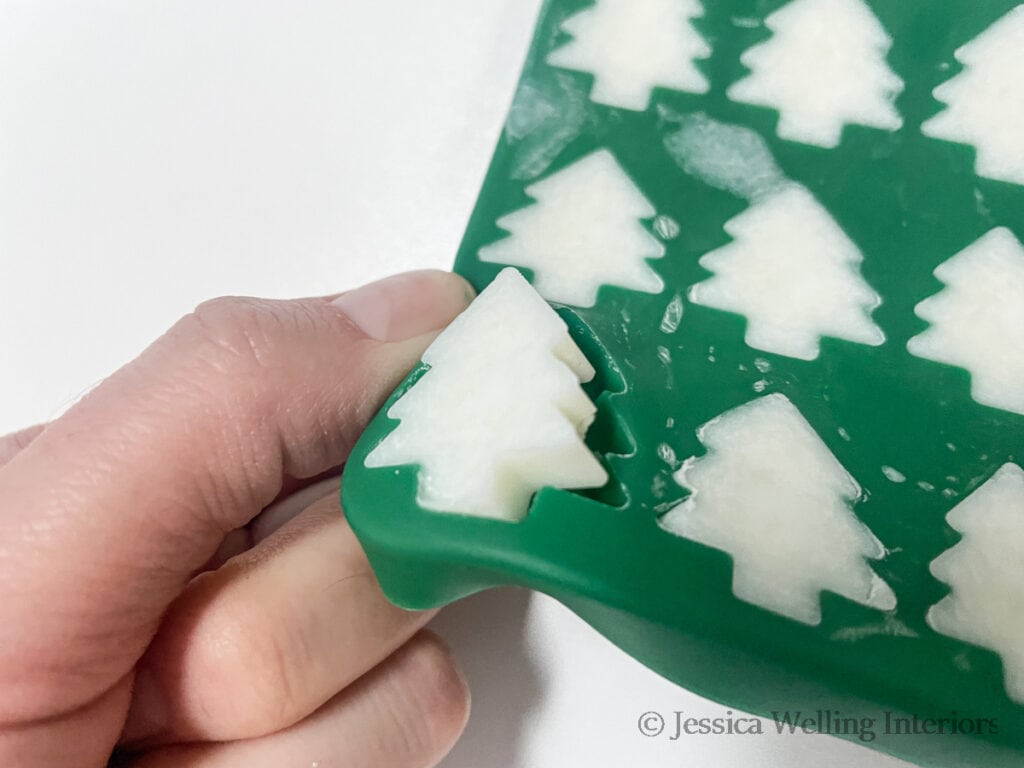
7. Let The Wax Melts Cool
The wax melts will likely need an hour or so to cool. Possibly longer if your mold has larger compartments. Once the wax is mostly hardened, you can pop the mold into the fridge for a bit to speed up the cooling process.
DIY Christmas Tree Scented Wax Melts
Materials
- Soy wax flakes
- Fragrance Oil
- Wax Dye
- Glass Measuring Cup.
- Christmas tree wax melt mold
- Digital Thermometer
- Pipette
- Digital thermometer
Instructions
- Measure the Wax Flakes
- Melt the Wax
- Check the Temperature
- Add Wax Colorant (Optional)
- Add Fragrance Oil
- Fill the Molds with Wax
- Let The Wax Melts Cool
More DIY Wax Melts & Candles…
The Best Wax Melters On A Budget
The Best Wax Melt Molds For Ever Occasion
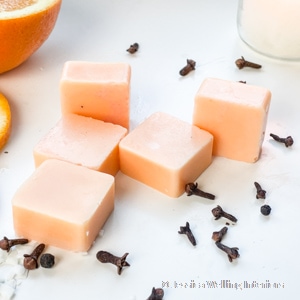
Easy Orange & Clove Soy Wax Melts