
DIY Fireplace Makeover with High Heat Paint
In this DIY fireplace makeover, an old gas insert gets a facelift with this quick, easy, and cheap step-by-step tutorial using high heat paint.
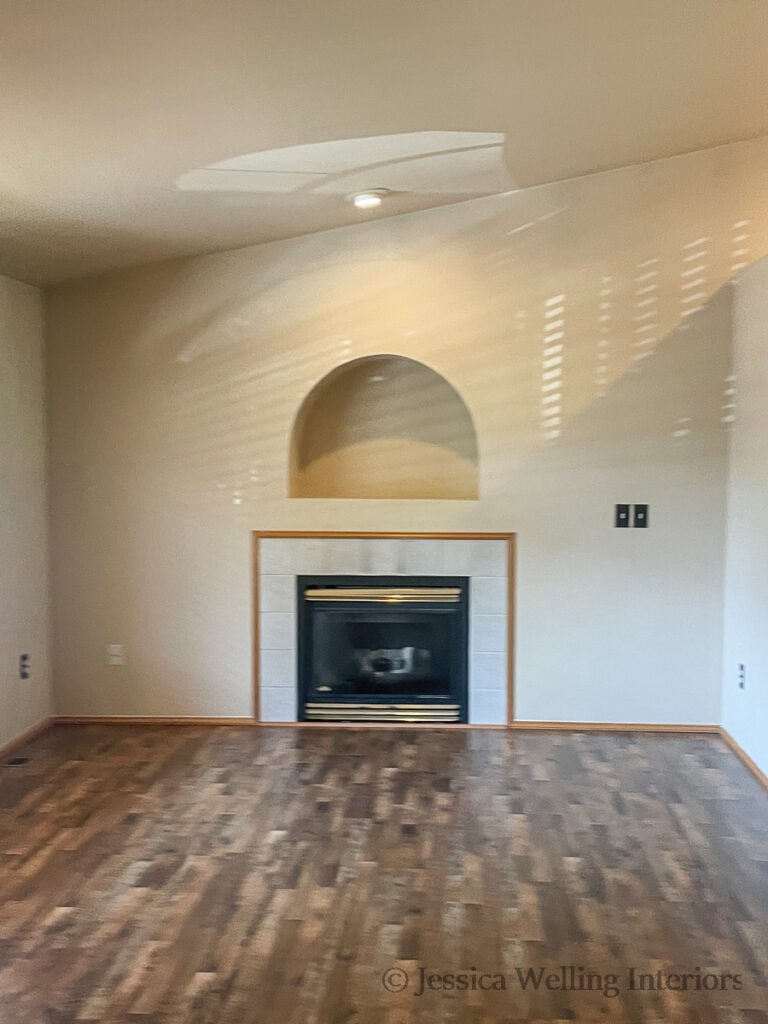
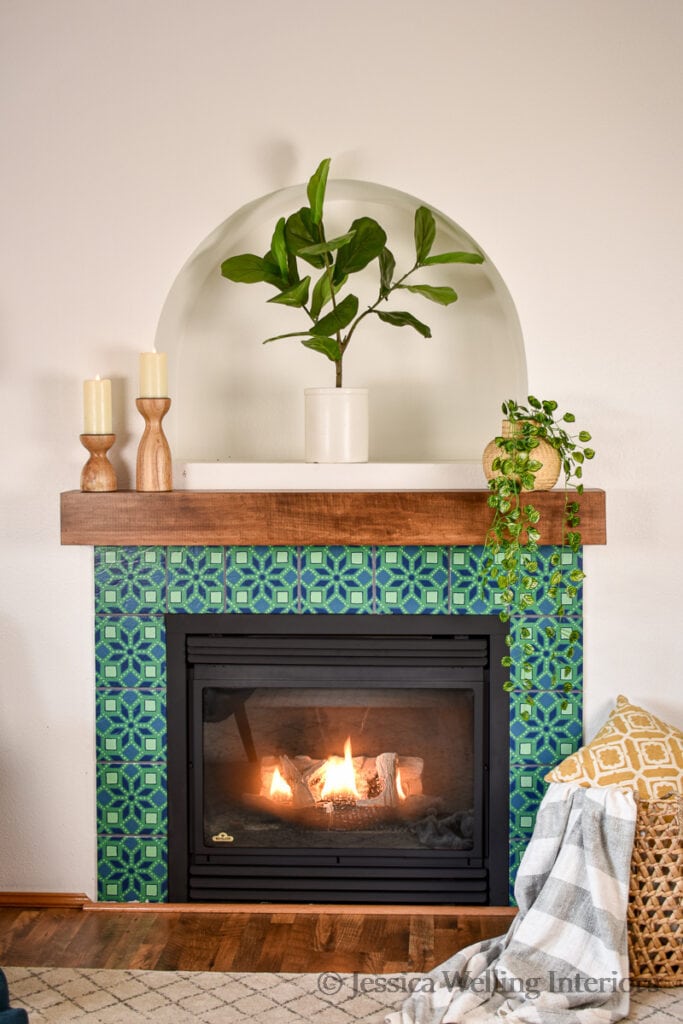
The girls and I just moved into our new house a few months ago, and my first fun DIY project (trust me, there have been plenty of less-fun projects already!), was a makeover for the dated tile fireplace.
Here’s what I started with:
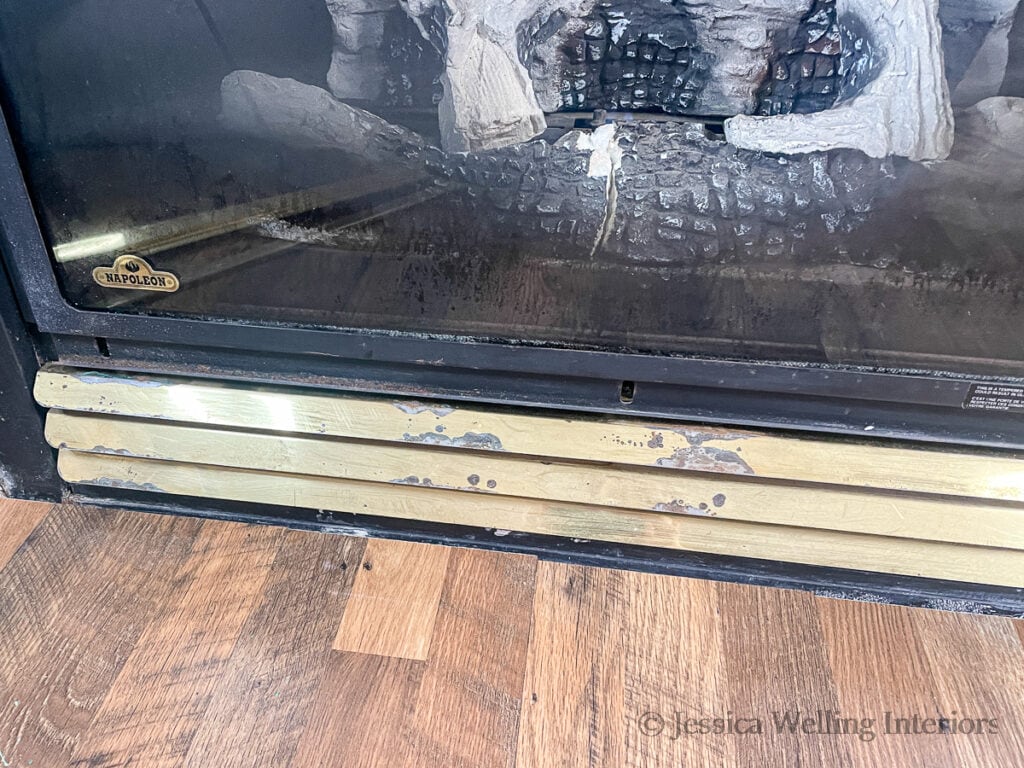
And here it is up close. See the corroded finish and worn-off paint?
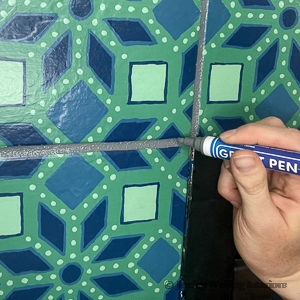
I started by painting and stenciling the tile fireplace surround. You can see the tutorial here.
Painting Fireplace Tile: The Ultimate Guide
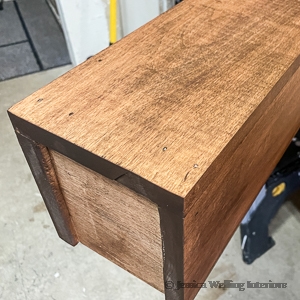
Next, my dad and I built a modern box beam mantel.
Easy DIY Fireplace Mantel Tutorial
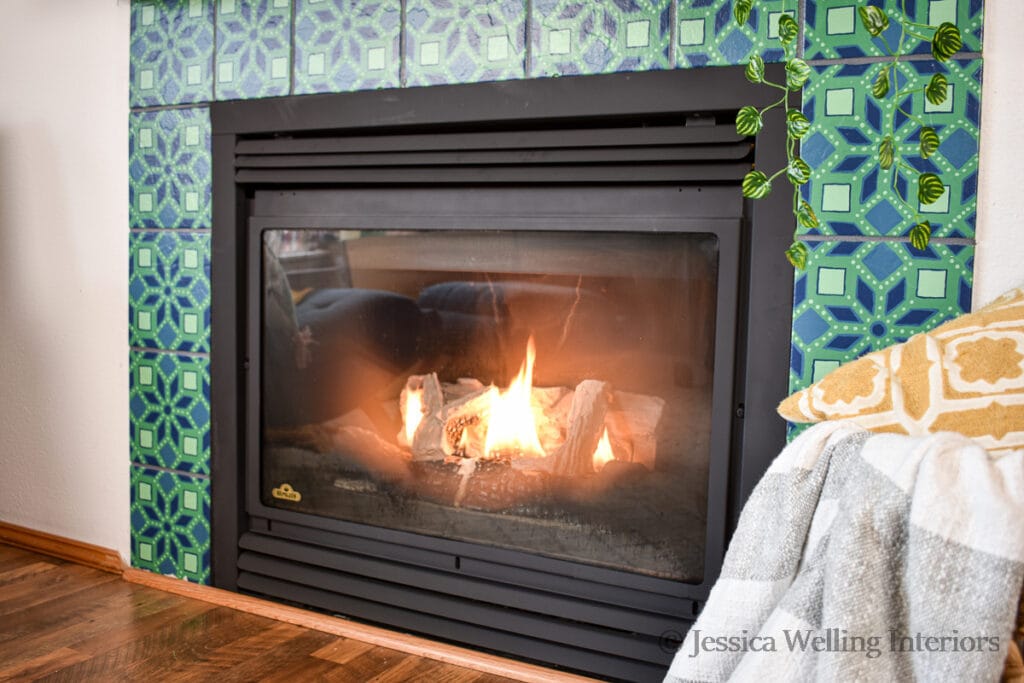
And finally, I gave the gas fireplace insert a quick and inexpensive makeover.
How to Refinish A Fireplace Insert
I think this might be the shortest list of materials I’ve ever done for a project!
Materials
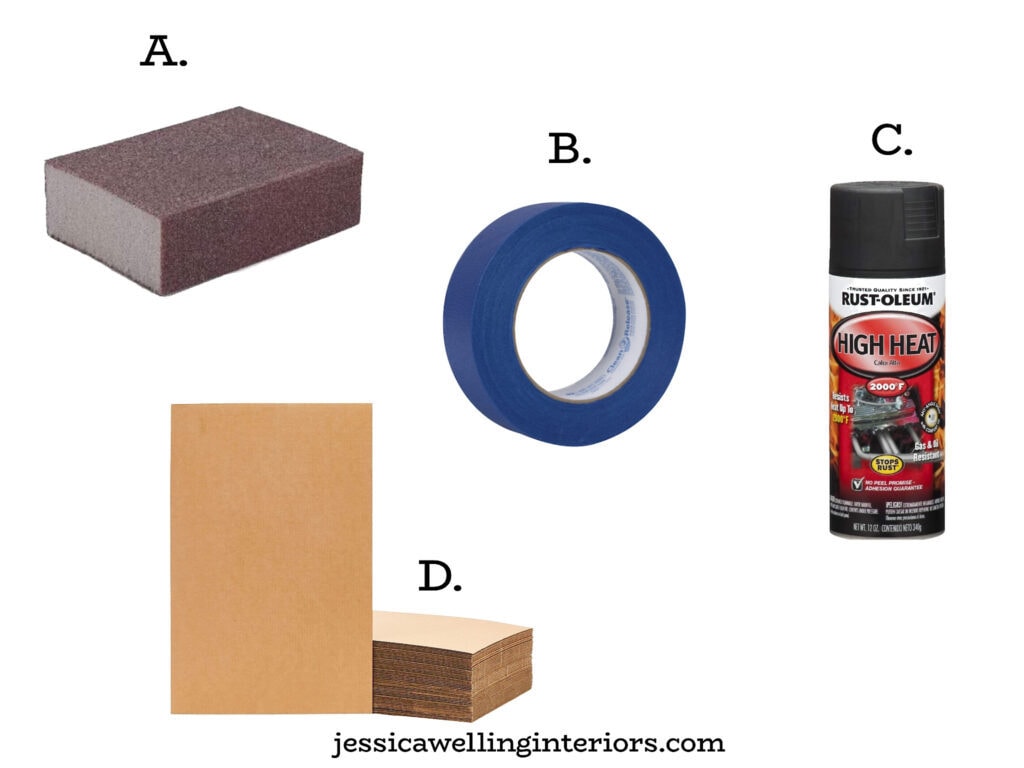
A. Sanding block or sandpaper (220 grit)
B. Painter’s Tape
C. High-Heat Spray Paint
D. Cardboard or plastic sheeting
Directions
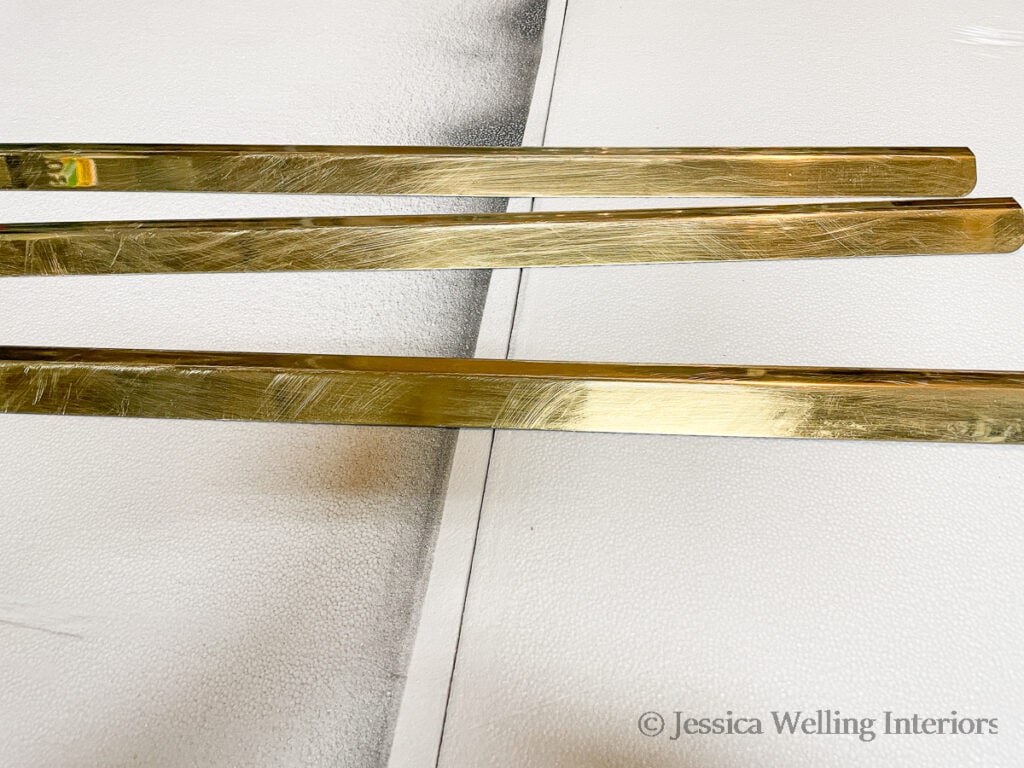
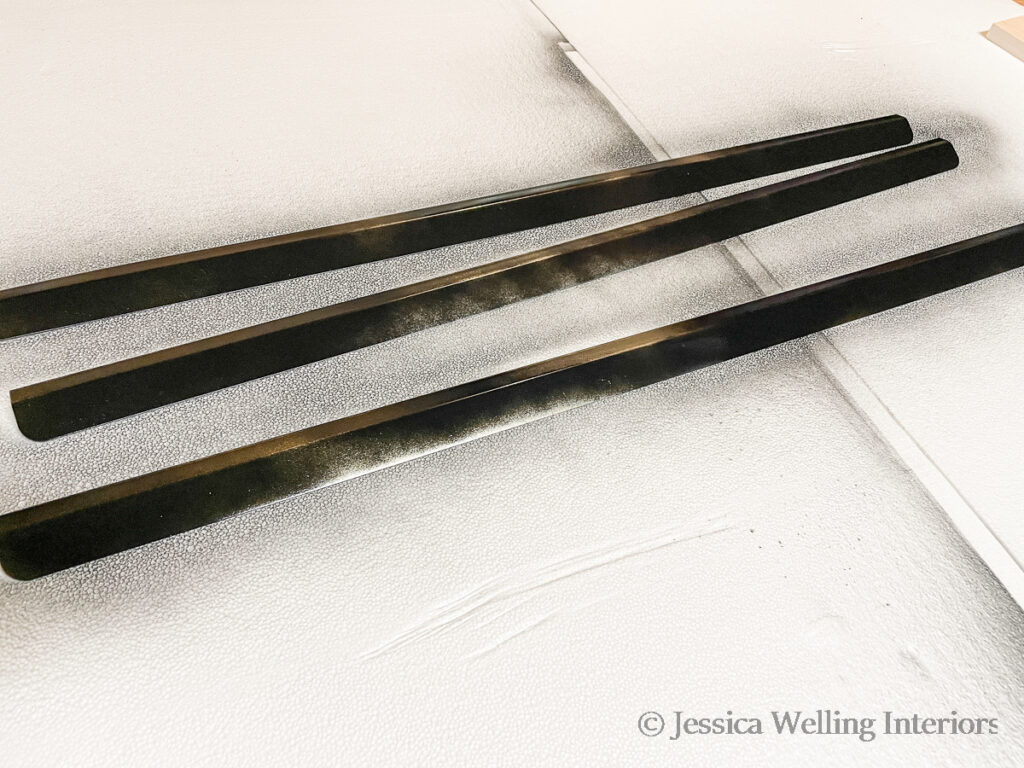
1. Remove Slats/ Grate
If your insert has removable slats, take them off. It’s easier to paint them separately. I was able to remove the gold-colored slats on the top, but the ones on the bottom didn’t come off easily, so I left them and spray painted them in place.
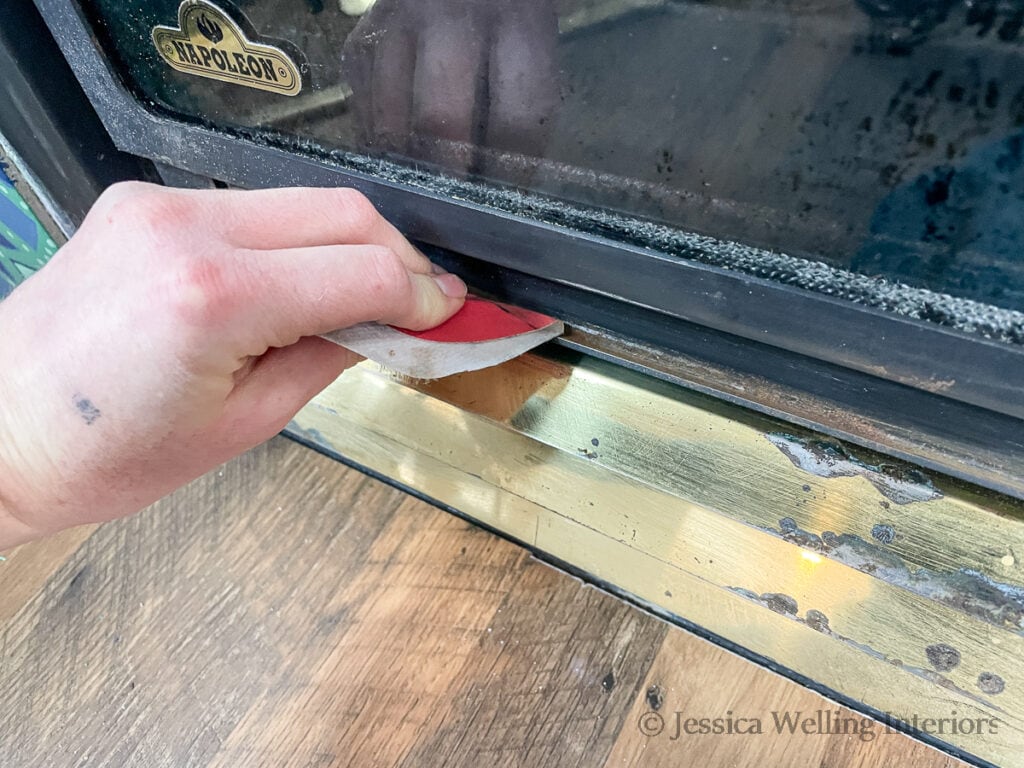
2. Sand
Use 220 grit sandpaper or a sanding block to remove any bits of flaking paint. You’ll also want to rough up the surface of the fireplace insert a little to help the paint stick.
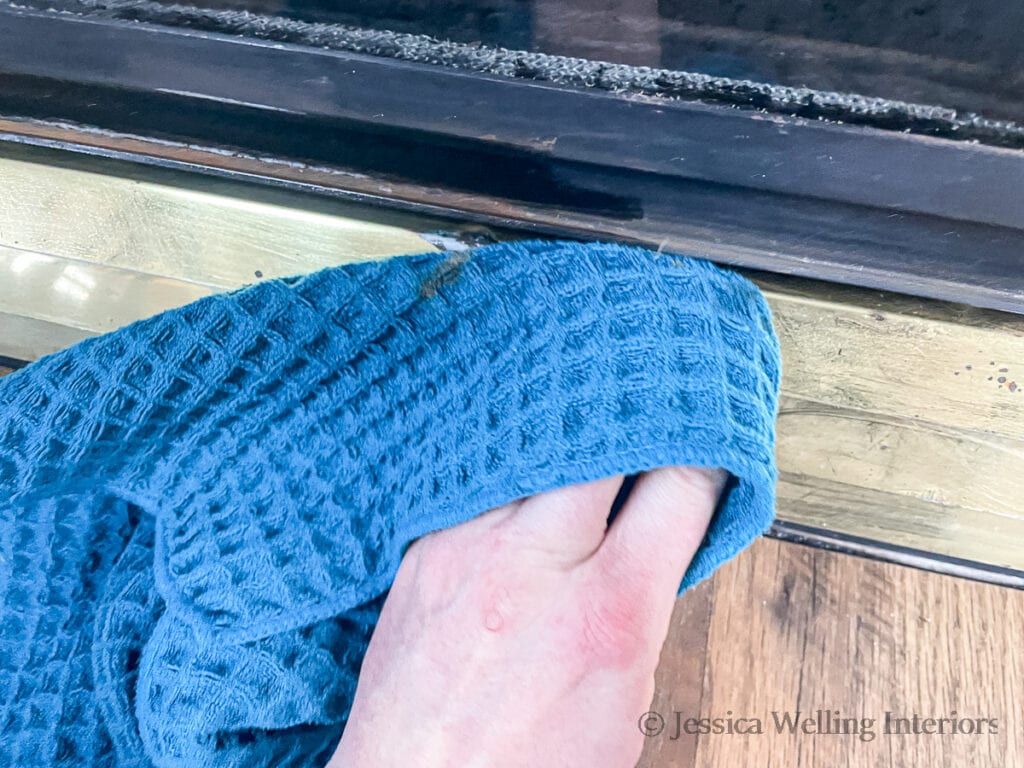
3. Clean
Use a damp rag to wipe everything down and remove all the dust before painting. I also used a hose vacuum because I don’t think this fireplace had been cleaned in years.
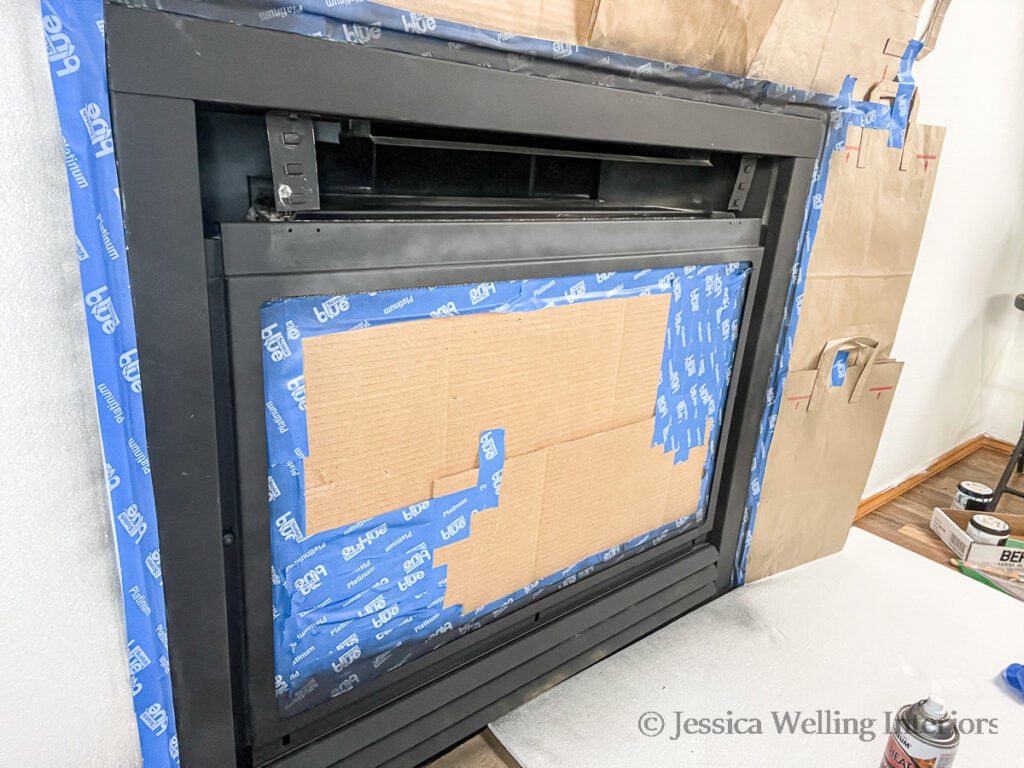
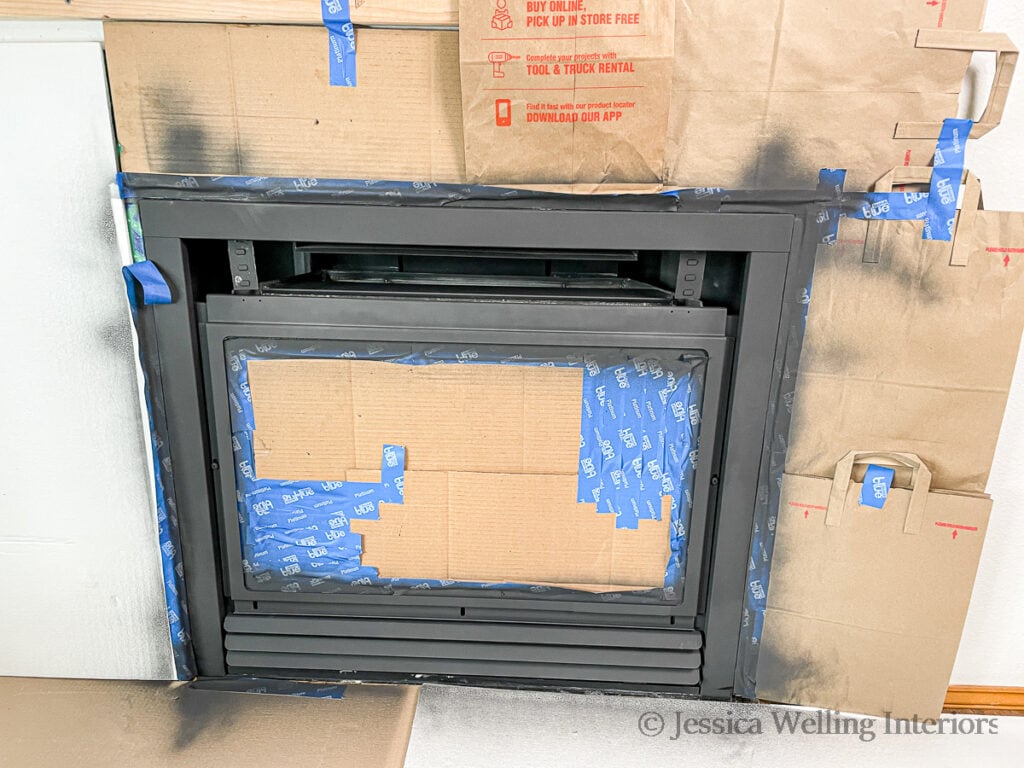
4. Mask Off
Take your time during this step, because the masking job you do will make or break this project.
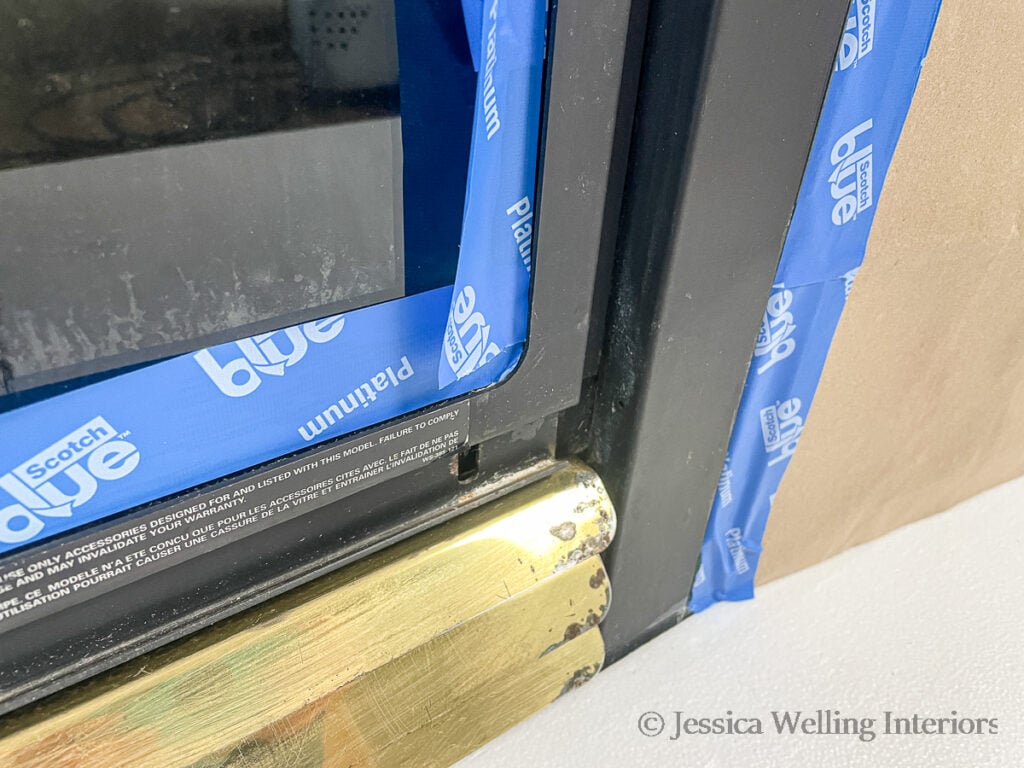
Carefully mask off everything that you don’t want to paint. I had a bunch of sheets of cardboard lying around from some furniture I ordered, so I used that. If you don’t have cardboard, a plastic drop cloth will work too.

Be sure to cover the floor as well.
5. Open Windows/ Set Up A Fan
I try to avoid spray painting indoors whenever possible because of a awful fumes. But sometimes it’s unavoidable. I recommend opening up your windows and setting up a fan. But wait to turn the fan on until after you’ve sprayed each coat.
6. Spray First Coat
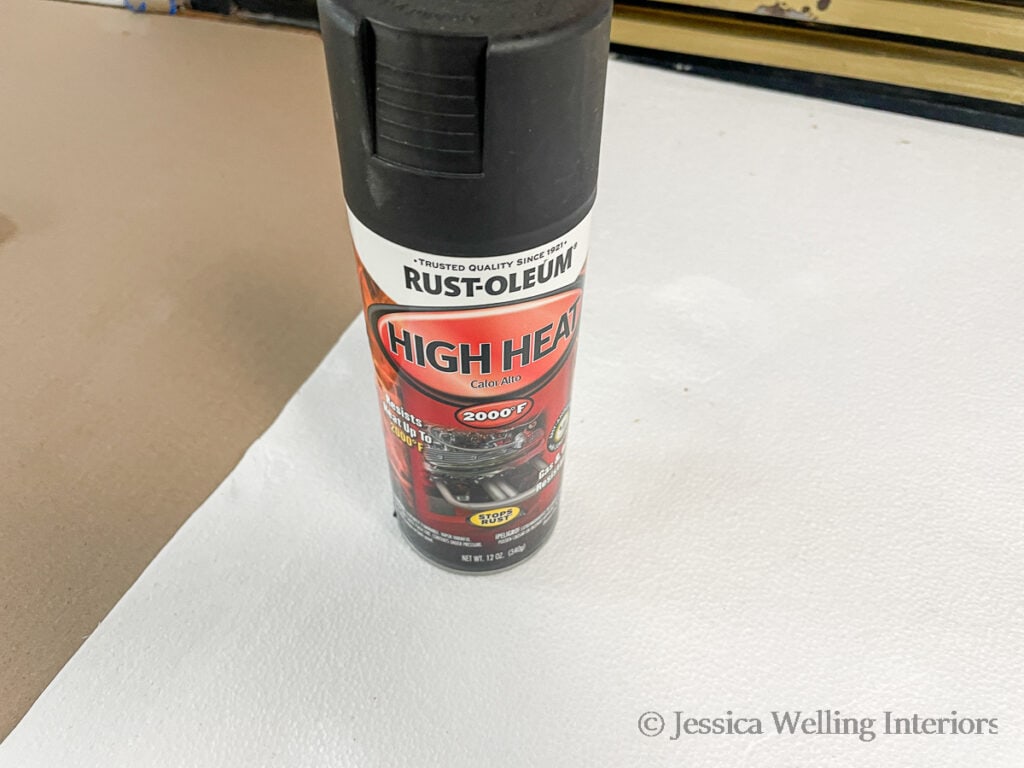
Begin by shaking the can well and making sure it’s at room temperature. Hold the can about eight inches away from the fireplace insert and move from side to side, overshooting the edges. This ensures that the paint doesn’t puddle up and go on too thick on the edges.
The first coat should just be a very light dusting. You’re not going for full coverage this time around. Let it dry for about ten minutes.
In the meantime, go outside and spray the first coat on the slats you removed back in step 1.
7. Spray 2nd Coat
After letting the first coat dry for at least 10 minutes, come back and spray it again, using the same technique as before. This time you want to get full coverage.
8. Spray 3rd Coat
Once the second coat is dry, come back and touch up any areas that were missed. Double check from all angles to be sure you didn’t miss anything.
9. Remove Tape & Masking
Once everything is dry, carefully peel off the masking tape and remove all the cardboard and plastic.
10. Replace Slats
Replace the freshly painted slats.
That’s it, you’re done. It doesn’t get much easier (or cheaper!) that that!
I’m thrilled with my new fireplace and plan to enjoy many evenings sitting by the fire.
More Fireplace Makeover Ideas…
$110 DIY Fireplace Makeover: How to Paint Tile
Painting Fireplace Tile: The Ultimate Guide


THANK YOU! Such a help!
You’re very welcome!
Such a beautiful makeover!
Thank you so much!