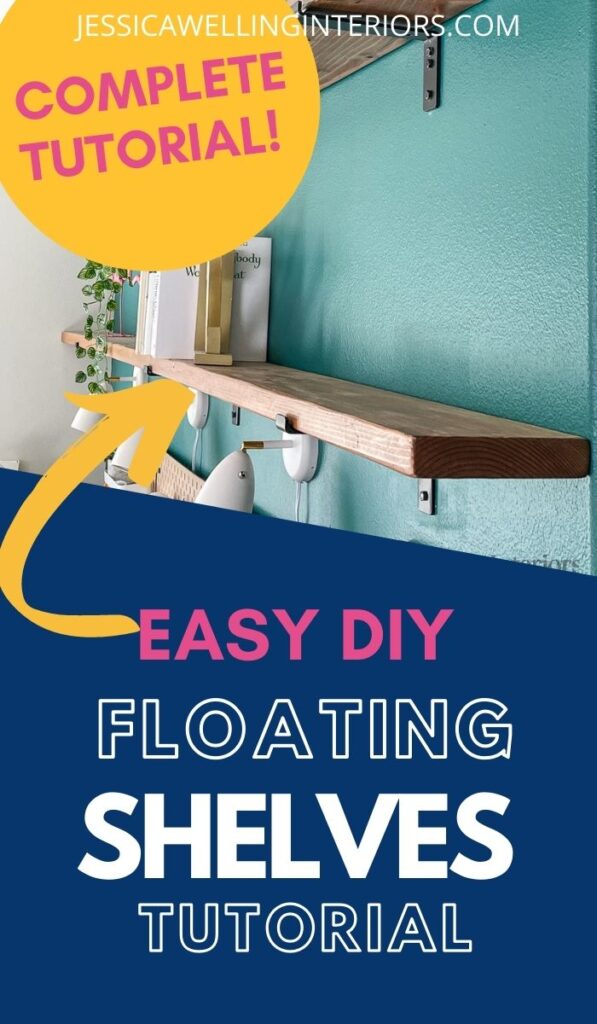
Easy DIY Floating Shelves Tutorial
Learn to build easy DIY floating shelves with this simple tutorial for beginners. They’re perfect for home offices, living rooms, kitchens, and bedrooms.
How to Build Floating Shelves
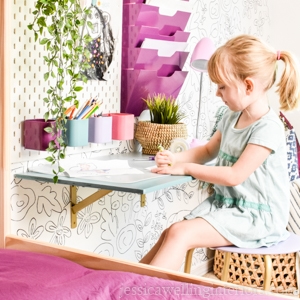
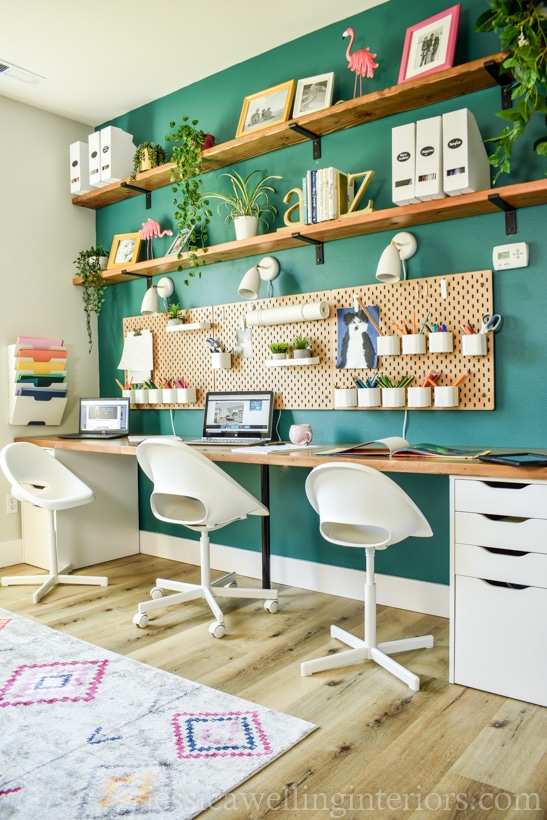
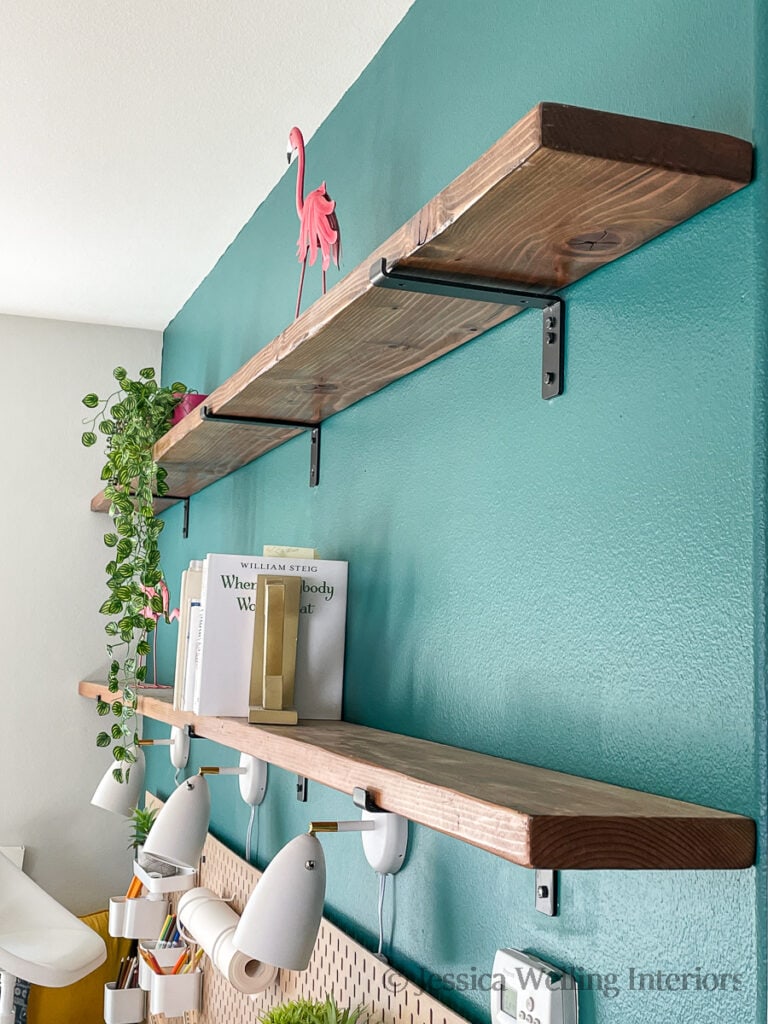
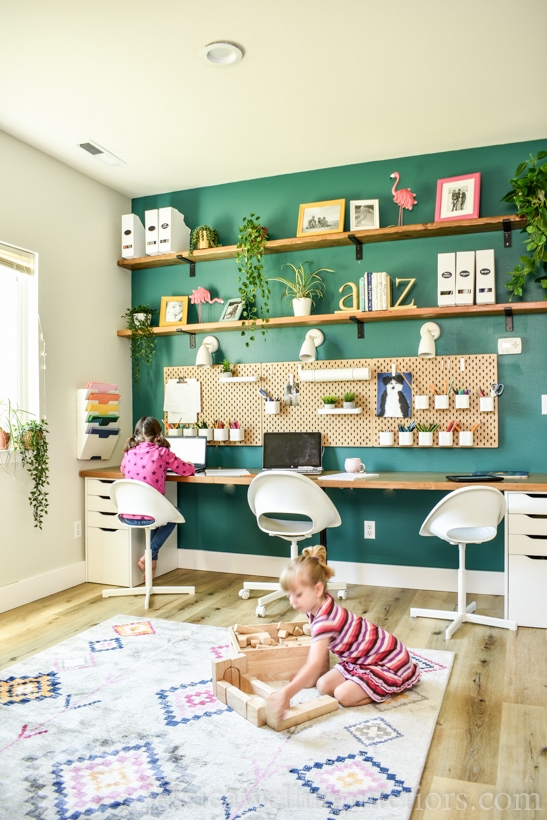
My dad and I built these simple floating shelves to go above the girls’ homeschool desk. You can see the full homeschool room reveal here, and the tutorial for the Ikea-hacked desk in the picture below here. I’ve had several requests for a floating shelves tutorial, so here it is.
This is a great beginner woodworking project because it’s just about as simple as it gets, and only requires basic tools.
Materials

A. wall shelf brackets (I used 6 of these black metal brackets from Amazon)
B. 2″x8″ boards (I used inexpensive pine “common boards” from Home Depot)
C. 1/4″ lag bolts, 2″ or 2.5″ long (you’ll need 2 bolts for each bracket)
E. Minwax Wood Stain in Special Walnut
F. Polyurethane
Lumber Measurements
If you’re new to woodworking, it’s important to note that buying lumber in the US can be confusing (I don’t know how this works in other countries). When you buy a “2×8″ it’s really going to measure 1.5″x7.5”. The actual dimensions will always be 1/2 inch smaller.
You’ll notice that the “8 inch” brackets account for this, so they actually measure 7.75″.
Tools
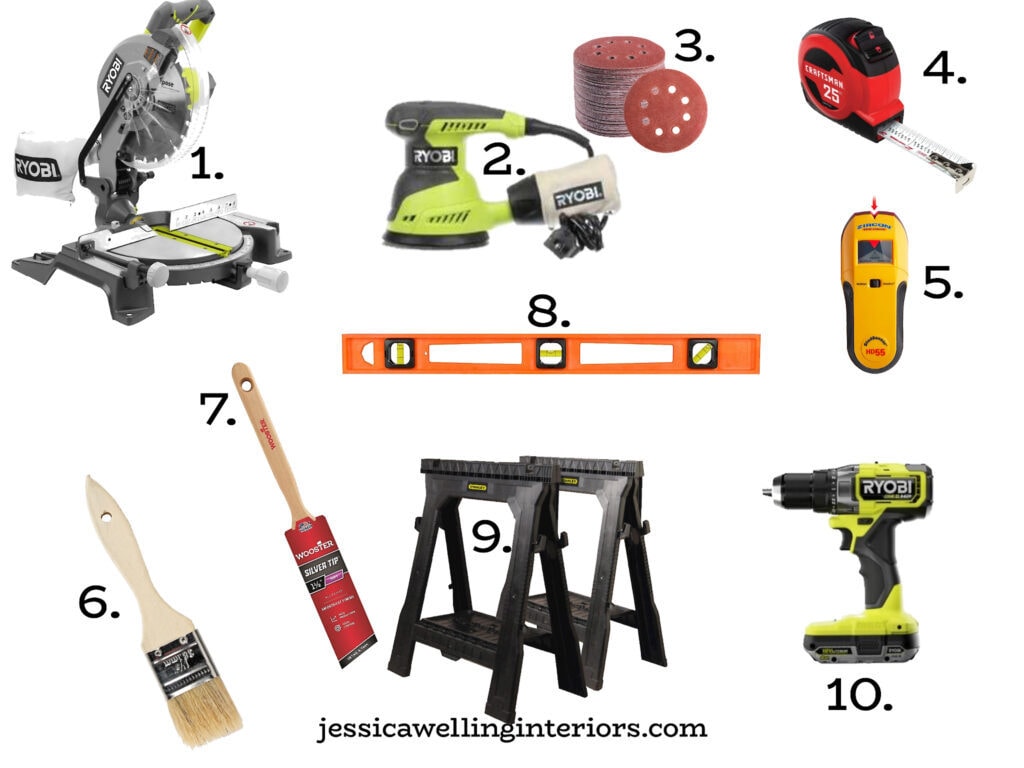
- miter saw
- orbital sander
- sandpaper discs (120 grit & 220 grit)
- tape measure
- stud finder
- chip brush
- paintbrush
- sawhorses (optional)
- drill/ impact driver
1. Measure
Begin by figuring out how long you want each of your floating shelves to be. You’ll want to be sure each of the brackets is lined up with a stud.
Use the stud finder to locate the studs and mark their spots along the wall. We used painter’s tape to mark.

If it’s important to you to have the brackets all symmetrical and evenly spaced along the wall, you’ll want to do some careful planning during this step. We realized that we couldn’t space our brackets evenly and have all of them go into studs.
I think this works aesthetically for my project because the wall is painted a dark color and there’s a lot going on on this wall. But if your wall is less busy or you want your shelf brackets to stand out (say black brackets against a white wall), even spacing and symmetry might be bigger issues.
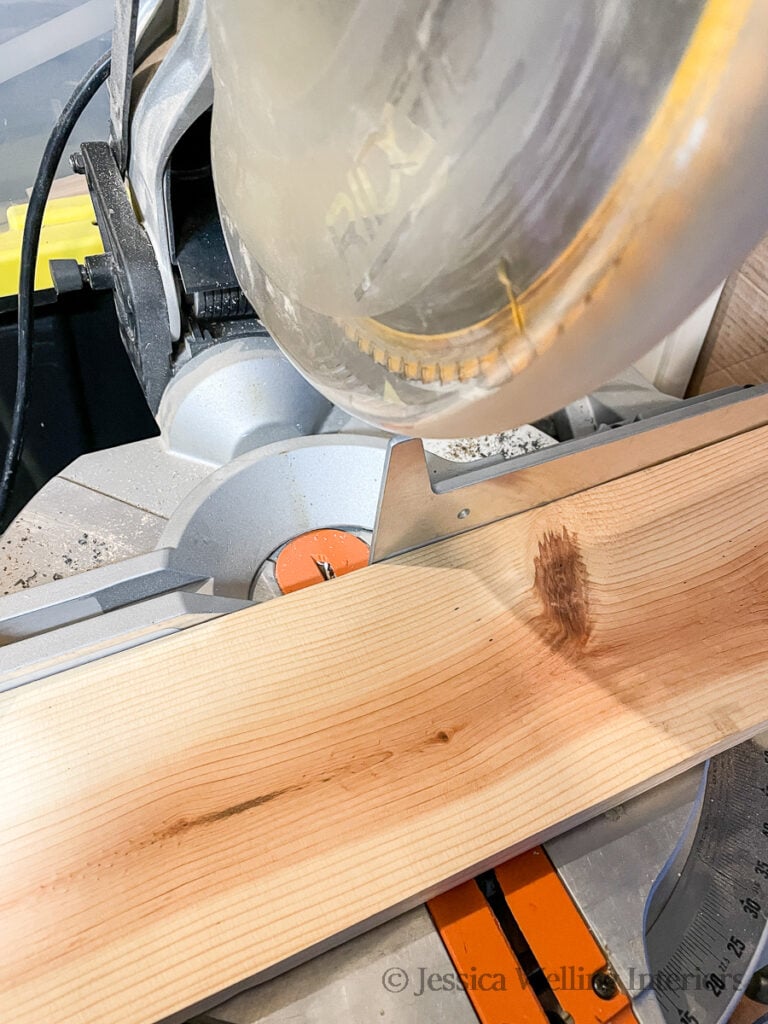
2. Cut the Boards
Use a miter saw to cut the boards to the desired length. You can use whatever kind of saw you have.
3. Sand
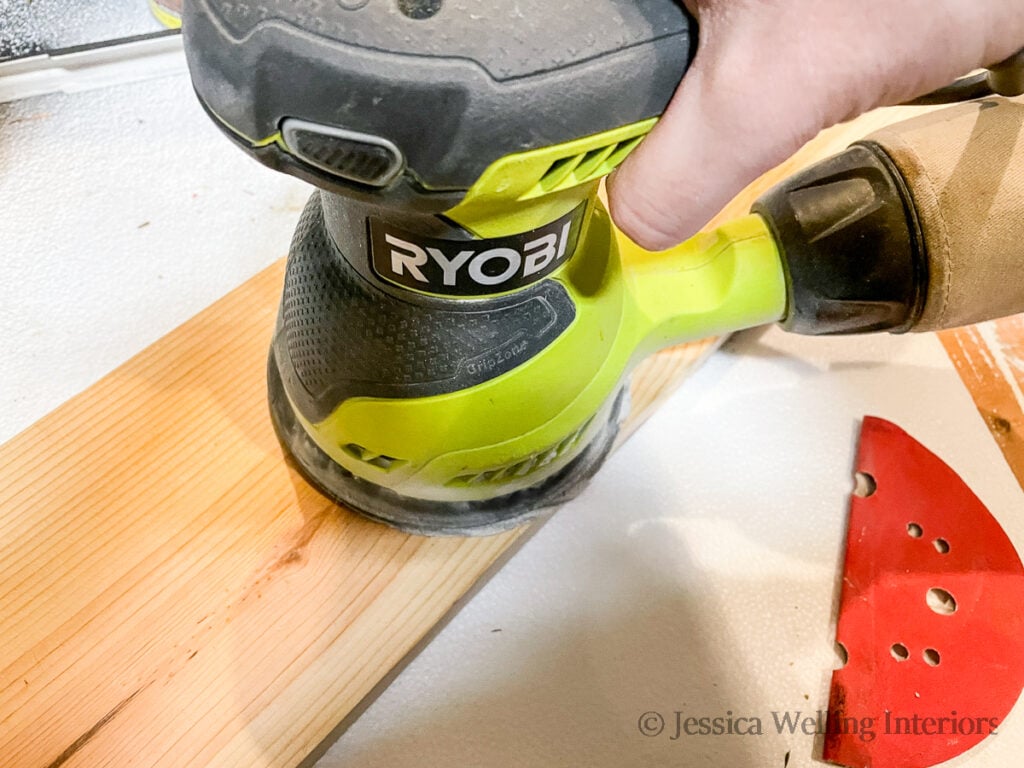
I chose to use inexpensive pine boards for this project to save costs. Pine is a softer, and more rustic-looking wood than most, so I used a sander to smooth the surface of the boards. I started with a 120-grit sanding disk, and then went over everything with 220-grit to make it really smooth.
4. Wipe Down
Use a damp rag to wipe any excess sawdust off the boards before you begin to apply the finish.
5. Apply Wood Conditioner
I always use wood conditioner when I’m staining a soft wood like pine. The stain will often go on looking blotchy if you don’t.
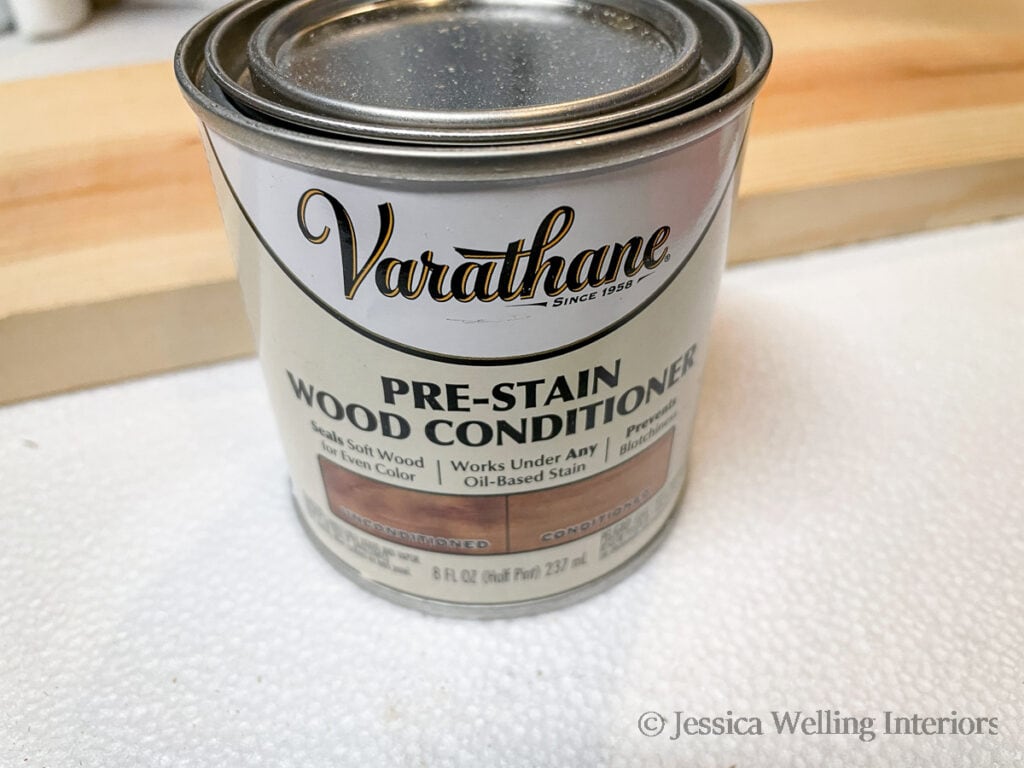
Apply the wood conditioner with a paintbrush and let it dry.
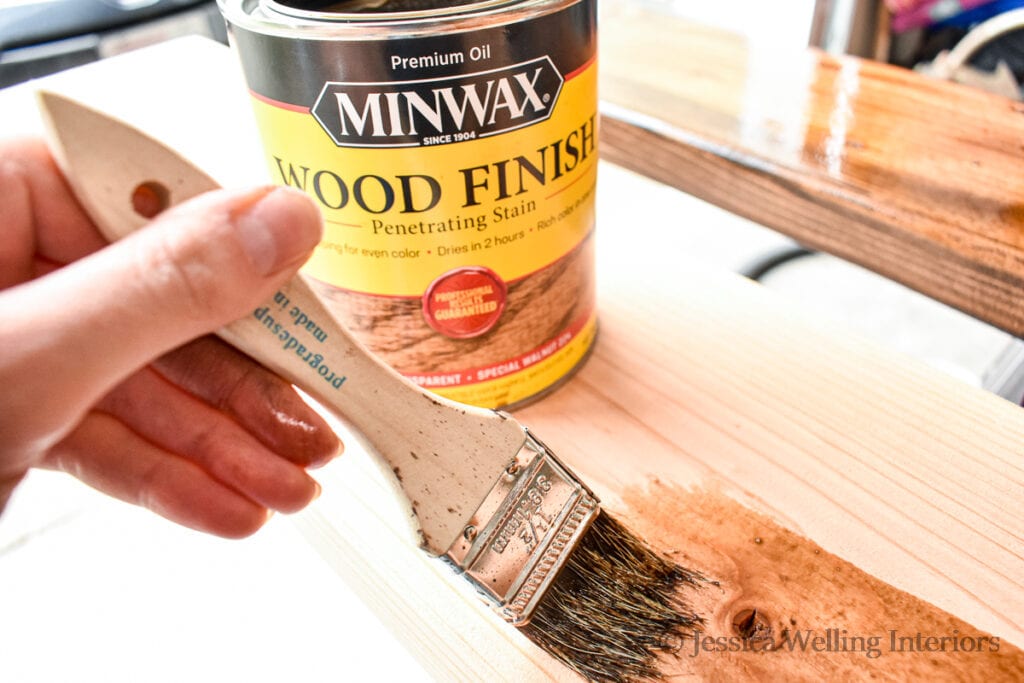
6. Apply First Coat of Stain
Apply the first coat of wood stain. Let it sit for about 10 minutes. Then come back with a rag and wipe off any excess stain.
I like to use a chip brush (cheap disposable paintbrush) to apply oil-based stains so I don’t have to deal with paint thinner. As you can see, I used Minwax Special Walnut for my floating shelves.
Let the stain dry for at least a few hours.
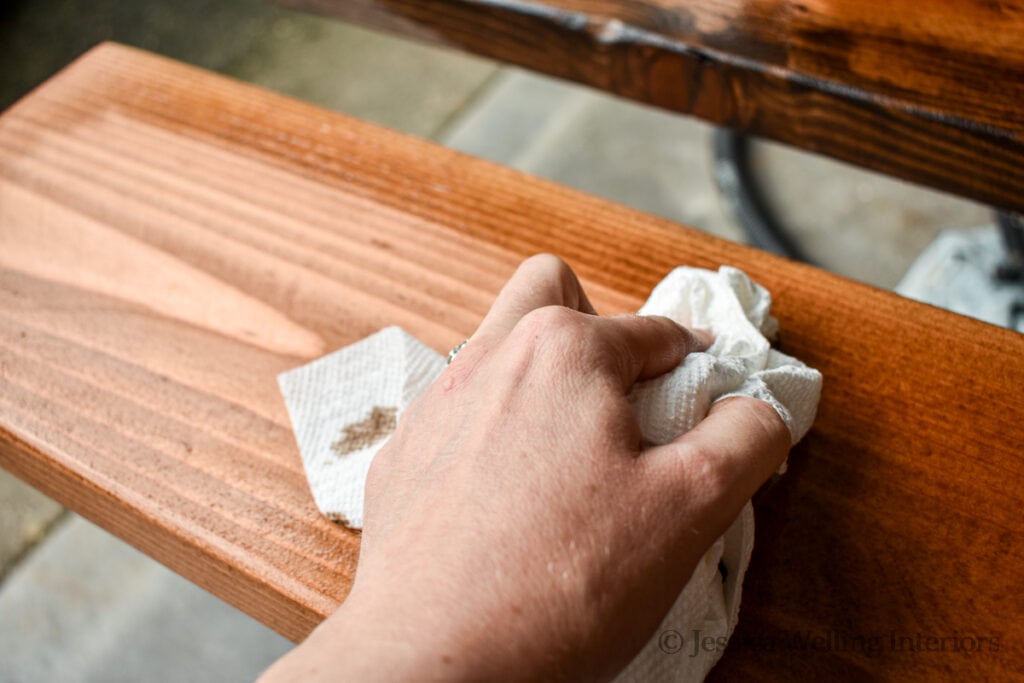
7. Apply 2nd Coat of Stain
The second coat of stain is optional, but I find that it usually helps to even out any blotchiness in color. It will also make your color a bit darker.
Repeat the same process to apply and wipe the stain, and let it dry.
8. Apply Polyurethane
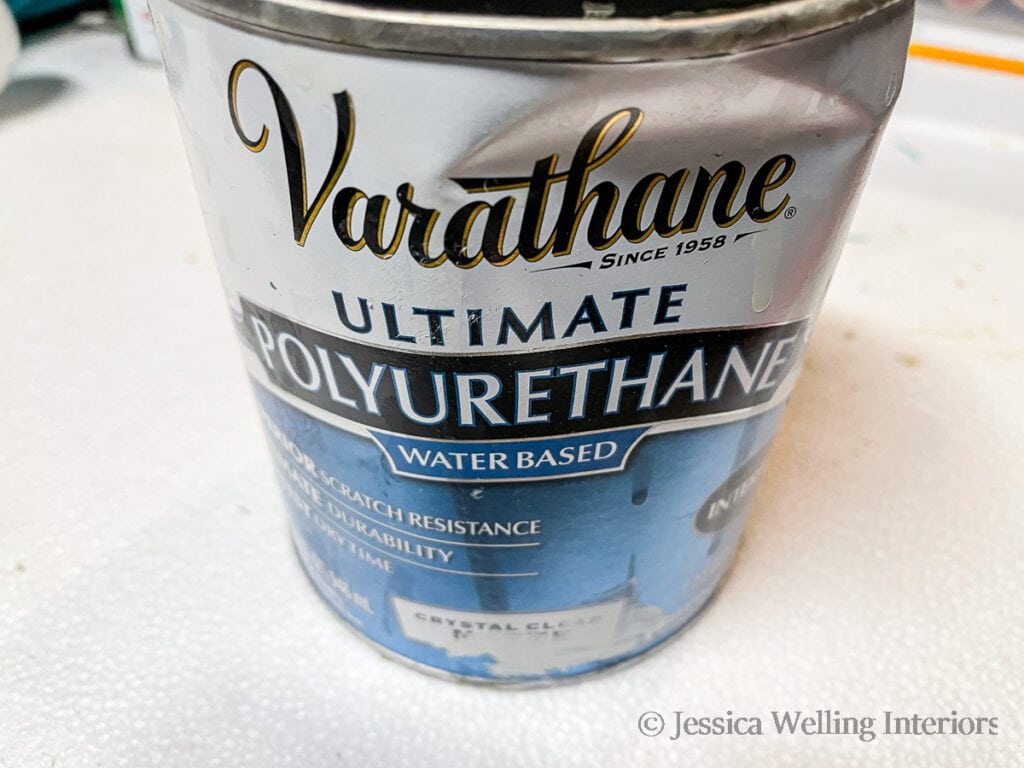
A clear coat or two of polyurethane will help to protect the wood. This stuff looks milky coming out of the can, but it will dry clear. Apply it with a paintbrush and give it a few hours to dry before applying the second coat.
Sometimes the polyurethane finish will be a bit bumpy when it dries because of tiny bubbles in the finish. If this happens, you can let it dry overnight (to be sure it’s really truly dry) and touch it lightly with the sander and 220 grit sandpaper to remove any bumps.
Then apply the second coat of polyurethane.
8. Drill Pilot Holes
Once you know exactly where you want your shelf brackets to go on the wall, drill pilot holes in the wall for the lag bolts, using a 3/16″ drill bit.
9. Mount Brackets on Wall
Use the impact driver to attach the shelf brackets to the wall with the lag bolts.
10. Set Shelves in Place
The wood shelves should fit right into the brackets.
11. Secure Shelves
Once the floating shelves are exactly where you want them, secure them to the brackets with screws.
And they’re finished!
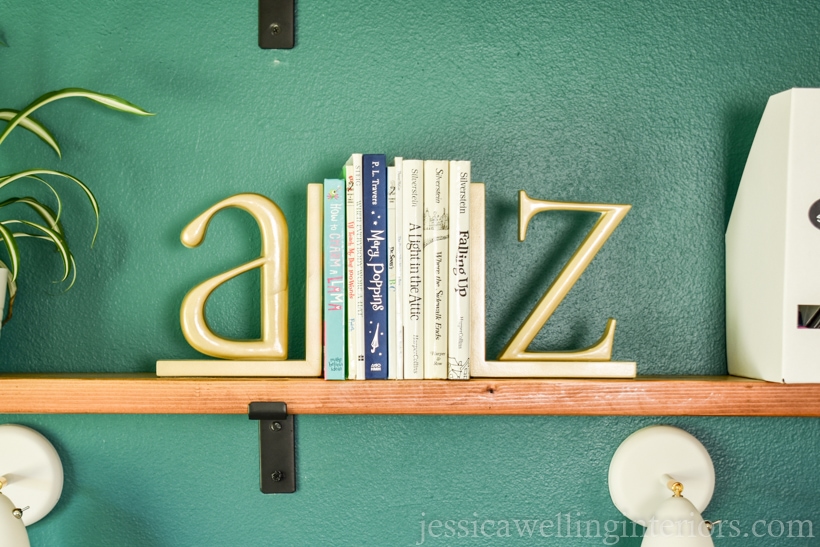
These DIY floating shelves are mostly for decoration, so I didn’t make them very deep. But if you want to use yours as bookshelves or to store file boxes or magazine files, consider going with the longer 10″ brackets or 12″ brackets and building deeper shelves.

DIY Floating Shelves
Equipment
- miter saw
- orbital sander
- sanding discs
- tape measure
- stud finder
- chip brush
- paintbrush
- level
- saw horses (optional)
- drill/ impact driver
Materials
- wood conditioner
- wood stain Minwax Special Walnut
- polyurethane matte finish
- 2×8 pine boards
- metal shelf brackets
- 1/4" lag bolts 2 for each shelf bracket
Instructions
- Measure.
- Cut the boards.
- Sand.
- Wipe down.
- Apply wood conditioner.
- Apply 1st coat of stain.
- Apply 2nd coat of stain.
- Apply polyurethane.
- Drill pilot holes for lag bolts.
- Mount brackets on wall.
- Set shelves into brackets.
- Secure shelves with screws.
I hope this was helpful! Please let me know if you have any questions.
More DIY Projects…
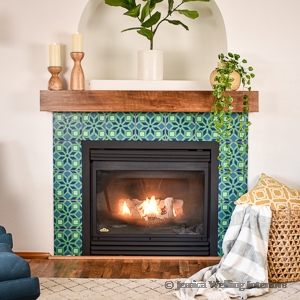
Easy DIY Fireplace Mantel Tutorial