
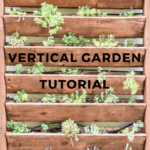
DIY Vertical Garden Planter
Build a simple DIY vertical garden for decorative succulents or modify it for vegetables, herbs, or flowers. It’s the perfect addition to any outdoor space.

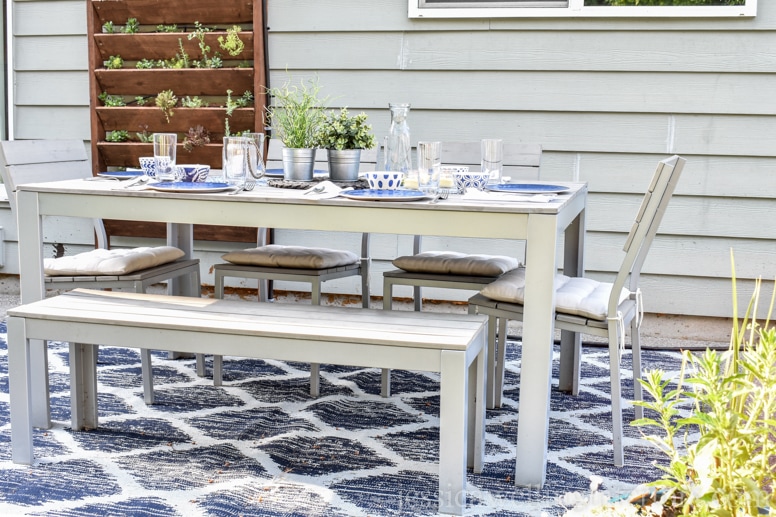
Last year for my birthday, I asked for a patio makeover. And as part of that, we built me an awesome vertical garden. We even installed irrigation tubes! I wrote about the patio makeover last Spring, and everyone wanted to know how we made the vertical garden. So here you go!
The back side of our house is pretty boring builder-grade bland, so it really needed something interesting to break up all the grey. Oooh here’s a picture of the back patio pre-makeover. See what I mean? You can check out the rest of our one-weekend patio makeover here.

Here’s What We Used
Vertical Garden Structure
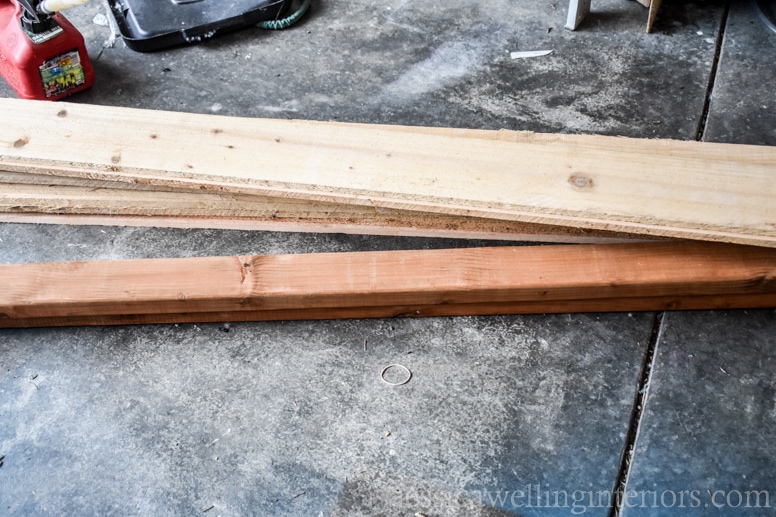
- 3 8′ pressure-treated 2x4s
- 6 6′ cedar fence boards
- 1 lb 1 1/4″ exterior screws
- 2″ exterior screws
- screw gun (this is Peter’s favorite impact driver/drill set)
- phillips drill bit
- chop saw or less expensive circular saw
- pencil
- speed square
- outdoor wood stain
- paint brush
- drop cloth
- weed paper
- scissors
- potting soil
- fertilizer (I use Osmocote)
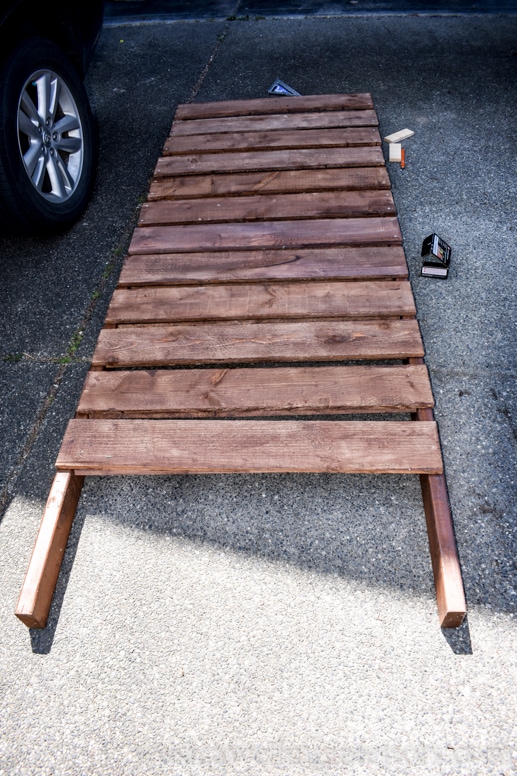
Here’s a picture of the 2×4’s and cedar fence boards:
How to Build a Vertical Garden
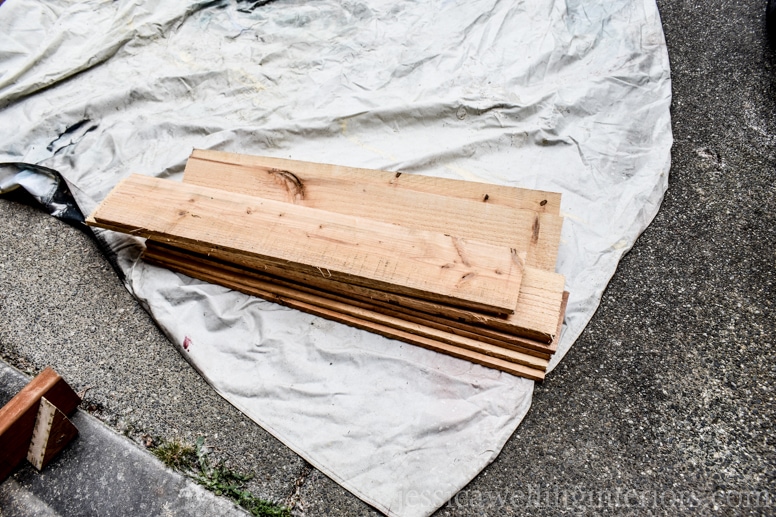
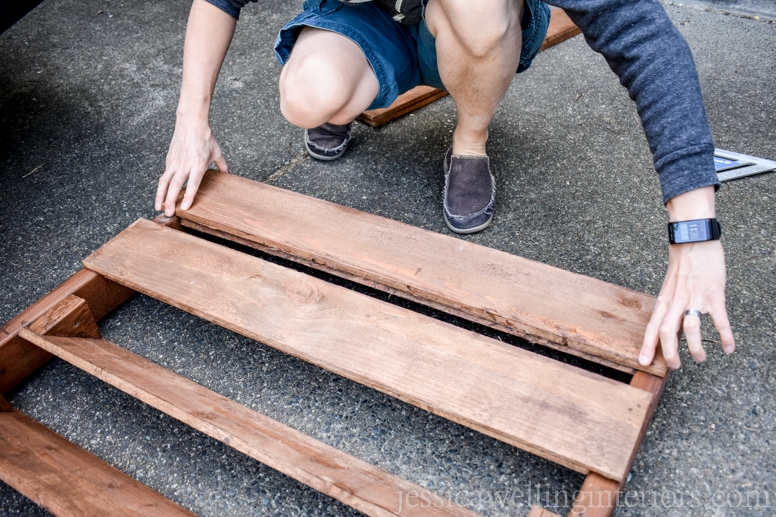
1. Cut the fence boards down to size.
We just cut these ones in half to make them 3′ wide. Our vertical garden has 12 troughs, so we needed 24 3′ pieces of fence board.
2. Measure out the plant shelves.
Using one of the side boards, figure out how far apart you want your shelves to be.
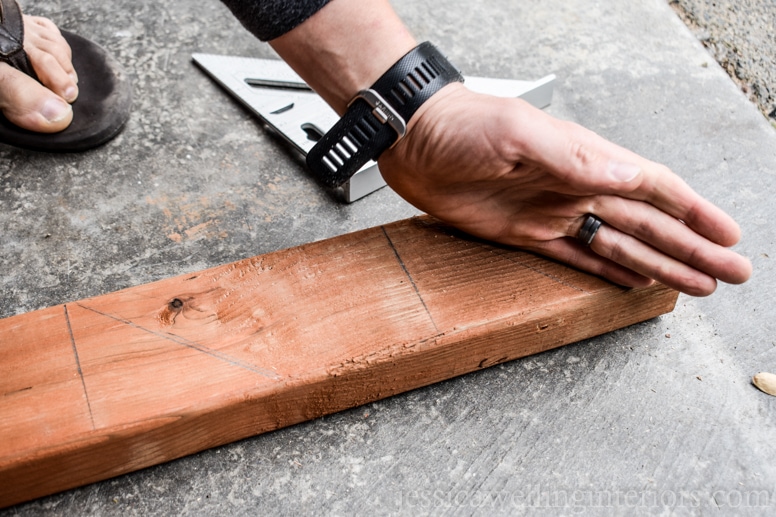

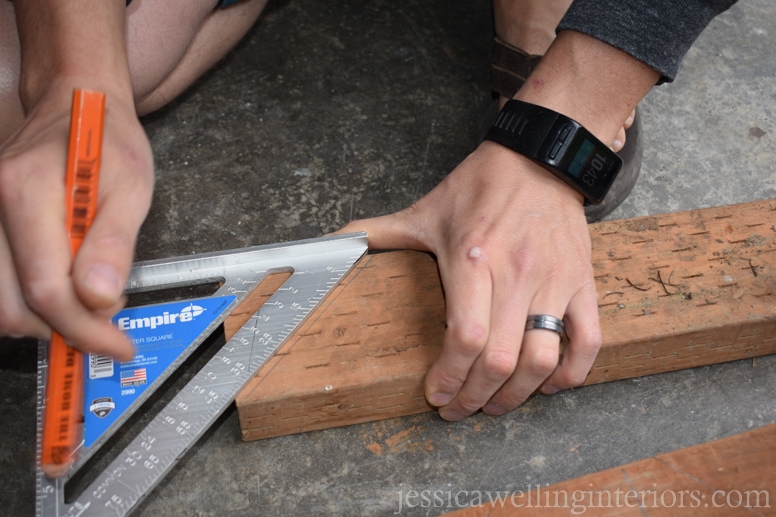
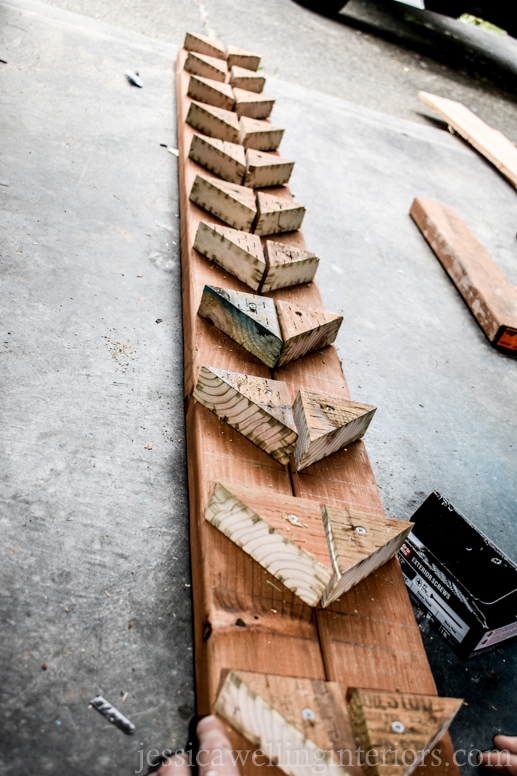
3. Measure and cut triangles.
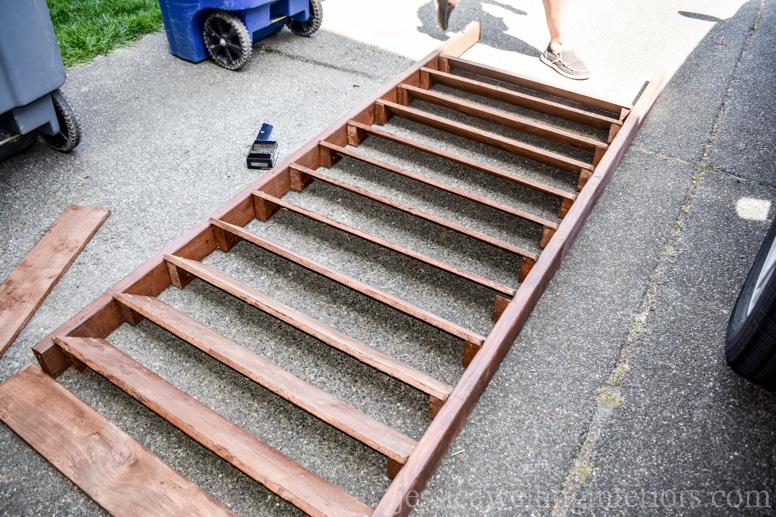
Using the speed square, draw lines and cut one of the pressure-treated 2x4s into triangles. You’ll need 2 triangle pieces per shelf, so 24 in our case. Cut the triangles with a chop saw.
4. Screw the triangle supports into the long side pieces.
Line up the two remaining 2×4’s so that they’re side-by-side. Then line up the triangle pieces with the lines you drew on the 2×4’s back in step 2.

Use the drill to pre-drill holes, then attach the triangle supports to the 2×4’s with the 2″ screws.
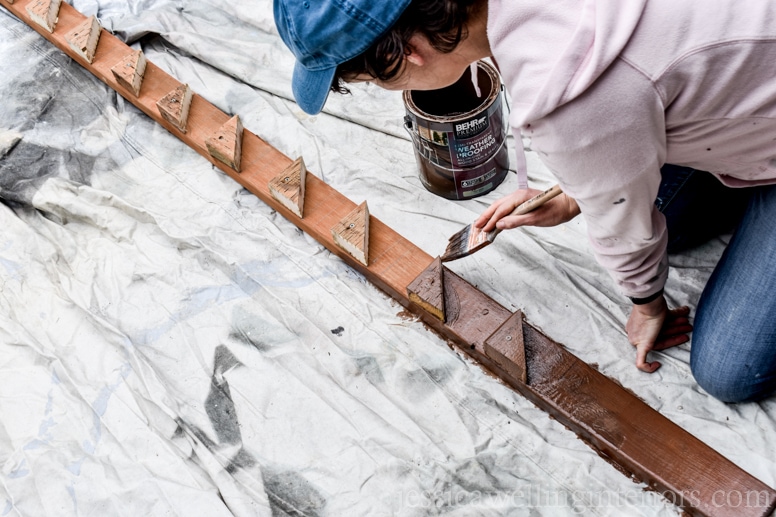
5. Stain.
I stained all sides of all the pieces before we assembled them. This protects the wood from the elements (and especially all the water that will be dripping through this thing) and gives everything a more uniform look. As you can see in the photo above, the pressure-treated 2×4’s and the cedar fence boards don’t really match. We let the stain dry overnight.
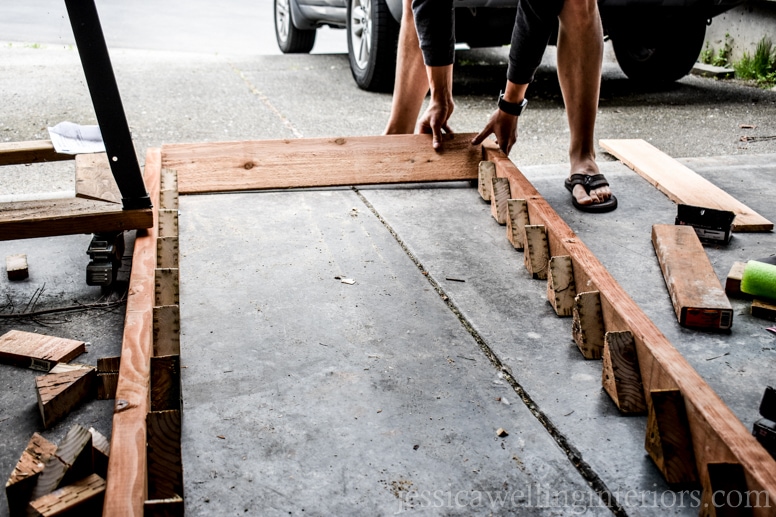
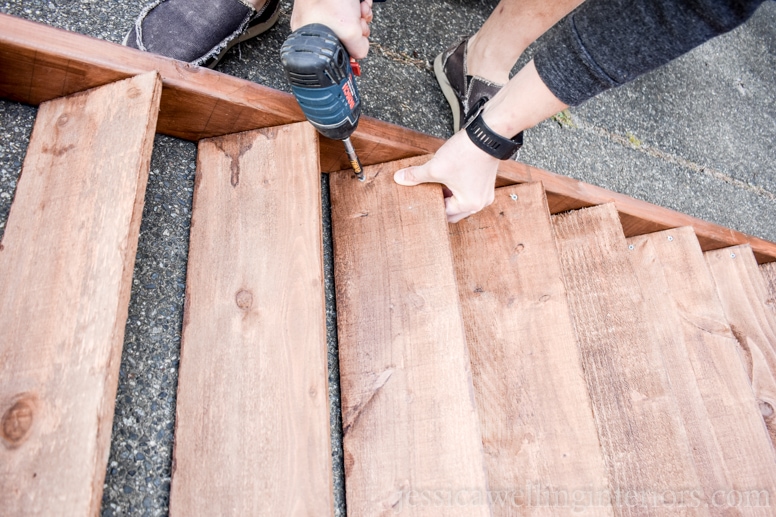
6. Attach the front fence boards.
Use 1 1/4″ screws to attach the fence boards to the diagonal front face of the triangle supports. Use 2 1 1/4″ screws on each side of each board.
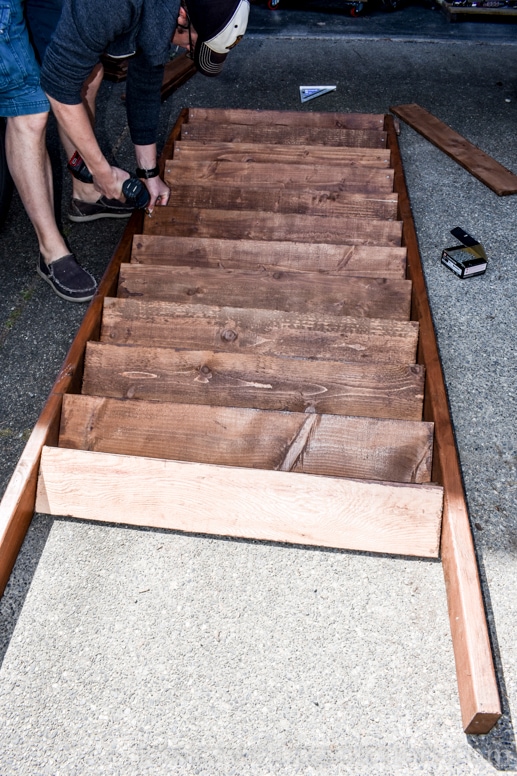
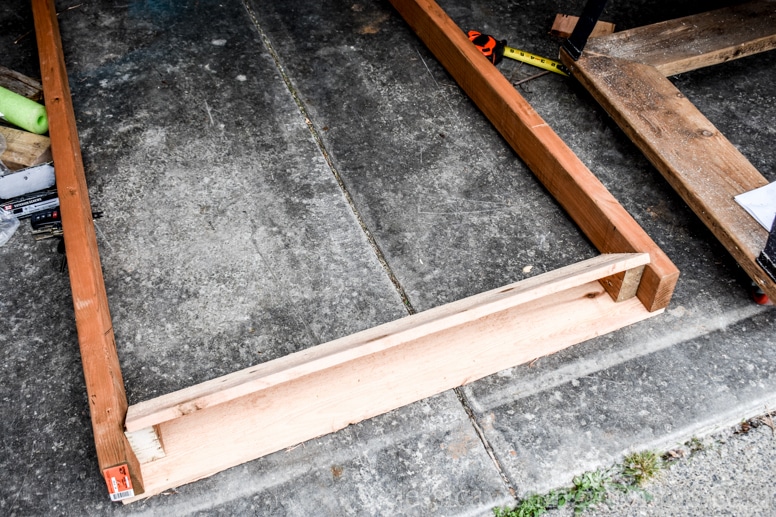
7. Attach the back boards.
Now flip the whole thing over. Attach the fence boards to the back of the 2×4’s using 1 1/4″ screws. There should be 2 screws on each side of each board.
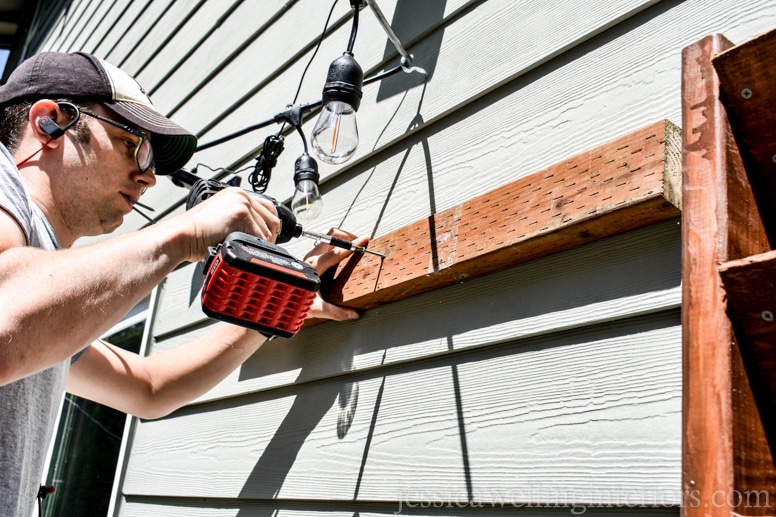
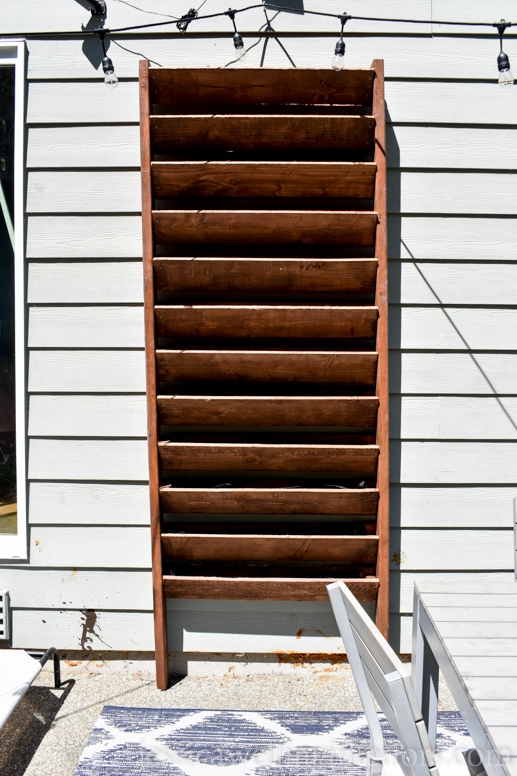
8. Mount the vertical garden.
We mounted a piece of 2×4 (the leftover piece after cutting all the triangles) to the side of the house. Then we attached the vertical garden structure to that. We’re planning to paint our house this Summer, so it will need to be easy to move.
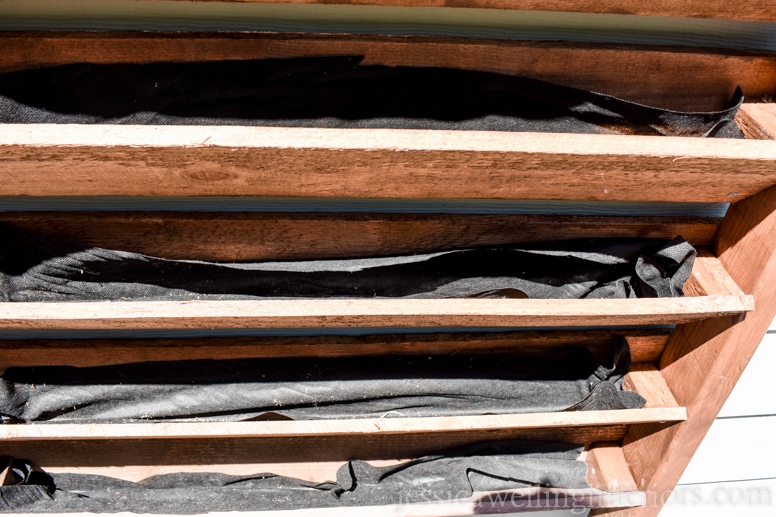
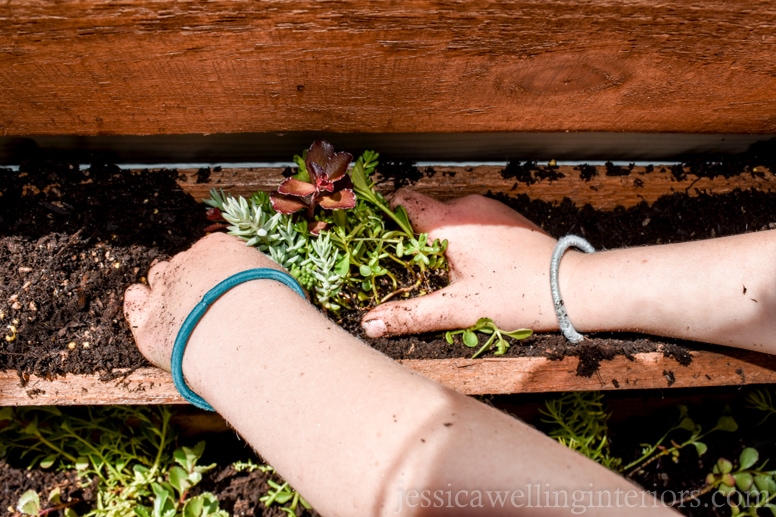
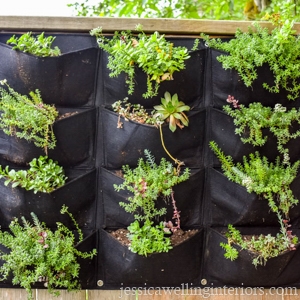
There are cracks at the bottoms of each trough, so I cut long strips of weed paper to cover them before adding soil. This will keep the dirt from falling through the cracks, but the water will still be able to drip through to the levels below.
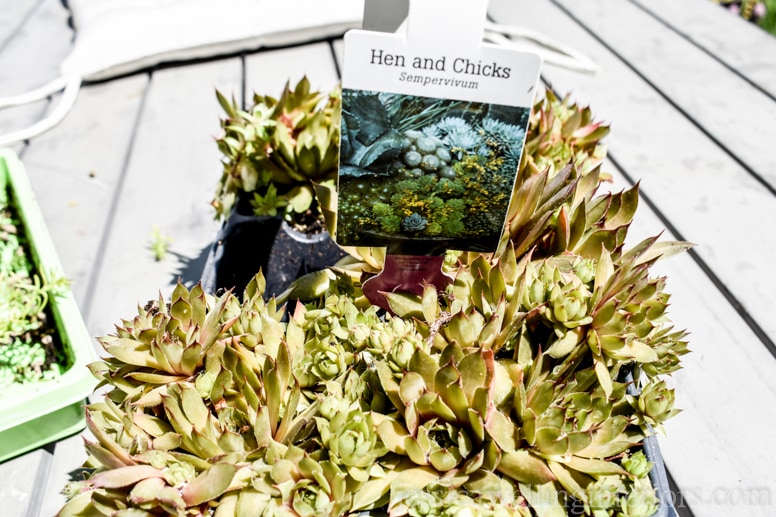
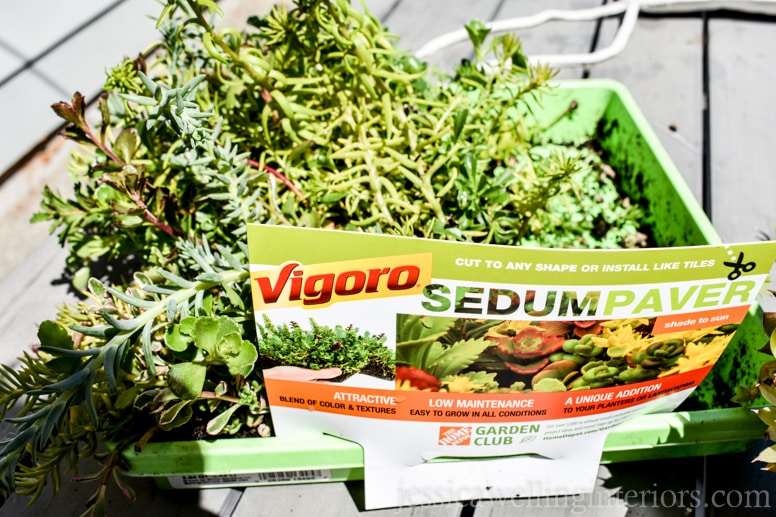
We chose sedum tiles and hardy succulents for this vertical garden, since the troughs are pretty shallow. Other more delicate plants would likely dry out during the day. If you’re hoping to plant herbs, veggies, or flowers, I would recommend modifying the plans to make larger, deeper planting troughs.
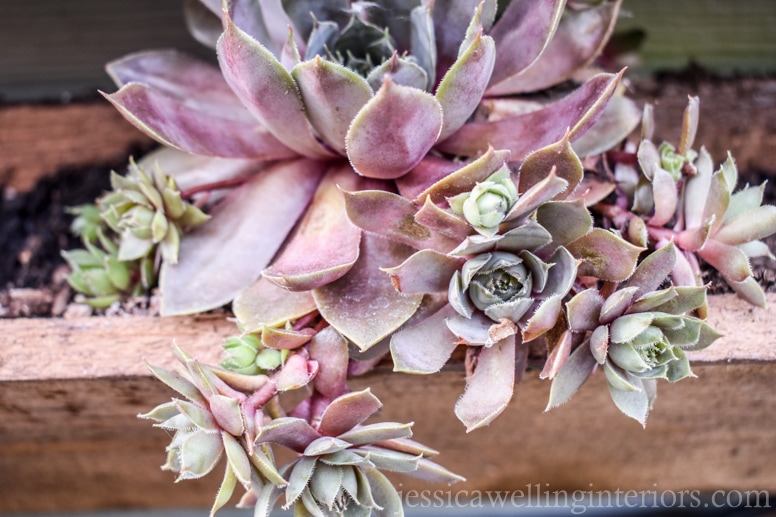
I tried to get a bit of variety with the plant colors- some lighter and brighter greens, some darker, and some plants with reddish tones.
We added Osmocote slow-release fertilizer to the soil before planting. I like to use it for all of my non-edible plants because it provides long-lasting nutrition and I don’t have to remember to fertilize them again all season. Pretty sure it wouldn’t happen!
And we’re done!
Feel free to ask any questions in the comments!


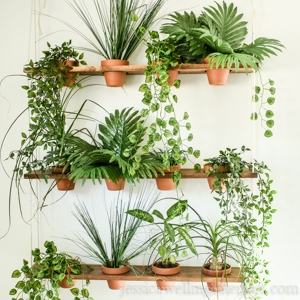
More Vertical Gardens Ideas…


Absolutely love this build!
Thanks Danielle! I love it too! Maybe I’ll convince him to build a second one this year!
What a great idea! Especially when space is limited.
Thank you so much! I was totally blown away by how cool it turned out!
What a beautiful design and easy to make. I ‘d like to make one.
By the way, does it works well against wet soil and water ?
Thank you! Yes so far it’s holding up well after 3 years!
What color stain did you use?
I’m so sorry it was a few years back and I don’t remember.
This is exactly what I was looking for..simple …practical…and fun. thanks
Thanks! I hope it works out well for you!!!
Useless to me. It uses ancient imperial measurements. None else in the entire world uses inches and feet any more. Wake up and join the 21st century. Use millimetres!
Haha sorry. I know we’re still old school in the US!
Are you from France 🇫🇷 ?
That was so rude of him. Plenty of us use feet and inch measurements. Keep up thee good work!
Thank you!