
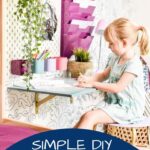
Easy DIY Floating Desk!
This simple and inexpensive DIY floating desk is perfect for small spaces, and it can be adapted for kids or adults! See just how easy it is!

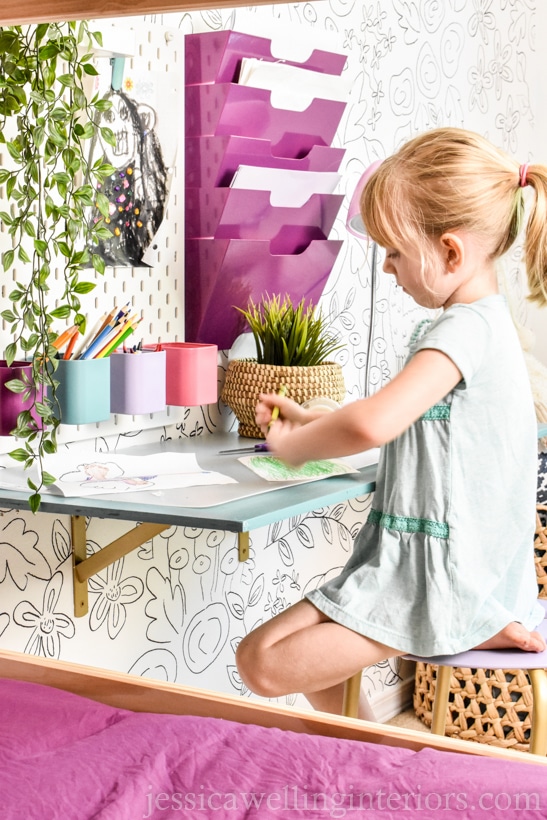
After bunk beds, the girls’ top wish for their new shared big girl bedroom makeover was desks. They’re still a little young to really NEED desks in their room, but they can do homework and art there… and cut up tiny bits of paper. WHY ALL THE TINY BITS OF PAPER???
After buying bunk beds, mattresses, and bedding, my budget for this project was dwindling fast. So instead of buying kid-sized desks, we decided to make inexpensive floating desks from plywood and metal brackets.
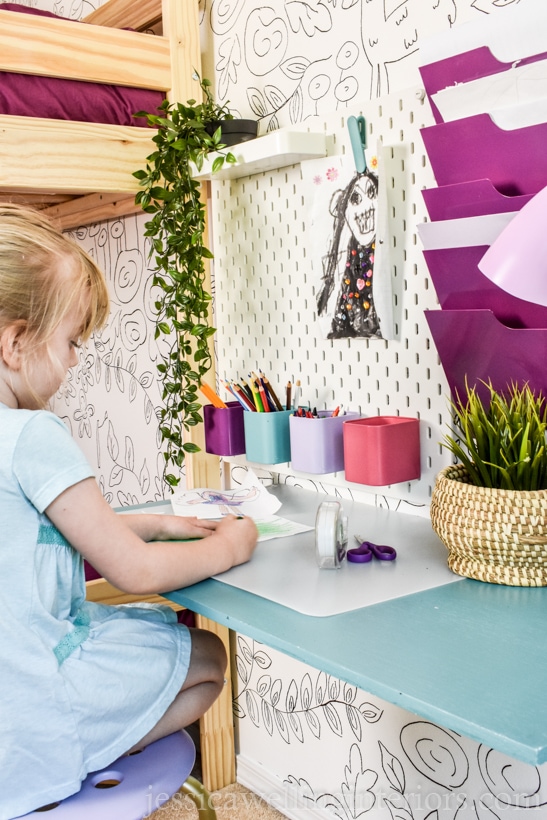
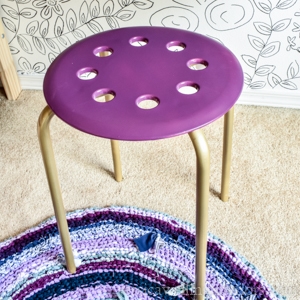
We’ll be able to adjust the height of the desks as they grow- and as you’ll see, we mounted B’s desk higher on the wall than E’s. We used the same paint to makeover these inexpensive MARIUS stools from Ikea to go with the desks!
See the New Video Tutorial for the Stools Here:
How to Make a DIY Floating Desk…
Tools
- sander (this is my favorite inexpensive orbital sander)
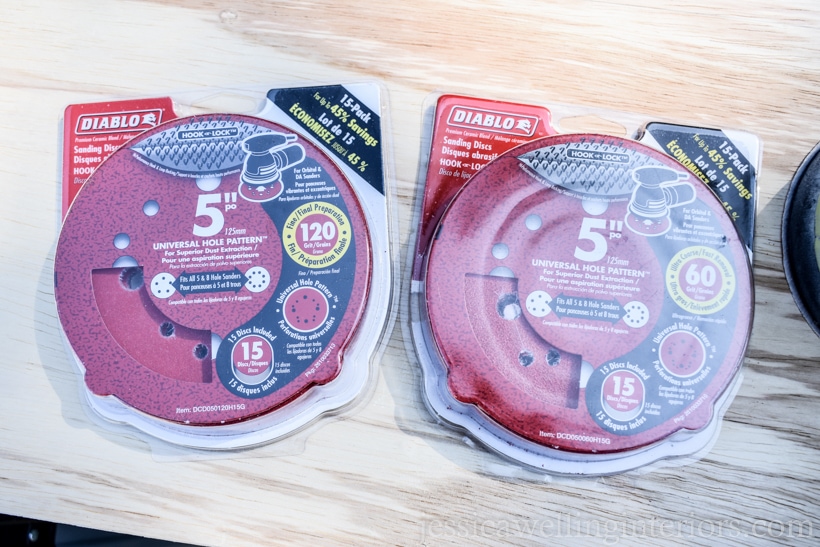
- 120 grit sandpaper (this multi-pack goes with the orbital sander)
- 60 grit sandpaper
- drill/impact driver (this is the set Peter uses & likes)
- sawhorses (optional)
- band saw (optional)
Materials
- plywood
- 2 metal brackets
- spray paint (I used gold on the brackets and blue on the desk tops)
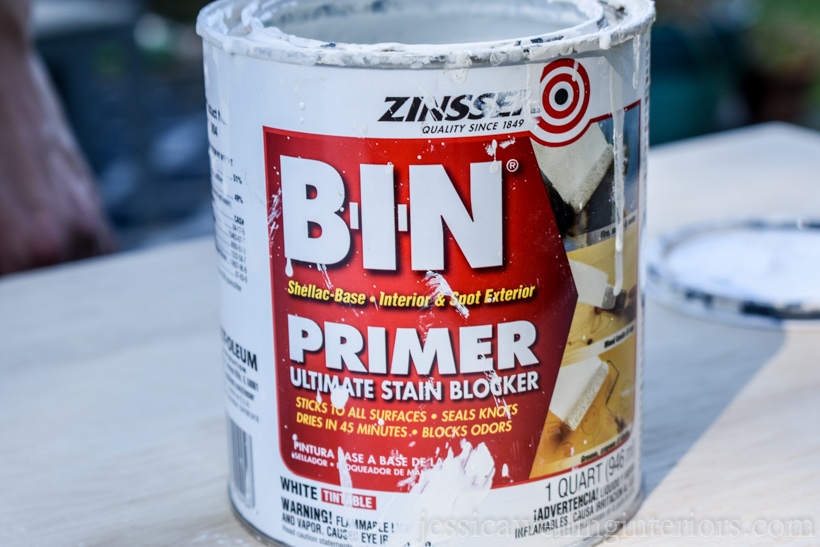
- BIN primer
- disposable paintbrush
- 4 1/2″ screws
- 4 1 1/2 or 2″ screws
Directions
1. Cut Plywood
We chose to make the girls’ desks 17″ x 36″. Peter cut them with a band saw. You can also ask them to cut your desktop to size at the lumber or hardware store and save yourself a step.
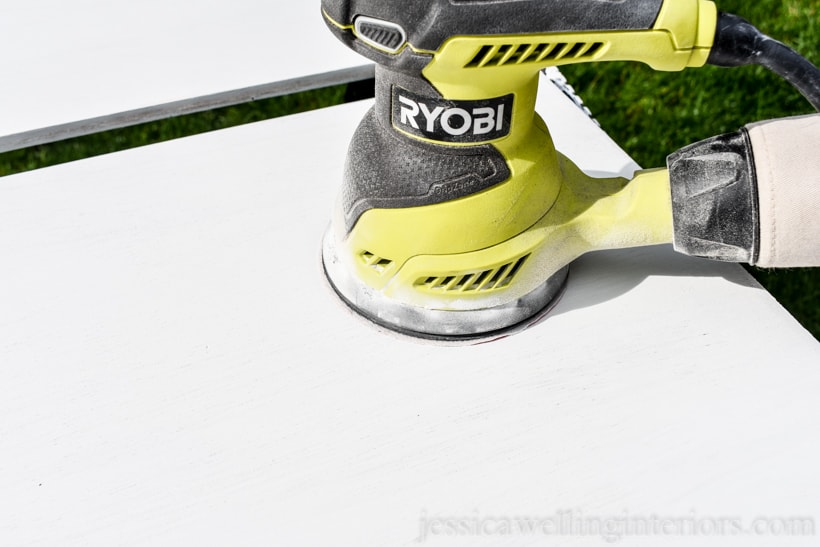
2. Sand Plywood
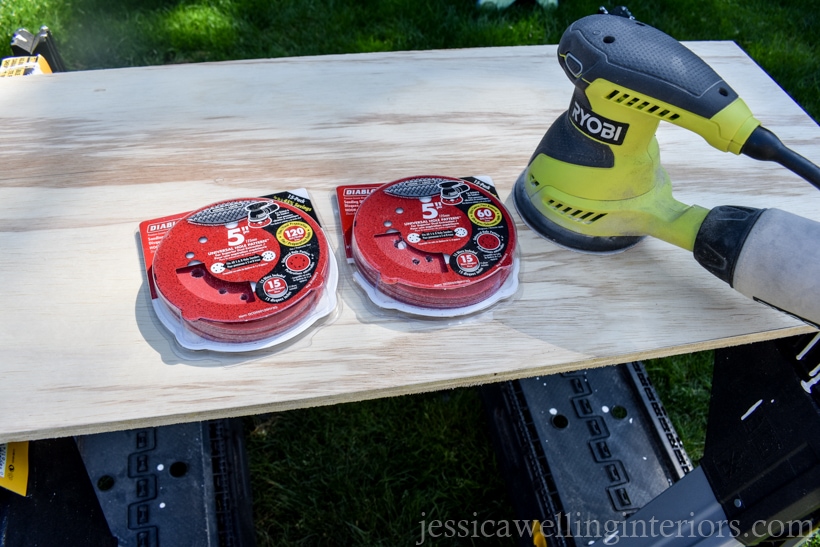
I used an orbital sander with 60 grit sandpaper to smooth out the cut plywood. 60 grit is a very rough sandpaper, so it’s good for a first sanding to remove any rough spots.
Next, I used a 120 grit sandpaper (much finer) to create a really smooth finish. You could use an even finer paper (like 220 grit) if you want.
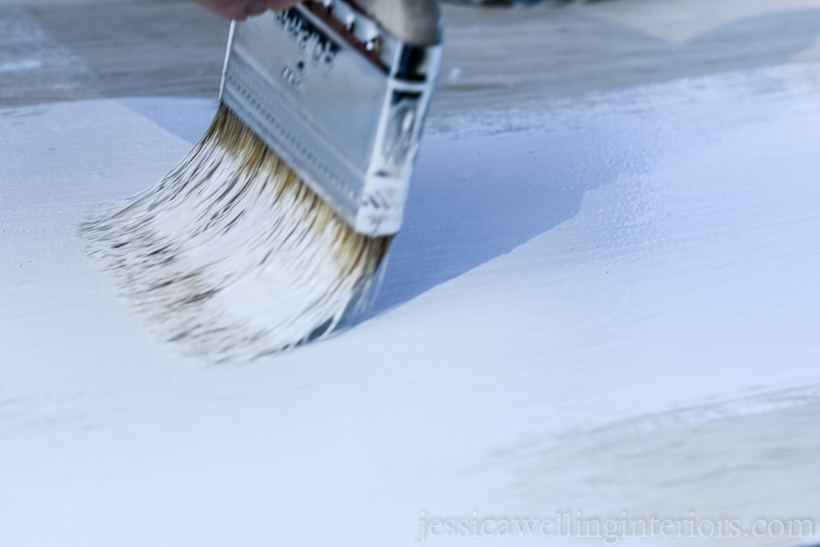
3. Apply Primer
This great shellac-based primer will block any knots or woodgrain from bleeding through the paint. I use it on pretty much every painting project I do now.
I like to use a disposable brush (and sometimes gloves) with it because it doesn’t clean up with water. You can use denatured alcohol to clean it up if necessary.
4. Sand Again
Once the primer was dry, I lightly sanded the desktops again, using the 120 grit sandpaper to remove any lumps and drips.
5. Wipe Off Sawdust
Next, I used a damp rag to wipe off any sawdust left behind by the sander, and let it dry.
6. Spray-Paint Desk Top
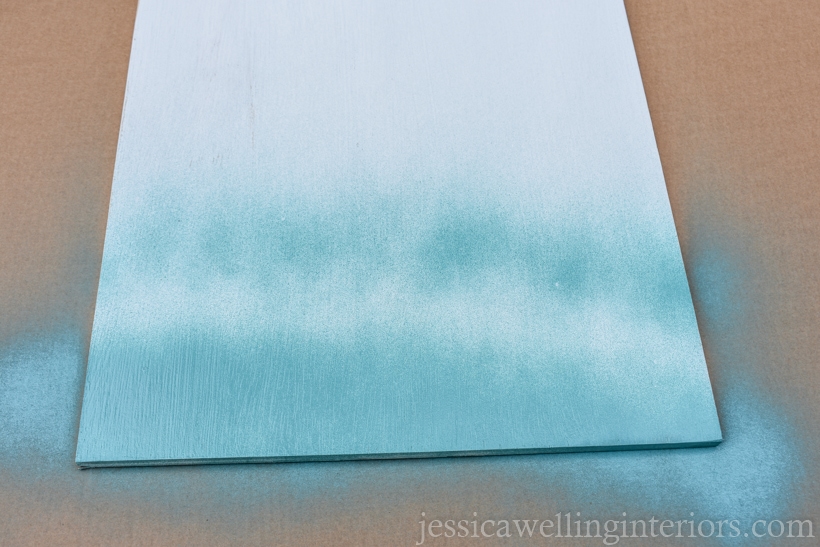
When spray painting, I always shake the can well, and hold it about 10 inches from the surface I’m painting. I do a light coat first, not covering everything. Then I let that dry for about 10 minutes.
Then I come back and do a full-coverage coat, moving the can back and forth, and overshooting the edges to be sure I don’t end up with extra paint and drips on the edges.
I might come back and do a third coat 20-30 minutes later if necessary.
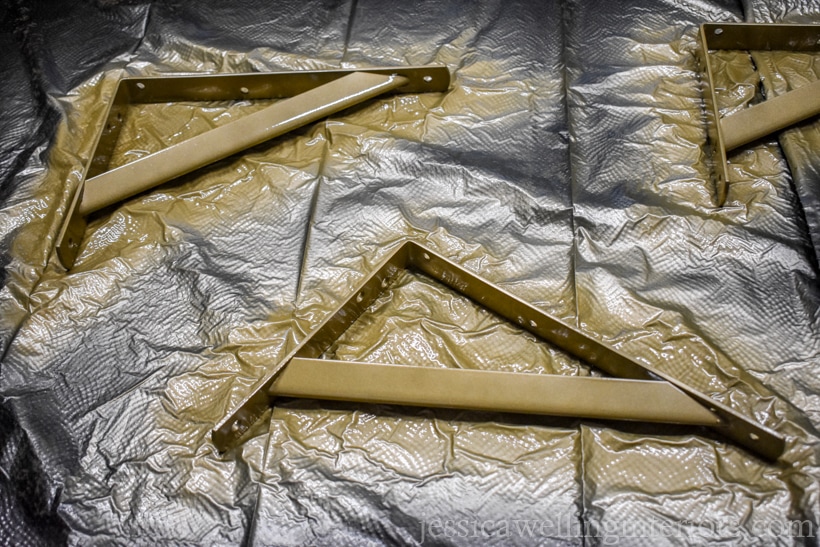
7. Spray-Paint Brackets
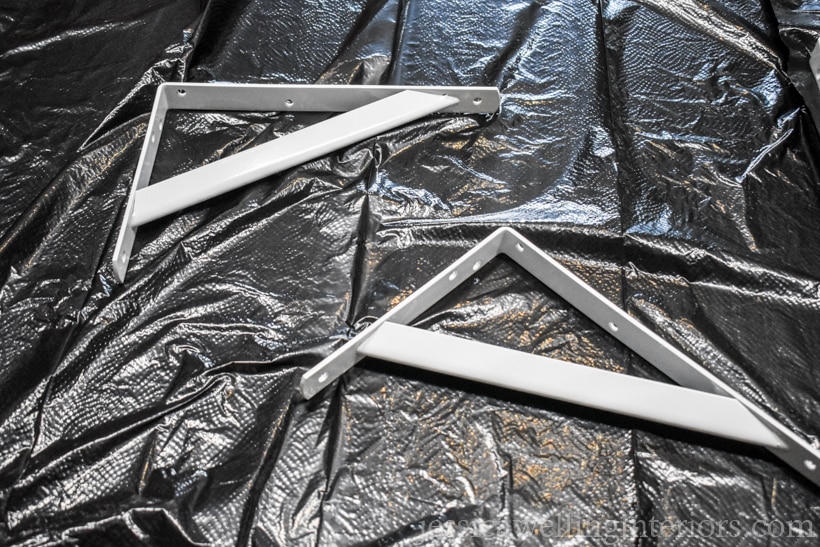
I chose to spray paint the brackets gold. They would probably look cute left white too.
8. Mount Brackets To Wall
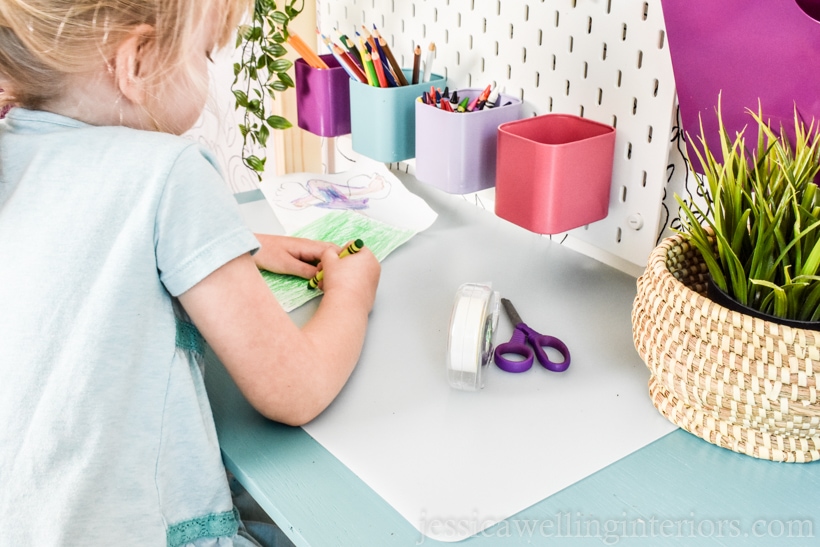
We had each of the girls sit on their desk stools to determine their ideal desk height. The one in the video is El’s, and it’s lower than B’s because she’s younger and smaller. We marked the height on the wall. (Video coming soon!)
9. Attach Floating Desk Top To Brackets
Once the brackets are firmly mounted to the wall, screw the desktop to the tops of the brackets from below, using the 1/2″ screws.
That’s it! Pretty simple, right???
Update: the girls’ bedroom makeover is finished. See the whole reveal here!
More DIY Desk Ideas…
Ikea Home Office Ideas: My New Design Studio Reveal


Very cute..love your colors!
Thanks so much Debbie! The girls’ room is coming together slowly but surely!
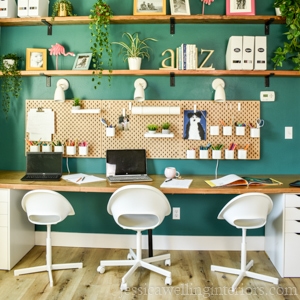
Hi! I love your pegboard and the hanging containers. Where did you find them?
Hi Rebekah! Thank you! They’re all from Ikea. It’s the Skadis pegboard line & the containers, clips, etc. are all part of the line toom. I spray prainted them, but I see that Ikea now has some colored containers- at least on their website. Hope this helps! https://www.ikea.com/us/en/p/skadis-pegboard-white-50320805/
Your easy DIY floating desks are so perfect for a kids room! Easy and great for a small space! Love! Pinned!
Thank you so much Julie!
Hi there! This floating desk is so cute. I’m wondering where you found the pegboard; as well as the cup holders, and how you get them to stick into the pegboard?
Thanks!
Hi Allie! Thanks. This is the SKADIS pegboard system from Ikea. The cups, hooks, and clips are all designed to go with the system. I do love the pegboards… I have them in my design studio, and now the kids’ new distance learning room too! https://jessicawellinginteriors.com/homeschool-room-desk-reveal/
This DIY floating desk tutorial is an absolute game-changer for those seeking a stylish and functional workspace in a small area. With each step, from cutting the plywood to spray-painting the brackets, the satisfaction of creating something unique and practical amplifies the overall experience. It’s a delightful project that brings both creativity and practicality together in a joyful and fulfilling way!
Thank you so much!
This blog post on the DIY floating desk is a lifesaver for small spaces and tight budgets! The step-by-step instructions are easy to follow, and the emotions of excitement and relief are palpable throughout the post. I used this tutorial to create a floating desk in my cozy apartment, and now I have the perfect workspace without sacrificing valuable floor space. It’s a game-changer!