
Easy DIY String Light Poles Tutorial
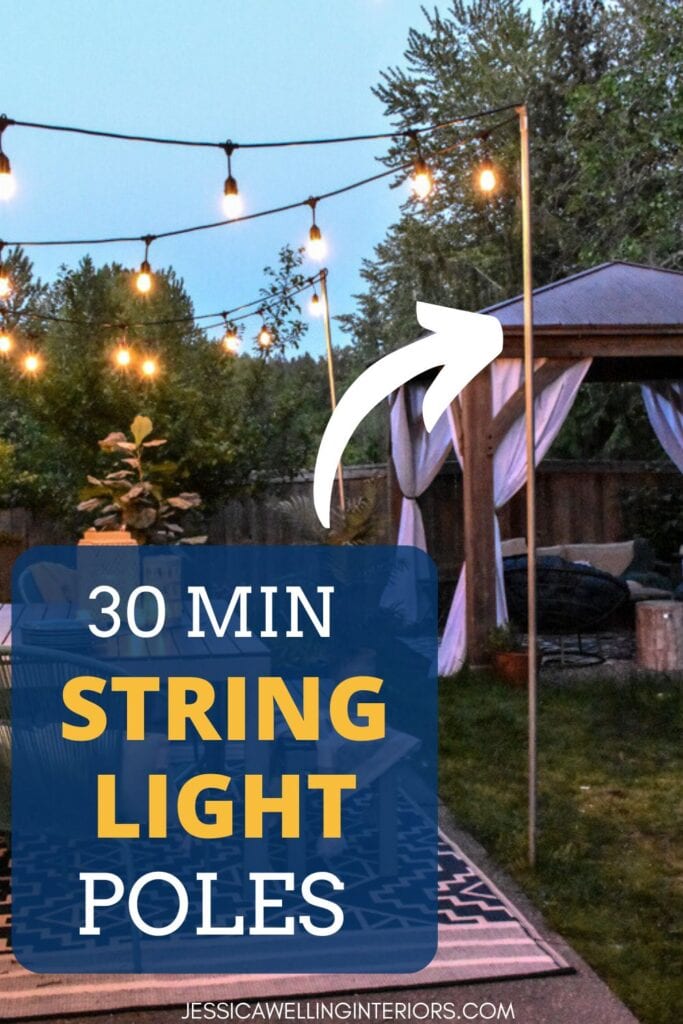
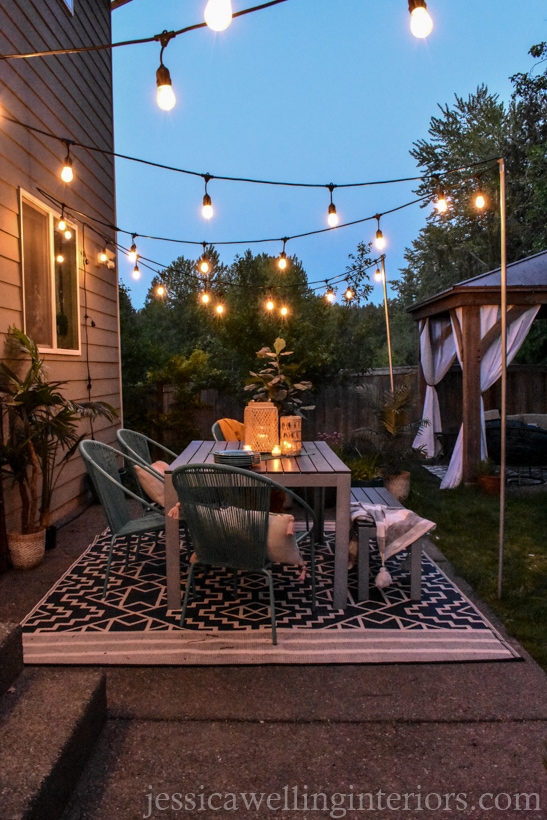
Install easy outdoor string light poles over your patio or backyard fire pit to create beautiful ambiance! They’re quick, inexpensive, and very simple!
I asked for a patio makeover for my birthday a few years back, and one of the top things on my wishlist was string lights. The problem? Nothing to hang them from.
Here’s a tutorial for the quick and easy (unless you have really hard dirt) removable string light poles we put in. We put three poles in, and the whole project took about an hour.
Do you have a different setup, like a deck or a covered patio? Check out this post for more methods for hanging patio lights. It covers hanging them from trees, walls, ceilings, deck railings, and pretty much anything else you can imagine.
Or if you want to make the DIY conduit poles in this tutorial, but don’t want to dig holes for whatever reason, check out this similar project where I used heavy patio umbrella stands instead of PVC as bases.
And finally, there are some great ready-made string light poles on the market too. I bought and tested several different brands and styles in my own backyard to find the very best ones. You can see my top picks here.
Watch the Video Tutorial!
How to Install DIY String Light Poles
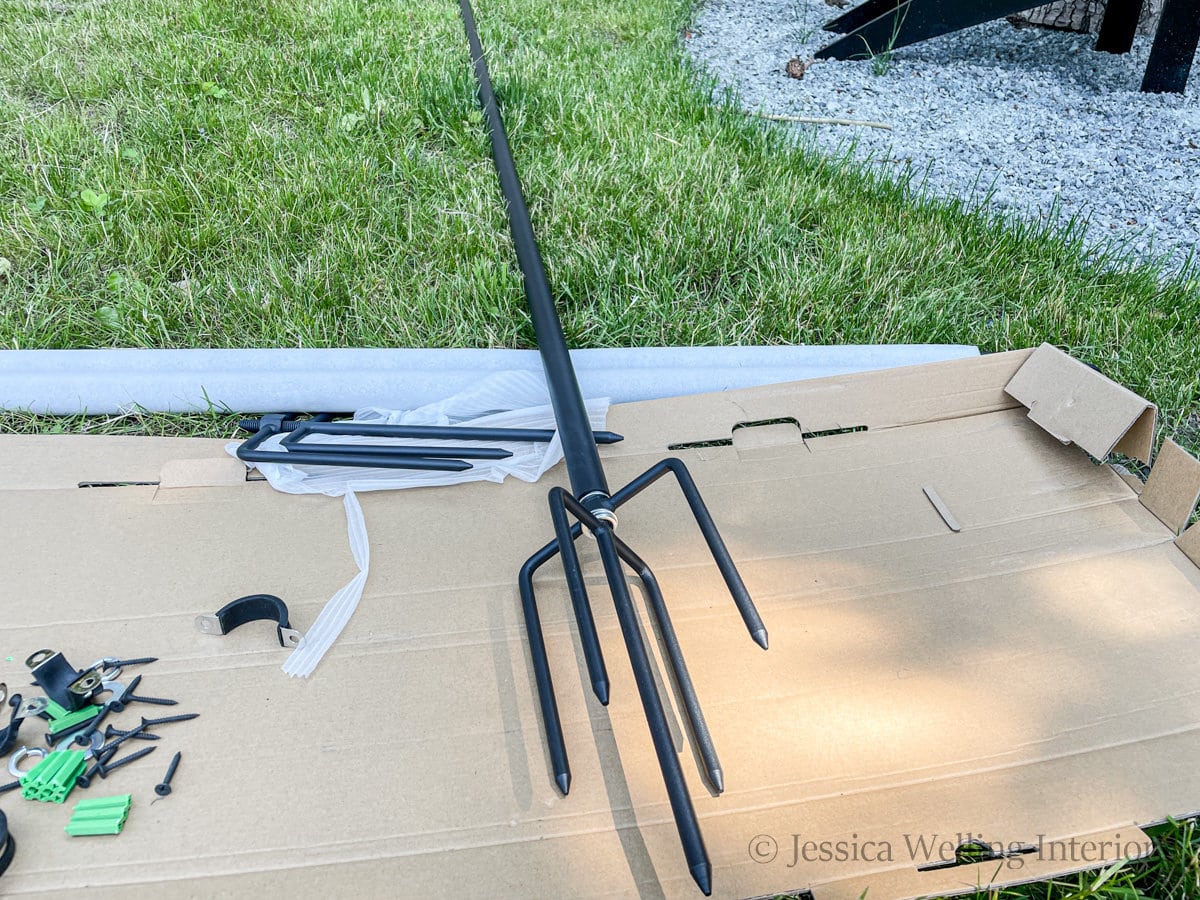
Materials
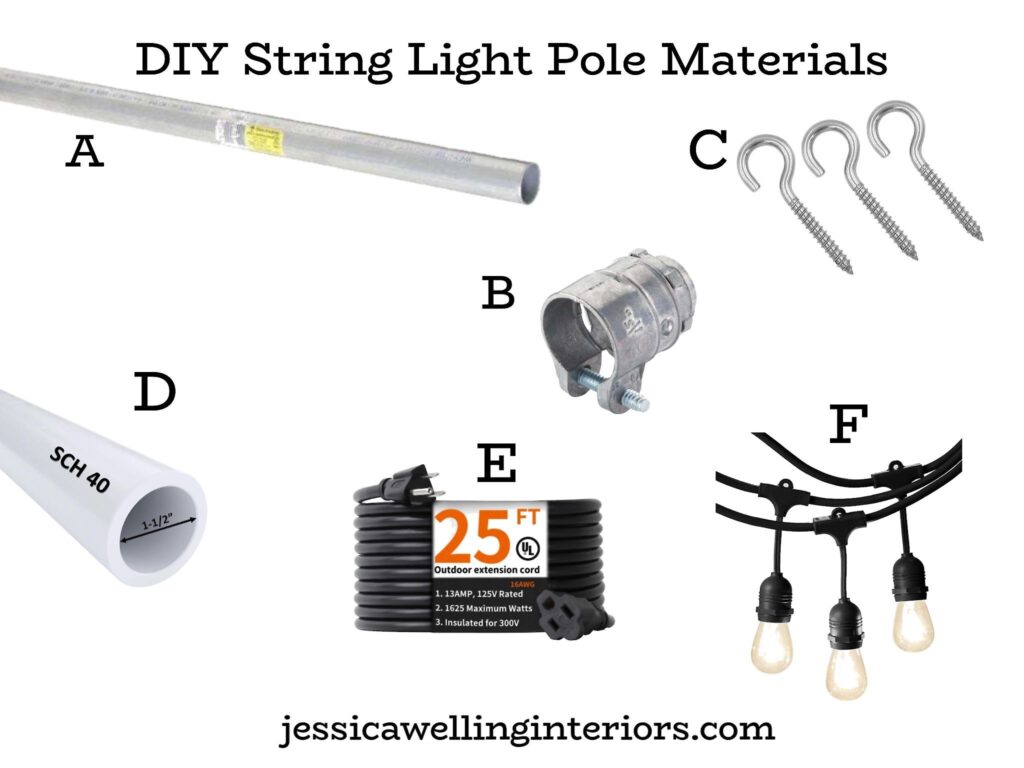
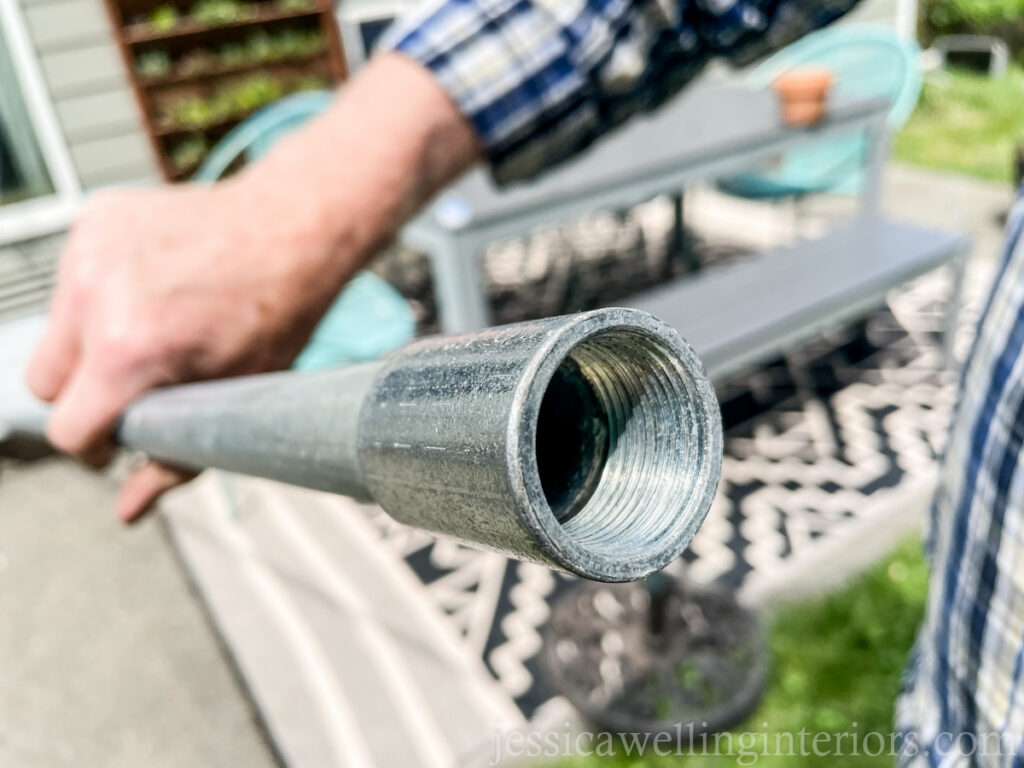
A. 2 ¾” galvanized electrical conduit pipes (each 10’ long)
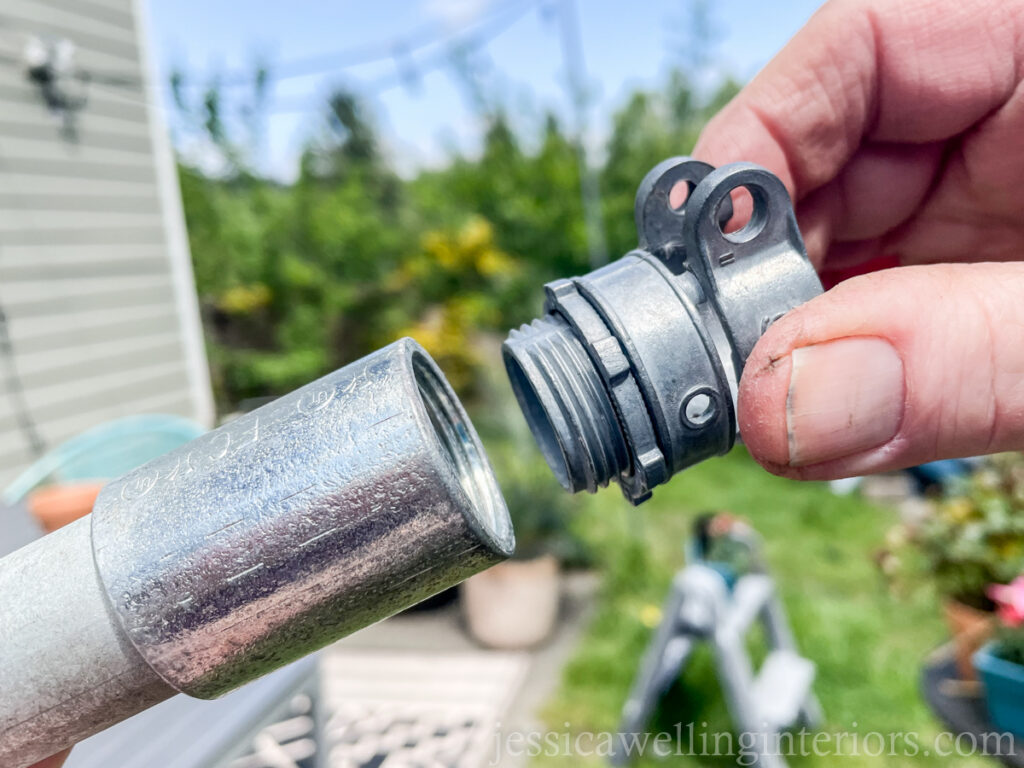
B. 3/4 inch squeeze connectors (one for the top of each pole) Look for these in the electrical section of your hardware store.
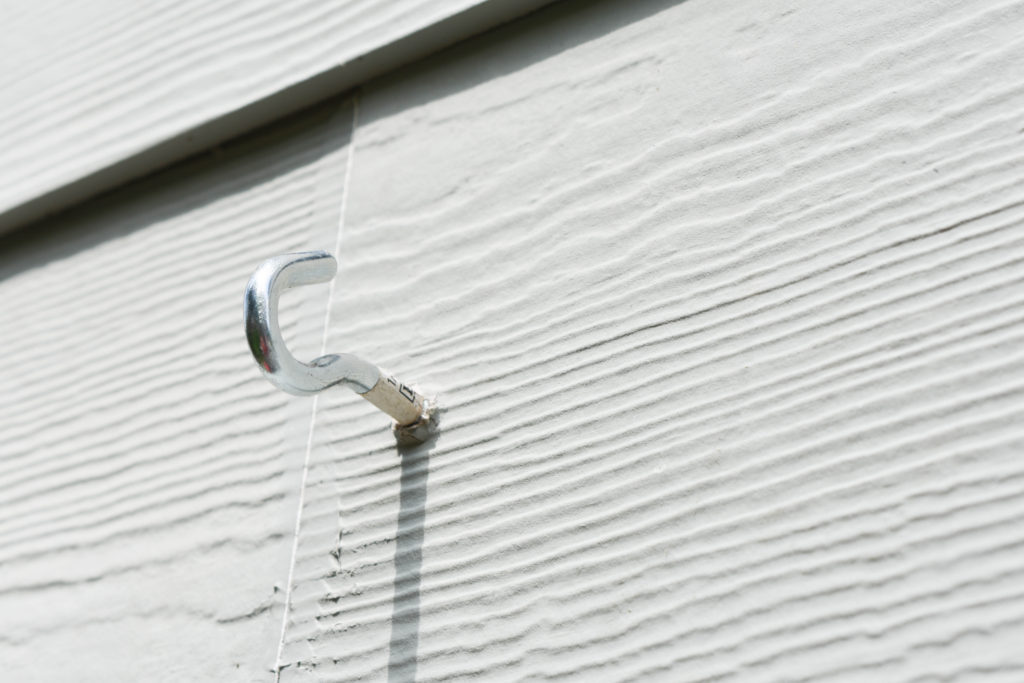
C. Stainless Steel Screw Eyes (optional for attaching lights to house or wall)
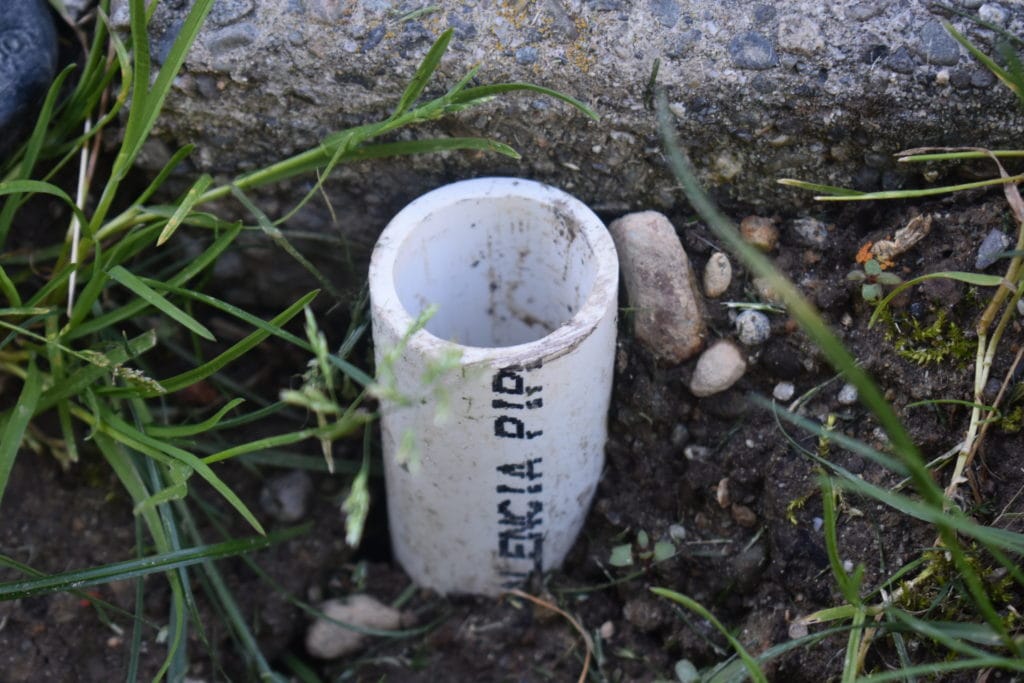
D. 2 pieces of 1 1/2″ PVC pipe (each 2’ long)
E. Outdoor Extension Cord (optional)
F. String lights– I got these sturdier industrial ones. These are 48 feet long, with 26 lights per strand. They were the winners of my extensive backyard string light testing. You can read more here.
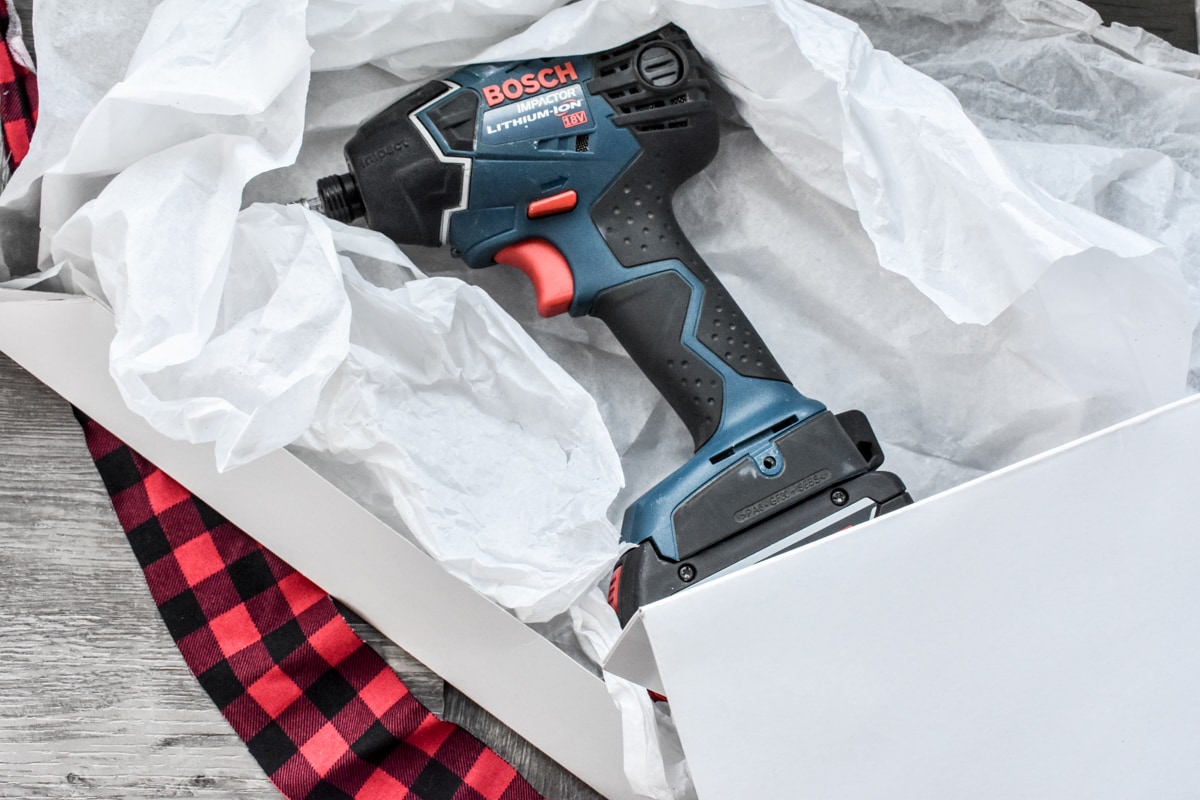
Tools
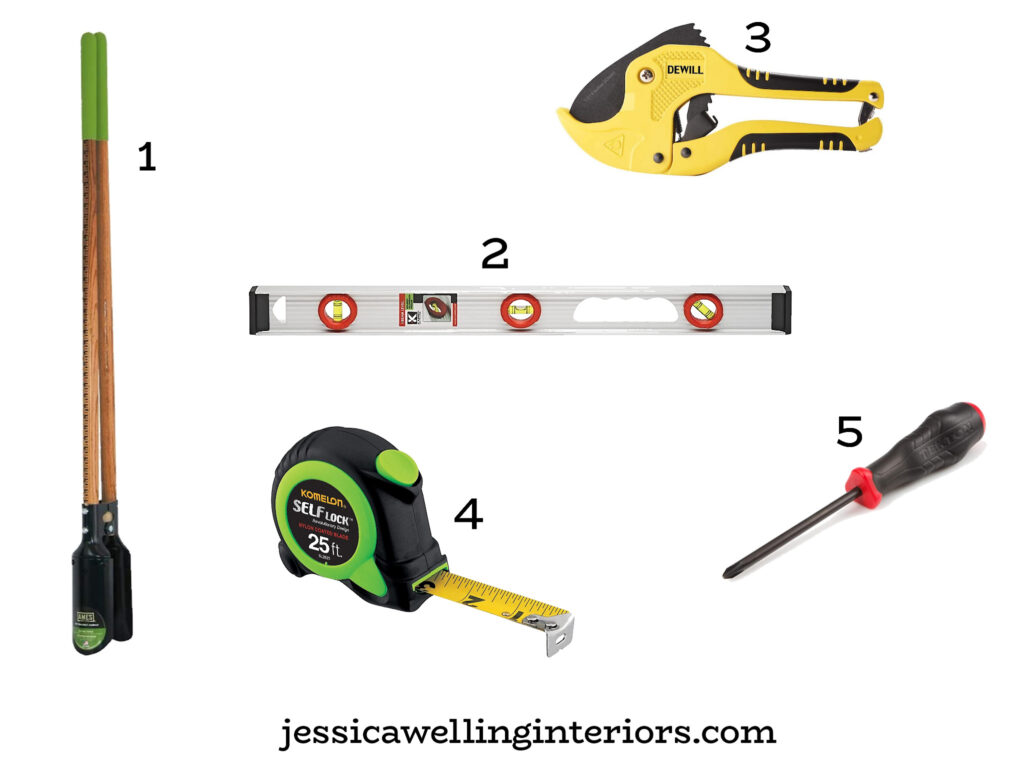
- Post Hole Digger
- Level
- PVC Cutters
- Tape Measure
- Phillips Screwdriver
We wanted our poles to be at least 8’ tall to allow for the lights to swag and hang down without hitting our taller friends in the head. They’re going 2’ into the ground, thus 10’ long poles.
Directions
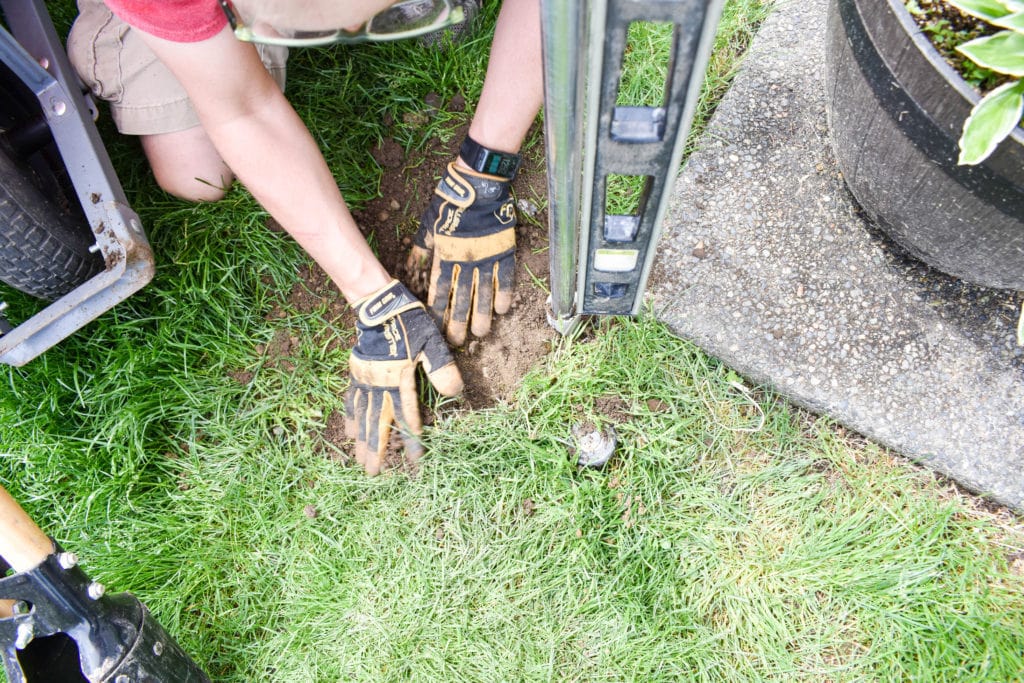
1. Dig the holes for the posts.
We dug each of the holes 24” deep. We placed them at the two outside corners of our patio. Update: We’ve since decided to add a 3rd pole.
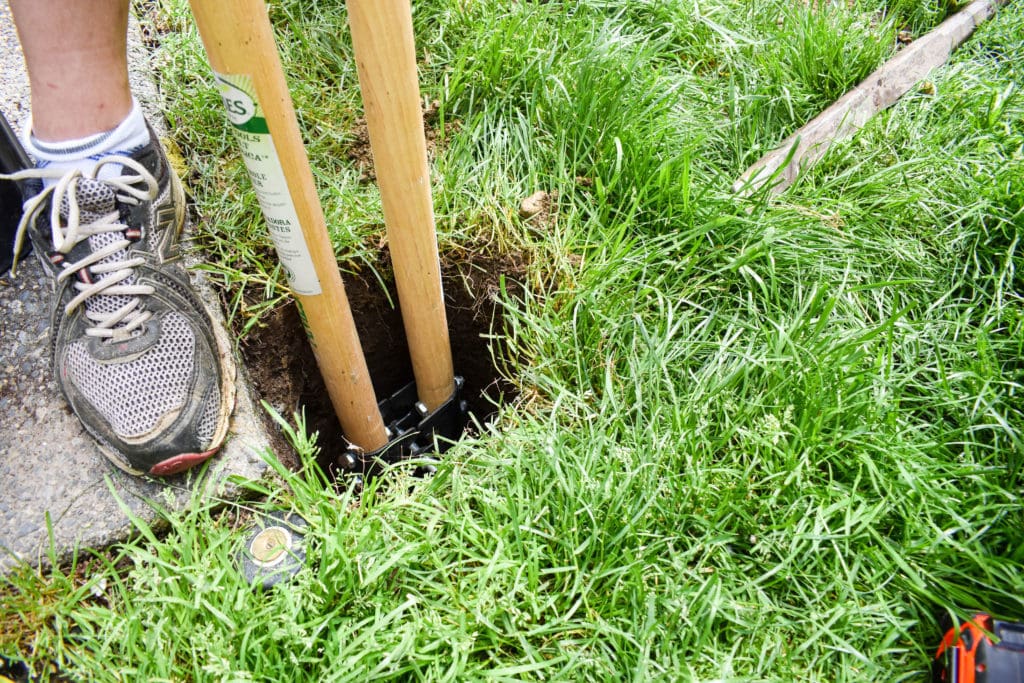

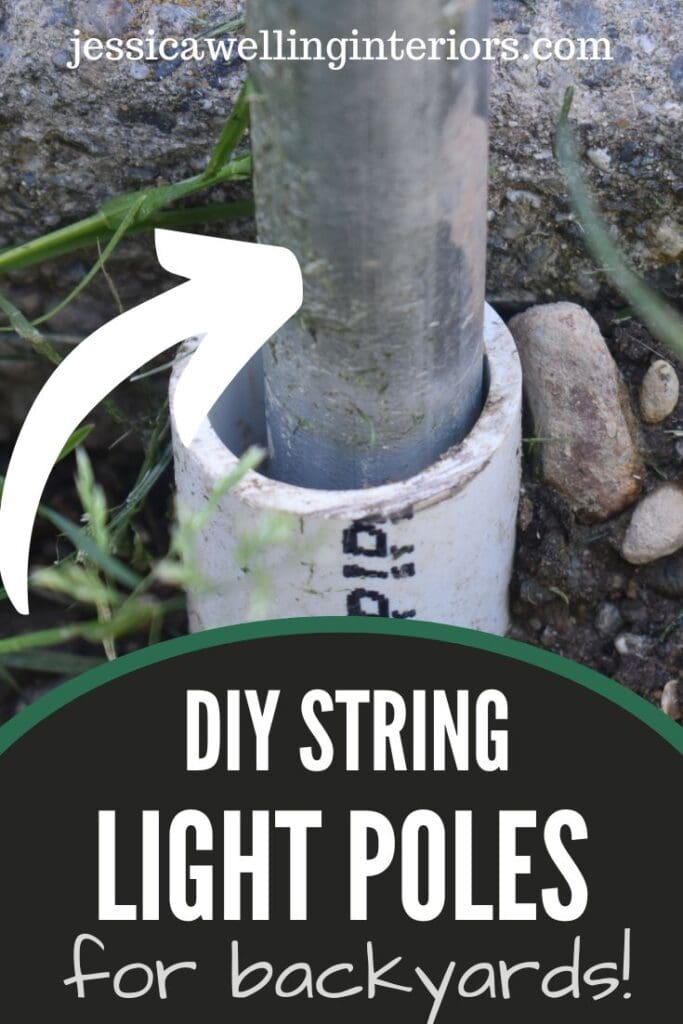
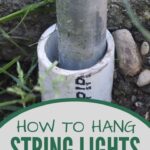
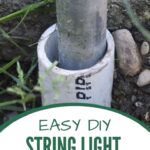
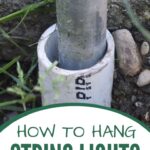
2. Put the PVC pipe in the hole.
We placed one of the cut pieces of PVC pipe upright in the
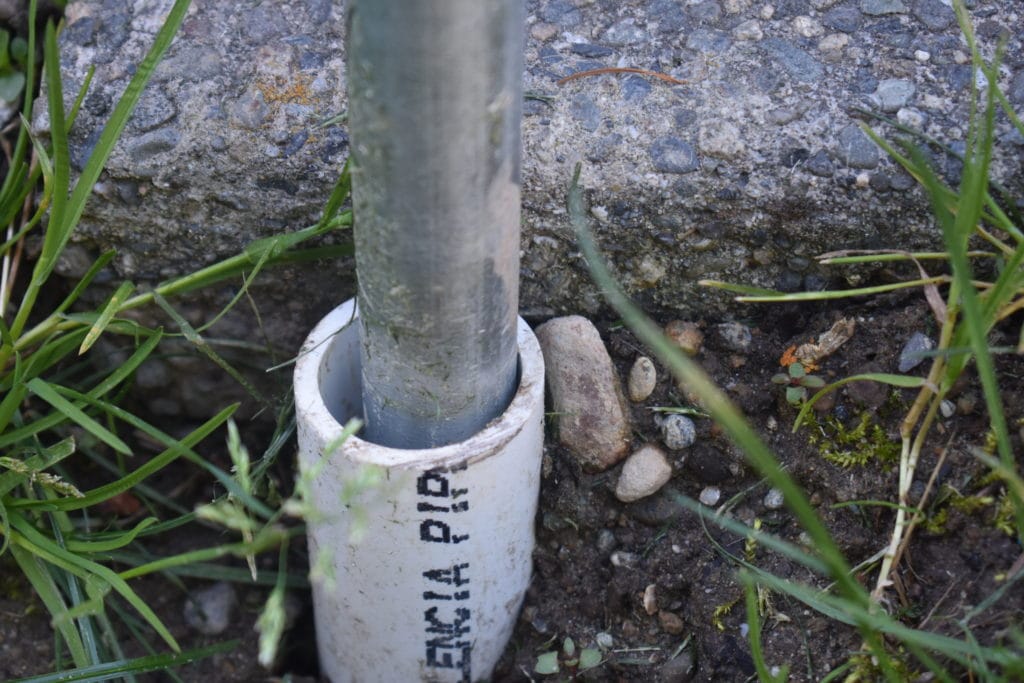
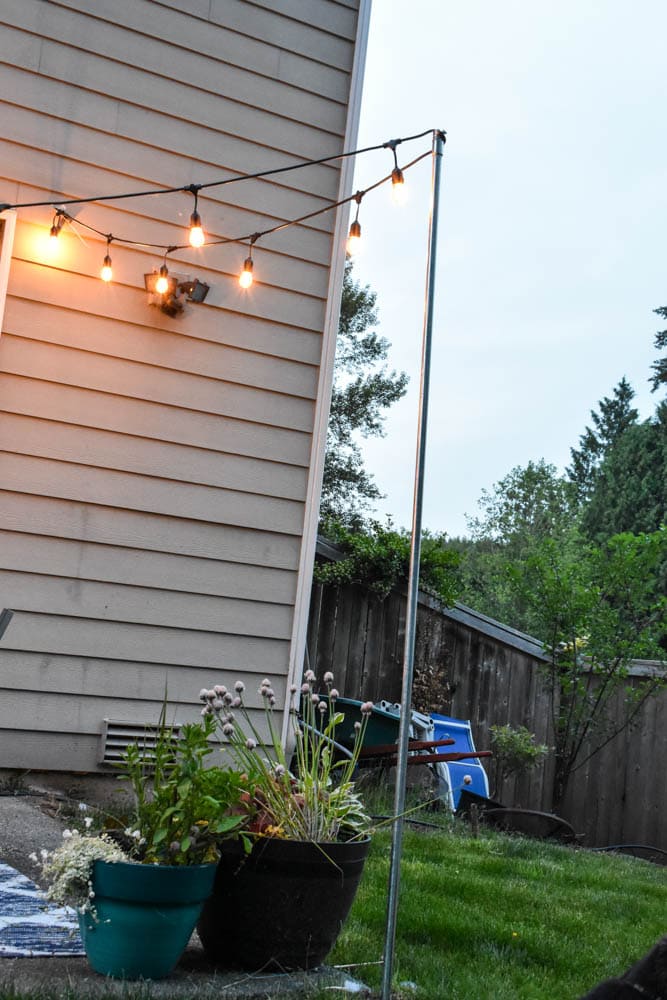
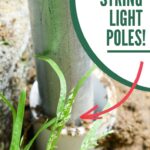
3. Set the metal pipe in place.
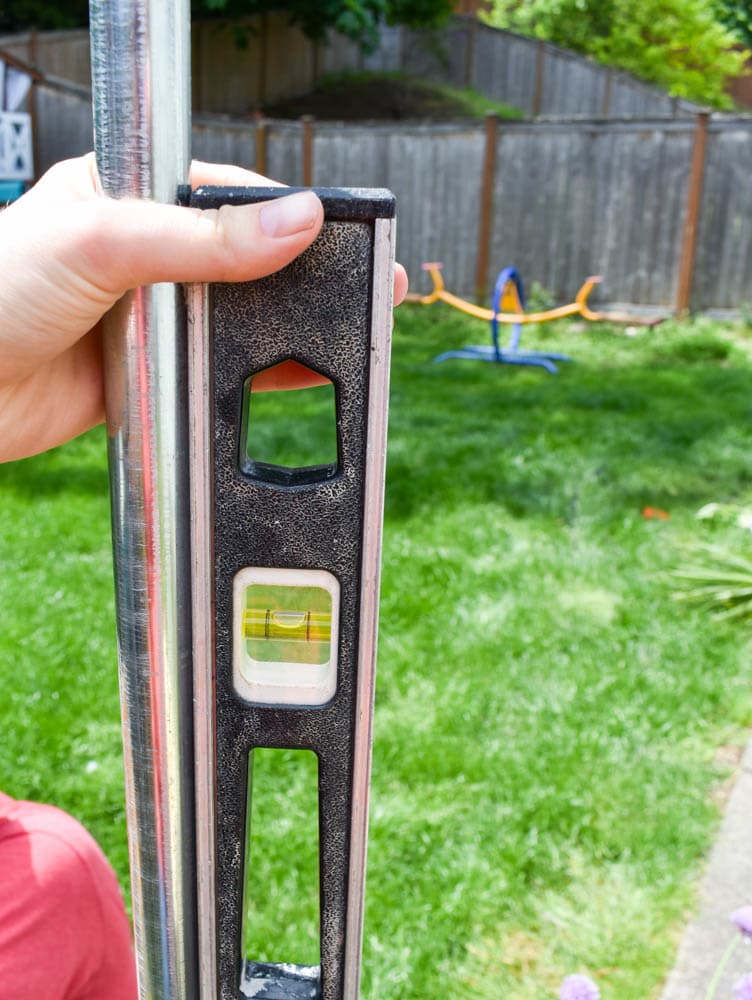
We put the conduit pole into the slightly wider PVC pipe, and I held it in place with a vertical level while Peter packed the dirt in around the PVC pipe.
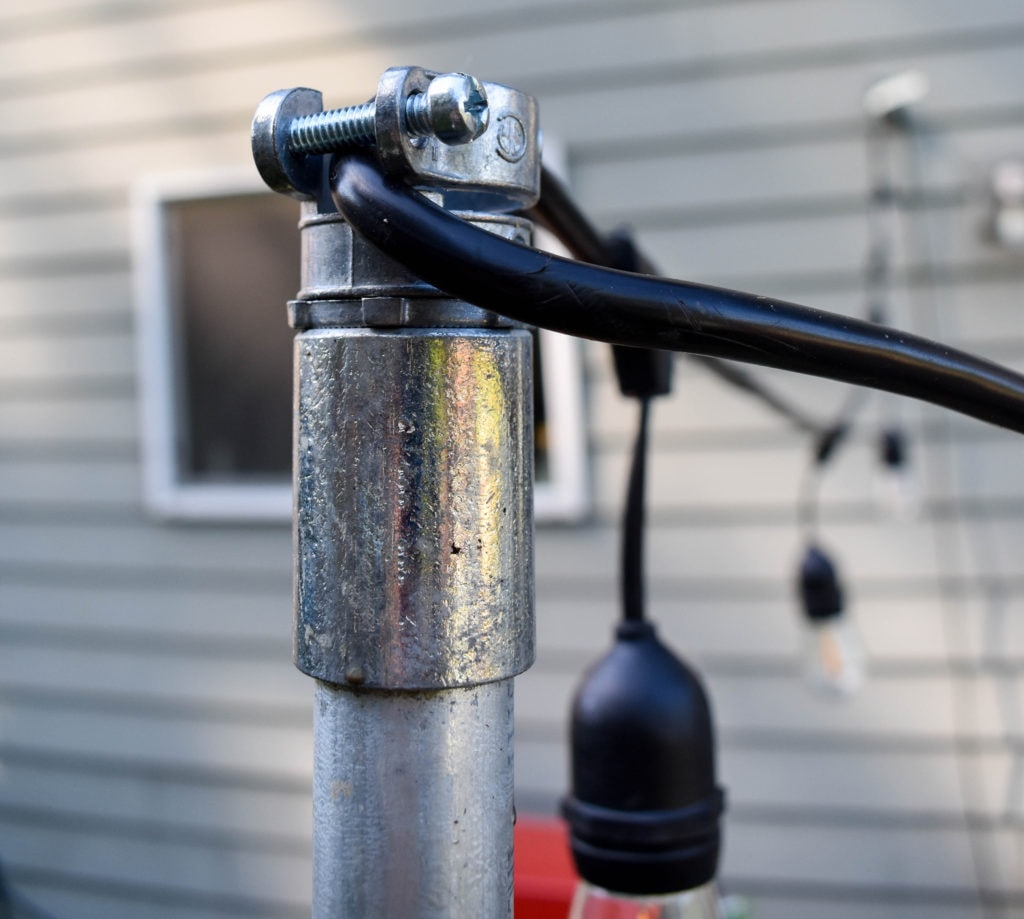
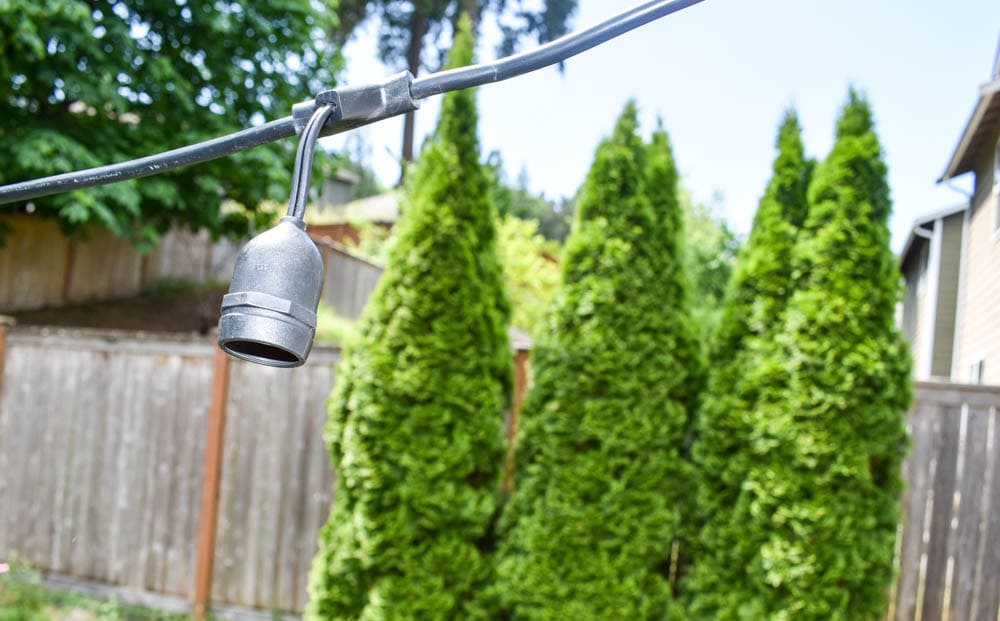
4. Cap the poles.
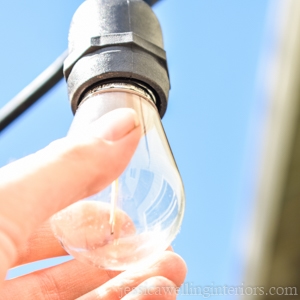
Once the poles were in the ground, we capped them with these 3/4″ squeeze connectors. This is just something to hold the light cord in place at the top of each pole.
We screwed three of these hooks into the siding to attach the string lights on the house side.
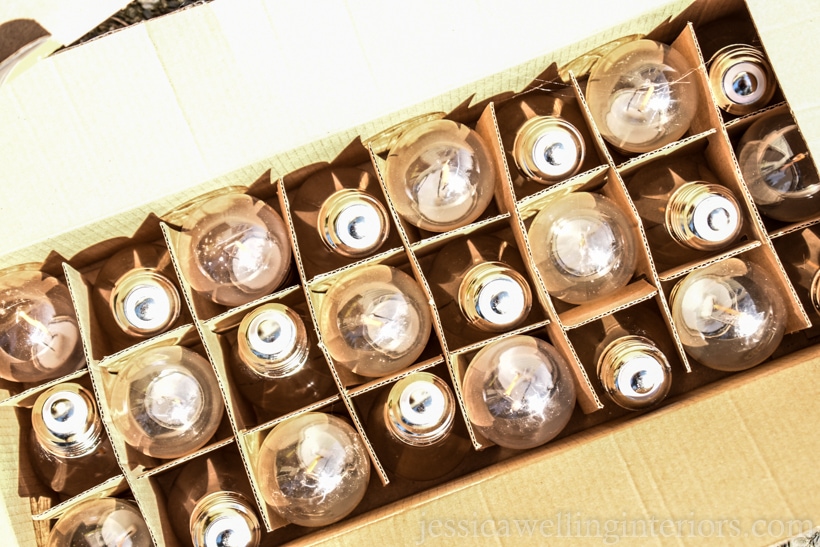
5. Hang the String Lights.
And these heavy-duty string lights come with the bulbs in a separate box- which is great because then you can string them without breaking anything. I strongly encourage you to wait to screw the bulbs in until after they’re hung!
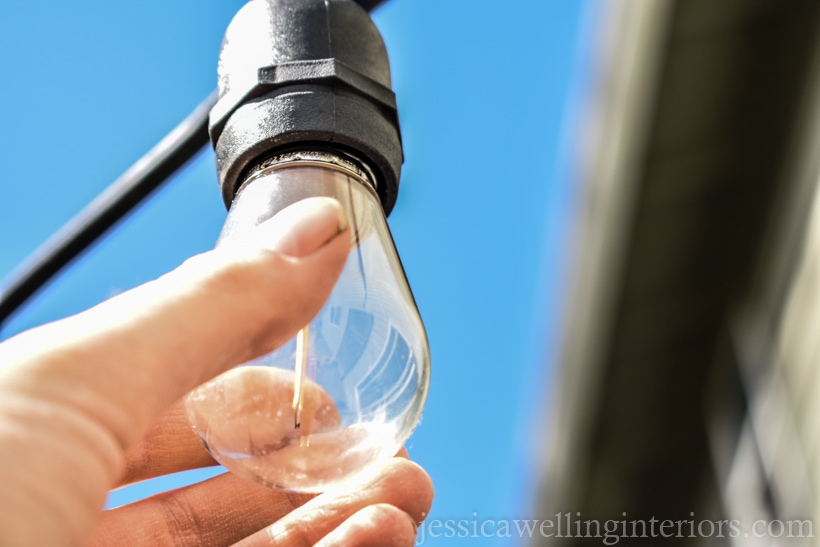
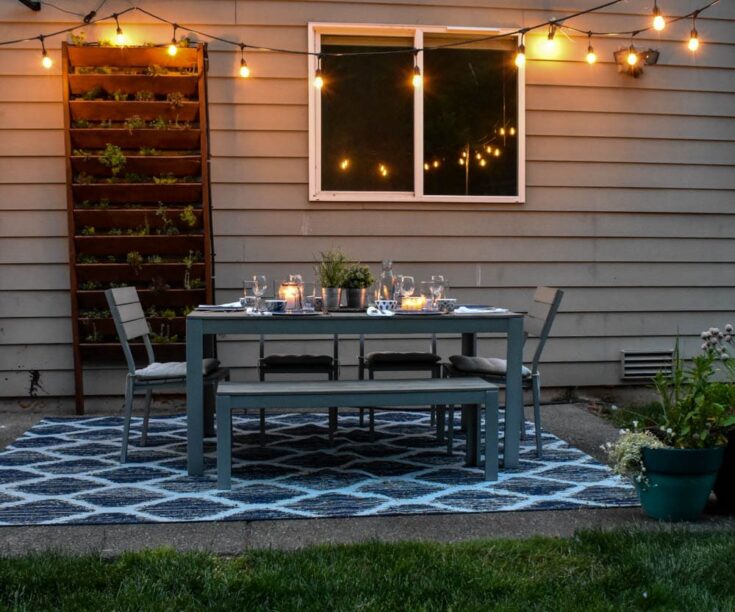
Finally, we screwed the bulbs into the sockets.
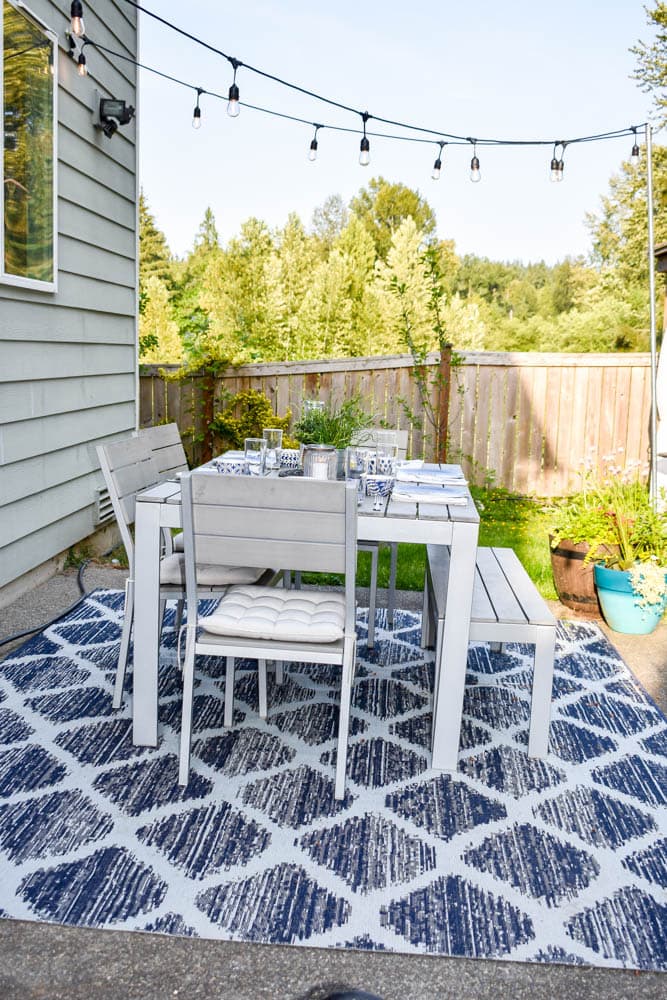
And ta-dah!
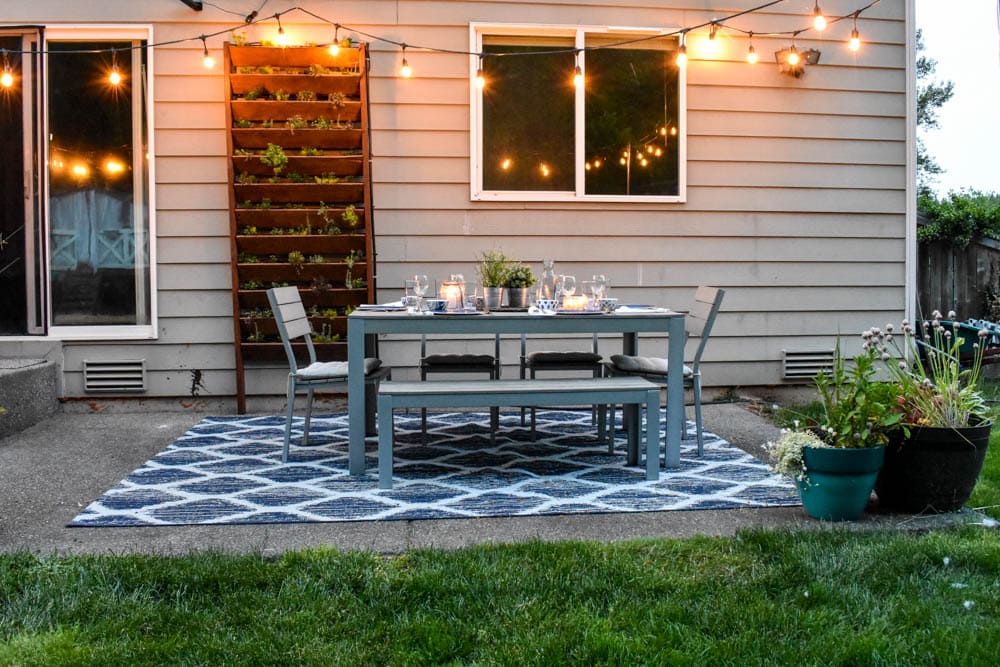
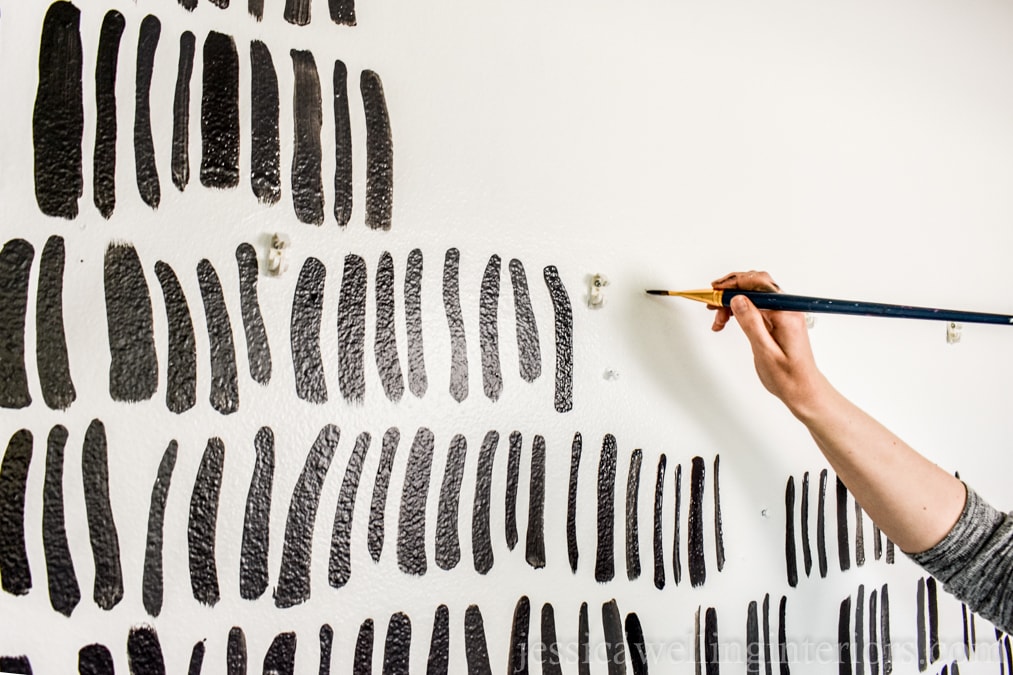
You can see the rest of our One-Weekend Patio Makeover here, and the DIY vertical garden in the photo above here. Interested in more outdoor lighting tips and inspiration? Check out my Outdoor Lighting 101 guide too!
How Are The Outdoor String Light Poles Holding Up After 4 Years?
We installed the first two poles 4 summers ago, and we decided to add a third pole 3 years ago. And I have to say, this is one of the easiest things to set up when we bust out the outdoor furniture and accessories every spring!
We set the posts into the PVC, attach the string light cords, and that’s it. It doesn’t get much simpler than that!
Easy DIY String Light Poles
Did you enjoy this post? Please share the love and pin it!
More Outdoor Living Ideas…
How to Hang String Lights: 15 Different Ways
7 Small Patio Decor Ideas to Steal!


some genuinely great information, Gladiolus I found this.
Hi to every one, the contents existing at this web site
are actually amazing for people experience, well, keep up the nice work fellows.
I’m so glad I found ur post this was just what I was looking for a simple n cheap project. No cement mixing, no big barrels, just a hole in the ground. LOVE IT. Going to do this tomorrow. Thanks
Thanks Kate! Good luck with your project! I would love a picture when you’re done!
On the top of the conduit before the squeeze connector you have a sleeve of some sort? What is that?
Hi Kim!
You’re right… I hadn’t even noticed that. The sleeve came with the electrical conduit.
Looks like rigid conduit with a threaded coupling
I thought this was great, thanks. I couldn’t get these squeeze connectors onto the conduit, however. Maybe because I didn’t have the sleeve that yours did? I’m trying to attach it a different way. Also the weight of the lights seems to be bending my pole? I bought some heavy duty lights as well. I’ll keep trying
Hi Dan,
Thanks I didn’t realize that the conduit doesn’t always come with the sleeve. I’ll make a note of that in the post! Is the pole bending, or just leaning a little? Maybe try swagging the lights a little lower to see if that takes some of the pressure off the pole? Good Luck!
I love this!
My husband I have been trying to figure out how to do this.
Thank you for the advice.
Oh I’m so glad to help! Good luck with your project!
Hi, Jess: Wondering. On your patio light installation, how are the posts holding up? Was 24 inches deep enough to maintain vertical integrity on those supporting poles over time? Am doing this now. thx.
Hi Dennis,
The poles do lean a little bit- though they haven’t changed over the 3 years we’ve had them installed. My dad is doing this project at the moment and setting the PVC in cement. That will likely make the poles stand up straighter. Good luck!
Did you have to do anything special with the hook in the siding on the house? Has it cracked or anything?
Hi Jamie,
We just screwed the hooks in and that was it… we have Hardy Plank siding, and they have been in there for 3 years now with no problems. But I’m not sure if there might be issues in a different climate?
I am going to do this project, but I have a question. Is there an issue with the poles acting as lightning rods?
Hi! You’re actually not the first person to ask this question. It’s something I’ve never really thought about because we don’t get a ton of lightning here in Seattle. Plus we have 150-foot trees all around. So sorry that’s not very helpful- but I don’t really know. Good luck with your project!
Are the diameters on the poles correct? It seems like the conduit is wider than the PVC – but the pic has the conduit fitting inside the PVC?
Yikes you’re right. I’ll go out and measure them tomorrow and fix it in the post. Thanks for catching that!
Hi! Love this post. Wondering how they’ve been holding up over the years?
Do you find that the poles are leaning in toward the house? Or have they remained level?
Thank you! They’re holding up just fine- and I think it’s been 3 years now. But they’ve always leaned a bit. If you’re concerned about that, you could try setting them in concrete. My parents just did this, and I’m going to add pictures soon!
I searched for different DIY pole ideas for a while and found this one to be the most helpful! I just completed placing the poles and I did it with concrete! The best part is that I can remove the poles for the winter which is nice.
Thank you for this!
Thank you I’m so glad it worked out well!
Hi there. Just wondering what the purpose of the pvc is? Why don’t you just put the pole straight into the ground without it? Thanks!
Hi Rhonda,
It just helps hold the pole in place. I think if it was just in the ground (without concrete) it would work it’s way to a more tilted position. At least it would in my damp climate. You could put it in concrete if you didn’t want to use PVC and didn’t want the poles to be removable though. I hope that helps!
I am seeing comments about a sleeve for the pole. Can you please explain this more? What is the purpose and how can I get it if it doesn’t come with the pole? Thank you!
Hi Lucy, Thanks for bringing this up! I just took pictures of the sleeve today, and I asked my electrician uncle about them. It’s called a rigid coupling. If I remember correctly, the conduit I bought at Home Depot came with this piece already attached. I’m adding a close-up photo of it to the post for you, but I’m going to have to do some more looking to figure out where you can get them. I think you need the coupler to attach the squeeze connector (aka threaded clamp) to the conduit. I hope this helps!
Hi Rhonda,
I am wondering if you have any pictures of your parents project with the use of concrete to set the PVC pipes. Since I too live in Seattle I wonder if they capped their PVC pipes in winter so they do not fill up with rainwater. If so, what did they use for a cap?
Thank you for the post!
Hi Birgit! I don’t have photos of their project yet, but we usually bring the poles in and store them in the garage for the Winter months. They just sit in the PVC pipe, so it’s really easy to take them out. Hope that helps! I
Seems like the 0.75″ poles would be able to move around a lot Iot in the 1.5″ PVC pipe. Should I go with 1″ or am I missing something?
Nope you’re right. I’m in the middle of moving and haven’t had a chance to fix this but I promise I will soon. Thanks for catching it!
You made a really beautiful outdoor area and have inspired quite a few people. Your solution for holding up the string lights is elegantly simple. I love those kinds of solutions. They are so practical. I have a question. Where is the source of electrical power? Do you have an outdoor outlet?
Hi Joan,
Thank you so much! Yes I have an outlet on the side of the house next to the sliding glass door.
Thanks for this! I ended up driving 0.75×24 rebars halfway into the ground and slid the EMT onto them. The EMT with “sleeves” were a bit costly at home depot at $30 a piece but we’re easy to work with and it looks stable. I grabbed the rebar and squeeze connectors from Lowes.
Nice thanks for sharing! I would love to see a photo!
Great idea! Thank you!
When do you remove poles for winter? Do you just leave the pvc pipe in the ground and disconnect everything else? Do you cover the pvc pipe after removed? Thank you for this! We have been trying to figure it how to do this for a while!
Hi! I usually bring the poles in around the same time I put all the patio furniture away- usually sometime in October. But you could also leave them up. I don’t think it’s necessary to cover the PVC pipe. Water won’t hurt it. I hope this helps, and good luck!
Hi Jessica
I have done something similar but I used 1 inch PVC, the fit seemed perfect. I did find the poles lean over time. I decided to add a pole to the top to connect the pipes this also allows for outdoor curtains. I used makerpipe its a website that allows you to connect EMT, or you could just use connectors.
PD
Thank you for this post. I just finished hanging lights in my backyard and your ideas were super helpful.
The price of conduit was roughly $50 each at our local Home Depot, however I found almost identical metal pipes in the chain link fence section for only $18 each. Thought I would pass along the tip😊.
Oh that’s awesome. Thanks for sharing!
Nice post