How To Paint a Mural: An Inexpensive Wallpaper Alternative
Learn how to paint a mural the easy way with this simple tutorial. This DIY accent wall is a great and budget-friendly wallpaper alternative!
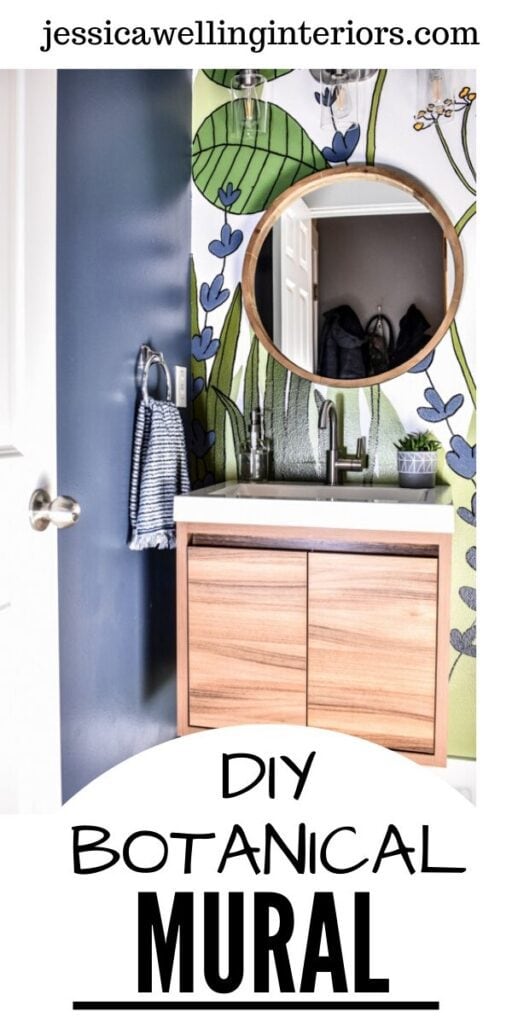
How to Paint a Mural on Your Wall…
Wintertime in Seattle always makes me want to brighten things up with fun color. So in the spirit of being bold and colorful, I decided to paint a mural on my powder room wall! It did take some time, but it really wasn’t difficult. And I did the whole project for around $30! To be fair, I did already have the tools and some of the paint on hand.
Today I’m going to show you exactly how I painted my botanical mural. One word of caution: Once you start creating cool accent walls in your home, it’s hard to stop! This is my second one, and I’m already eyeing one of the walls in the office next!
Materials
- pen and paper
- interior wall paint
- paint roller & tray
- 1.5″ wall paintbrush
- interior wall paint samples in several colors for mural (see the colors I used in the graphic below)
- Large black Sharpie paint pen
- 2-3 small artist paintbrushes
I recently got Nature Drawing & Watercolor, by Peggy Dean, and I used some of her techniques to create the plants in my mural. Not required, but I’m really enjoying this book!

Directions
1. Make a Plan
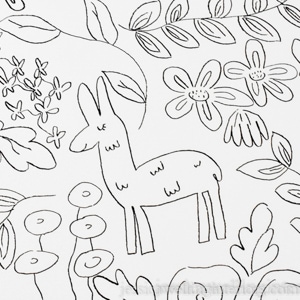
I was inspired by this photo my friend Cara Newhart at Never Skip Brunch posted on Instagram a couple of weeks ago. It’s a cool modern botanical wall mural at a grocery store.
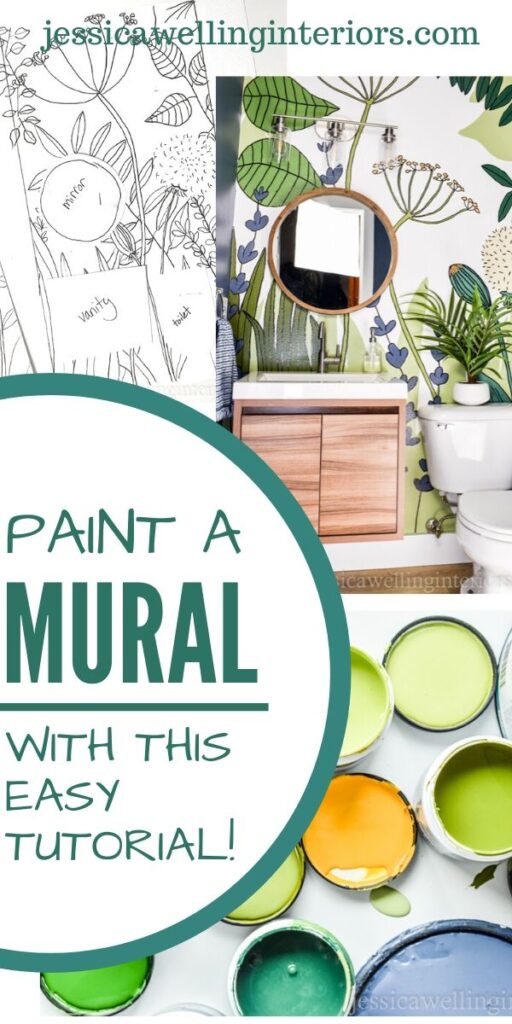
I drew a plan on a piece of paper, and cut out little pieces of paper to represent the things that will go on that wall- the toilet, vanity, mirror, and light fixture.
I wanted to be sure the most important parts of the design wouldn’t end up behind the toilet or vanity. I also wanted to create a balanced look across the whole wall, which means no huge blank spaces.
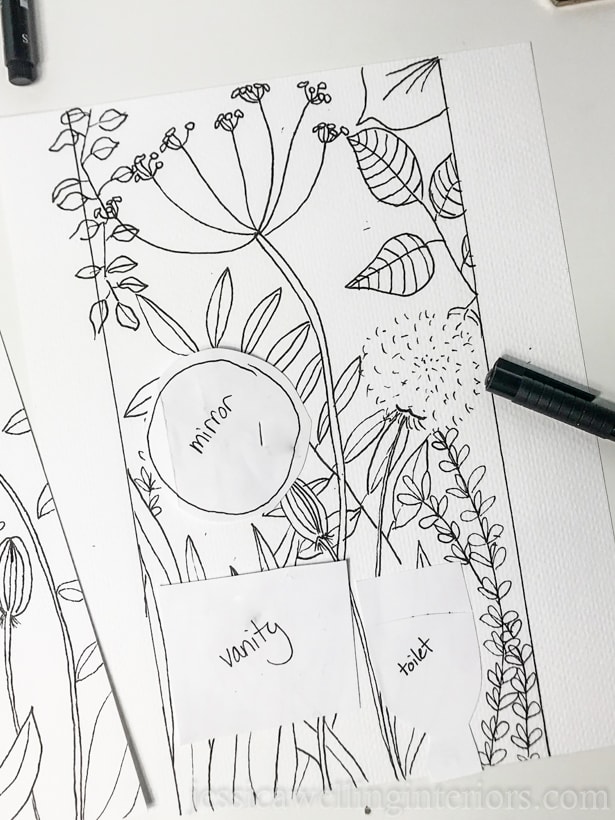
2. Choose Your Paint Colors
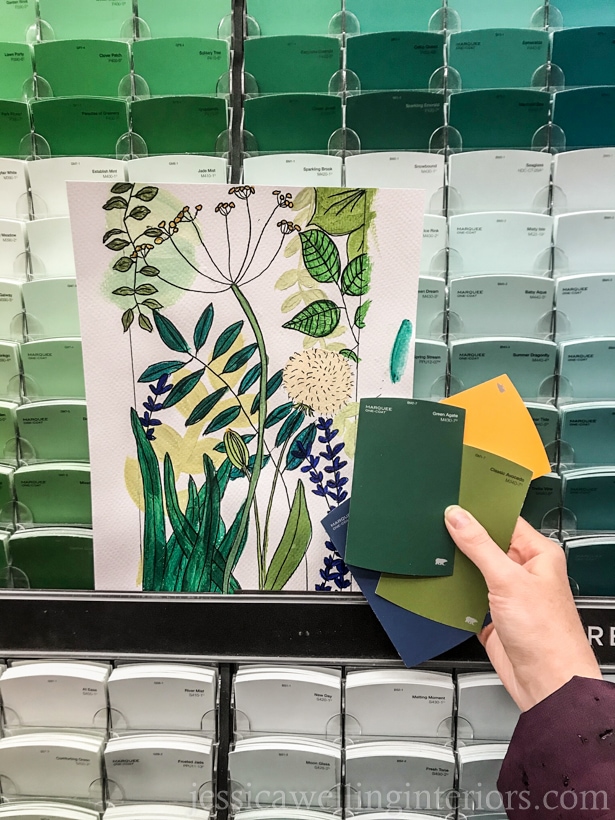
Next, I used some acrylic paints I already had to experiment with colors. As you can see below, I started with the background shapes, and layered the colors as I moved to the foreground.
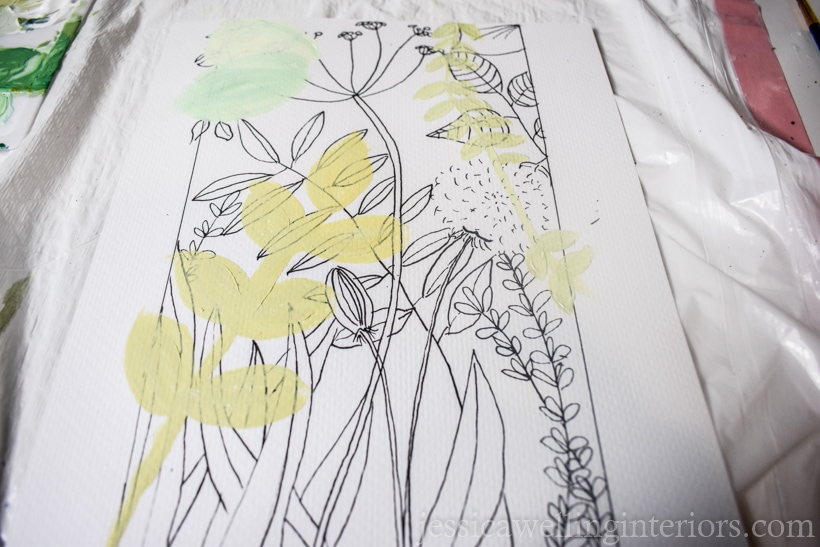
I knew I wanted to use several different greens, and since the rest of the walls were already painted a dark blue, I wanted to bring a little bit of that color in as well.
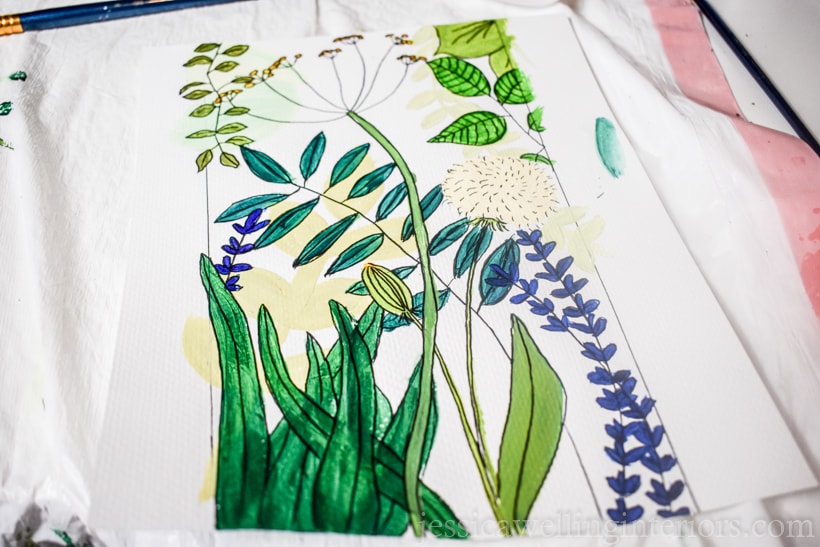
Next, I headed to Home Depot for some paint samples. These Behr paint samples are around $5.00 each, and they’re the perfect size when you just need a small amount of each color. You’d probably be horrified if you saw how many paint samples I have in my garage!
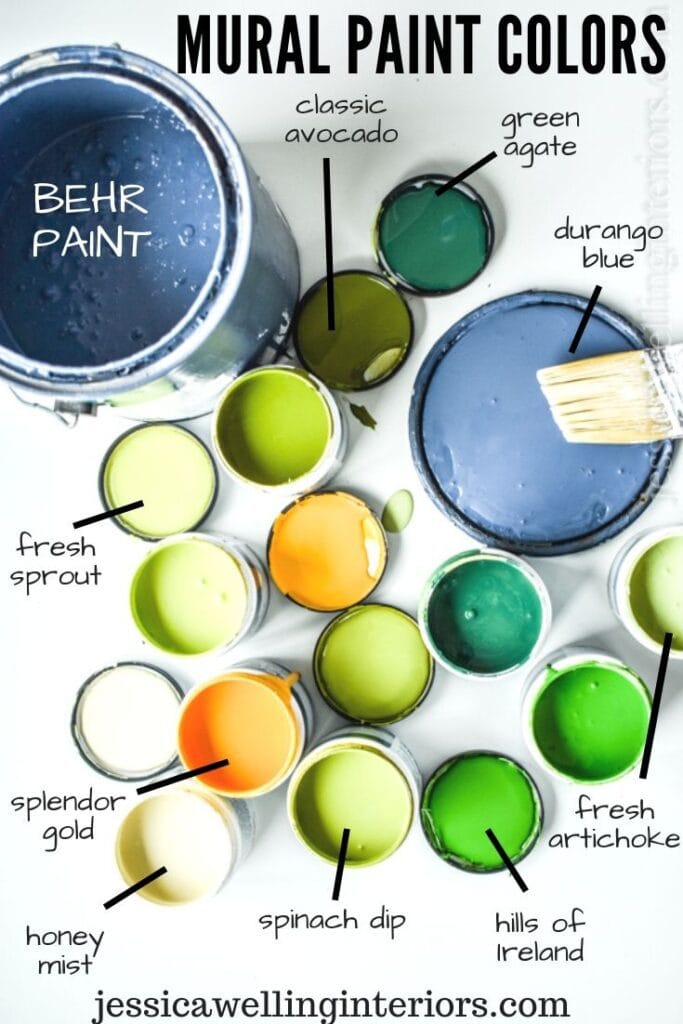
Here are the colors I ended up using. Hills of Ireland was a little too bright once I got it home, so I toned it down by mixing in some Classic Avocado.
3. Remove Everything From the Wall
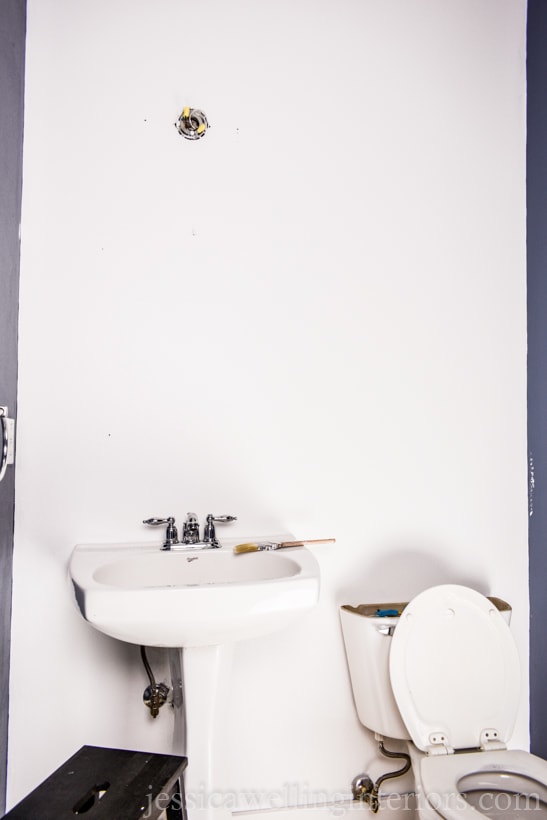
This is actually phase two of my powder room makeover, so I had to remove the mirror and light fixture from the wall before painting. The pedestal sink is going away too, but I wanted to get started, so I didn’t wait for it to be gone.
4. Paint the Wall
I painted the background Polar Bear from Behr (Home Depot’s paint brand). This took two coats, since it had been a medium blue color before.
5. Paint the Background Foliage
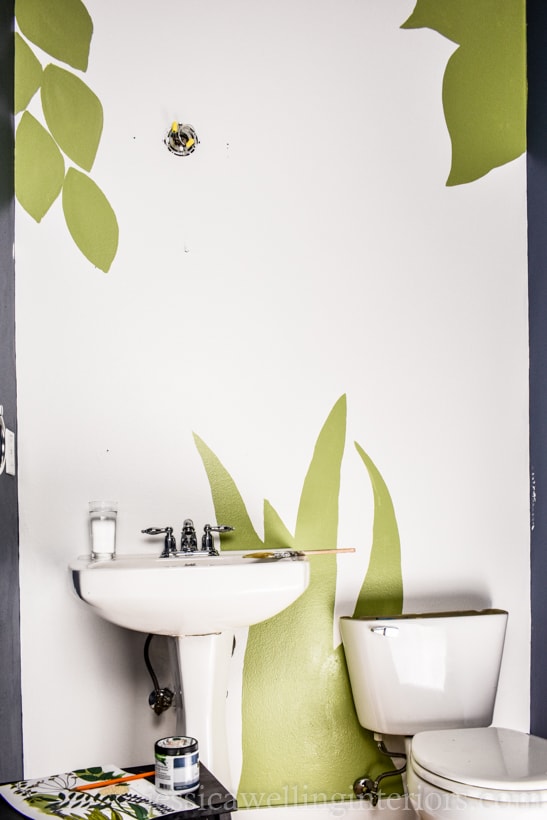
I wanted to have some foliage in the background that wouldn’t be outlined in black to create some depth in my mural. So I painted some grass at the bottom of the wall and some leaves in the upper corners.
6. Paint the Stems
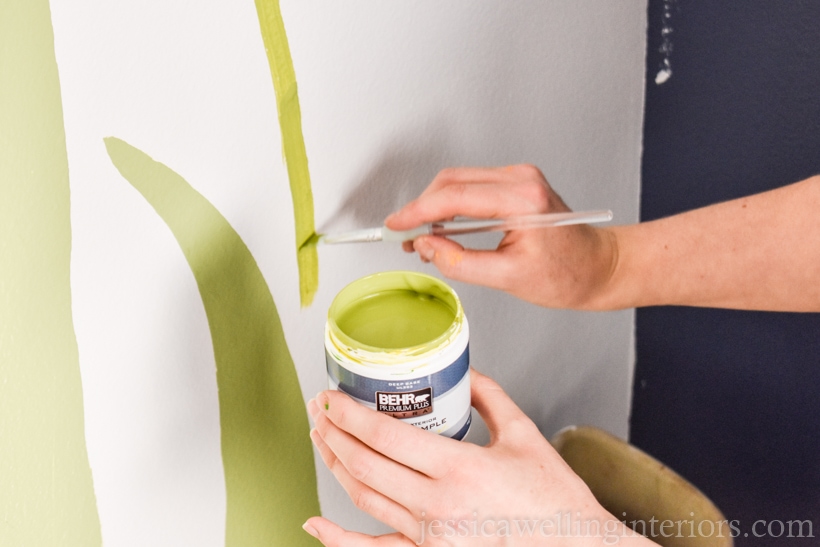
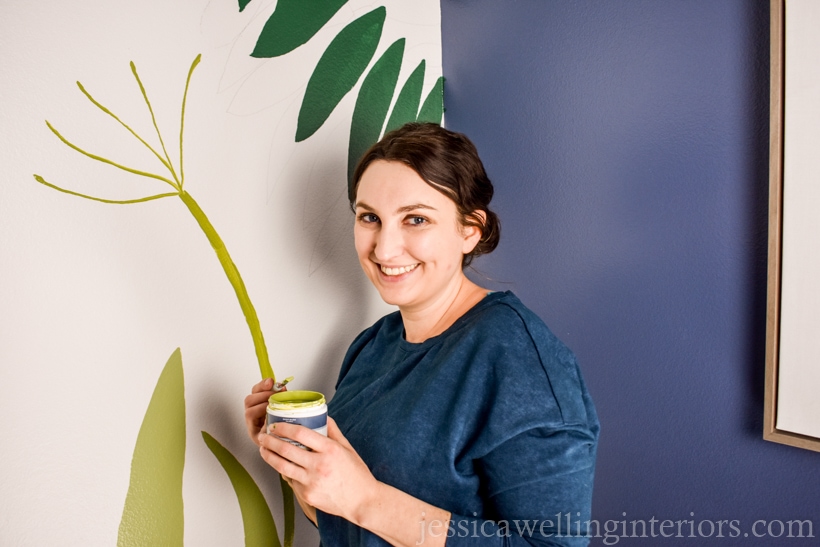
Next, I painted the stems with a small artist’s brush. This was all about getting everything placed where I wanted it on the wall. Once everything was in place, I ended up with a giant gap in the upper middle of the wall. So I added a second, taller stem of the plant with the yellow flowers.
7. Outline the Leaves & Foliage
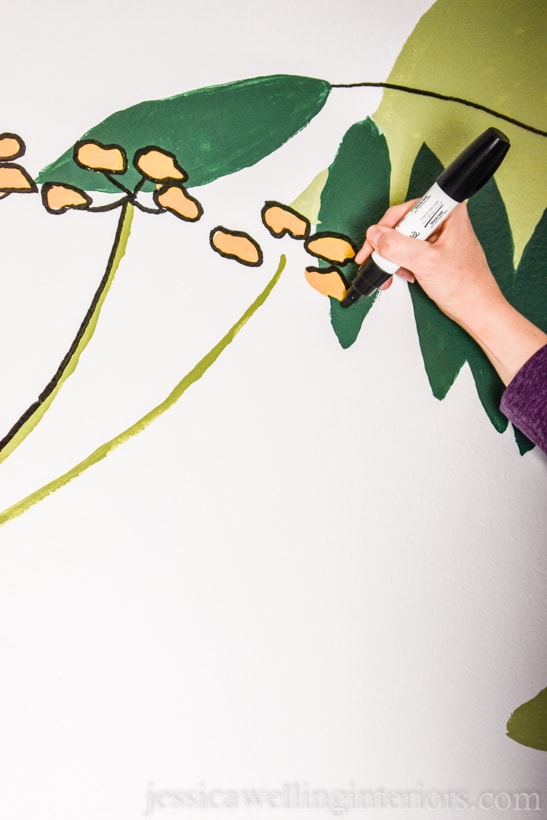
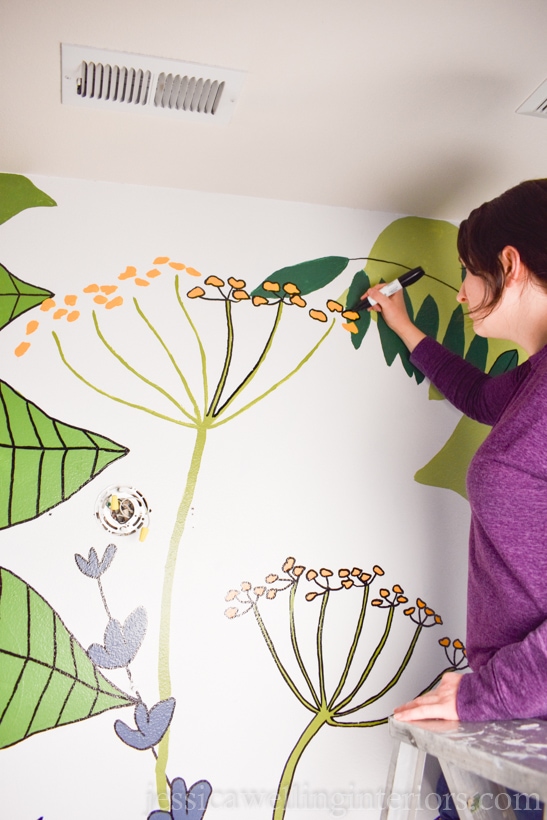
Once everything was dry, I used a bold-tipped black Sharpie paint pen to outline everything.
I was originally planning to use a regular Sharpie like I did on the girls’ bedroom accent wall, but I found that a regular Sharpie really didn’t work well on this satin enamel paint. Once I had switched over to the paint pen, it was smooth sailing. And I was surprised that a single pen lasted for this entire project!
8. Clean Up the Edges
Getting clean edges on a mural can be tricky, and I wanted my design to look like it continued off the wall… just like wallpaper would. So I just went all the way to the edges and corners, and didn’t really worry about getting a bit of paint on the blue adjacent walls.
At the end, I went back with blue paint to make nice clean lines.
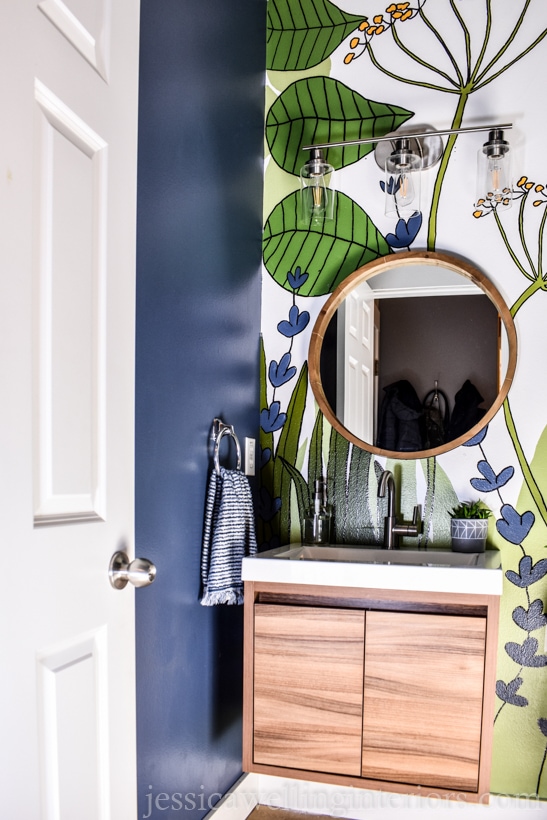
Botanical Mural Reveal!
Ok, are you ready to see it finished?
More Accent Wall Ideas…
60 Stunning Floral & Botanical Wallpaper Prints!
Create an Accent Wall with Easy DIY Faux Wallpaper!
25 Modern Moroccan Tile Stencils


Love your ideas
Thank you!
I love your site! Thanks for the information
Thanks so much Lisa!
Thanks for sharing this! We just resurfaced our wood floor in our guest room and we want to add a personal touch to the wall to really complete the look. We are not the most artistic and we’ve never attempted anything like this before so your tips will definitely come in handy.
Oh that’s great! I would love to see how it turns out. Best of luck!
Fantastic!!!!
Curious- what did you do with the opposite wall of the mural wall? Did you hang any art, or put anything on that wall/floor?
And is there a ceiling fixture?
And what color and finish did you paint the ceiling with?
Thank you!!! Love your site!
Thank you so much! The other side of the bathroom had the vanity and mirrors so it wasn’t anything special. I would show you a photo, but I don’t live in that house anymore!
Love this! I am looking to do a mural in a room and this is great inspiration. Coincidentally, I have just purchased the book by Peggy Dean & it is hugely useful!
Oh that’s perfect! I would love to see a pic when you’re done!