
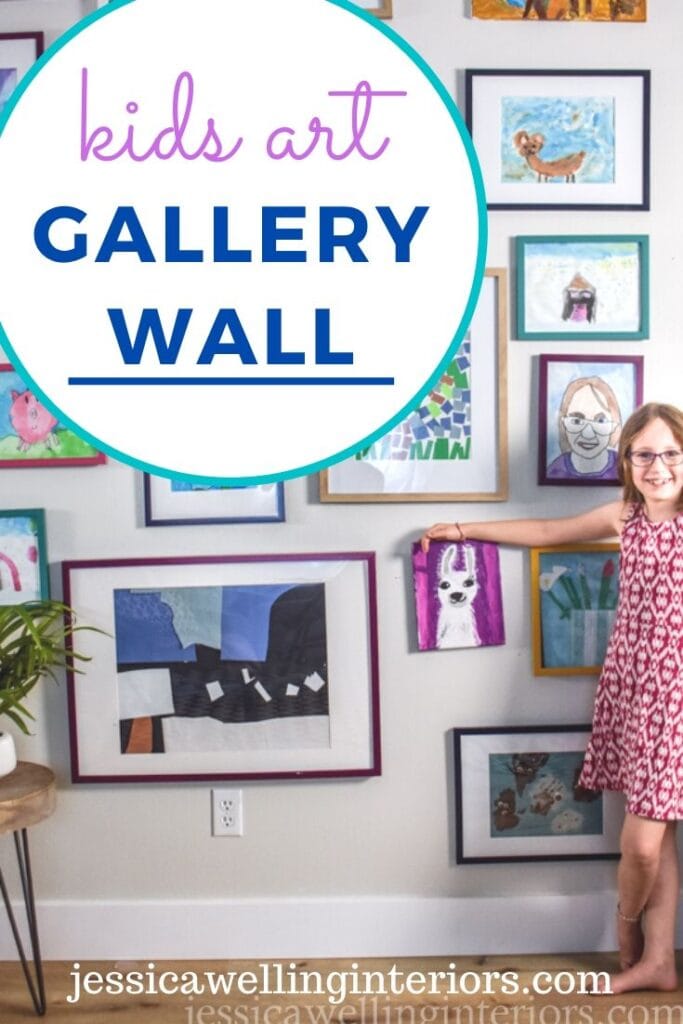
Kids’ Art Display Wall
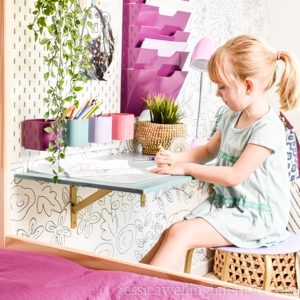
Create a fun and colorful gallery wall as a kids art display! It’s perfect for the playroom or kids bedrooms, and it will get the art off the fridge!
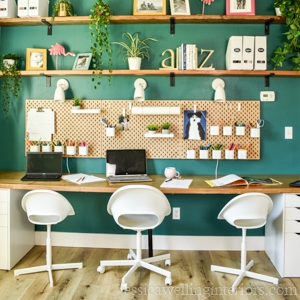
My June & July project is a new distance learning space for the kids this Fall. I’ve always wanted to put together a gallery wall to display all their artwork… and I finally did it- with a bit of help from Rust-oleum!
This is going to be a fun, colorful space, and so it needed a fun colorful art gallery wall. I’ve had a big box of old picture frames in the back of my closet for more years than I’m willing to admit. And they’re finally getting to see the light of day!
Here’s what I started with:
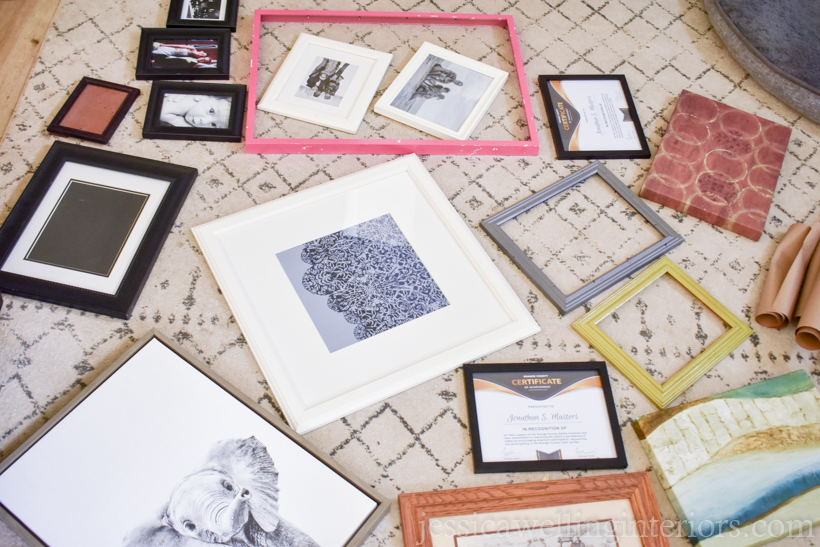
And I bought several more inexpensive frames from Amazon to round out the gallery.
Materials
- old or new picture frames (8×10 and larger is best for hanging on the wall)
- 120 grit sandpaper
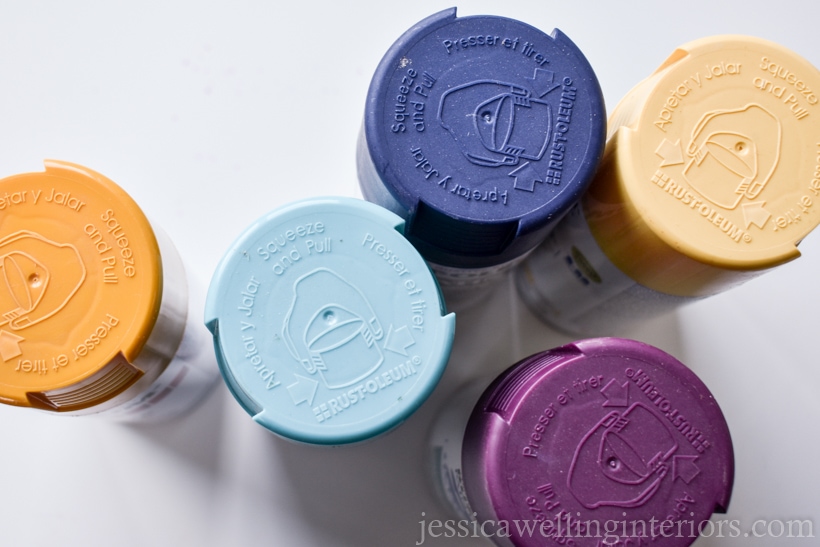
- Rust-oleum spray paint in multiple colors (I used baby pink, aubergine, navy, )
- paper towels or rags
- drop cloth or cardboard
- hammer
- nails
- picture-hanging wire
- picture hangers
How To Make a Kids’ Art Display…
1. Remove the glass, matting, and Backing
First, carefully open the back of each frame and remove any photos or art, matting, and backs to the frames. Keep the pieces for each from together- it will make it much easier to figure out which pieces go with which frame later!
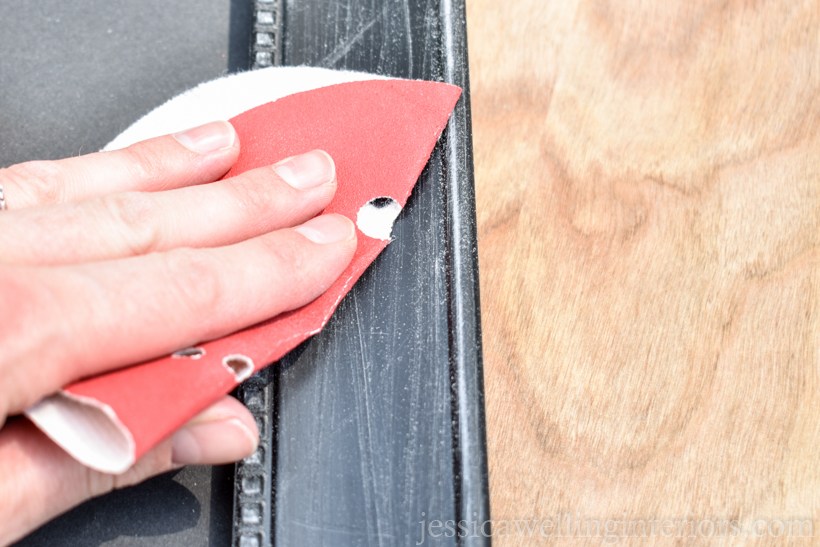
2. Lightly Sand the Frames
I used 120 grit sandpaper to gently rough up the surfaces of the frames. Some of my frames were made of MDF, some were wood, some were even plastic. I sanded them all. This step is important-do not skip it, or you’re likely to have your spray paint chipping off your frames from day one. No bueno.
3. Wipe the Frames
Use a damp cloth or paper towel to wipe down the frames and remove any dust before painting.
4. Spray The First Coat
Shake the can of spay paint well before you begin. Then hold it about 10″ from your target, and move it back and forth, never stopping in one spot. I try to overshoot the edges so I won’t create extra paint buildup on the sides.
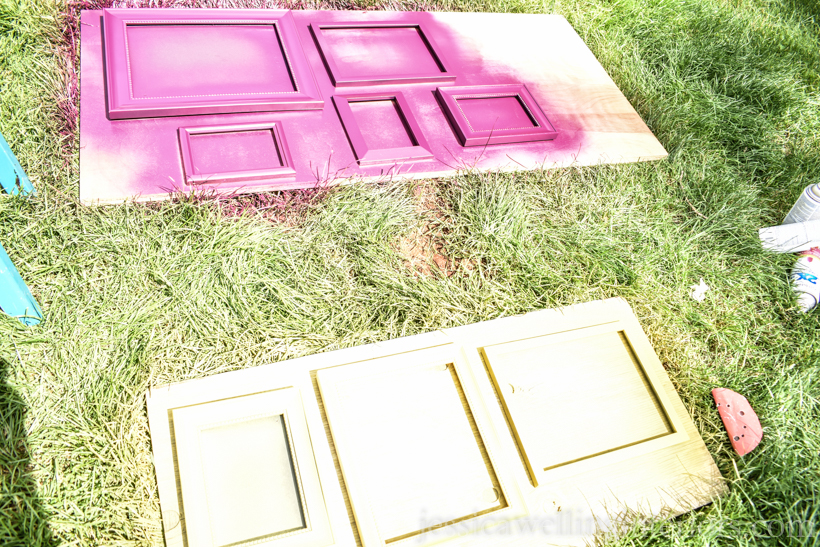
The first coat should be very light, and you won’t get full coverage.
5. Spray Paint the Second Coat
Give it about ten minutes to dry, then come back and go back over it, using the same motion as before. This time you’ll want to get full coverage, but be sure the paint doesn’t get too thick in any spots. You can always come back a third time if necessary.
Be sure to let everything dry overnight before replacing the glass.
6. Assemble the Picture Frames
Replace the glass, matting, and backing, and add the art to the frames. For this gallery wall, I tried to use frames and art with coordinating colors where possible.
7. Trace Your Frames
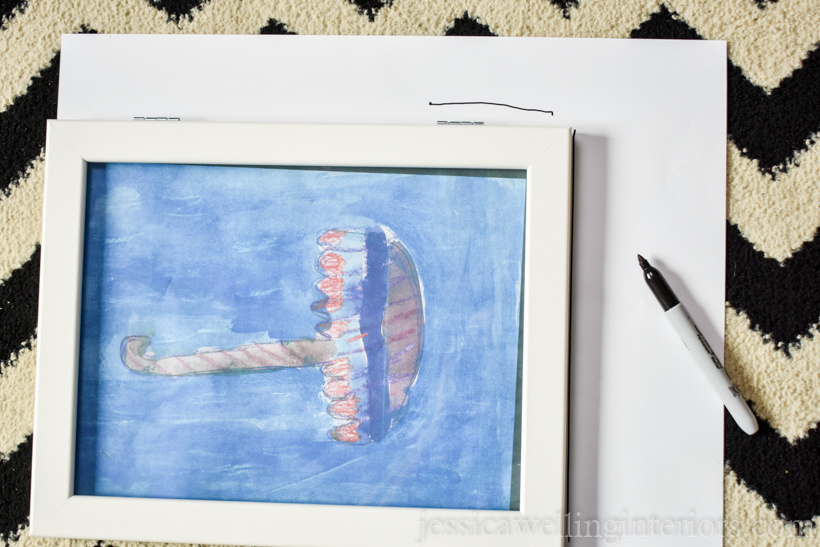
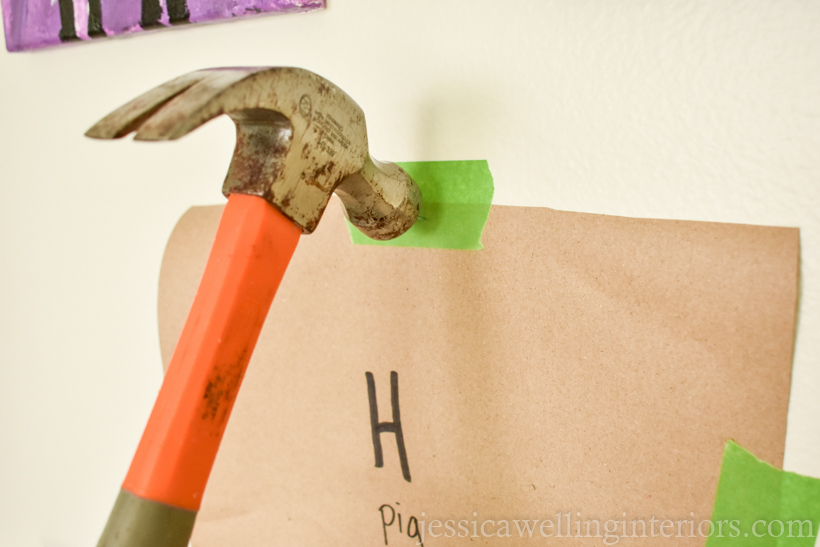
To make a gallery wall without a bunch of extra holes in the wall, I recommend tracing each of your frames onto wrapping paper or butcher paper.
I always label the framed art itself with a post-it and the wrapping paper with the same letter. Be sure the piece of wrapping paper is oriented the same direction as the actual framed art- in this case, portrait.
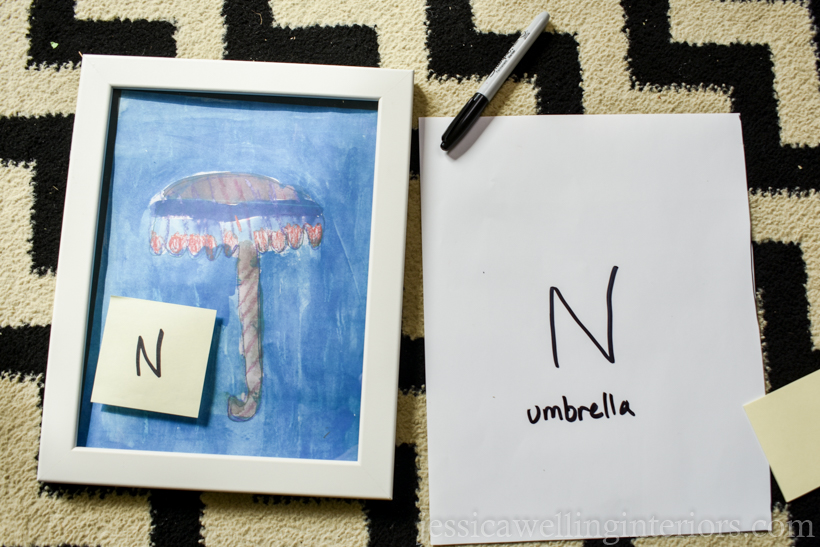
If you’re just hanging a few pictures, this step isn’t as important. But if you’re using more than 6 or so, trust me, you’ll need to keep track of what goes where!
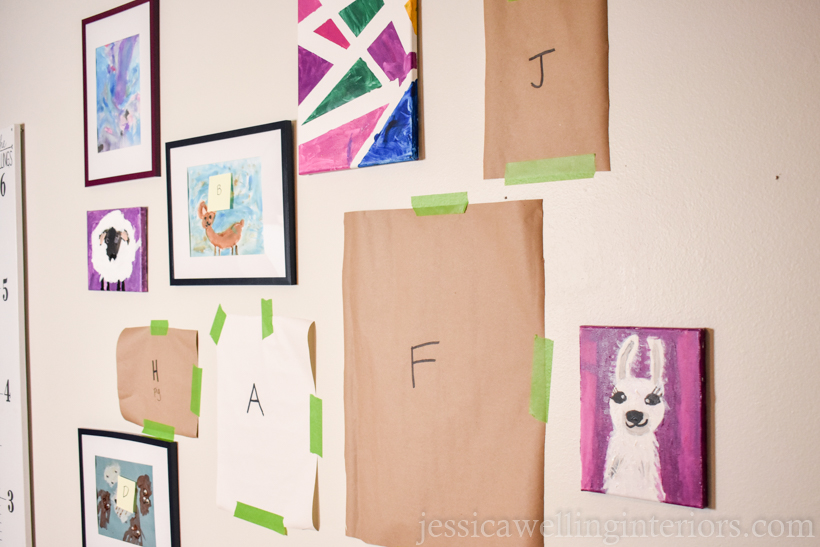
8. Arrange Your Gallery On the Wall
Now tape each piece of paper to the wall. I used masking tape but Scotch tape would be better if you have it. I usually start with a couple of the larger frames, and then fill in around them with smaller ones.
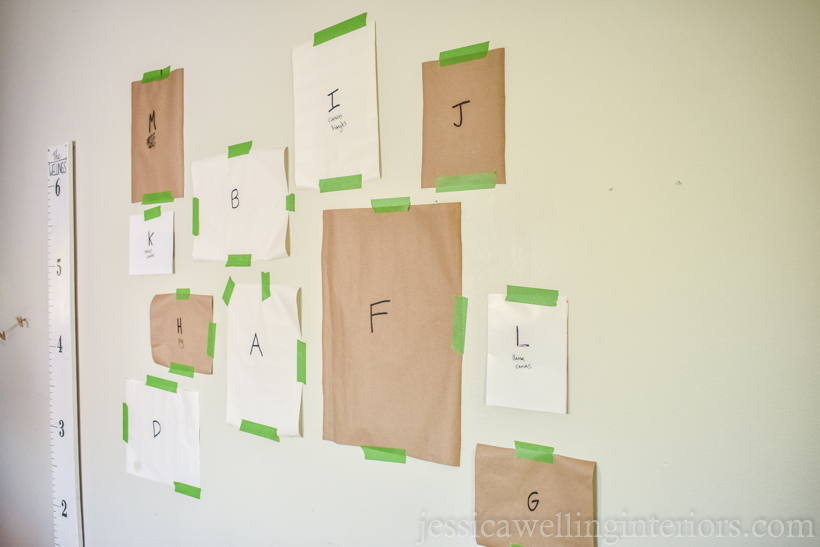
Since I’m working with several different colored frames and multi-colored artwork, I’m trying to keep the look fairly random. So I will try to sprinkle a variety of sizes, orientations, and frame colors into the mix, with no groups that are all the same. I’m also including a few unframed canvas paintings.
It’s easy to move the paper templates around to get it just right before you start making holes in the wall.
8. Hang Your Frames
Different frames call for different mounting hardware. The simplest, lightest frames just get a simple nail or hook. The bigger, heavier ones will need picture-hanging wire.
Truth be told, I’ve always been a bit intimidated by picture-hanging wire. But this time I did it myself and it’s actually really easy. Seriously anyone can do it. So no more excuses waiting around for hubby to hang up the wall art on the wall that’s been bare since you moved in 8 years ago!
10. Make Adjustments
There will almost always be a few adjustments to make. That’s totally fine. A couple of marks on the wall? No big deal! Just grab some spackle and a little paintbrush and touch them up when you’re all finished. It’s seriously not a big deal!
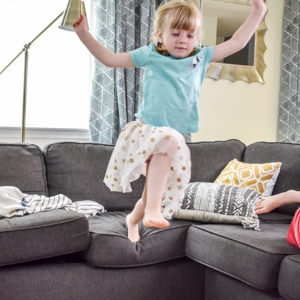
The Kids Art Gallery Wall Reveal…
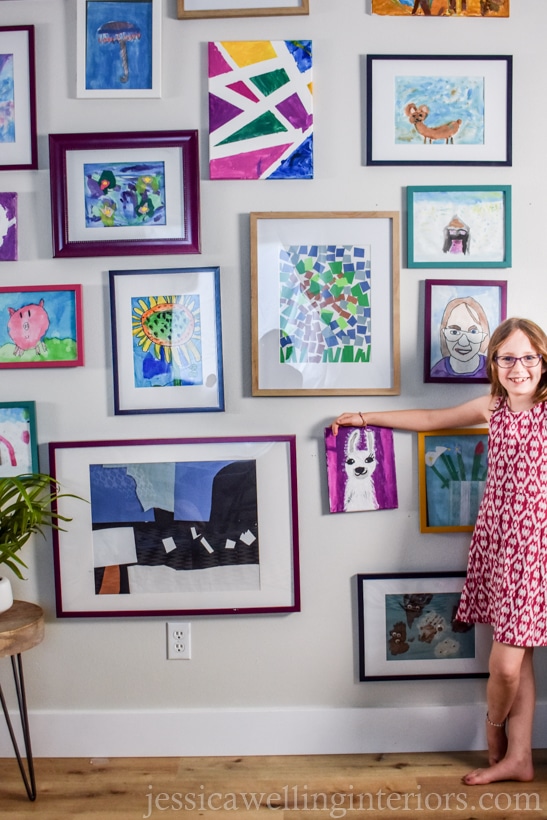
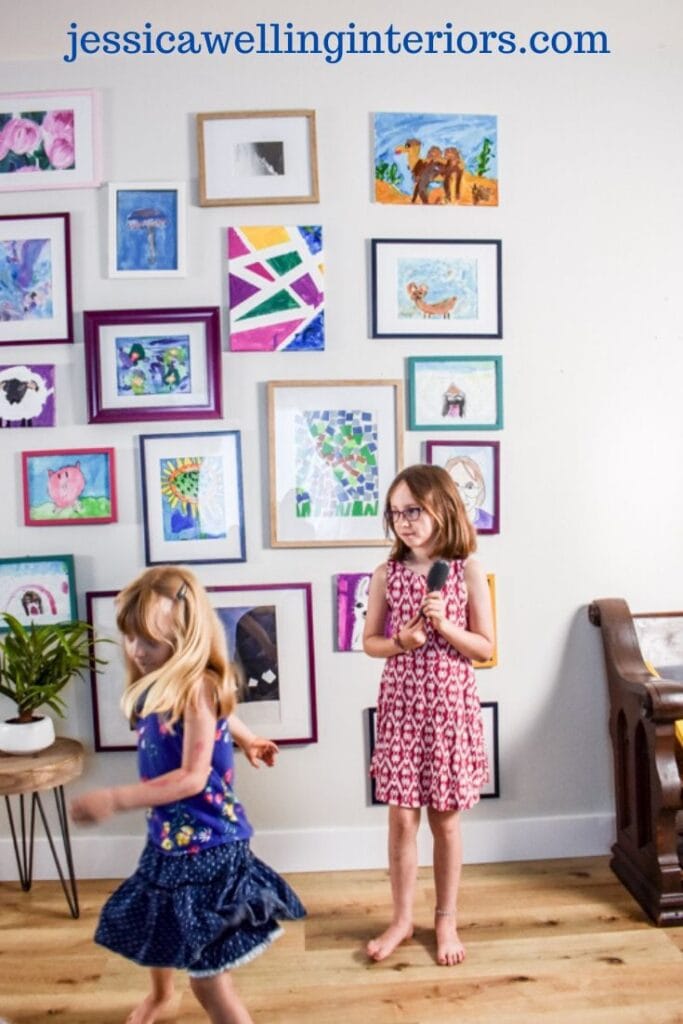
Let the dance party begin!!!
UPDATE: The distance learning/homeschool desk is finished! Check it out here!
More Decor Ideas for Kids…

How to Design A kid-Friendly Home

3 Comments