The 12 Wax Melt Recipes of Christmas
Make your own scented wax melts this Christmas with these 12 all-natural recipes! They make fabulous gifts too!

Natural soy wax melts are fun and easy to make, they’ll make your home smell like jingle bells and Santa farts, and you can give them to pretty much everyone on your list! I’ve developed and tested these 12 recipes with some of my favorite Holiday fragrance oils (you can find a list here) and festive wax molds.
First I’m going to give you the basic directions, and then I’ll list any special instructions and supplies needed under each recipe below. You can also refer to the basic soy wax melts recipe card at the bottom of this post. Enjoy!
Basic Soy Wax Melts Recipe
Tools

B. fork
E. silicone wax mold (here’s a list of my favorite inexpensive ones from Amazon)
Ingredients

- Soy wax (This is my favorite brand from Amazon)
- Wax dye (I love this multi-color kit, and a little goes a long way!)
- Candle fragrance oil (there are links to the oils used in each individual recipe below, and here’s a list of my favorite Christmas fragrance oils)
Directions
1. Measure the wax.
Measure the soy wax flakes into a large glass measuring cup or other microwave-safe container.

2. Melt the wax.
Melt the wax in the microwave, starting with 1-minute intervals and taking it out the stir each time. Once it’s mostly melted, go down to 30-second intervals.
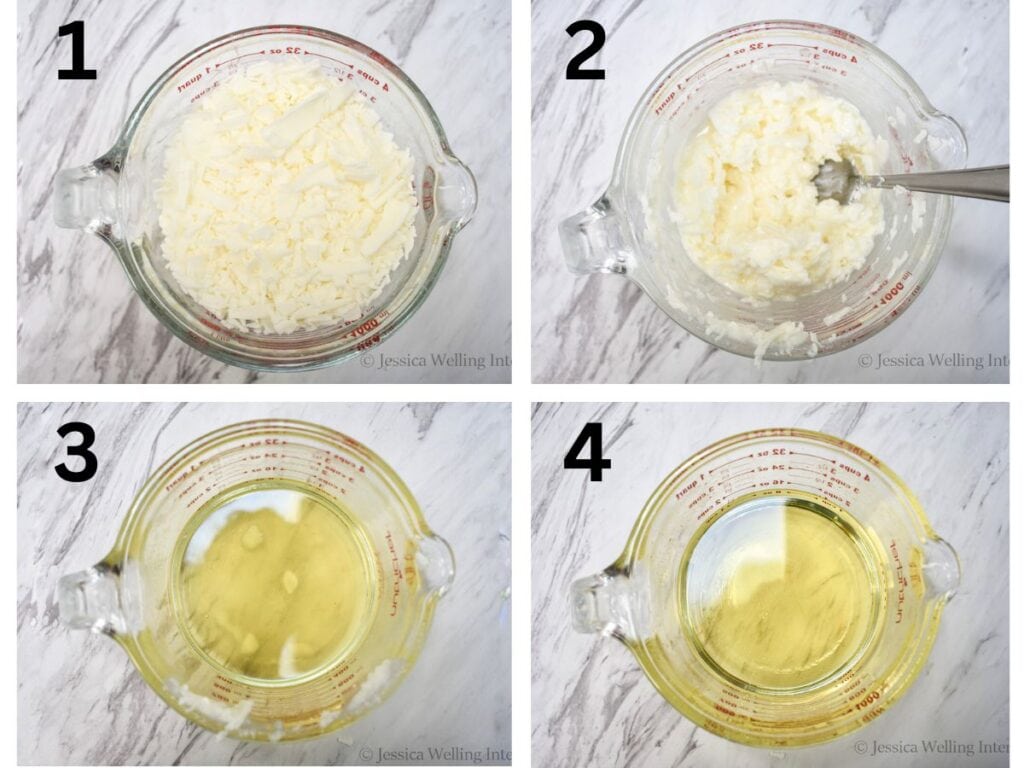
3. Add wax dye.
If you’re adding wax dye, heat the wax to between 180-190 degrees. Sprinkle the dye into the wax. It should spread and melt on the surface. Stir well. Remember that soy wax is opaque when hard, so the color of your finished melts will be significantly lighter than the melted wax.
4. Add fragrance oil.
Let the wax cool to between 175-185 degrees (if necessary) and add the fragrance oil. Stir well.
5. Fill wax molds.
Use a plastic eye dropper to fill each cavity of the mold with hot wax.
6. Let them cool.
Let them cool undisturbed until they’ve hardened completely. This may take up to an hour with larger melts.
7. Remove from molds.
Carefully pop each wax melt out of the mold.
8. Let them cure.
Seal them up in an airtight container or plastic bag and let them cure for about two weeks before use.
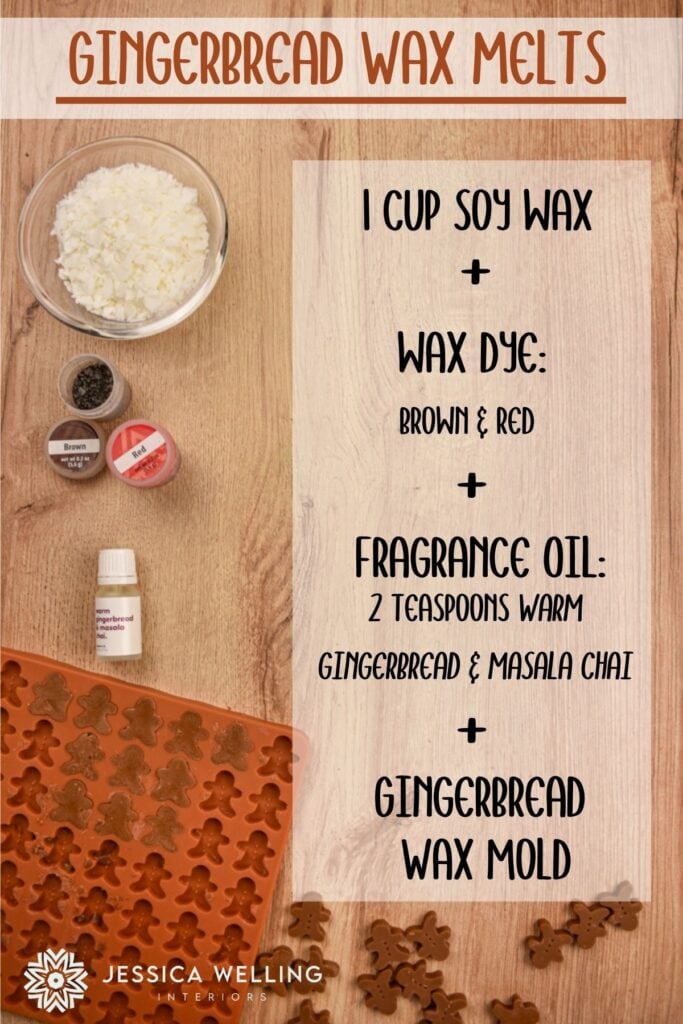
Gingerbread Soy Wax Melts
These adorable melts are a crowd favorite, and who doesn’t love the smell of freshly-baked gingerbread?

Materials
- soy wax
- brown & red wax dye (I like this kit from Amazon)
- Warm Gingerbread & Masala Chai fragrance oil
- gingerbread men wax mold
- plastic eye dropper
Directions
This one is pretty straightforward. Just follow the basic recipe. A few of the melts will likely break when you remove them from the mold, but you can always re-melt them if it bothers you.
Winter Berry Wax Melts
These holiday soy wax melts smell amazing, and they’re one of the easiest kinds to make, as you just pour the hot wax into the clamshell mold.


Materials
- soy wax
- red wax dye (I like this kit from Amazon)
- Jingle Bell Berry fragrance oil
- whole cloves
- bits of dried orange peel
- clamshell wax melt molds
- plastic eye dropper
Directions
Follow the basic recipe. Pour the hot wax into the clamshell molds, leaving about 1/8 inch of space at the top, and reserving a little wax in the measuring cup. Let the wax cool completely. Then re-heat it in the microwave. pour just enough to cover the top surface. Then place cloves and bits of orange peel on the surface. Let it cool.
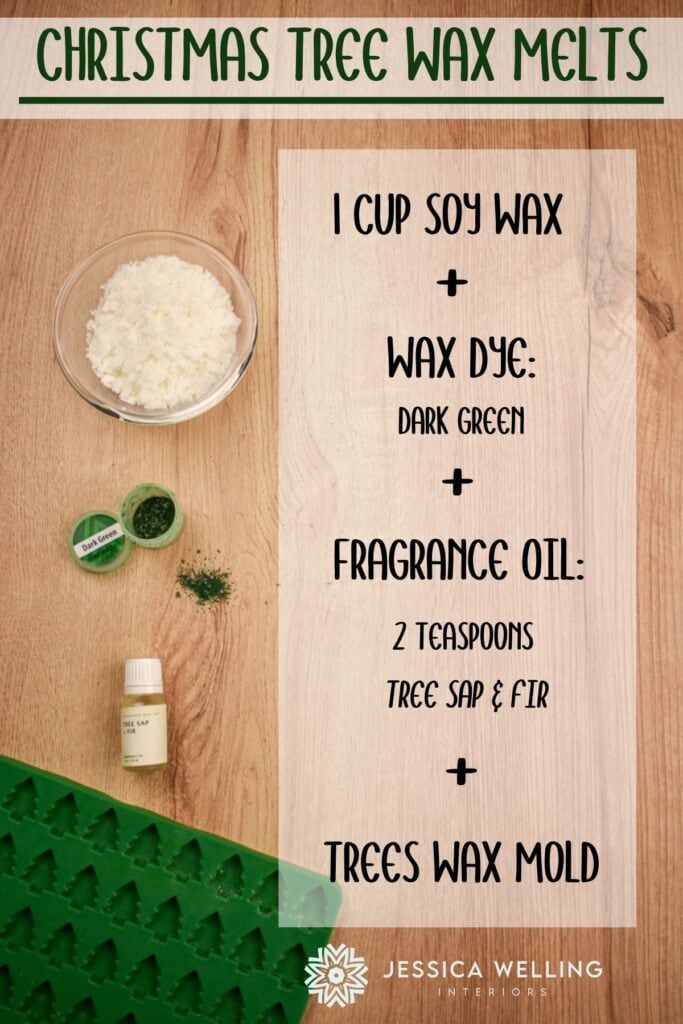
Christmas Tree Soy Wax Melts

Materials
- soy wax
- dark green wax dye (I like this kit from Amazon)
- Tree Sap & Fir fragrance oil
- Christmas trees wax mold
- plastic eye dropper
Directions
If you want to make your melts tri-colored, follow the basic soy wax melts recipe through the step where you add the fragrance oil. Then divide the wax into 3 separate microwave-save bowls (they don’t really need to have a pour spout for this one). Add 2-3 pinches of dark green wax dye chips to one, one large pinch to a second, and leave the third clear (white). Then use the eye dropper to fill each cavity of the silicone Christmas tree mold. I recommend starting with the white if you don’t want to mix your colors. These ones are a little fragile since they’re so small, so be careful removing them from the mold.
Peppermint Stripe Soy Wax Melts


Materials
- soy wax
- red wax dye (I like this kit from Amazon)
- Peppermint Twist Fragrance Oil
- circle wax mold
- 2 plastic eye droppers
Directions
Follow the basic recipe through the step where you add the fragrance oil. Then pour about 1/3 of the melted wax into a separate microwave-safe bowl or measuring cup. Add red wax dye to the smaller portion of wax. Use an eye dropper to fill each mold cavity about 1/3 of the way with the clear (white) wax and let it cool. Then use a second eye dropper to add a thin layer of the red wax and let it cool. Finally fill each cavity the rest of the way with clear (white) wax.
Santa Farts Wax Melts


Materials
- soy wax
- Santa Farts fragrance oil
- mini stars wax mold
- gold mica glitter
- makeup brush
- plastic eye dropper
Directions
Follow the basic recipe. After you remove the wax melts from the mold, use a clean makeup brush to dust each one with gold mica glitter.
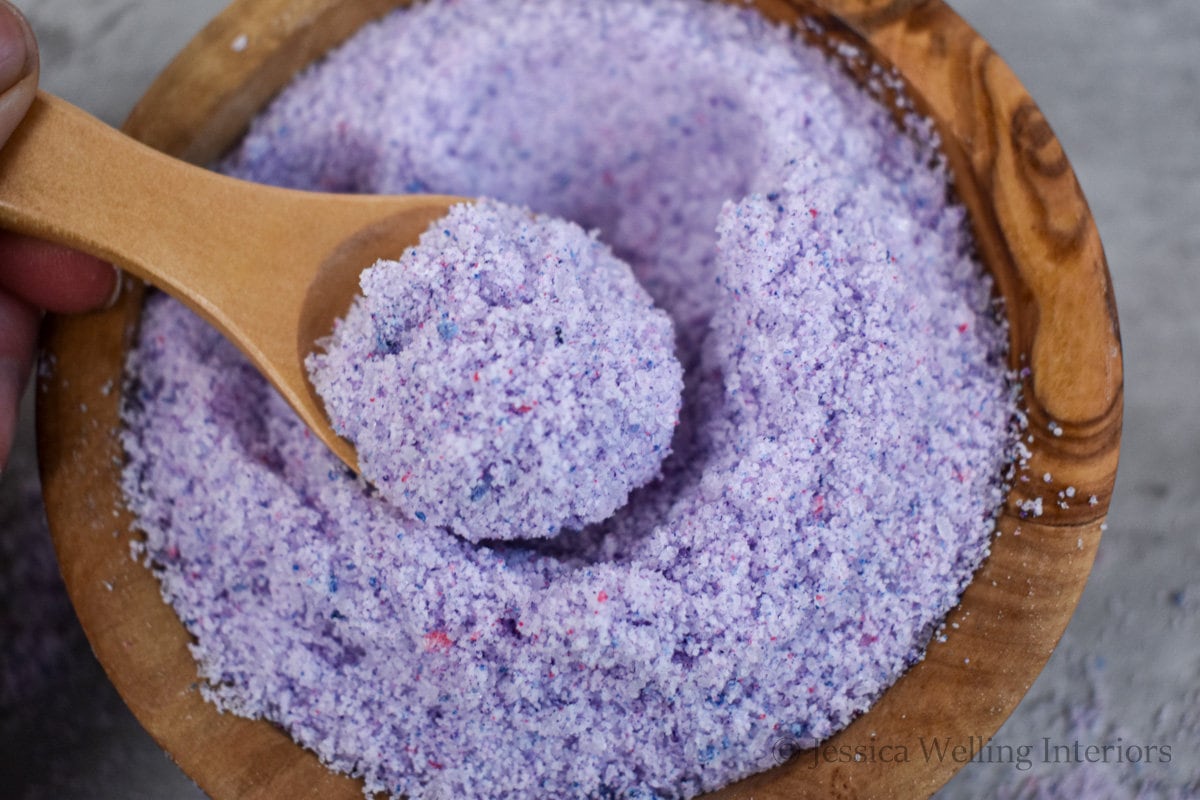
Snowflake Wax Melts


Materials
- soy wax
- dark blue wax dye (I like this kit from Amazon)
- Jack Frost fragrance oil
- snowflakes wax mold
- white mica glitter
- makeup brush
- plastic eye dropper
Directions
Follow the basic recipe through adding the fragrance oil. Then divide the melted wax evenly into 3 microwave-safe bowls. Add a few pinches of dark blue wax dye to one, just one pinch to another, and leave the last one clear (white). Starting with the clear wax, use the eye dropper to fill 1/3 of the mold cavities. Then do the lighter blue, and then the darker. Let them cool completely and remove them from the molds. Use a clean makeup brush to dust them with mica glitter.
Tree Farm Wax Melts
These pretty soy wax melts are quick and easy, and they’ll make your house smell like a fresh cut tree. Not quite the same as the real thing, but pretty close and no pine needles all over the floor or pitch on your hands!


Materials
- soy wax
- dark green wax dye (I like this kit from Amazon)
- Pine Plantation fragrance oil
- circle wax mold
- plastic eye dropper
Directions
Follow the basic recipe. Use the eye dropper to fill each cavity of the mold most of the way, leaving about 1/8″ of space at the tops. Let this cool completely. Then come back and fill them the rest of the way. While the wax is still warm, sprinkle crunched up soy way flakes over the top.
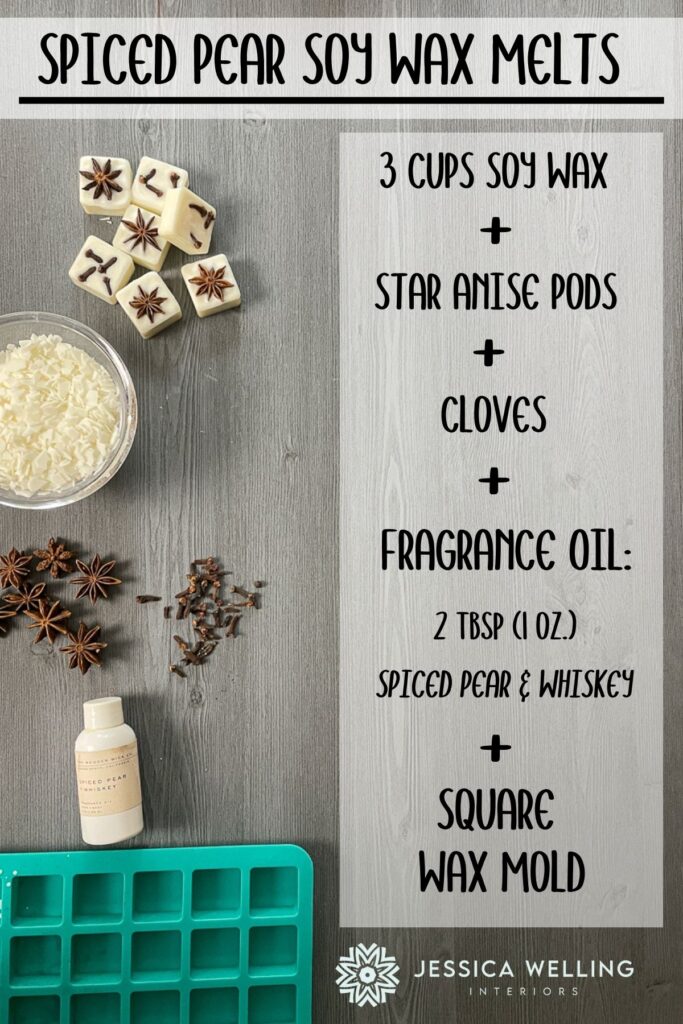
Spiced Pear Wax Melts

Materials
- soy wax
- whole star anise pods
- whole cloves
- Spiced Pear & Whiskey fragrance oil
- square wax mold
- plastic eye dropper
Directions
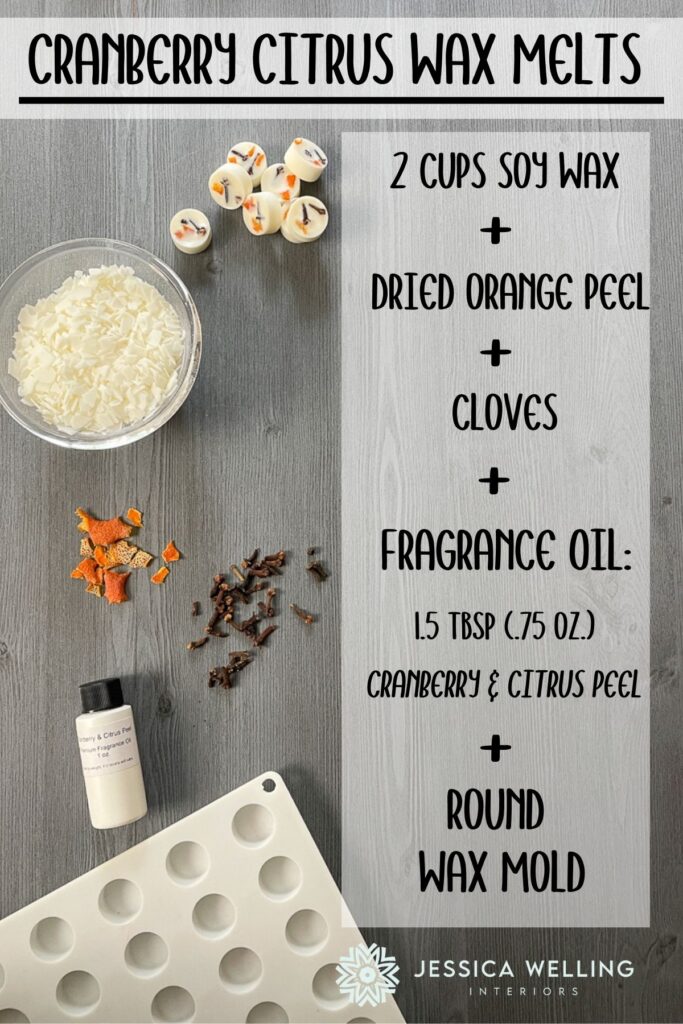
Cranberry Citrus Wax Melts

Materials
- soy wax
- Cranberry & Citrus Peel fragrance oil
- whole cloves
- dried orange peel
- circle wax mold
- plastic eye dropper
Directions
Follow the basic recipe, omitting the wax dye. Use an eye dropper to fill each cavity in the mold, leaving about 1/8″ of space at the top of each. Let it cool. Then fill each cavity the rest of the way and place cloves and bits of orange peel on the tops while the wax is still hot.
Peppermint Snow Soy Wax Melts


Materials
- soy wax
- red wax dye (I like this kit from Amazon)
- Peppermint Twist Fragrance Oil
- square wax mold
- plastic eye dropper
Directions
Follow the basic recipe and fill the mold to about 1/8″ from the top, reserving some wax in the measuring cup. Let it cool completely. Re-melt the remaining wax and use the eye dropper to fill the mold to the top. While the top layer of wax is still warm, sprinkle soy wax flakes on top.
Spiked Eggnog Wax Melts


Materials
Directions
Follow the basic instructions, omitting the wax dye. Fill the mold cavities 3/4 of the way with hot wax and let it cool. Pop the remaining wax back in the microwave for 30 seconds to re-melt it if necessary and use the eye dropper to fill the cavities the rest of the way. Grate the whole nutmeg over the melts and let it cool completely before removing them from the molds.
I hope you enjoyed these recipes! Be sure to pin this post so you can come back to it later!

More DIY Candles & Wax Melts…
The Best Christmas Candle Fragrance Oils (Tested & Reviewed!)

How to Make Wax Melts Smell Stronger

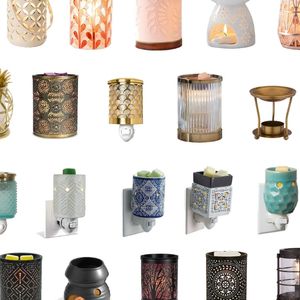
The Best Wax Warmers on a Budget
The Best Wax Melt Molds for Every Occasion