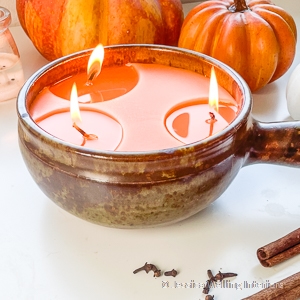
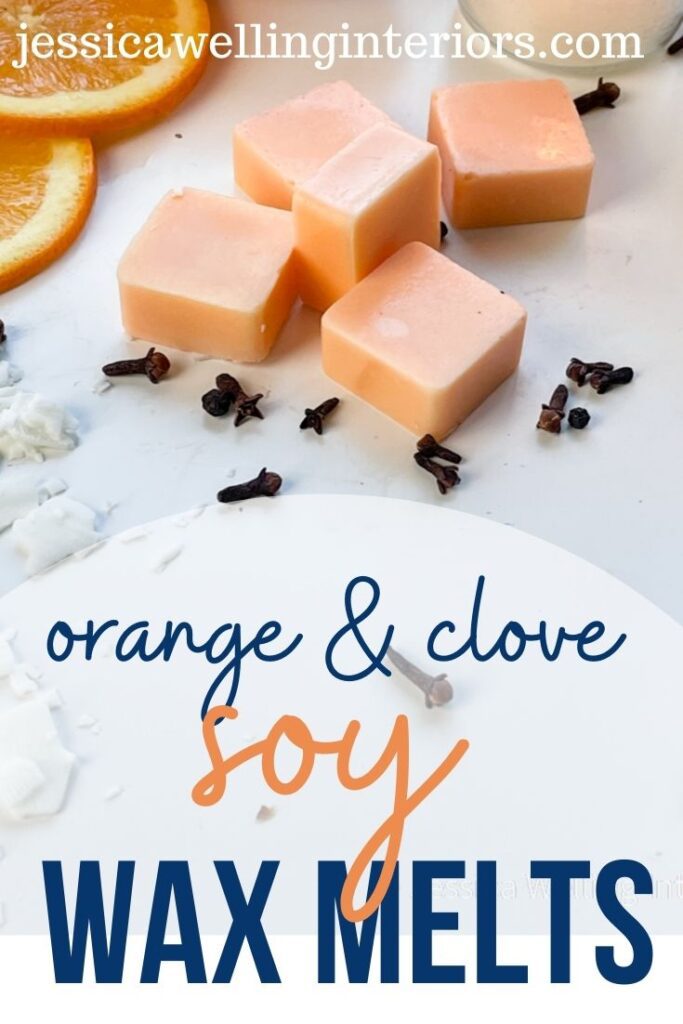
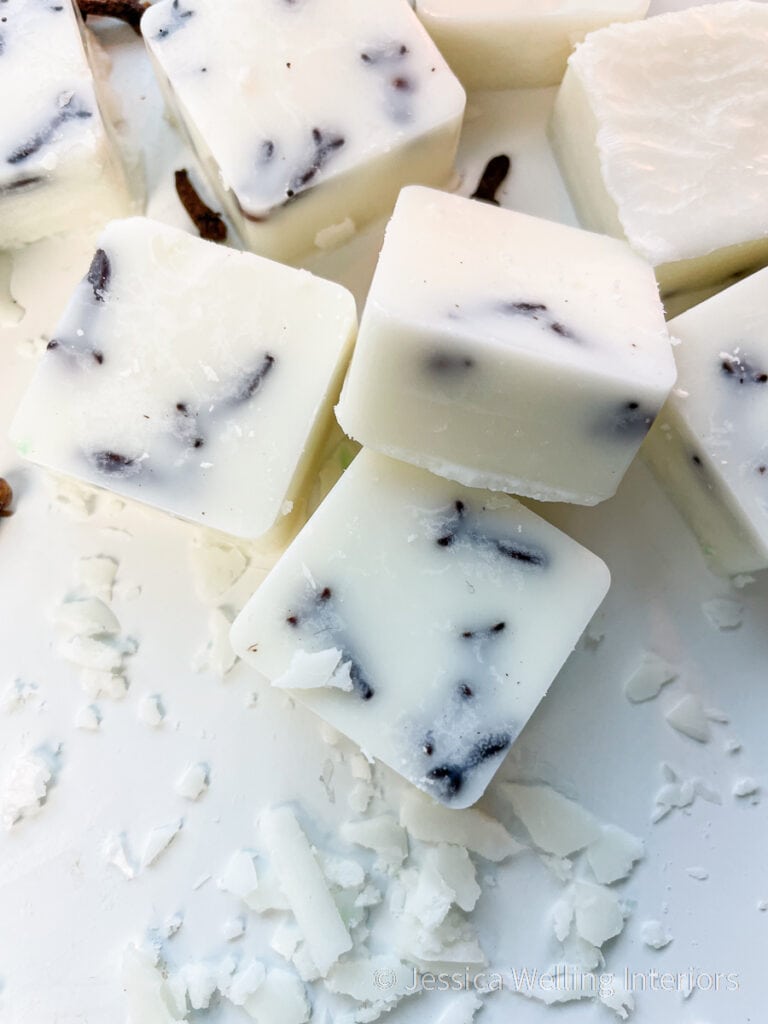
Easy Orange Clove Soy Wax Melts
These quick and easy DIY orange and clove wax melts are the perfect thing to make your home smell amazing during the holidays!
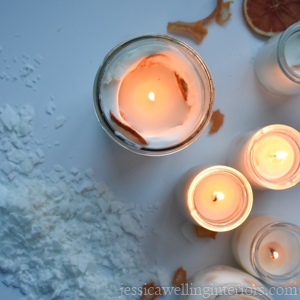
If you want to make soy candles, check out this tutorial.
Why Use Soy Wax?
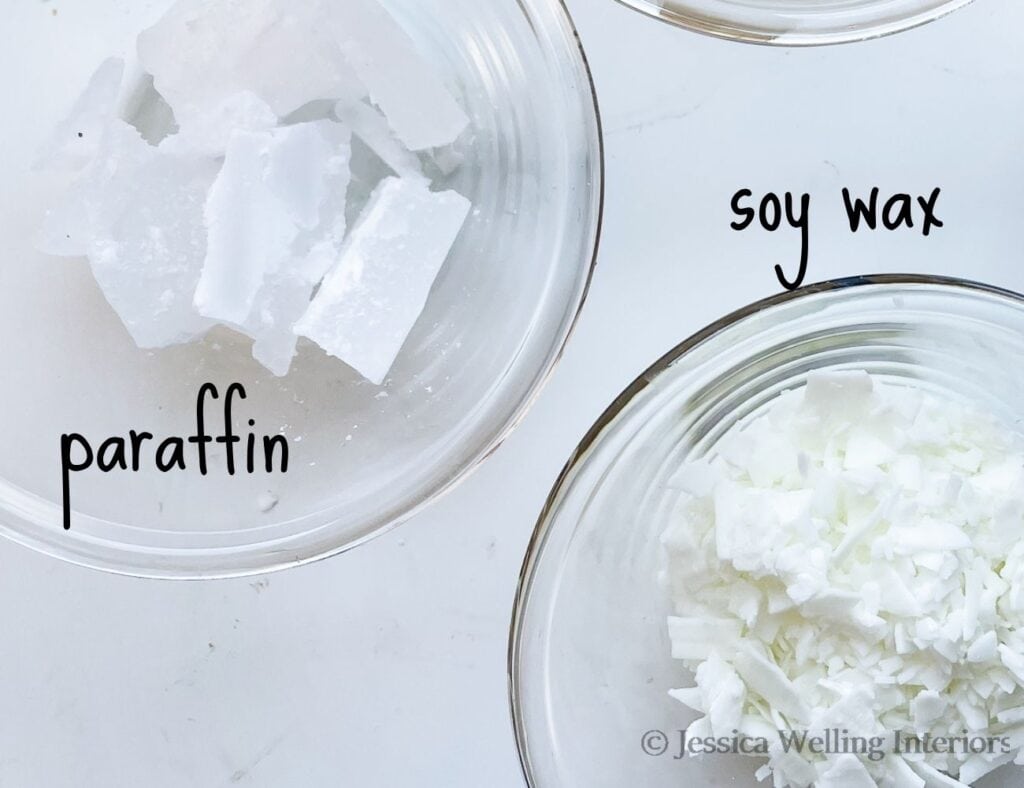
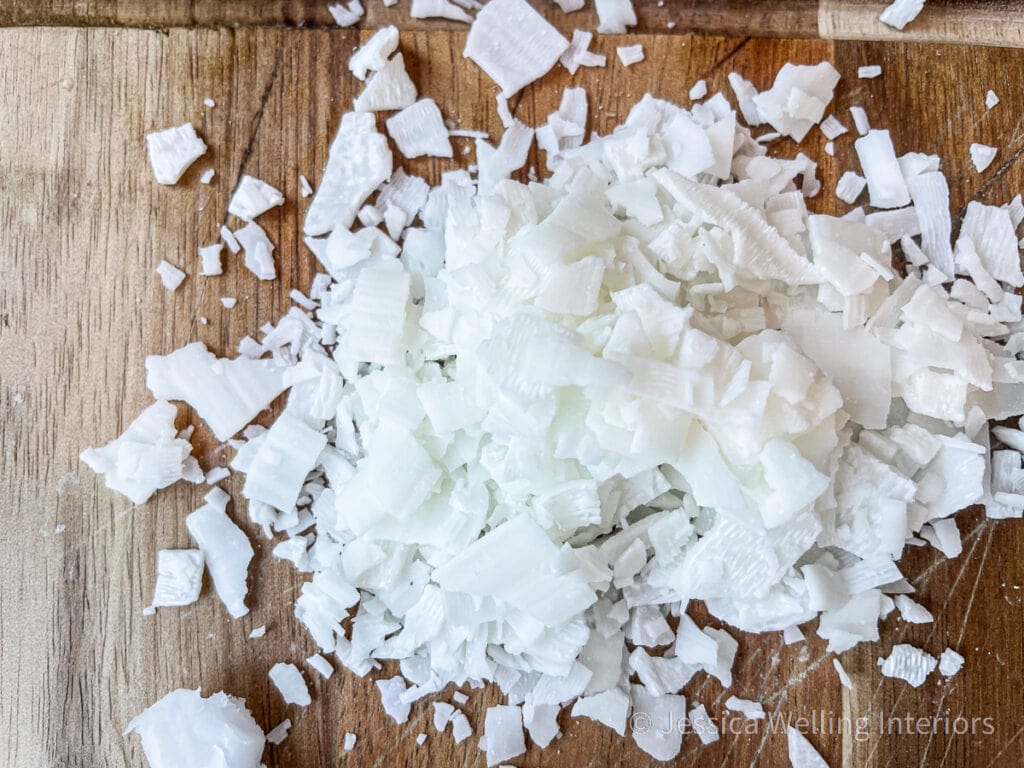
Soy wax is quickly gaining popularity because it’s a natural product (unlike the more common paraffin wax) it’s sustainable, and it doesn’t produce toxic fumes when heated or burned.
It’s by far my favorite type of wax to work with because it comes in small flakes that can be easily measured and scooped, as opposed to paraffin which usually comes in large blocks and needs to be cut into more manageable pieces.
Another big advantage to soy is it can be cleaned up with soap and warm water. Trust me, this is a big advantage when it comes time to wash up and remove the wax from your countertops, floors, and kitchen utensils!
I also prefer the look of soy wax. It’s usually opaque and has a clean, natural look, whereas paraffin is usually more translucent. All that said, you can totally use paraffin wax in place of soy for this recipe and get great results.
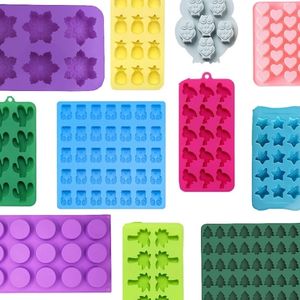
Wax Melt Molds
Silicone candy molds work really well for making wax melts. You can also use clear plastic candy molds. I’m using a basic square mold for this project, but you can use any shape you like. Here are some of my favorite wax melt molds for every holiday and season.
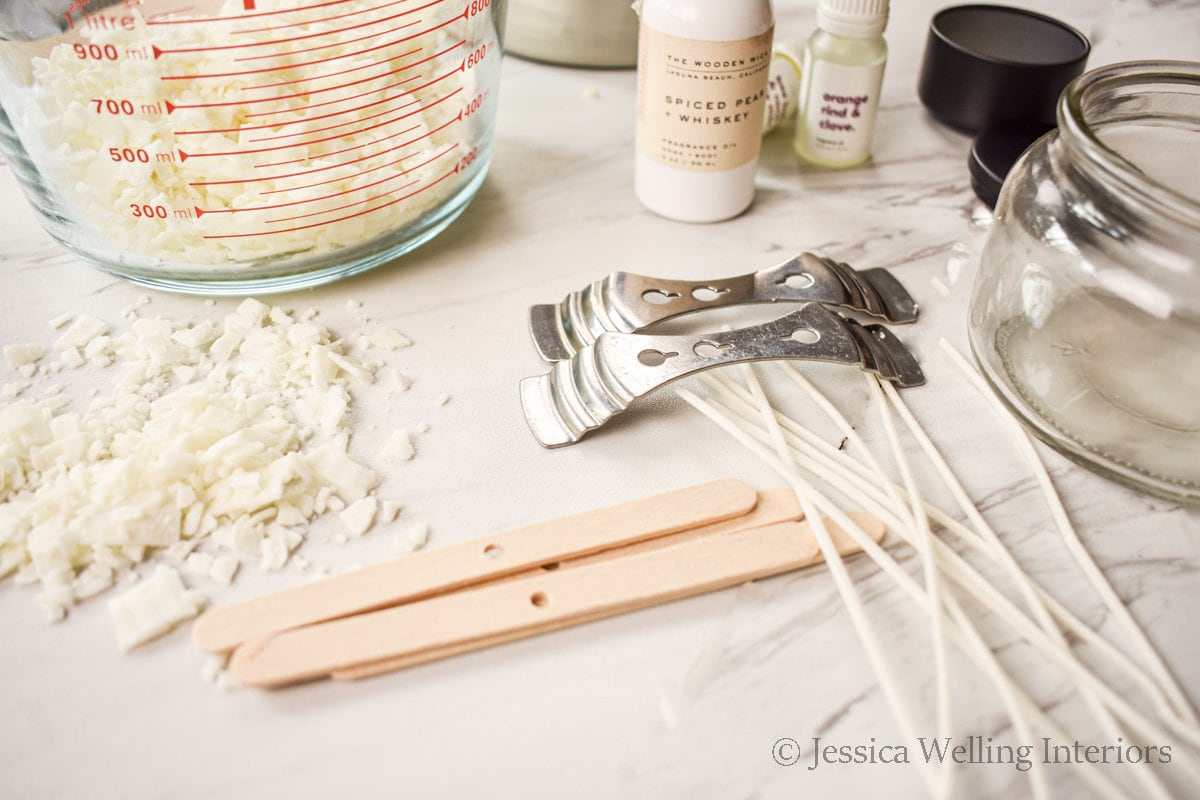
Supplies
- natural soy wax
- cinnamon orange clove fragrance oil (I love this one from Nature’s Oil!)
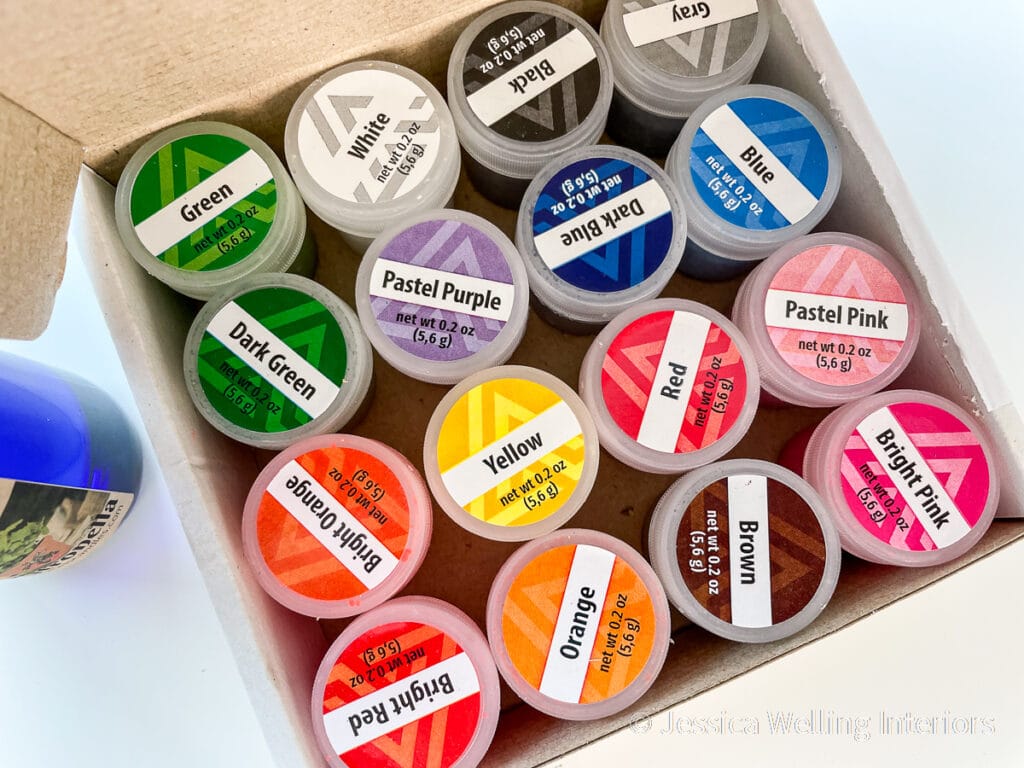
- wax dye chips (optional)
- whole cloves (optional)
Tools
- metal pitcher (for double-boiler method)or large glass measuring cup (for microwave method)
- large saucepan (to create a double-boiler)
- wax melt mold (I’m using this inexpensive candy mold from Amazon)
- digital kitchen thermometer
- fork
- pot holders
Directions
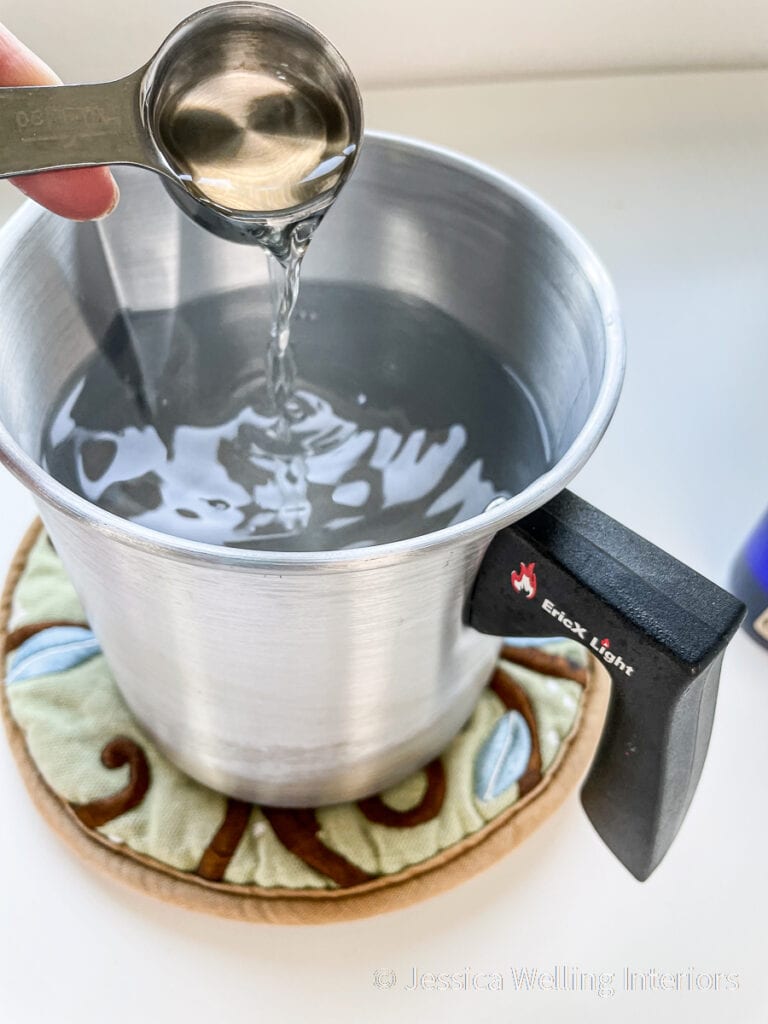
1. Melt the Wax
Add your wax to the metal pitcher and set it in a large saucepan of boiling water to create a double-boiler. The volume of the melted wax will be about half the volume of flakes.
If you don’t have a metal pitcher, you can also melt your wax in a Pyrex glass measuring cup in the microwave. Start with 1-minute intervals and stir between.
Once the wax is melted and you’re getting closer to your target temperature, shorted the intervals to 15 seconds and check the temp each time.
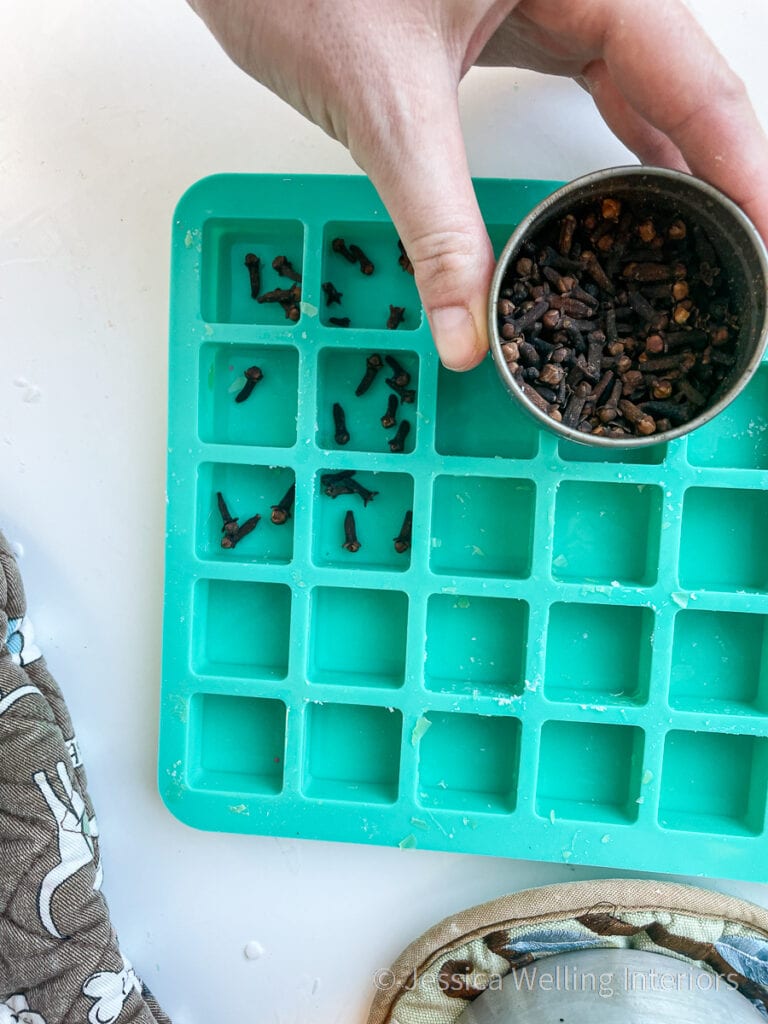
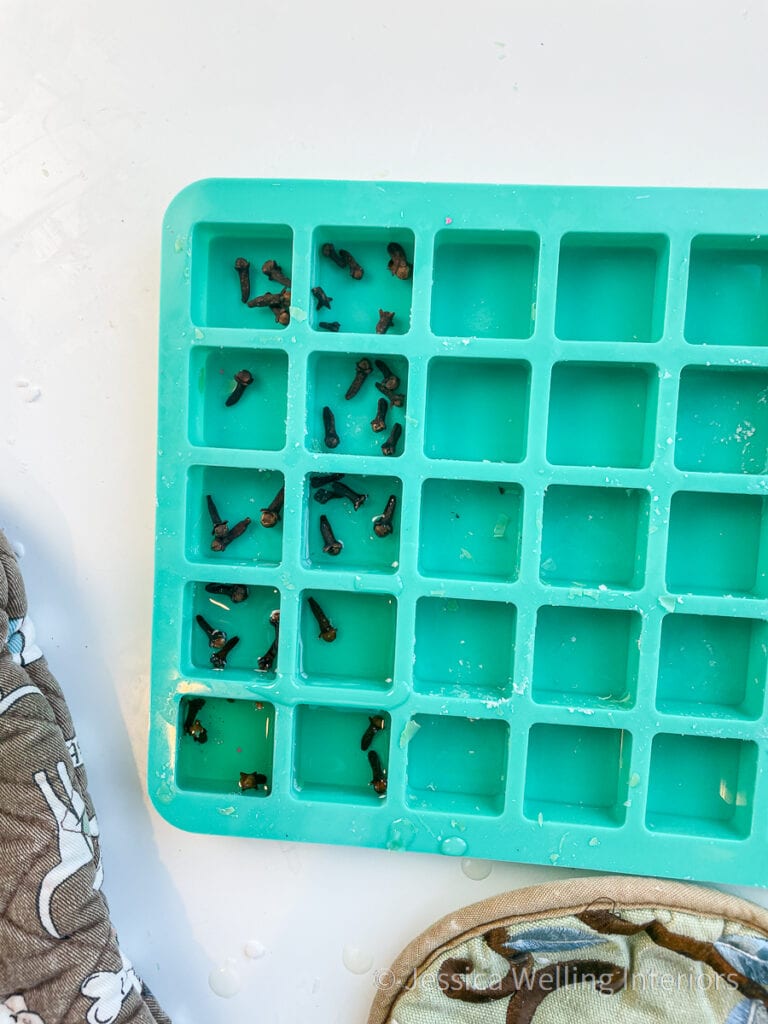
2. Prepare The Mold
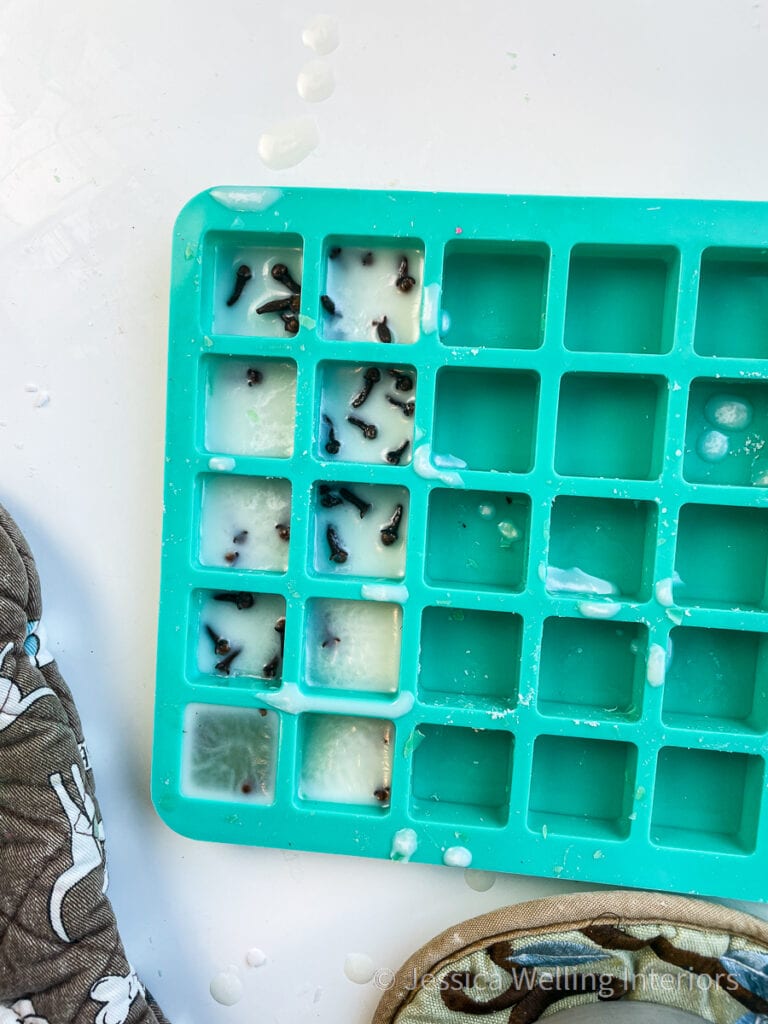
You don’t need to do anything special to prepare your wax melt mold. But I’m adding a few cloves to each compartment for decoration before I pour my wax in.
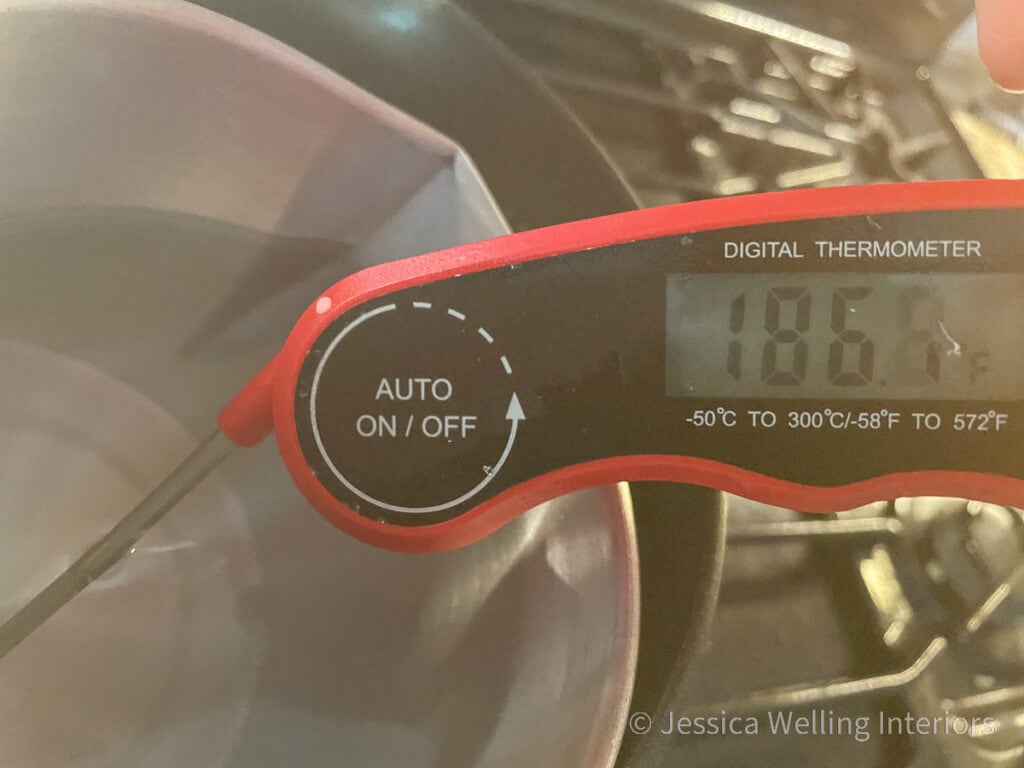
3. Check Temperature
Use the digital thermometer to check the temperature of your wax. Just because it’s all melted doesn’t necessarily mean it’s hot enough to add fragrance oil.
Your target temperature is between 175 and 185 degrees. This is the ideal temperature range for adding wax dye and fragrance oils to soy wax to ensure the fragrance and wax bind together properly.
4. Add Wax Dye
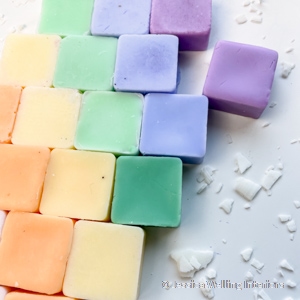
If you want to add color to your wax, add a pinch of wax dye flakes. I added a few bits of orange to the wax melts in the photo at the top, but the other pictures in this tutorial are of a batch without any coloring.
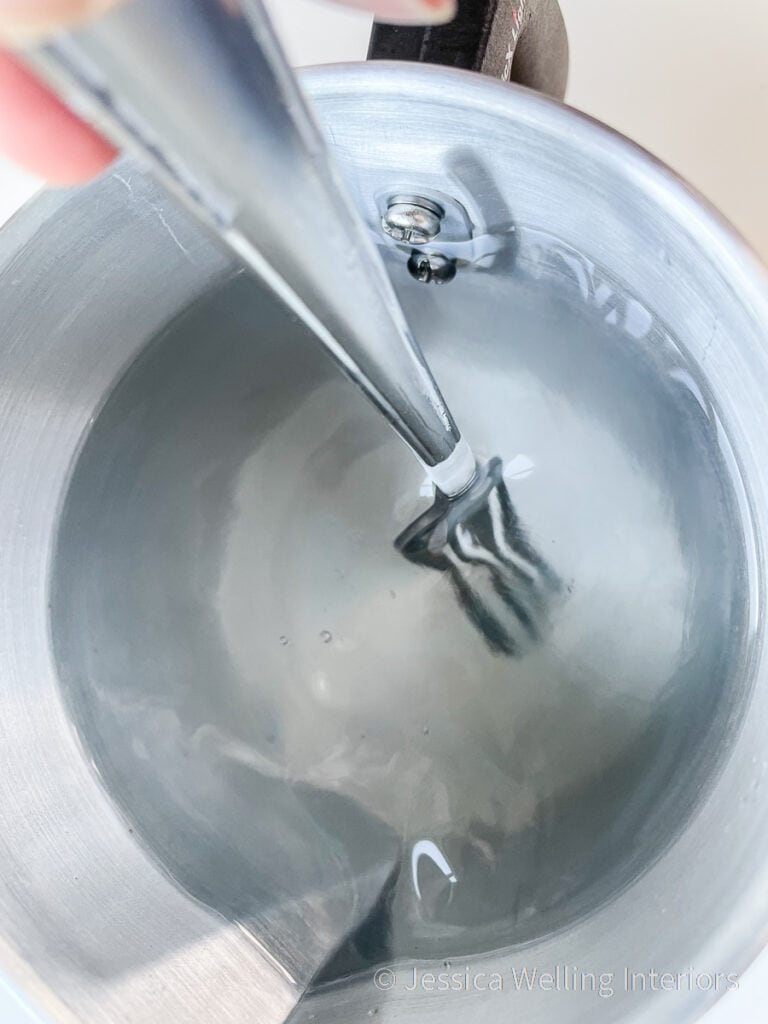
4. Add Fragrance Oil
It’s important to be sure your wax is still between 175-185 degrees before adding the fragrance oil.
I’m adding Cinnamon Orange Clove Fragrance Oil from Nature’s Oil. This scent is perfect for Fall and Christmastime. It smells like a pot of apple cider simmering on the stove.
Stir with a fork until the wax is clear and you don’t see any oil.
5. Pour First Layer Of Wax
Since we’re adding some decoration to these wax melts (the cloves), we want them to be visible on the tops of the melts. If you just fill the compartments all at once, the cloves will be lost in the middle and you won’t be able to see most of them once the wax hardens.
Pour enough hot wax into the mold to just cover the cloves to hold them in place. Then wait for it to harden. You can pop them in the fridge if you want to speed up the process.
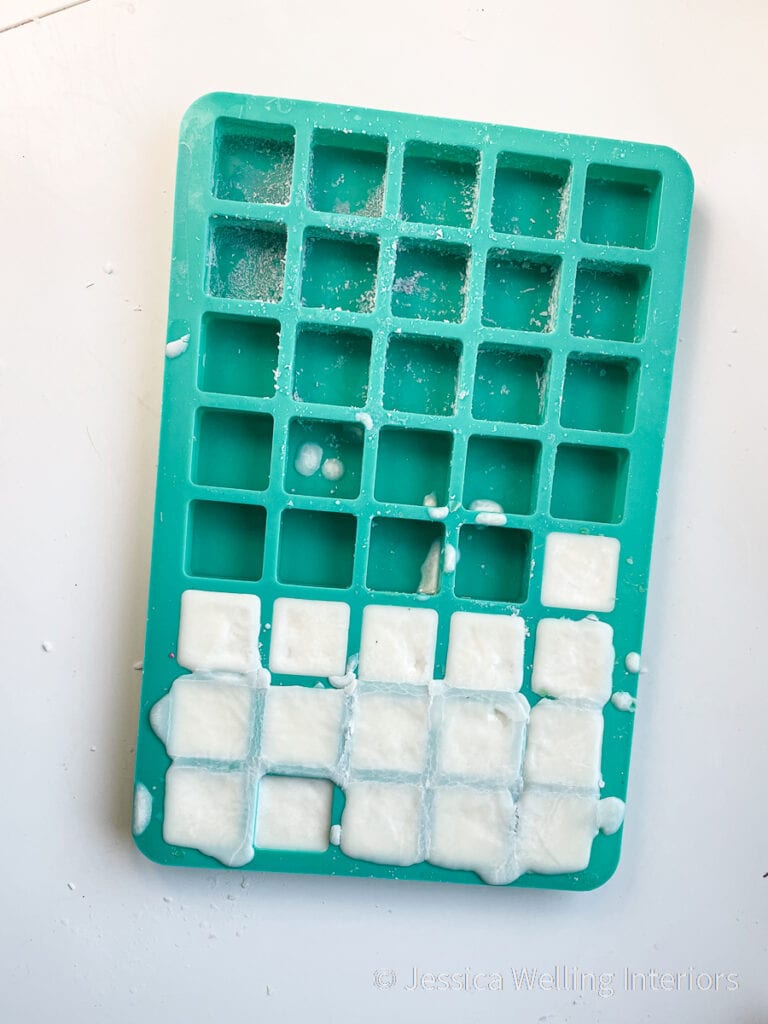
6. Fill The Mold
Once your first layer of wax has cooled, fill the molds the rest of the way with hot wax. Let them cool undisturbed until the wax is opaque and hard. You can put them in the fridge to harden if you like.
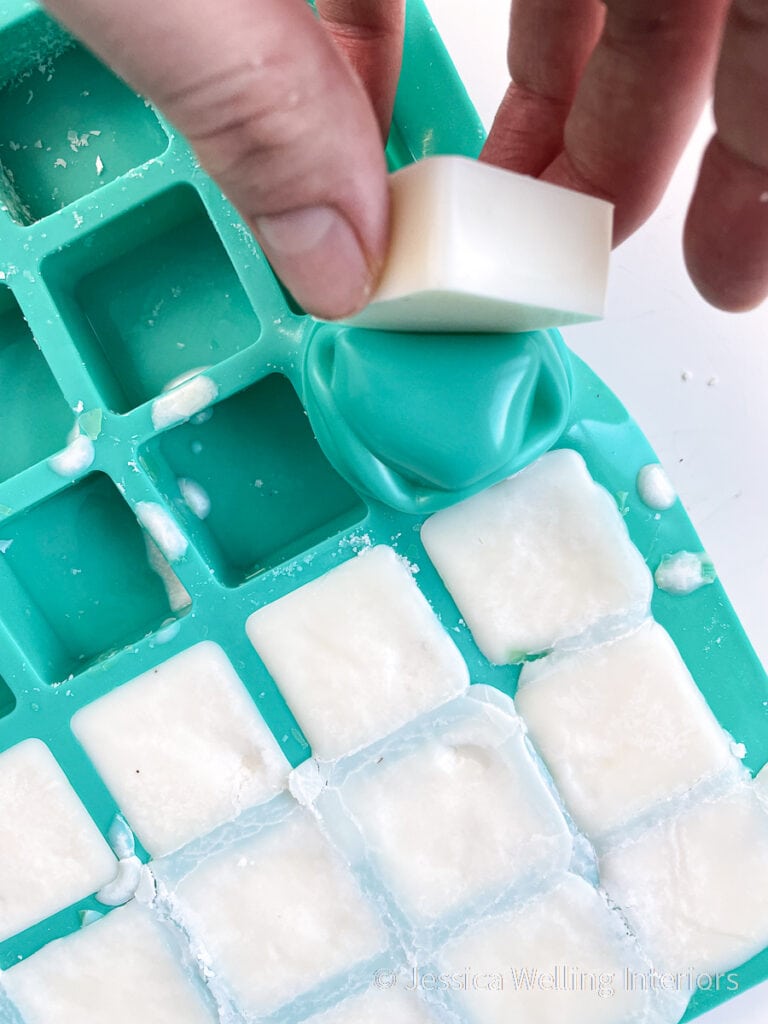
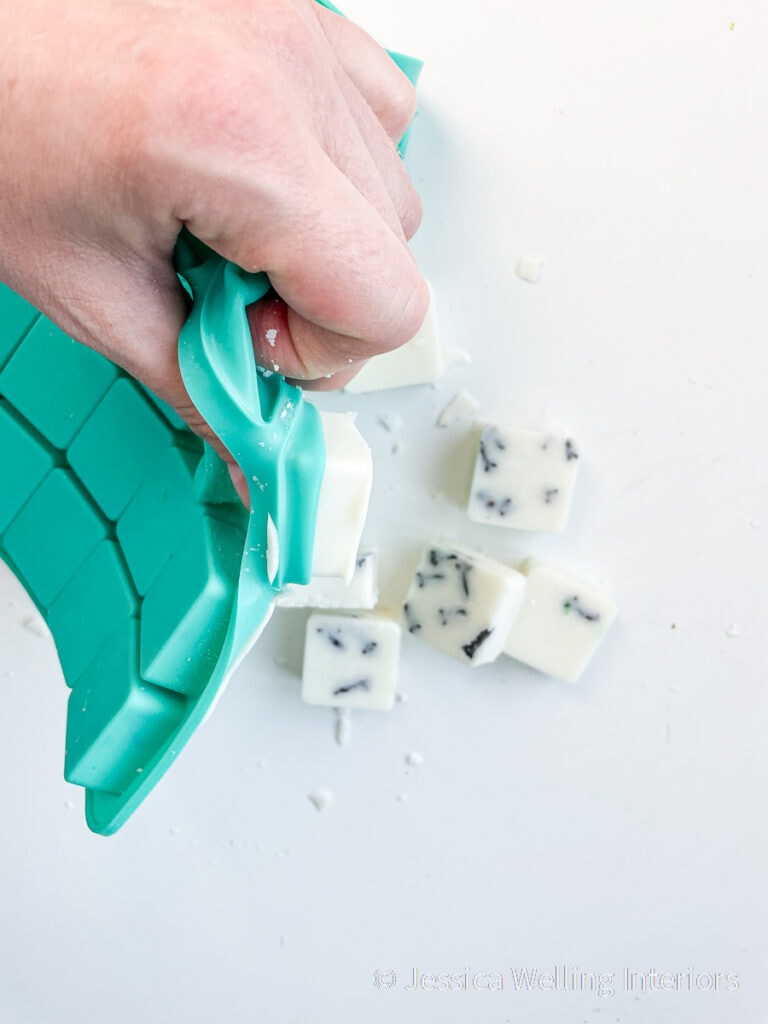
7. Remove The Wax Melts
Now pop the wax melts out of the mold, and you’re done!
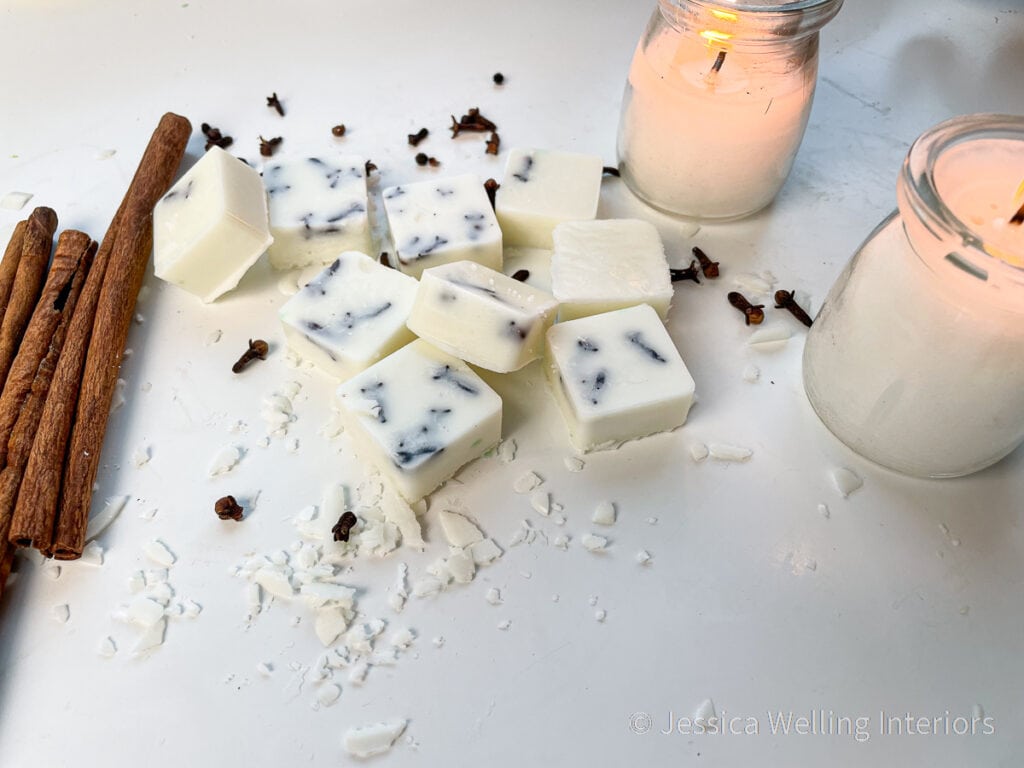
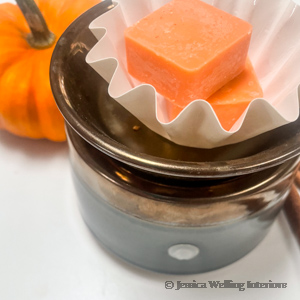
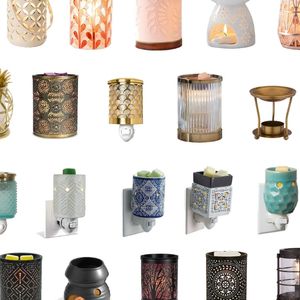
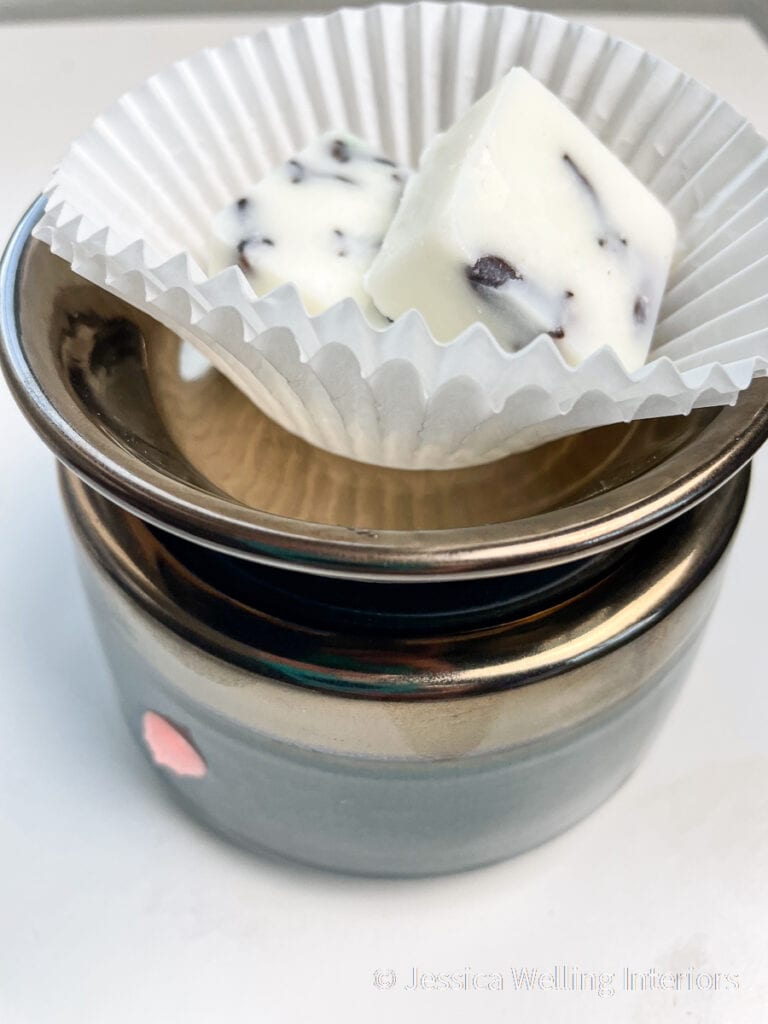
Wax Warmers
And of course you’ll need a wax warmer to enjoy your wax melts. Here are my favorite inexpensive wax melters. And did I mention they make fabulous gifts? Don’t forget the liners too!
I hope you enjoy these wax melts as much as I do!
More DIY Candles & Wax Melts
How to Make Soy Candles: A Beginner’s Guide
How to Make Scented Candles for Fall