
How to Make Wax Melts Smell Stronger
Learn how to make wax melts smell stronger with these common fragrance mistakes and their simple fixes!

So you made your first batch of homemade wax melts and excitedly set up the wax warmer. And you waited patiently for them to melt. And you waited, and…. nothing. You can hardly smell them, right? I’ve been there too, and it’s really disheartening!
But not to worry! We’re going to talk about the most common fragrance-related mistakes people make with DIY wax melts and how to fix them (or at least prevent them next time). You’ll be making fabulous-smelling wax melts in no time, and giving them to all your friends for Christmas!
Mistake 1: Using Essential Oils
I’m a big fan of essential oils, and they seem like the obvious choice for scenting wax melts and candles, since they’re all-natural. And you’ll even find lots of recipes that use them. If only they worked!

Here’s the sad truth: Essential oils can’t stand up to the heat of a wax warmer, which causes them to break down. Trust me, I’ve tried it more than once with different oils, and you can barely smell them at all. Don’t waste your expensive essential oils in wax melts.
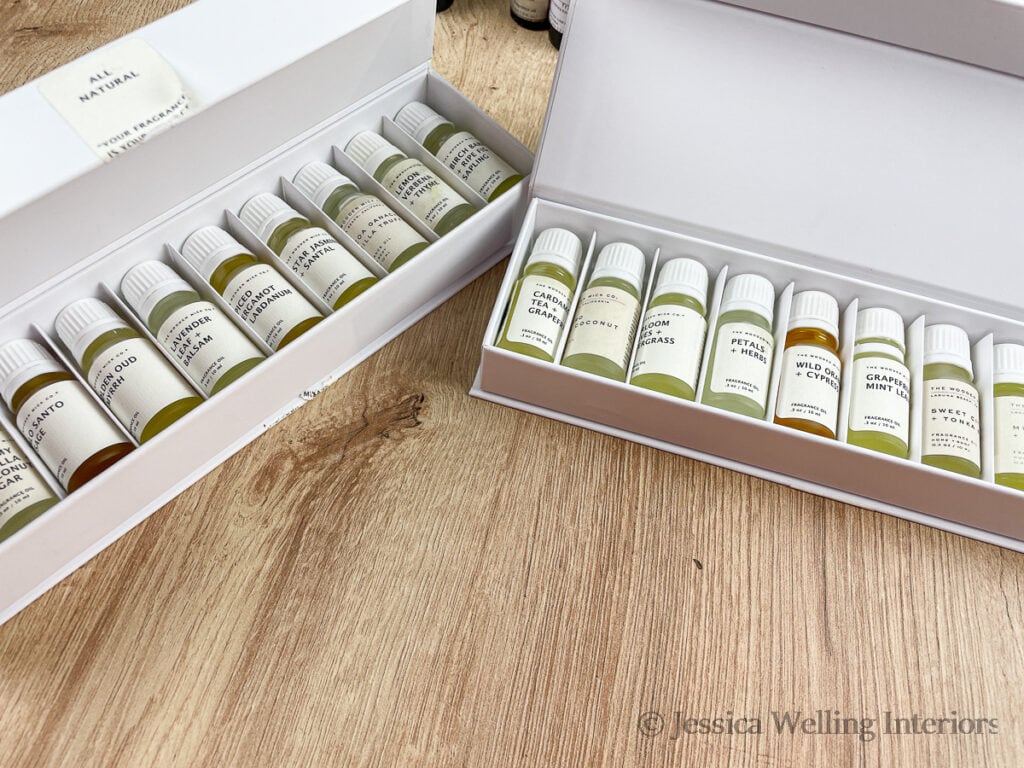
The Fix: Use Natural Candle Fragrance Oils
The good news is you CAN get all-natural candle fragrance oils that are derived from plants. My favorites are from Makesy (formerly The Wooden Wick Co.). I recommend ordering your own sample kit of their natural fragrance oils, which you can find here.
Mistake 2: Using Low-Quality Fragrance Oils
Early in my candle-making career, I ordered the cheapest candle fragrance oils I could find from an Etsy seller with a nice natural-sounding name. They arrived, and… ick! They just smelled like stinky chemical perfume, and had barely any scent throw when I used them in my wax melts (hoping maybe they would smell better than they did in the bottles). I could barely smell them at all when using the finished wax melts, which was actually a mercy since they smelled like chemical cleaner.
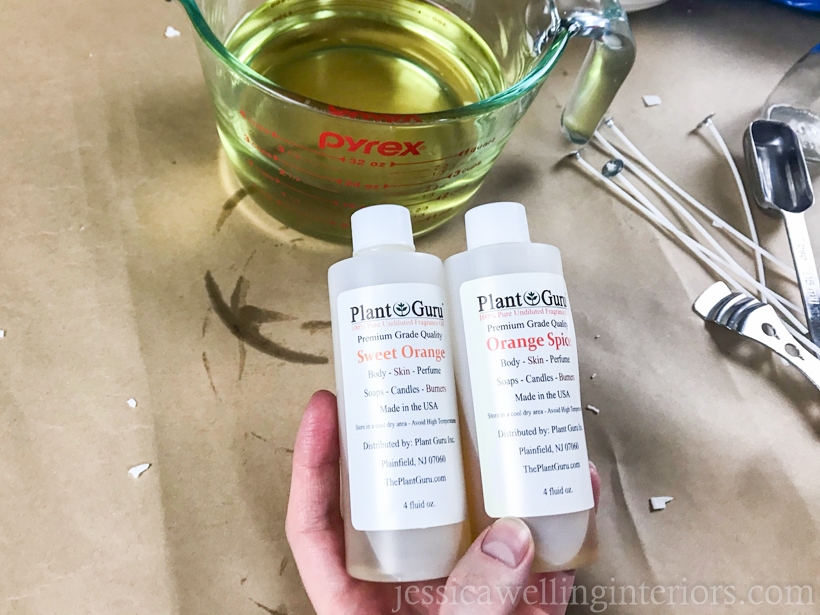
The Fix: The Right Fragrance Oils
As it turns out, not all candle fragrance oils are created equal. I’ve personally tested hundreds of scents from many, many different companies to find the ones with the best scent-throw (that’s candle speak for the amount of fragrance wax melts give off). You can find unsponsored and unbiased lists of my favorites here: All Occasion Fragrance Oils, Christmas & Holiday Fragrance Oils, and Fall Fragrance Oils. I’ve included both all-natural and traditional fragrances in these lists.

Mistake 3. Wrong Wax-to-Fragrance Ratio
Each type of wax has a “fragrance load.” That’s candle-speak for the amount of fragrance oil a particular wax can hold. And I get it, fragrance oil (especially the high-quality stuff) isn’t cheap. But don’t skimp or you’ll be sorry.
You also don’t want to add too much fragrance oil, since it won’t bind to the wax properly and it will seep out and make your melts slimy.
The Fix: Correct Wax-to-Fragrance Ratio
Candle making is more like baking and cooking. You need to actually measure. Calculating the amount of fragrance you need can get a bit complicated, so I’ve done the hard work for you with these conversion charts:


4. Wrong Wax Temperature
Just because your wax is melted doesn’t mean it’s the at the correct temperature to add fragrance oil. If the wax is too hot, it will break down the fragrance. If it’s too cool, the fragrance molecules won’t bind properly to the wax.
The Fix: Use a Thermometer
I use a quick-read digital thermometer like this one to ensure my wax is at the correct temperature for each step of the process. And what is the correct temperature?

Each type of wax has a different ideal temperature range for adding fragrance oil. I’ve included the most common ones- soy, paraffin, para-soy blend, beeswax, and palm wax in the chart below:

Mistake 5. Using Them Too Soon
I’m definitely not judging… I like to try my melts out right away too! But if they aren’t filling your room with delightful scents right away, don’t worry.

The Fix: Let Them Cure
To get the best hot throw (i.e. fragrance) from your wax melts, you need to let them cure before using them. Each type of wax has a different cure time, which you can find in the chart below. When in doubt, give it a couple of weeks.

Mistake 6. Improper Storage

The Fix: Keep Them Sealed Up
It’s no accident that most commercially-made wax melts are sold in clamshell containers. The tight plastic packaging keeps the fragrance in the wax from dissipating into the air. You can get empty clamshells here and they come in a few different shapes like hearts and circles as well.

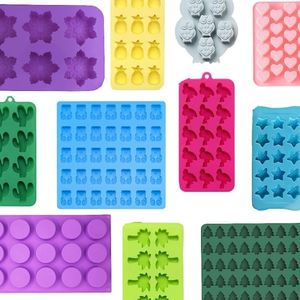
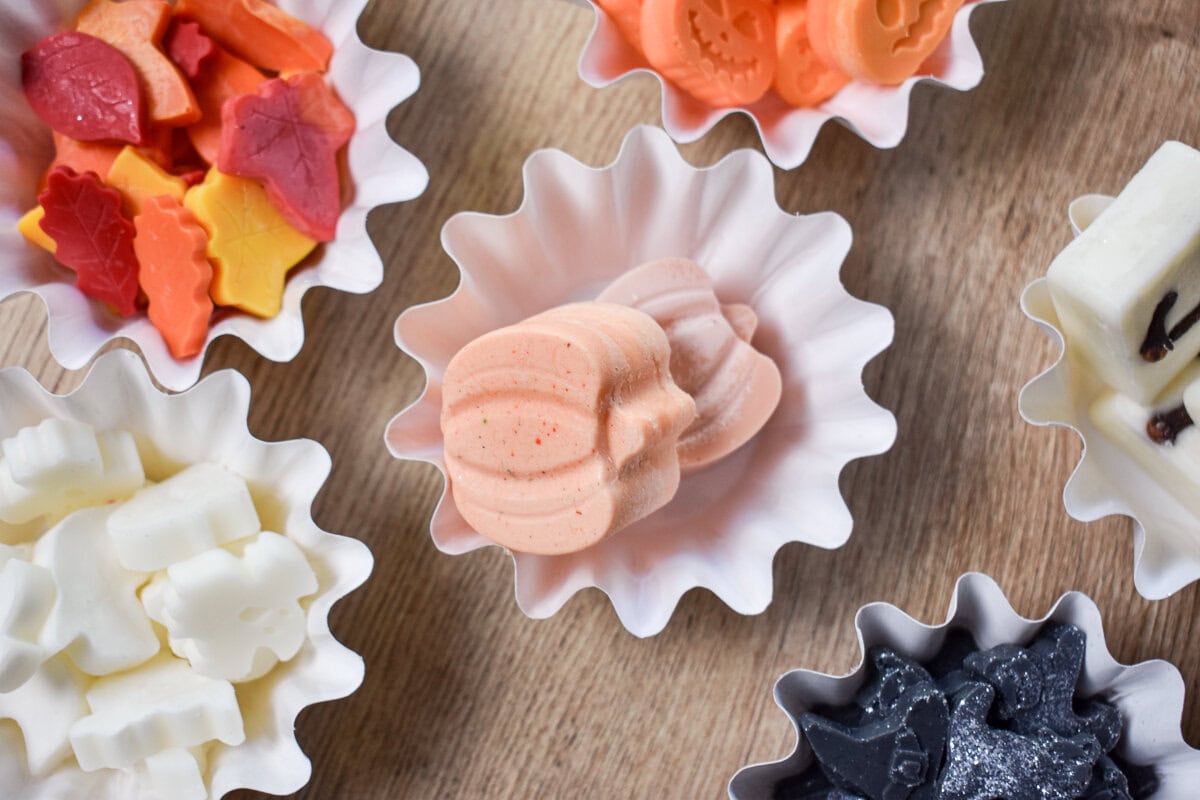
If you’re making your melts with silicone molds (see all my favorites here!), you can store them in quart Ziplock bags with the air sucked out, or other airtight packaging like sealed glass jars.

I ordered the brown packages below from Amazon. They look like paper, but they’re lined with plastic, which makes them ideal for locking in the fragrance. I like to add a label and give these as gifts.

Mistake 7: They’re Too Old
If your melts have been sitting around for a few years, it’s probably time to toss them and make a fresh batch, since the fragrance does break down and dissipate over time. The average shelf life is about a year. I have found that the all-natural fragrance oils don’t last as long as the chemical-based ones.
The Fix: Use Them Up!
Get your wax melts out and enjoy them!
I hope you found this helpful!
More DIY Candles & Wax Melts…
DIY Wax Melts: 12 Easy Recipes
The Best Wax Warmers On A Budget!
The Best Wax Melt Molds For Every Occasion
The very best information I have found. You did the research and made everything so easy to understand. Thank you!
I’m so glad you found it helpful!