
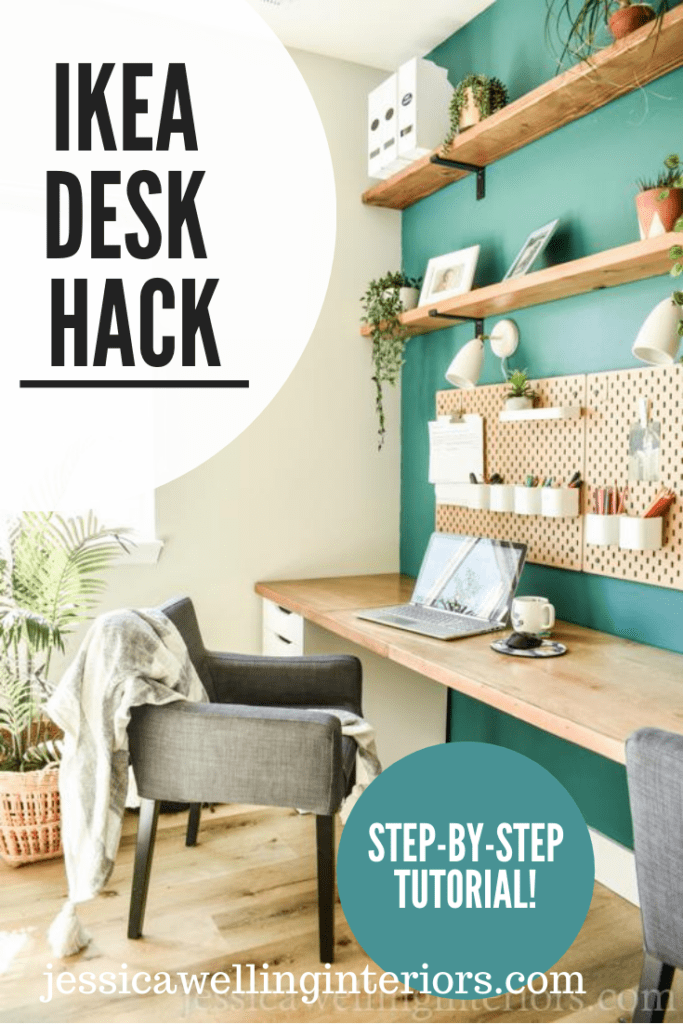
Simple DIY Ikea Desk Hack Tutorial!
This simple Ikea desk hack is popular because it looks high-end, yet it’s budget-friendly and easy to DIY. And did I mention it can be customized for a perfect fit in your space?
Now that many of us will be working from home for the forseeable future, it’s time to get a real home office set up, and ditch the folding table in the corner with a sheet hung up behind it for a Zoom backdrop. Am I right?
We just built this ten-foot-long desk with three workstations. Ours is actually for our new homeschool room, but it could just as easily be a home office for one or two adults.
I knew right away that I wanted to use the Alex drawer units from Ikea for the work stations. We used one to build the desk in Peter’s closet office. I like that it has a file drawer on the bottom. And someday I plan to add an Alex unit to my own Ikea home office too!
I had originally planned to use three of the Alex drawer units, with one on each end, and one in the middle. But then I realized that I will need a spot to sit between the kids, so I got rid of the middle file cabinet and replaced it with an ADILS desk leg from Ikea.
How to Build An Ikea Desk
Materials

- 2 sheets 4’x8′ of sande plywood with birch or maple veneer
- 2 pieces of 2″x1/2″ lumber (optional)
- 1-1/4″ drywall screws
- 2 or 3 Alex drawer units from Ikea
- oil-based pre-stain wood conditioner
- wood stain
- semi-gloss polyurethane
Tools

K. Pin Nails (optional)
L. Pin-Nailer (optional)
1. Choose the Plywood
I’m relatively new to woodworking, and my goal was to make this project as simple as possible. Since I wanted the desk to span the 118″ (almost ten foot) wall, I went hunting for 10′ long plywood. Turns out that’s more difficult to come by than I had imagined.
Next, I looked for a piece of 10′ long butcher block. It’s available and would make this project much simpler… but I wasn’t willing to spend quite that much for the desk top.
If you do want to do this project with butcher block, you can get it here, and if you’re looking for, say an 8′ or 6′ piece it will cost a lot less and it might make sense to just buy butcher block and set it on top of the drawer units.
So after all my research and consulting my neighbor, I decided on a double-layer of sande finish birch veneer plywood. This is by far the nicest plywood I’ve ever worked with! It’s also the most expensive, at around $45 per sheet.
But this was still MUCH cheaper than butcher block or even using 2 pre-made solid wood desk tops from Ikea.
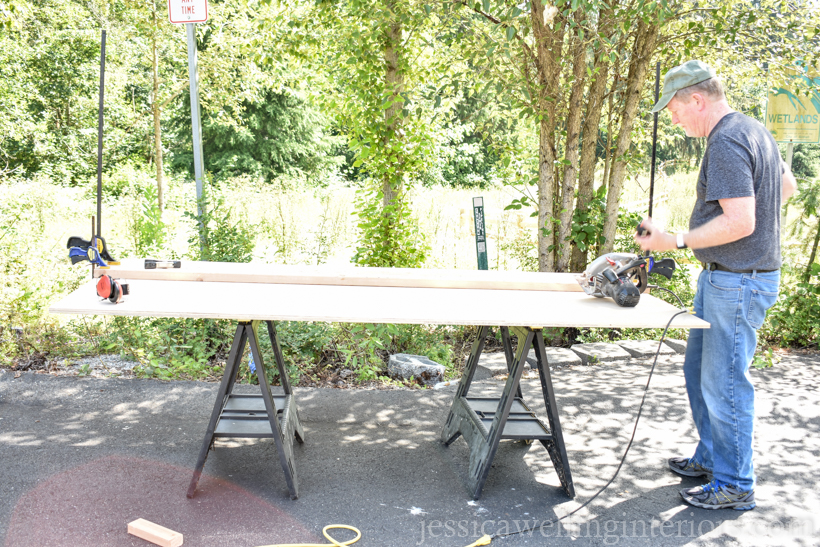
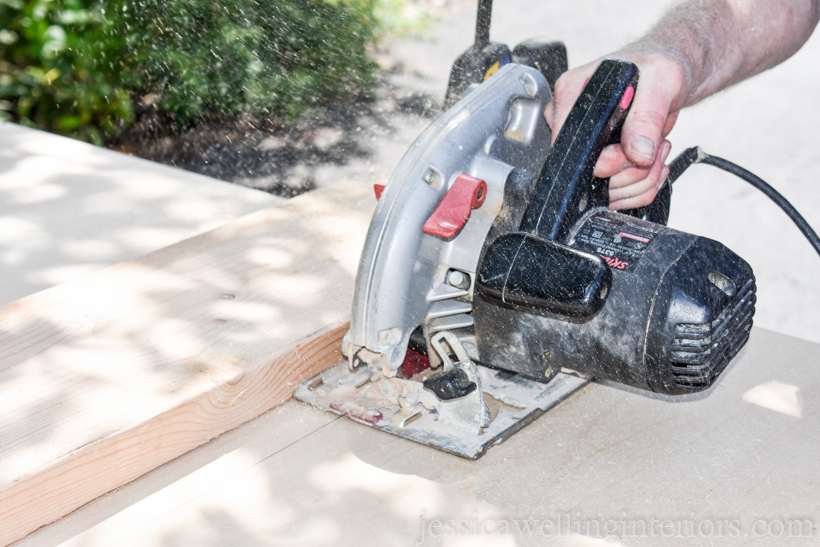
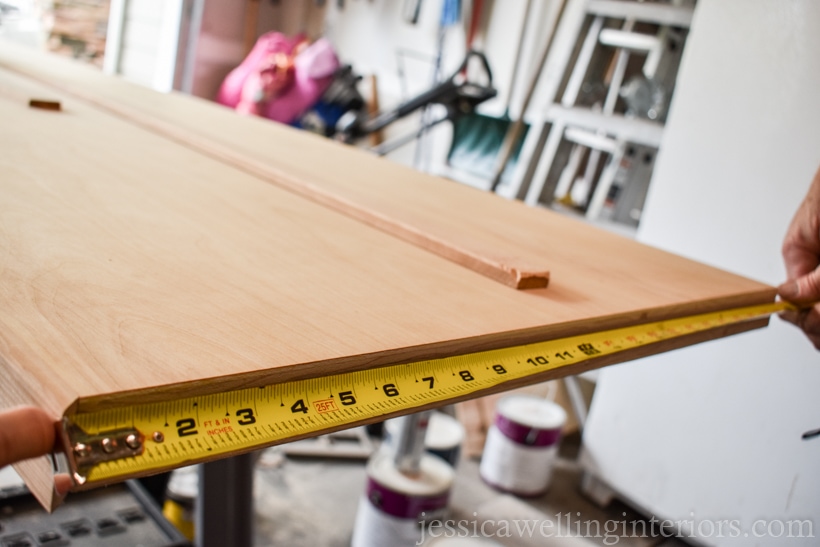
2. Measure and cut the Plywood
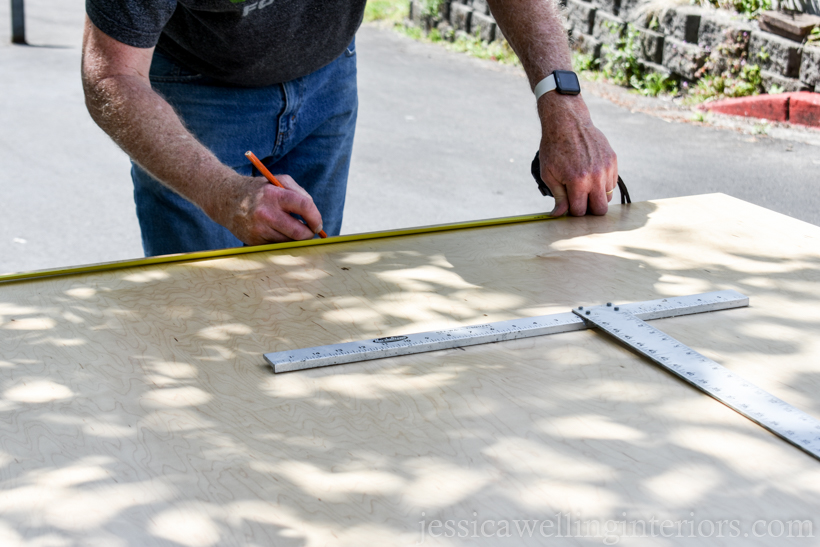
You might be able to get your plywood cut at the lumber yard… and if you can definitely do that! If not, then lay out the plywood on two sawhorses. Measure, draw and line, and cut it down the middle to make 2 2’x8′ sheets.
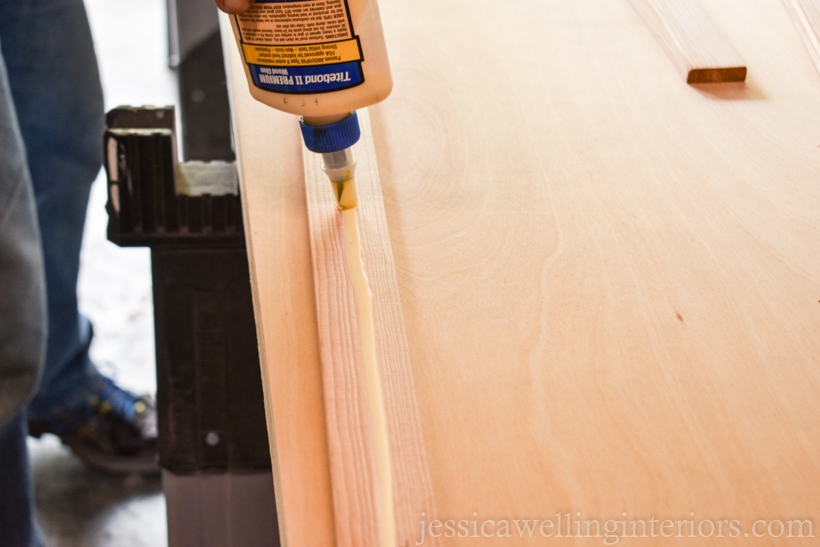
3. Glue the Pieces Together
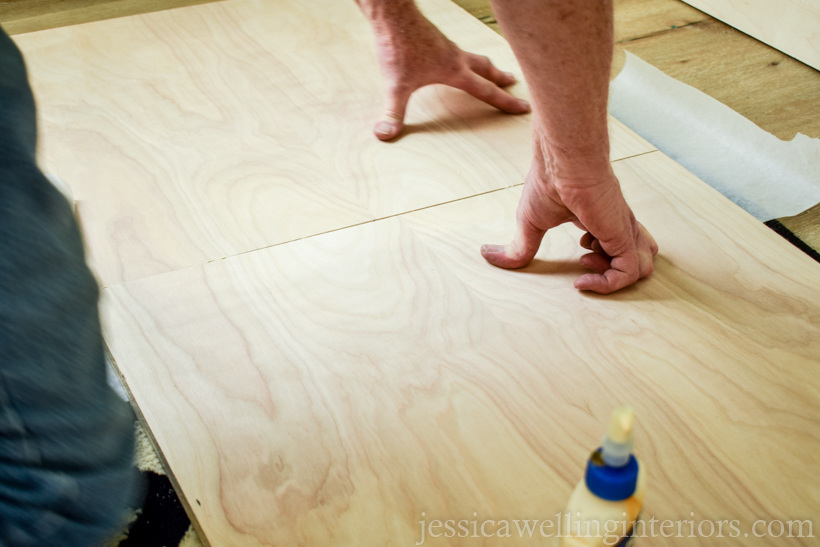
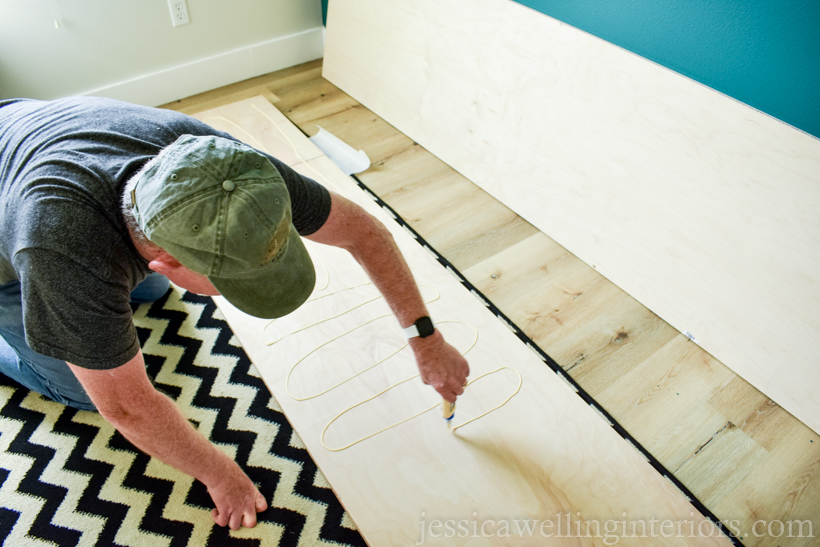
Lay the top surface of the desk upside-down on a flat surface where it won’t get scratched. Spread glue on it, and lay the next piece on top of it, making sure all the edges are lined up perfectly.
If they’re not quite perfect, the front edge is the most important place to get it right.
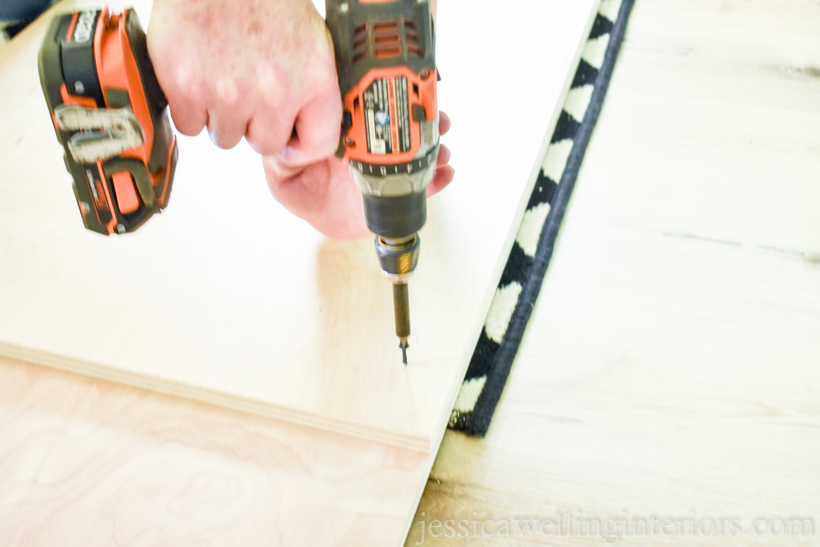
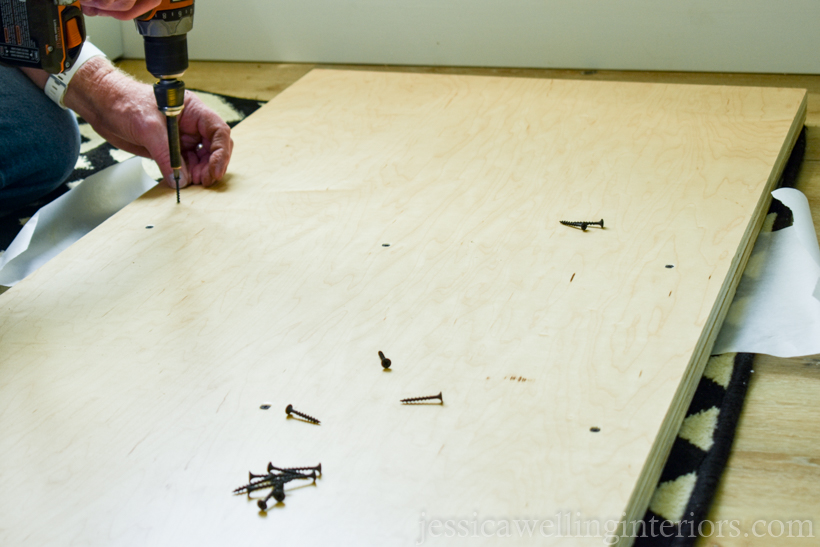
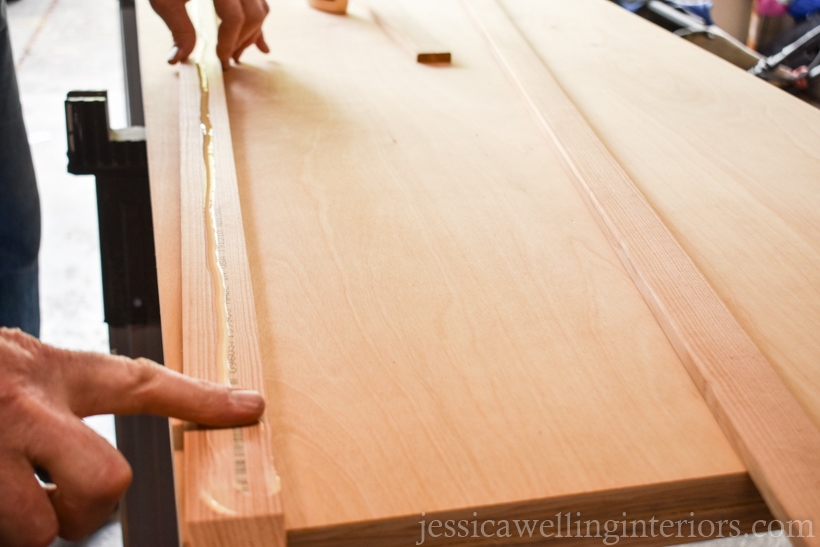
4. Screw The Pieces Together
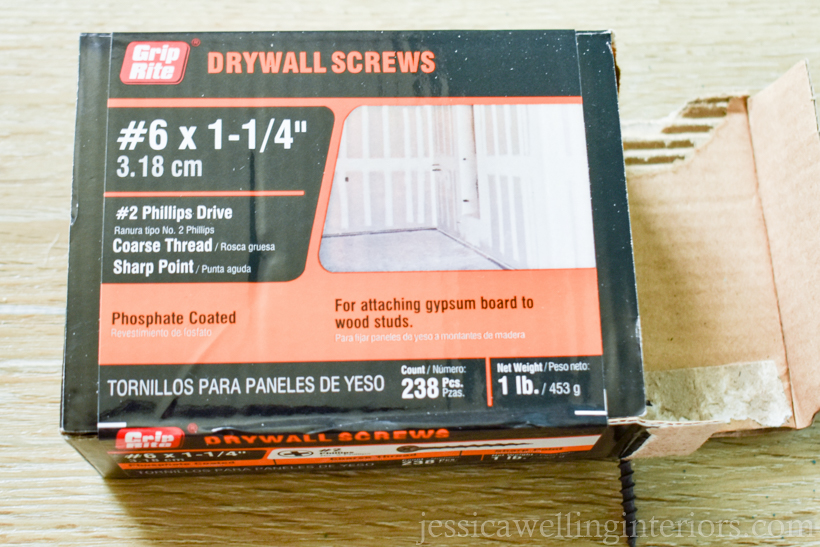
Use screws to cinch the boards together, making sure they don’t slide out of place. The important thing is that they’re not long enough to go all the way through, since we don’t want them poking through the top of the desk.
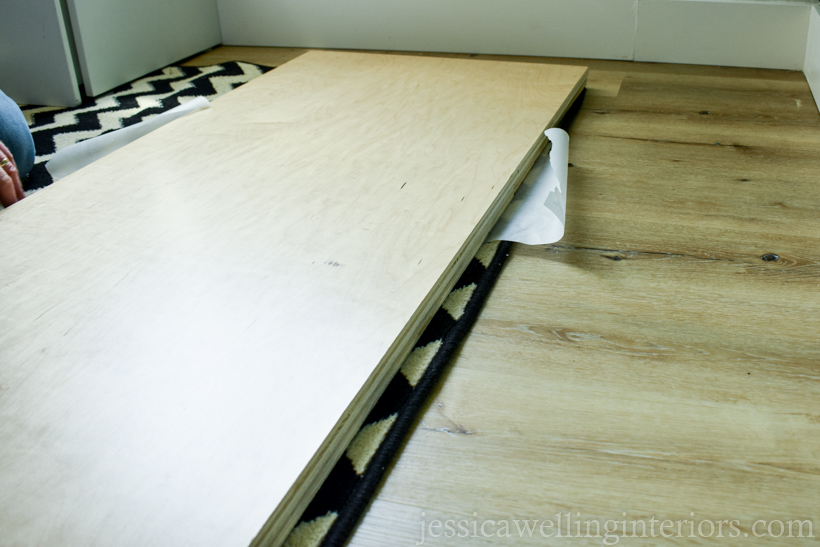
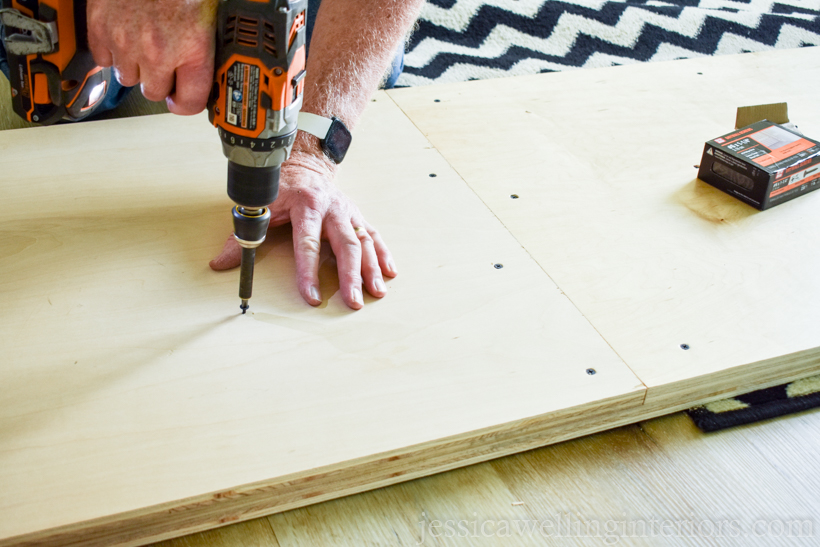
5. Attach the Final Piece
Apply wood glue and screw the last piece of plywood into place. Be sure to wipe up any glue that seeps out.
6. Set Up the Desk
Once everything is attached, set up the Alex drawer units (or any of Ikea’s many desk leg options) and set the desk on top. This desk top is pretty heavy, so it’s not really going anywhere. But we will do more to support and attach it once it’s sanded and finished.
7. Measure and Cut Edging
I was originally planning to just leave the edges of the plywood bare to give it a modern industrial-chic vibe. But I wasn’t feeling it once I saw it, so back to Home Depot for _____ x _______.
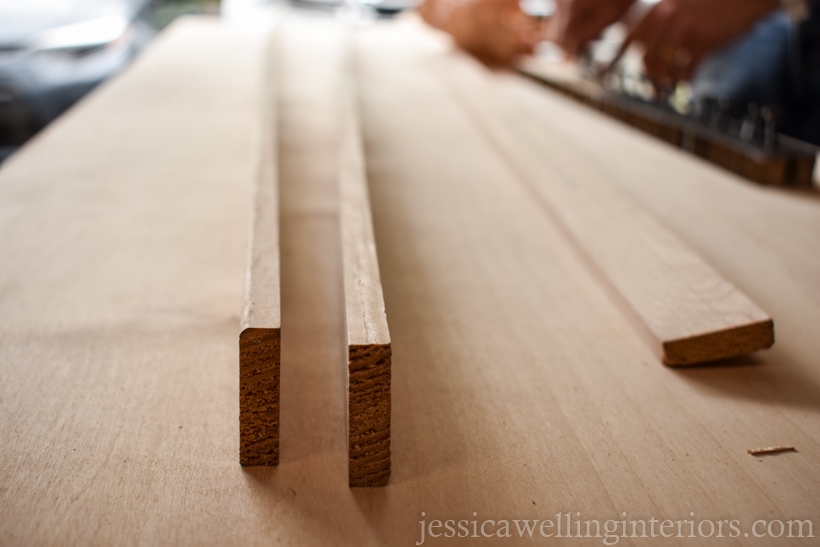

We used the miter saw to cut 45-degree angles.
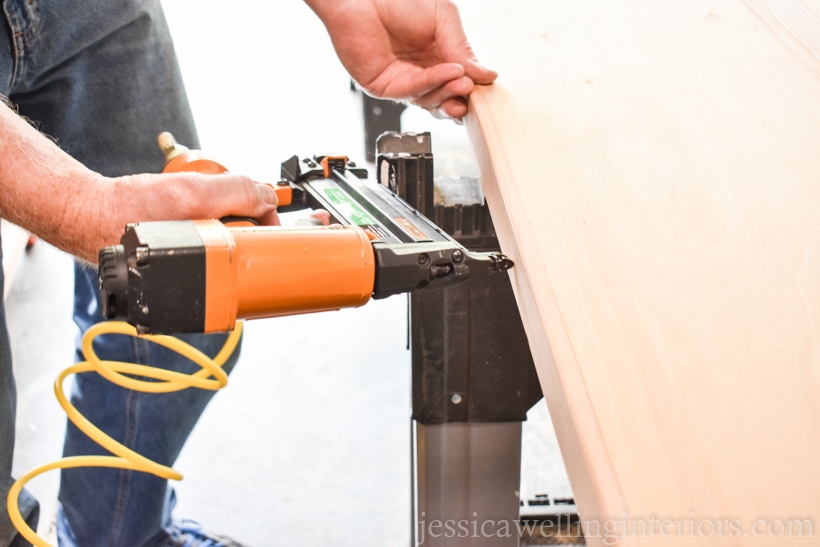
8. Attach Edging Pieces to the Desk Top
Then we used wood glue to attach them to the ends and front of the desk. We used a pin nail gun to secure it.

9. Sand
I’m still relatively new to wood-working, and this was the first project I’ve done with a “nice” finish. I know that sounds strange, but I usually use inexpensive pine and it ends up with a more rustic feel. And for some projects, that’s totally fine. But I wanted a nice smooth desk top.
So I was amazed when I tried using 220-grit sandpaper for the first time on this desk top. It’s so smooth- I didn’t realize it was possible for me to get that nice of a finish!
I started with 120-grit, and then used the 220-grit sandpaper. It’s important to sand lightly, since this is plywood, and it’s easy to sand all the way through the nice top layer.
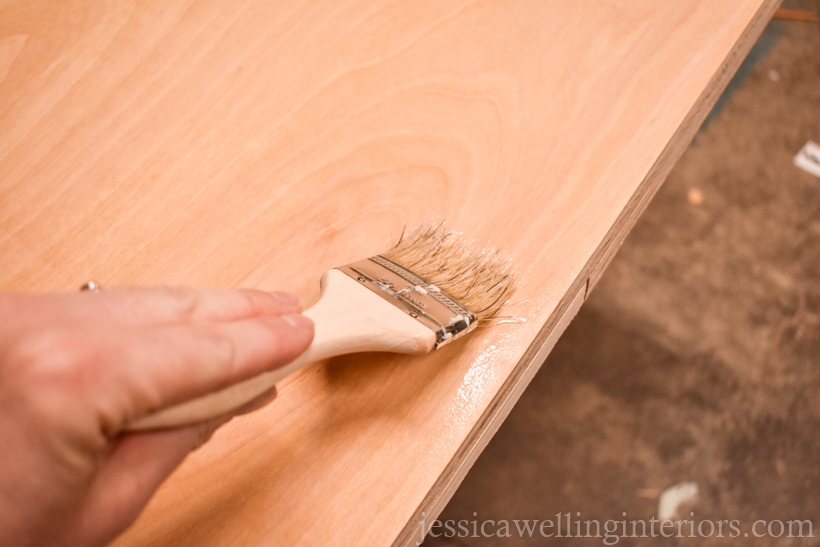
10. Apply Wood Conditioner
I used a disposable paintbrush to apply wood conditioner to the desk top, then let it dry overnight.
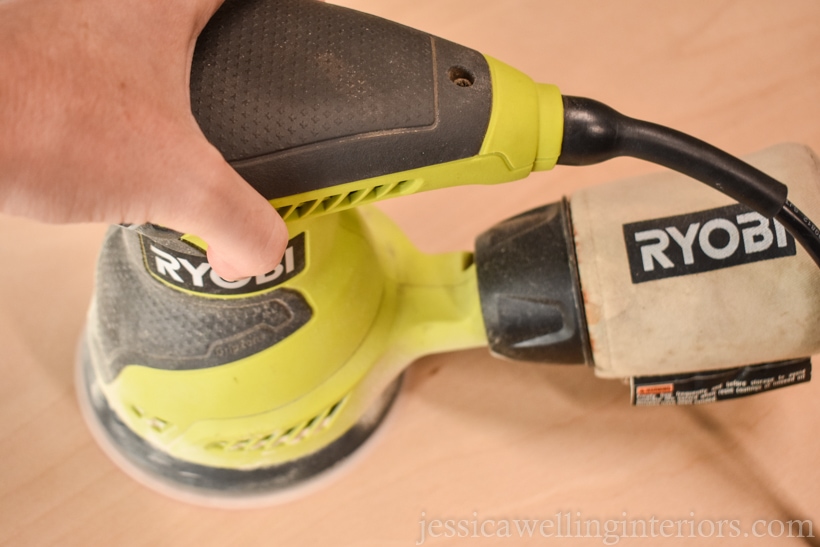
11. Sand Again
I know. It’s a lot of sanding, and there will be more. But the sanding makes the difference between a really pretty, smooth finish, and a rougher-looking one. This is the inexpensive orbital sander I use.
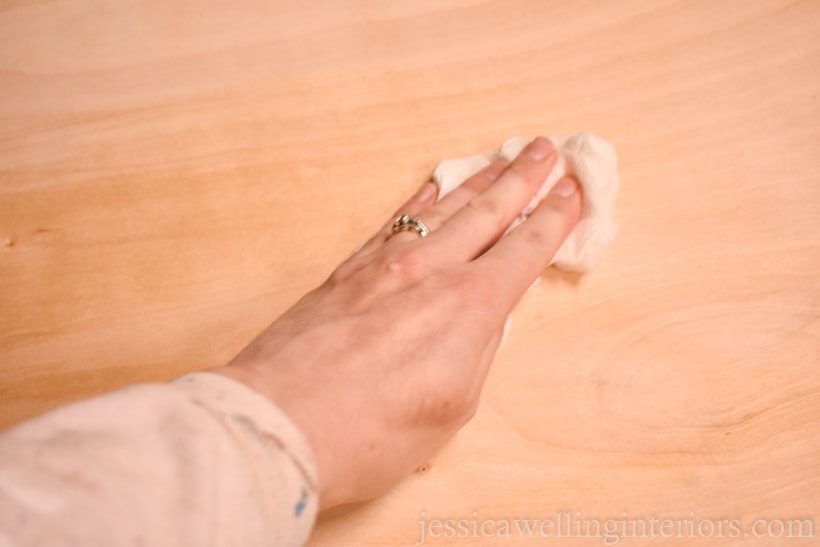
The wood conditioner will raise the grain of the wood a little bit (i.e. make the surface feel rough), so it’s important to very lightly sand it with the 220-grit sandpaper, then wipe it down with a damp cloth to remove the sawdust.
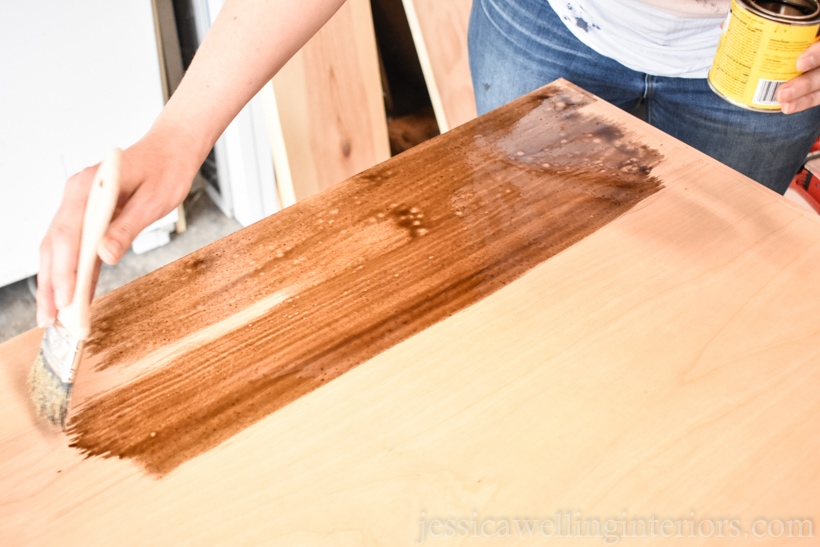
12. Apply Wood Stain
I used a disposable paintbrush to apply the oil-based wood stain.
I let it sit for 15 minutes or so, then wiped off the excess with a rag.
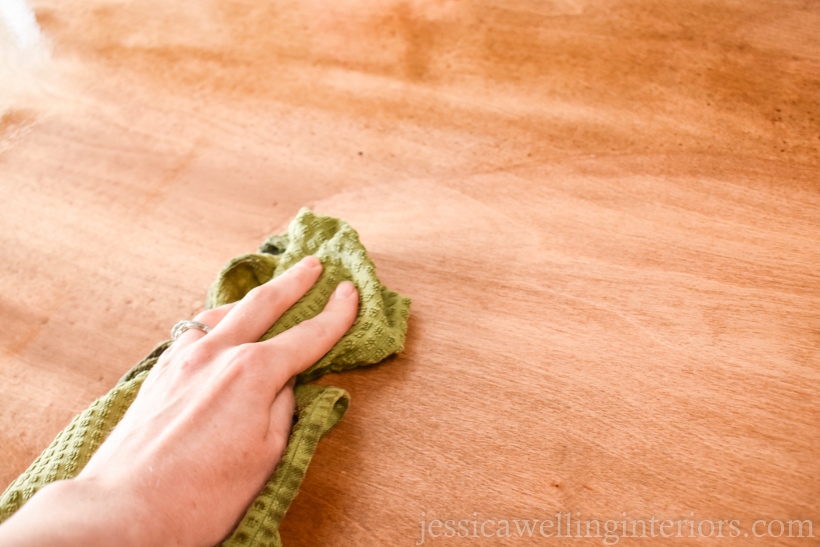
I usually find that a second coat of stain is needed once the first coat is dry. It helps the color look more even, and darkens everything slightly.
13. Apply Polyurethane
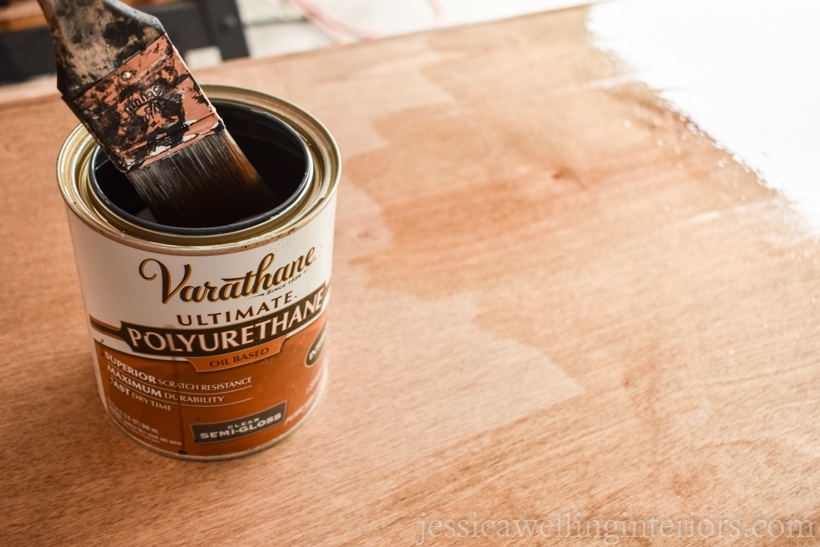
Since this is a desk top, it’s going to get some abuse in the form of school glue and spilled coffee, I wanted a really durable finish. So I chose this semi-gloss oil-based polyurethane finish, and I applied three coats.
Three coats seemed like a lot to me, but now that we’re using the desk and I can set my glass directly on it without worrying about damage, I’m very glad I put in the extra effort!
I used an old paintbrush to apply the top coat, since I wanted it to go on as smoothly as possible. The finish dried with some tiny bubbles, so I got out the sander and just barely touched it with the 220-grit sandpaper to smooth them out between coats.
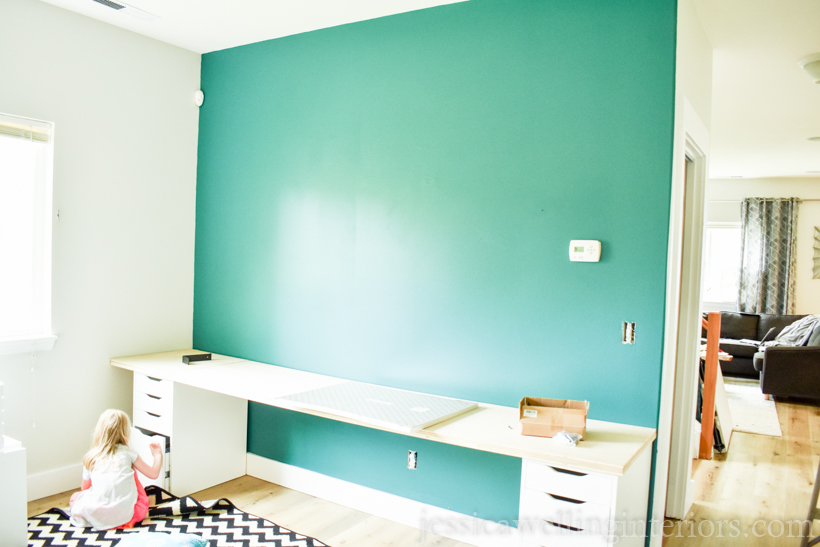
14. Assemble The Desk
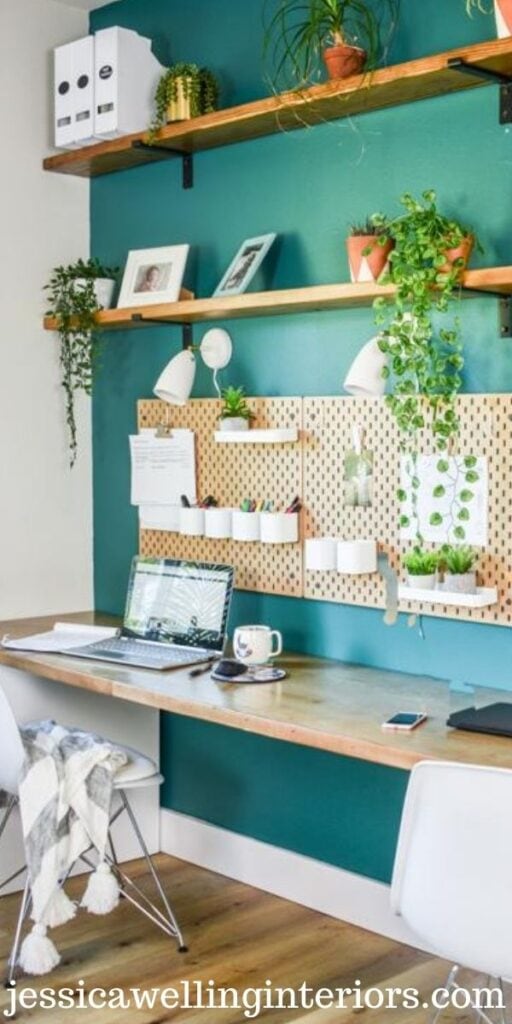
Once this had all dried, we brought it into the house and set it on top of the two Alex drawer units. Plywood will sag in the middle, so we added an ADILS desk leg from IKEA in the center, which I’m now realizing isn’t in this photo. But you can see the leg here in the homeschool room tour.
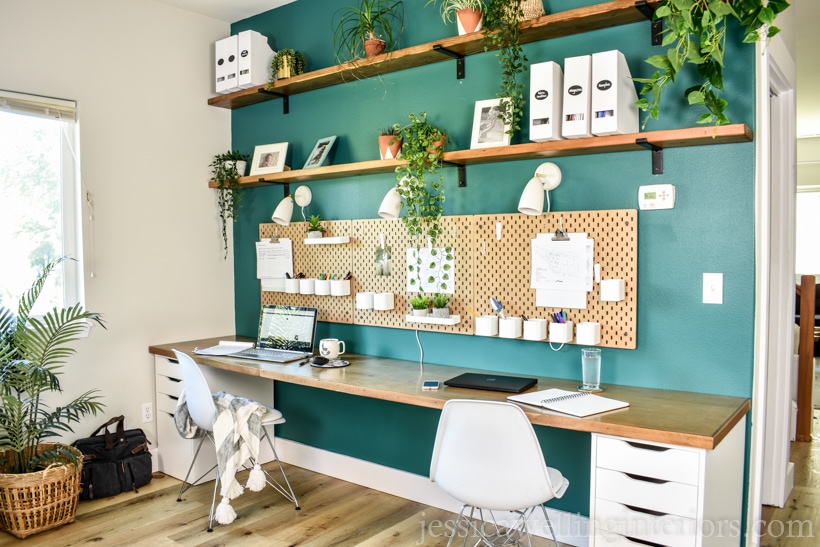
As I mentioned before, we actually built this desk for our new homeschool space. The rest of the homeschool room is finally finished and you can see it HERE!
Shop the Room
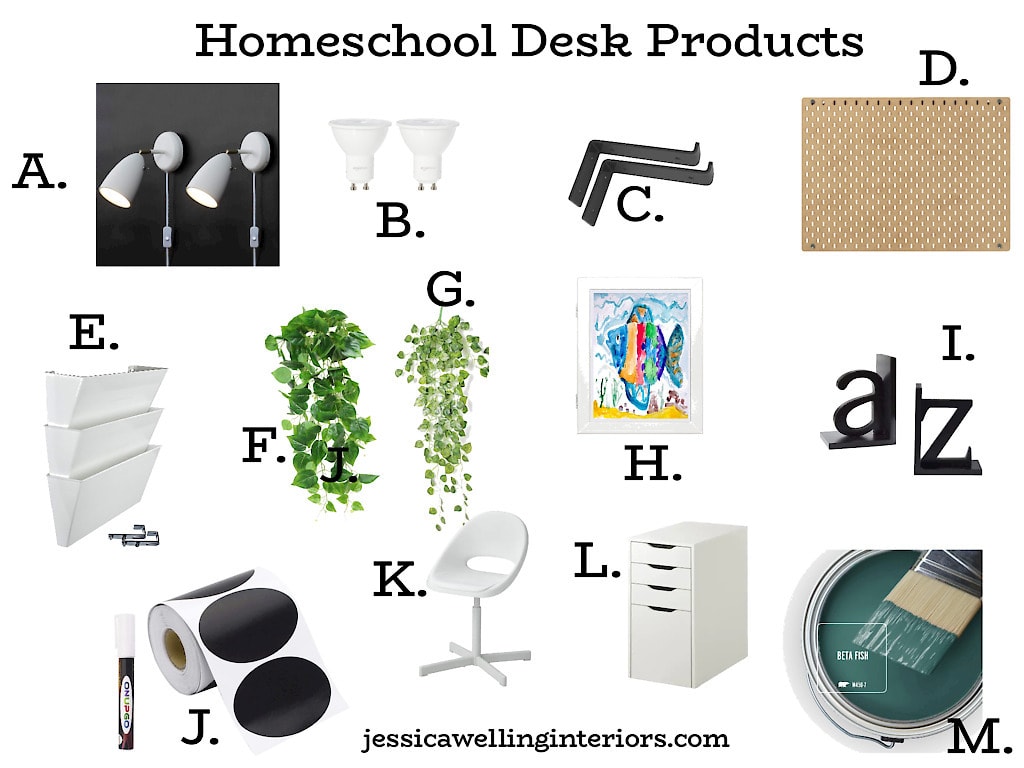
A. Wall-Mounted Task Lights (don’t forget the special bulbs- see B)
B. GU10 Light Bulbs for the task lamps
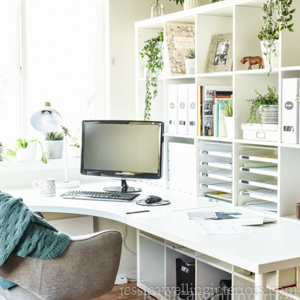
E. Wall-mount Pocket File Organizer
H. Front-Opening Art Frames for Kids’ Art
J. Chalkboard Sticker Labels– this is my favorite brand and I use them everywhere!
K. Loberget/Sibben Child’s Desk Chair
M. Behr Marquee Interior Paint in Beta Fish
Did you enjoy this post? Please help me out by pinning it!
More Ikea Desk Ideas…
Ikea Home Office Ideas: My New Design Studio Reveal!
Home Office Lighting: How to Choose The Right Desk Lamp


This is probably the absolute best I’ve seen . . . design, color, execution!!!!!!!!!!!!!!!!!!!!!!!!!
Thank you so much Marie!
Lowes makes a butcher block countertop that is great. I have use it as a countertop but it would be fantastic as a desktop as well and no work at all. Just put it on top of the cabinets, and seal it. For any parents who need an instant desk quick and don’t have tools or skills. it was under $100.
Thanks for sharing Gail! Do you mind to give us a link to it? I searched and searched and never found anything in that price range!
Very nicely done, although there is too many tools and steps involved. It won’t be something I myself will attempt.
My tools dont come close to yours and your husband’s variety
Thanks Shirley! Yeah I know it ended up requiring more steps than I had originally planned! But you can also buy butcher block- or a desk top from Ikea if you don’t need it to be this long!
Hey do you have a design for setting up a sewing room? That’s what I do mainly. Do you have any ideas? I just signed up for your projects.
Hi Gloria! I’ve never done a dedicated sewing room, and I’m only an occasional sewer, so I just use my office desk or the dining table. But I wonder if a setup similar to my design studio desk might work for you? And then add an Ikea wardrobe cabinet or two for storage? https://jessicawellinginteriors.com/ikea-home-office-ideas/