
Easy DIY Coat Rack
These easy DIY coat racks are perfect for modern entryways and mudrooms!
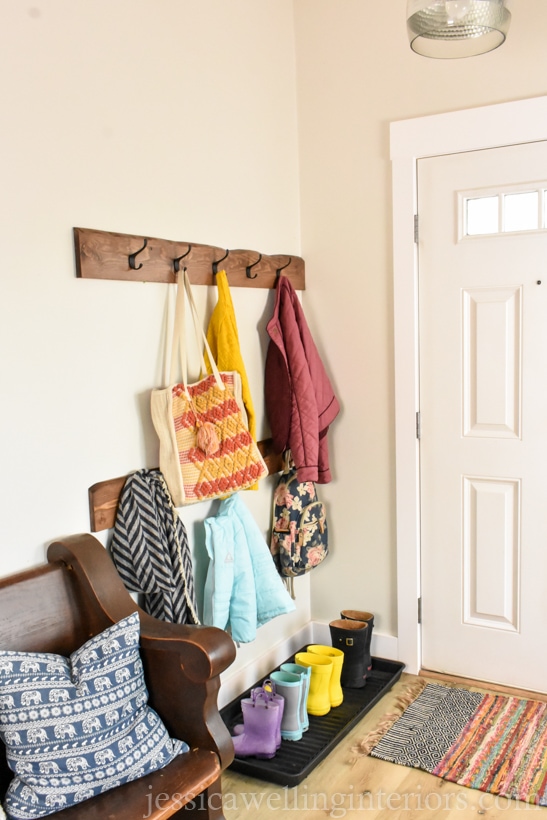
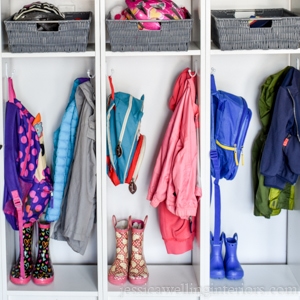
Anyone else dealing with piles of stuff deposited by the front and back doors? I finally had enough and decided it was time to build some simple coat hook racks for my entryway.
And while I was at it, I made 4 racks to go near the door to the garage, one to hang up towels in the kids’ bathroom (now no one can claim they couldn’t hang up their towel!), and a couple for the guest room too… because I’m done having piles of stuff on the floor!!! Hear that kids???
Function (read organization) should always come first in an entryway, whether it’s a huge foyer or a tiny corner of the living room. But that doesn’t mean it needs to be ugly and utilitarian.
I was inspired by these live edge wall hook racks from World Market. And they’re actually a good reasonably-priced option if you’d rather not make them yourself.
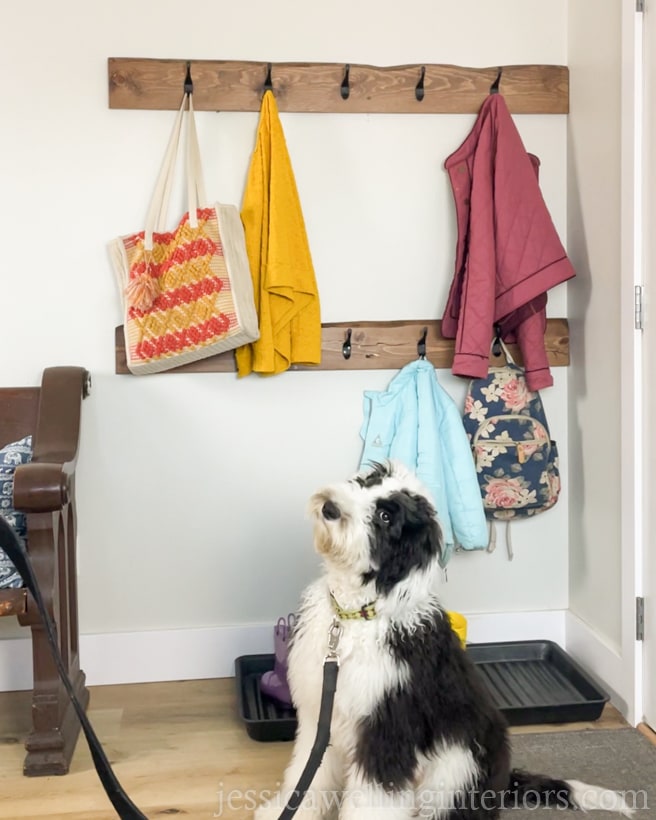
I needed my coat racks to be longer, and I wanted a lot of them, so I opted to make my own. My family isn’t that big, but we seem to have a lot of coats, raincoats, backpacks, masks, hats, and umbrellas. Oh, and a dog leash, harness, etc.

Here’s something important I learned during this project and I want to mention it at the beginning so you don’t make the same mistake I did.
Coat hooks need to be able to support a lot of weight. Hello my giant 20lb purse that I’m sometimes afraid to reach my hand into! And I know that the kids’ backpacks will only get heavier as the years go by.
We’ve had a few coat hooks and even wall hook racks fall right off the walls over the years, usually taking some drywall with them. I remember one memorable crash in the middle of the night several years back!
With this much weight to support, drywall anchors are just not going to cut it. We need each hook rack to be anchored in at least 2 studs. So in this case, a longer board is usually better.
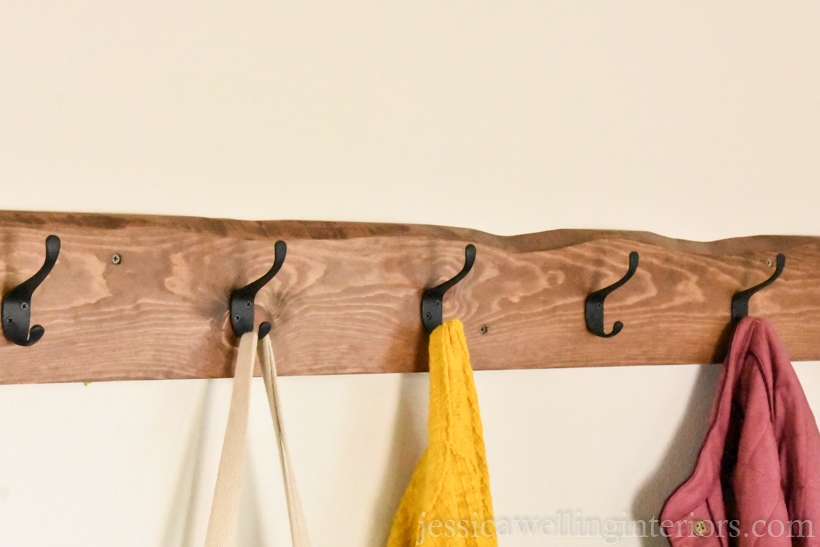
And I’m really pleased with how these faux live edges turned out! Enough chit chat. Let’s get started with the project.
Materials
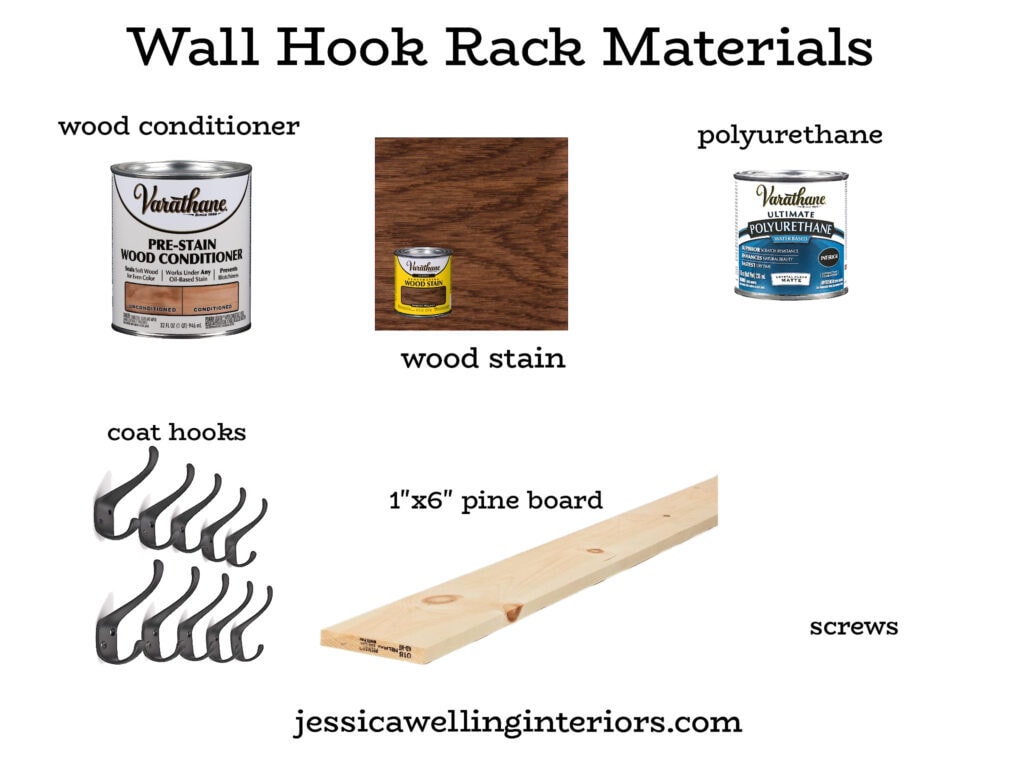
screws
Tools

orbital sander & sand paper discs
rag or paper towel
Directions
1. Find the Studs
Use a stud finder to locate the studs. It’s important for the hook rack to be wide enough that it can be anchored into at least 2 studs. We used masking tape on the wall to mark the stud locations.
2. Measure
Now it’s time to figure out exactly where you want your wall hook racks to go, and how long you want them to be. I wanted mine in two rows- one adult-height, and one kid-height. Use a tape measure to determine the length you’ll need.
3. Cut the Wood
Cut your wood to the length you need. I used a miter saw for this.
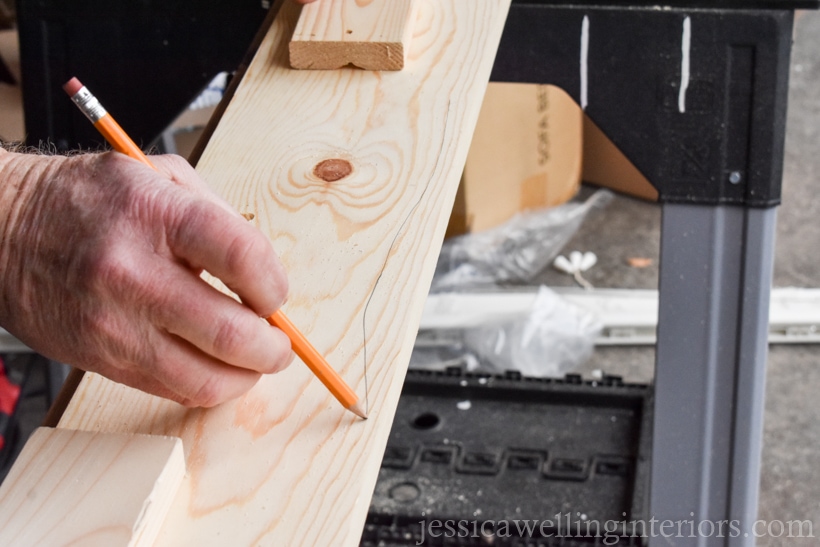
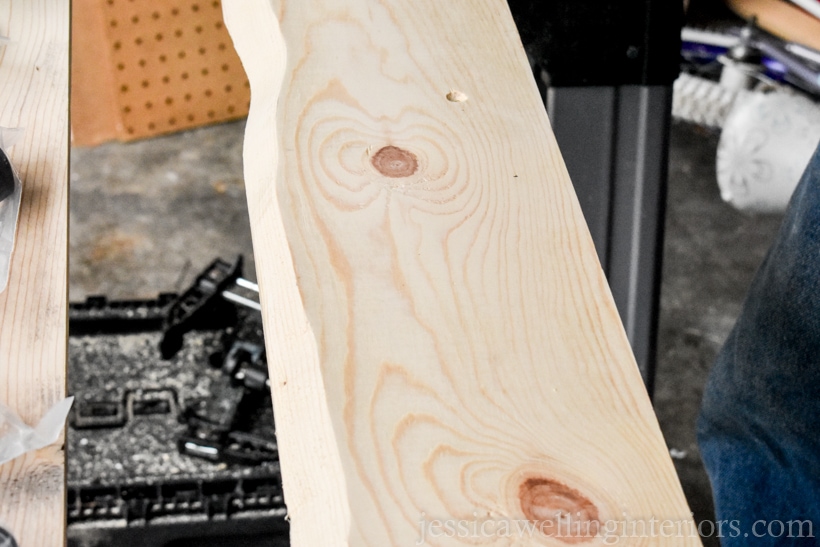
4. Draw the Live Edge
I wanted to create a faux live-edge look, so I drew an organic-looking line across the top of my boards to mimic wood grain live edge.
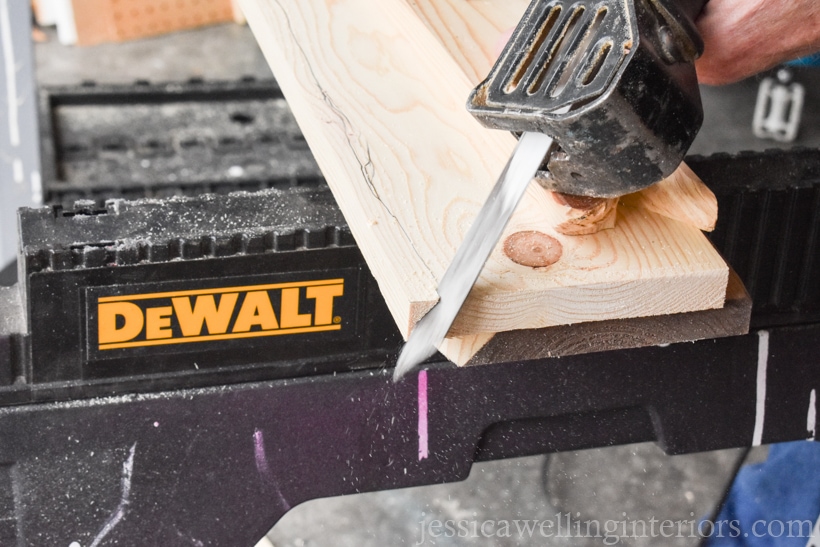
5. Cut the Faux Live Edge
Use a reciprocating saw to cut an uneven, angled line across the top of the wood. Notice that it’s being cut at an angle. Come back and carve a few of the sections a little more if you like.
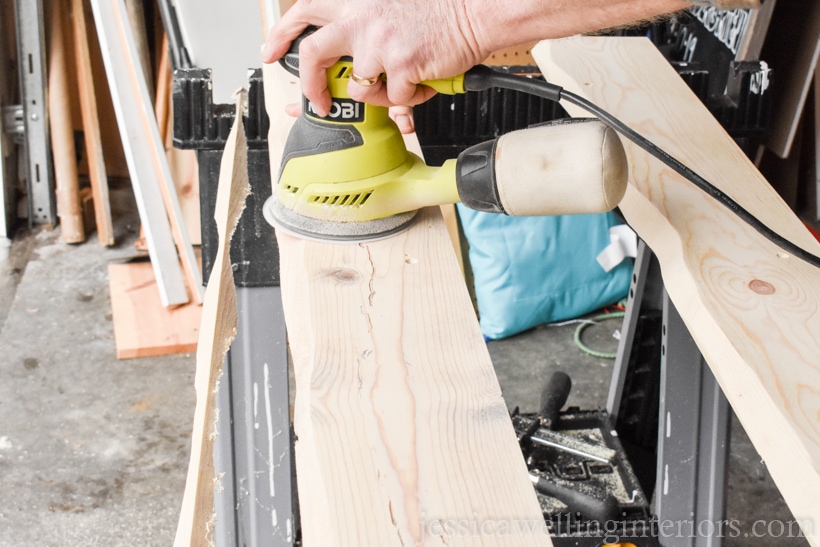
6. Sand
I used an orbital sander to smooth out the rough edges. I began with 180-grit sandpaper, and then finished with 220-grit to make everything nice and smooth.

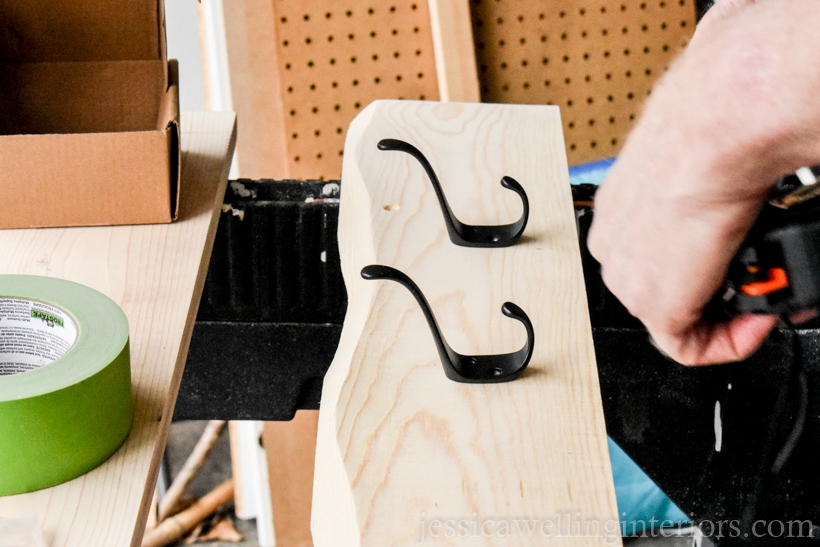
7. Place the Coat Hooks & Drill Holes
We had five coat hooks for each rack, so we measured and spaced them evenly across each one. We drilled a pilot hole for each hook before staining.
8. Apply Wood Conditioner
When I’m working with a soft wood like pine, I always use a pre-stain wood conditioner. It helps the wood absorb the stain more evenly and prevents ugly blotches. Apply it and let it dry according the the instructions on the can.
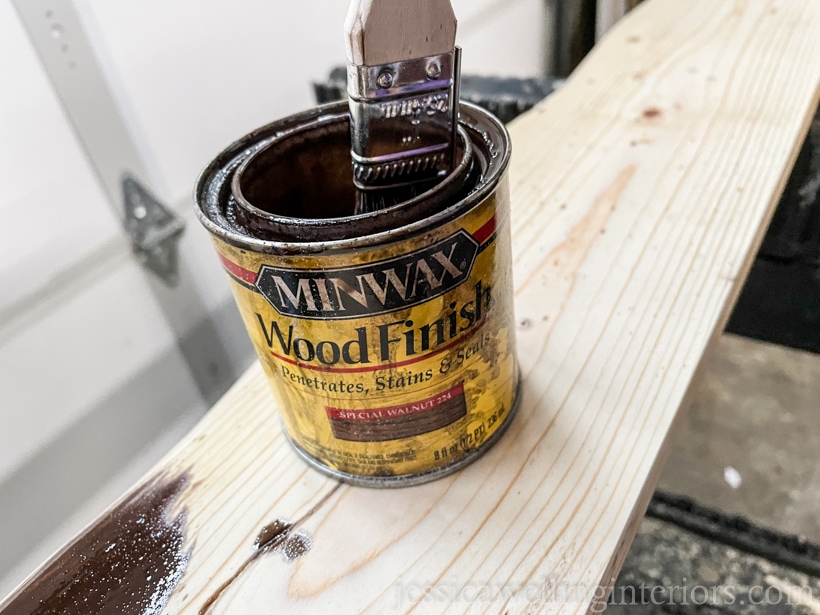
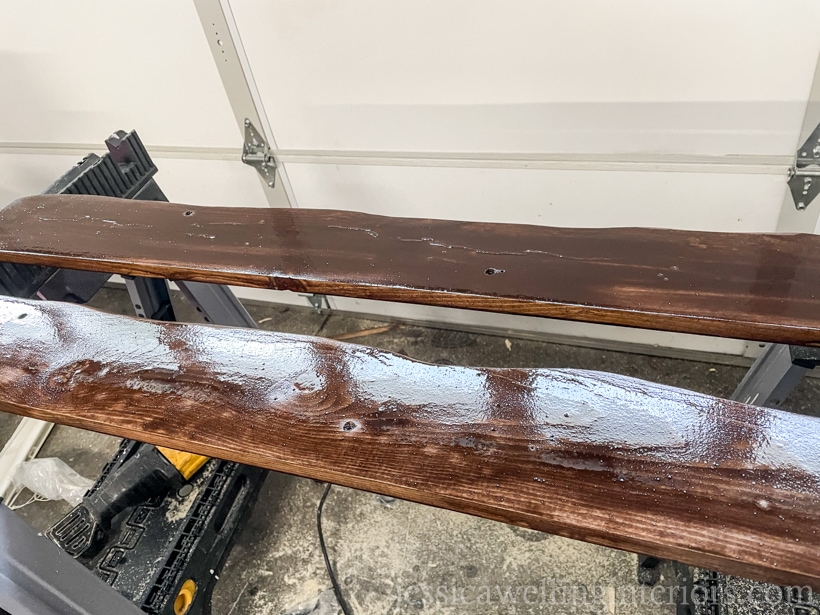
9. Stain (Optional)
I used one of my favorite stain colors, Minwax Special Walnut. Apply the stain with a chip brush (cheap disposable paintbrush) and gloves. It’s oil-based and doesn’t clean up easily.
Let it dry for about 10 minutes before wiping it with a paper towel or rag to remove and excess stain.
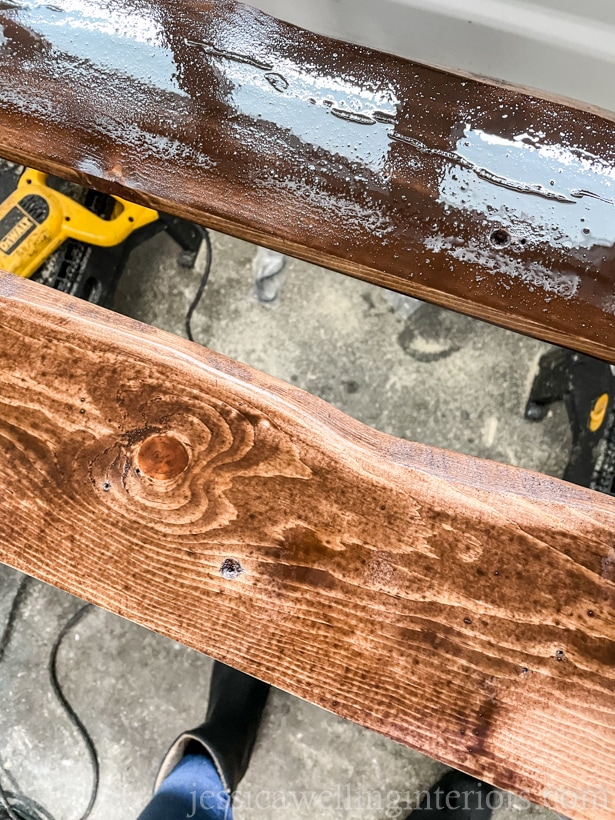
9. Second Coat of Stain
Wait for the first coat of stain to dry. If you’re happy with the color and evenness, you can skip this step. If you want it to be a little darker and/or a little more even, apply a second coat and wipe up the excess after about 10 minutes. I’ve generally found that two coats of stain looks better than one.
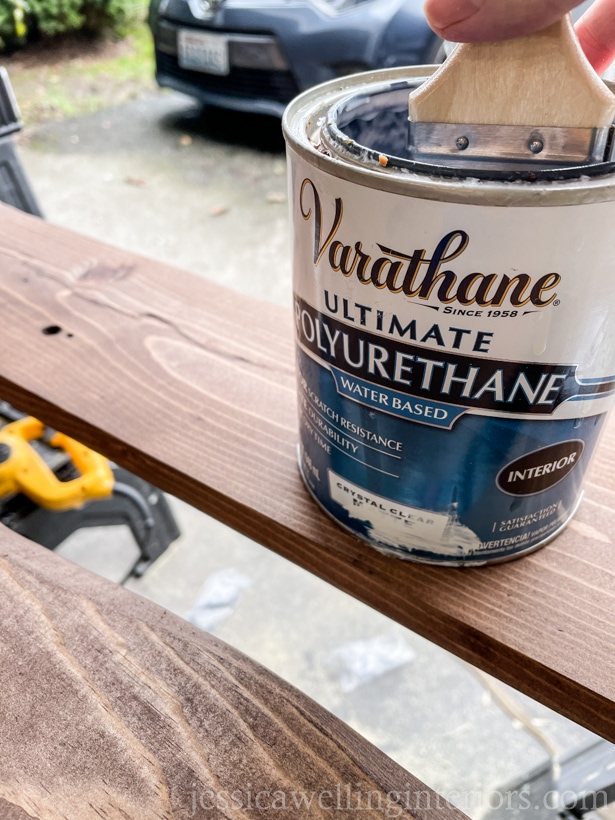
10. Polyurethane
Next apply one or two coats of polyurethane sealer. I used a matte finish for mine. Let this dry for at least 24 hours before mounting it on the wall.
11. Attach to Wall
We used an impact driver to drill the screws into each of the studs.

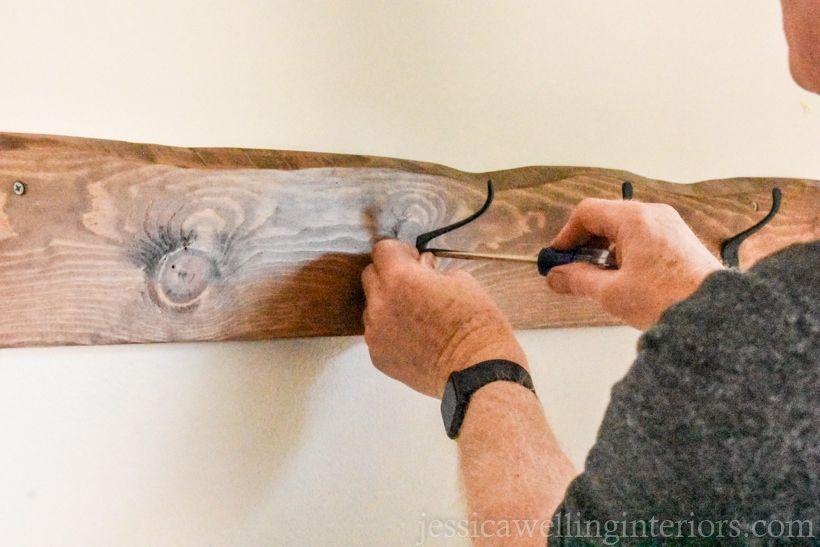
12. Attach Wall Hooks
Finally, use a screwdriver to attach each of the coat hooks to the rack using the pre-drilled holes from step 7.
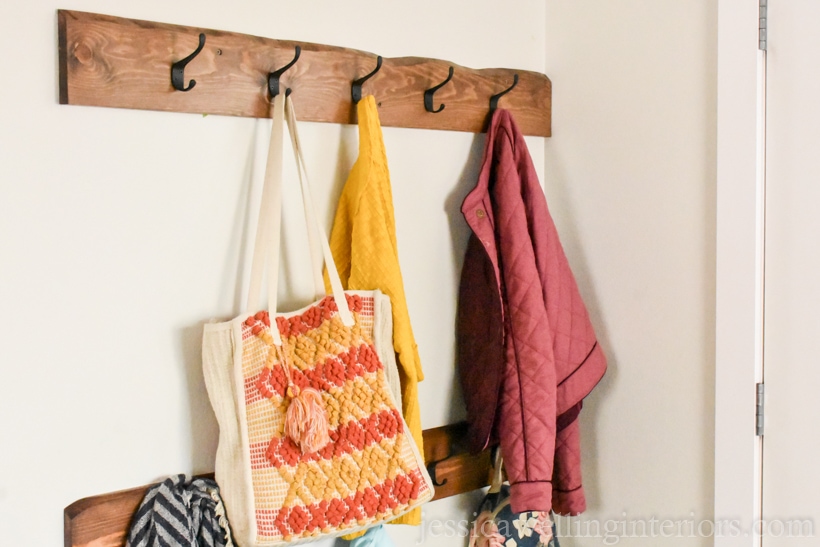
And that’s it! This is going to be perfect as we head into the cooler months and need more jackets and cold-weather gear at the ready. Next, I’m hoping to make a cool boot tray.
More Entryway & Mudroom Ideas…
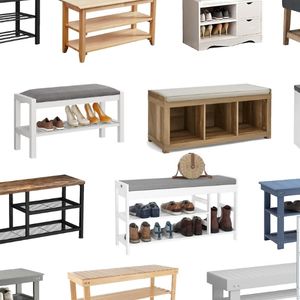
12 Entryway Shoe Storage Ideas

The Best Entryway Shoe Storage Benches Under $100
Backpack Organizer: A Brilliant Mudroom Ikea Hack!


13 Comments