
How to Dry Orange Slices
Make these gorgeous and easy oven-dried orange slices for Boho or farmhouse Christmas decor, orange slice garland, diy ornaments, and more!

Dried oranges are gorgeous in Fall and Christmas decor. I went to order some, then quickly realized I would be better off drying them myself. This is super-easy and inexpensive. The hands-on time is short, but they do take a few hours to dry in the oven.
Materials
Remember the normal-looking oranges we had as kids? I couldn’t find any at my grocery store. I suspect it might be the wrong time of year. So instead, I grabbed some thicker-skinned satsumas and a few navel oranges.
Navel oranges are usually a bit wonky inside, so I knew they probably wouldn’t make for nice-looking slices. But I grabbed a few to use for dried orange peel.
- oranges or tangerines
- serrated knife
- cutting board
- paper towels
- sheet pan parchment paper or foil
Directions
1. Preheat Oven
Preheat the oven to 200 degrees. I know it might be tempting to speed up the process with a higher temperature, but resist! You’re looking to dry them, not scorch them!
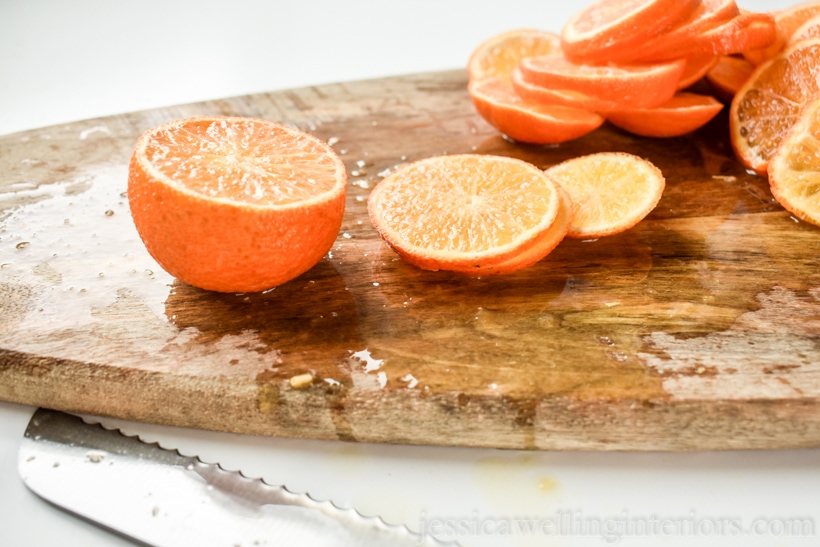
2. Cut Your Oranges
I used a bread knife to cut the oranges into thin slices.
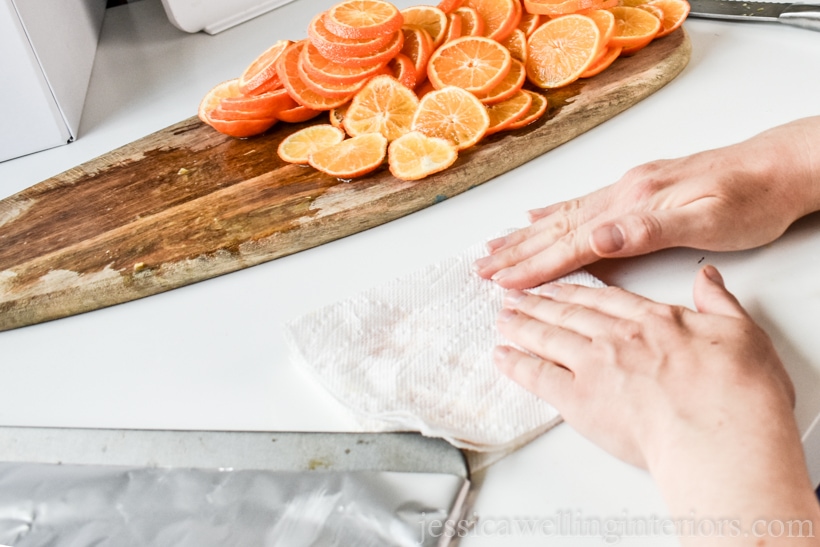
3. Pat Oranges Dry
Use a paper towel to gently pat the orange slices and absorb some of the juice.
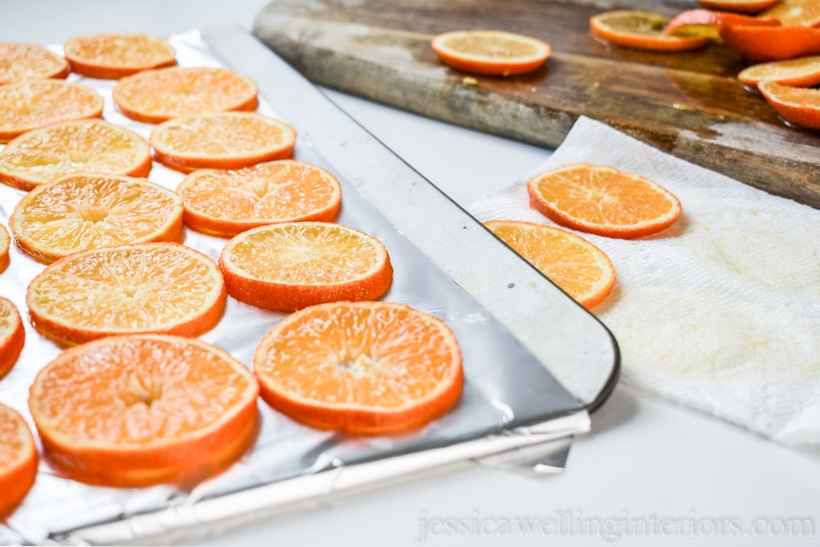
4. Place On Pan
Line a cookie sheet with foil or parchment paper and place the slices on the pan.
5. Bake
Bake the slices for 3-4 hours, taking them out and turning them every hour. You’ll know they’re done when they no longer feel moist.
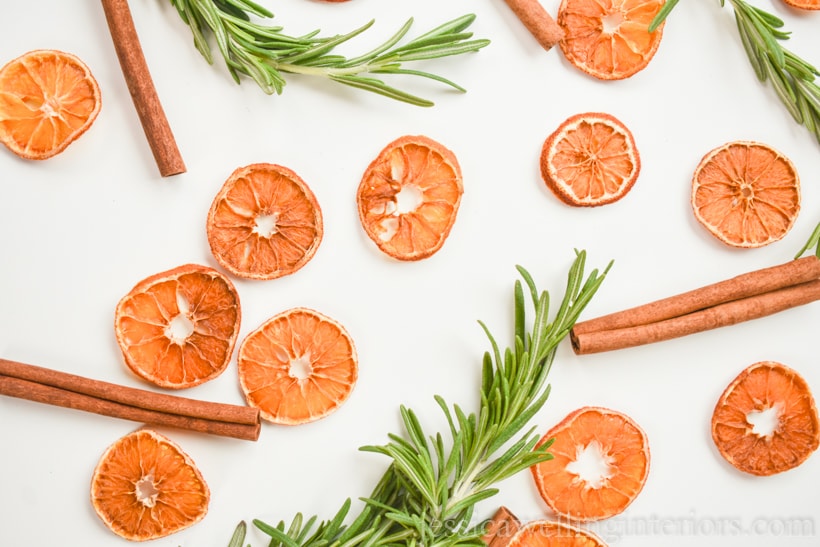
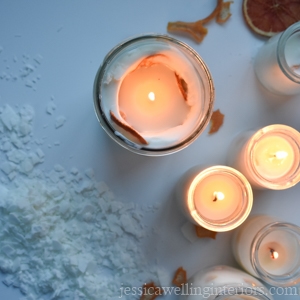
Once your dried orange slices are done, you can use them to make Christmas garlands, DIY candles, holiday ornaments, and more! I’m making mine to use in soy wax candles and maybe for some Christmas table decor too!

More Easy Christmas Craft Ideas…
How to Make Soy Candles: A Beginner’s Guide
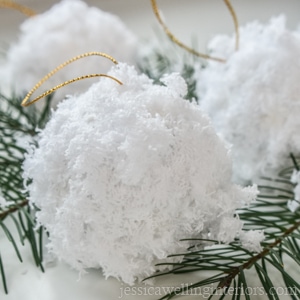
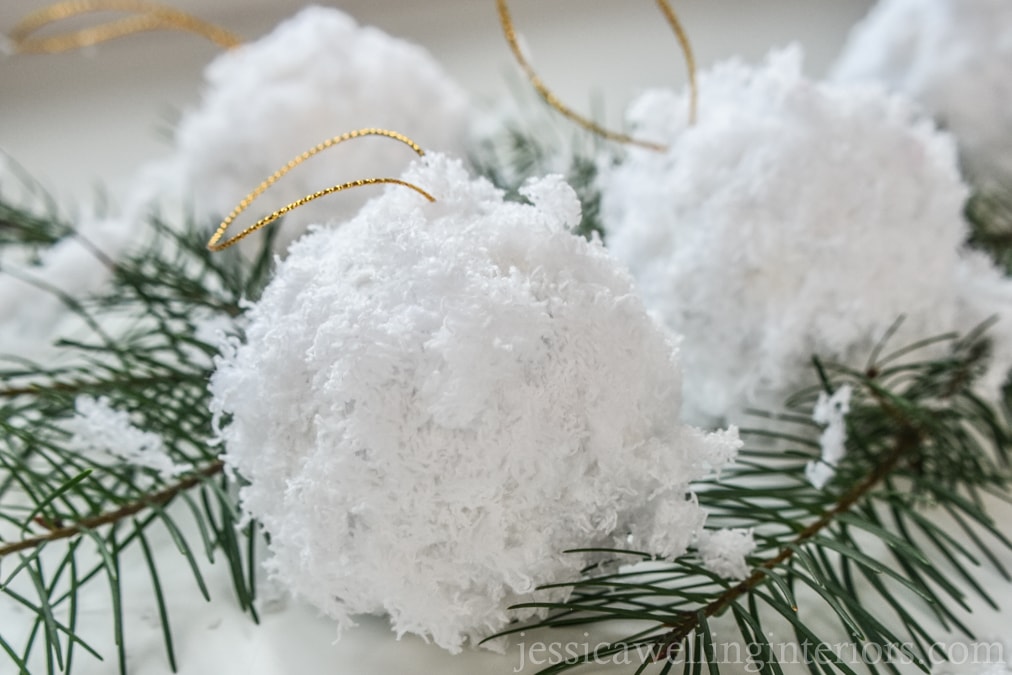
Fluffy Snowballs: Easy DIY Christmas Ornaments
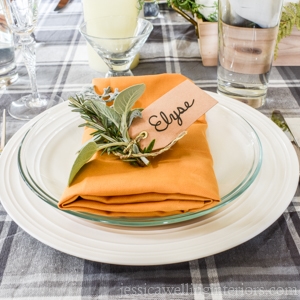
Simple Place Card Holders with Herbs & Flowers


2 Comments