
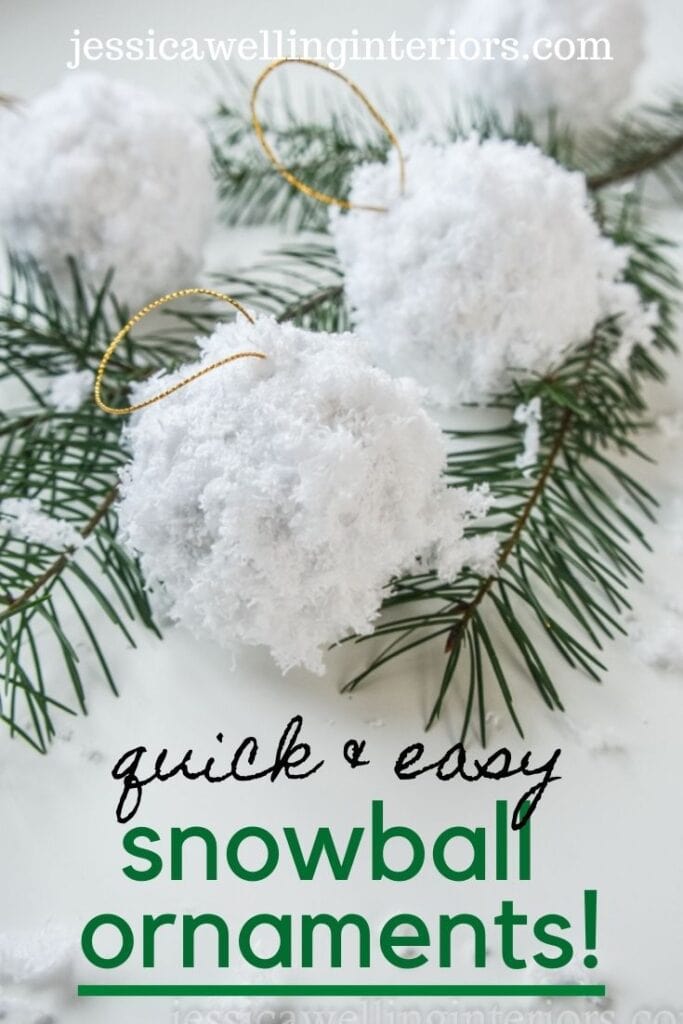
Fluffy Snowballs: Easy DIY Christmas Ornaments
These quick & easy fluffy snowballs are beautiful DIY Christmas ornaments to go with any style of holiday decor!
Here’s What You’ll Need:
- paper mache ball ornaments– these are my favorite inexpensive ones from Amazon!
- white acrylic paint
- Elmer’s glue
- fluffy white yarn
- sharp craft scissors
- small paintbrush
- paper cup or something to put glue in
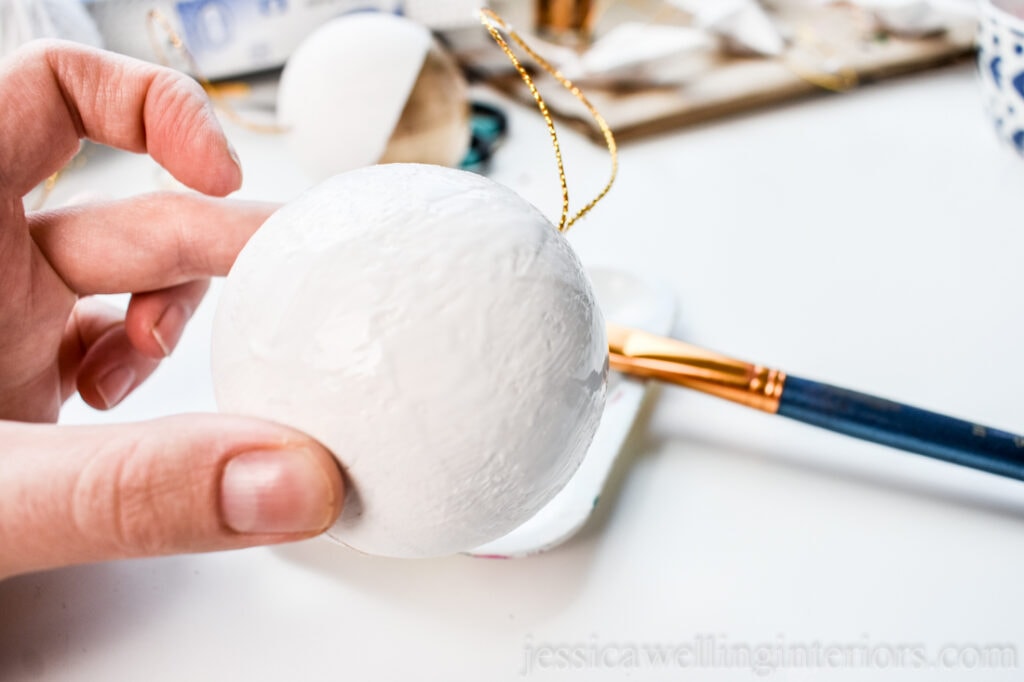
1. Paint your Ball Ornaments
Use the paintbrush to apply a coat of white acrylic craft paint to your ornament. This will provide a white background for the “snow” fluff you’ll add later. It doesn’t need to be perfect..
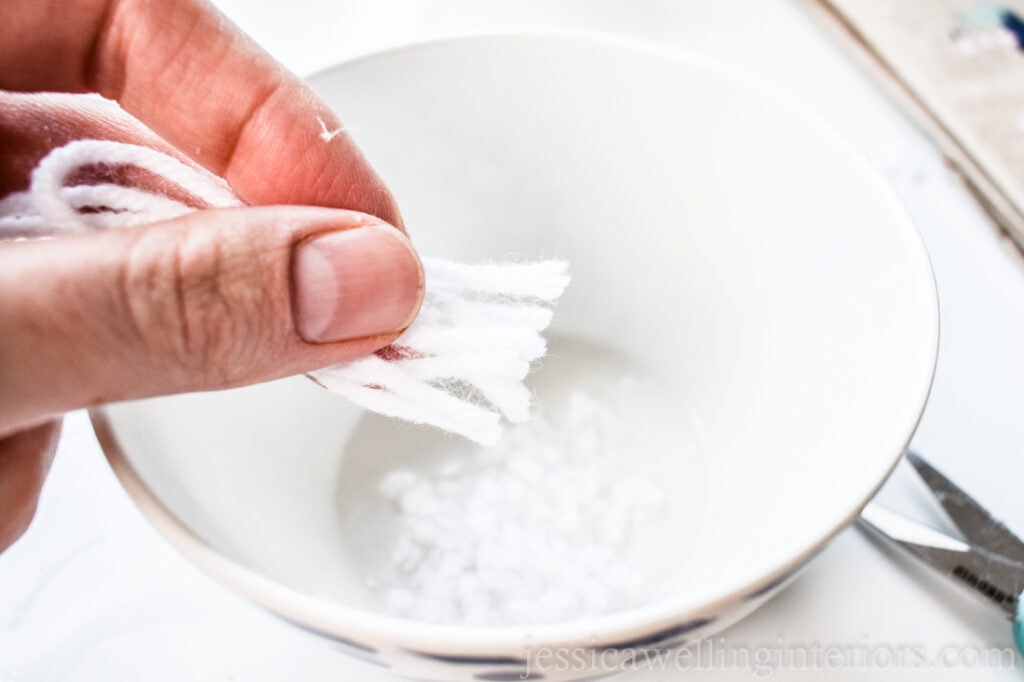
2. Cut Yarn Into Bits
I happen to have a giant bin of yarn in my closet. Surprise surprise! So I had several varieties of white yarn. But if you need some, I strongly recommend this fluffy yarn, because it has the perfect texture for realistic snowballs! It’s what I ended up using after trying a couple of other varieties.
Wrap the yarn around your fingers several times, then use the craft scissors to cut it into tiny bits. I used a bowl to contain my yarn bits.

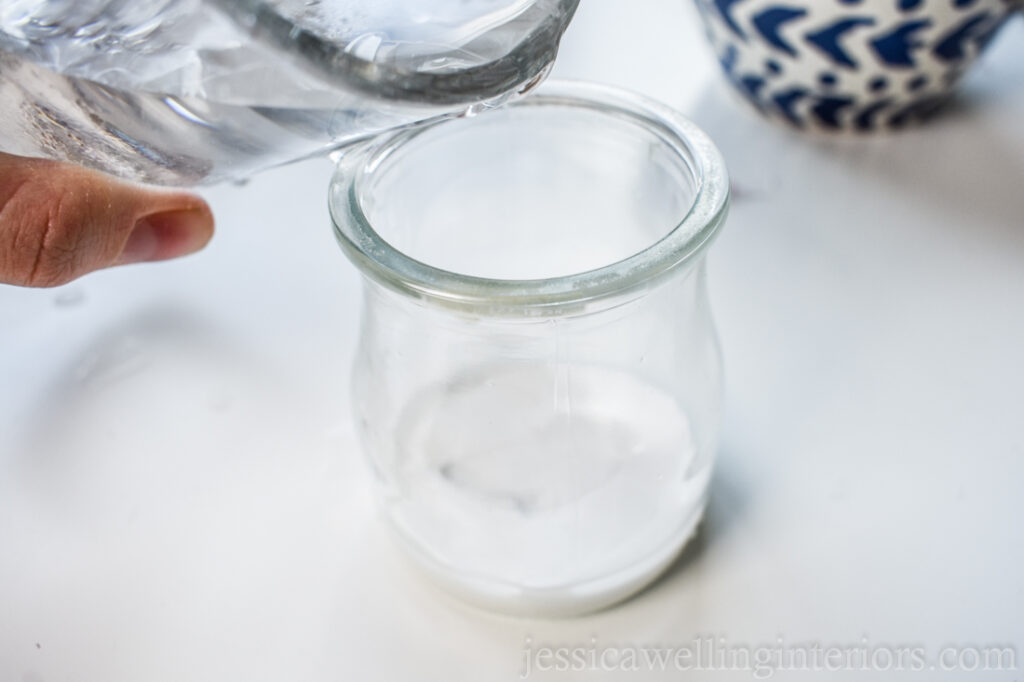
2. Mix The Glue
Mix 2 parts Elmer’s glue to 1 part water. This will make the glue MUCH easier to paint on!
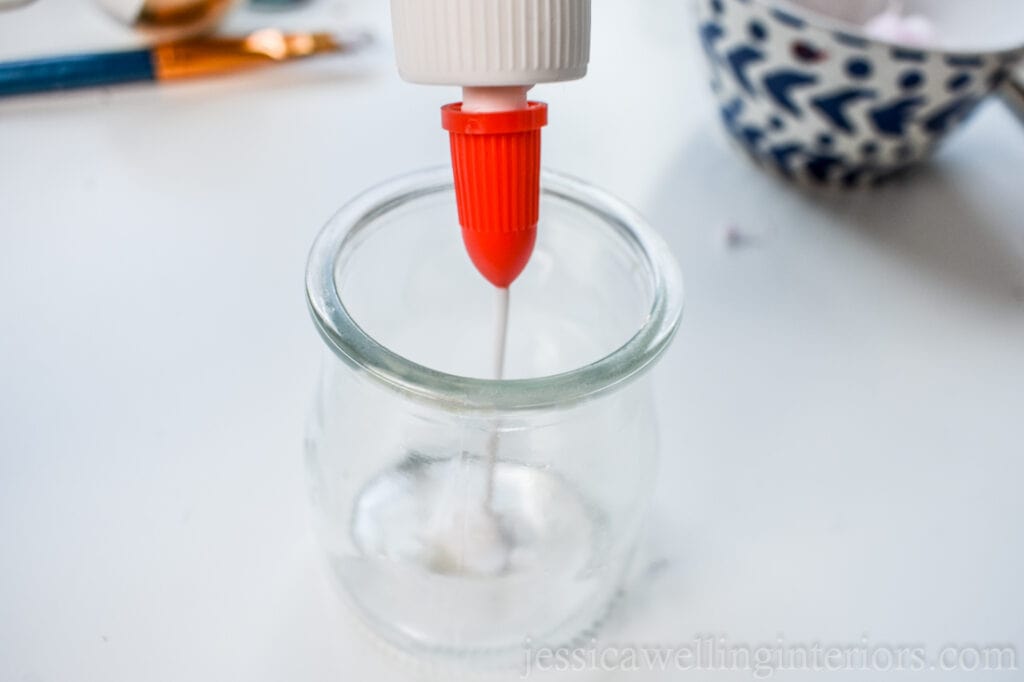
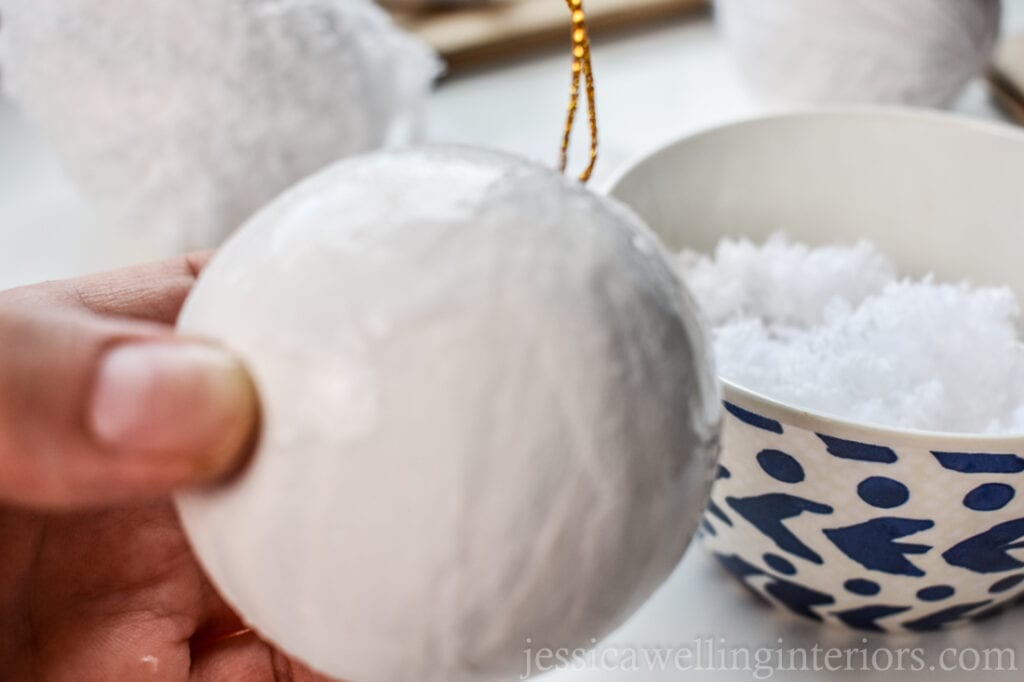
3. Paint Glue on Ornament
Use the paintbrush to apply the glue mixture to as much of the ornament as you can while still holding it. You can come back and get the spots you missed later.
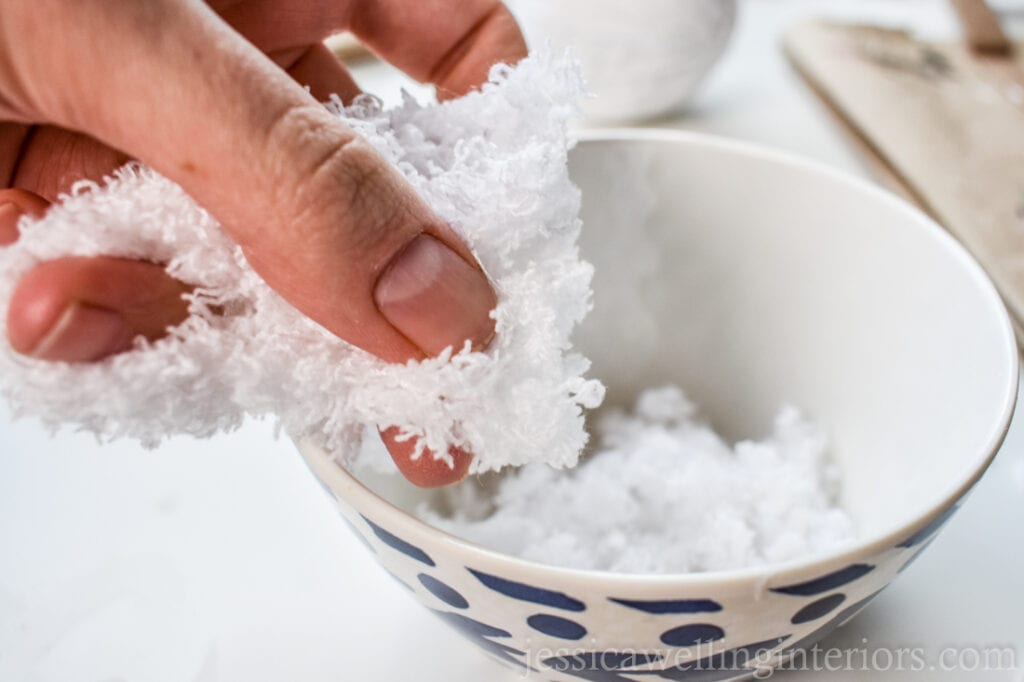
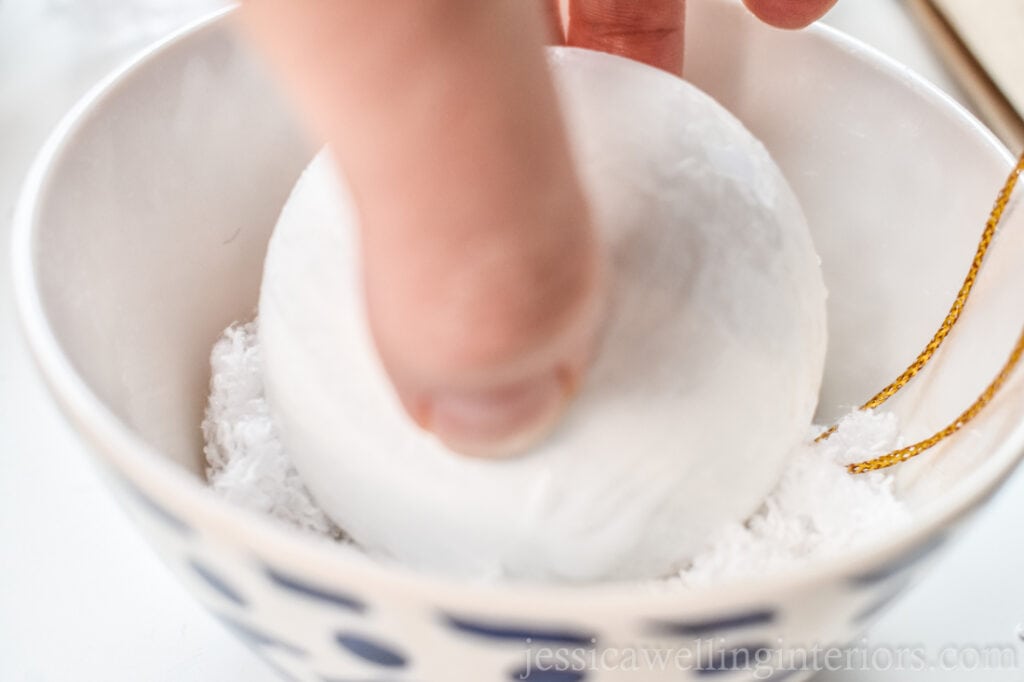
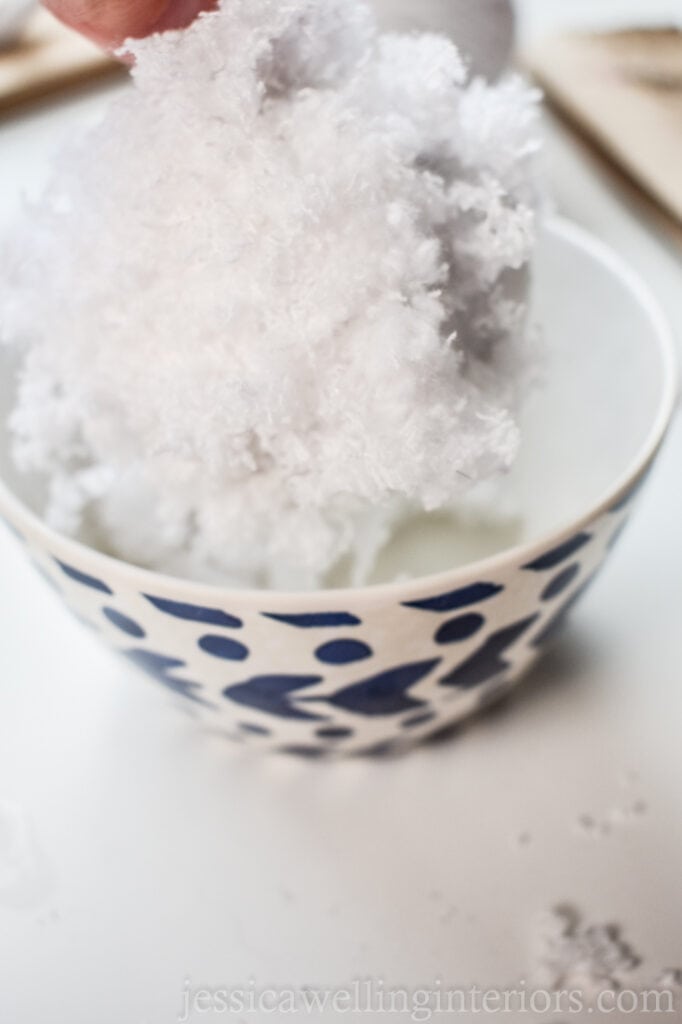
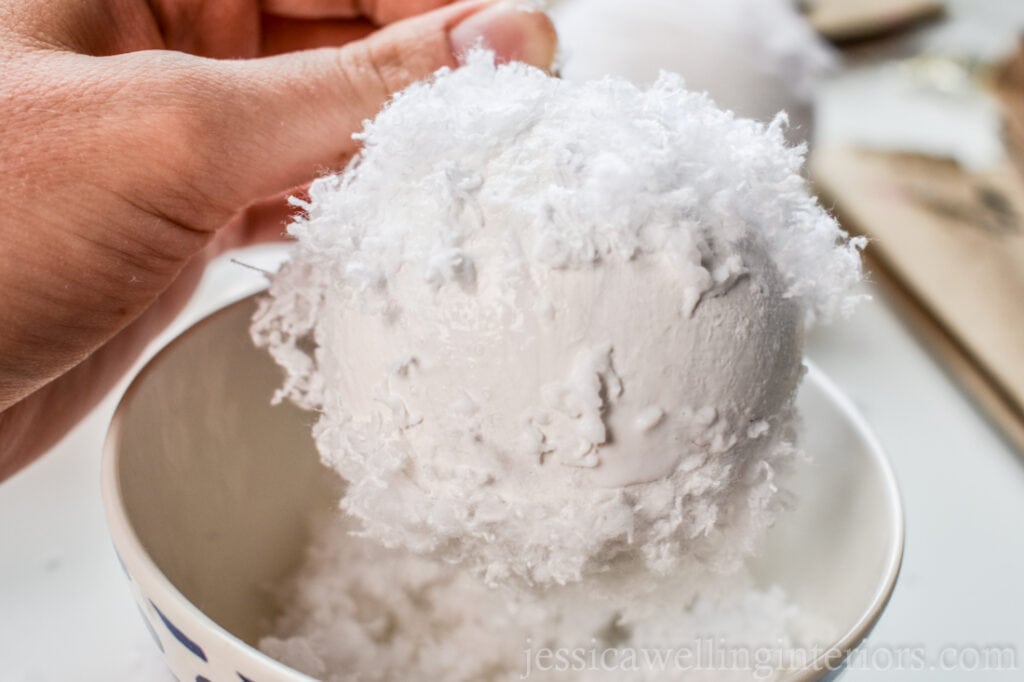
4. Dip the Ornament
Dip the ball into the “snow” yarn and turn it a couple of times, so that all the surface is covered in fluff.
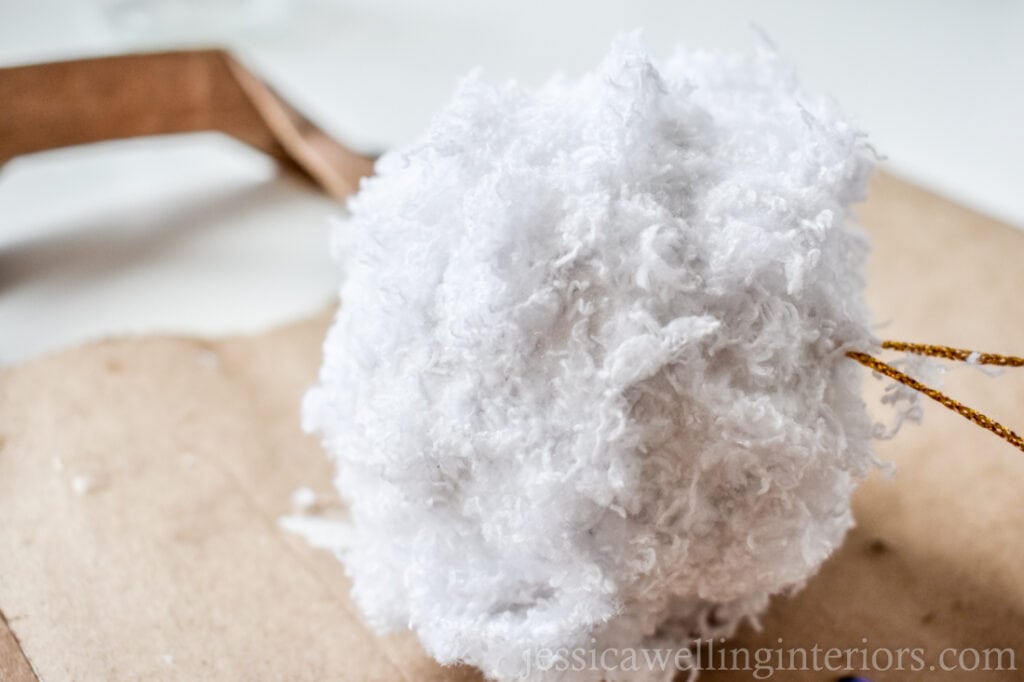
5. Apply More Glue & Finish
If there’s an area that you couldn’t cover with glue before, go back and paint some on. Re-dip the ornament so that the whole thing is covered.
6. Let It Dry
Let the glue dry for at least an hour before hanging the ornament up. Give it a little shake to get any excess fluff off too!
And that’s it! I want to try these with a touch of white glitter too- I’m waiting for the giant bag of glitter I ordered to arrive. I’ll update when I’ve tested it out!
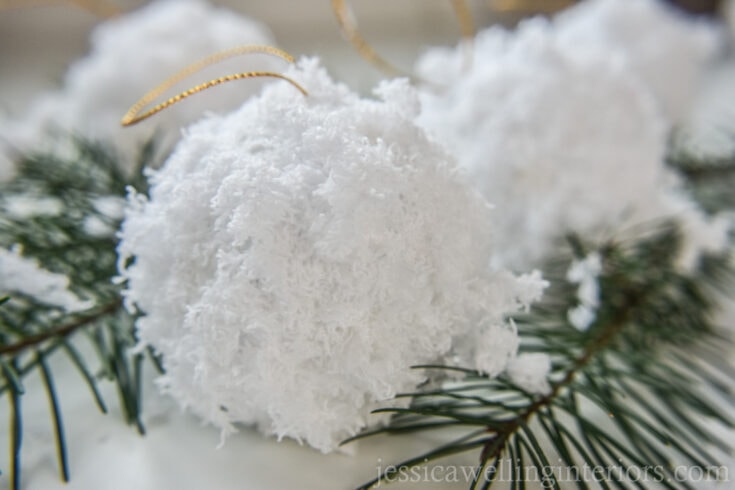
Easy Snowball Ornaments
Make these easy, fluffy snowball ornaments in just a few minutes!
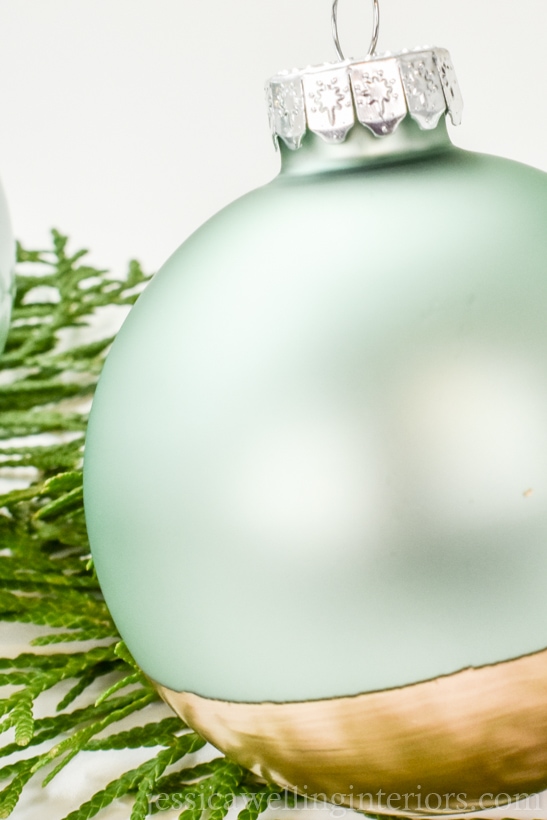
More Easy Christmas Ornament Ideas…
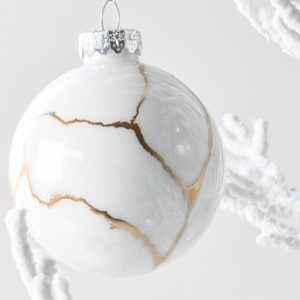
Easy Kintsugi DIY Christmas Ornaments
Thank you. A lot of great ideas to make for Christmas and a lot of great memories making them. Great crafts for homeschooling. Thank you again!!!
Thanks so much Sarah!