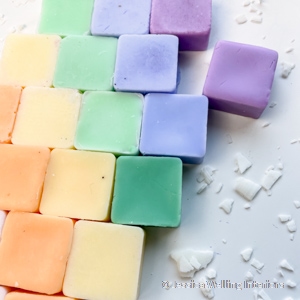
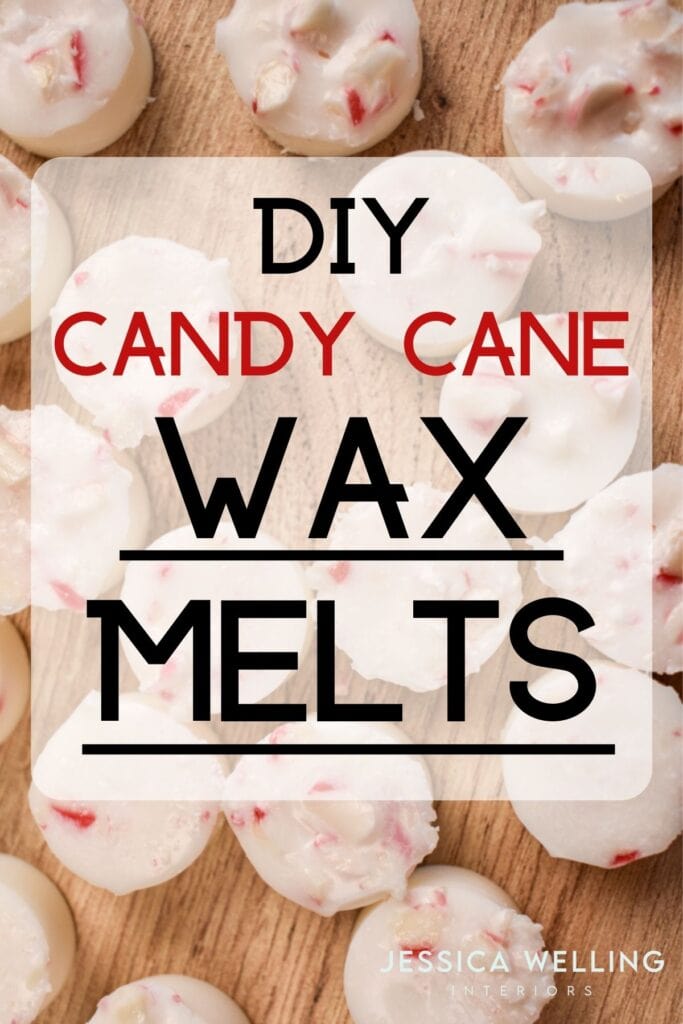
DIY Candy Cane Wax Melts
These fun and easy candy cane wax melts are perfect for Christmas!
How to Make Candy Cane Wax Melts
I’m using soy wax for this project because it’s my favorite go-to wax for both candles and wax melts. You can also use paraffin, but the wax will be a bit more translucent. Here’s a tutorial for paraffin wax melts:
How to Make Wax Melts: Everything You Need to Know
Materials

A. Soy Wax Flakes (this is my favorite brand from Amazon)
B. Candy Canes
C. Peppermint Fragrance Oil (I’m using Peppermint Swirl from Nature’s Oil)
D. Glass Measuring Cup or Microwave-safe Bowl
E. Silicone Candy Mold (I’m using this one from Amazon)
G. Eye Dropper
Directions
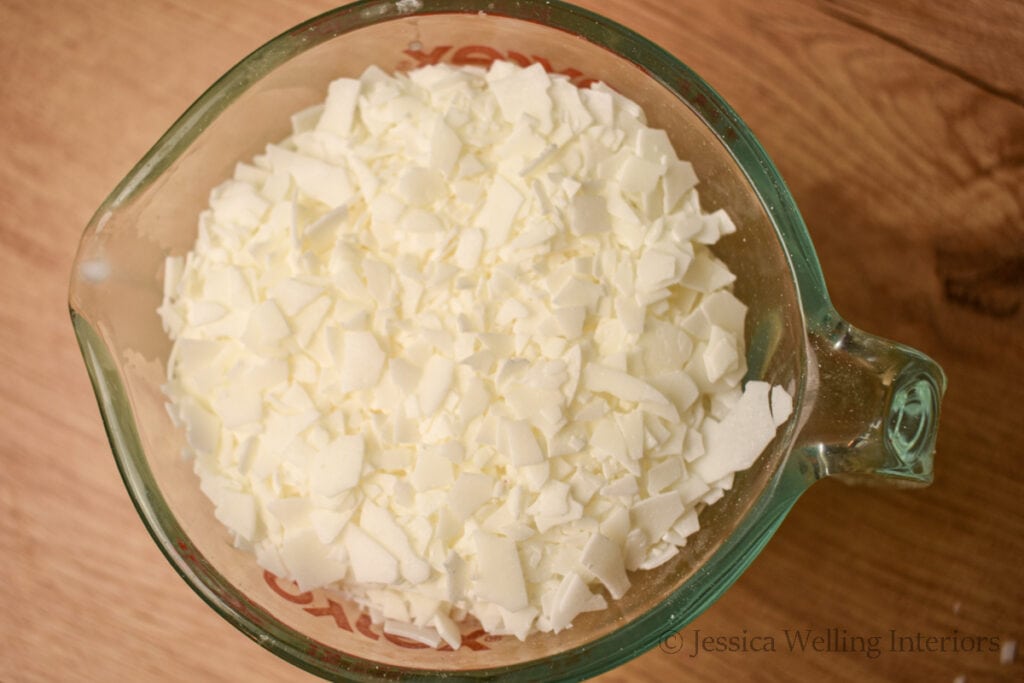
1. Measure the Wax
Start with four cups of soy wax in a glass measuring cup or microwave-safe bowl. This will melt down to approximately 2 cups.
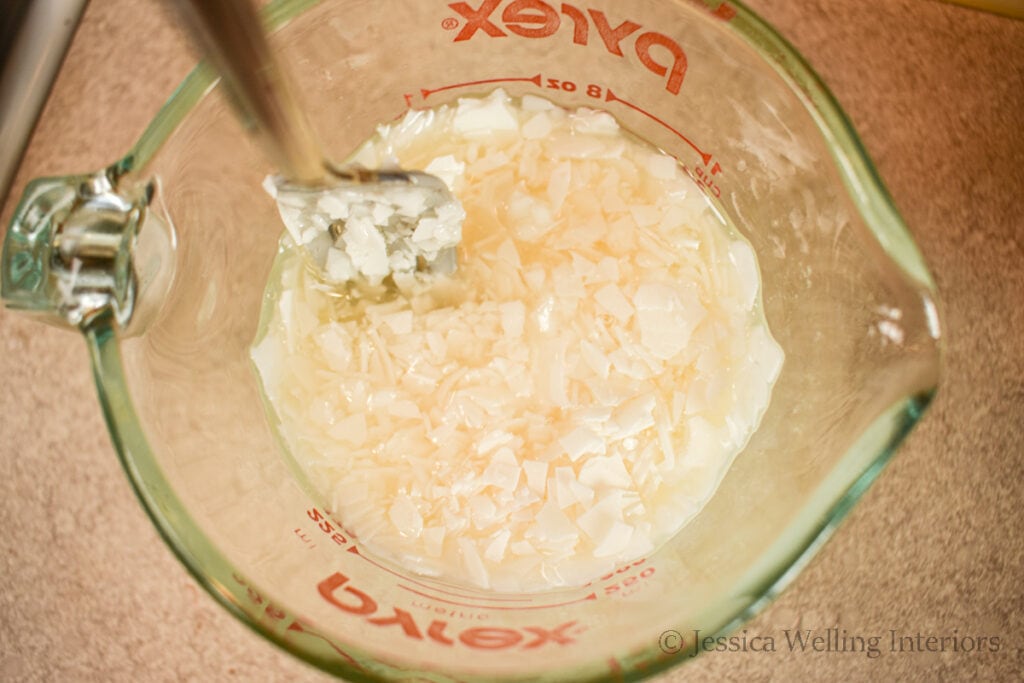
2. Melt the Wax
Melt the wax in the microwave, starting with two one-minute intervals, and then going down to 30-second intervals. Stir the wax with a fork each time you take it out of the microwave.
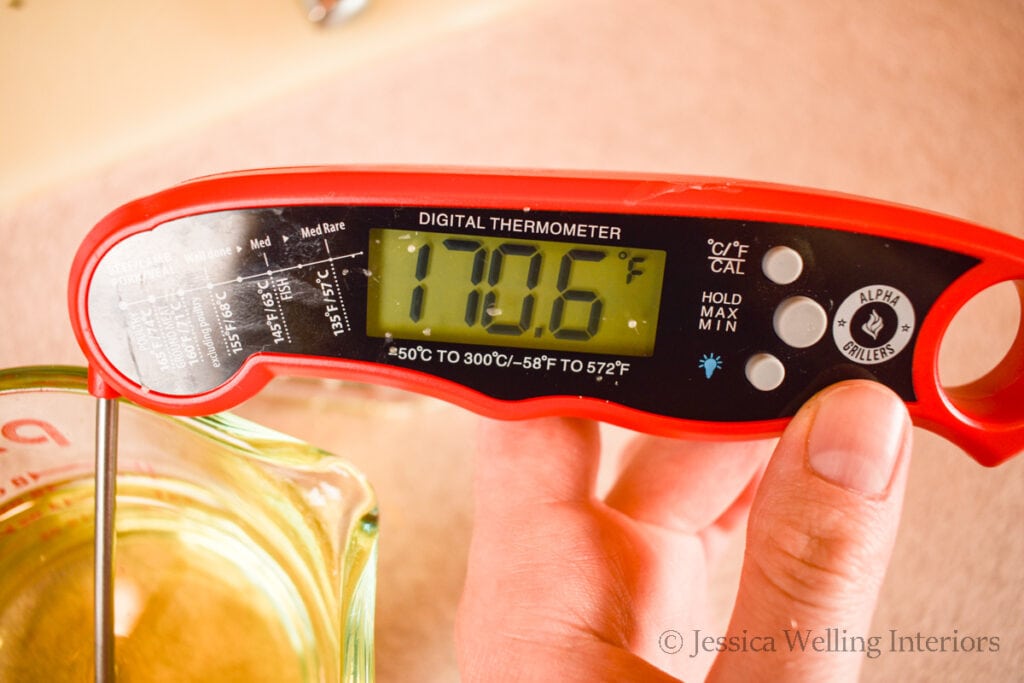
Once the wax is liquid, use a meat thermometer to keep an eye on the temperature. The target is between 170 and 180 degrees.
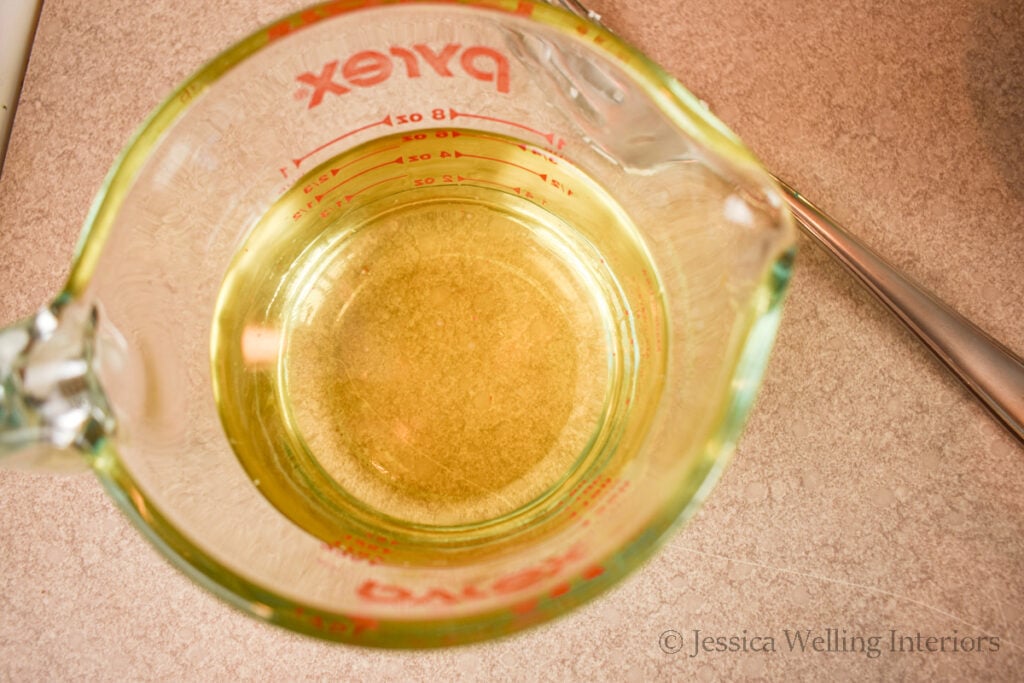
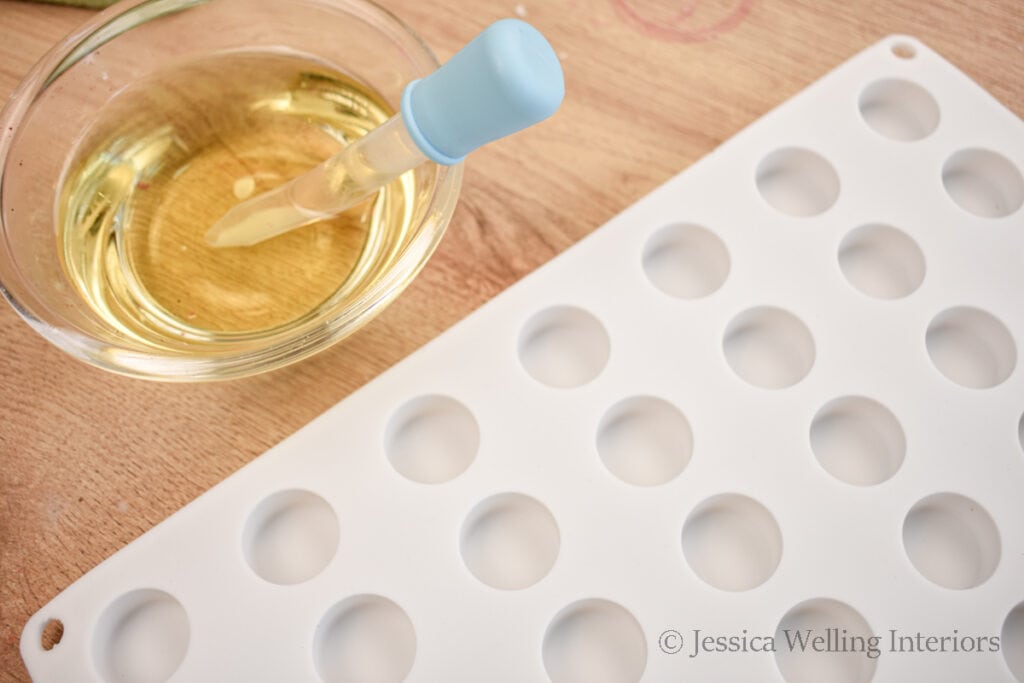
3. Add Peppermint Fragrance Oil
Once you’ve reached your target temperature, add 1 1/2 Tablespoons of peppermint fragrance oil and stir until it’s no longer cloudy.
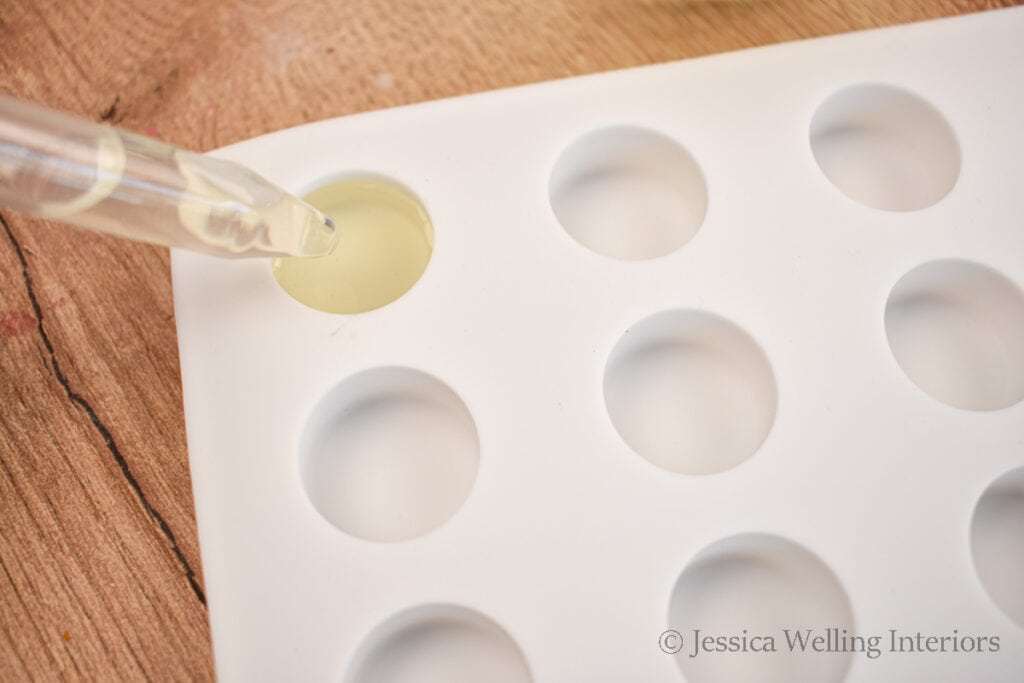
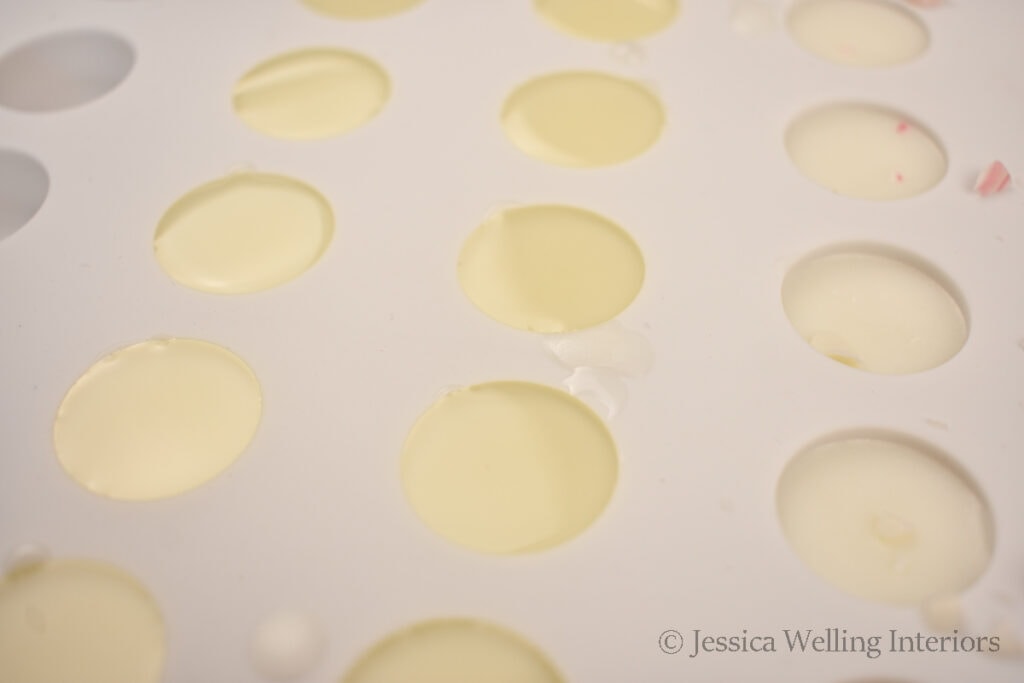
4. Fill Molds 3/4 of the Way
Use an eye dropper to fill the molds most of the way, leaving just a little room at the top of each cavity. Be sure to leave enough wax to fill them the rest of the way later.
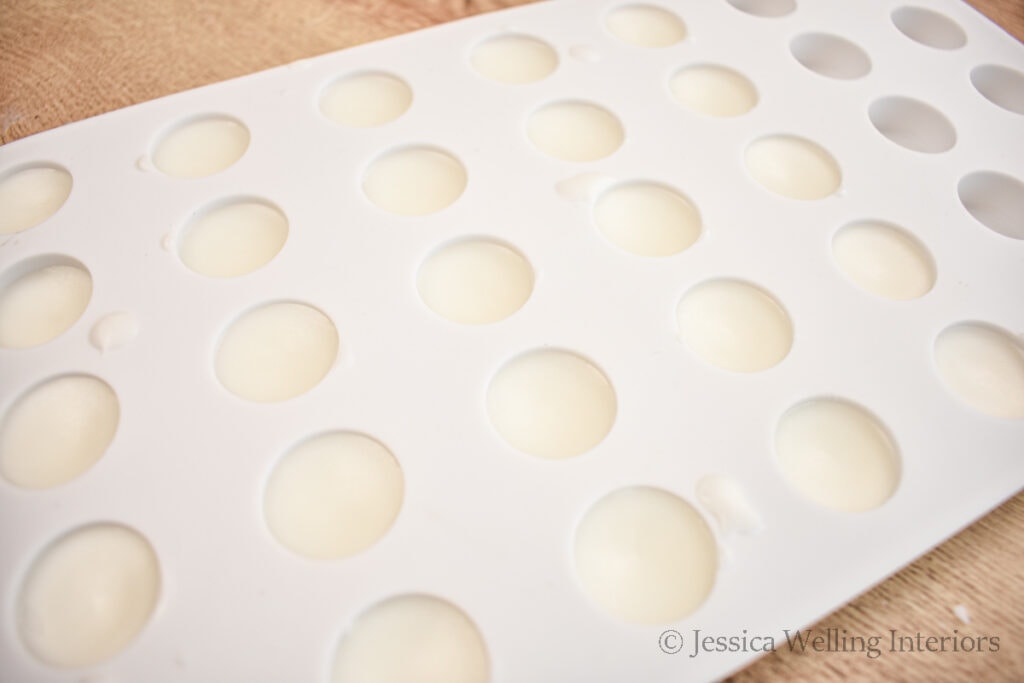
5. Let it Cool
Let it cool completely. This will probably take an hour or so.
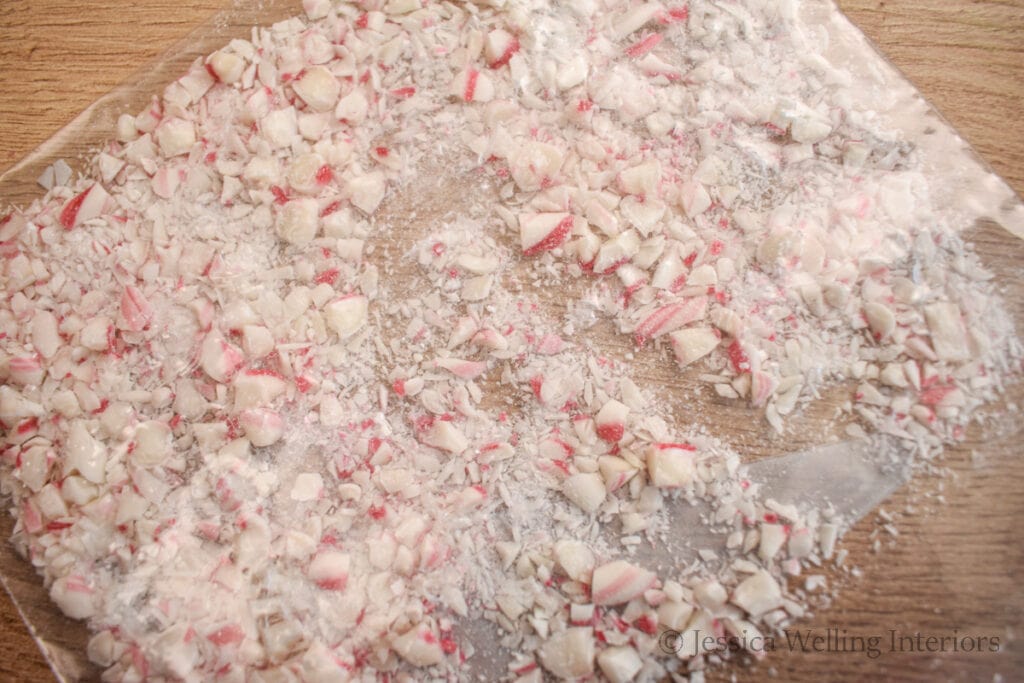
6. Crush Candy Canes
While the wax is cooling, unwrap several candy canes and put them inside a Ziplock bag.
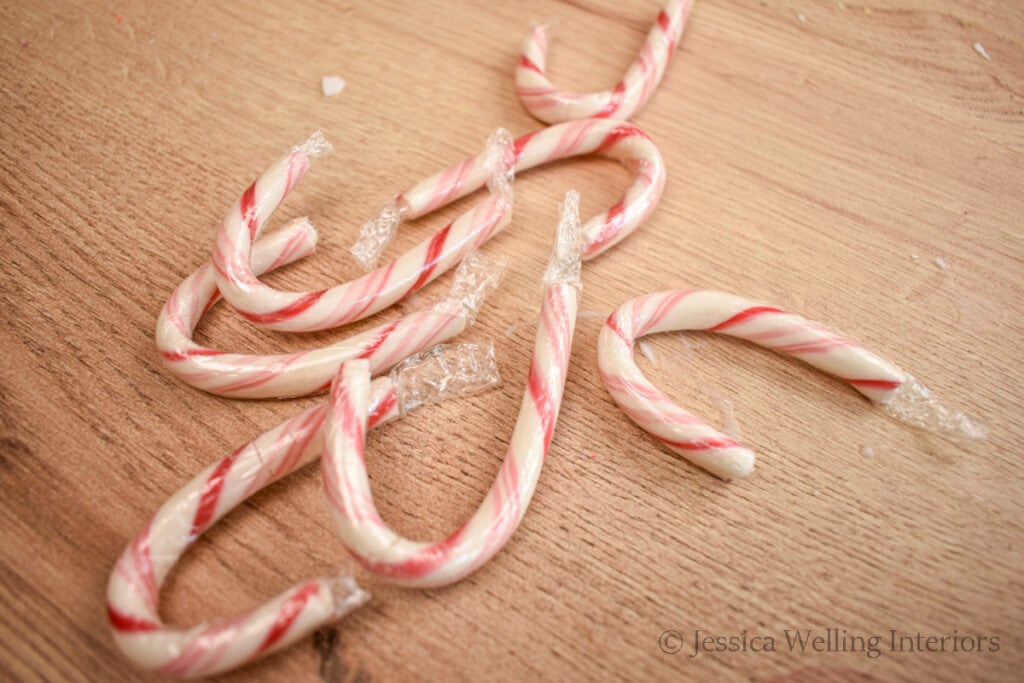
Use something heavy to crush them into small pieces. I used a rolling pin.
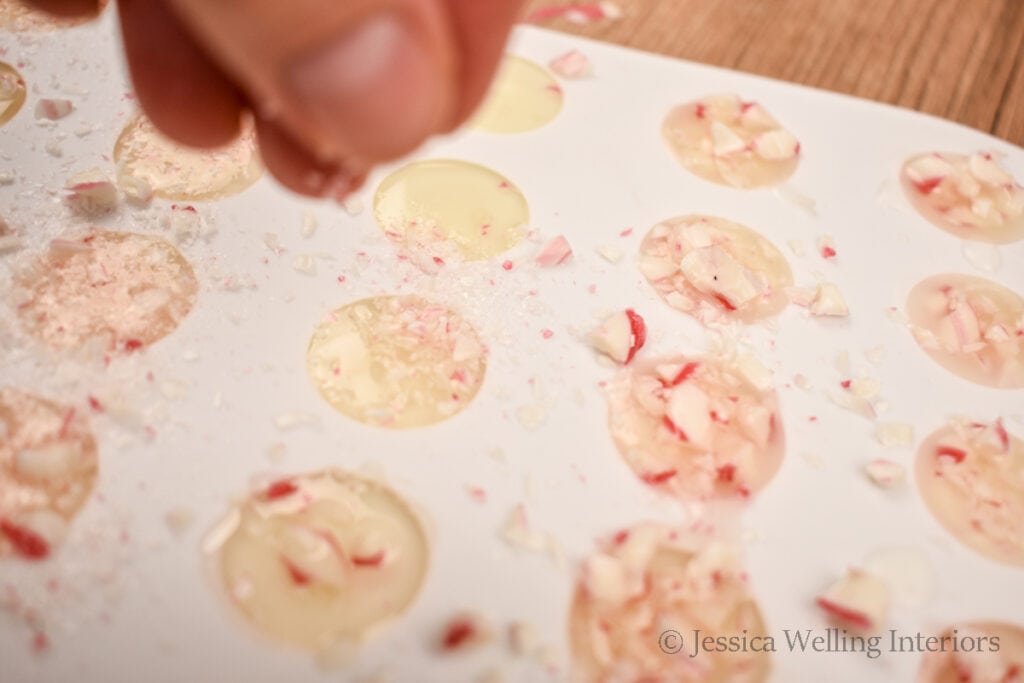
7. Fill Molds to the Top
Re-heat the wax in microwave, warming it just enough to melt it. Use the eye dropper to fill the cavities the rest of the way to the top.
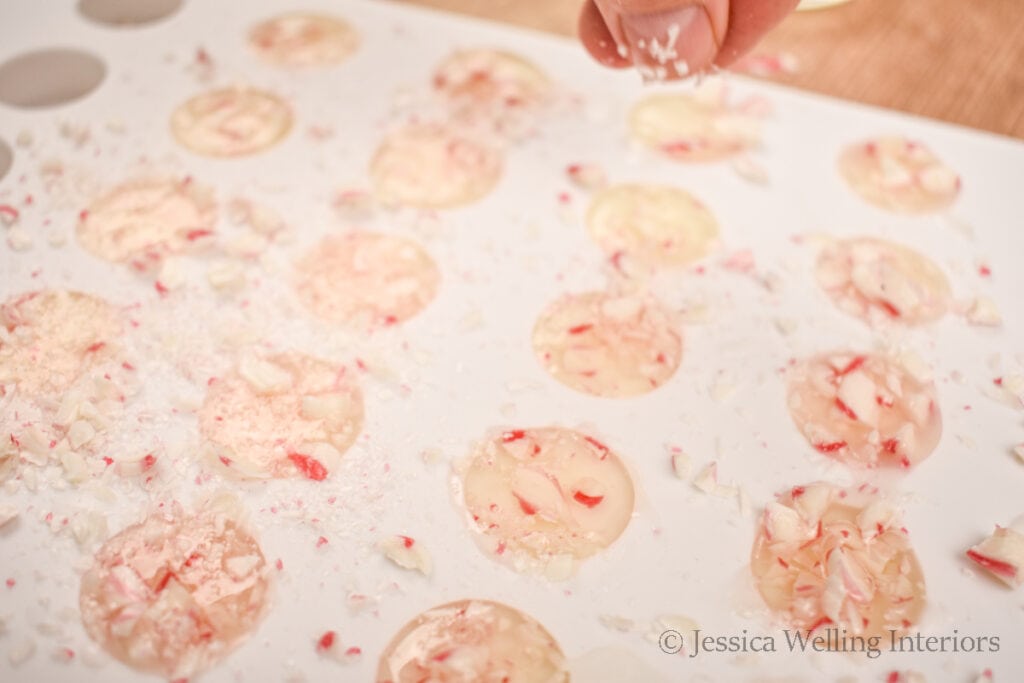
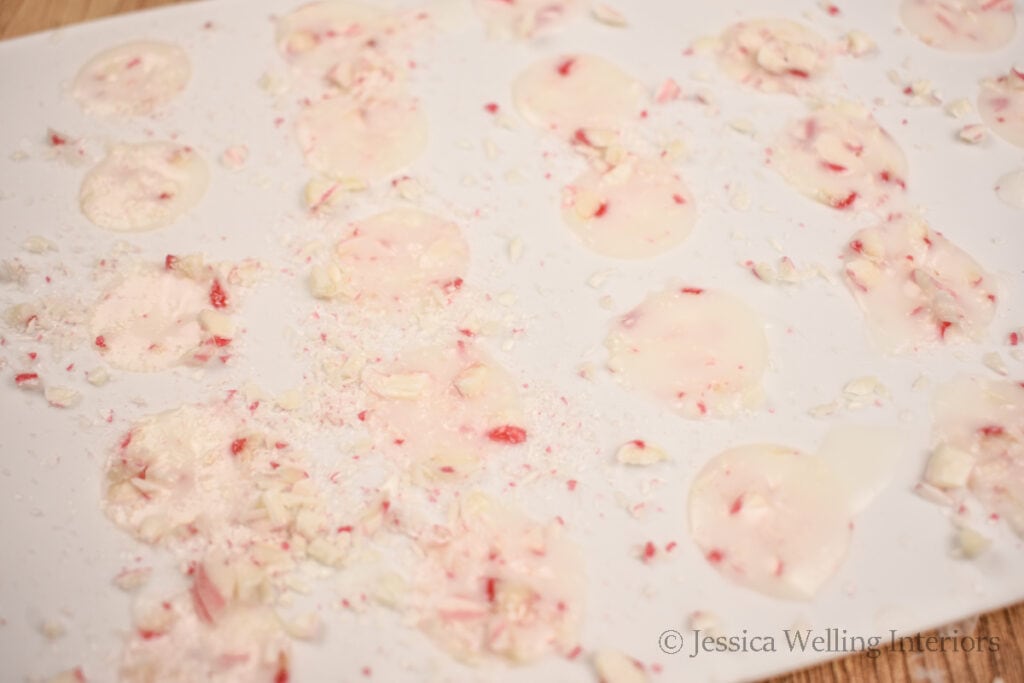
8. Sprinkle Candy Cane Pieces
Sprinkle the bits of candy cane into the hot wax. The larger pieces tend to look better in the melts than the powder.
9. Let Them Cool
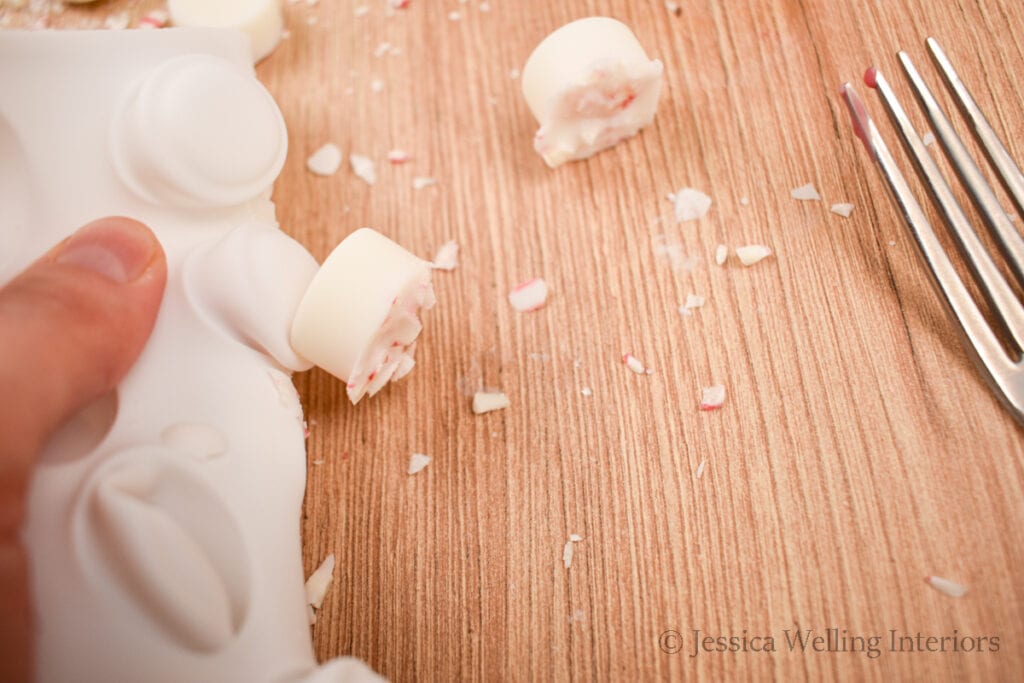
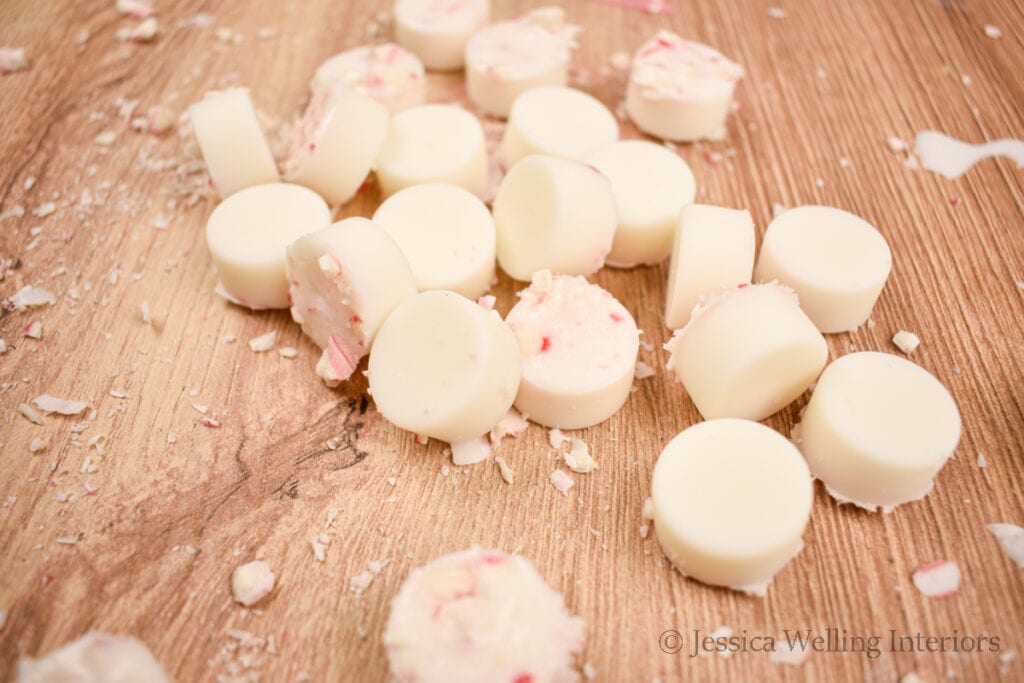
10. Remove Melts from Mold
Carefully pop each wax melt out of the mold with your fingers. They should come out easily.
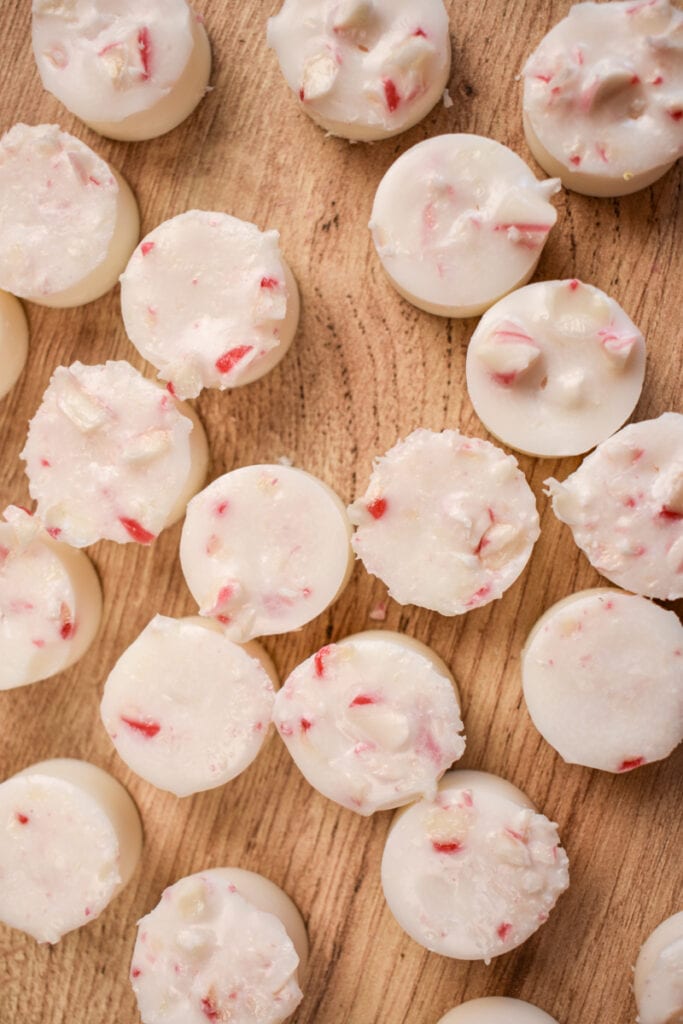
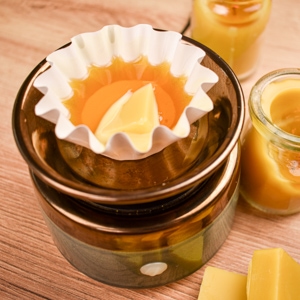
How to Enjoy Your Wax Melts
These wax melts are on the smaller side, so I would place about four of them into the cup of a wax warmer at a time. I like to use these paper wax melt liners to prevent a mess in the melting cup. I always include a few of these liners when I give wax melts as a gift too.
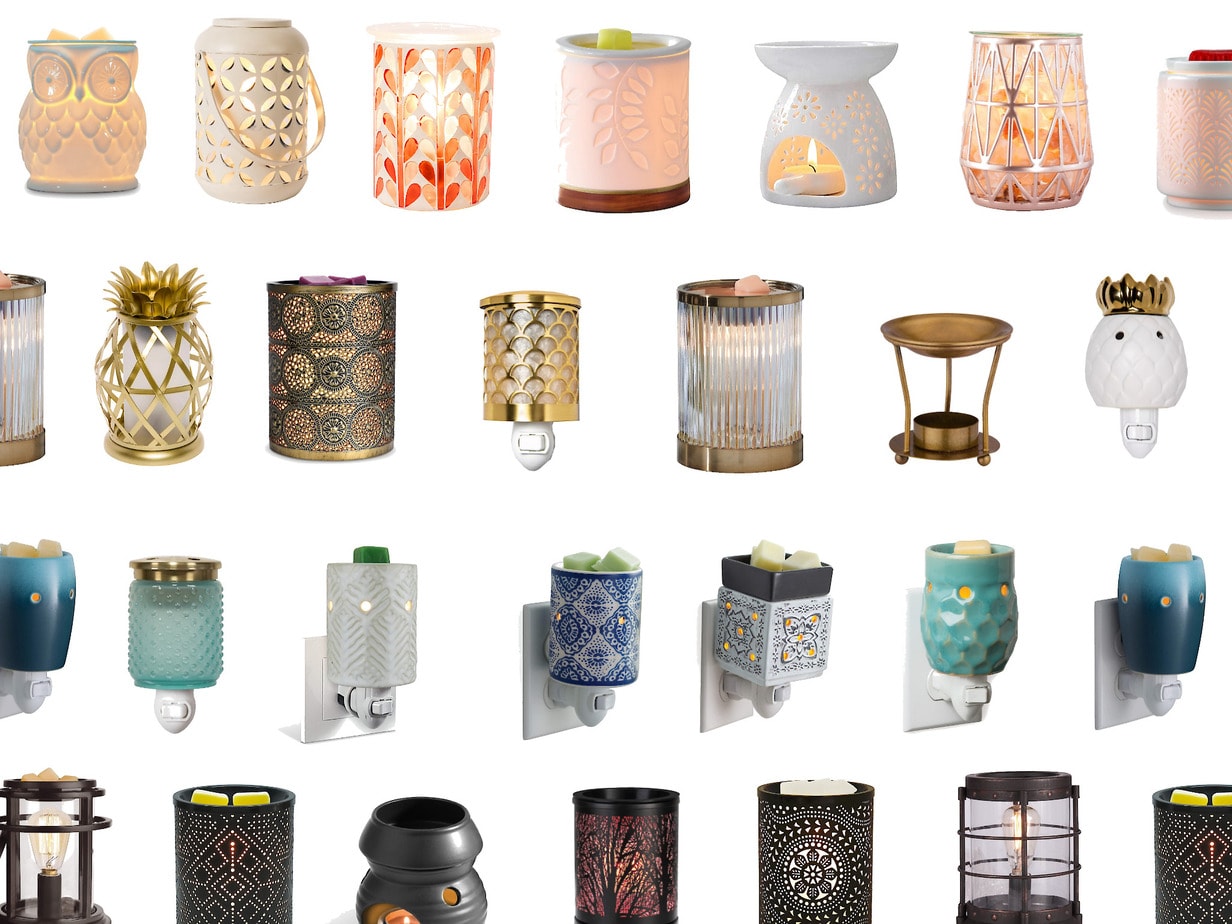
The Best Wax Warmers on a Budget
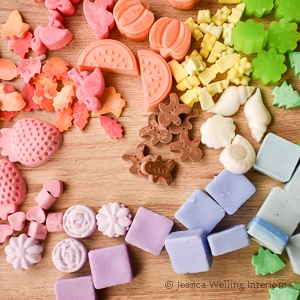
More DIY Wax Melts…
The 12 Wax Melt Recipes of Christmas!