Easy Kintsugi DIY Christmas Ornaments
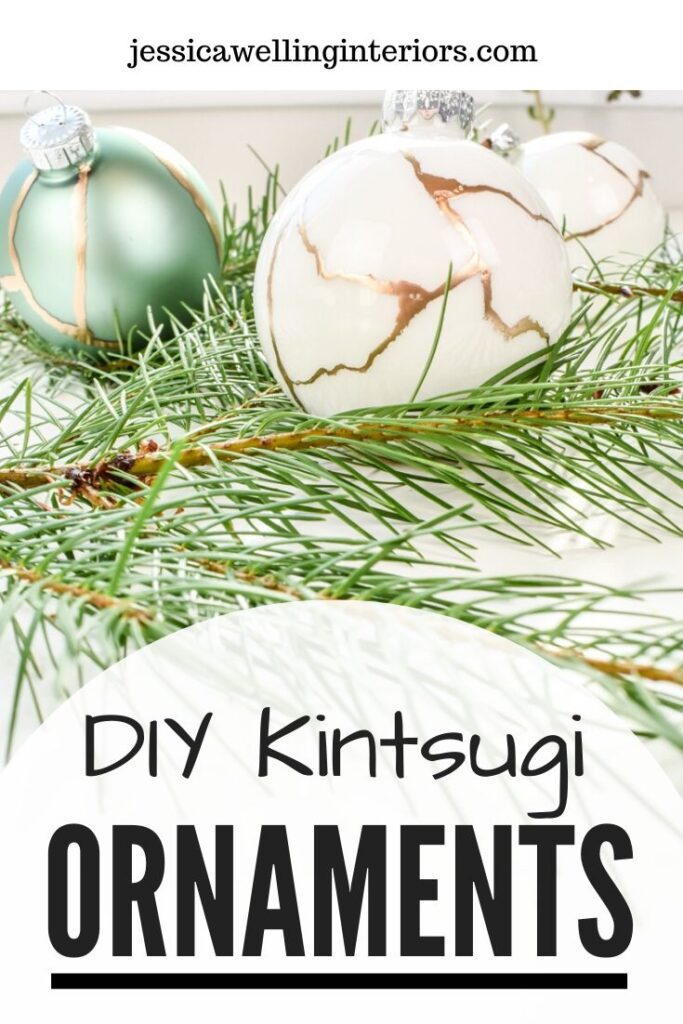
Make these gorgeous modern kintsugi glass ball Christmas ornaments in five minutes with gold leaf paint! DIY Christmas ornaments have never been this easy!
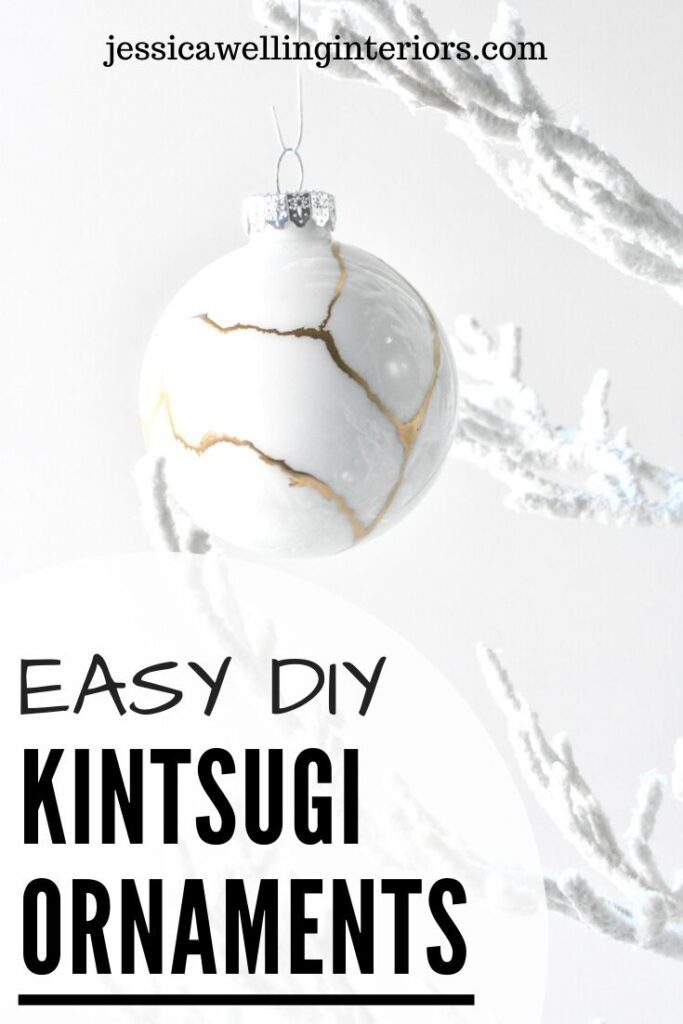
Last Summer, I made kintsugi tile coasters, and I was so happy with how they turned out, that I’ve been looking for other things to “kintsugi” ever since.
What Is Kintsugi?
If you haven’t heard of kintsugi before, it’s the Japanese art of repairing broken pottery and ceramics with gold (or glue and gold leaf paint in this case).
While my coasters project turned out amazing because the tiles were flat, some of the other 3-D pieces I tried didn’t go back together as nicely as I had hoped.
I’m pretty sure if we actually broke the glass baubles, there would be a big mess of glass shards everywhere.
So we’re going to eliminate that step, which means there’s also no glue to deal with. So it really is very quick and easy. Let’s get started!
How To Make Kintsugi Ornaments
Materials
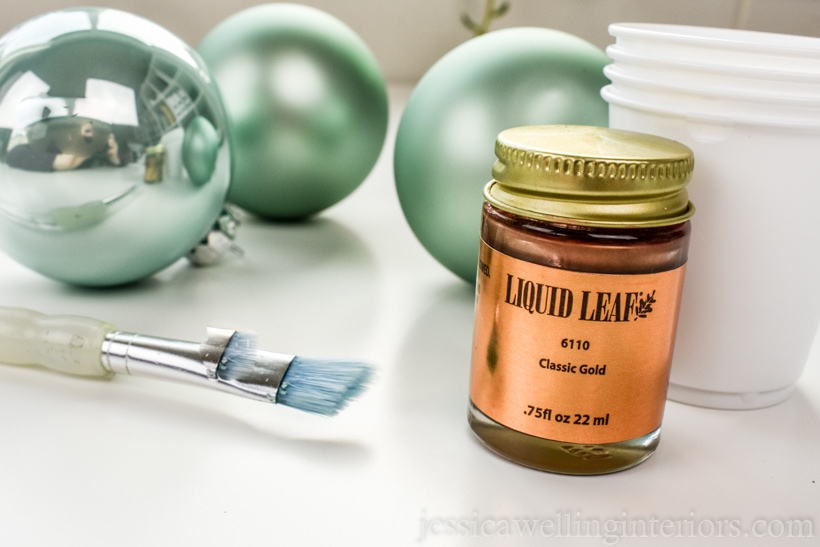
- solid-colored glass baubles (a matte or satin finish works better than a very shiny one)
- gold leaf paint
- dixie cups
- fine-tipped paintbrush (use one you don’t love because the oil-based paint doesn’t come off easily)
- cardboard or something to protect your tabletop
Directions
1. Remove Ornament Tops
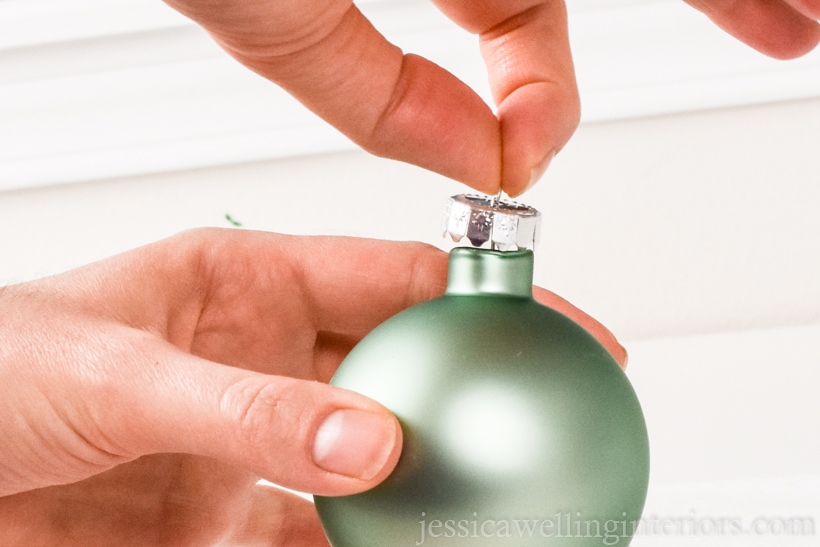
Gently pull the metal hook top off of the ornament and set it aside.
2. Set Up Ornaments On Cups
The Dixie cups are the perfect size to use as stands for the ornaments to dry on. Set the bauble on the Dixie cup, with the top sticking up.
Update: A reader suggested another great idea for an ornament stand: get a block of floral foam and stick the top of the ornament into it.
3. Paint Gold Leaf Lines
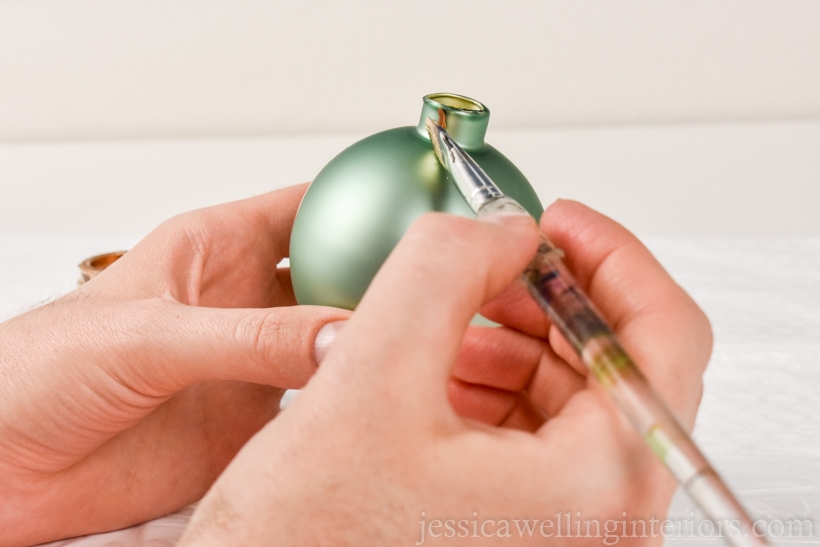
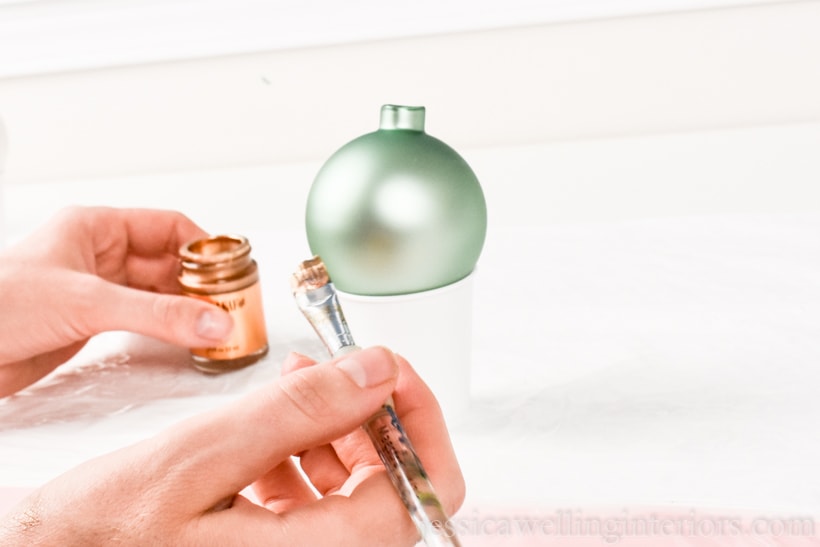
First, shake your paint well! There’s some red pigment in there that will separate out and do ugly things if you don’t! You’ll want to re-shake it every 10 minutes or so as you work.
Now that I’ve made several of these ornaments, I’ve found that starting at the very top and going down from there works best.
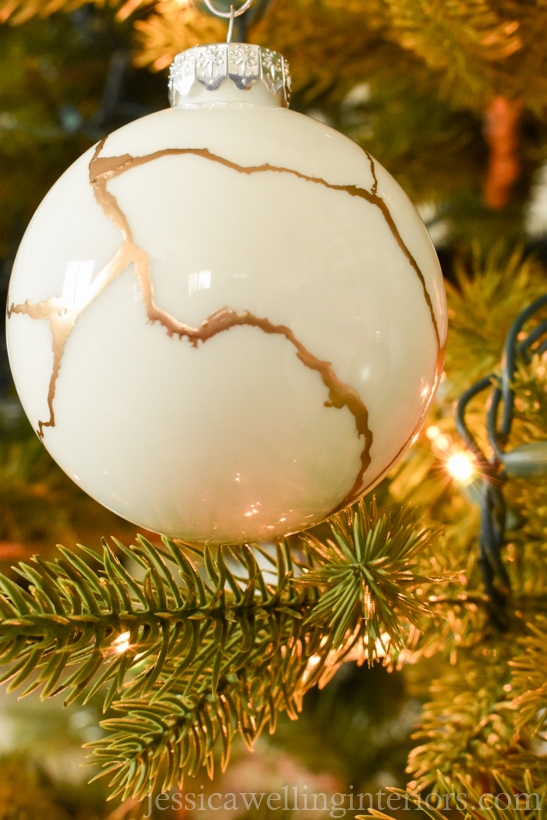
Try to make the lines as thin as you can. And remember it doesn’t have to be perfect- it’s supposed to look like cracked glass, after all!
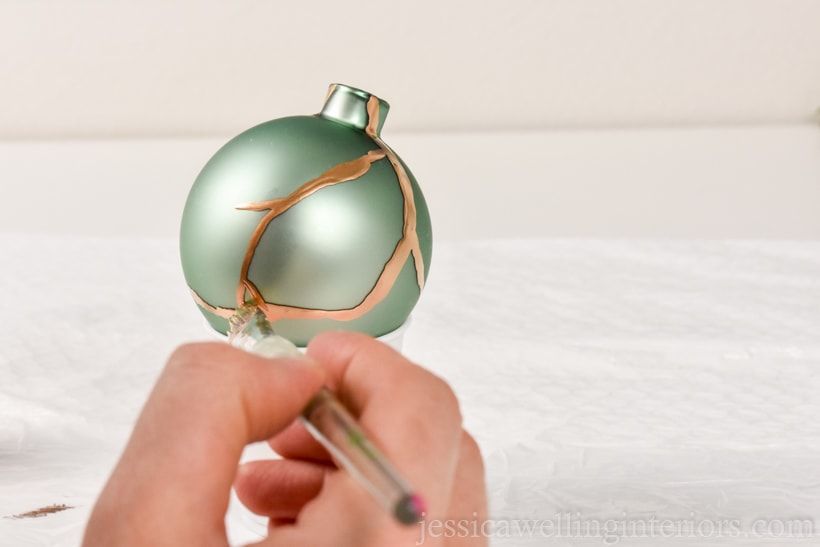
Leaving the glass ornament on the Dixie cup, continue to extend the gold lines down and out. Make intersections and curved lines. Stop before you get to the top of the dixie cup.
4. Let The Gold Leaf Paint Dry
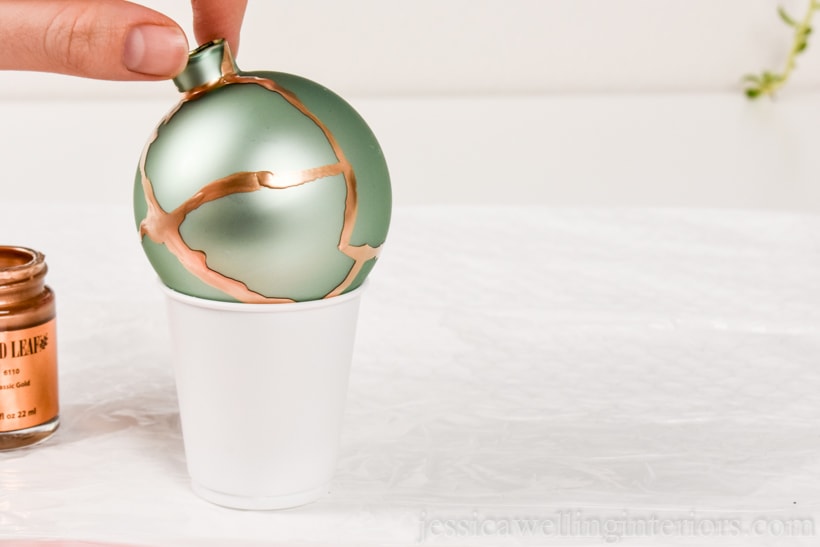
Let the top of the ornament dry for a few hours before handling.
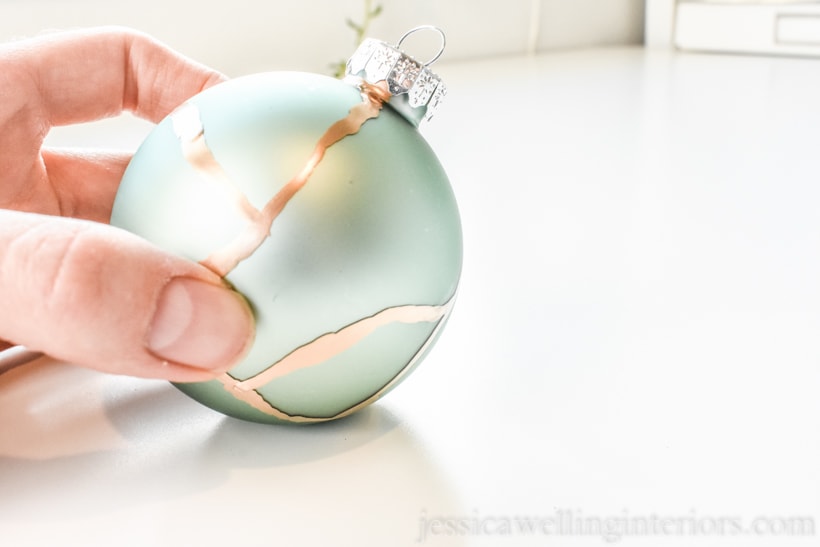
5. Finish Painting The Kintsugi Lines On The Bottom
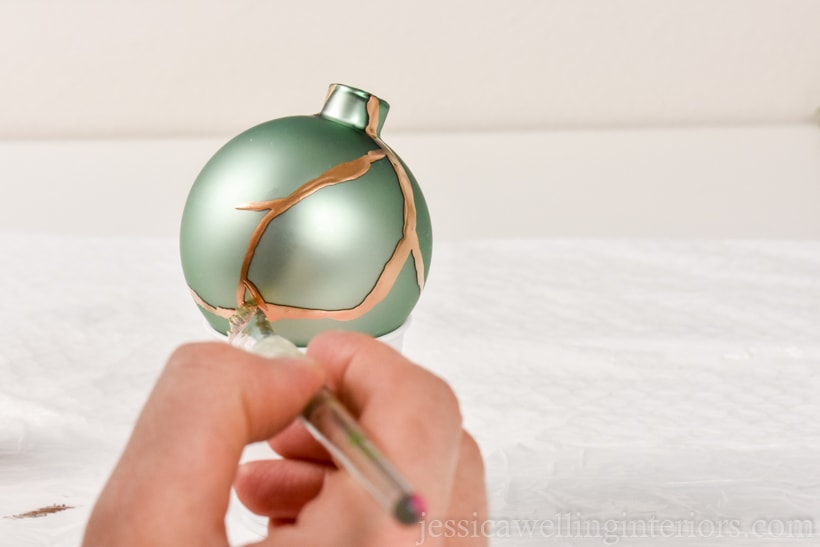
Once the paint on the top has dried, flip the ornament over and continue painting the lines on the bottom of the ornament. Let this dry for a few more hours.
6. Replace The Metal Top
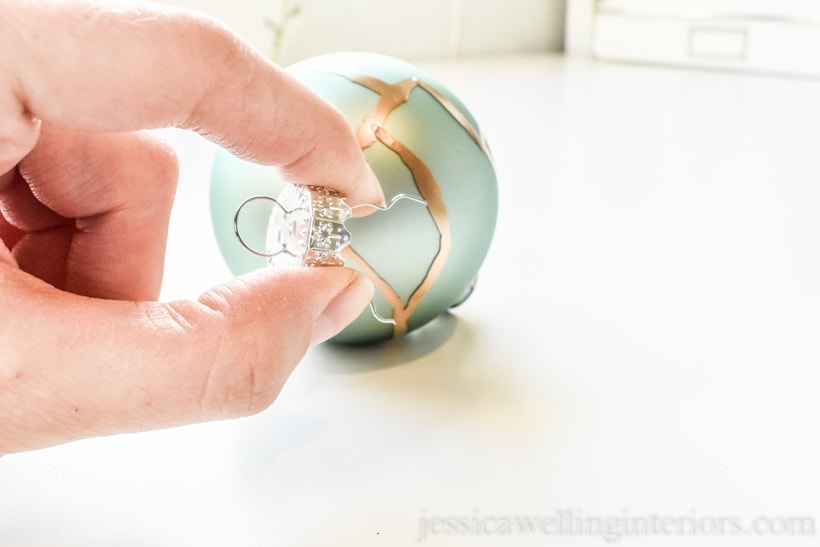
Squeeze the two wires together and stick them back into the hole at the top of the ornament to replace the top hook. And you’re done!
More DIY Ornament Ideas…
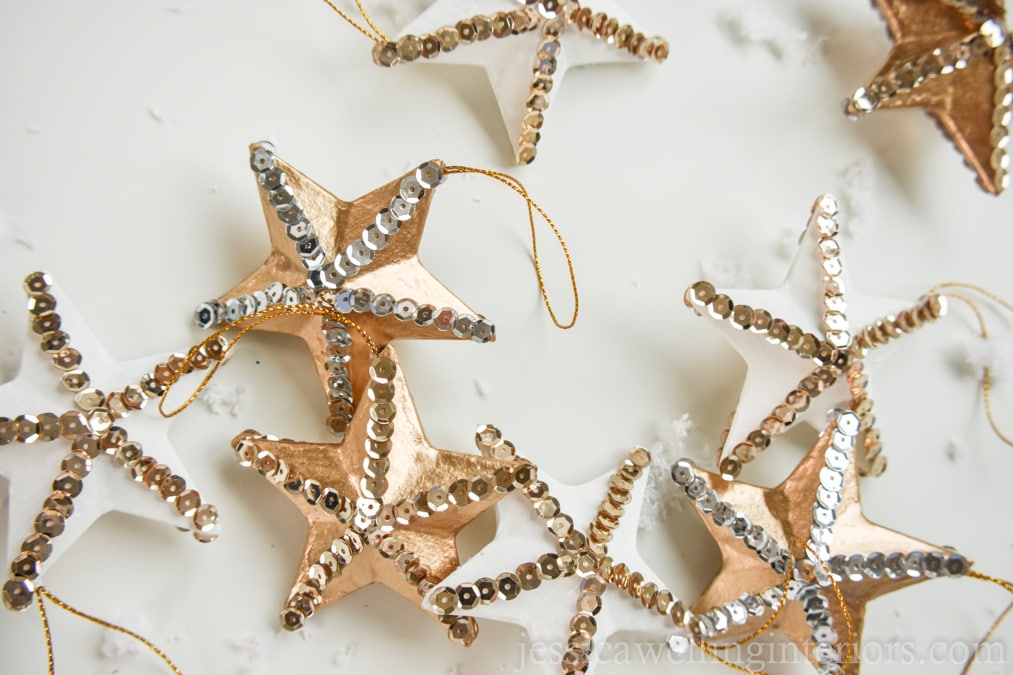
DIY Christmas Ornaments: Metallic Stars
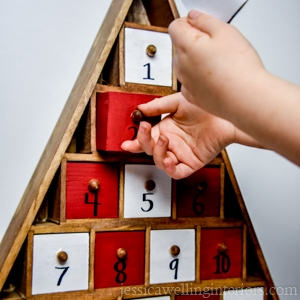
Make Your Own Advent Calendar!
Easy Potato-Stamped Tea Towels

These are lovely, Jessica! I just pinned to my Christmas board! 😉
Thanks Julie!!!
I love the ornaments. I have some very old satin pink ornaments for my Victorian Christmas tree that will work great in this project. I think this will add a touch of elegance to these 30+ year old glass ornaments. I will get my supplies and do this project for my tree this year.
Hi Elizabeth! Thank you and yes that will be perfect! I did some light pink ornaments this year too. But my puppy’s favorite thing is to pull ornaments off the tree so they keep moving up higher and higher!
I loved seeing your ornaments. I am a retired pro crafter. For over 50 plus years. I love seeing the new paints ect. Ty . Leona Bixby LeBlanc .
Thank you so much Leona!