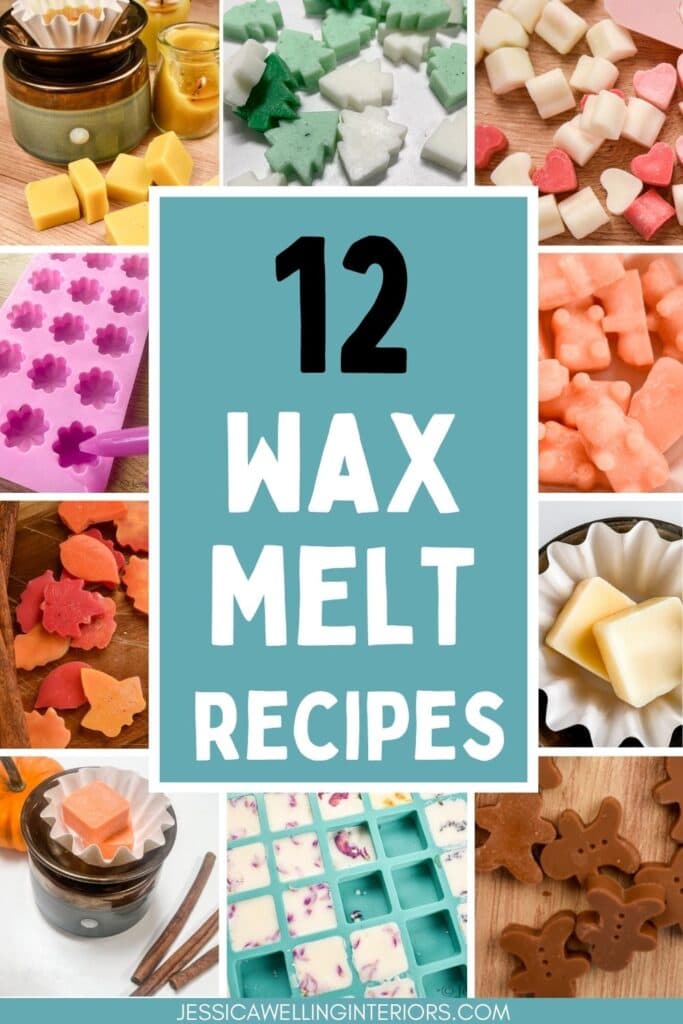
DIY Wax Melts: 12 Easy Recipes
These simple DIY wax melts will make your home smell amazing and they make great gifts too! Use soy, paraffin or even beeswax.
How To Make DIY Wax Melts
Scented wax melts are fun and easy to make. They make fabulous gifts that people can actually use, and they’ll make your house smell amazing! These simple wax melt projects all work off of the same basic recipe, but each one has a couple of variations. We’ll start with the basic recipe, tools, and instructions.
Most of these recipes were developed to use a 10ml sample-sized bottle of fragrance oil.
Materials
- Soy Wax (This is my favorite inexpensive brand from Amazon)
- Wax Dye (I like this multi-colored kit from Amazon because each color comes in a screw-top container so everything stays tidy)
- Candle Fragrance Oil (These are different from essential oils, and sorry but essential oils will give you disappointing results. Read all about my favorite candle fragrance oils after many experiments in this article.)
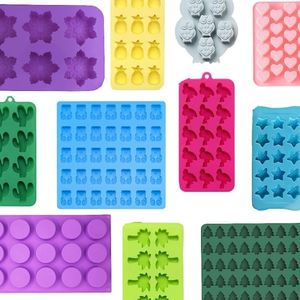
- Wax Melt Mold (I like to use inexpensive silicone candy molds. Here’s a roundup of my favorite wax molds in lots of fun shapes)
- Digital Meat Thermometer (this is my go-to from Amazon)
- Large Glass Measuring Cup
Directions
1. Measure the Wax
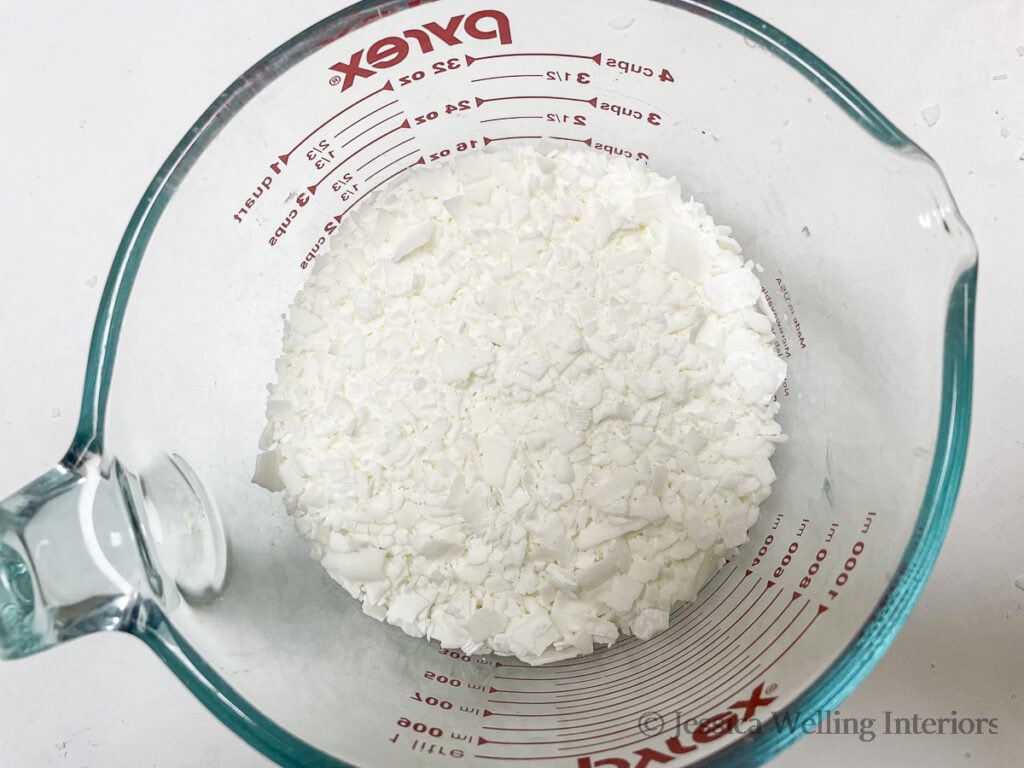
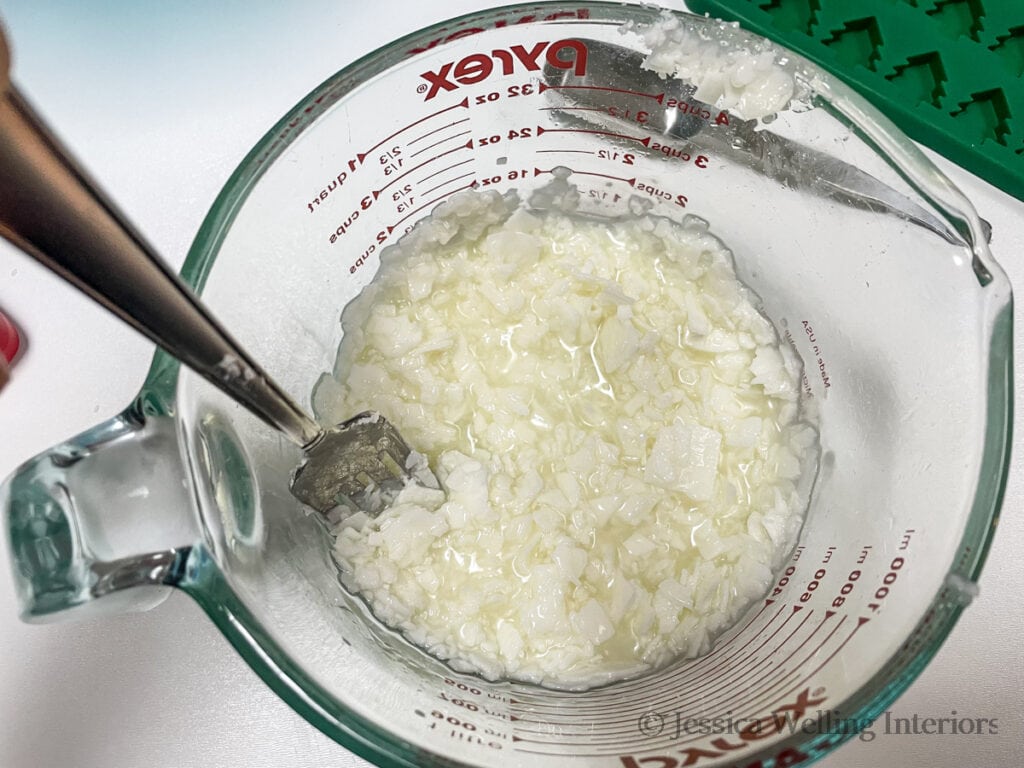
Measure one cup of soy wax flakes into a microwave-safe bowl or glass measuring cup.
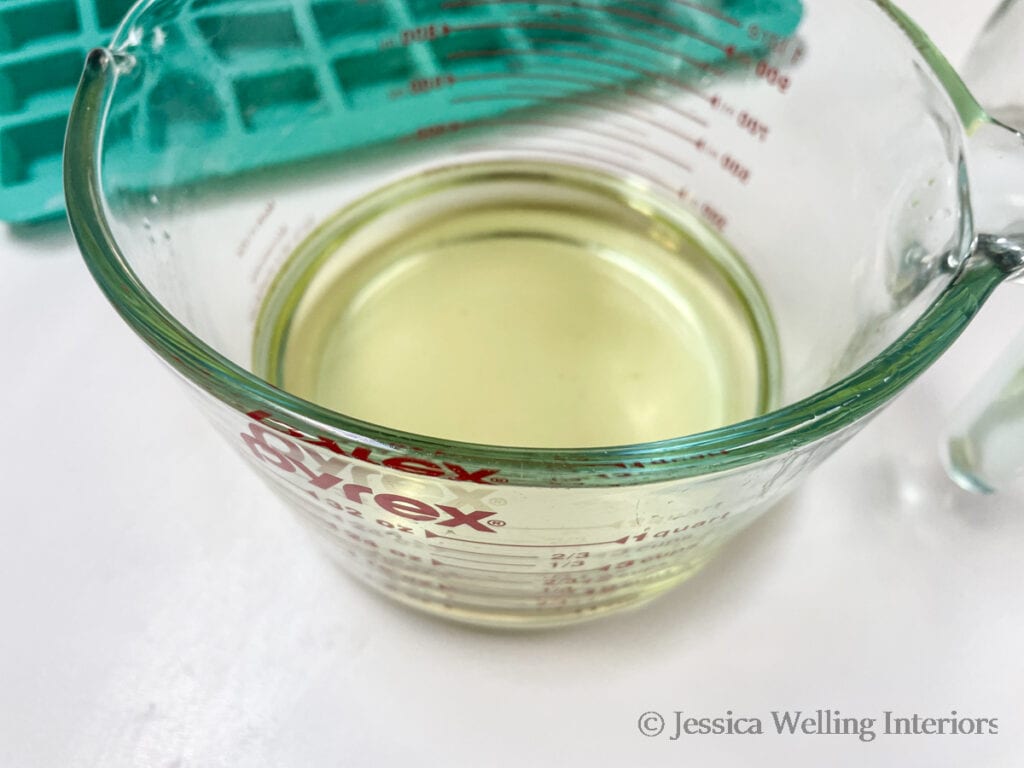
2. Melt the Wax
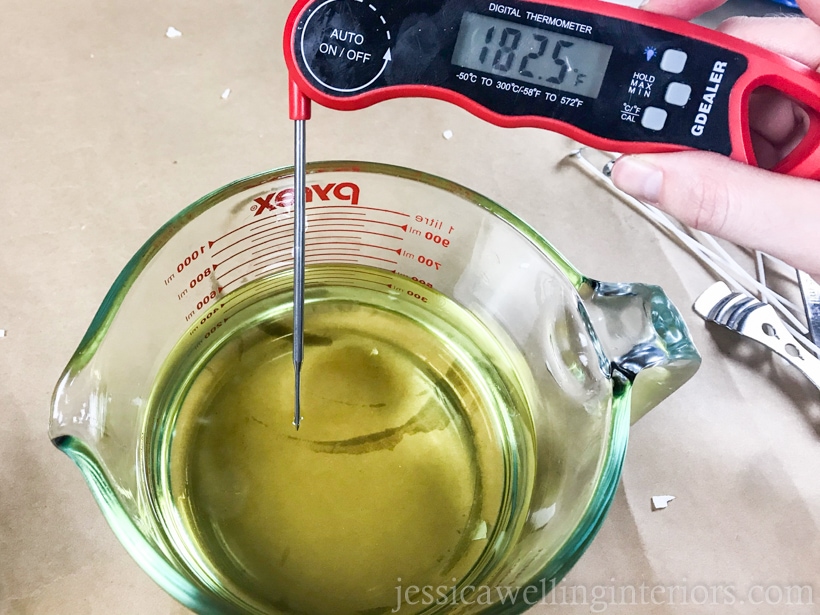
Melt the wax in the microwave in 1-minute intervals, pulling it out to stir it each time. The target temperature is 185 degrees if you want to add color to the wax, or 175 degrees if you don’t.
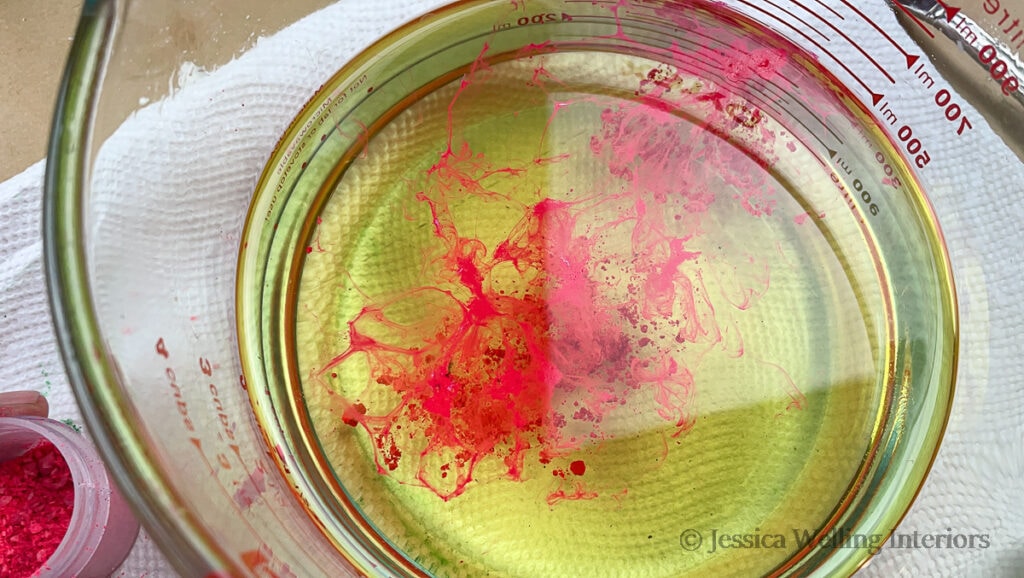
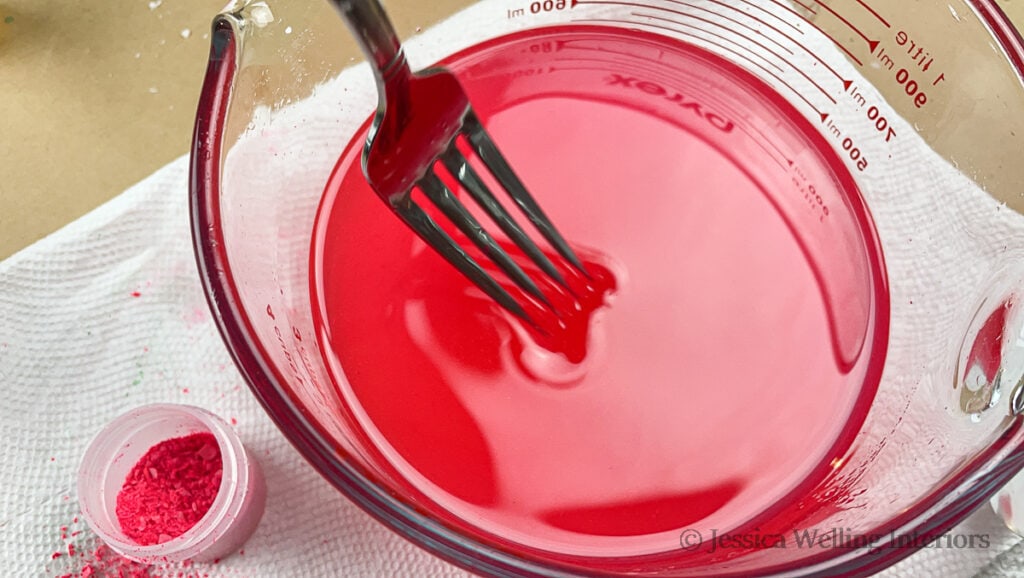
3. Add Wax Dye
Add a pinch of wax dye chips and stir. Remember that the soy wax will be opaque once it cools, so the end color will be lighter than when it’s liquid.
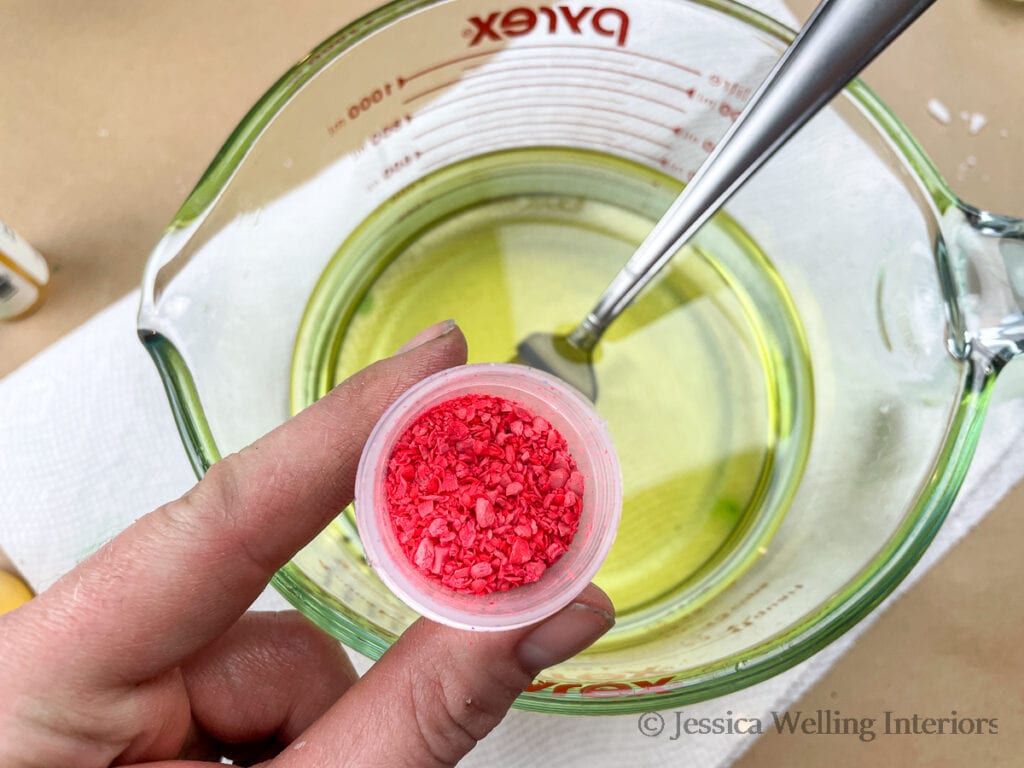
If the wax dye doesn’t melt right away, you may need to pop the wax back into the microwave for 20 or 30 seconds more.
4. Add Fragrance Oil
Be sure the temperature is down to 175 degrees before adding the fragrance oil, and stir well.

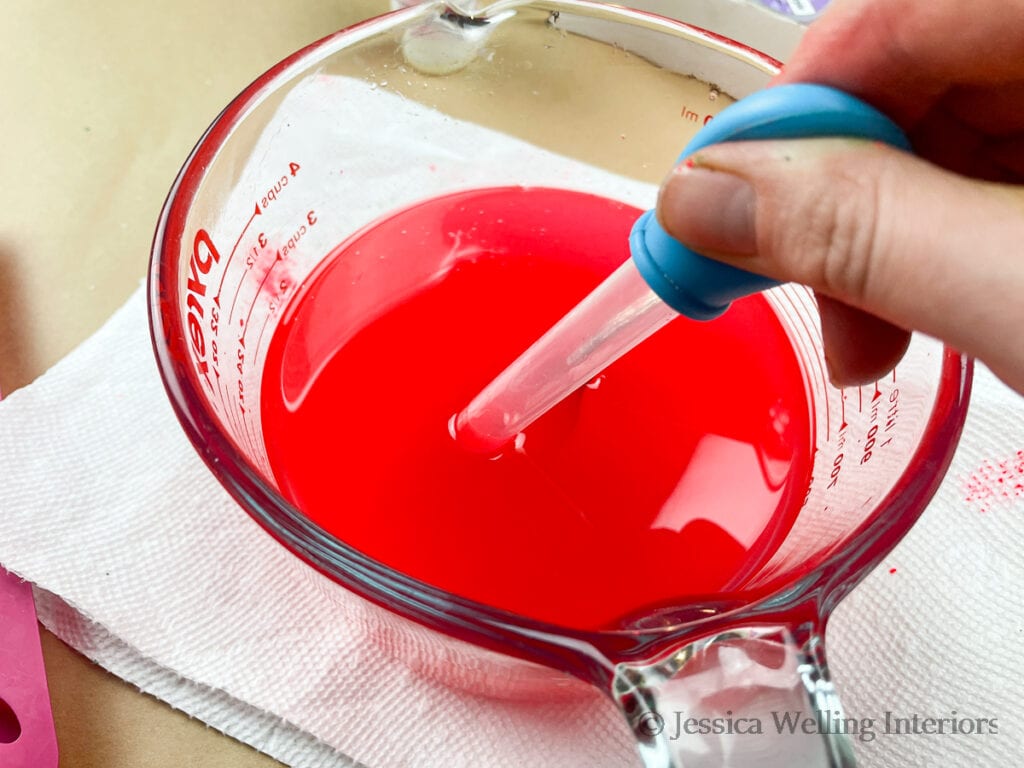
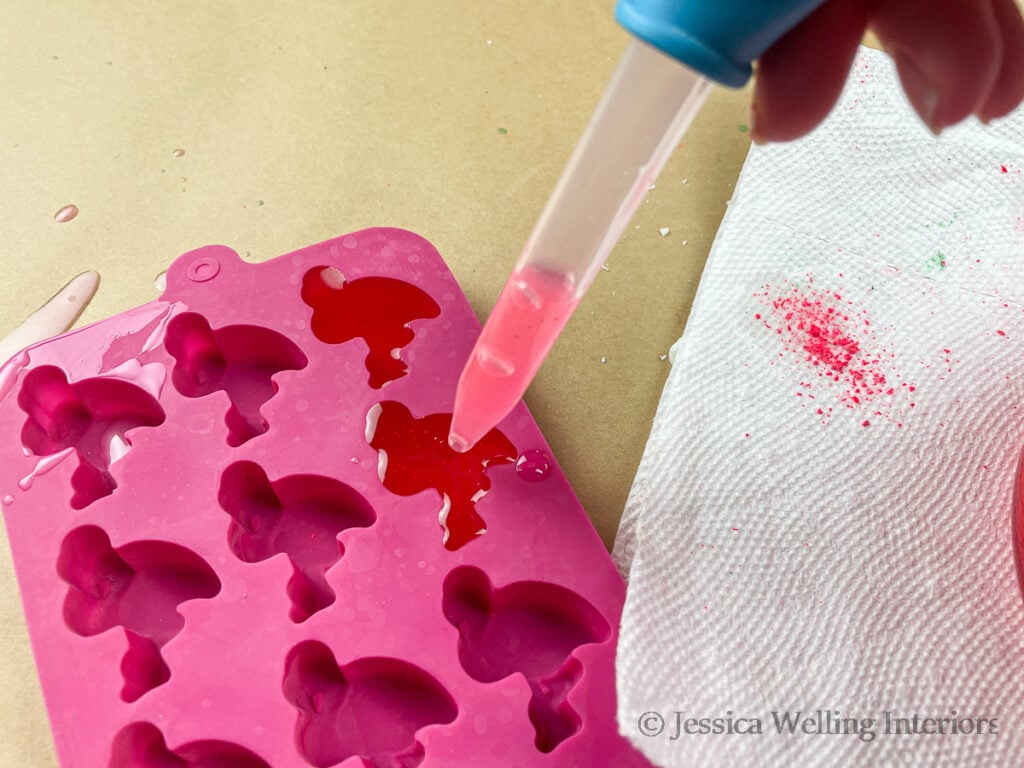
5. Fill Molds
Use a plastic eye dropper to fill the cavities in the wax mold. If you have a mold with larger cavities, you may be able to pour the wax instead.
6. Let It Cool
The the wax cool completely. This may take an hour or two, depending on the size of the molds.
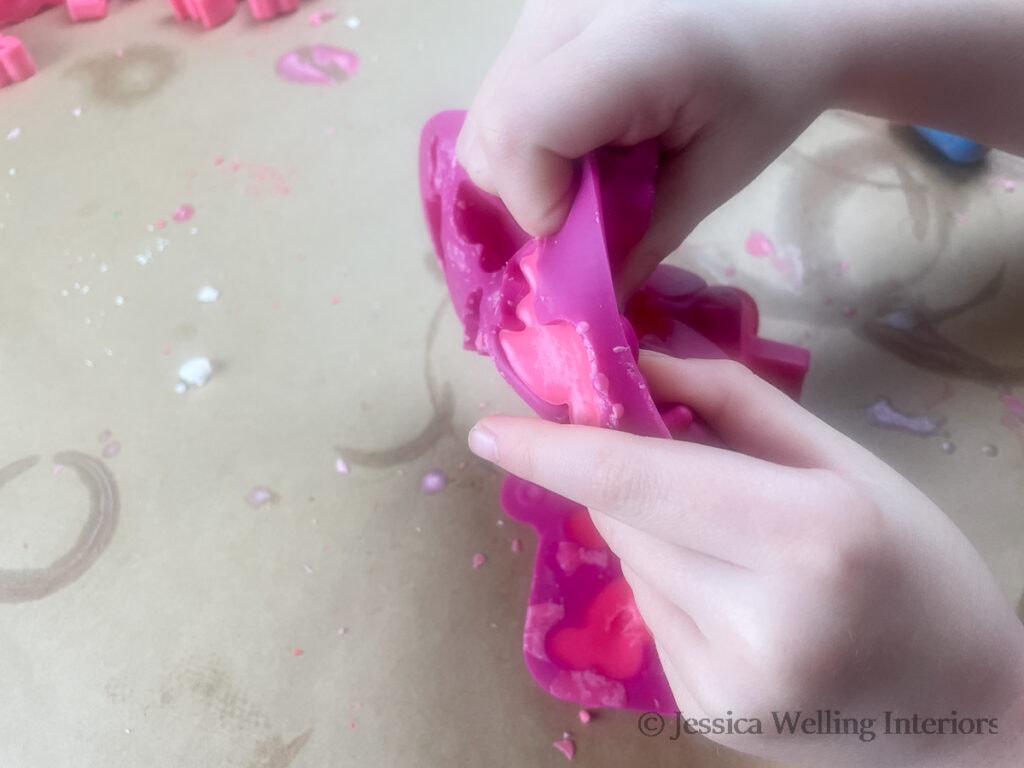
7. Remove Wax from Molds
Carefully pop the wax melts out of the mold.
8. Store & Let Them Cure
Store your melts in an airtight container or plastic bag and let them cure for at least 10-14 days before use. You probably won’t observe the changes, but the cooled soy wax will continue to harden over time and the fragrance oil will bind to the wax as this happens.
DIY Wax Melts
These simple DIY wax melts will make your home smell amazing and they make great gifts too!
Materials
Tools
- Large glass measuring cup
- Digital thermometer
- Plastic eye dropper (for small molds)
- Silicone wax mold
Instructions
- Measure 1 cup of soy wax flakes into a large glass measuring cup.
- Melt the wax in the microwave in 30-second intervals until the wax reaches 185 degrees Fahrenheit.
- Add 1 pinch of wax dye chips & stir (optional).
- Add fragrance oil & stir.
- Fill the wax molds with a silicone eye dropper.
- Let them cool completely.
- Remove from mold.
- Seal up & let them cure for 10-14 days.
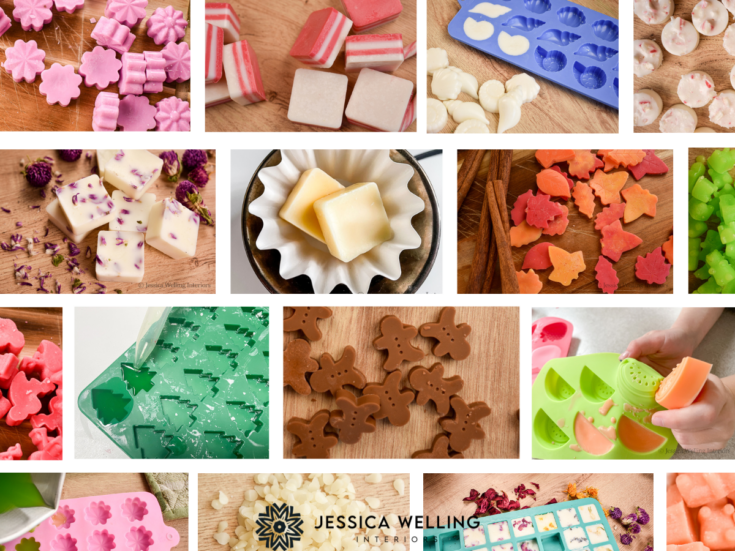
DIY Wax Melt Recipes
Now that we’ve gone over the basic soy wax melt recipe, here are 12 of my favorite wax melt recipes for every season and holiday. Most will follow the basic recipe above with a few minor tweaks, while others will direct you to a different recipe. Enjoy!
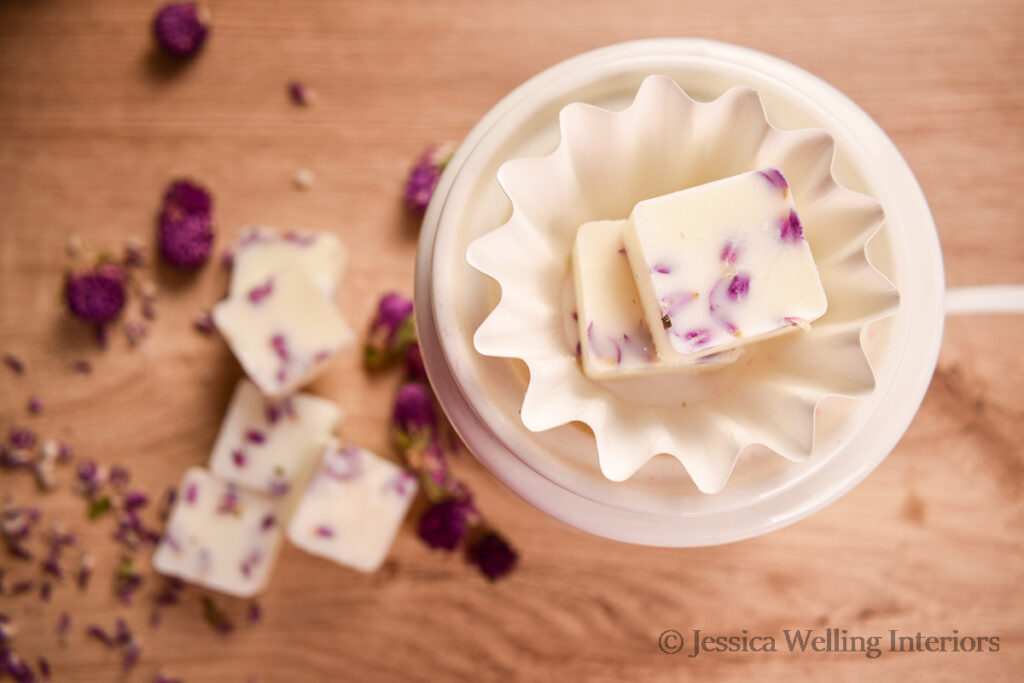
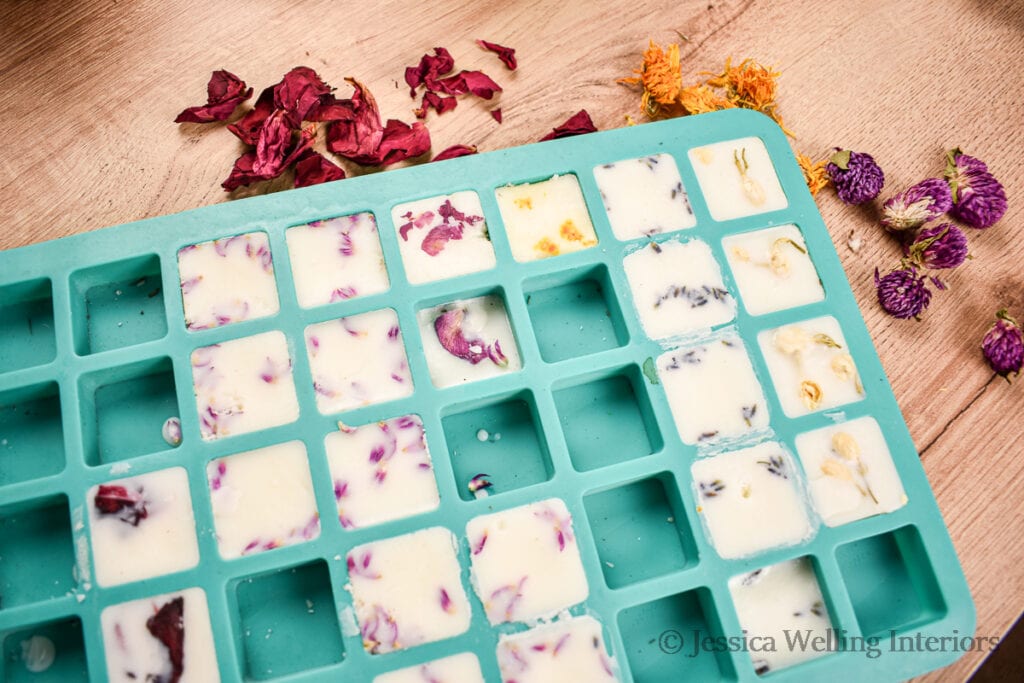
Lilac Soy Wax Melts
These beautiful floral wax melts make lovely gifts and they smell amazing!
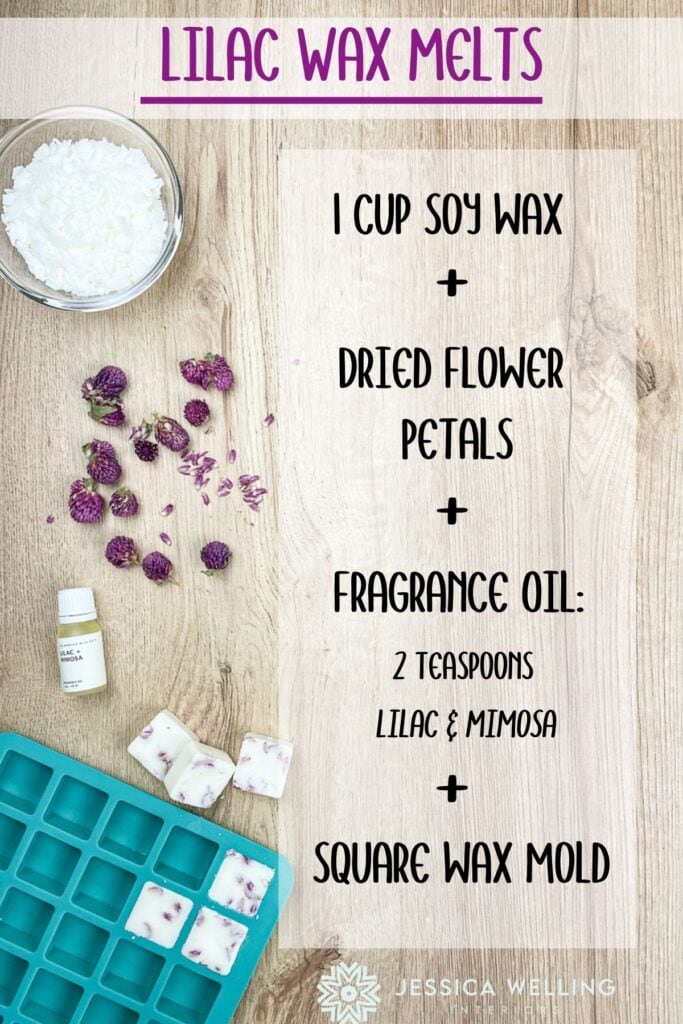
Materials
- Soy Wax
- Purple Dried Flower Petals (I love the variety in this set from Amazon)
- Lilac & Mimosa Fragrance Oil
- Square Wax Melt Mold
Directions
Follow the basic wax melt directions above, omitting the wax dye. Whenever you add inclusions to wax melts, you need to pour the wax in two phases in order to keep the inclusions (in this case the dried flowers) at the top where you’ll be able to see them.
Start by filling the mold 3/4 of the way, leaving enough wax in the bowl to fill them the rest of the way later. Let the wax cool completely, but don’t put it in the fridge.
Once the wax has hardened in the mold, re-heat the remaining wax in the microwave, being sure not to heat it above 175 degrees. Then fill the molds the rest of the way. While the top layer of wax is still hot, sprinkle dried flower petals into it.
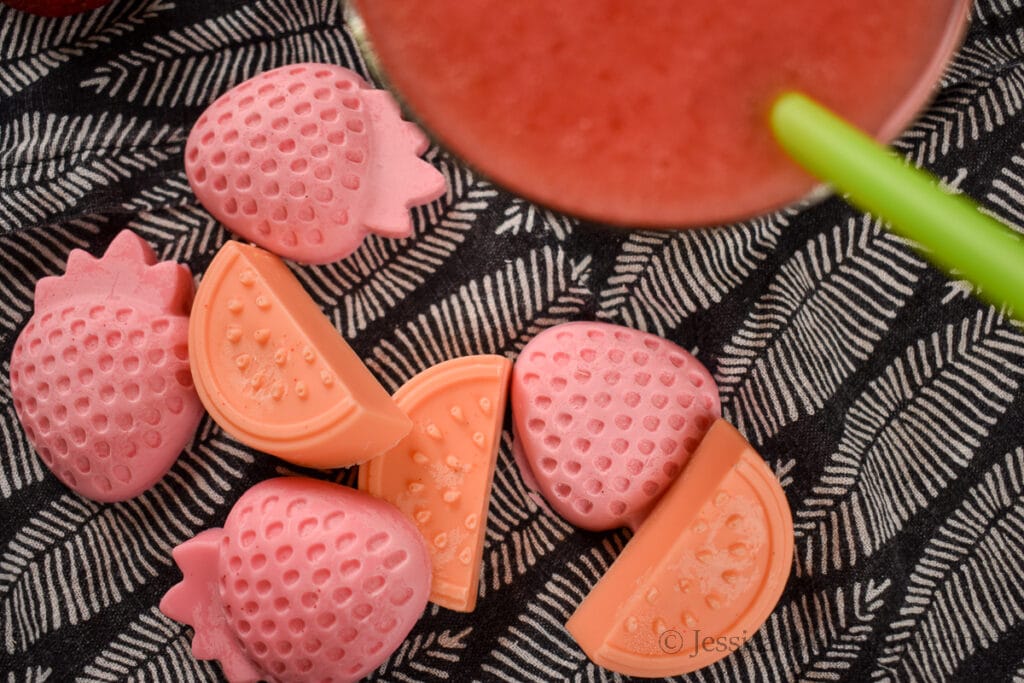
Strawberry Belini Wax Melts
These fun melts are perfect for summer and I love this scent!
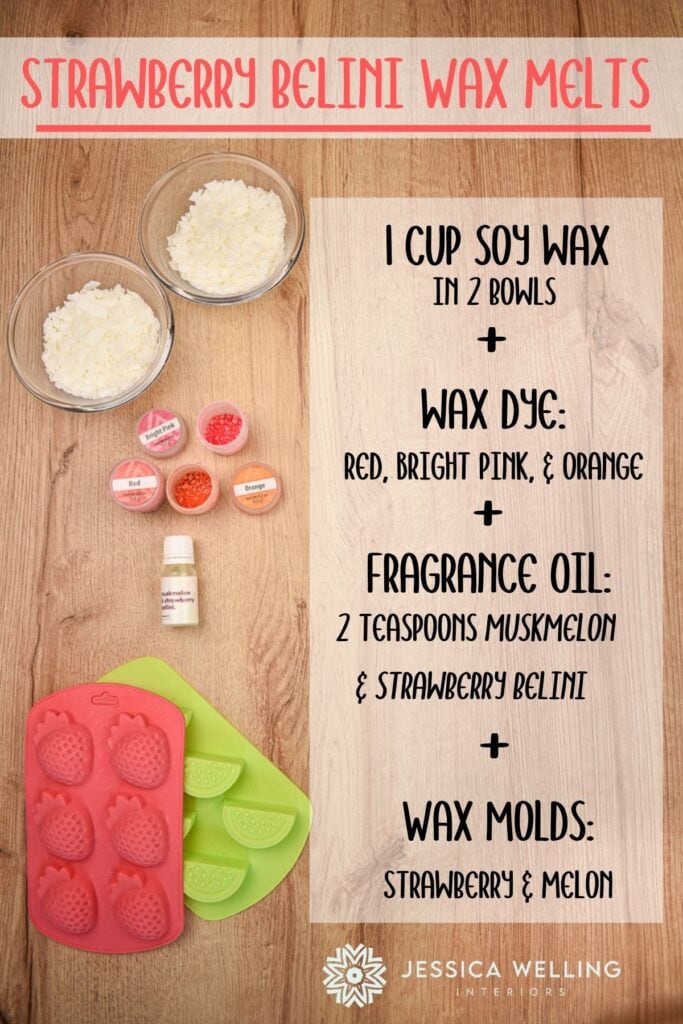
Materials
- Soy Wax
- Orange, Red & Bright Pink Wax Dye (this is my favorite kit)
- Muskmelon & Strawberry Belini Fragrance Oil from Makesy
- Strawberry & Melon Wax Melt Molds
Directions
Follow the basic recipe, but separate the wax into two glass containers and add pink and red wax dye to one bowl and orange to the other, and add one teaspoon of fragrance oil to each bowl.
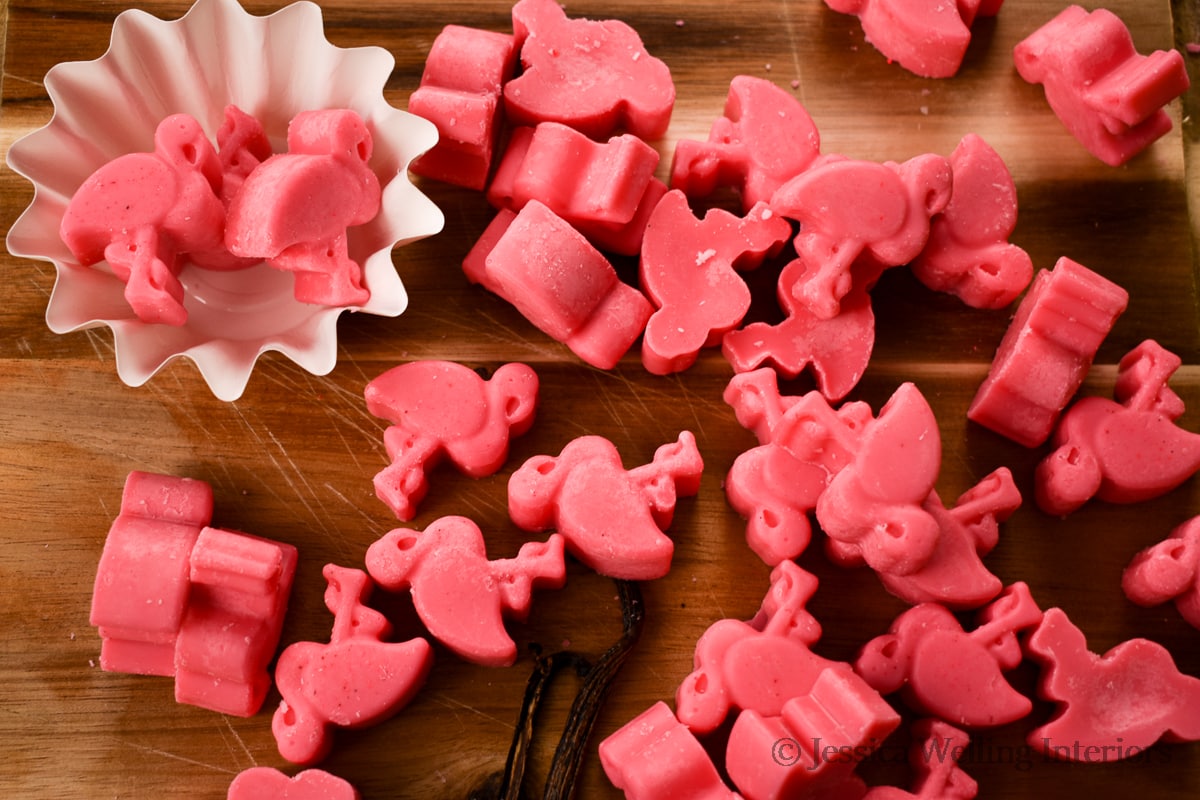
DIY Wax Melts for Summer

Materials
- Soy Wax
- Red & Bright Pink Wax Dye (I use this kit from Amazon)
- Pink Sands Fragrance Oil
- Flamingo Wax Melt Mold
Directions
Follow the basic recipe above. You’ll need to add a few pinches of wax dye if you want your flamingos to be bright pink like these ones. Here’s the tutorial.
Peppermint Stripe Wax Melts
You can see the tutorial for these fun striped wax melts here.
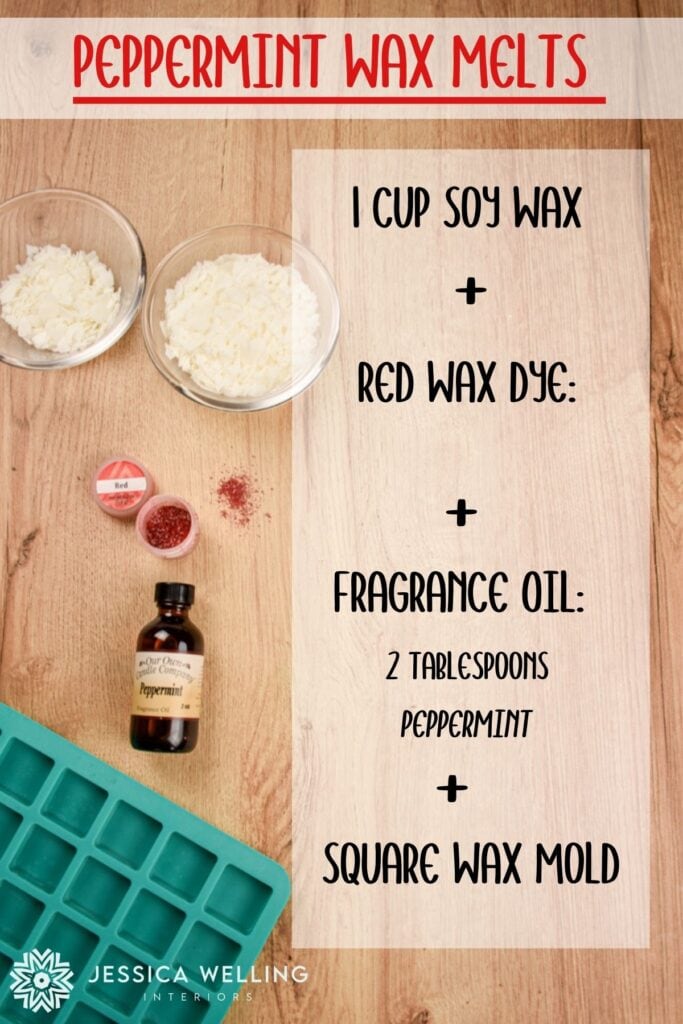
Materials
- Soy Wax
- Red Wax Dye (from this kit)
- Peppermint Swirl Fragrance Oil, from Amazon
- Square Wax Melt Mold
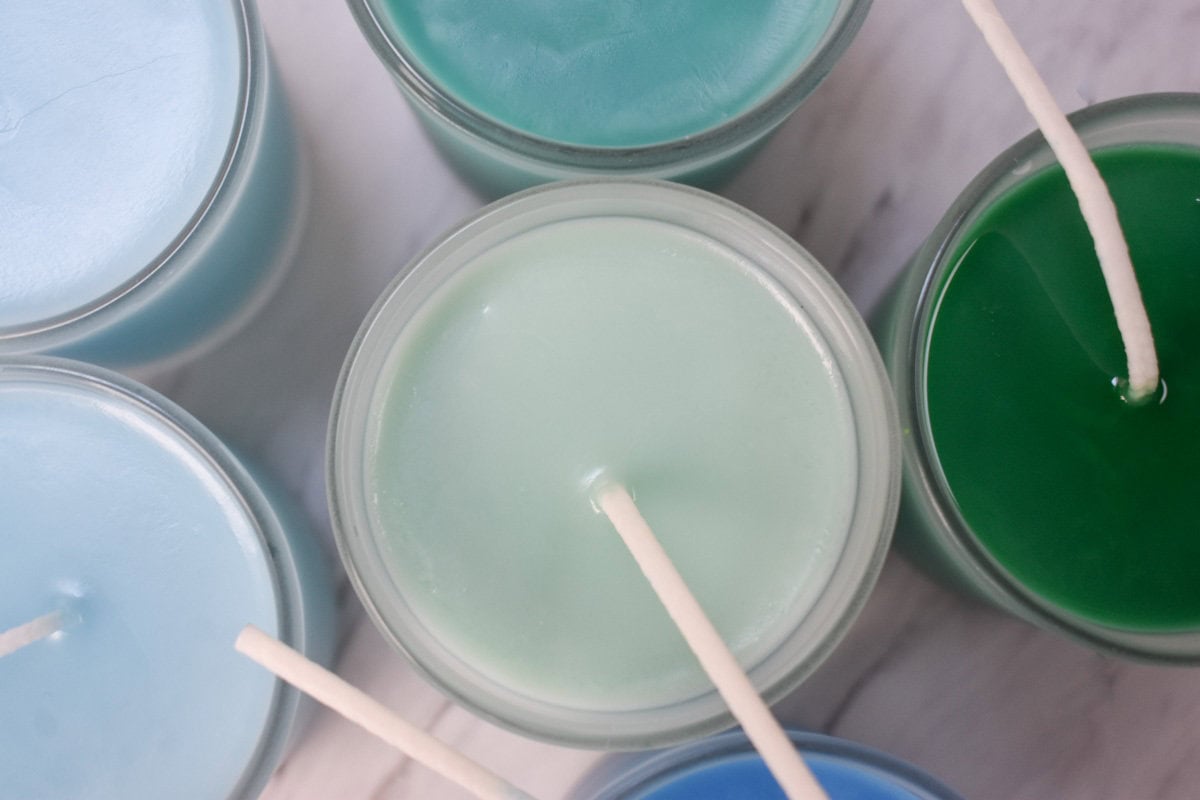
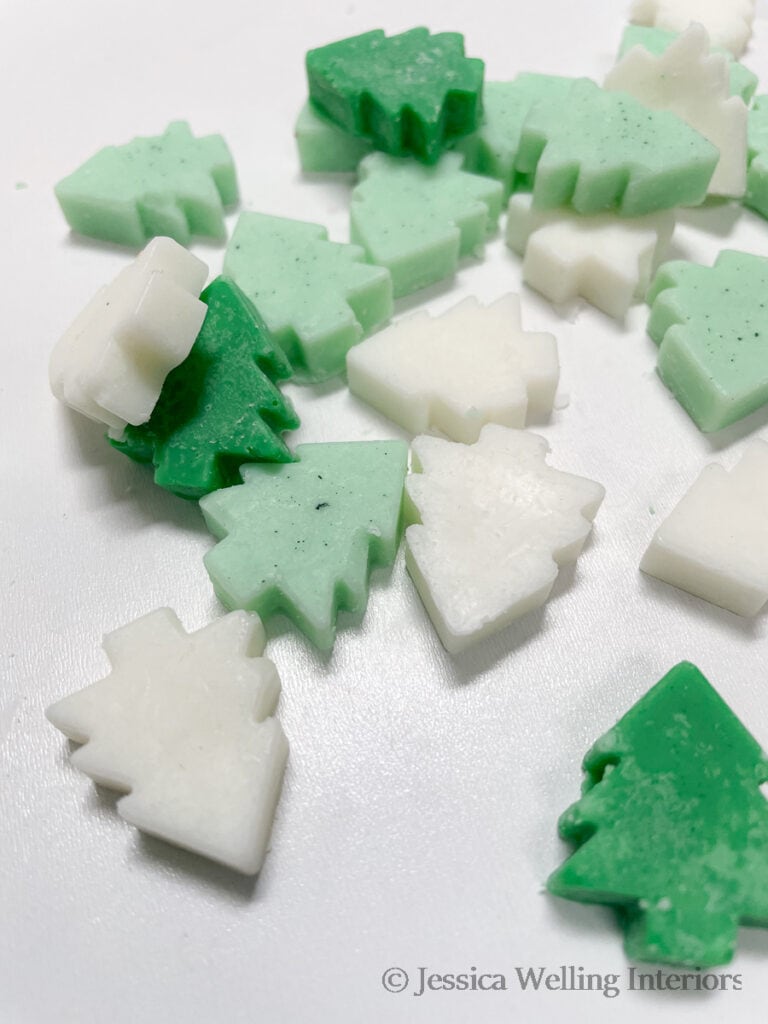
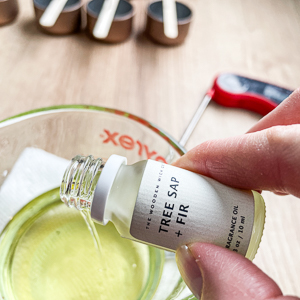
DIY Christmas Tree Wax Melts
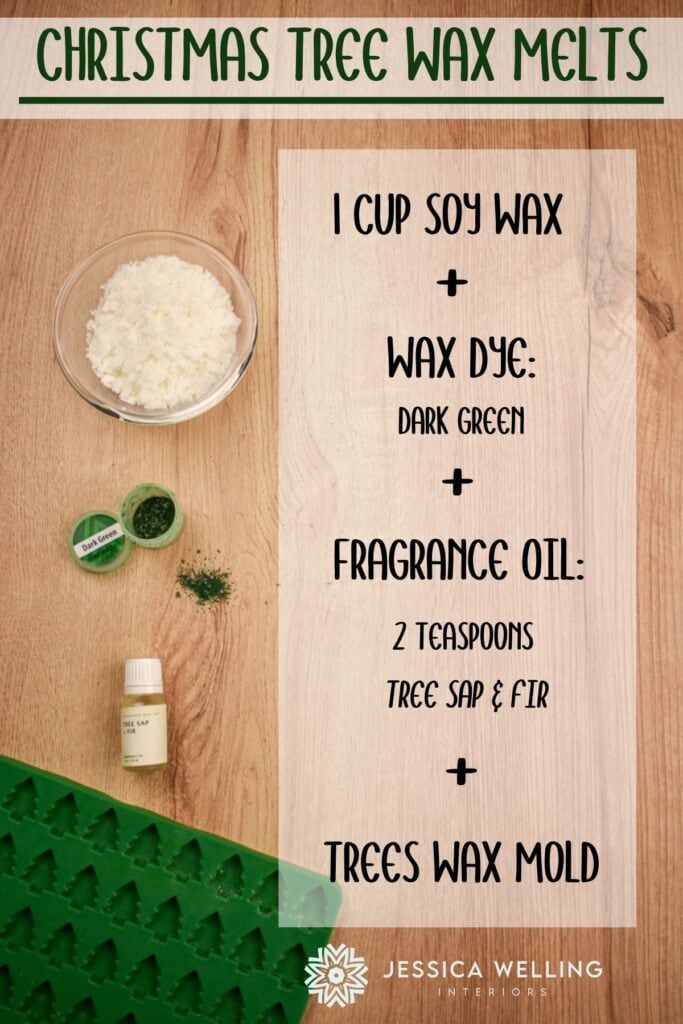
Materials
- Soy Wax
- Dark Green Wax Dye (this is my favorite inexpensive kit from Amazon)
- Tree Sap & Fir Fragrance Oil, from Makesy
- Christmas Tree Wax Melt Mold
Directions
Follow the basic recipe above. If you want to make different shades of green, separate your wax into a few bowls and add different amounts of the same dark green wax dye to each one.
DIY Pumpkin Spice Scented Wax Melts
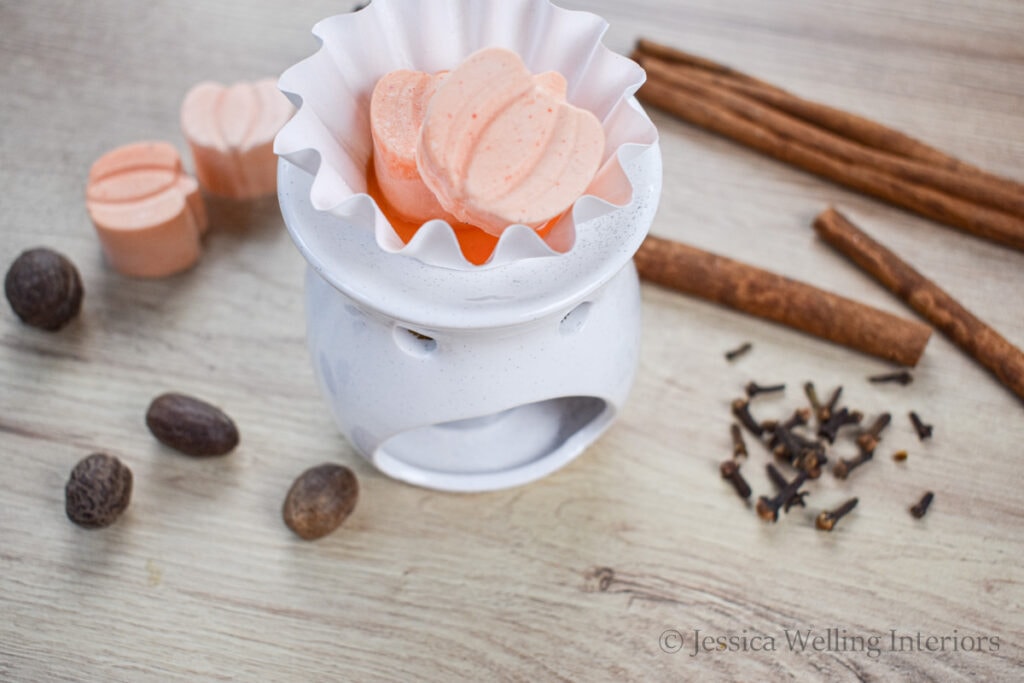
Materials
- Soy Wax
- Orange Wax Dye (I used this kit)
- Pumpkin & Persimmon Fragrance Oil from Makesy
- Pumpkin Wax Melt Mold
Directions
You can see the full tutorial for these pumpkin spice wax melts here.
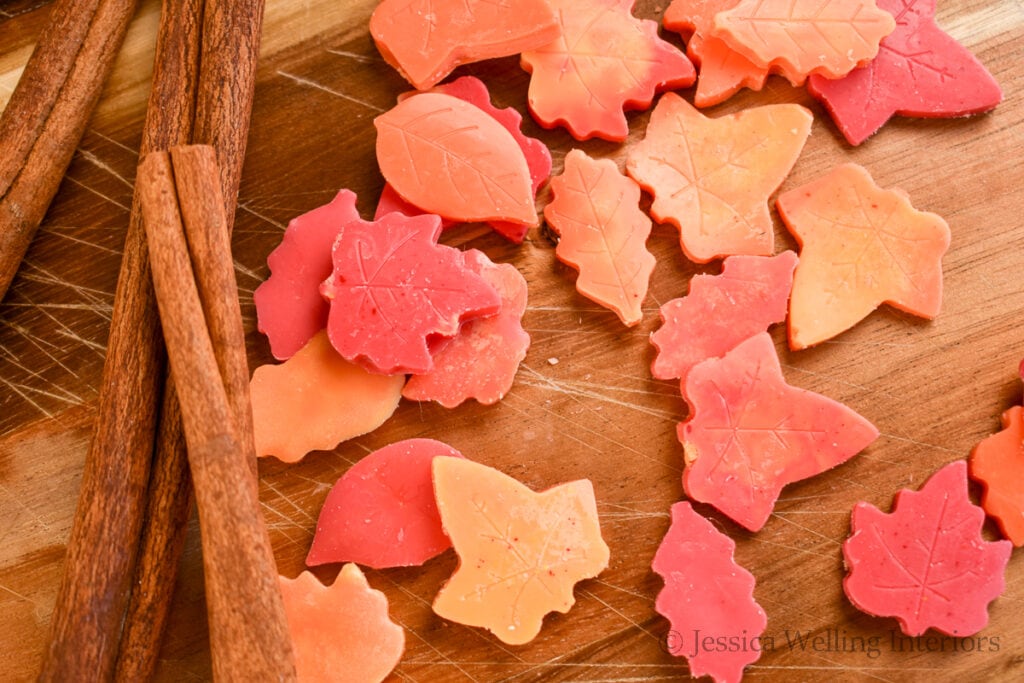
Apple Cider Wax Melts
These multi-colored leaf-shaped wax melts smell just like hot apple cider simmering on the stove.
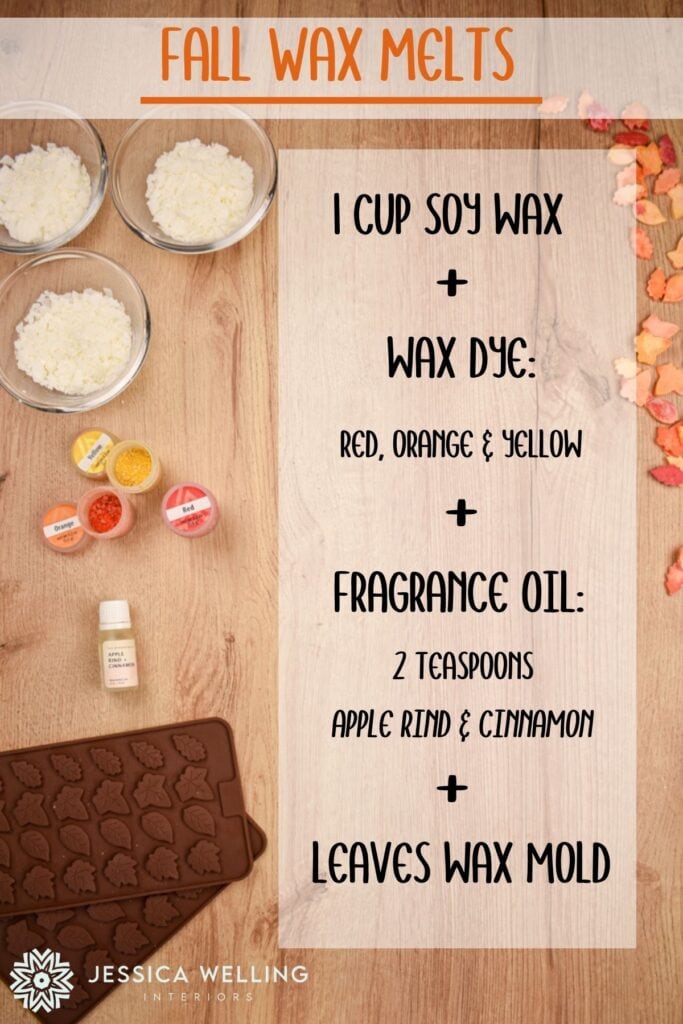
Materials
- Soy Wax
- Red, Orange & Yellow Wax Dye (this is my favorite kit from Amazon)
- Apple Rind & Cinnamon Fragrance Oil, from Makesy
- Leaves Wax Mold
Instructions
Follow the basic recipe above, but separate the soy wax into three one-third-cup portions before melting it in the microwave. Then add red to one, orange to another, and yellow to the third bowl.
Add 1/3 of the fragrance oil to each bowl of colored wax. Use an eye dropper to fill parts of each leaf mold, and then fill the other parts with the other colors so that they blend from one color to another.
Beeswax Wax Melts
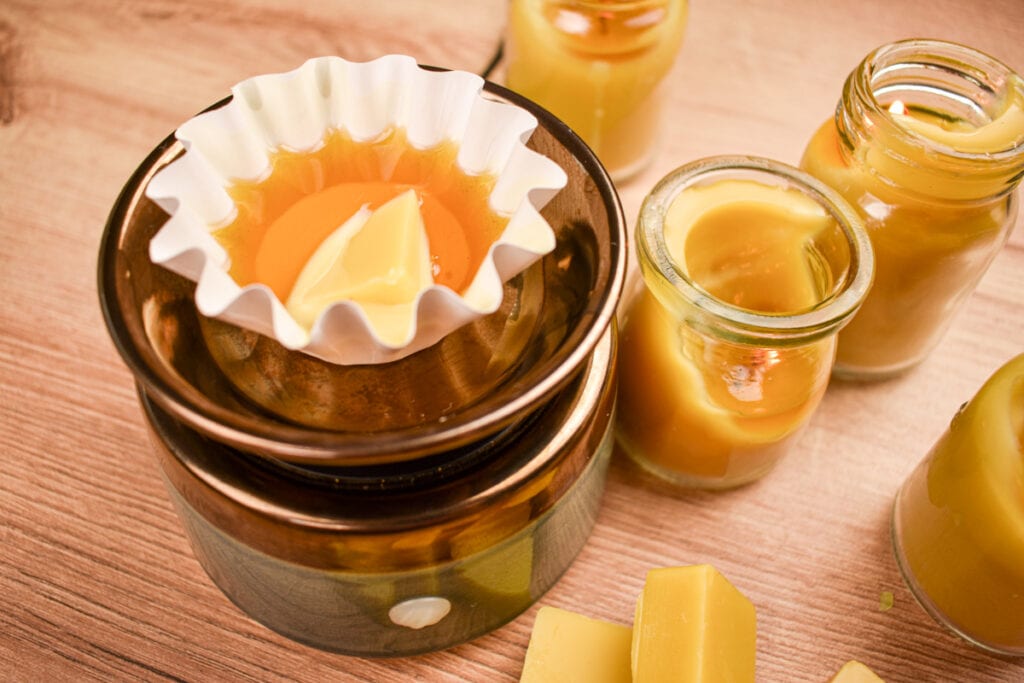
Materials
Directions
You can see the tutorial for these lovely beeswax wax melts here.
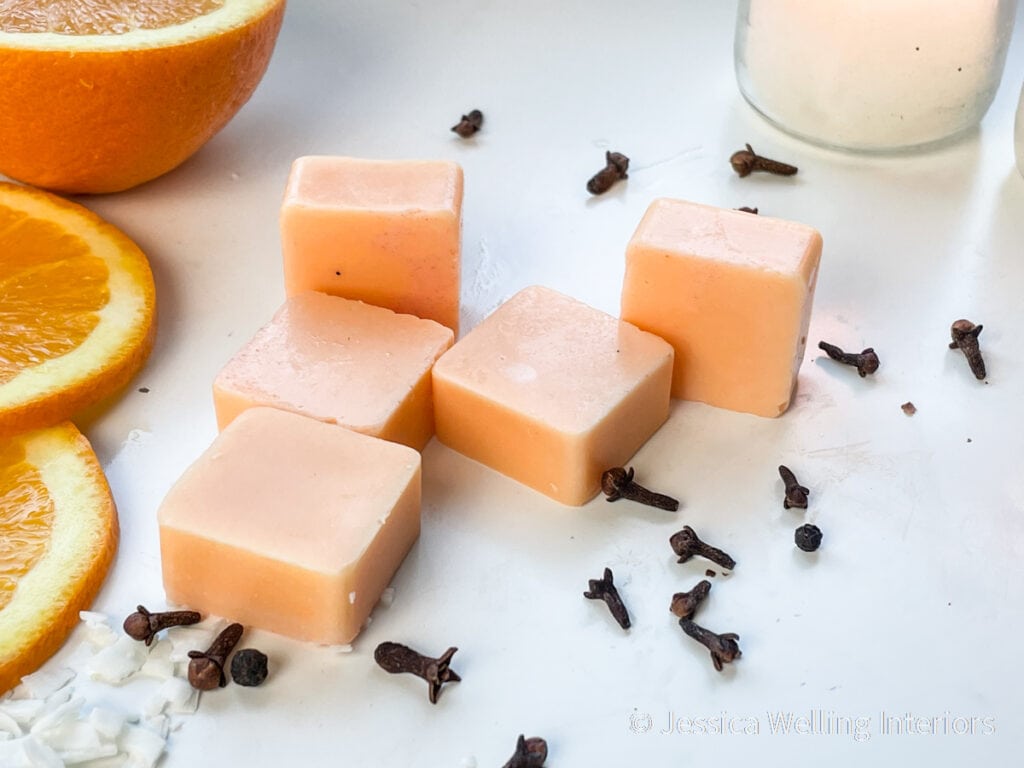
Easy Orange Clove Soy Wax Melts
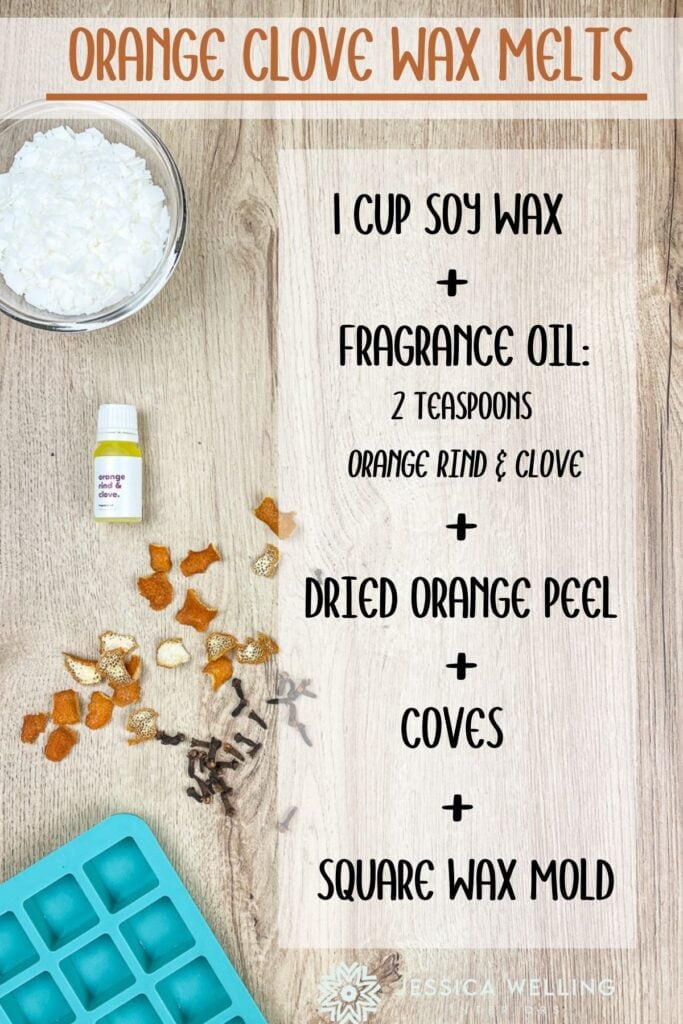
Materials
- Soy Wax
- Orange Rind & Clove Fragrance Oil, from Makesy
- Dried Orange Peel (here’s a quick tutorial)
- Whole Cloves
- Square Wax Mold
Directions
Follow the direction above to mix the wax with the fragrance oil. Fill the cavities in the mold almost to the top, and let it cool completely. Re-heat the remaining wax and use an eye dropper to fill the cavities to the top, just one or two at a time. Sprinkle in bits of dried orange peel and cloves. Then let it cool. You can see the full tutorial here: Easy Orange Clove Soy Wax Melts
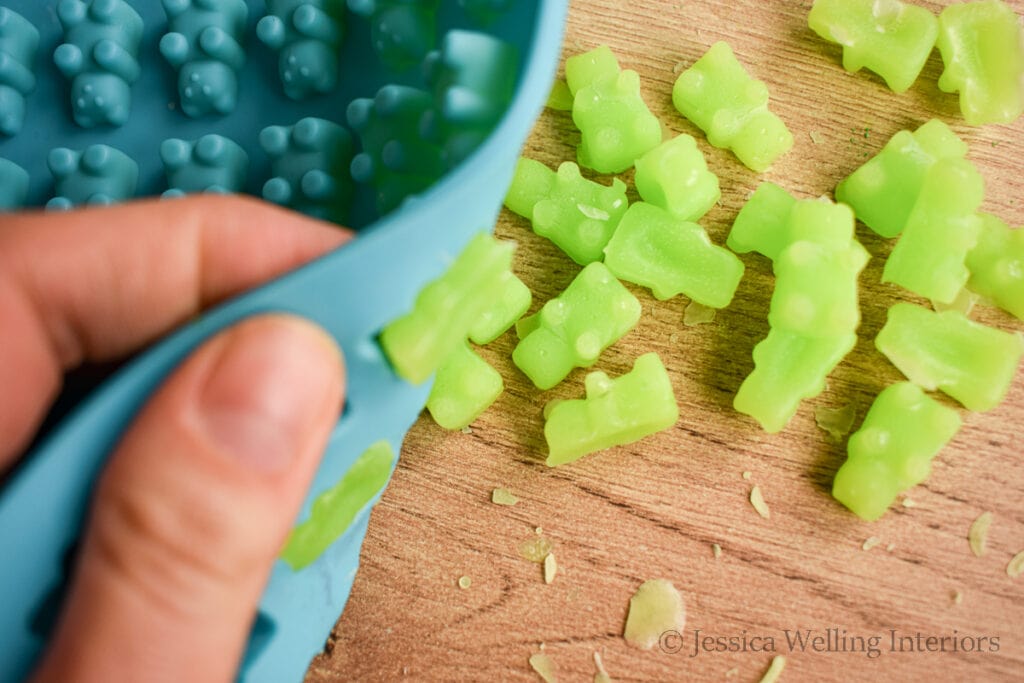
Gummy Bear Wax Melts
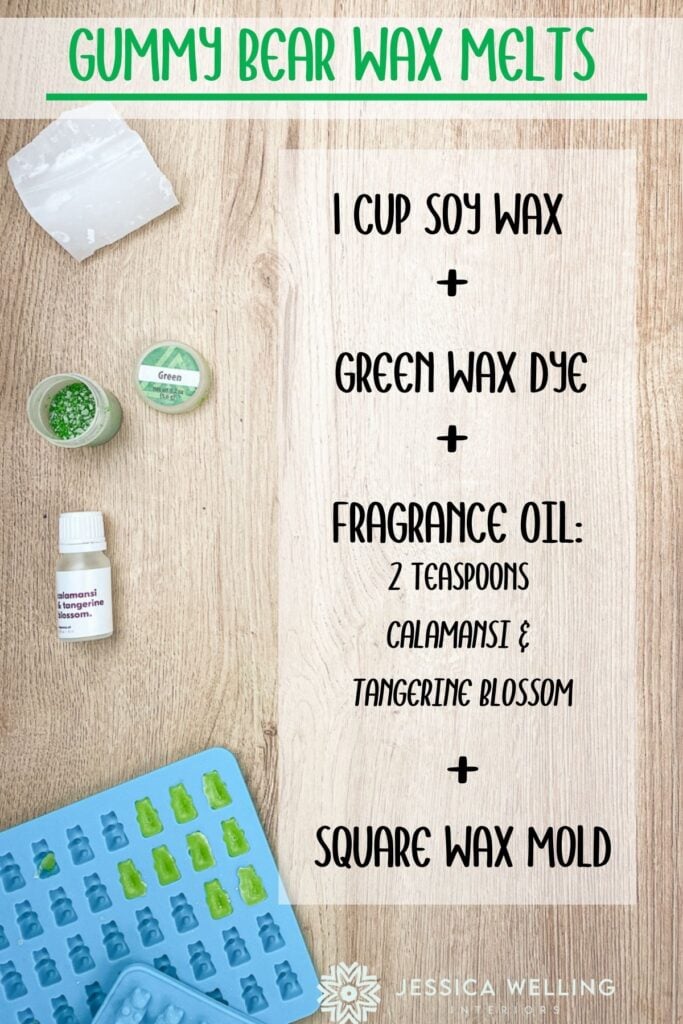
Materials
- Paraffin Wax
- Green Wax Dye (I used the green from this kit)
- Calamansi & Tangerine Fragrance Oil, from Makesy
- Gummy Bear Molds
Directions
This recipe is the same as the one above, except it uses paraffin wax instead of soy. I prefer to melt paraffin in a double-boiler. Here’s my tutorial for wax melts using paraffin.
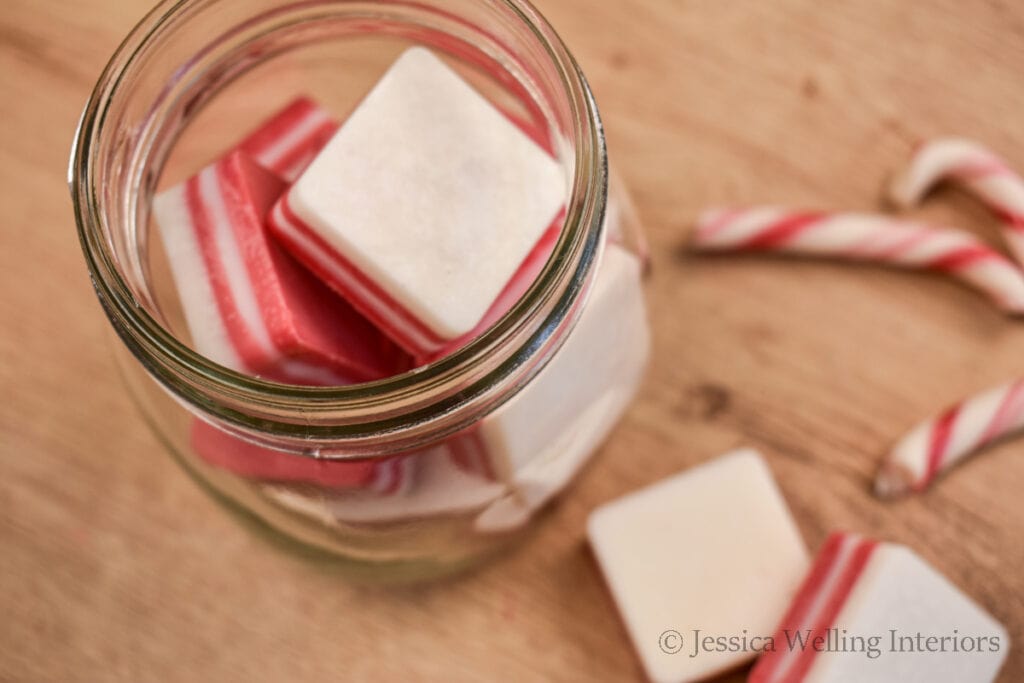
Candy Cane Wax Melts

Materials
- Soy Wax
- Peppermint Swirl Fragrance Oil, from Amazon
- Candy Canes (try to find ones with a lot of red on them)
- Cylinder Silicone Mold
Directions
You can find the instructions for these fun candy cane wax melts here.
Gingerbread Wax Melts
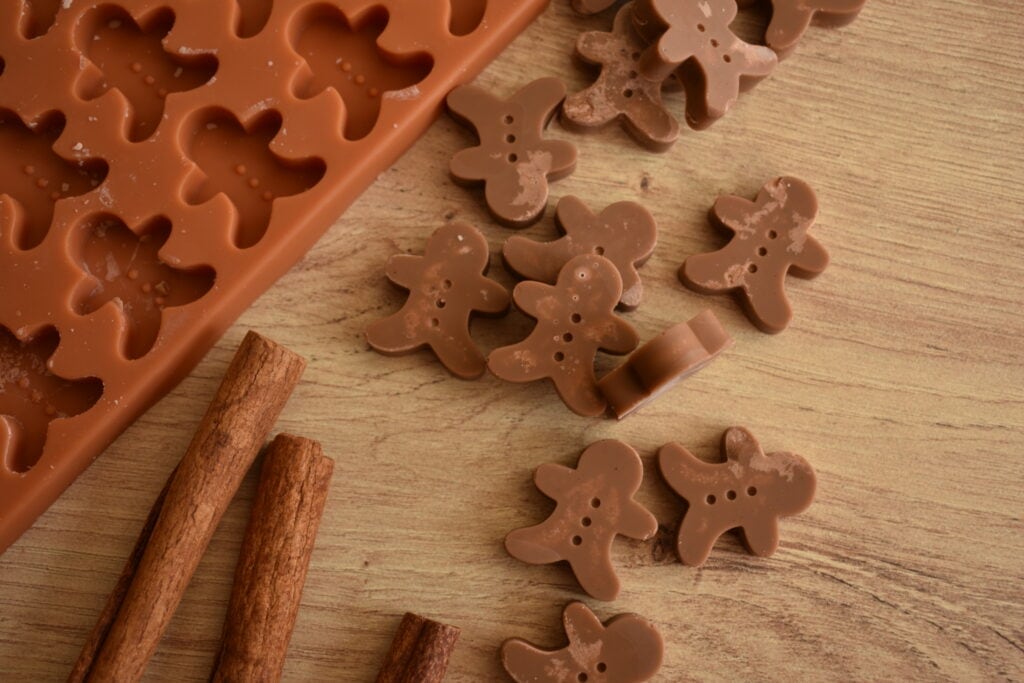
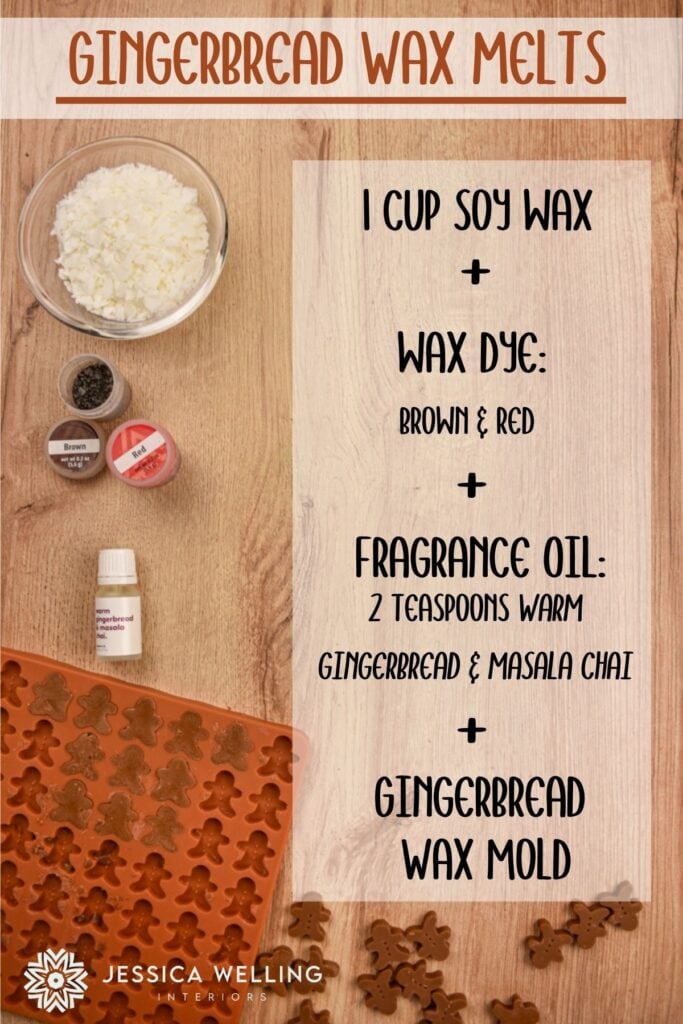
Materials
- Soy Wax
- Brown & Red Wax Dye (I like this wax dye kit from Amazon)
- Warm Gingerbread & Masala Chai Fragrance Oil, from Makesy
- Gingerbread Men Candy Mold
Directions
Follow the basic wax melt recipe above. Use an eye dropper to fill the gingerbread men mold. These are a little difficult to remove from the mold in one piece. I find it’s easiest to peel the mold away from the finished melts.
Sea Breeze Wax Melts
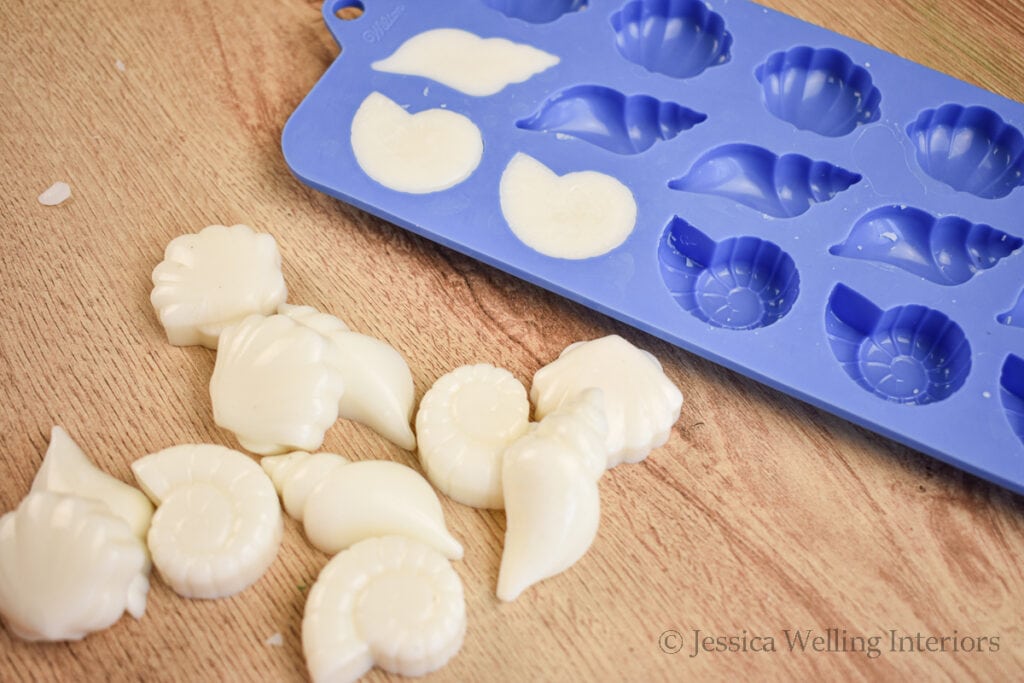
Materials
Instructions
Follow the basic recipe above, but omit the wax colorant to get white seashells.
More Wax Melts & DIY Candles
The Best Fragrance Oils for Candles (That Actually Smell Good!)
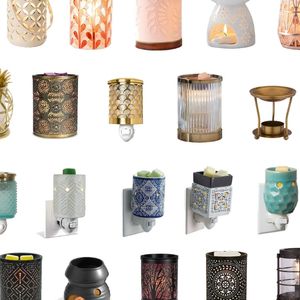
The Best Wax Melters On A Budget
The Best Wax Melt Molds for Every Occasion