Modern Painted Pumpkins: DIY Fall Decor
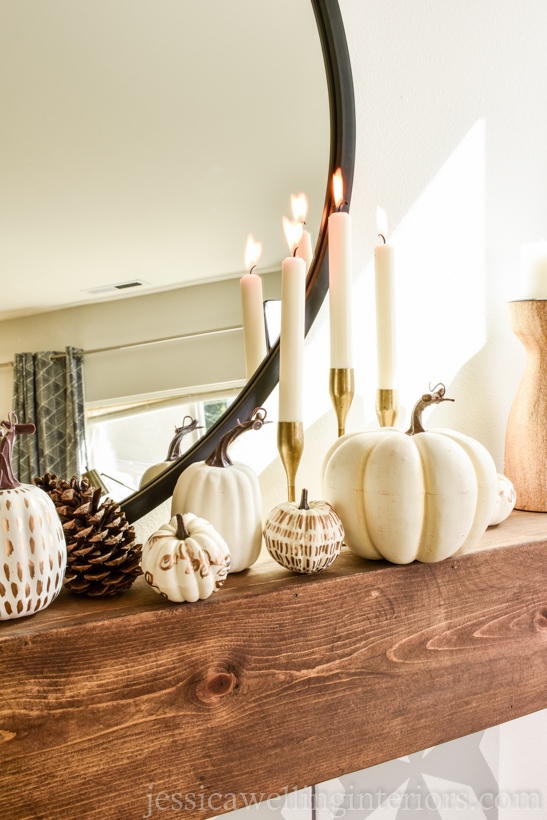
These gold leaf painted pumpkins are a fun and easy DIY Fall decor project, perfect for centerpieces, mantels, weddings, and more!

I’m currently obsessed with gold leaf paint. So of course, I had to try it on white pumpkins for Fall! This project was so simple, it only took about five minutes. Let’s get started!
DIY Fall Decor: Here’s What you’ll need:
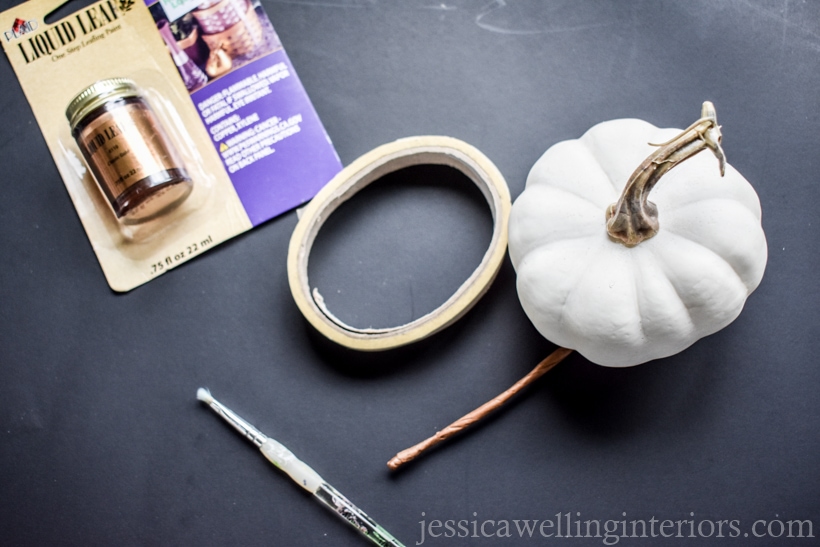
- Faux pumpkins (I used white)
- small-tipped artist’s paintbrush
- gold leaf paint (this is the one I like)
- masking tape (optional)
how to make gold leaf painted pumpkins
This project is so simple, I doubt you’ll even need instructions. But just in case…
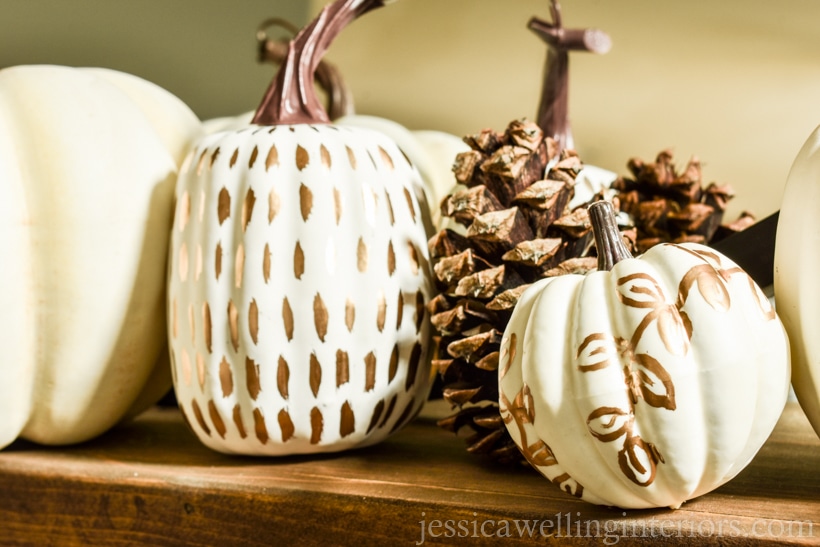
1. plan your pumpkin design
2. shake Up your gold leaf paint
This gold leaf paint has some red pigment in it that will separate out and look ugly if you don’t shake it up every once in a while. I learned this the hard way with a kintsugi coasters project.
3. paint your design
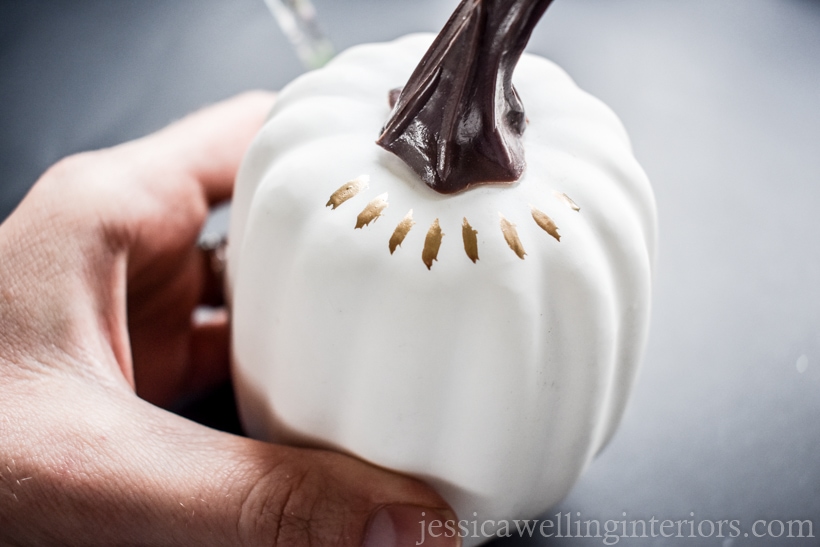
I started at the top and went around the stem, then worked my way down from there. I just made rings of simple short lines with the paintbrush.
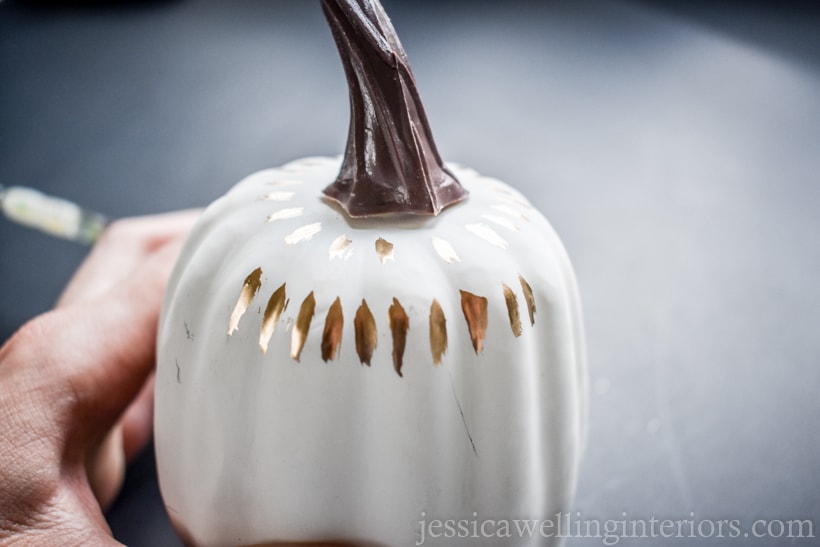
4. Let the top of the pumpkin dry
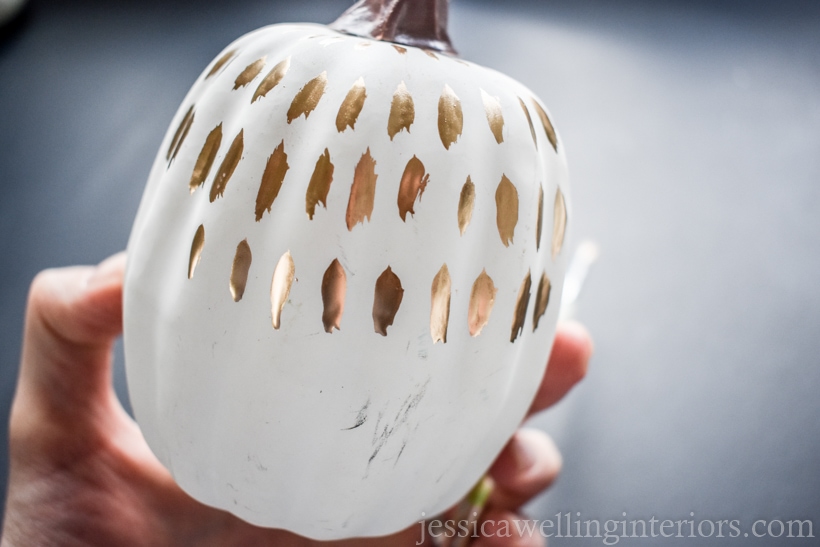
Once you get close to the bottom of the pumpkin, you may need to turn it over and hold it by the stem to finish the design. Better yet, let the top half dry for an hour, and then turn it over to finish.
5. Paint the bottom of the pumpkin
That’s it!

More fall decor ideas…
Easy White Pumpkin Centerpiece
Cheap Modern Throw Pillow Covers for Fall
Cozy Up for Fall! Gorgeous Throws to Warm up Your Living Room






Super inspirational… I didn’t know there was actual gold-leaf paint!
Thanks Julie! Yes it’s great stuff… just have to shake it up frequently and maybe use a disposable paintbrush.