
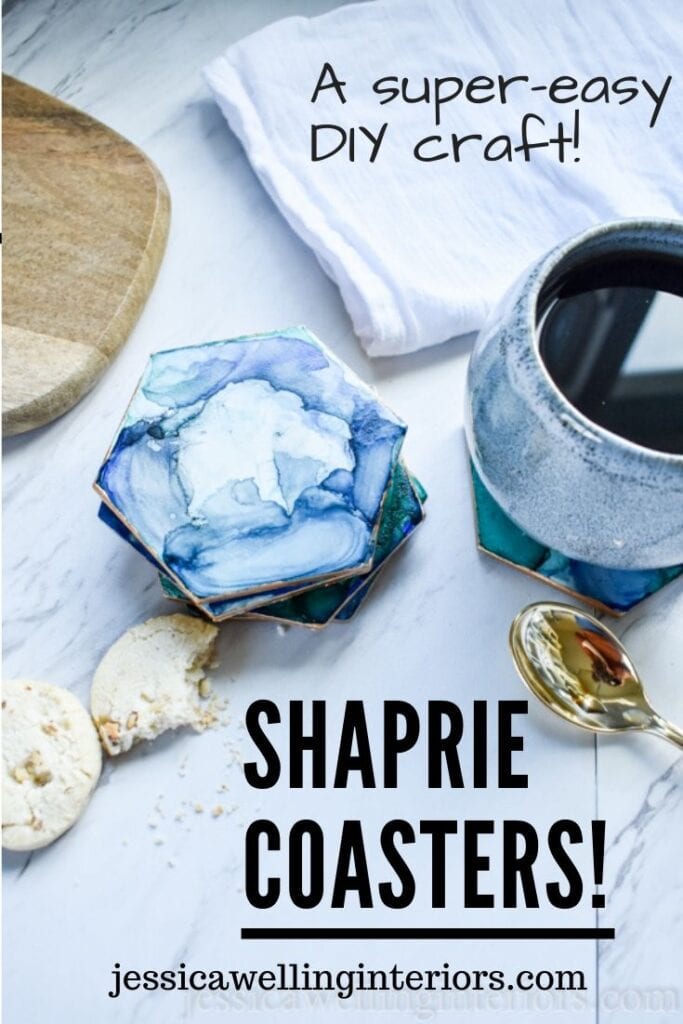
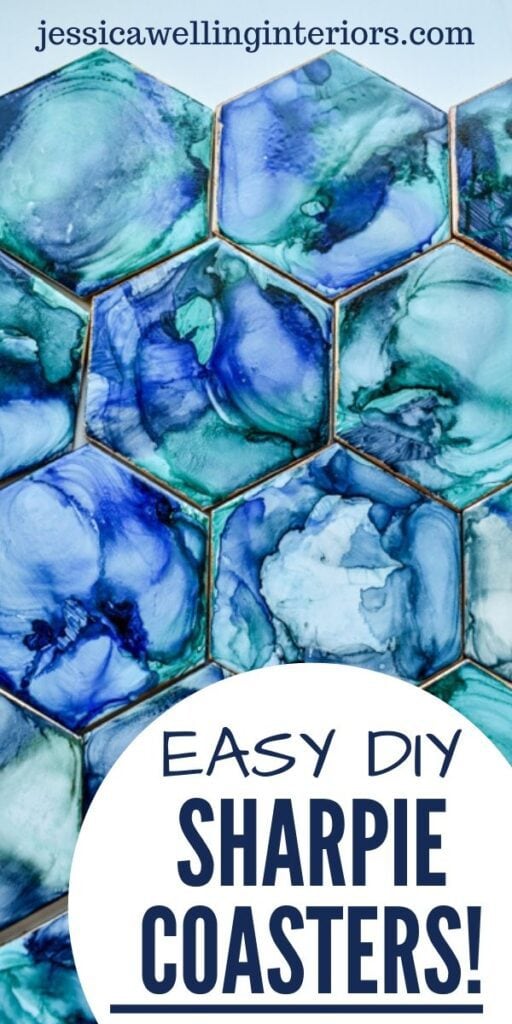
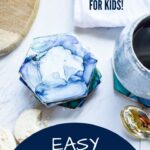
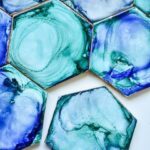
Easy DIY Coasters with Sharpies and Alcohol!
Create gorgeous DIY coasters using Sharpies and alcohol! It’s an easy project for kids and grown-ups alike! Learn how with this simple tutorial.
A friend and I were asked to come up with an art project for B’s second-grade class to make for the school auction.
I wanted it to be something cool and useful… who wants to pay $70 for something you can’t really display or use?
So we came up with the idea to have the kids make coasters out of tiles. I did quite a bit of experimenting to get here.
But what I didn’t realize until after I’d bought most of the supplies, was that it involves fire. And everybody knows the best kids’ art projects always involve alcohol and fire!
But stick with me- the fire part is actually really cool and not scary.
How To Make Tile Coasters
Materials:
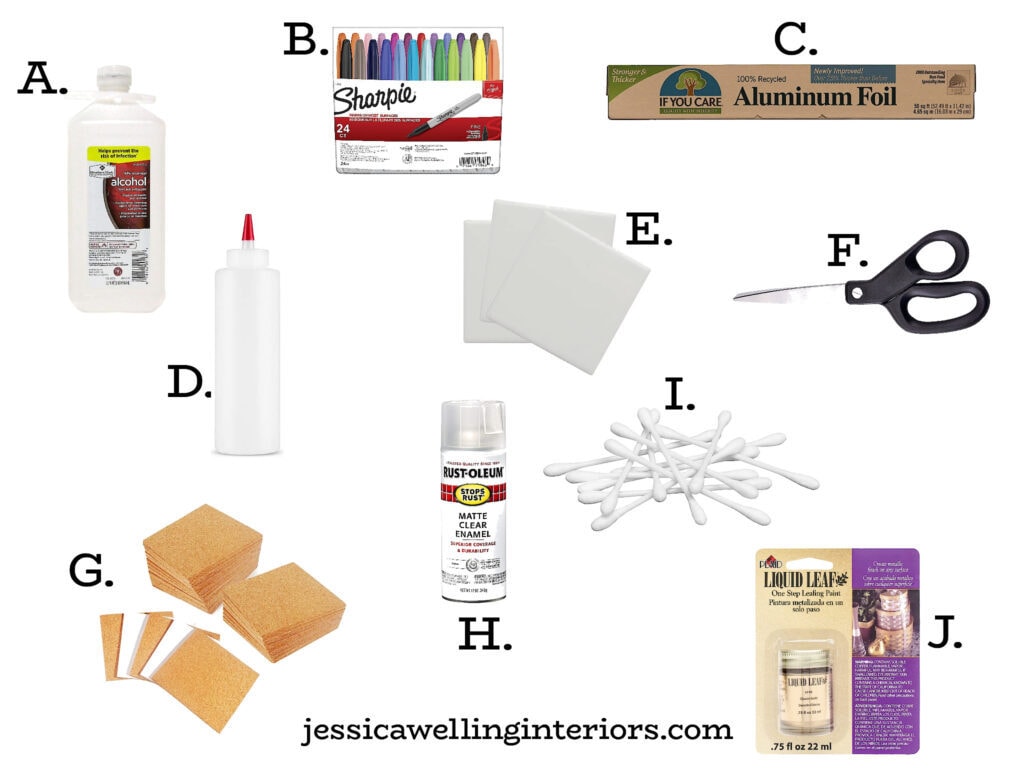
H. Rustoleum Matte Clear Enamel Spray Paint
Directions:
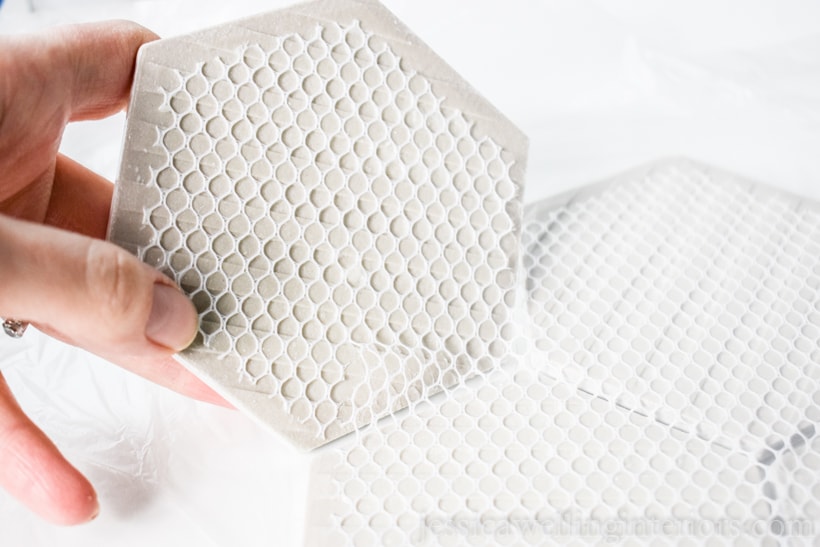
1. Remove Tiles From Backing
If your tiles come on a netted backing like some of mine did, carefully pull them off. You’ll want to get all of the netting peeled off- it will be important later.
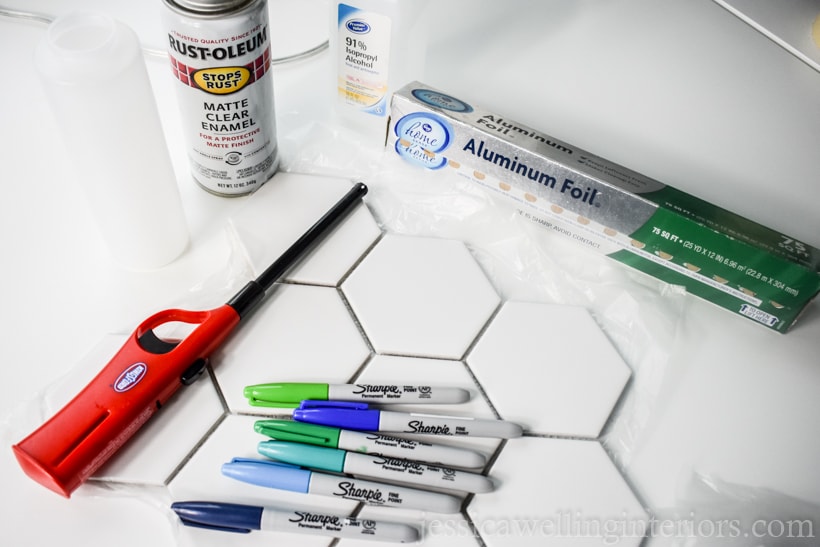
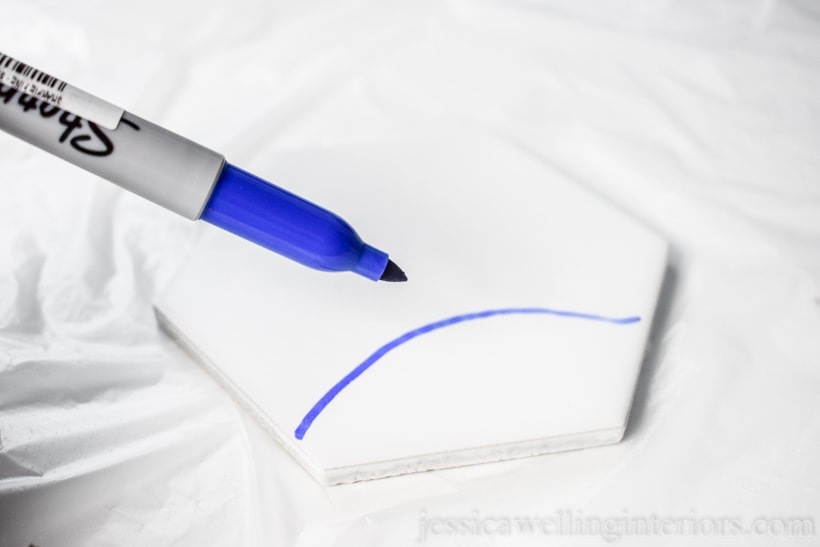
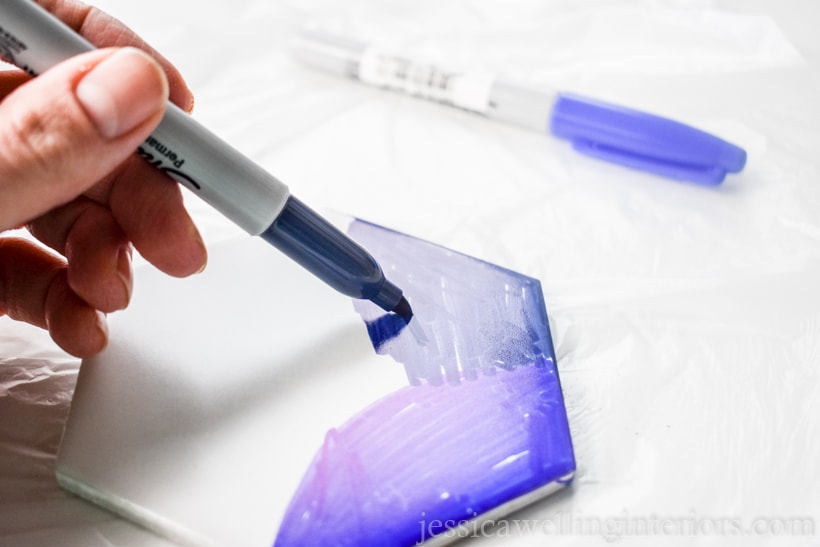
2. Color Tiles With Sharpies
Color the whole surface of your tile with sharpies. I found that the coolest-looking ones used multiple colors, but all in the same color family.
I chose to go with blues, greens, and teals for the kids’ project because they just looked best. It’s important to cover the whole surface with ink.
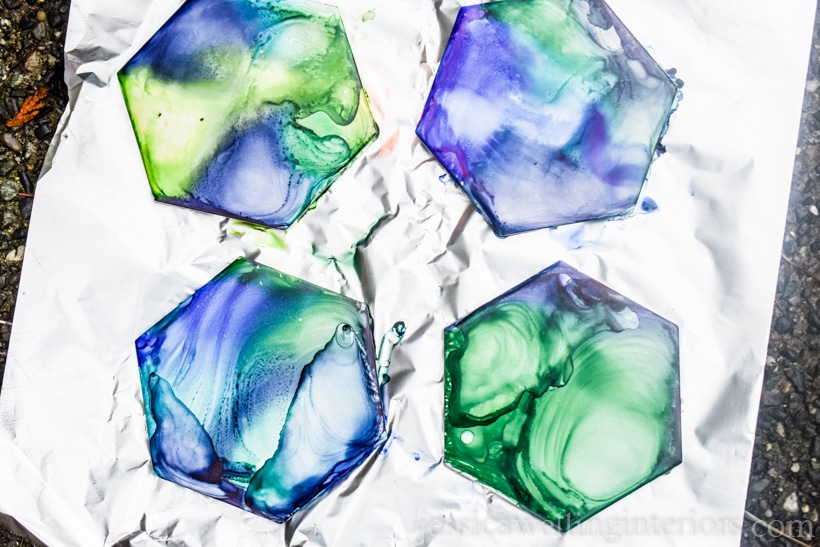
3. Drizzle Tiles With Alcohol
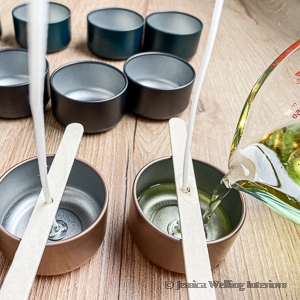
I poured my alcohol into a squeeze bottle, but I’m guessing it would work without one too. Lay down some aluminum foil on the ground (this is definitely an outside activity!) and then place your colored tiles on the foil, face-up. Drizzle the alcohol on them.

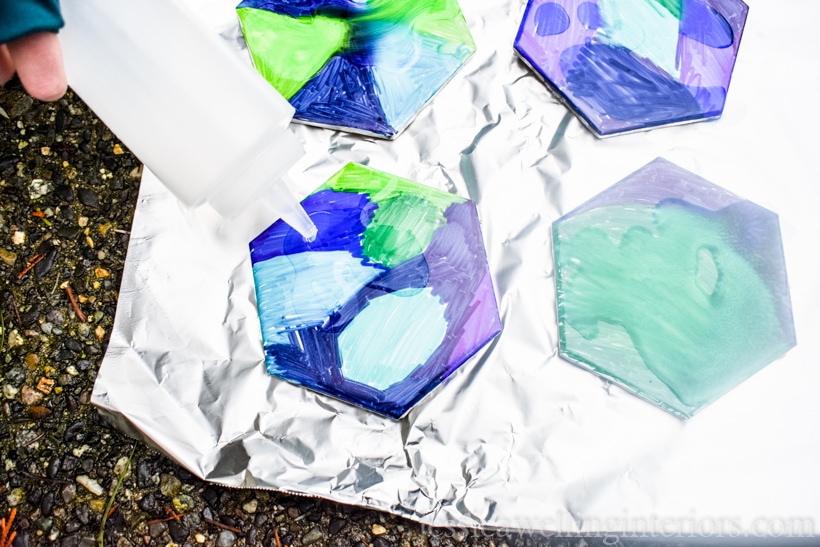
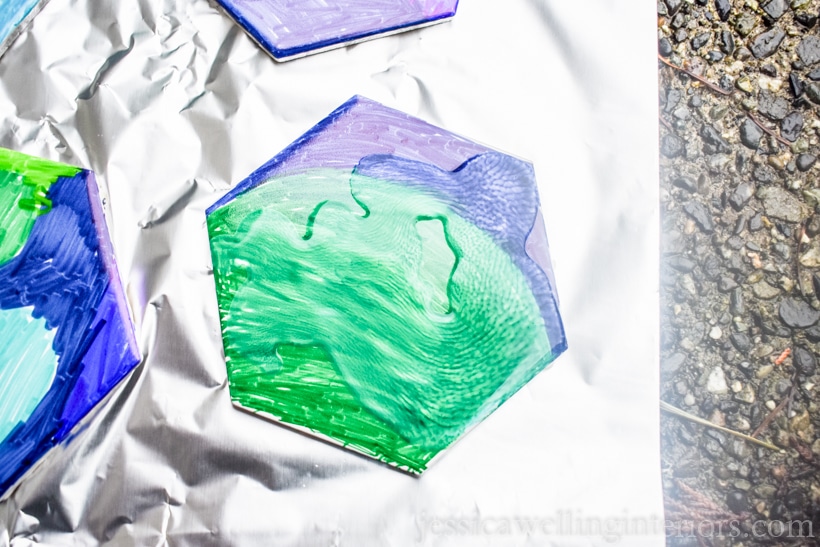
You’ll see the colors start to blur and run together once the alcohol hits them- that’s what you want.
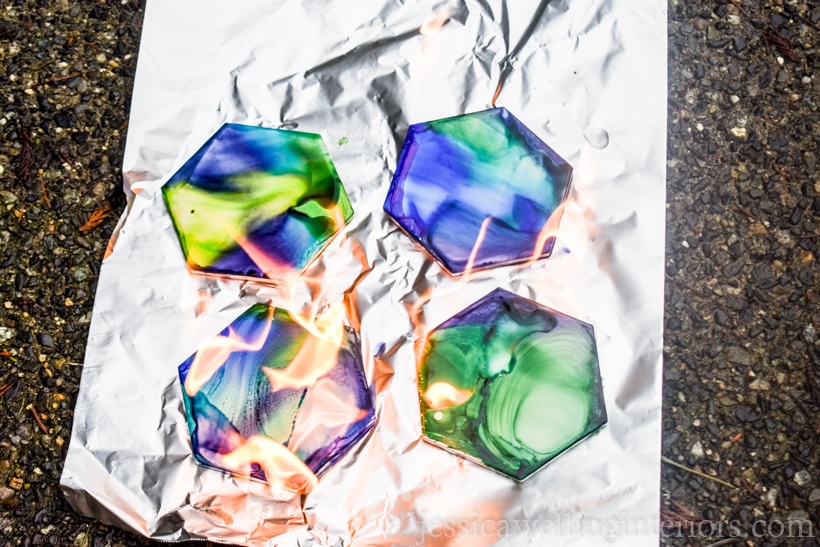
4. Burn the Tiles
This part is actually really cool! I was imagining an explosive fire like you’d get with gasoline, but it’s just a little tame fire. Use a lighter to light the alcohol. You can burn them all at once if you want. The flames will create a design with the ink and alcohol.
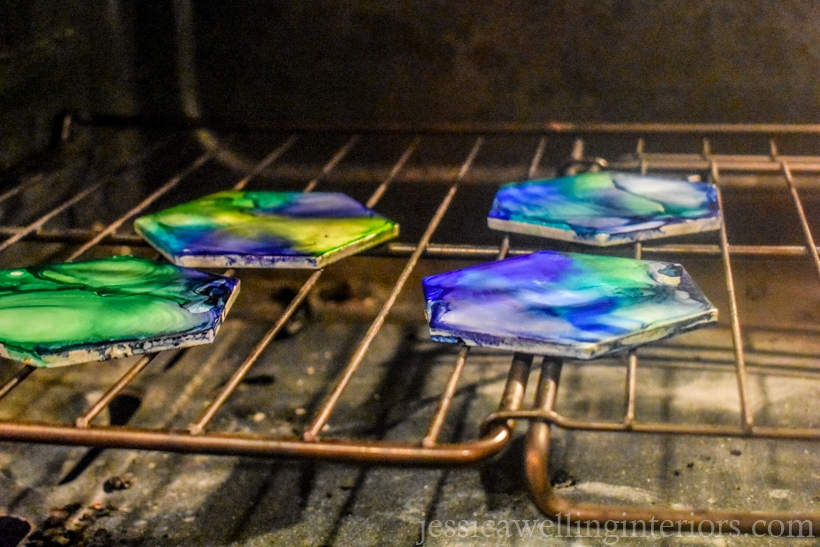
5. Bake the Tiles
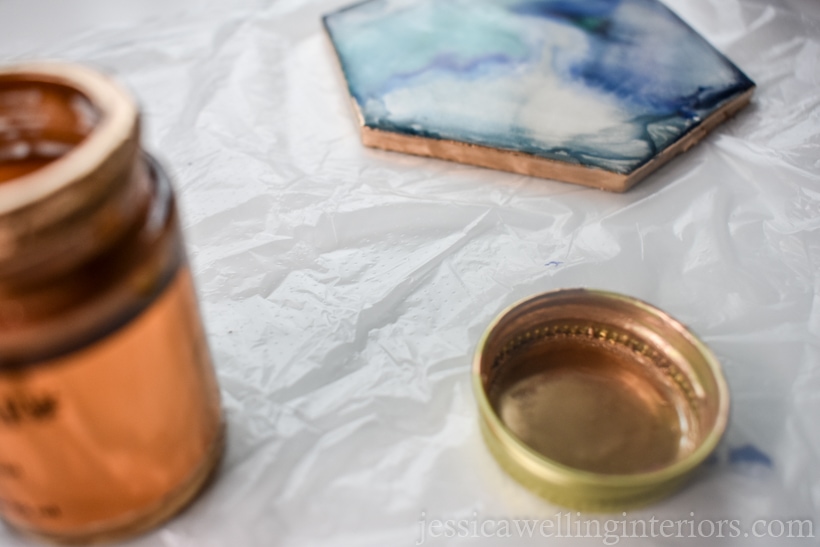
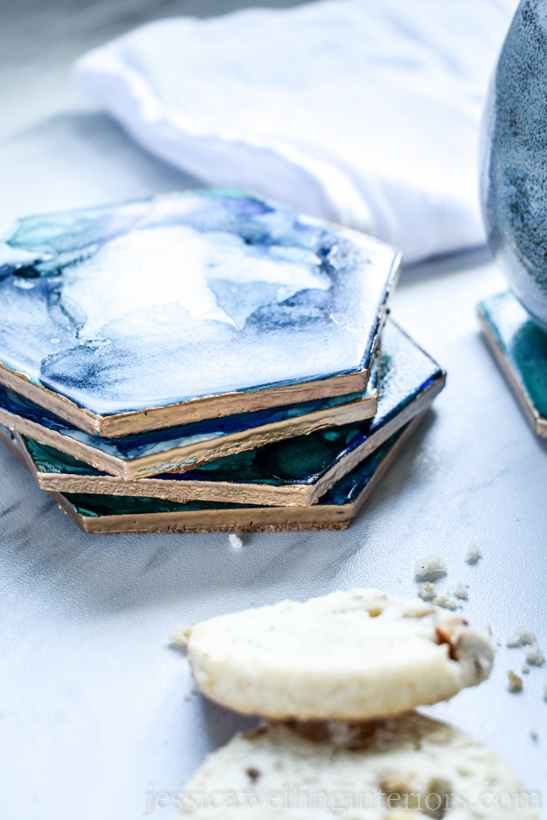
6. Paint Edges Gold
This step is optional, but I feel like it makes the project look more finished… and not just like someone spilled something on a tile!
This is my favorite gold leaf paint. It’s not water-based, so use a small paintbrush you don’t care about or a Que-tip to paint the edges of the coasters, and let that dry for at least a few hours.
7. Clear Coat
Once the gold leaf paint is completely dry, spray the coasters with a thin coat of clear gloss spray paint.
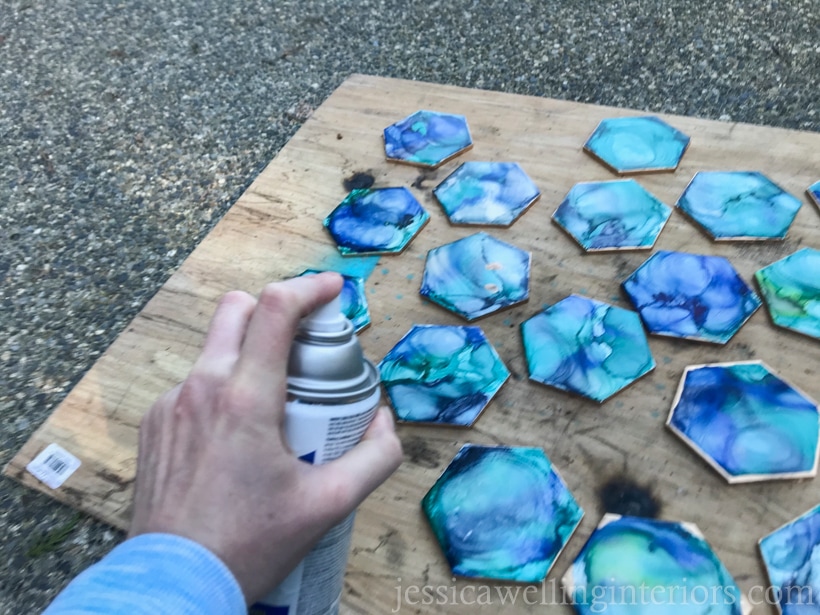
Let that dry for an hour or so, then do a second coat.
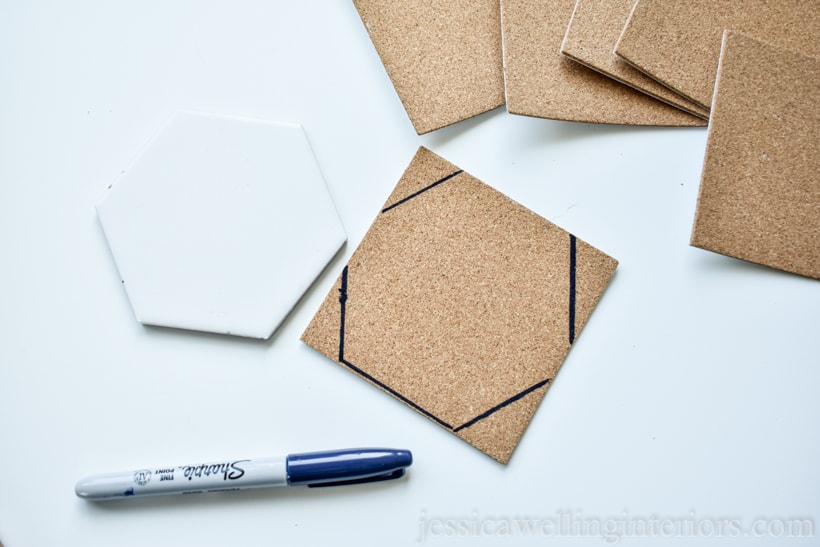
8. Apply Cork Backing
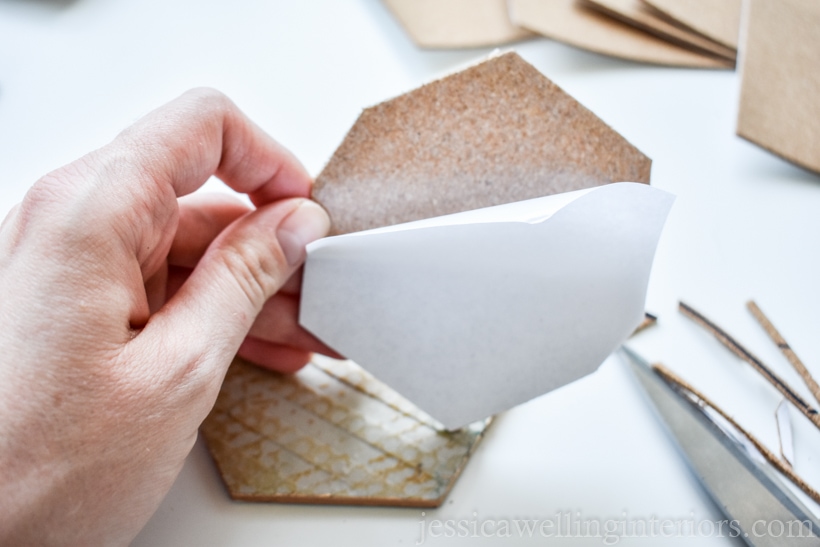
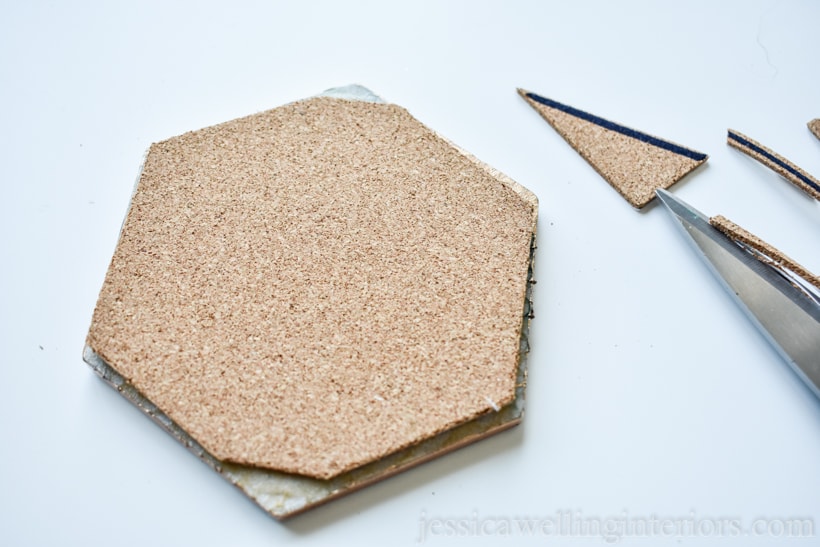
Once your spray paint is very dry, apply the cork backing. With the hexagon-shaped tiles, we had to trace and cut them down a bit.
These cork pieces are self-adhesive, so sticking them on was easy. And I’ve used this brand before and never had problems with them falling off.
And that’s it!
Helpful Tips for Making Tile Coasters
- I tried 4 different kinds of tile while experimenting for this project. Here’s what I found: cream-colored tiles didn’t look great with the colors on them, I think bright white is the best background.
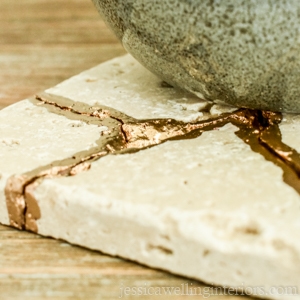
- The most successful tiles had a matte finish. I tried some very porous tumbled travertine tile, and the alcohol didn’t really move the ink around much. I tried high-gloss ceramic tiles, and the ink rubbed right off them, even after baking!
- As you can see, I only gave the kids blue and green Sharpies to work with, because I didn’t want muddy colors.
I’m so excited about how these turned out!
More DIY Coasters & Homemade Gift Ideas…
Kintsugi How-To: Easy Tile Coasters
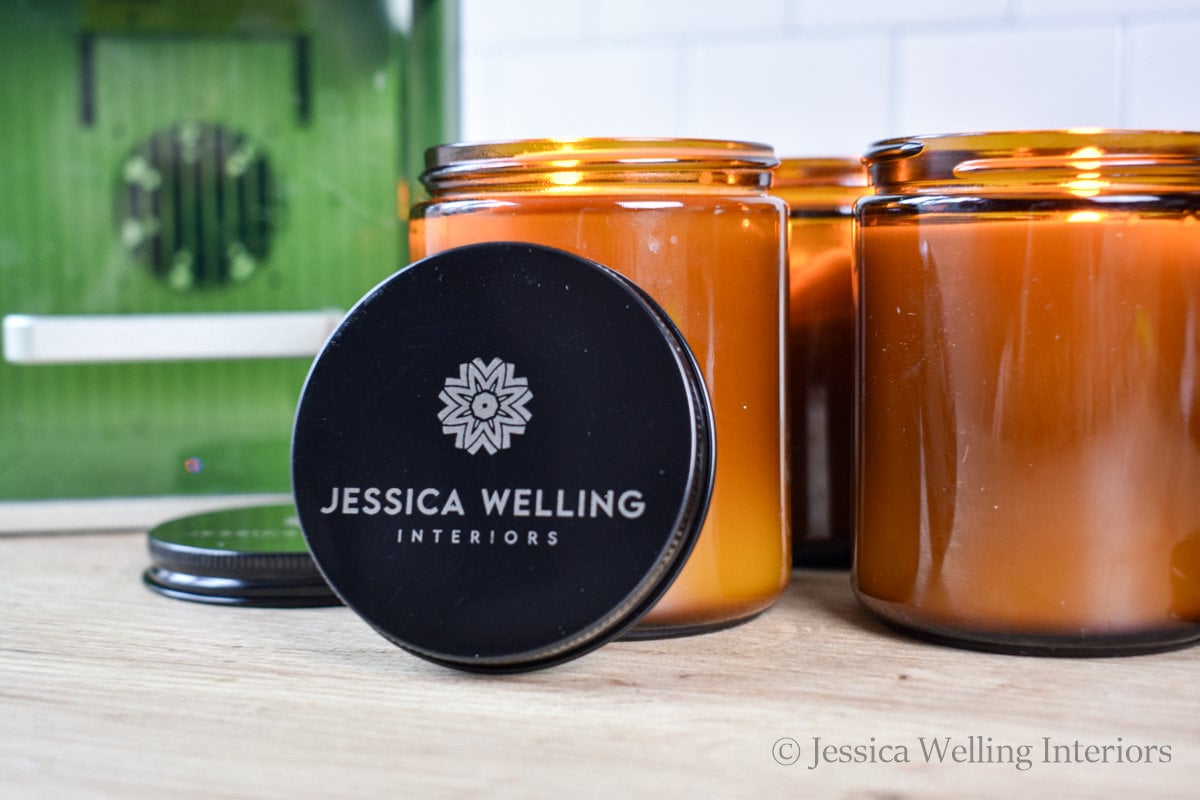
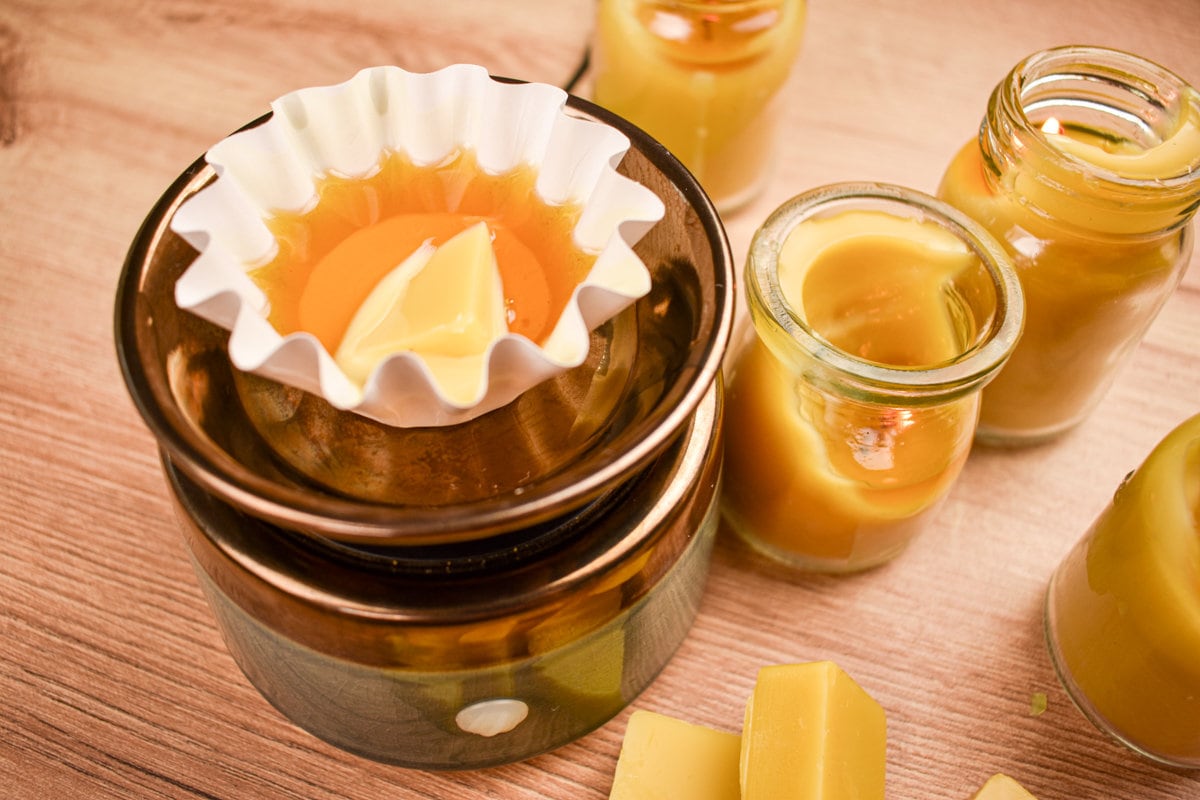
How to Make Candles: A Beginner’s Guide
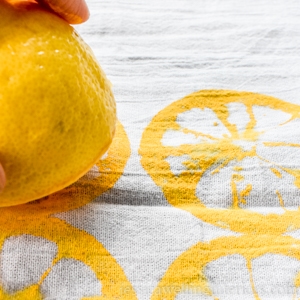
Citrus-Stamped Tea Towels: Easy Handmade Gifts


Genial la idea, la pondré en práctica.
Mil gracias.
Gracias!
Wow, Jessica, I absolutely love this project! I’ve been reviewing acrylic pour techniques for a few weeks; however, I’m afraid all I foresee is a messy permanent disaster left behind. This DIY project appears totally doable (-:
Thanks Rebecca! Yeah I’ve been watching all the acrylic pour Youtube videos too! It looks fun but yeah… really messy!
Terrific Jessica! Tx for sharing. Looking forward to trying it out. I hope to find matt tiles here in Cape Town, South Africa.
Thank you! Best of luck finding tiles!
Do you have a link to the tiles that worked best?
Hi April! I’m sorry I don’t. I got them at Tile for Less.
Do you know if there’s a big difference if you use 70% alcohol instead? 91% seems to be unavailable to me except for online.
Hi! I haven’t tried the 70% myself, but I remember reading that it’s important to use the 91%. I found some in the pharmacy section at the drugstore- but that was pre-pandemic. Good luck!
Have you tried with the 70%? I can’t find the 91% either…
Hi Katrina!
I know-it’s harder to find now. I haven’t tried it, but I remember reading that it was important before I did the project. Good luck!
I’m planning on doing this project to make as gifts. How long can you wait between coloring the tile and the rest of the steps? Seems like from alcohol on, I would need to follow your timing but am wondering if I could color ahead of time?
Hi Erin,
Yes you can color them ahead of time and they should be just fine. The time the color is most fragile is after you’ve done the alcohol/fire, but before you bake them in the oven.
Thank you! Super excited to get going!!!
Sharpie is misspelled in the title. Ha! (Been there done that, wish someone had told me!) Thanks for the cool tutorial. Sooooo excited to try these. I plan to put epoxy over top. 🙂
Oh gosh thank you!